
3D SCANNING AND PRINTING
This week is dedicated for learing 3D PRINTING and 3D SCANNING TECHNOLOGY.
I started exploring with 3D PRINTING. The various aspects I started exploring are,CREATNING A 3D OBJECT Which cannot be made Subtractively
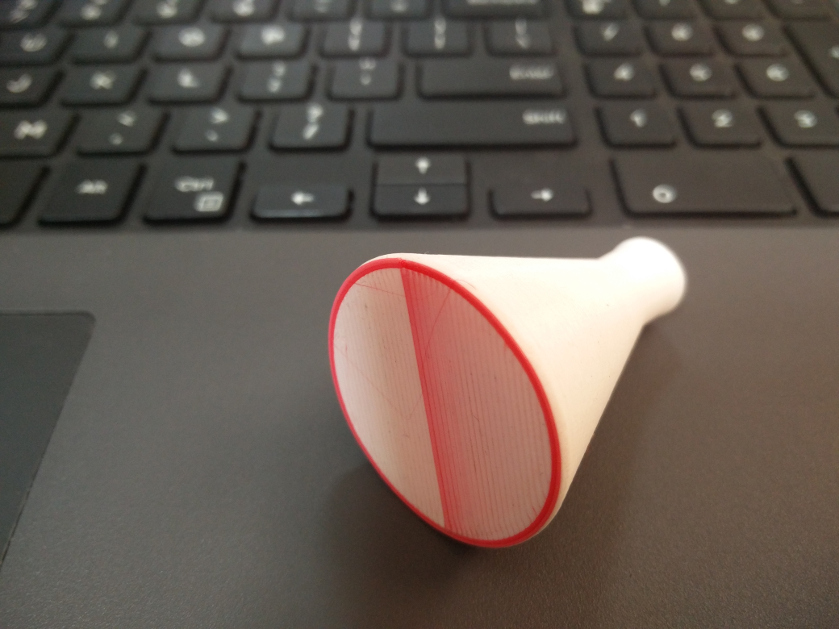
Creating a FLASK design using Rhino

Sketch FAB link..
Generatig Gcode using CURA
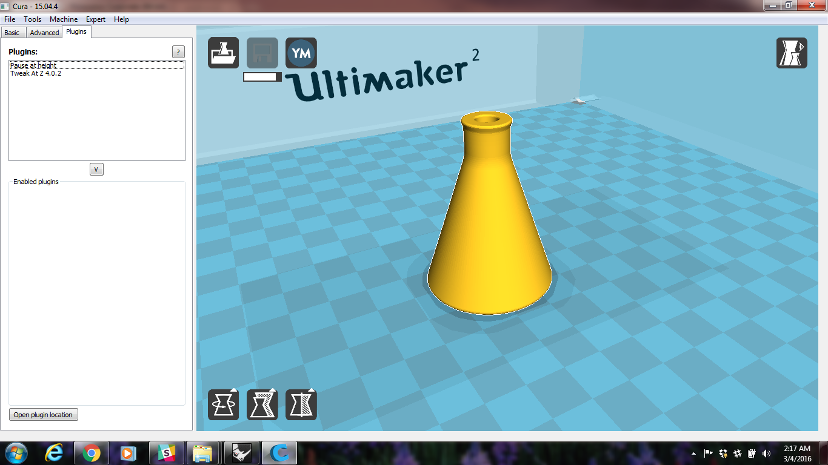
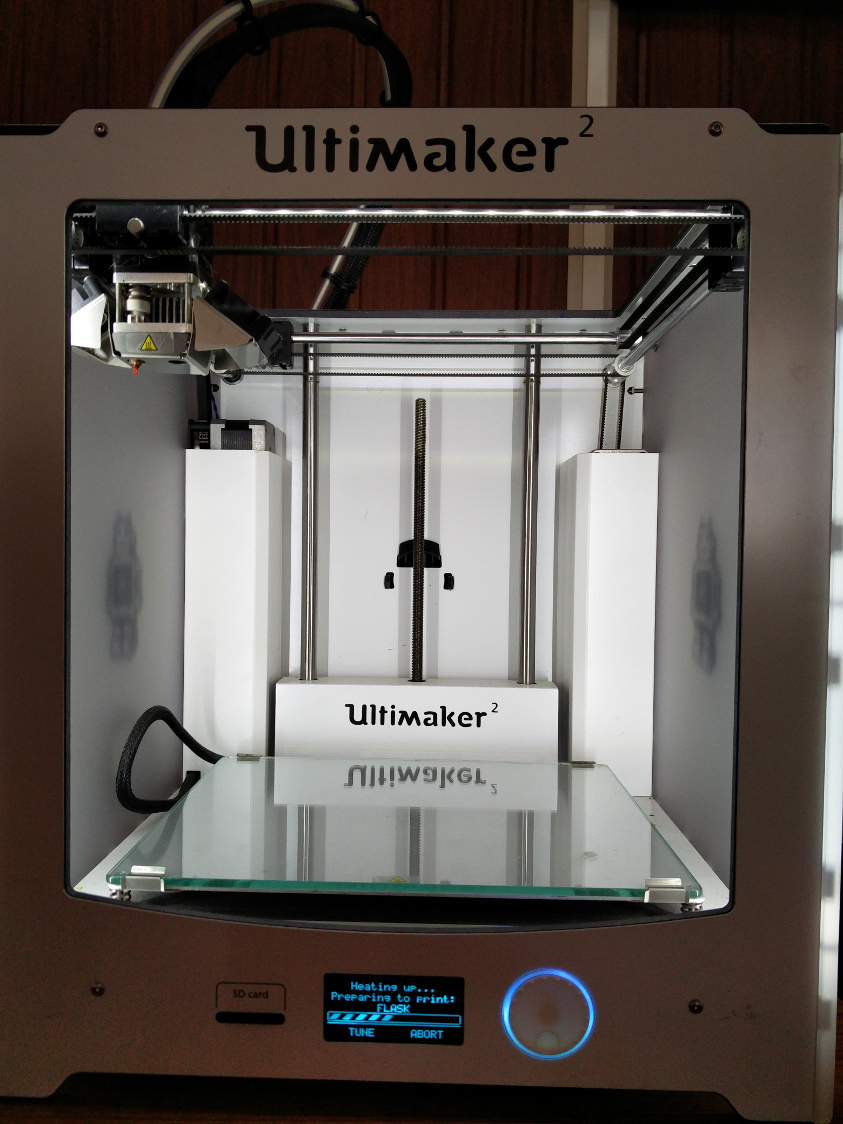
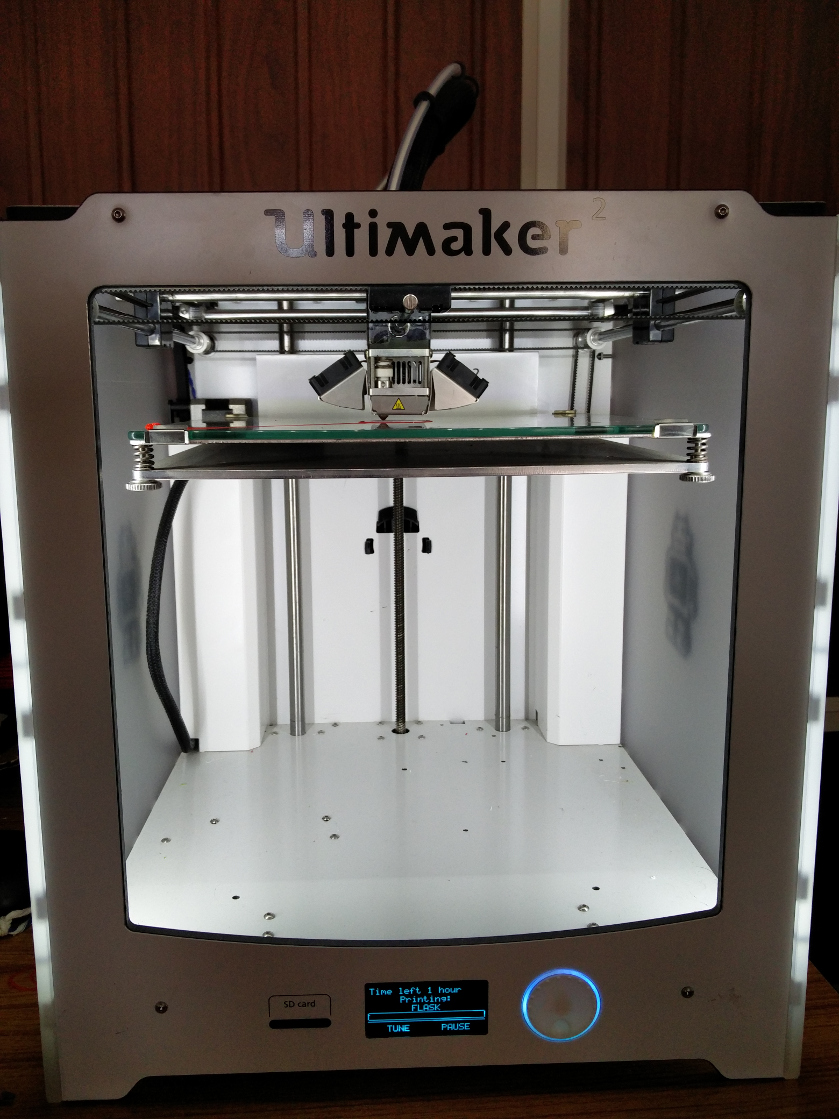
Once the Gcode is created using CURA, it is transfered to the memory of ULTIMAKER to start the printing process.
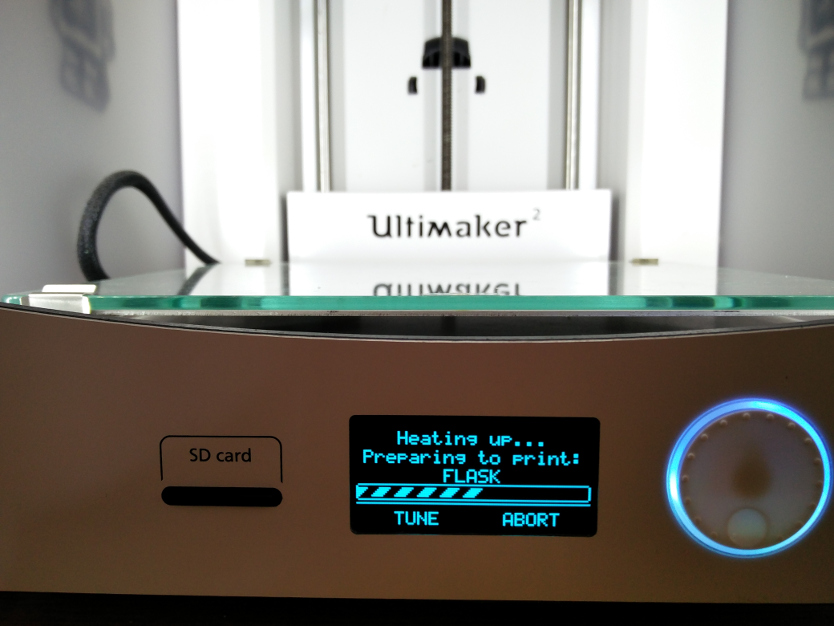
The picture shows the printer heating up to start printing.
A Closer look.
Rear View of printer showing the material being loaded.

Printer starting the process
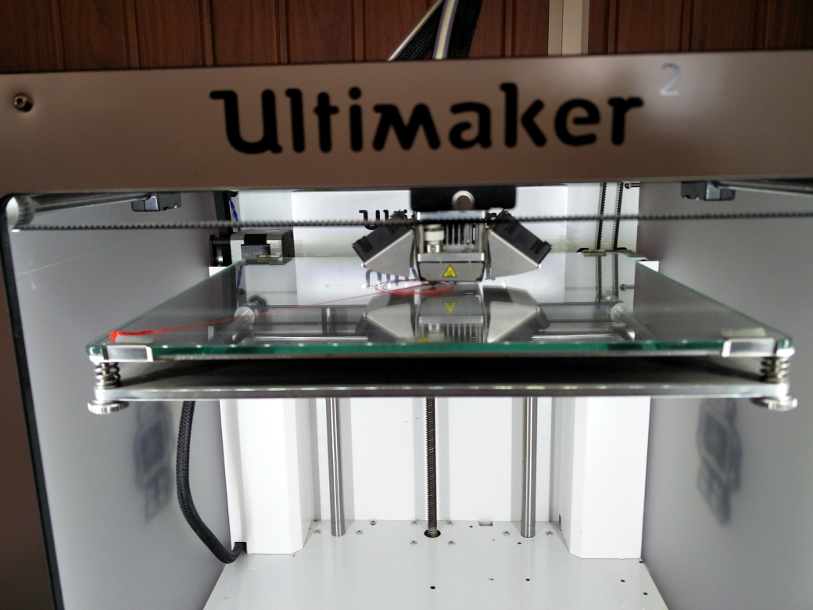
Printing the veryfirst layer
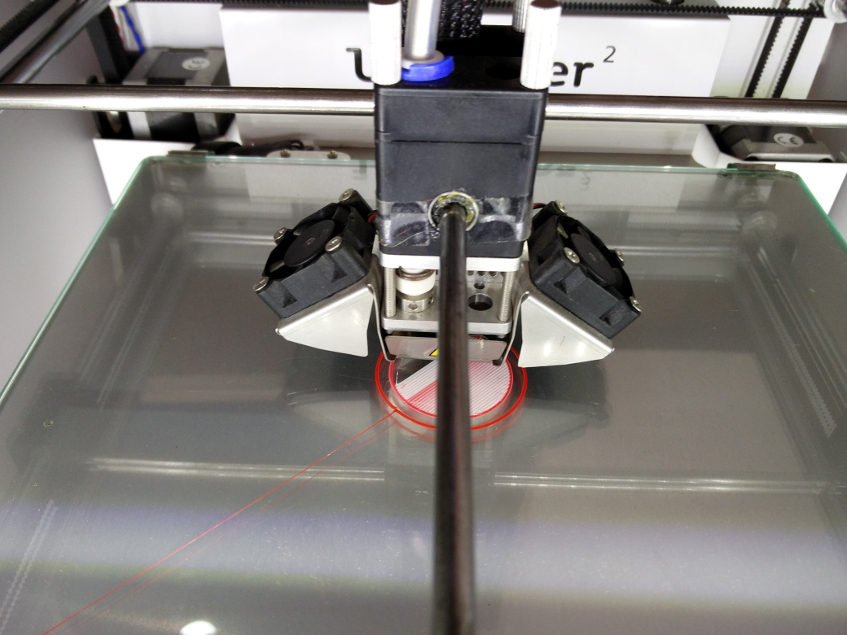
Another View
Printer Cooling down after finishing the print
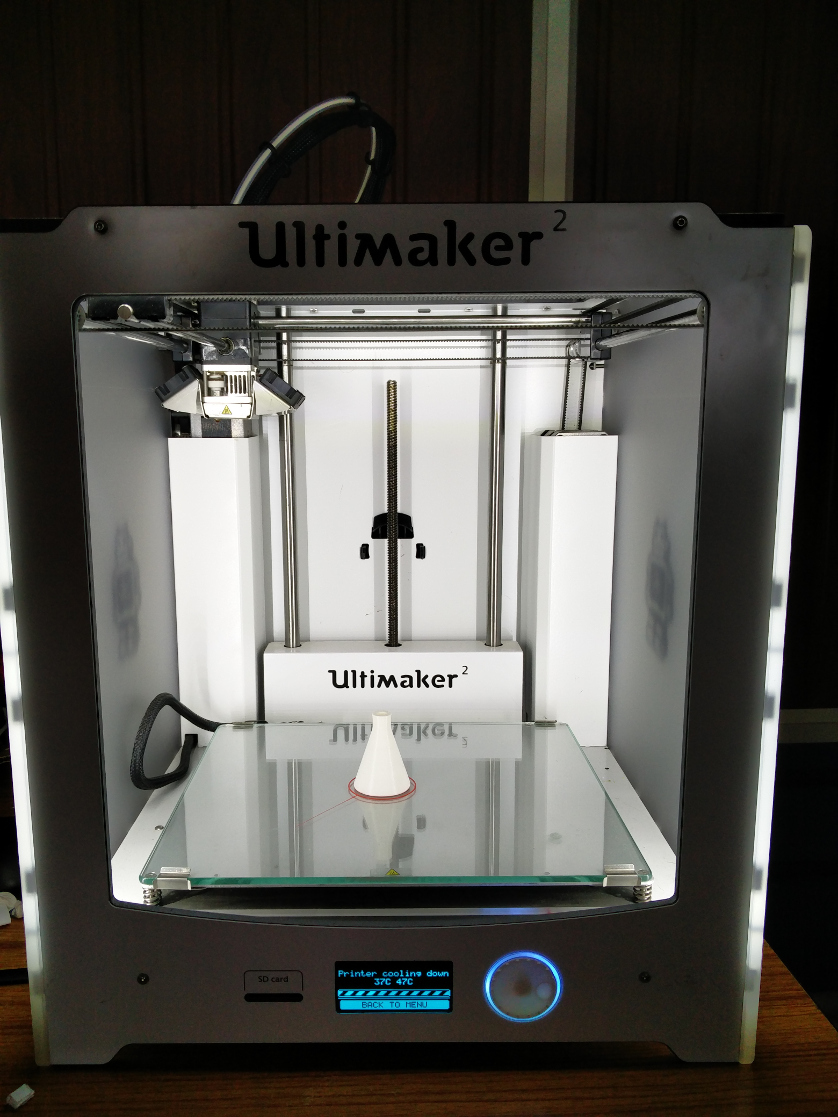
Finished printing.
The file used for the process can be downloaded from here
LIMITATIONS I OBSERVED WITH OUR PRINTER
3D SCANNING
I am trying to do 3D Scan using Rolland Modella machine.
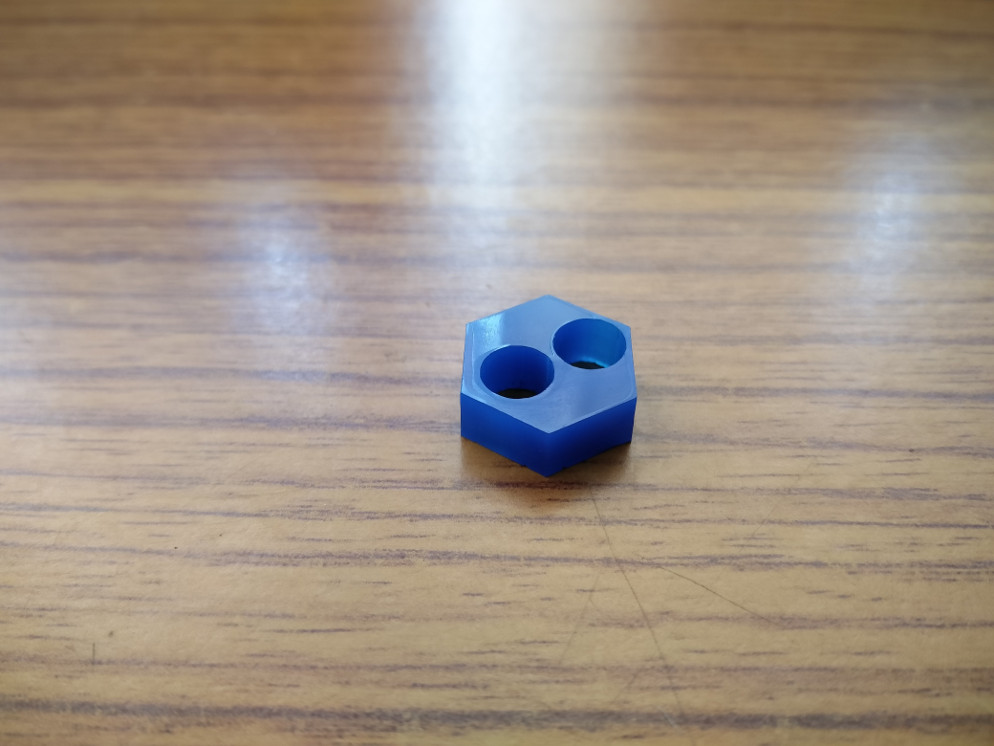
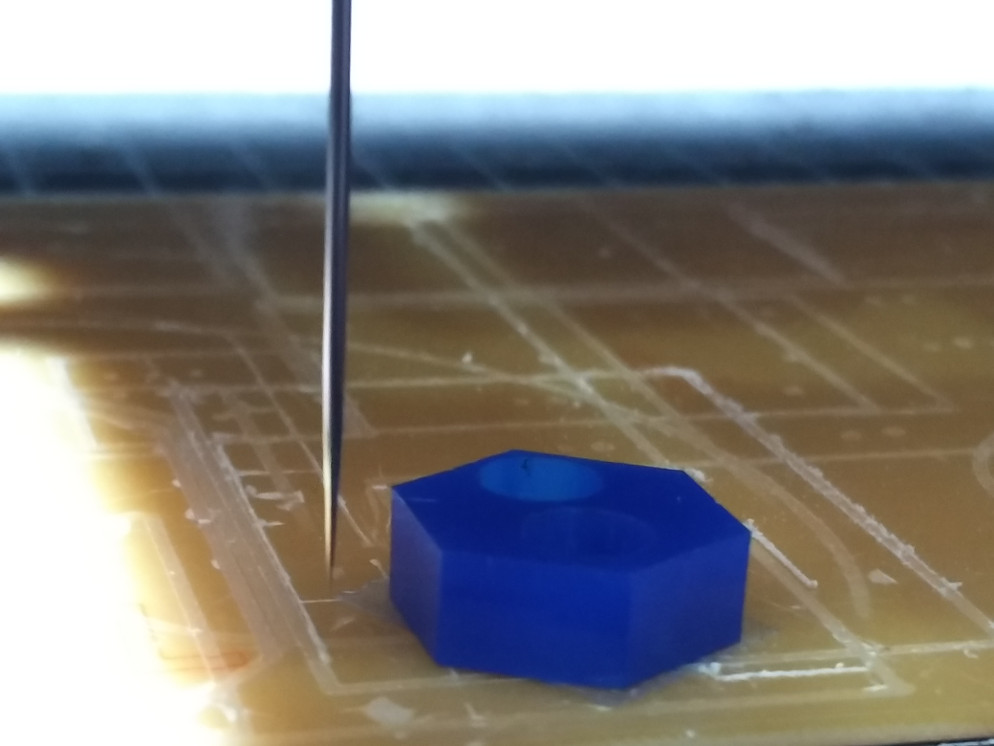
Here is the object I am going to try to scan in 3D
First step is to remove the milling head from Modella.
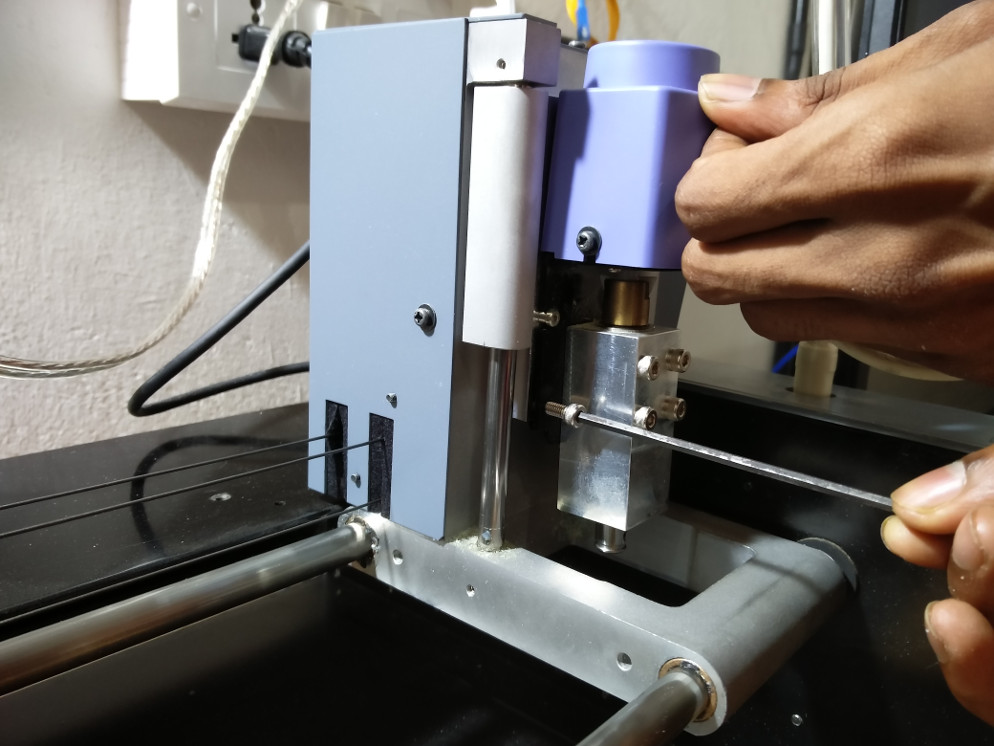
The head being removed from Modella.
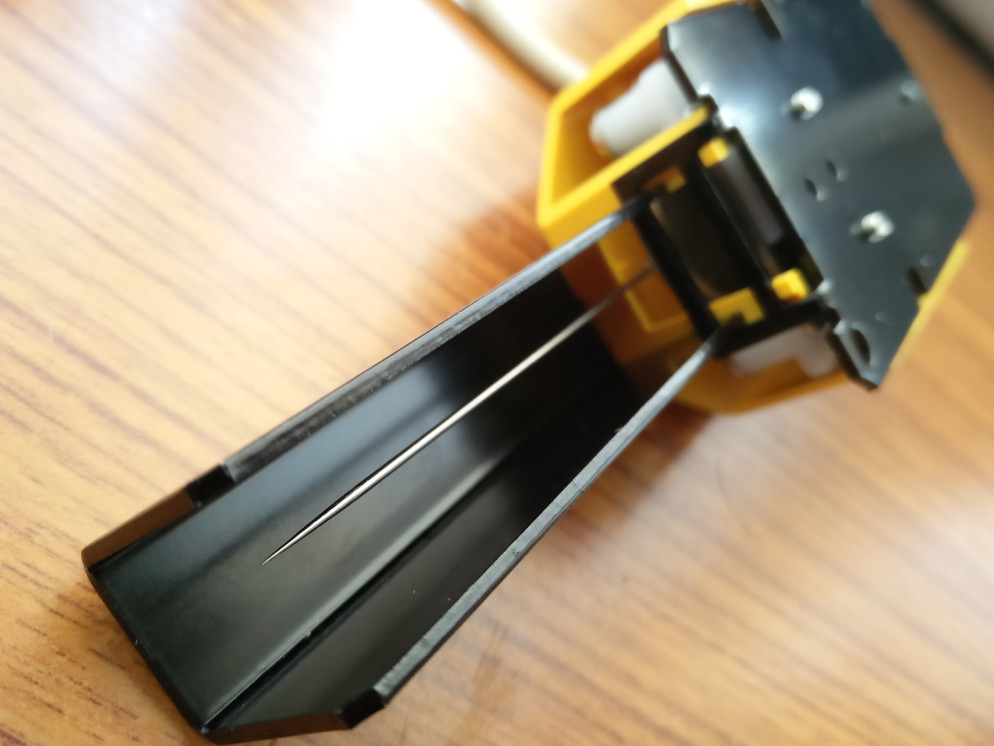
This is the scanning head used for Modella.
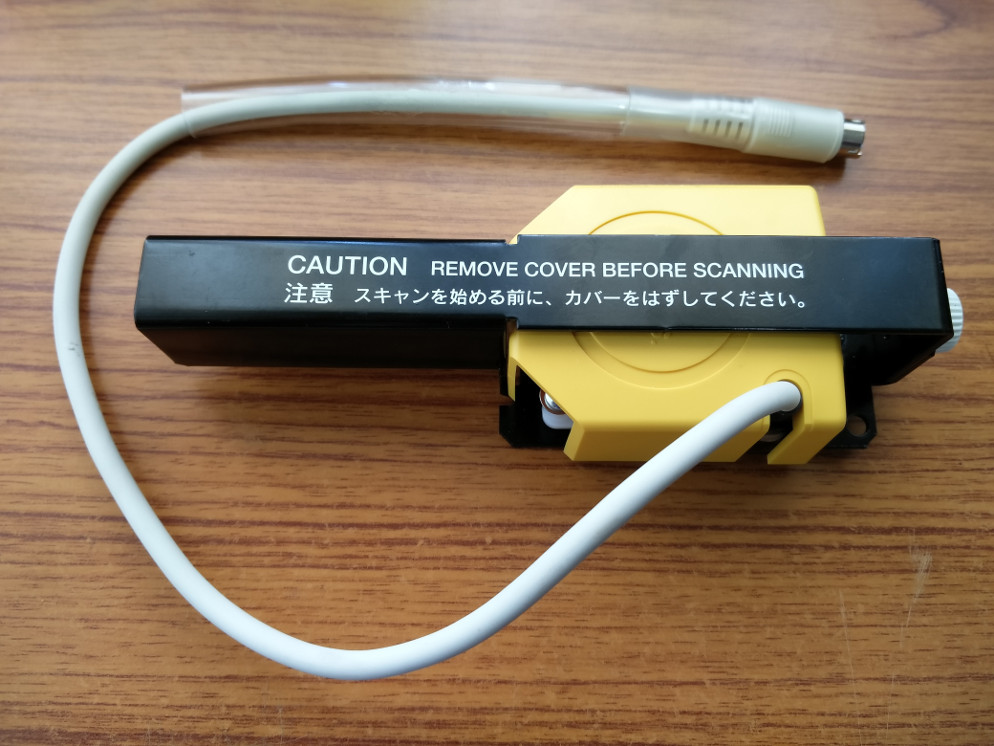
This is a closer look at the scanning head inside the protection covering.
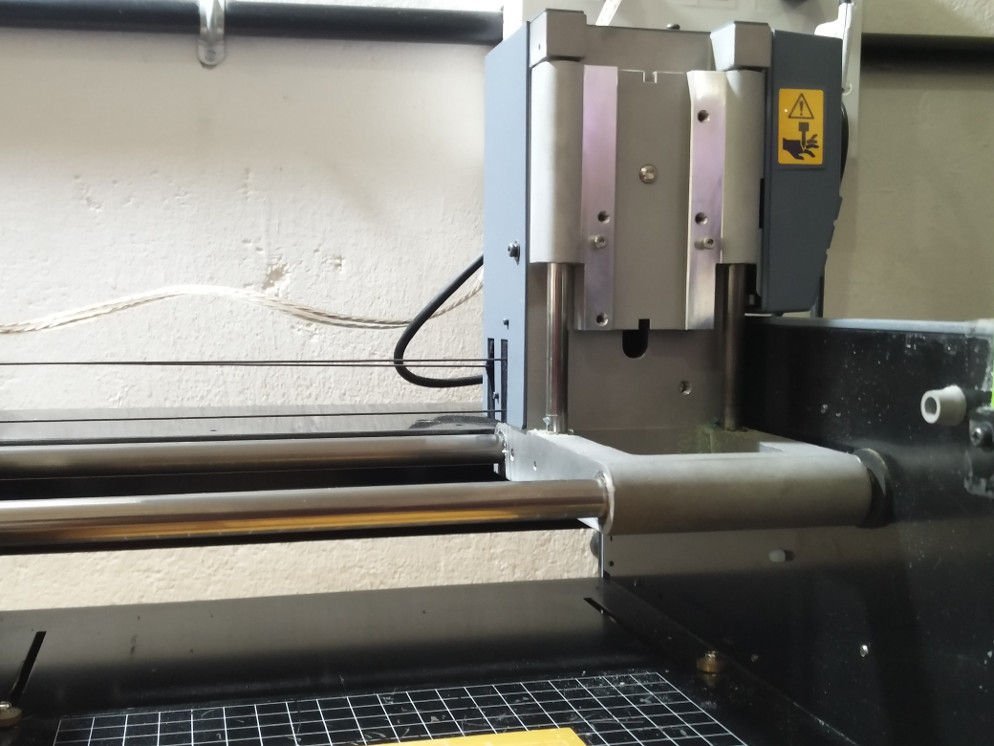
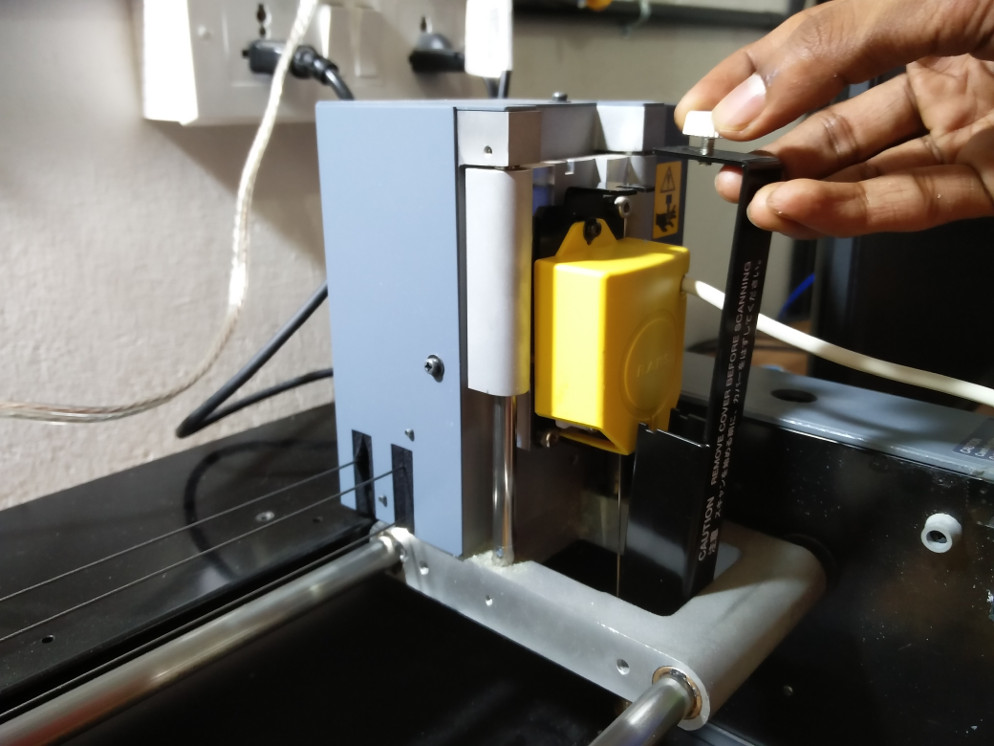
Fixing the scan head to Modella.

Removing the protective covering of the scan head after mounting it properly.
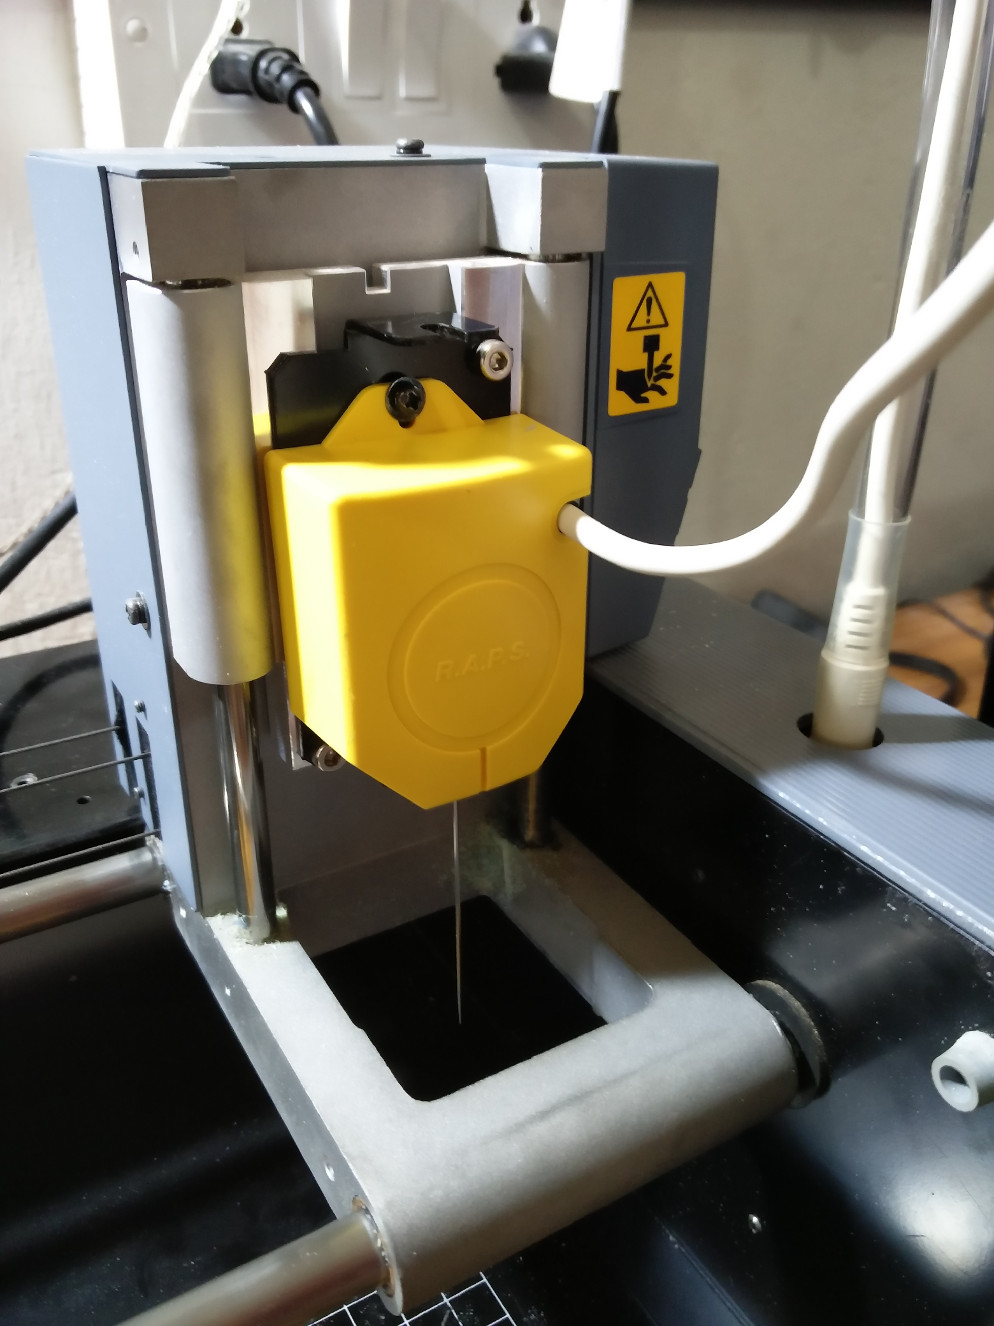
A closer look at the scannig head.
The object to be scanned is fixed to the modella bed.

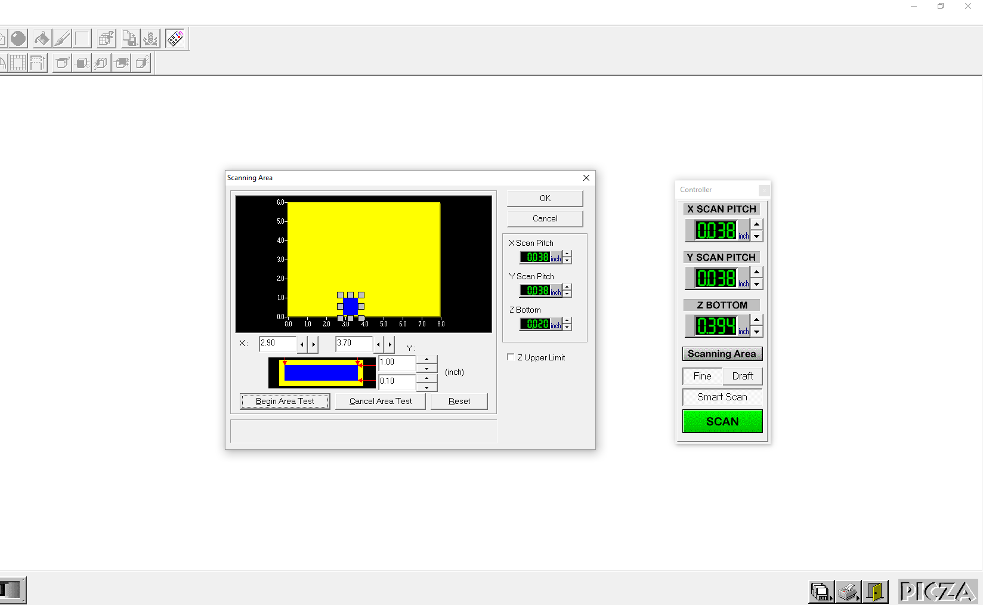
We use DrPICZA Software to scan the object.

Use DrPICZA Software's XP scan position locator to approximately set the scanning area.
Afer determining the scan area, START scan process. It takes a lot of time to do the scanning and the approximate time required will be shown on the screen..
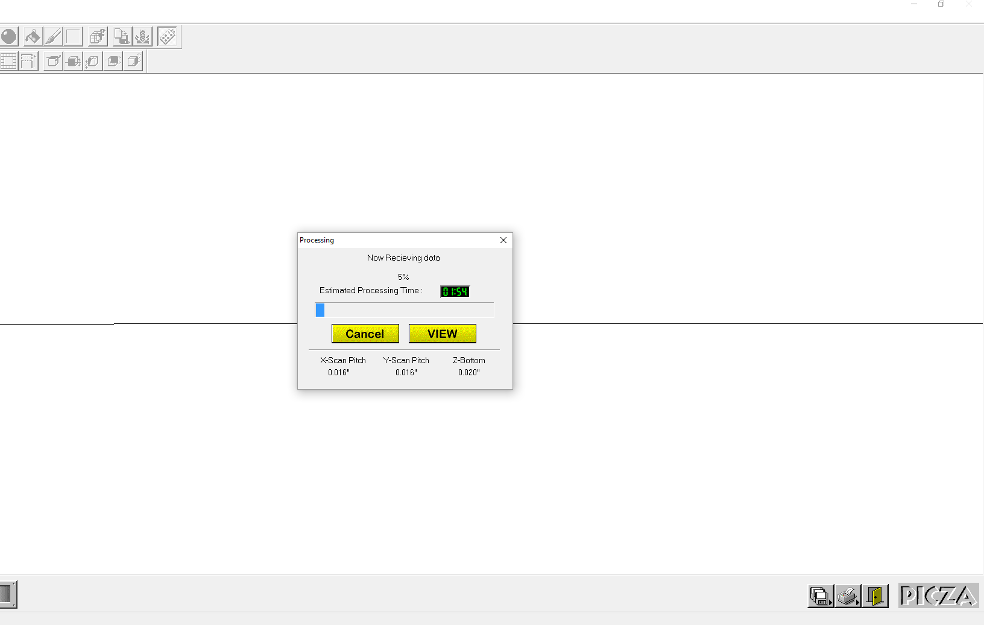
Scanning in progres.
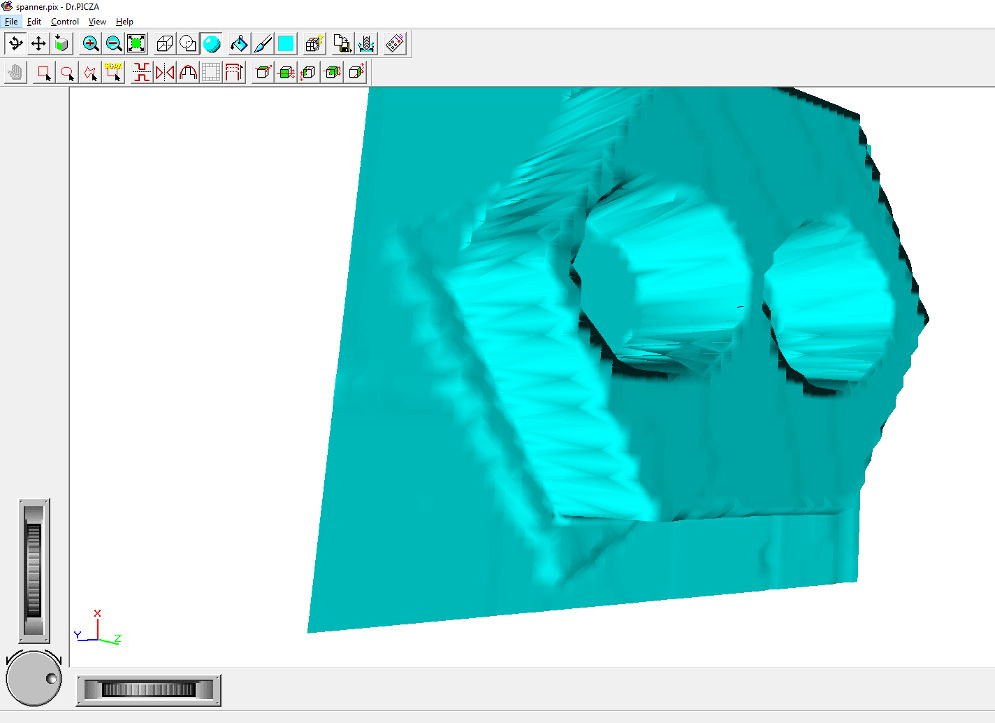
Once the scan is finished, The 3D scanned image will be displayed as shown below.
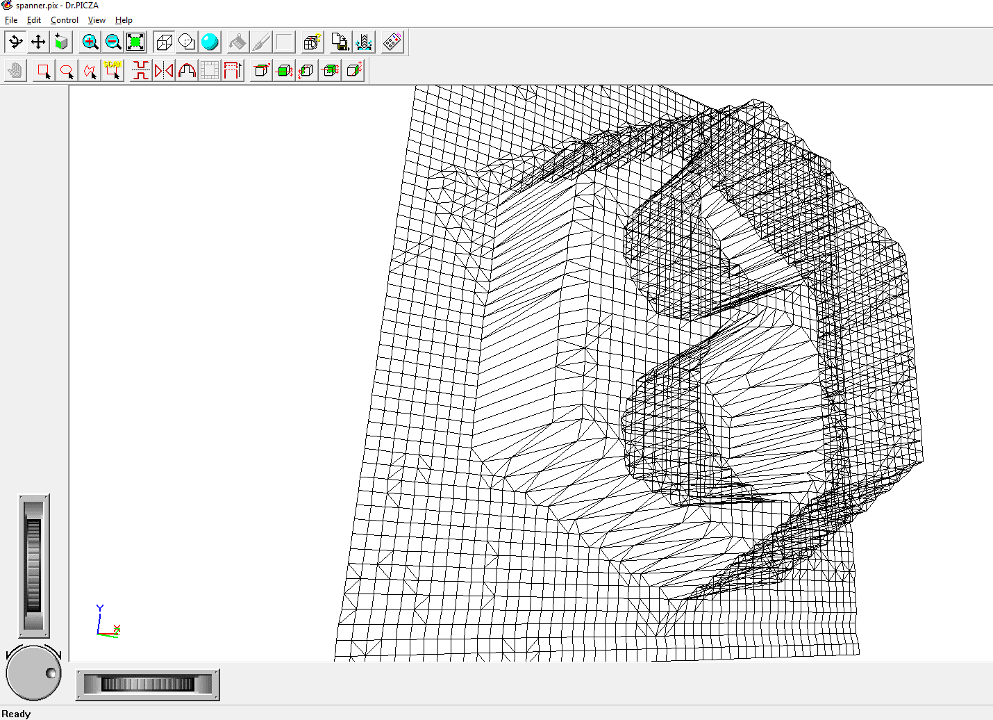
The scanned 3D image.
The scanned output file can be downloaded from here