
INTERFACE AND APPLICATION PROGRAMMING
I have developed two interfaces as part of the fabacademy.. they are,
For this weeks assignment I will be documenting the development of SERIAL PORT MONITORING Utility. The requirement of such a custom software was felt while I started working on the Input modules and while fixing the idea of my final Project. I wil have to send serial data from different controllers for the complete system to work, so deccided to start working on developing a serial monitoring utility.
I have earlier used Visual Basic older versions years back to develop front end softwares for custom devices I have built. But it has been a couple of years since I havent been usig them, as they are obsolete I thought to start learing Visual Studio 2010.
Here is my learining process documented as part of this weeks assignment.
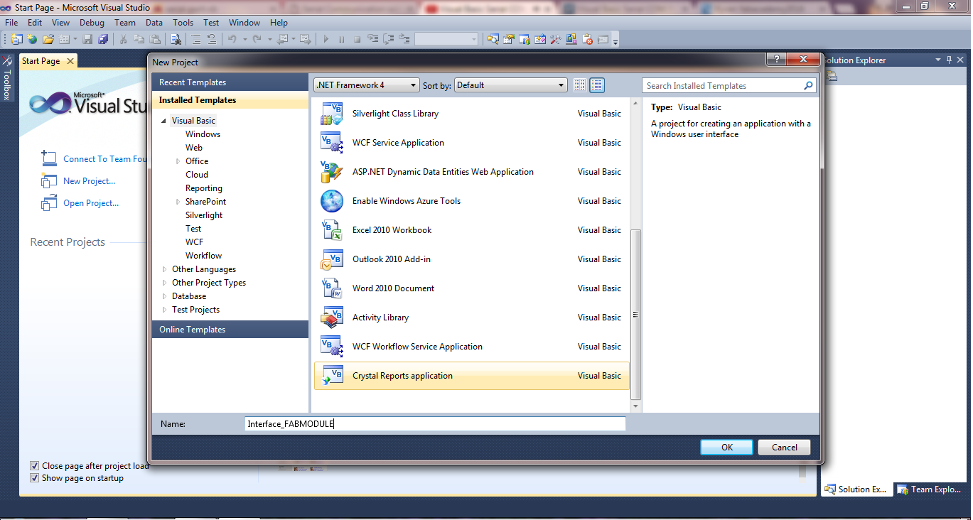
CREATING A PROJECT IN VISUAL STUDIO
The first step is to create a new application as shown below.
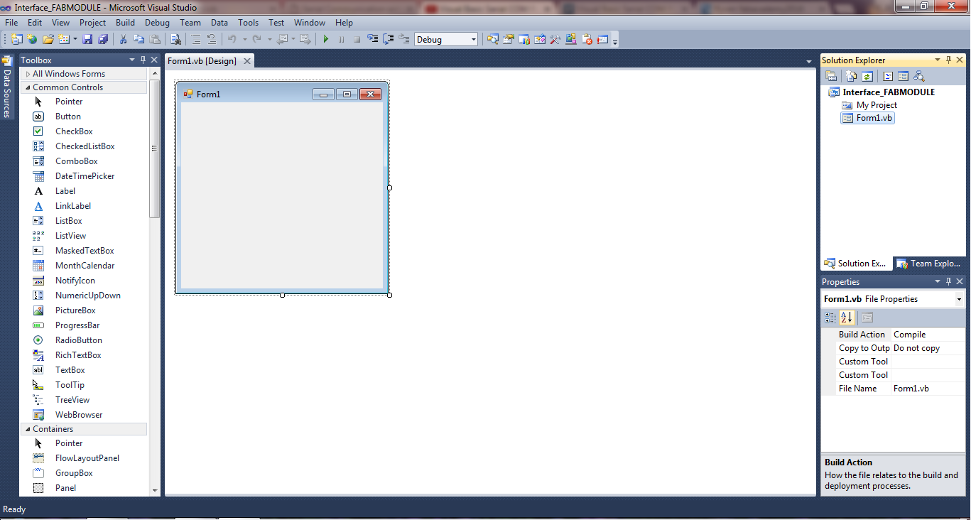
The wizard will take you to the work window with a default form as shown. To the left you can find the Toolbox from where you can select the necessay components and draw them on the form
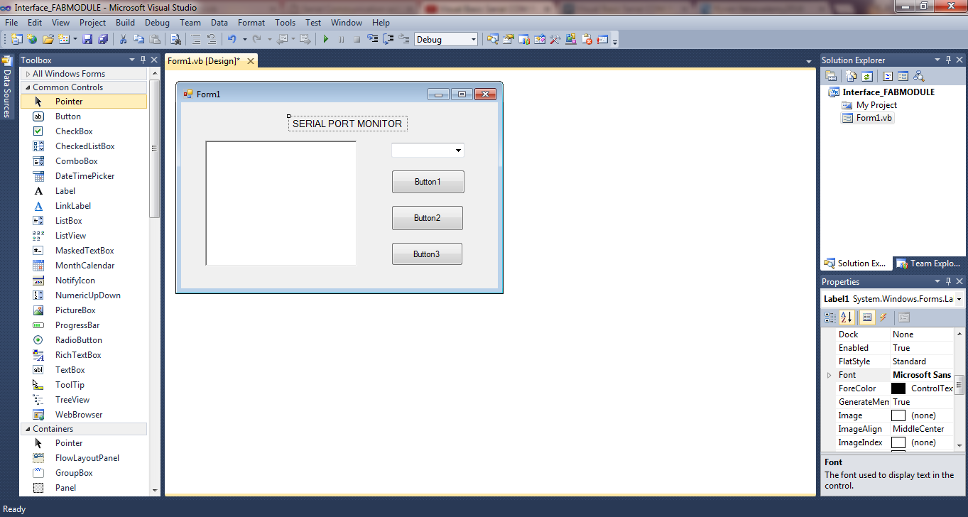
Here I am using the following components to design the interface,
I am planning to only dislay the stream of data received on the port so added only one textbox to display it
Buttons are used to trigger any event as its name tells.
I have used Combobox to give option to select the available Ports and Baud rate.
Labels are used to display custom text where ever necessary
Dragging them and keeping them in place as shown below,
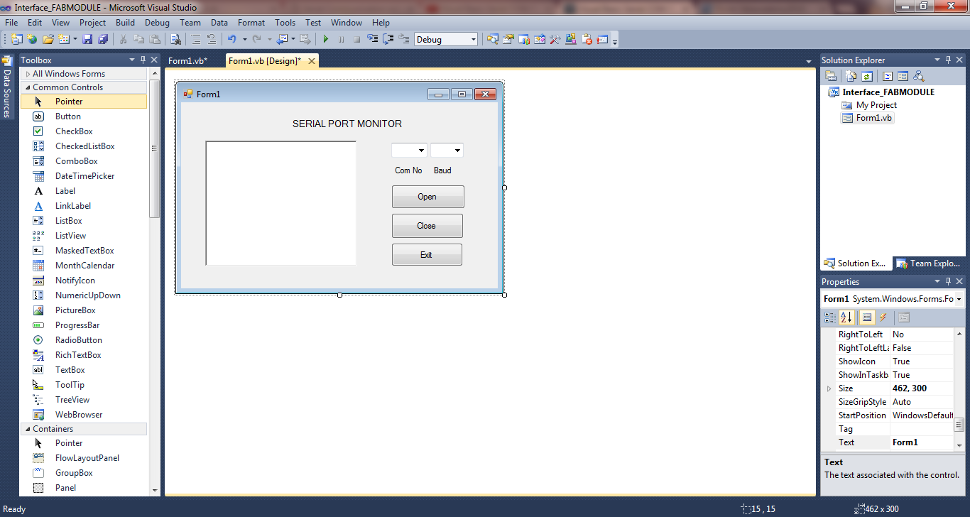
We can name the buttons to be more meaningful.Also adding labels and one more comboBox which I missed in the previous step.
In visual studio, on clicking any of the components on the form, the software takes you to the code window of the corresponding component. The main difference in VS when compaing to the embedded softwares are, its an event driven program and we code them with respect to events. Only few initial things to be available are coded in the form load event.. rest as response to the desired action.
Remember not to miss the serial port component which connects the OS resources with the interface application we are developing. The following shows the code under development.

I did had some difficulties switching over from the pervios version of VS to this one, but bit of debugging helped me get the program to copile without much difficulty.
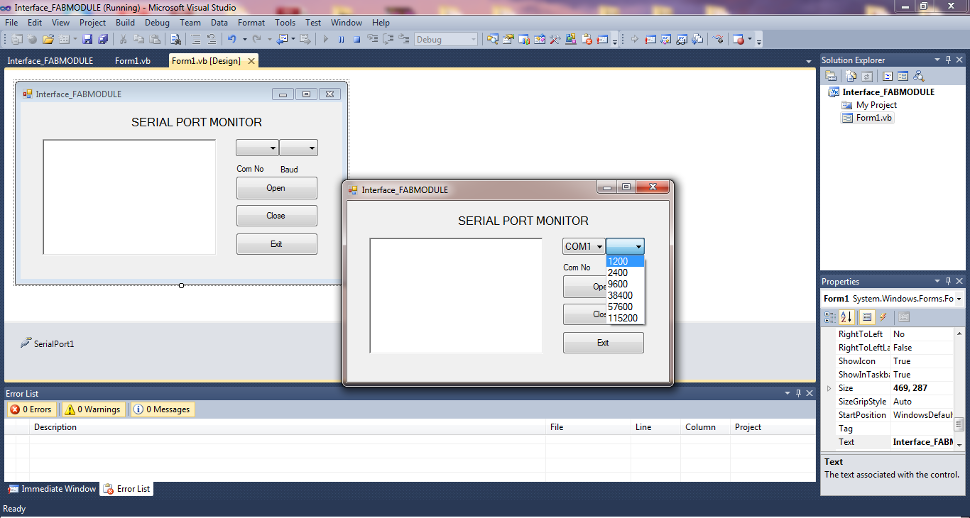
Now you can find the application listing the serial ports and giving option to choose the baud rate. After choosing the correct settings click open to start receiving the data.
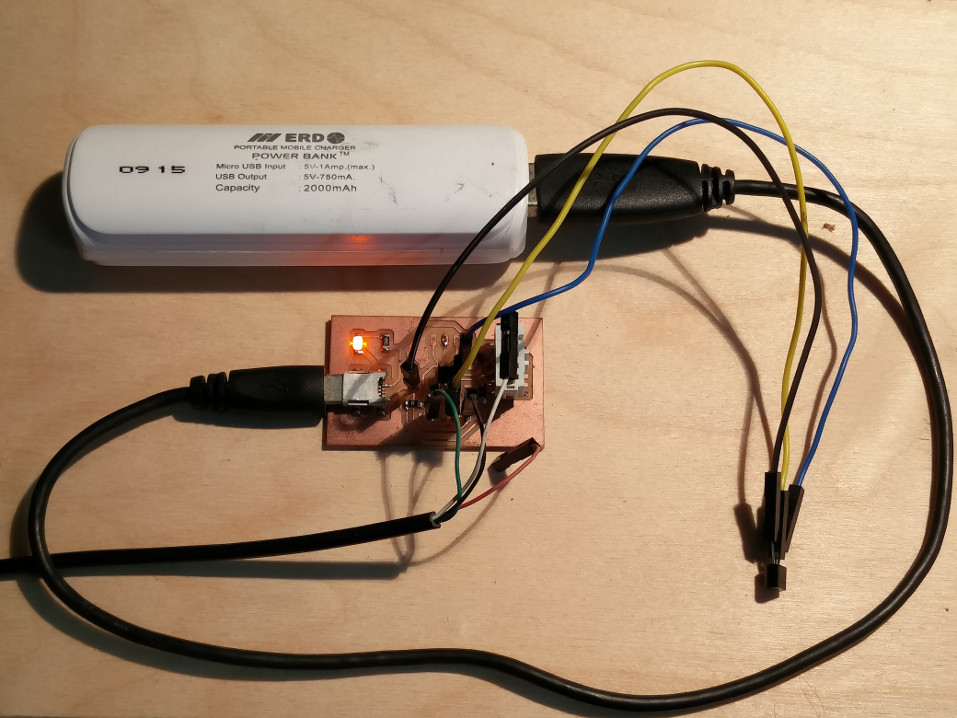
Now its time to hook my hardware made during the input week and test the utility.. well before that I tried looping back the serial data and could receive it flawlessly so I am going forward with the external hardware.
Well.. there it is :) so my serial monitoring utility is up nd runningg!!
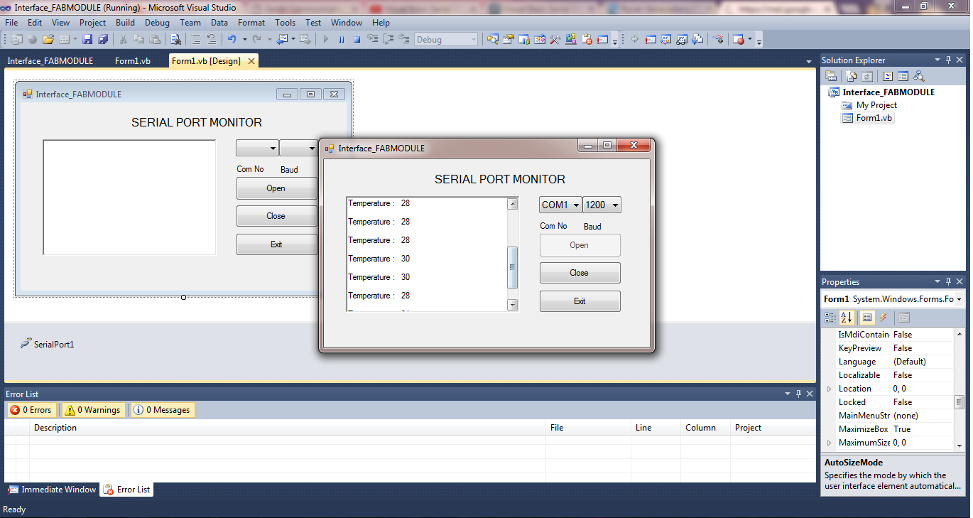
This appplication can be exported as .exe and run independently in other PCs running in windows enviornment.
The design files can be downloaded from here.
PROTOCOLS USED
Here for communication between the Microcontroller and PC, the Stadard SERIAL communication PROTOCOL is used. Though this is the standard RS232 Prorocol interms of signaling and communication, the Physical voltage levels are on TTL logic from the microcontroller upto the TTL to USB serial converter.
For more detailed understanding on this, pls visit the following link .INTERFACE USING THINGSPEAK
I chose Thingspeak as my cloud interface for the final project to display the measured water parameters.
First step is to signup for an account and login to the same.
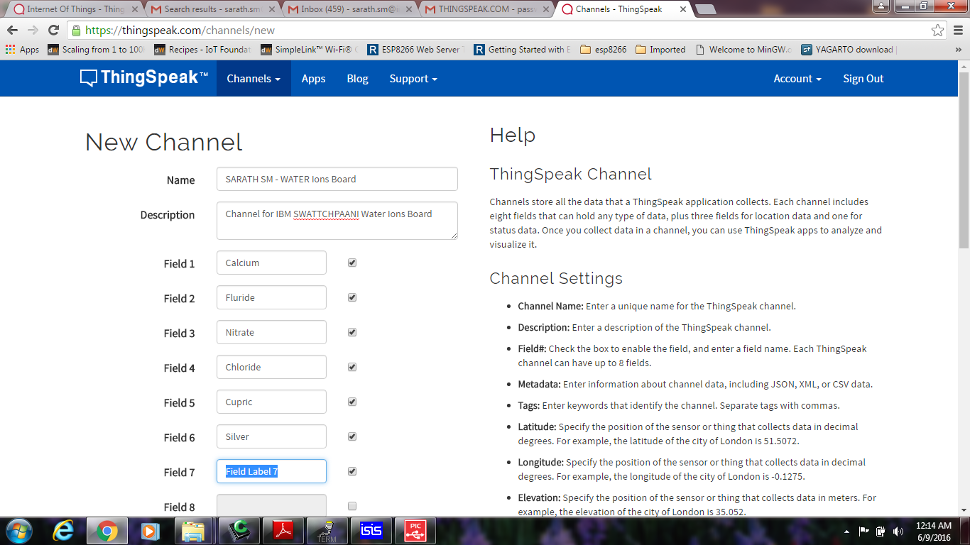
On signing in you will find options to create channels, API Keys to acess the same and options for data Import and exporting as shown below.
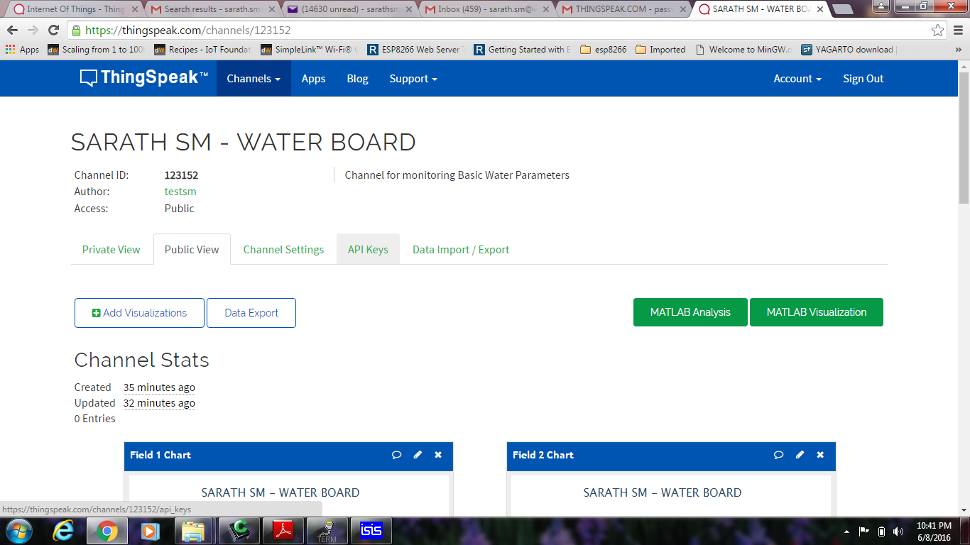
Thingspeak provides option to have as much as Eight Fields inside the same channel, we can name them as per our requirement.
Data can be send to the corresponding fields using the API with suitable KEY and channel ID.
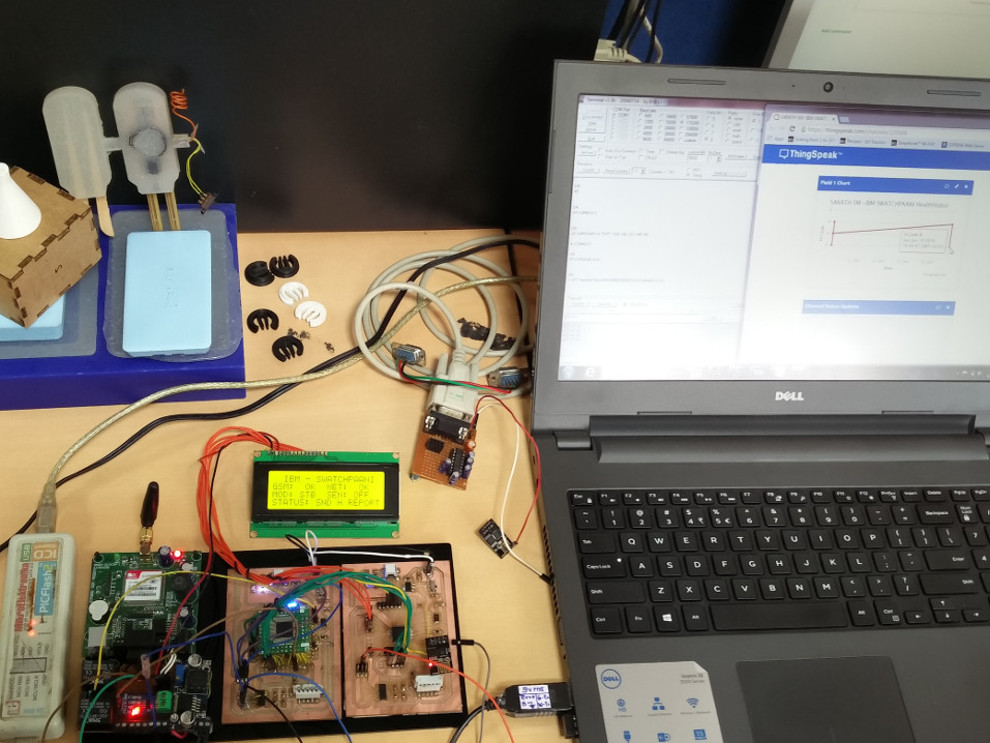
The hardwre that sends data to this cloud is based on an ESP8266 based PIC microcontroller platform which collects the water quality parameters from WASPMOTE Sensors..
The following shows the hardware assembly under development for this.
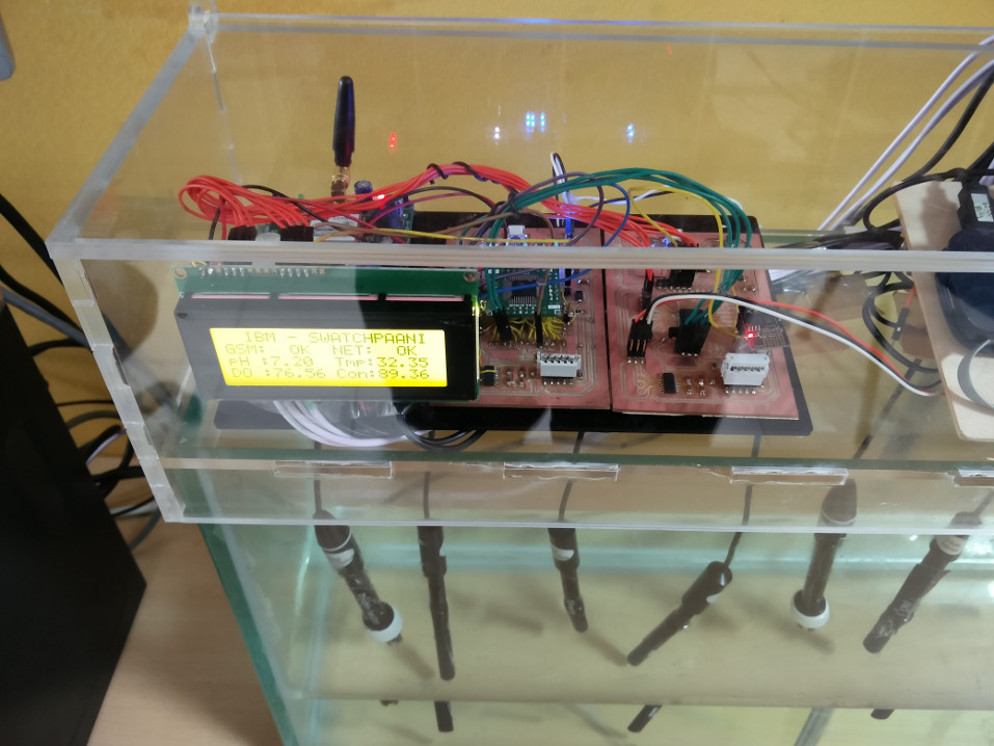
A closer look after installation.
A sample thingspeak interface I made for another solar power harvesting system.
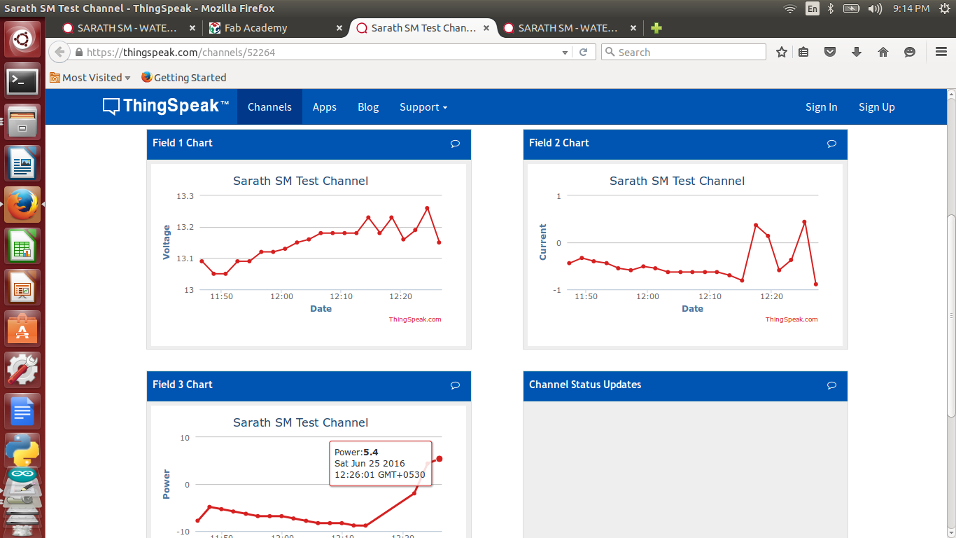
My live cloud page can be reached from here.
kidnly note you may stumble across meaning less values in the Water Board graph at times as I keep sending arbitary values for testing and not always the live sensor value :) pls bear with me for a few days!!