Principles and Practices, Project Management
Officially the first week started on February 27, 2016. But we had a few conversations with our remote instructor Mr. Francisco Sanchez, via slack and SIP calls. As he instructed
we had signed up at
fablabs.io
and
Git-repo.
Anyway, on the first day, at local time 19.30 IST, we had a long lecture by Neil via video conference. The audio wasn't the best quality and I lost the flow, but I found the
video at vimeo. In essence, I had to do the following for the first week.
- Create a personal web-page where I will be writing all these.
- Setup Git account and push the website to the correct destination so that our page is linked to the entries here and here.
- Generate the personal ssh-key pair and upload the public key to the Git.
- Draft a possible final project and upload a rough sketch.
Website
I had some experience with building website during the Pre-Academy program. I used
atom
editor for writing in html5. I used some .css scripts from one of the themes provided by the github to theme (mainly the text color and background) my page. I refer
w3schools
for most of the doubts. I might move to something new, like HEXO theming engine, which I found being used by one student in China or Japan (don't remember exactly, I was randomly opening
student pages and I came across a beautiful site).

Git and setting up the key
For the Pre-Academy, we hosted our site at github. Now we are supposed to host our site at git.fabacademy.org. This is a dedicated GitLab server run for FabAcademy. The general usage is same as that of github. We had to signup at fablabs.io and use that to create an account at our local-repo.
We can access the git via ssh or https protocol, though I prefer ssh access, because of the ease of use. For this we have to generate a ssh-key pair and upload the public key to server
(in profile settings/ssh keys section). Following this
tutorial
makes the process very easy.
At first we were given another key, common to all of us. I used this to pull the repo, make my page and push it for the first time. Later I generated my own key pair and uploaded
it, once the 'admin' gave me developer access I could 'push' with my own keys. Our remote instructor, Franc wrote a tutorial on setting up the repo
here. Though I faced some issues while changing the key, I resolved it by deleting the corresponding entries in ~/.ssh/known_hosts file and following the troubleshooting section
in Franc's tutorial.
Dealing with passphrase for ssh.
It seems many people (including me at first) hesitated to use a passphrase while creating ssh key-pair. This might be because, if you do this, you will be asked to enter the passphrase
each time you try to push/pull. We don't want to do that, and the trick is to use 'ssh-agent'.
Make sure that ssh-agent is running by
eval `ssh-agent -s'.
If the agent is not running start it by.
exec ssh-agent bash
sometime you may get the following error even if ssh-agent is running, I got it fixed by typing the above command.
          [sibu@archSSD ~]$ ssh-add
          Could not open a connection to your authentication agent.
Now add your ssh identity.
ssh-add
          [sibu@archSSD ~]$ ssh-add
          Enter passphrase for /home/sibu/.ssh/id_rsa:
          Identity added: /home/sibu/.ssh/id_rsa (/home/sibu/.ssh/id_rsa)
          [sibu@archSSD ~]$
check if your identity has been added.
ssh-add -l
          [sibu@archSSD fab2016]$ ssh-add -l
          4096 SHA256:xxxxxxxxxxxxxxxxxxxxxxxxxxxxxxxxxxxx /home/sibu/.ssh/id_rsa (RSA)
Now you dont't have to enter your passphrase all the time. In case if you created a key-pair without passphrase, you can set one without recreating the key by
ssh-keygen -p , but you have to add identity again,
ssh-add
Edit:-
You must have noticed it already; this site is not in the class repo, it has been redirected to my github pages. I have explained the reasons in my landing page and I will go back once I'm done. As I said many of the important ports such as port 22 is blocked in the faster Internet connection. I use the following workarounds for faster sync with online repo.
I had only one option if I have to do things faster, use the restricted but faster network, but somehow bypass the restrictions. For Github things were very easy, I found that the
port 443 is open, I used
angryip scanner
to do that. Luckily Github also supports port 443 for SSH access (not the class repo). So now its just a matter of editing
~/.ssh/config file. I added the following line to this file (actually the file wasn't there, so I just created one!).
Host github.com
                Hostname ssh.github.com
                Port 443
But, it's not over, I need to push to class archive too, and the above method won't work. So I decided to try VPN. I have been using VPN for some time. So I decided to stick with a free
service that I always find trustworthy,
vpnbook. I downloaded the openvpn profile bundle for Euro-2 server (which was the fastest from my experience). If you are doing this for the first time you may have to install
the 'openvpn'. Run
sudo openvpn --config
          [path to config file]
, enter super-user/admin password, enter vpn username (vpnbook) and password (check the site, updated weakly), and you are good to go. I
used port 53 as that's a port open on most networks as it is used for DNS queries.
So once the VPN is setup you might see a new network named 'tun0' or something when you type
ifconfig. Anyway once I had the VPN, everything was working fine, all ports are now open, and I can now save a lot of time.
Project Draft
EDM based CNC PCB mill
EDM
or Electrical Discharge Machining is also known as spark machining, spark eroding, die sinking. Perhaps the name gives some clues regarding the process. The technique uses the sparks
to erode material away to get the desired final structure. The technique is that the spark between two electrodes removes material from both the electrodes. One of the electrode
known as the tool can be just a thin wire which is kept at a small separation from the other electrode known as the workpiece. The electrodes are submerged in dielectric liquid
(commonly water), which acts as coolant and cleaning liquid which flushes the milling site. The tool need not be a wire all the time, in Die-sink EDMs its a die made of solid
metal.
The system requires some way of generating controlled electrical pulses, the rate of which determines the material removal rate. I believe that this technique, if implemented
the way I want to, can mill PCB's with very narrow tracks and separation, which cannot be produced by conventional milling.
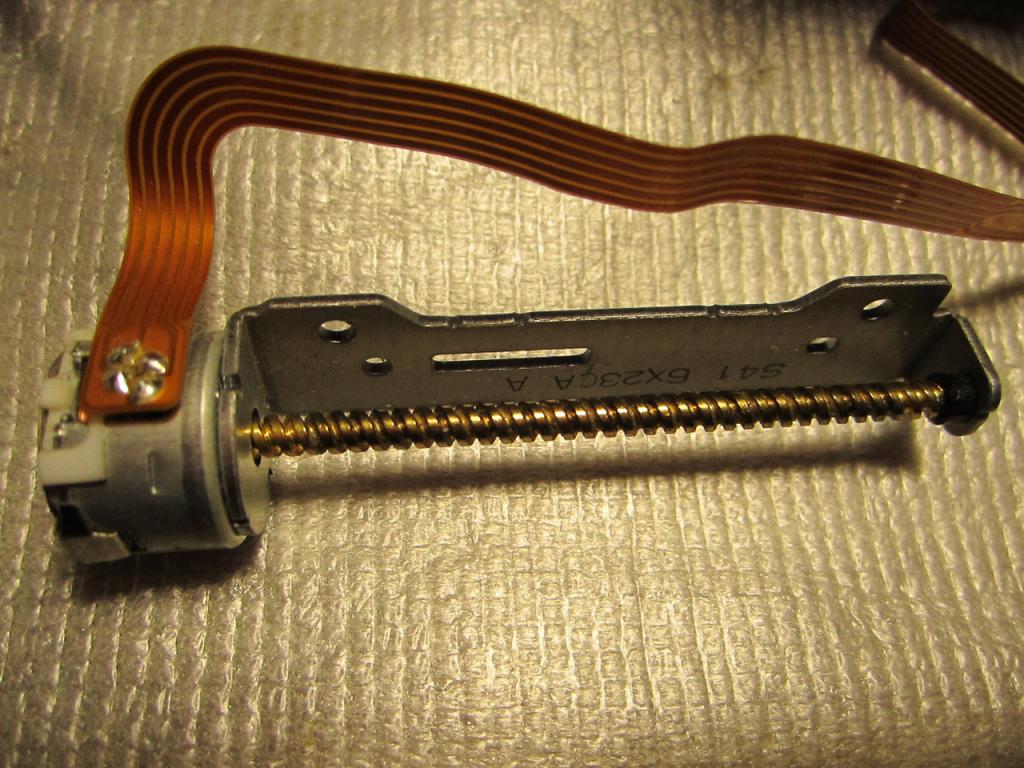
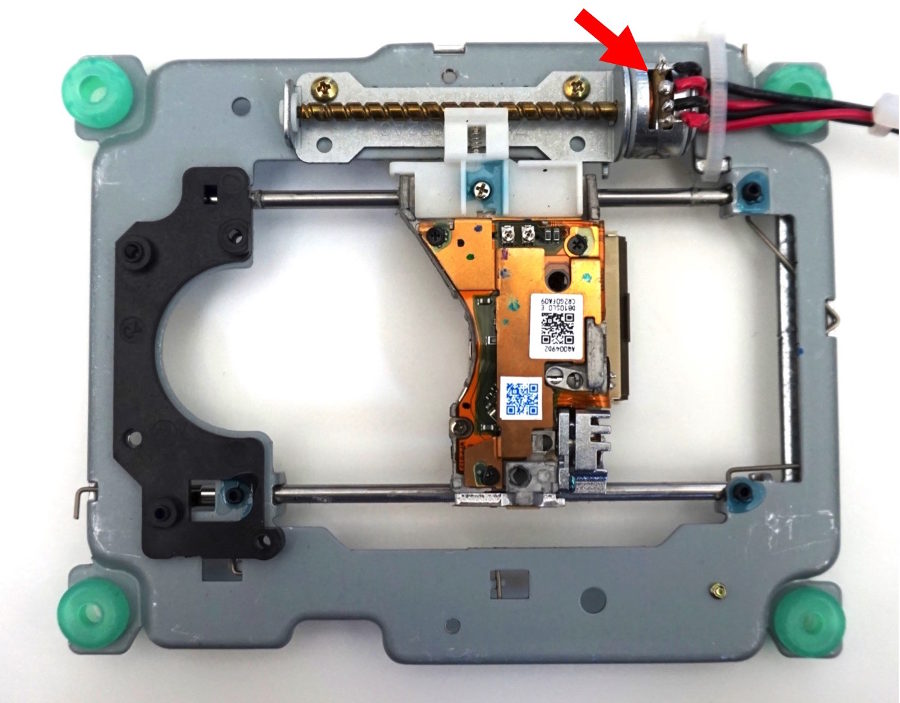
Now the idea is that we will have an X-Y CNC machine with a 3D-printer like head extruding the tool wire (the tool wire gets eroded). The PCB will be submerged in a bath of water and the tool-head moves in a raster pattern to remove the material where it is not required. The raster pattern, because the technique works only on conductors, and if we have to use vector files, the tool path predictor will have to be complicated. The X-Y movement can be achieved with two actuators from CD/DVD drives. The working area will be very small but, for a proof-of-concept machine that will do just fine.
Some Pics
Disclaimer :- I'm very bad at drawing so please bear with me.


So I plan to make an X-Y axis similar to what is seen here.