Week 12 - Molding and Casting
Design a 3D mold, machine it, and cast parts from it
Steps:
* Design something you can mill
* Mill wax and prepare silicone mold
* Cast parts from it
Design something you can mill
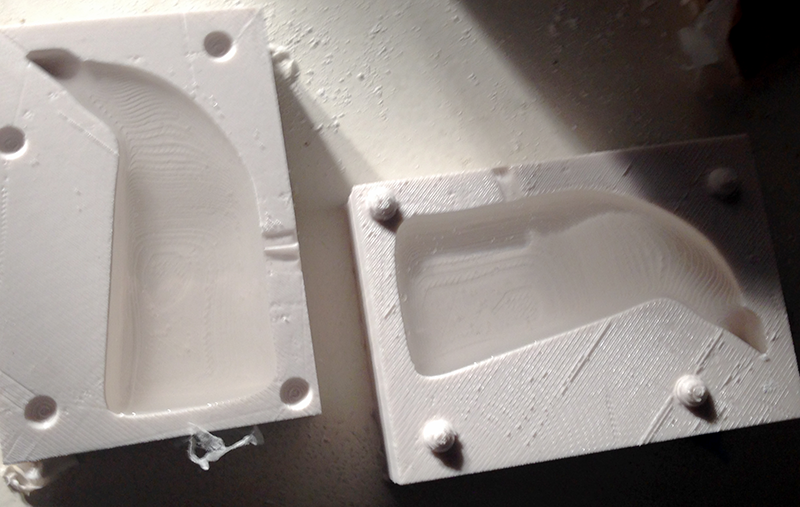
I was fascinated by the sculpt environment function on Autodesk Fusion 360 and I thought it was the perfect time to draw something with this technique: a whale.
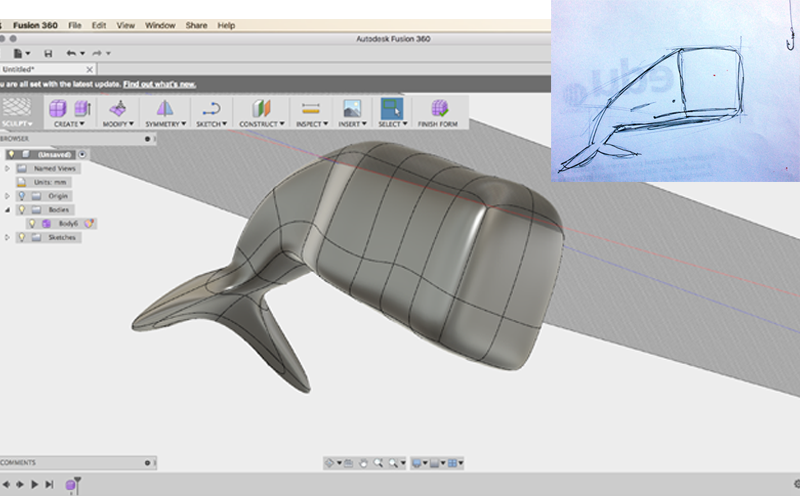
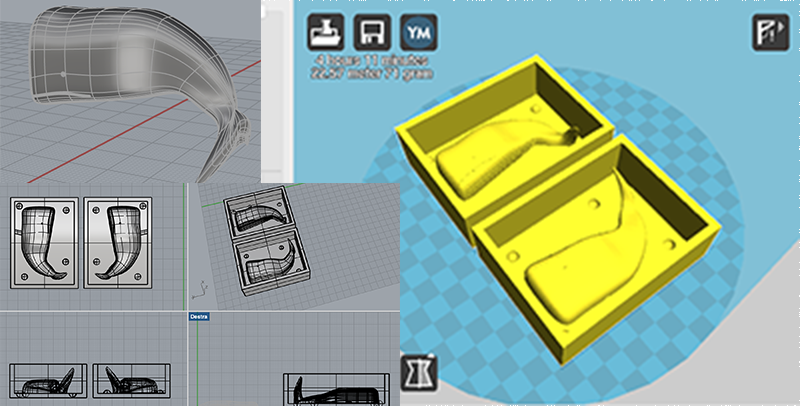
Therefore I divided the whale into two, according to the most suitable longitudinal line, in order to get a mold in two shells: while I was planning this, I realized that I had an undercut in the tail of the whale! I didn't want to change the model, so I made the mold and I decided to print it in 3D.
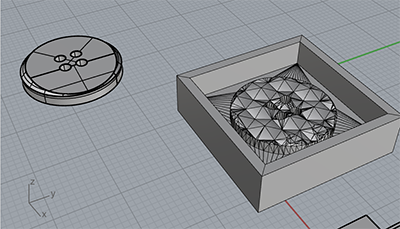
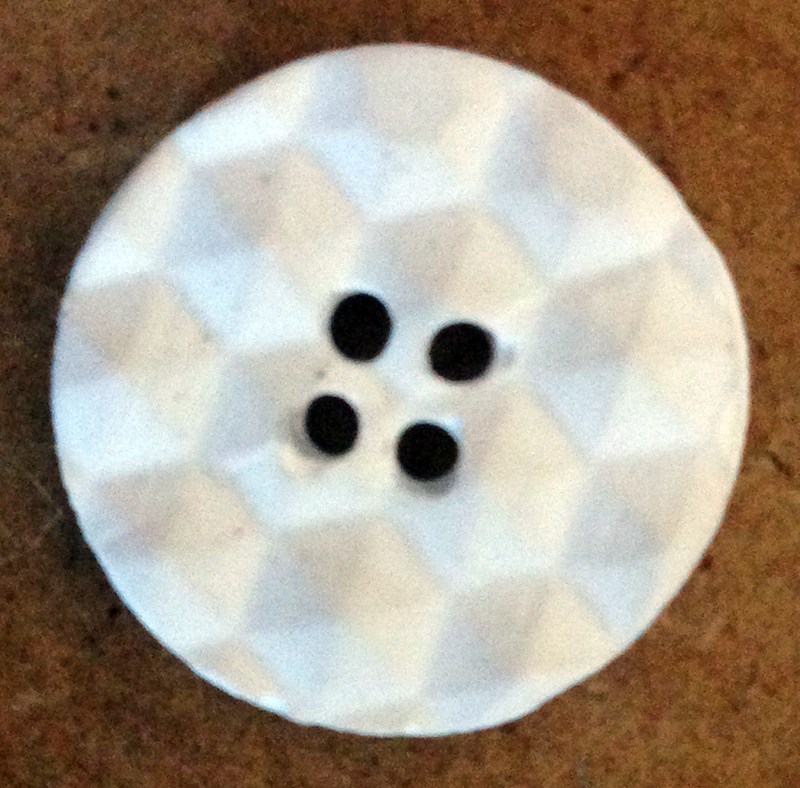
I had so many ideas to be milled, but this is a world of undercuts! I decided to make a button. One face to be machined. I started to prepare it on Grasshopper, but the version available for Mac crashes too easily and after a severl ended, I decided to find an alternative way: I designed my button on Rhino and then I searched on Thingiverse.com an object with the texture that I liked. I imported the object with the texture in Rhino, I turned my button into mash and I created an boolean intersection: only 5min, fast and easy. It isn't the noblest way, but it was very effective.
Mill wax and prepare silicone mold
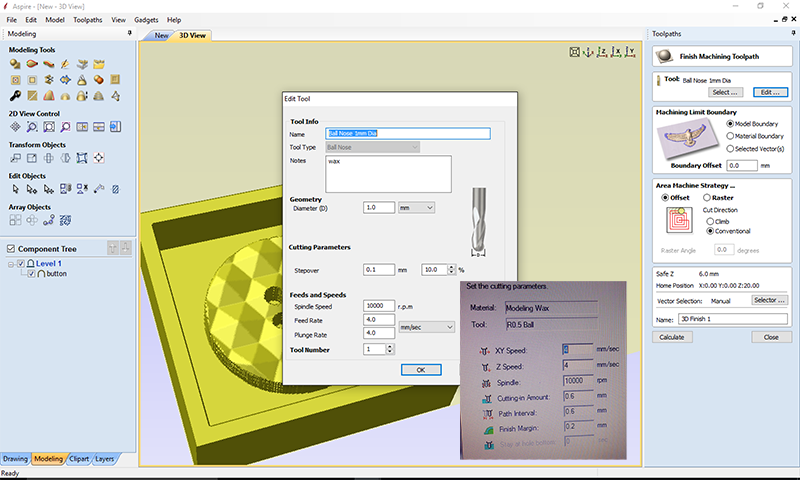
I exported button.stl and I opened it in Aspire 8.0. It is a very small object, so I chose to do a roughing with a 2mm end mill tool and finishing with a radius 0.5mm ball nose. I selected the machining directly from the dedicated panel on the right and chose the tools.

For machining speed on wax I peeked information from the Roland dedicated program I found loaded on a FabLab's PC.
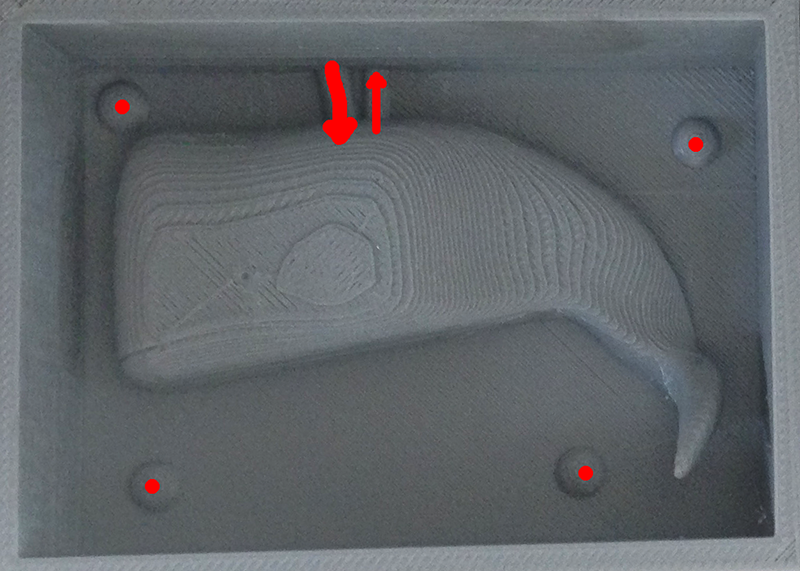
To avoid confusion, I suggest anyone to put asymmetrical centering holes and create a channel to vent the air in closed molds. Is essential to place the casting channel at the highest point, in order to avoid air pockets and preferably place it where the scar that will create not give aesthetically problems.
I milled with a very big machine: the accuracy is slightly less, but had the chiller that cooled the tool and seemed perfect to avoid kneading the wax during processing. We learned how to use all the scraps of wax and blending them with other waste blocks inside a plexi formwork we previously laser cut: we recycled everything!

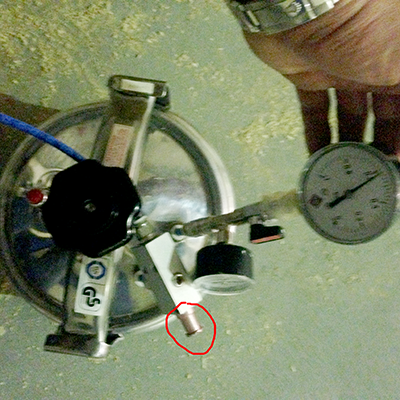
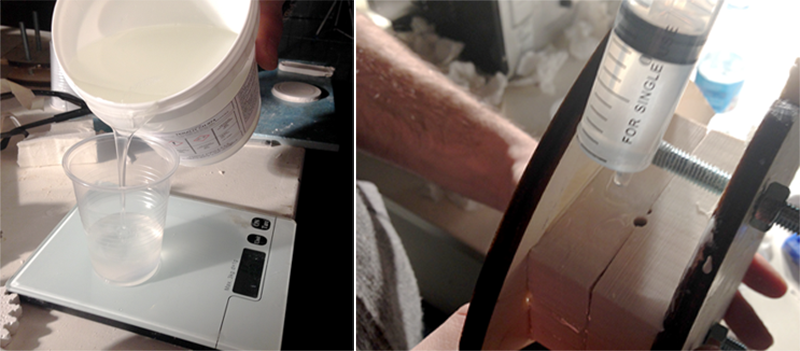
I mixed silicone with its catalyst 5% and I poured everything into the my models. To pick up any bubbles, we used a pressure cooker adapted with a Venturi valve connected to a compressor. After several tests I can say that to avoid involuntary leakage of material the optimal pressure is -0.45 bar for 20 min.

Cast parts from it
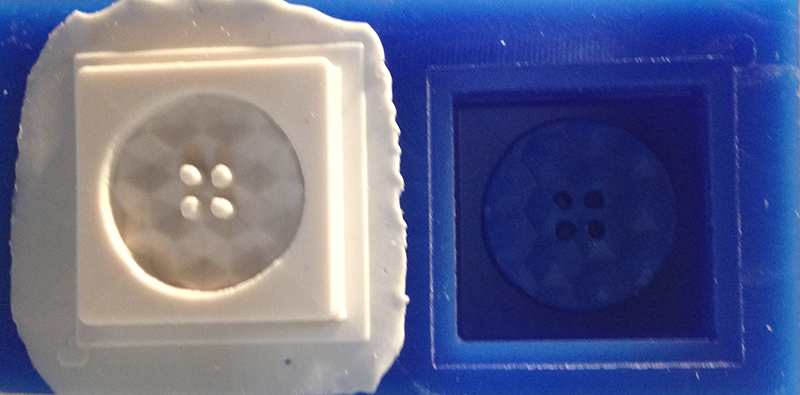
I extracted the silicone molds without big problems after about 20h. I tried to leak the advanced plastic plaster from some of my colleagues and the button came well after about 30min. I finished the holes with a 2mm drill with the drill column and I can say that the plastic plaster it's hard to be worked with a classic drilling tool (iron-plastic), you have to be very delicate.
I created a vise to tighten the two halves of the silicone whale model. I have prepared a glass where I mixed transparent epoxy resin with the catalyst at 50%, as indicated in the package. I closed the mold in the grip and I added the resin through a syringe. I tilted then the mold during casting to make sure there were no air pockets remain inside. After about 24 hours I opened the mold.

RETURN UP
| ← Week 11 / Input Device | week 13 / Output Device → |
|---|