Final Structure.
- Final build documentation.
- Final build documentation.
In a first step I made the helmet and airbags that would be using in my project, then the work focused on the integration of all pieces to achieve the operation of the prototype.
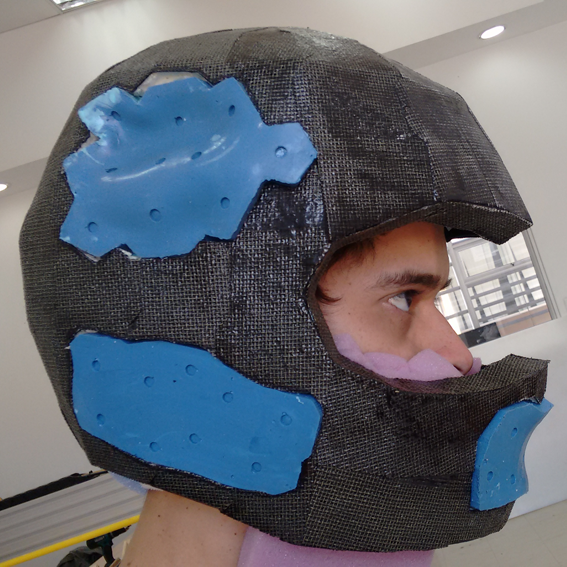
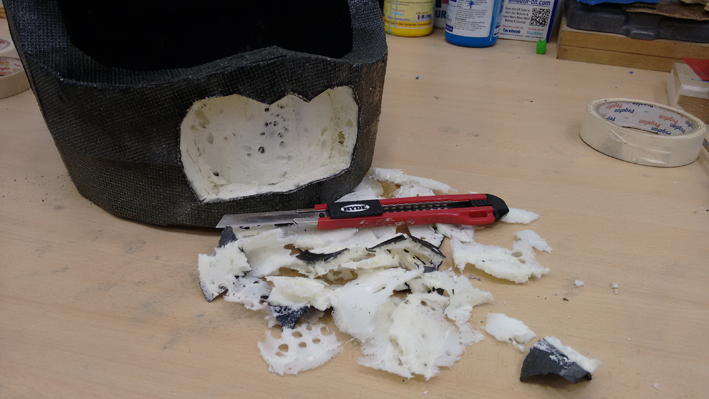
With the help of a cutter I did subtractions to the helmet in areas where they would go located airbags.
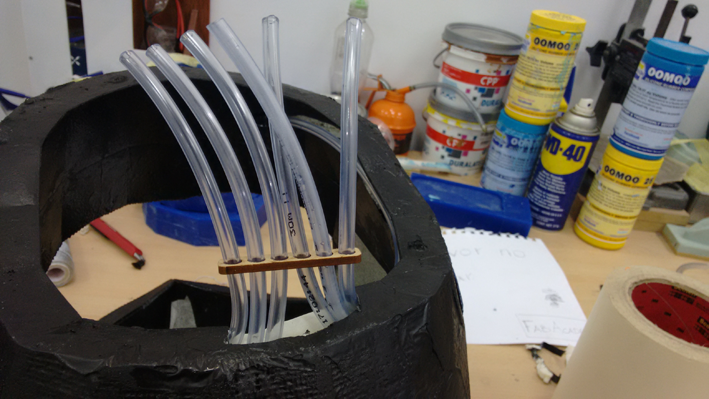
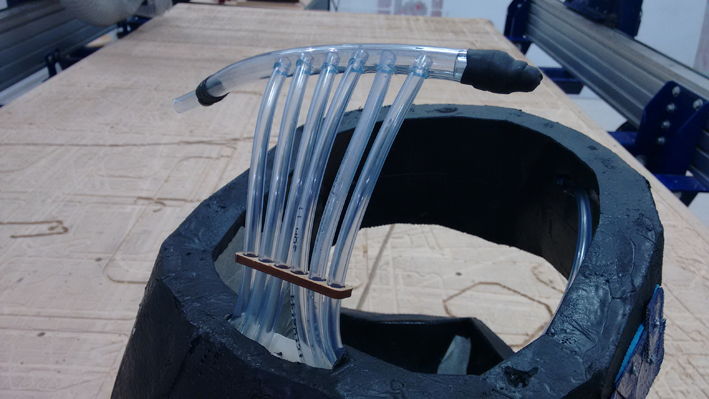
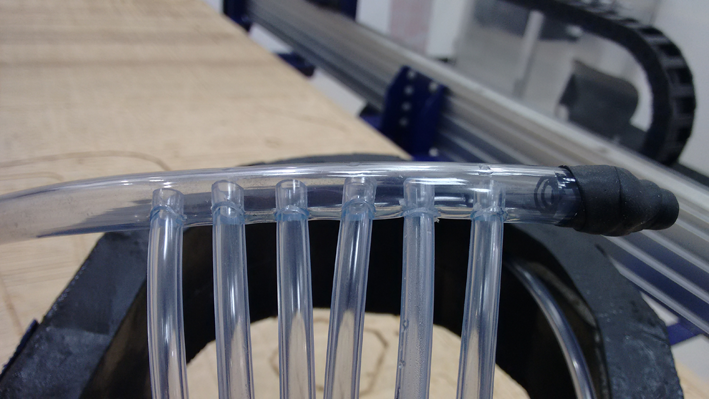
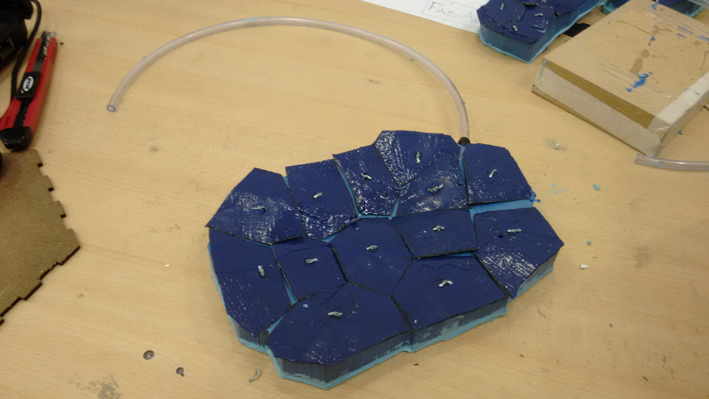
Each airbag had its own connection hose, which was accommodating from inside the hull and finally have connected in the back of the helmet.
To connect the 6 tubes, I have made drilling a larger diameter tube and I have joined to air from entering by one place and inflate airbags all at once.

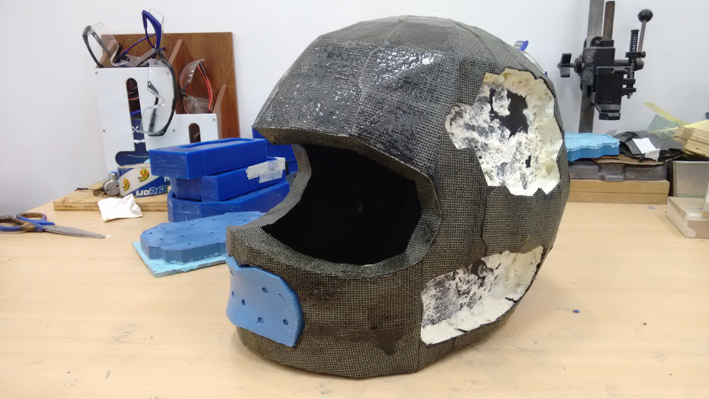
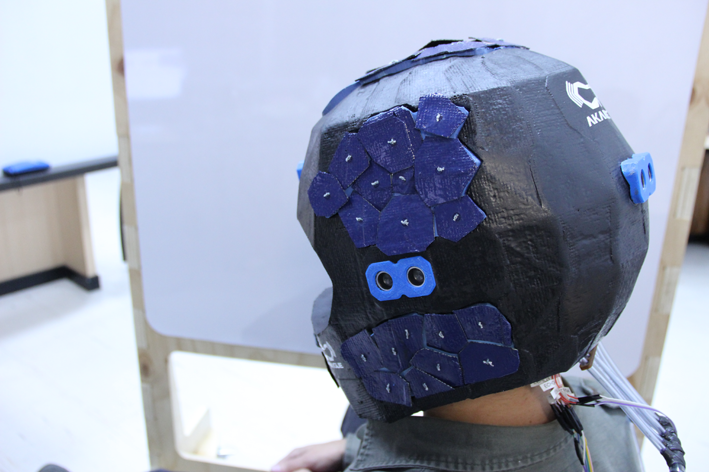
Once installed the airbags I proced to cover with the remaining pieces of the hull. I designed a special method to fix the parts to the airbags.
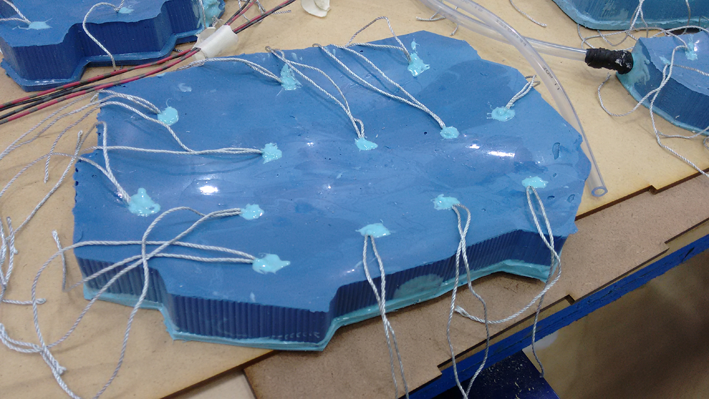
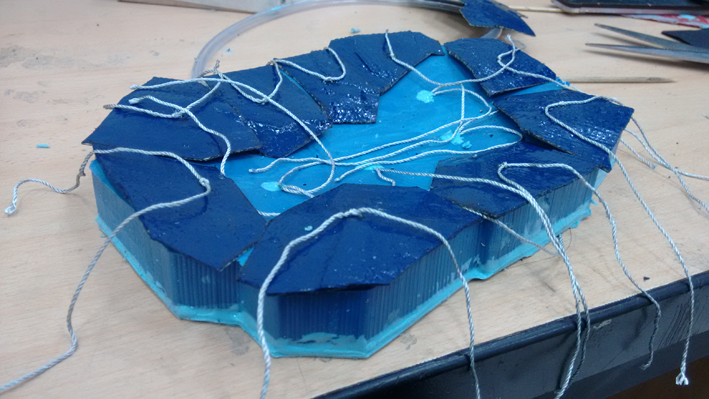
Using threads and sticking one by one pin generated on the surface of the airbags using the same silicone OOMOO, this allows me to attach the pieces to the airbags.
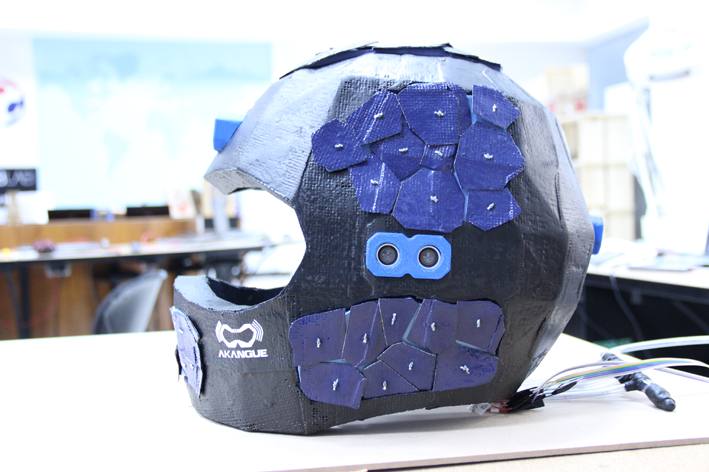
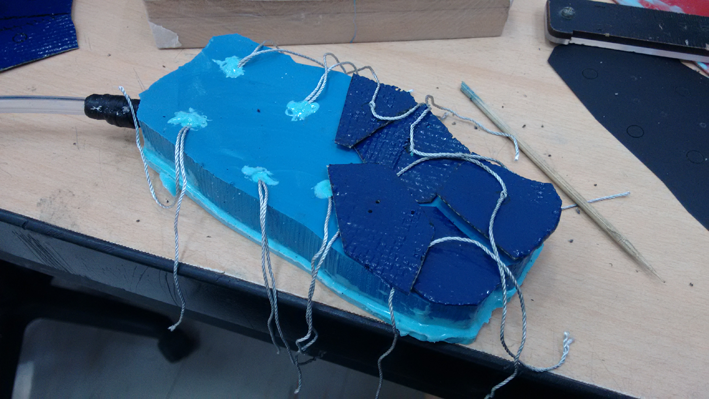
The end result was this, the airbags covered by the same material that covers the entire outer surface of the helmet.
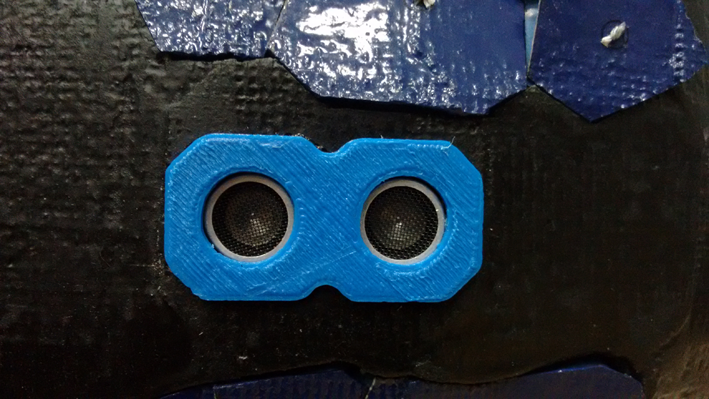
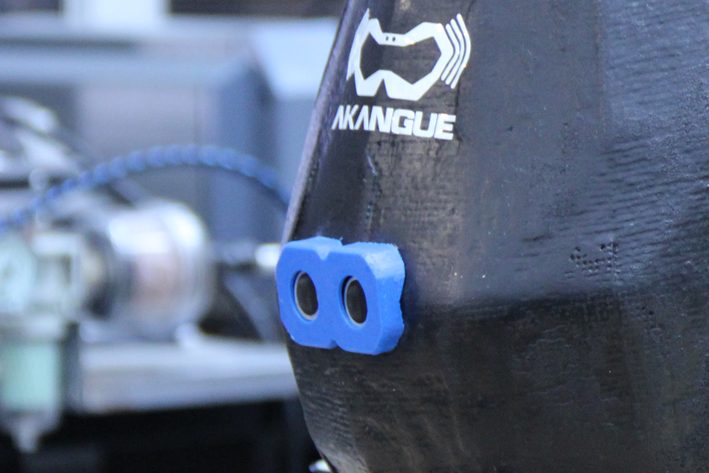
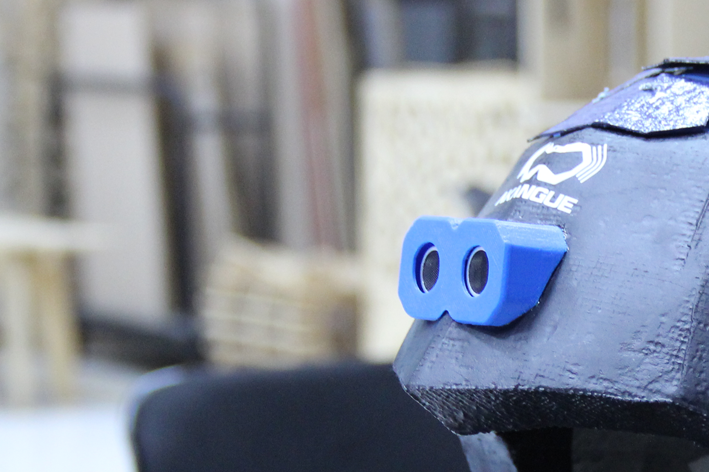
Because ultrasonic sensors used to measure the distance between the hull and the floor in case of accidents. Through a 3D printing I fabricated sensors covers. Thus I get that the sensors are fixed in one place and at the same time give an aesthetic, formal identification to the helmet.
I designed the helmet with Rhinoceros and then I exported the 3D design in STL format. Using Pepakura Designer software I generated templates and subsequently cuted in black cardboard with the laser cutter and could build the helmet in real size.
Up here comes the documentation of the second stage of the project where I build the helmet with all the pieces i made separately.
STL mold files: airbagsmolds.rar
STL for 3D printed files: sensorcover.stl
- I was able to unite all the separate pieces to finally work on a single object that is the helmet.
- At first I had trouble attaching the helmet material to the airbag, because any glue sticking to the silicone, for that reason I had to resort to using the same silicone to glue the wires to the pins.
- Find a neater and stable solution to cover the airbags.
I'm currently taking this course in FAB LAB TECSUP, in Lima-Perú, through CIDI FADA UNA with the support of CONACYT and PARQUE TECNOLOGICO ITAIPU FOUNDATION


©DESIGNED AND BUILD BY FABIO IBARRA - FAB ACADEMY 2016
EMAIL: fabioibarrab@gmail.com