Edward Octavio Muñoz Sandoval Contact: edw_ard0@hotmail.com
Week 5 Assignment: 3D Scanning and Printing
1.-test the design rules for your printer(s) (group project)
2.-design and 3D print an object (small, few cm) that could not be made subtractively
3.-3D scan an object (and optionally print it) (extra credit: make your own scanner)
Design and 3D print an object
For the first part of this assignment I used Tinkercad in the 3D design.
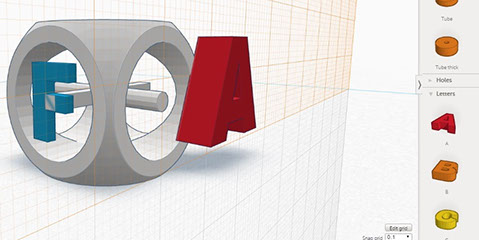
I wanted to make a 3 faces dice with the letters "F", "A", "B", "P" (Fablab Puebla),
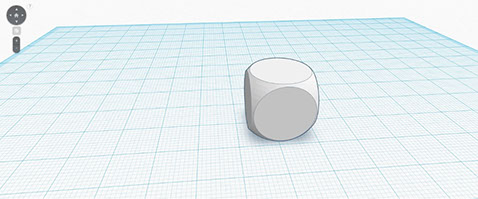
I started with a Dice preform, wich is one of the bigest advantages of tinkercad, you don´t have to design everything from cero, you can take preforms and only change their dimentions.
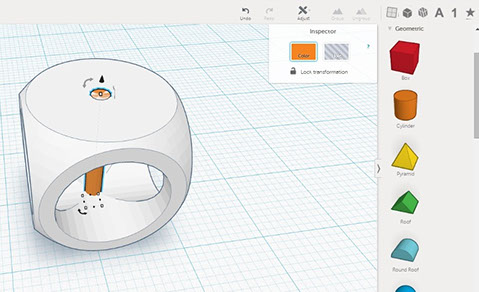
i continued making 2 holes, again based on preforms, in this case in two cylinders.

Then insert two cylinders as a support for the letters, this is very simple to do in tinkercad because you only have to change the dimensions and align with a very simple tool that the software have to line up on extremes and the middle of the three axis like shown in the image.
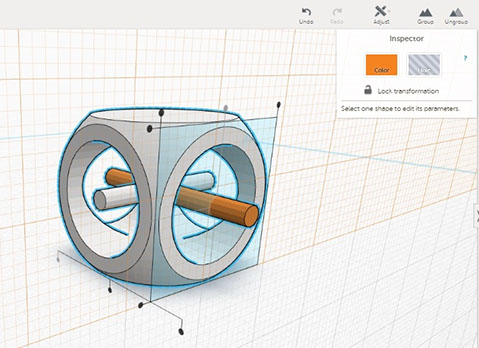
Tinkercad also have the preform of the alphabet, so i just have to add the letters "F", "A", "B", "P".
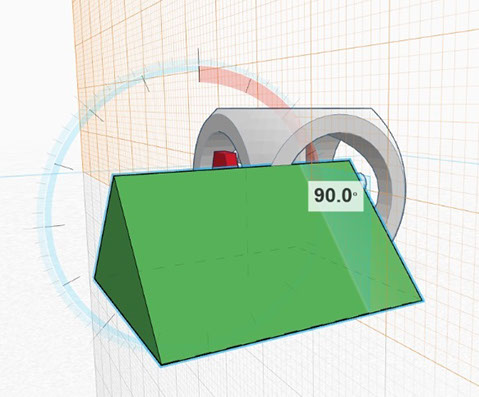
To turn one object in tinkercad is very simple by just clicking in the curved lines of the selected object and drive it to the desired angle.
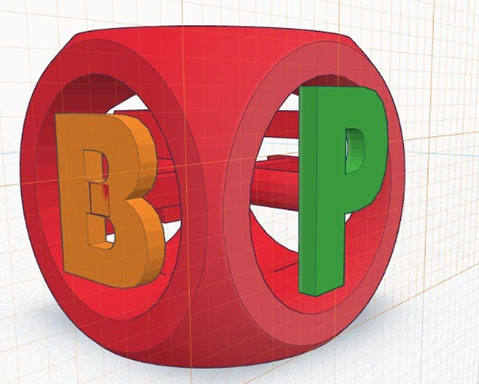
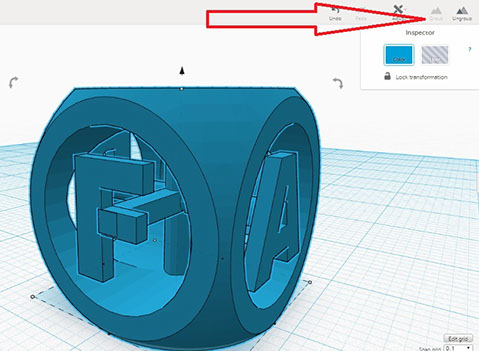
After add all the letters in the right place just have to select all the objects and click the "group" button, automatically tinkercad make one object
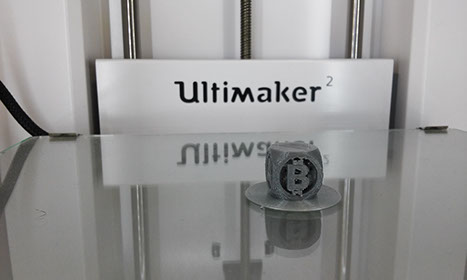
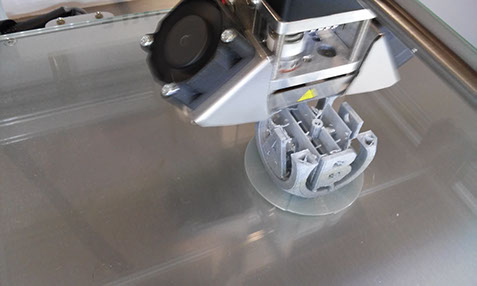
Once my design was finished I used Cura software for printing my dice in the Makerbot 2.
In the software first you have to configure you machine (printer) and the parameters like quality, fill, support, etc.
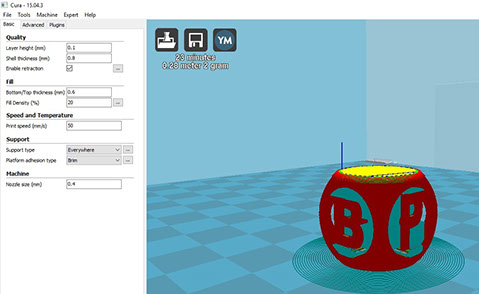
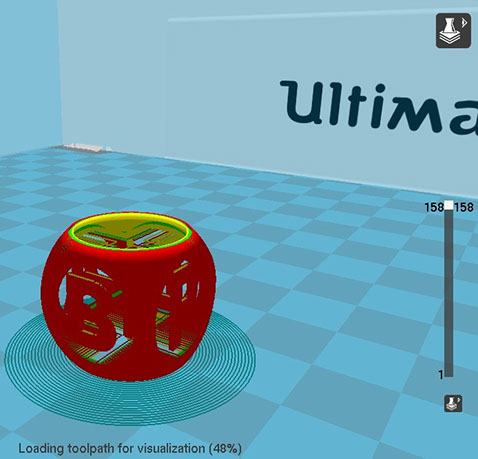
You can visualize the layers of the piece and move between them with this software
After configure the parameters just have to send to print and the printer will do the rest.
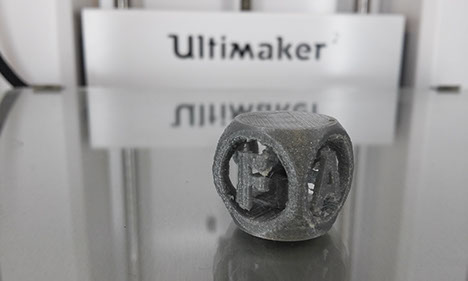

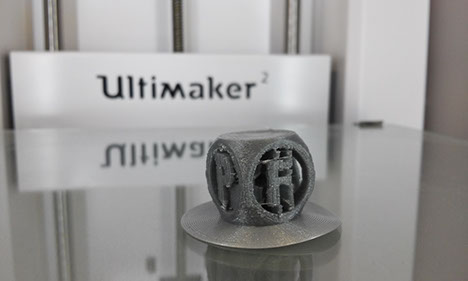
My dice was originally of 1.5 cm X 1.5 cm X 1.5 cm, so it was very dificult to remove th support material and I broke the "B" and the "P" in the process
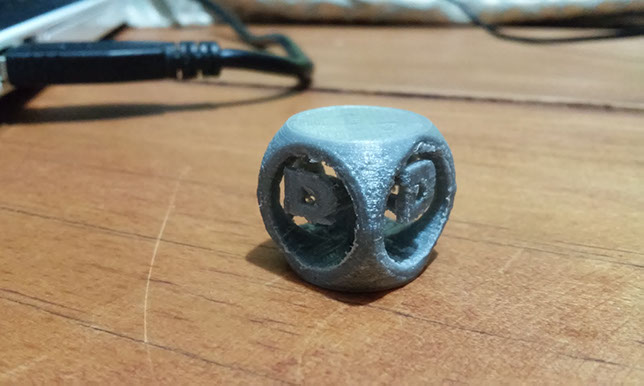
I tried to fix it by scaling it X2 so my dice were 3cm X 3cm X 3cm and were easier to remove the supporting material, also i chage the fill amount of the support material from 15 to 5.

The results were not good, The "A", and the "B" didn´t have problems, but he "P" and the "F" needed more support material.

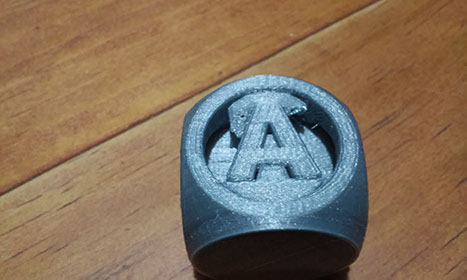
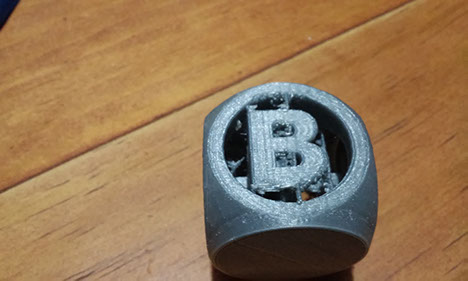
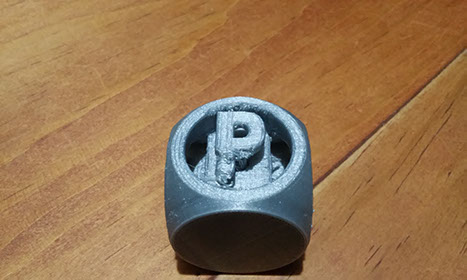
I think that the letter need a little more of support, but not too much, and change the orientation, put the "F" Behind so it wont need support material.
3D scan an object (Skanect)
The first software I used for scan an object was SKANECT.
First you have to set the parameters of the scan as shown in the image.
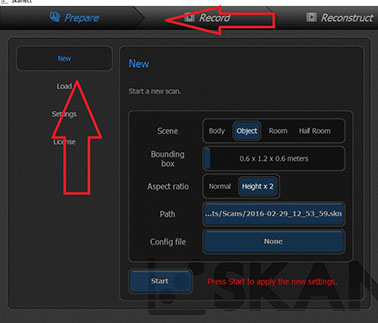
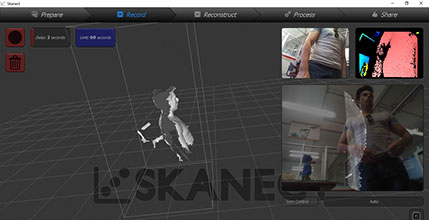
The next step is record the object.
You can scan a body, an object, a room or a half room.
I notice that scanning small objects with this software get you bad results even if you configure the correct size in the settings.
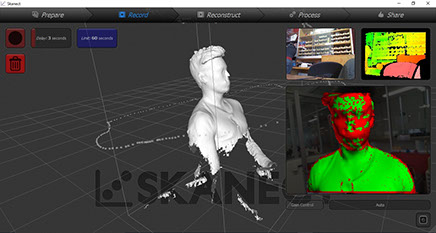
I had a lot of trouble scanning the person because the algorithm of this software is based on matching dots of the image in one position with the next, but if you are moving the camera too fast or the geometry is complicated, the software send a warning and don´t let you continue the scanning until the image that is in the camera, match with the last image the scan could process.
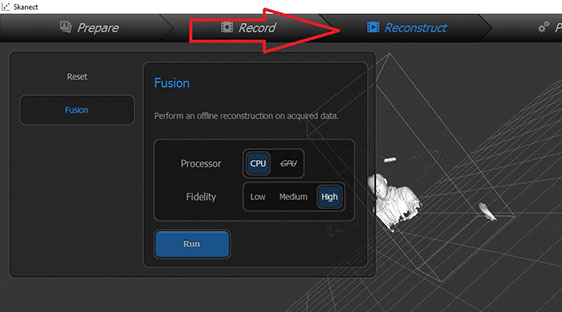
The last step is to process the the dots to create the mesh.
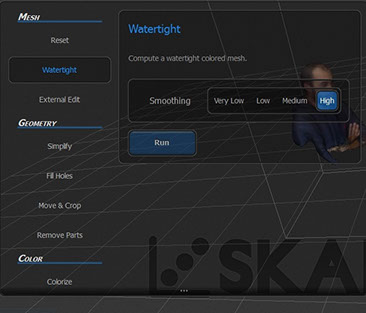
This software has a lot of tools for process the image, the ammount of dots, even the colors of the scan.
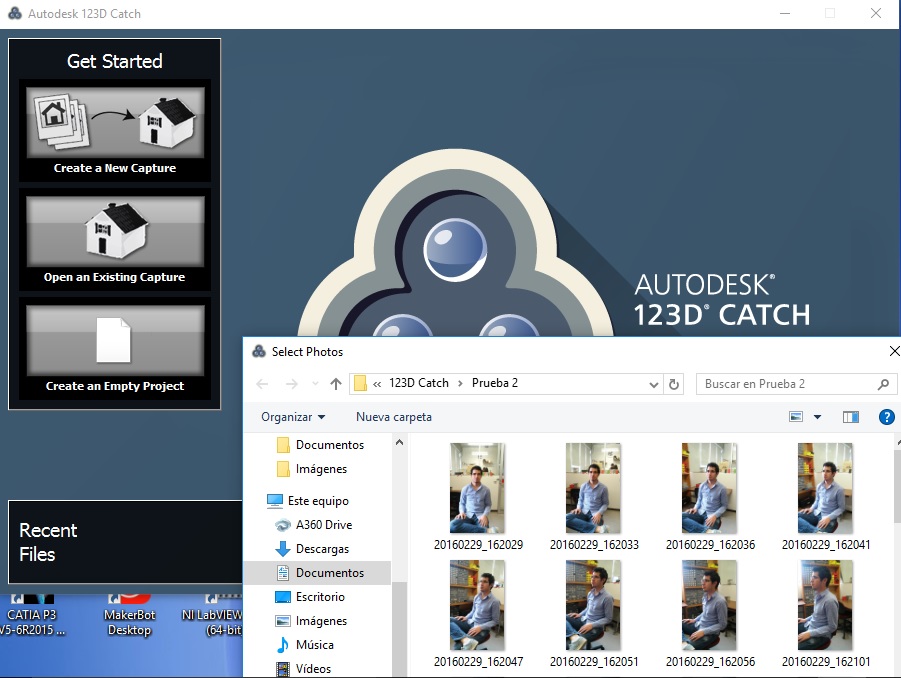
3D scan an object (123D Catch)
The second software i used for the assignment was 123D Catch
This software load some photos and process them to create a mesh, and thats it, it´s very easy to use and in my case give me very good results


Mauris sit amet tortor.
Mauris sit amet tortor.2
Mauris sit amet tortor.3
Mauris sit amet tortor.4
Mauris sit amet tortor.5
Mauris sit amet tortor.6
Mauris sit amet tortor.7
Mauris sit amet tortor.8
Mauris sit amet tortor.9
Mauris sit amet tortor.10
Mauris sit amet tortor.11
Mauris sit amet tortor.12
Mauris sit amet tortor.13
Mauris sit amet tortor.14
Mauris sit amet tortor.15
Mauris sit amet tortor.16
Mauris sit amet tortor.17
Mauris sit amet tortor.18
Mauris sit amet tortor.19
Mauris sit amet tortor.20
Mauris sit amet tortor.21
Mauris sit amet tortor.22
Mauris sit amet tortor.23
Mauris sit amet tortor.24
Mauris sit amet tortor.25
Mauris sit amet tortor.26
Mauris sit amet tortor.27
Mauris sit amet tortor.28
Mauris sit amet tortor.29
Mauris sit amet tortor.30
Mauris sit amet tortor.31
Mauris sit amet tortor.32
Mauris sit amet tortor.33
Mauris sit amet tortor.34
Mauris sit amet tortor.35
Mauris sit amet tortor.36
Mauris sit amet tortor.37
Mauris sit amet tortor.38
Mauris sit amet tortor.39
Mauris sit amet tortor.40
Mauris sit amet tortor.41
Mauris sit amet tortor.42
Mauris sit amet tortor.43
Mauris sit amet tortor.44
Mauris sit amet tortor.45
Mauris sit amet tortor.46
Mauris sit amet tortor.47
Mauris sit amet tortor.48
15 - 48
<
>
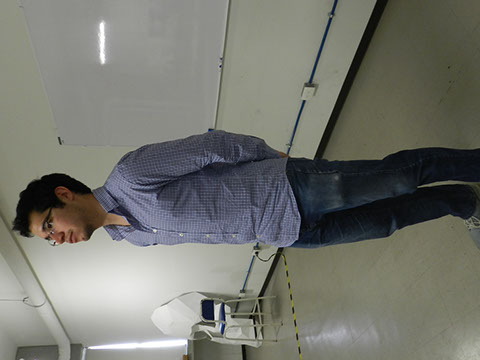
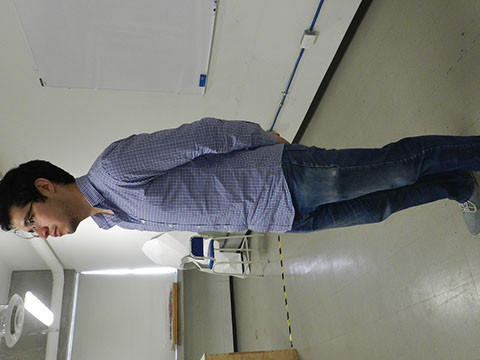
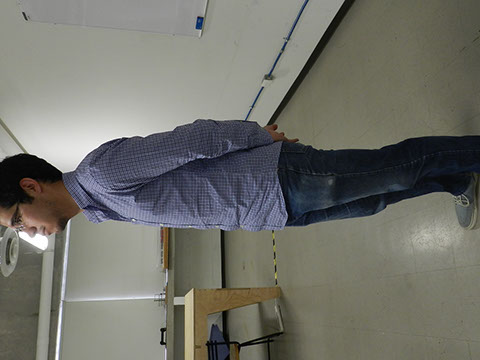
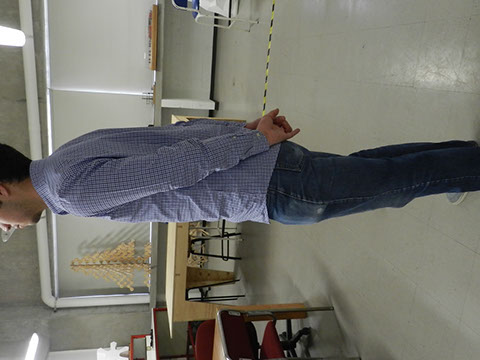
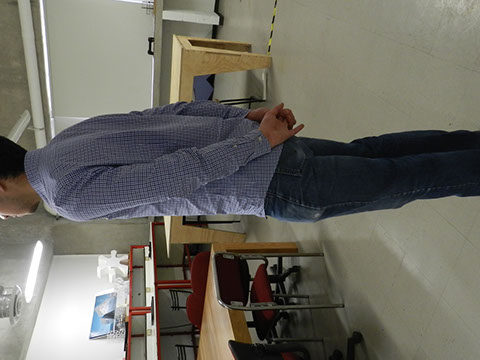
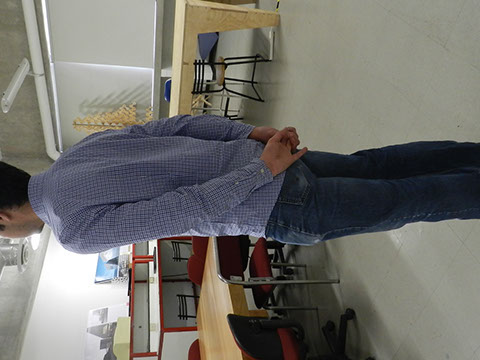
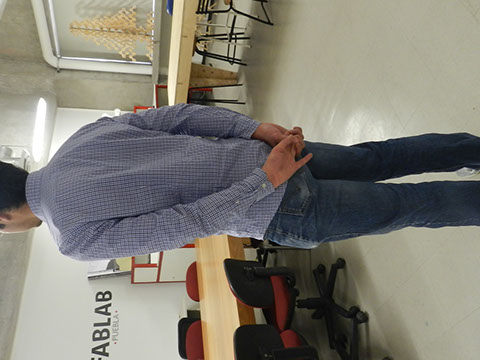
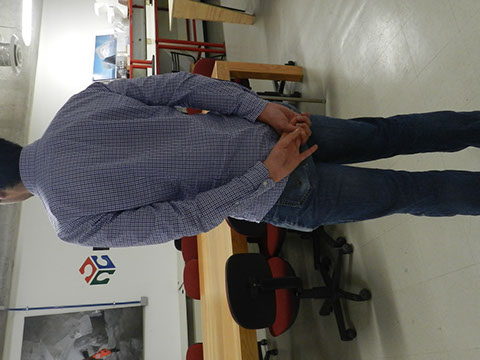
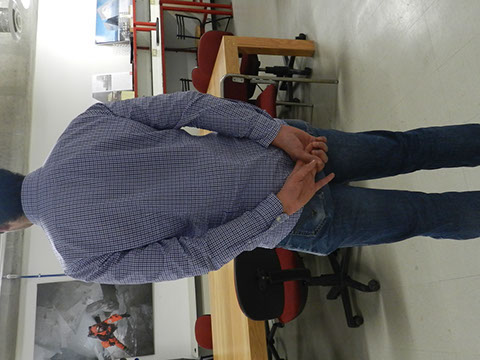
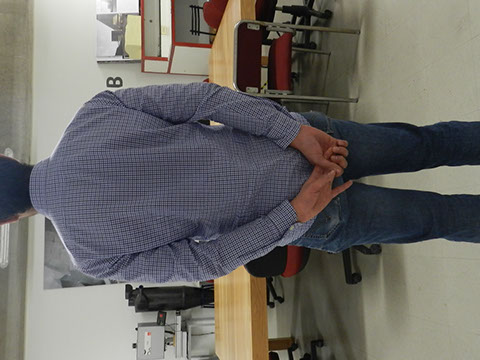
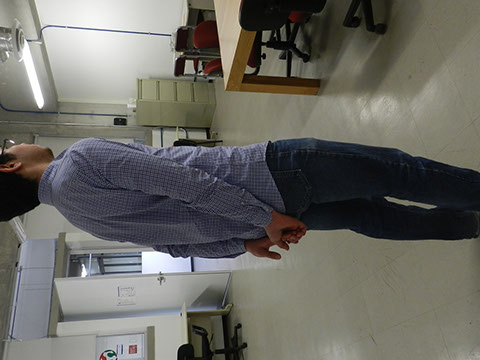
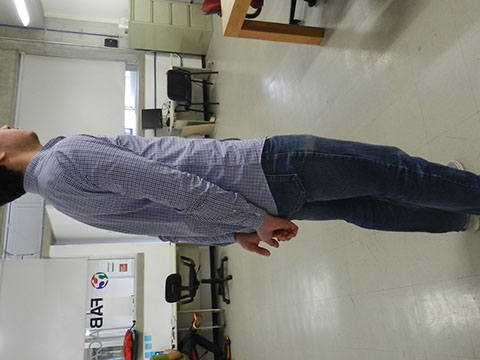
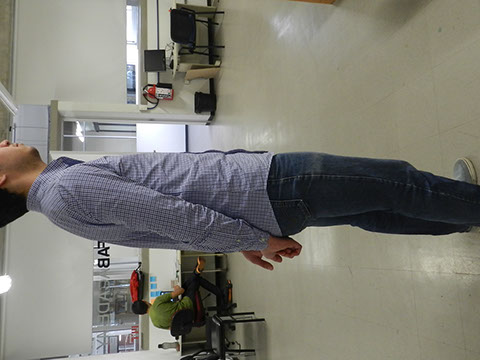
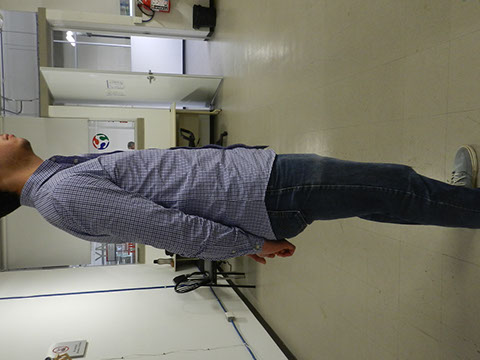
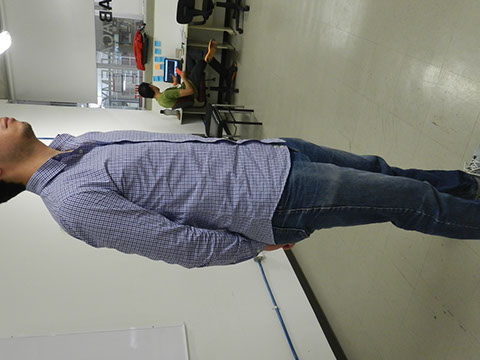
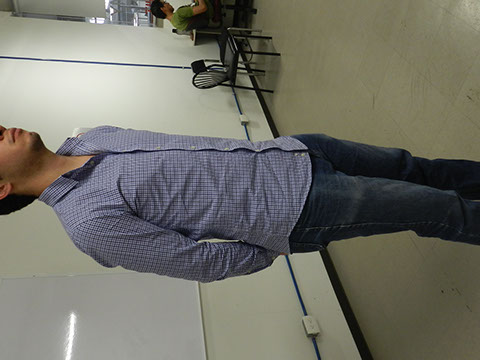
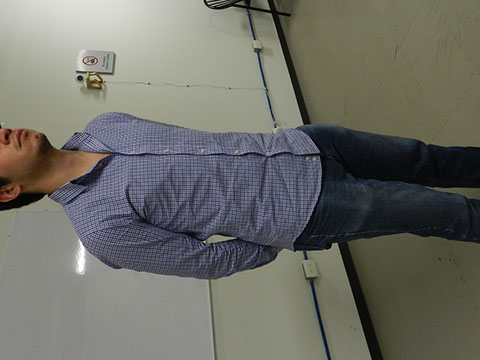
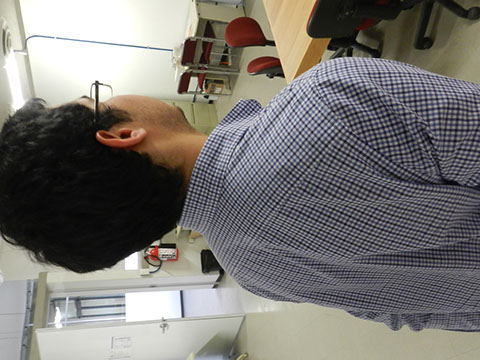
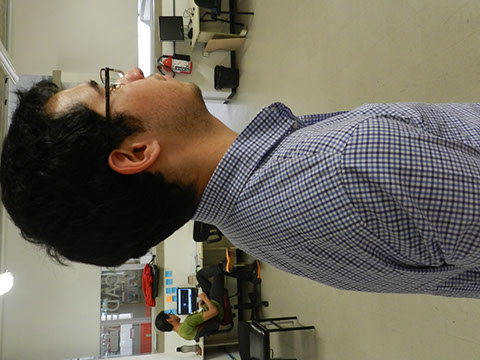
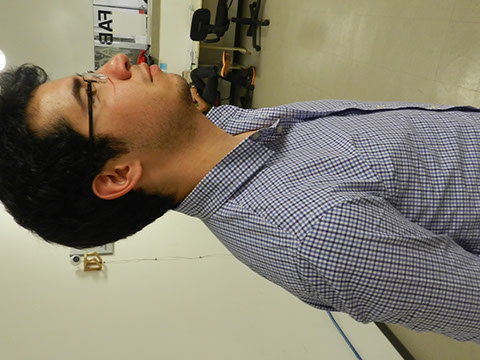
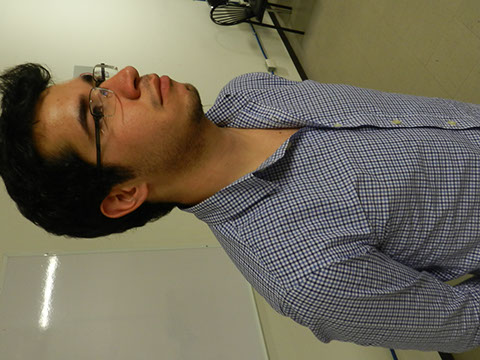
The recommendations to get a good result with this software are:
1.- Do it in a good illuminated room
2.- DON´T move anything in the room or the object you are scanning
3.-Take the photos moving the camera 360° around the object and repeat it but in a different height with a different angle.
4.-Take 40 to 60 photos
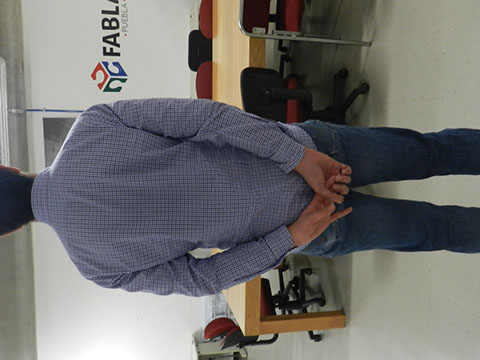
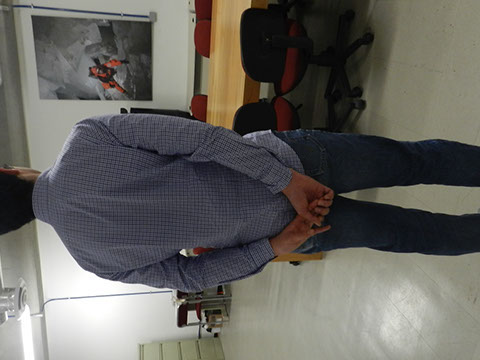
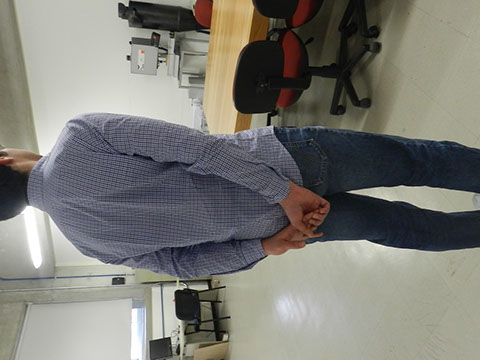
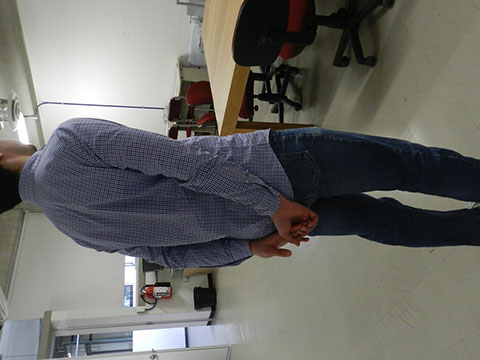
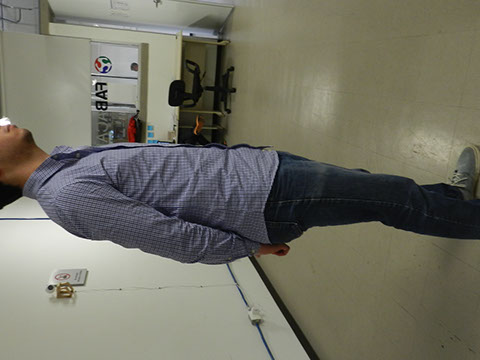
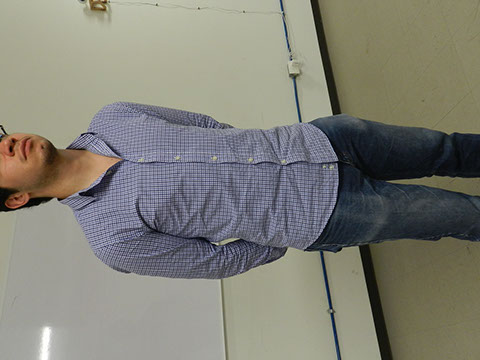
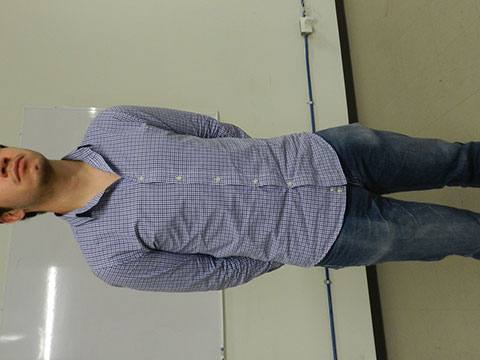
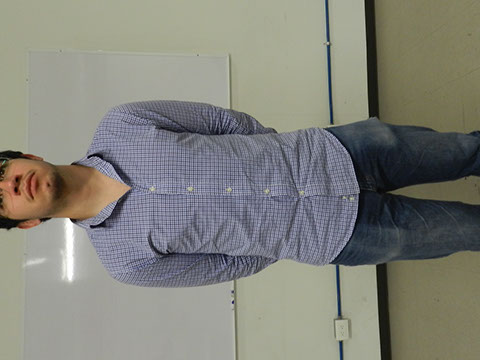
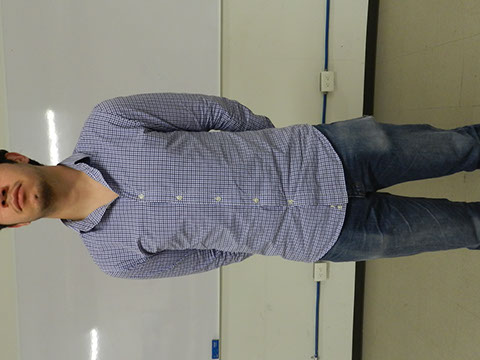
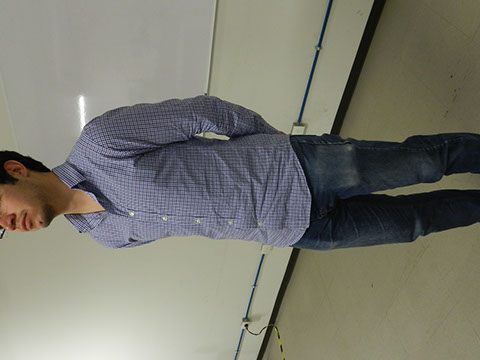
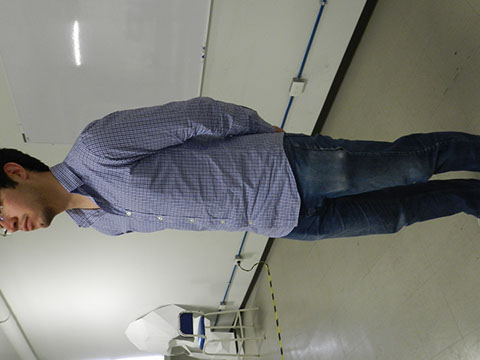
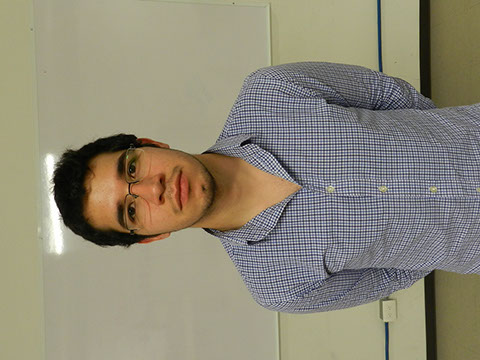
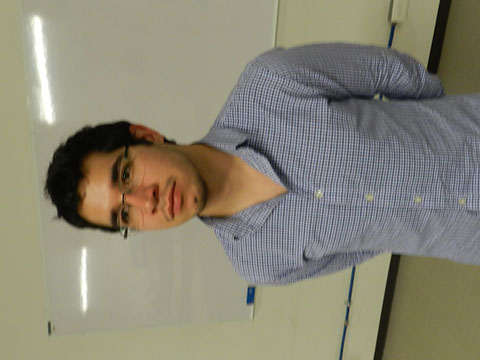
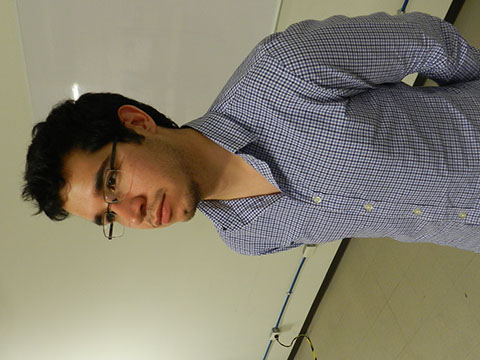
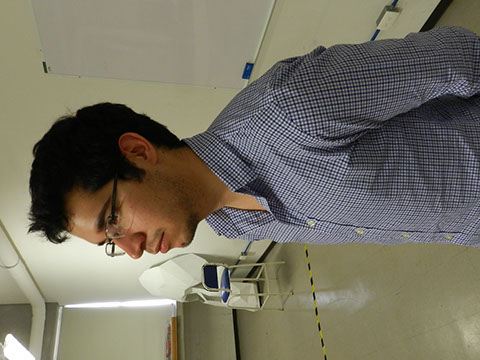
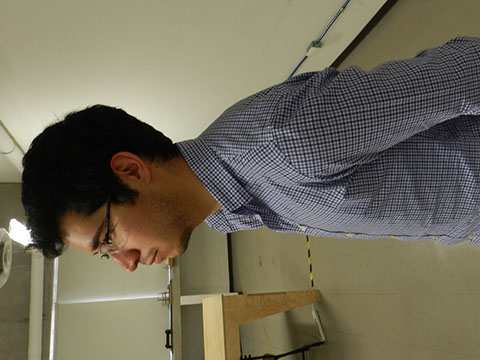
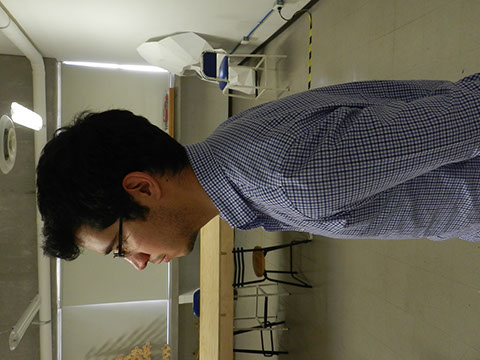
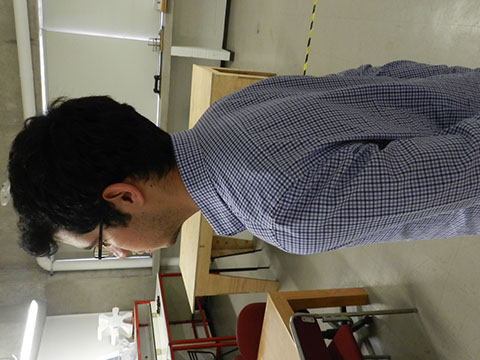
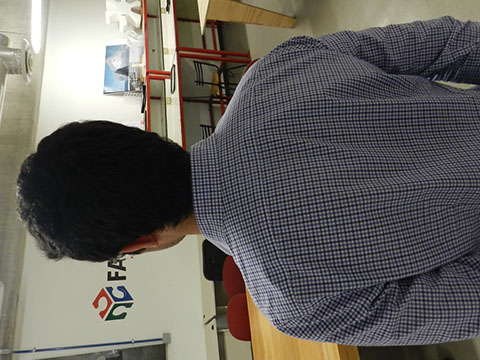
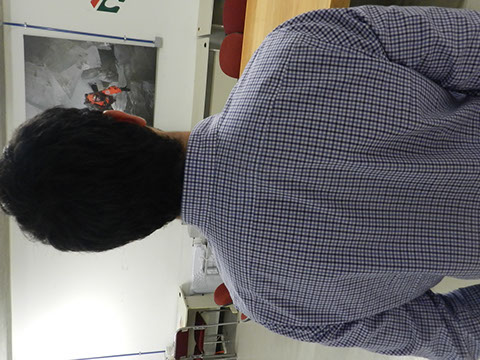
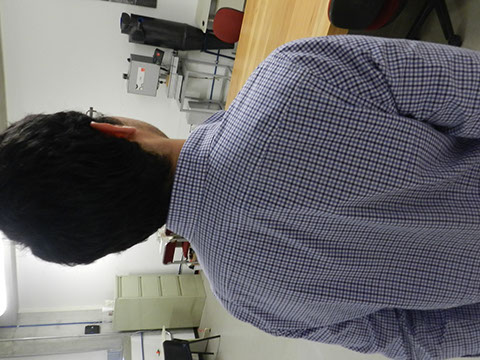
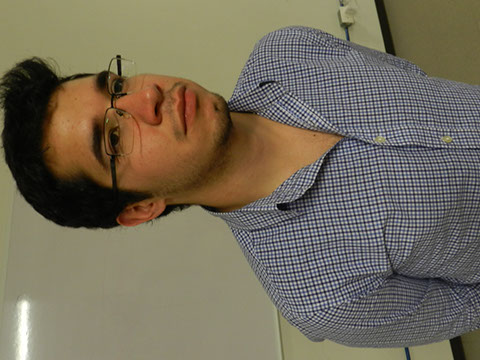
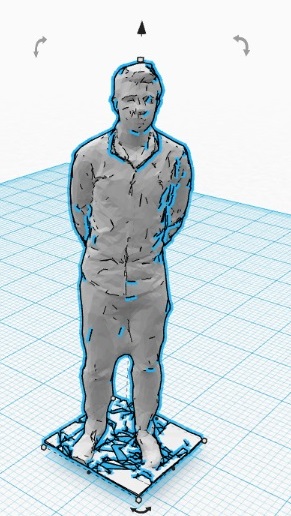
5.-Avoid figures with patterns (like my shirt in the images)
This is the mesh that the software generated with my images.
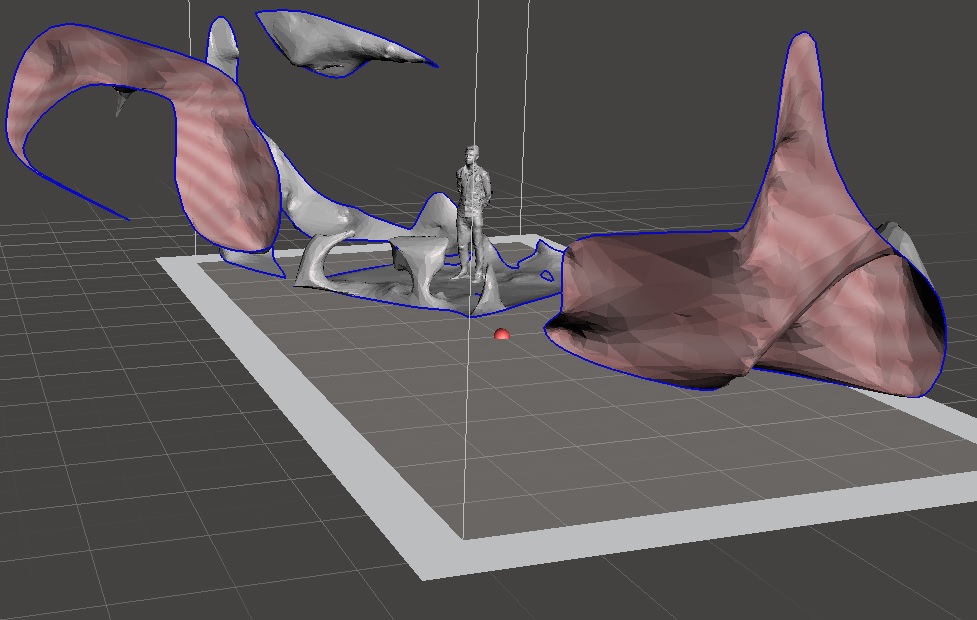
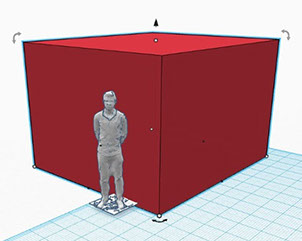
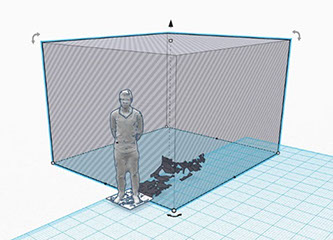
The original mesh have with a lot of garbage, so I used the online software Tinkercad to clean it. the technique were enclose the garbage in a rectangular prism, indicate it as a hole and execute the boolean operation to remove it.
I repeated this process until the mesh were clean.
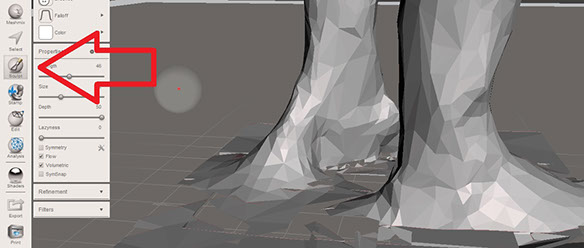
The next step is to fix some details of the mesh like the ankles shown in the image.
I used meshmixer software to edit this.
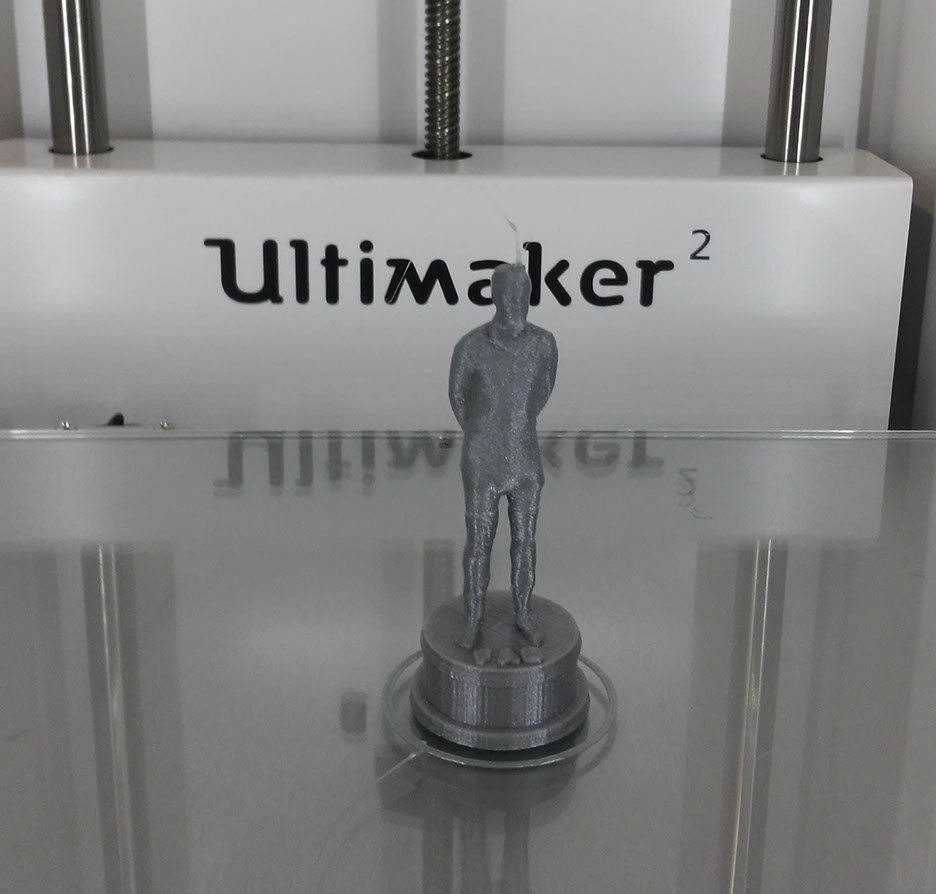
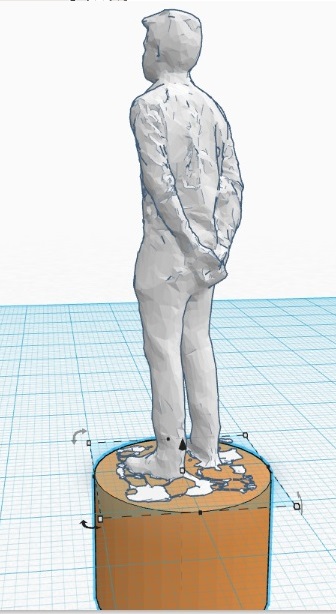
Once the mesh is good enough, I returned to Tinkercad to design a Base as an oscar statue
I printed this mesh in the Ultimaker 2.
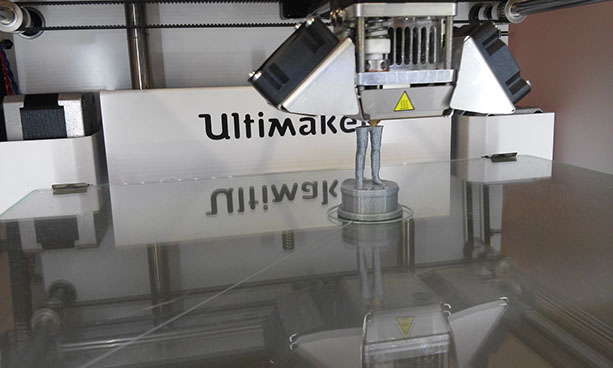
The final product was very detailed, I could even see the ears