Yay for molding and casting!
Our assignment this week is to design a 3D mold, machine it and cast its parts. For this week, I would like to create and machine a symbol that has been utilized countless times and various ways: the Ankh,Egyptian symbol for life. Although many people have used it (possibly to its capacity), this symbol is very significant to me and it is just a simple way for me to understand this week's project.
In choosing to stay within my capacity this week, I will be using OpenScad to model the mold that my object will be created in. I think this program is my default program (possibly because of the initial hours spent in learning how to use it). Once my CAD mold is complete, if I have extra time, I will try to use a different program and possibly a different method (foam or metal casting) for a separate mold (casting individual parts of the symbol itself and putting them together).
I would like for my assignment to be two-sided, so that however I cast my part (s) it will be one three-dimensional whole unit rather than something that will lay flat. I would like to cast my object in hydrostone; but I know potential for this activity is endless. Once I learn and understand the workflow, I could potentially create an edible, use metal for jewelry or even ornaments for clothing, gifts, and house furnishing. Again my possibilities are endless. This may be a fun week :)
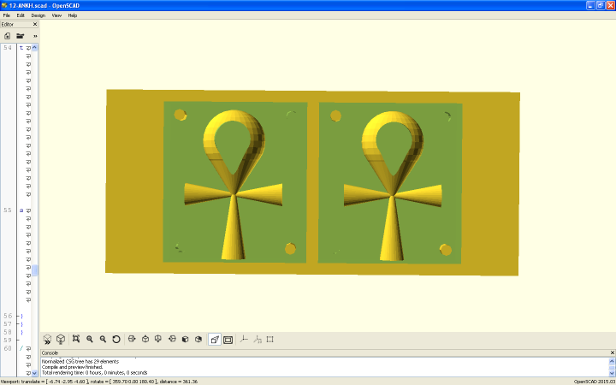


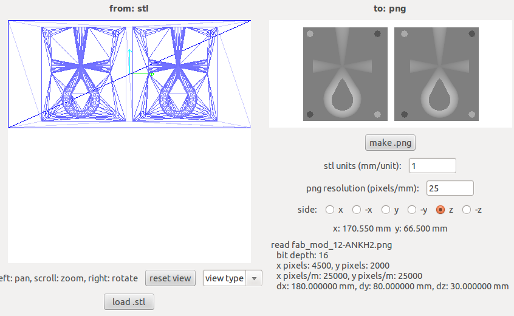
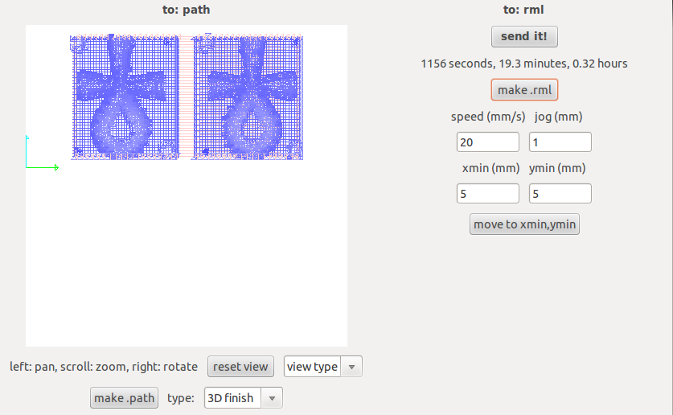
Once my object was made in OpenScad, I exported it as an stl file so that I could open it in Mesh Lab to be able to see any vertices that were not clear or connected. Since, I did not see any issues that would hinder my mold, I went from Mesh Lab, exported my file again as an .stl file, but this time I made sure to select binary encoding. This step is an important one because although the file is .stl, the machine only reads binary so whatever you do, you must make sure the file is a binary .stl.


After my machinable wax was milled, I decided to use oomoo (specifically Mold Max 60) as my material to create my flexible mold and utlimately cast my part. During the mixing process, I made sure to maintain the adequate ratio for each part. Once the rubber compound was complete, with the help of a fellow student-- Victoria Bell--, I was able to pour the mix inside the mold. I made sure to pour it at an angle so that air bubbles would not be able to settle and risk ruining my mold. In the middle of pouring the mixture, Victoria and I did see few air bubbles periodically so we tried to maneuver the wax by tilting it at various angles (in conjuction with not spilling any that had been poured) and noticed that as we did a continuous motion as if the wax was sitting on an axis, the bubbles would slowly dissipate.
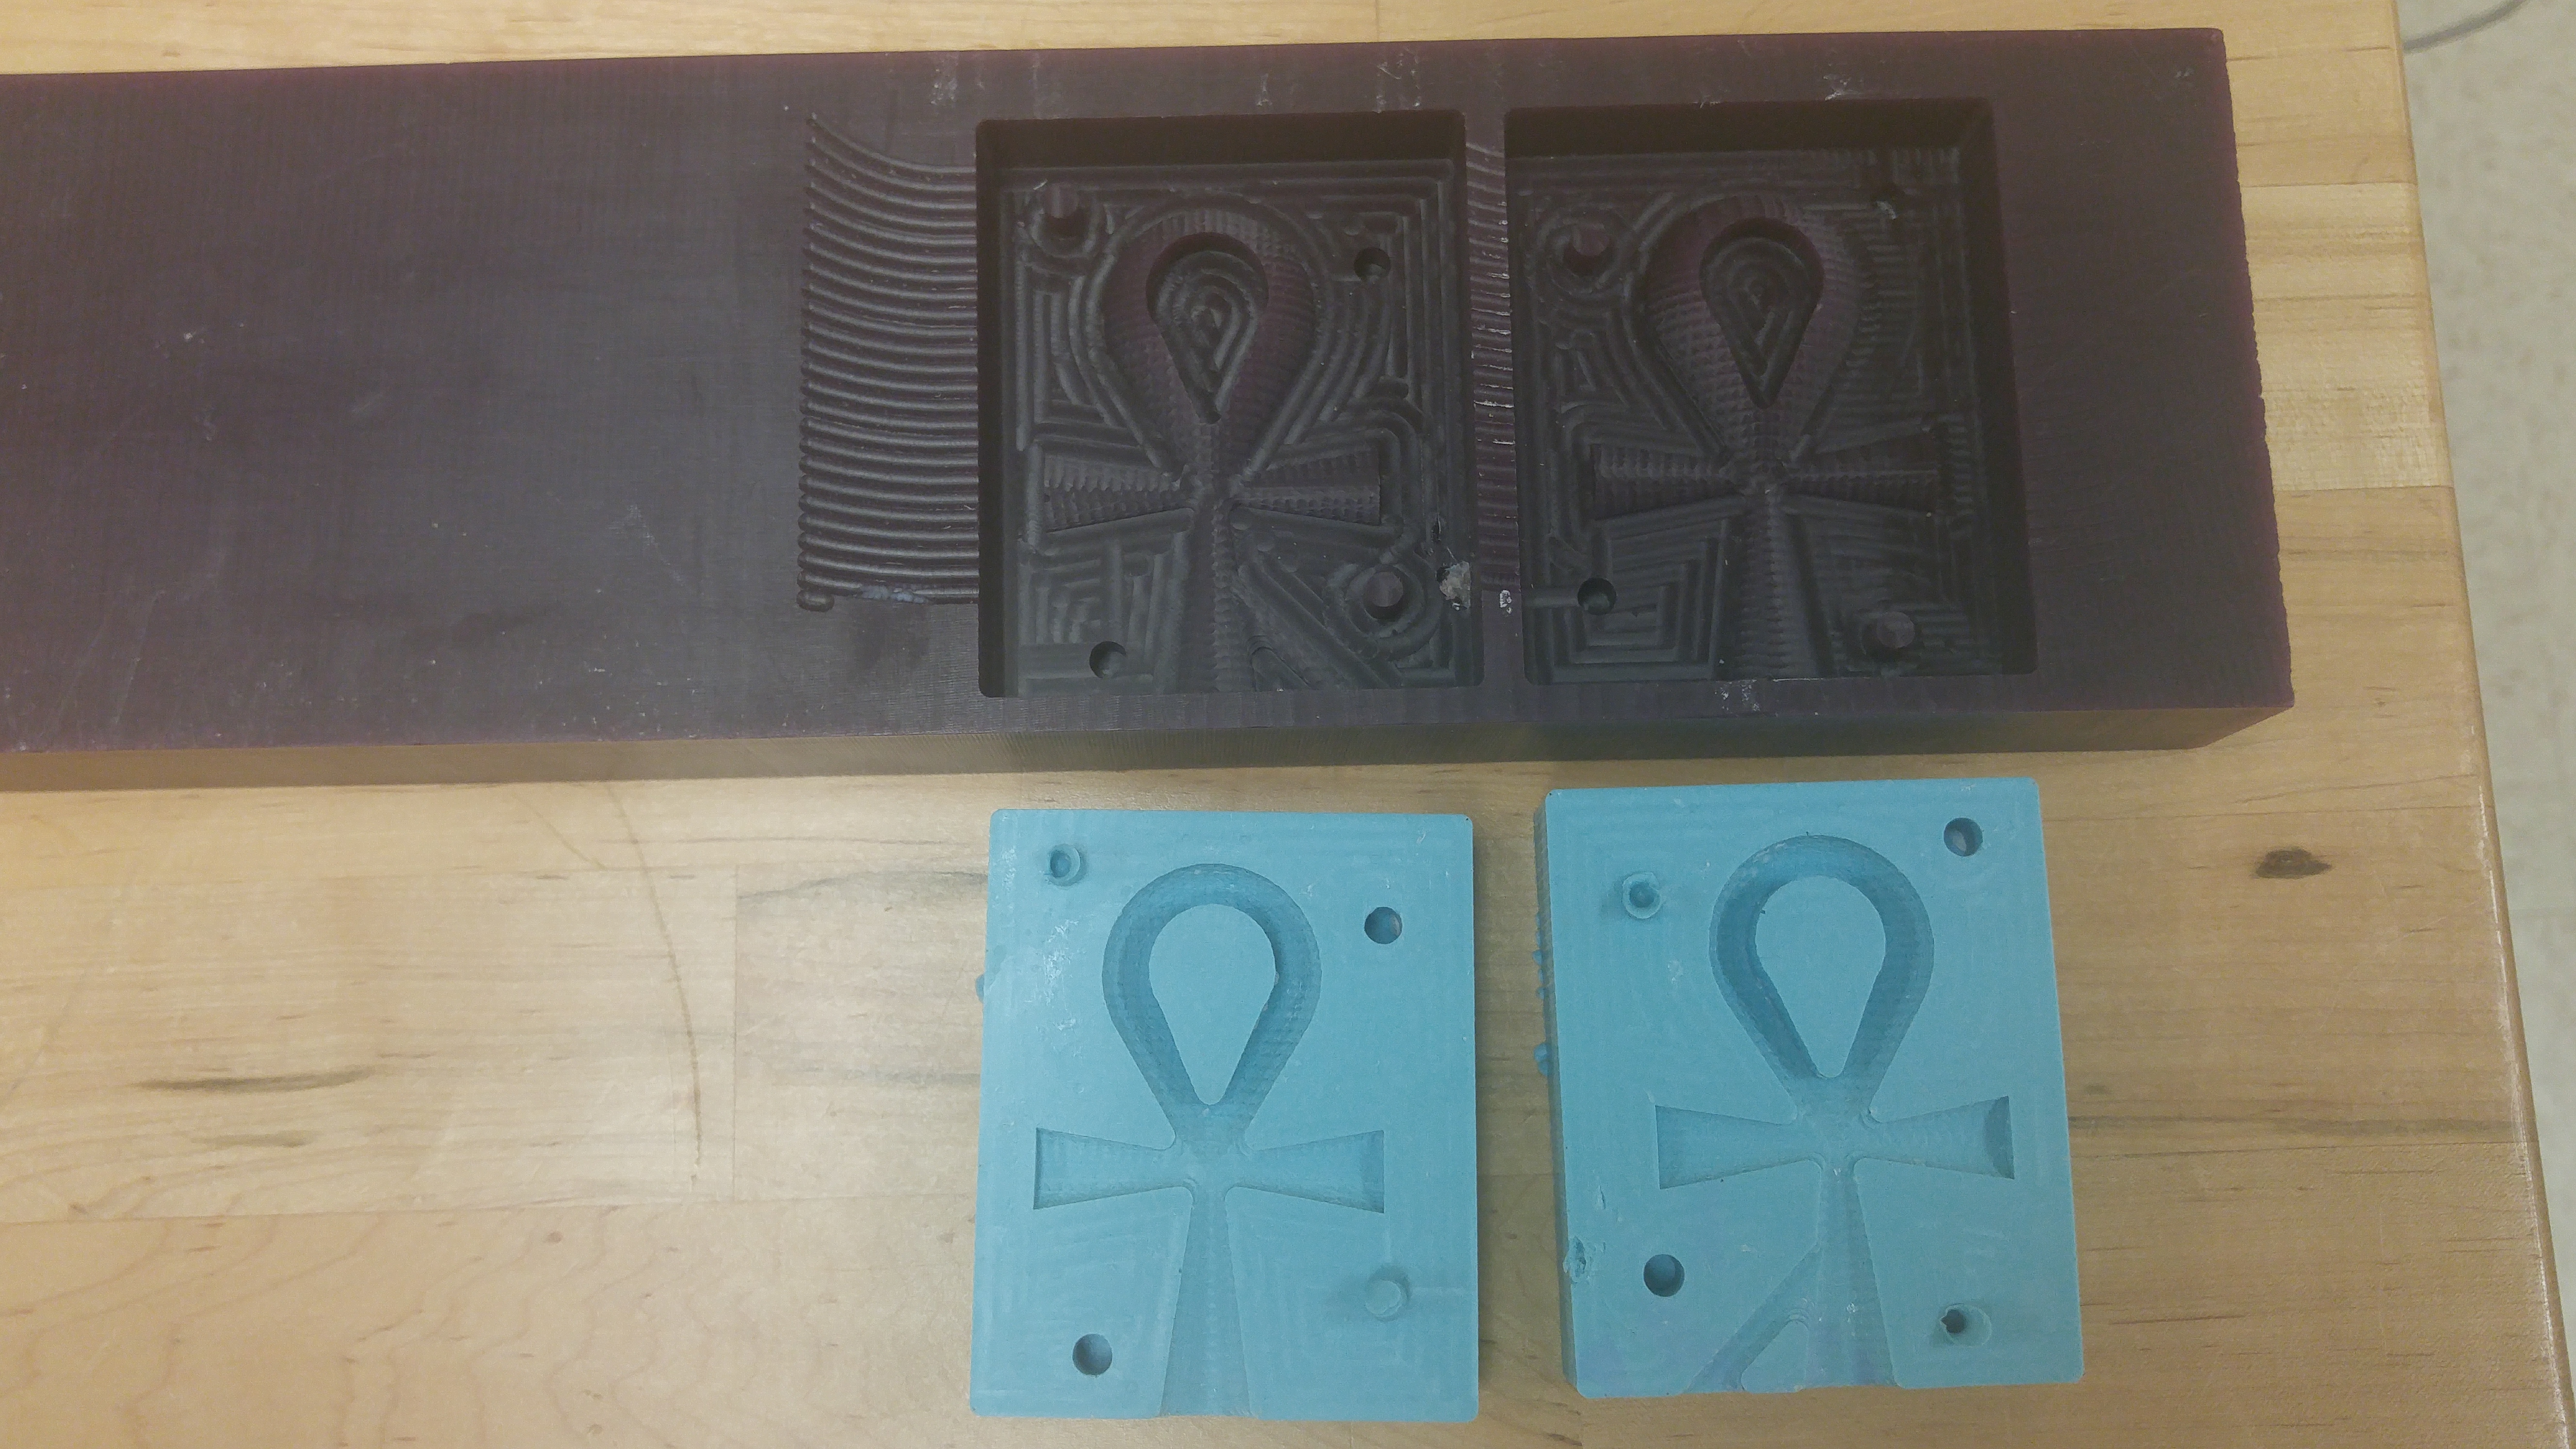
After my flexible mold had solidified (and I had hoped it would be ready for me to cast the part), there were a few issues that I noticed, but hoped it would not be a big deal. Such issues were:
- the key markers on the mold did not come out completely, but hopefully wouldn't disrupt the cast
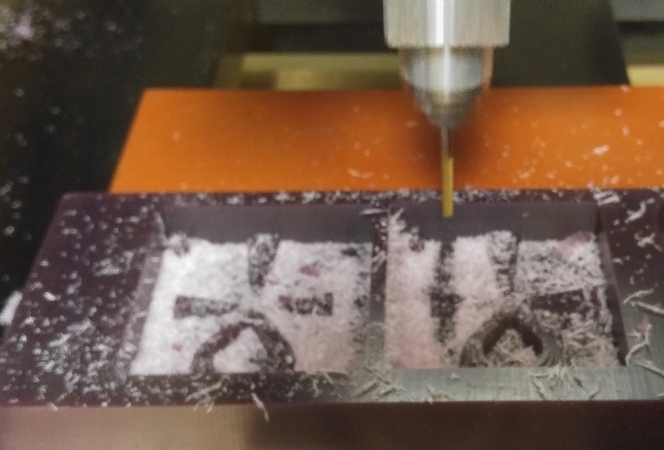
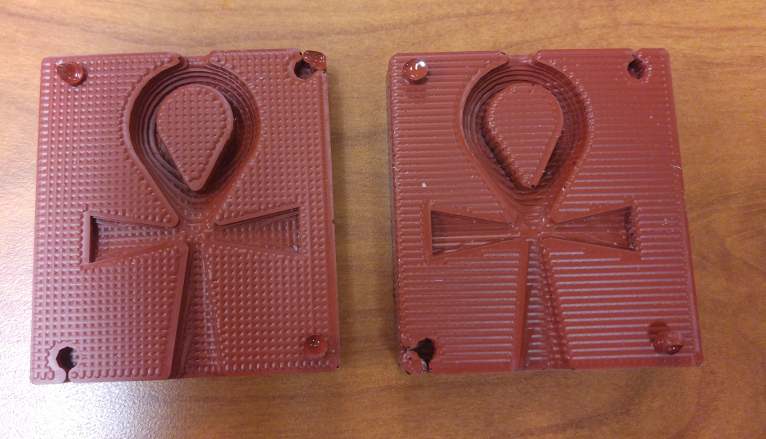
- in using a 2-flute flat bit for my rough cut and following with a ball nose for the finish, there was an interesting ridge pattern created (unintentionally) but added definition to the overall part which I liked.
- while testing my mold by sandwiching the halves together, I noticed they did not completely touch, which I realized would be a problem if I poured hydrostone inside
- at the top of my mold, there is an opening that should not be there. I realized that when I created my 3D file, I had not placed my design in an adequate position within the wax, producing a hole that is not suppose to be there
UPDATE!!
After my initial mold was created, I realized that there were holes along the perimeter prohibiting a part to be casted from the mold. Because of the flaws and its faulty appearance, I could not cast any parts from it. I I want it to be perfect so that future plans could be replicated easily (whether it is will food-grade material, metal, or whatever). The below images are my second, third, and fourth attempts (in that order) at creating the perfect mold. When I attempted to cast parts from each mold, I noticed that hydrostone nor drystone could get past the intersection of each part. So in each attempt, I enlarged the surrounding square casing and increased the depth of the model in the wax. In my attempts at finishing my mold I went from using a flat end bit to using a ball nose for the entire process, to using a flat end for the entire process in my second, third and fourth attempts. The results seemed to come out much smoother with just using a flat end entirely. I also experimented with different types of mold materials. The materials I used were Mold Max, Oomoo, and Sorta Clear. Overall, the material I had the best experience with and that I liked the most was the Sorta Clear. The process of mixing it was almost the same in every way to the other materials, but I enjoyed the visual aspect of it the most and overall it produced the closest thing I could get in the timeframe for a mold (albeit, as I was trying to detach the sides my mold broke).