
2016
Vipul Arora
3d Printing
png2.jpg)
Modeled the form in Rhino3D. Loft command was utilized to achieve this. It forms a smooth curved surface between different curves.
A series of ellipses of varying size were drawn at different Z-height. These were them played with to achieve the form.
Final shape was exported as .stl.
png2.jpg)
Imported the .stl file into Cura.
It provides various parameters to fine tune the model.
Layer height define the diameter of the extruded filament.
Shell thickness defines the wall width. Here 1.2 means the wall is 3 layers thick.
Check on enable Retraction, this rotates the extruder motor reverse, so that in area where nozzle is suppose to just travel without extrusion, no traces of filament starts to ooze because of the heated nozzle.
png2.jpg)
Here the red lines shoe the outer perimeter
green lines the inner perimeter
and blue lines, show the travel lines.
Turquoise shows the support structure and brim.
png2.jpg)
Transparent rendering can be activated by clicking on the icon in the extreme right top corner of the window. It makes it convenient to check on the inside parts.
png2.jpg)
Enabling overhangs gives a good idea of the cantilevered regions which may collapse while printing. No support structures were employed, because its a tapering surface and it will hold on well. Instead shell thickness was increased to prevent it from collapsing and to make it more sturdy.
png2.jpg)
Click on layers to see how the printing will go on at different levels. Just to give an idea of how support structure look like , they were enabled for this view.
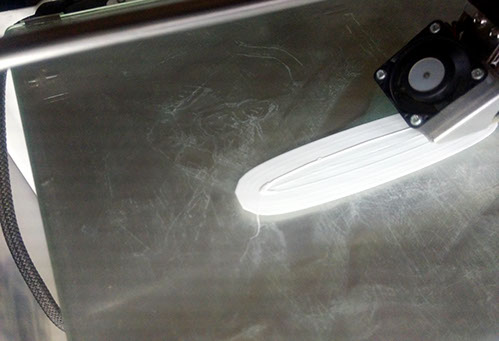
Printer starts with printing the brim , which will prevent the narrow base of the form against wobbling. This also get rids of any inconsistency in the filament flow,happens often at the start of printing
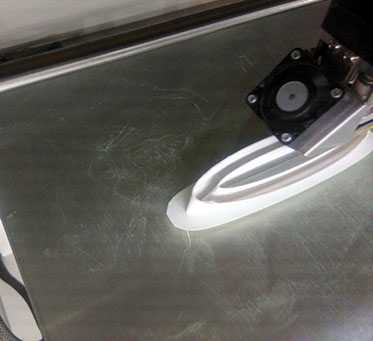
Inside and outside surface being printed, this wouldn't have been possible with the subtractive process.
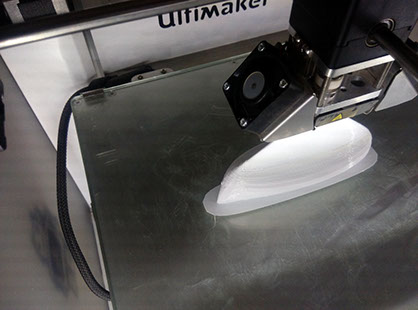
Printing the last few layers, here an opening is designed, which would not have been possible wit the subtractive method.
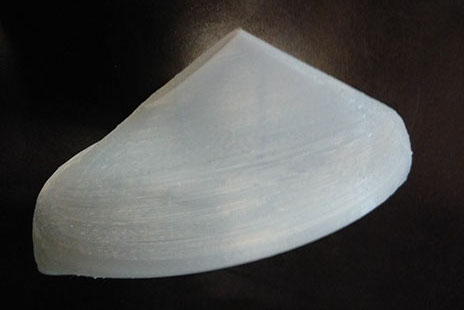
After around 40 mins the print is ready.