NOTE: Vigyan Ashram is known as "Fablab 0" , it is one of the remotest labs with very minimal internet access , therefore, we have been using old version of Fab module which is an offline version.
WEEK 3
Computer Controlled Cutting
This week was more or less about designs, curves, locks, press fits which can be useful while we think of joints or patterns.
WEEK ASSIGNMENT: Electric circuit book
DETAIL: I have been very reluctant in electronics due to my lack of knowledge about basics , well, I didnt like it in my school time too. But then, I had this aim set for fab academy to go back with certain skills in electronics which help me make my products work. Thats why i chose not to wait for electronic assignment and use Vinyl and Laser cutter for something helpful for kids. So, I designed a circuit in the shape of my company's logo in vinyl and Laser cut my circuit book, combining them both to make educational electric circuit book.
IDEATE

This has been done in two forms:
1. Vinyl Cutting
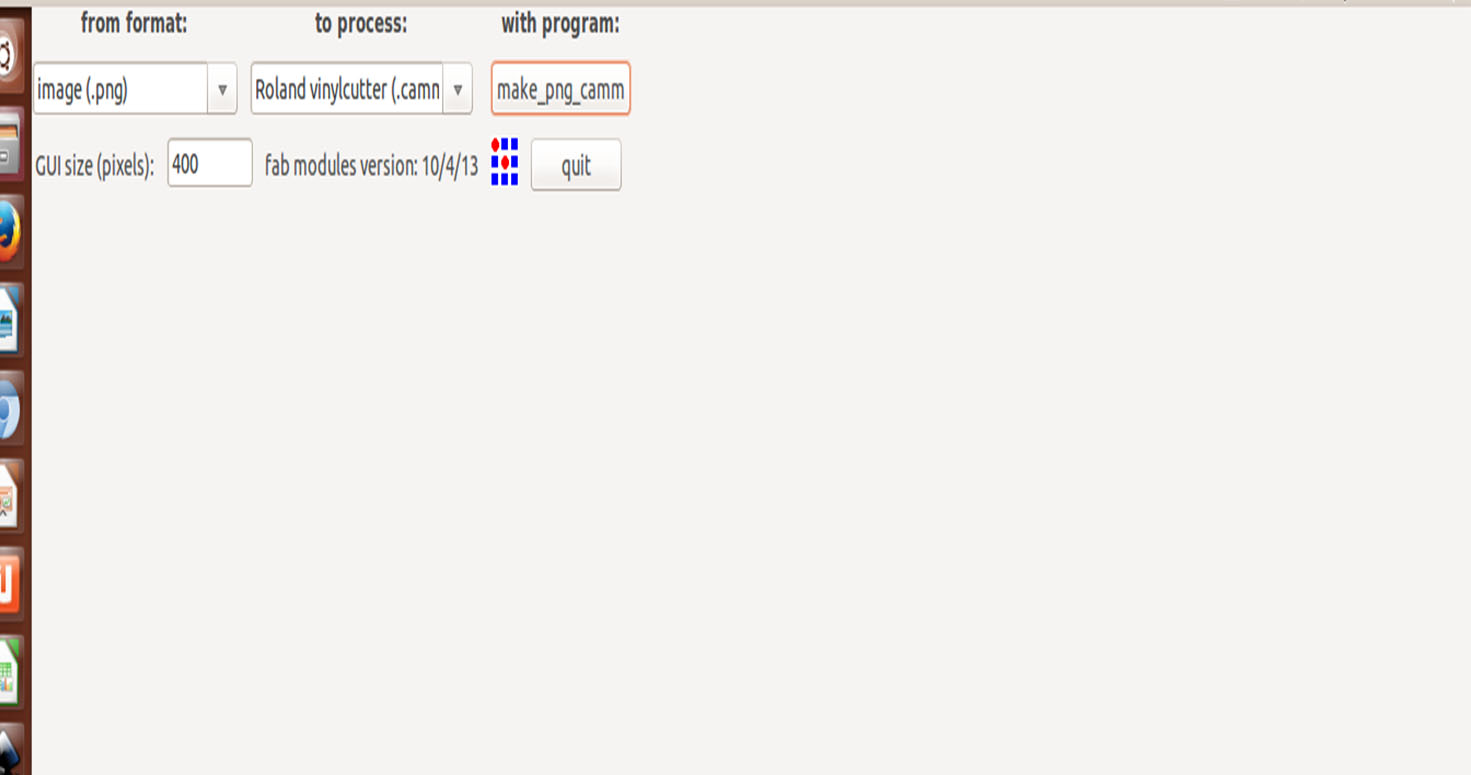
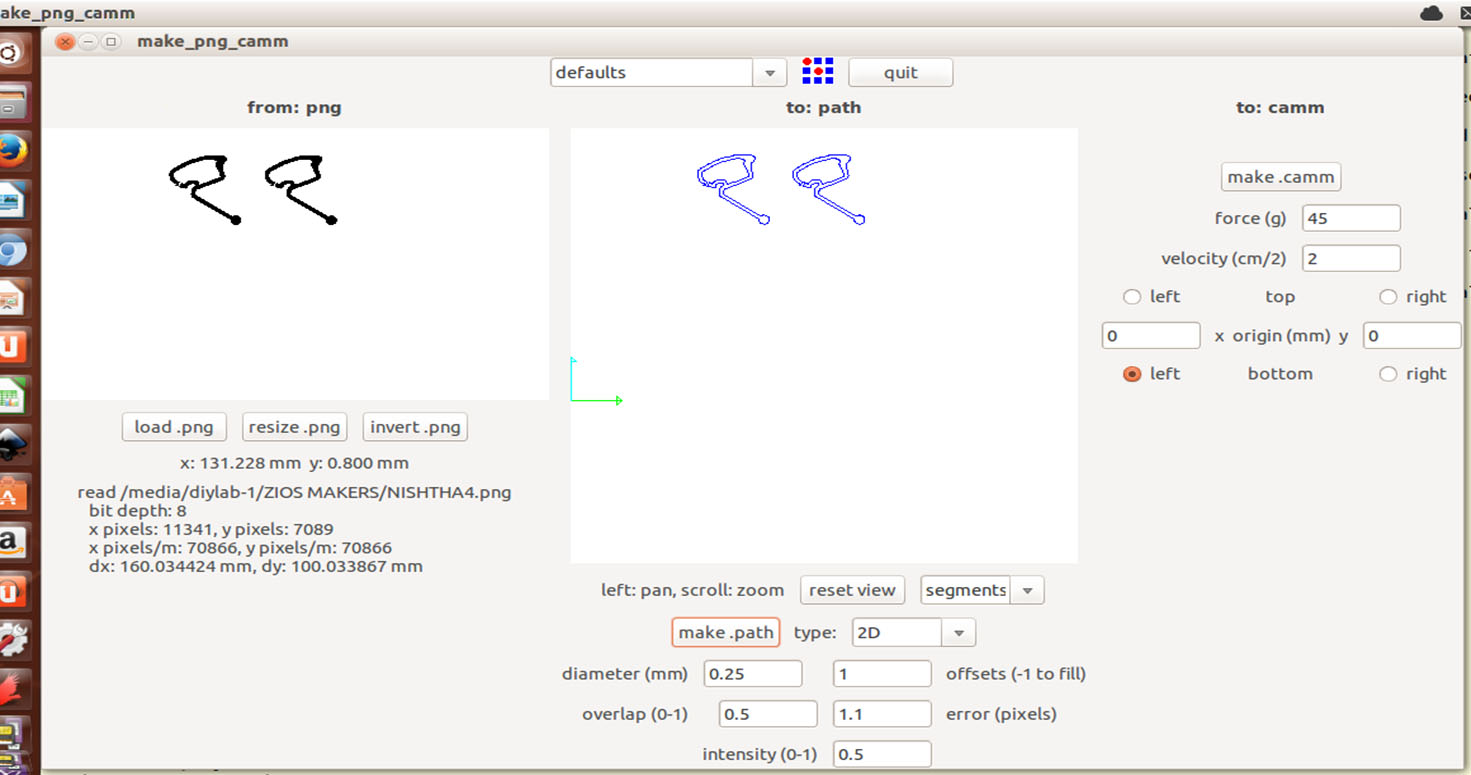
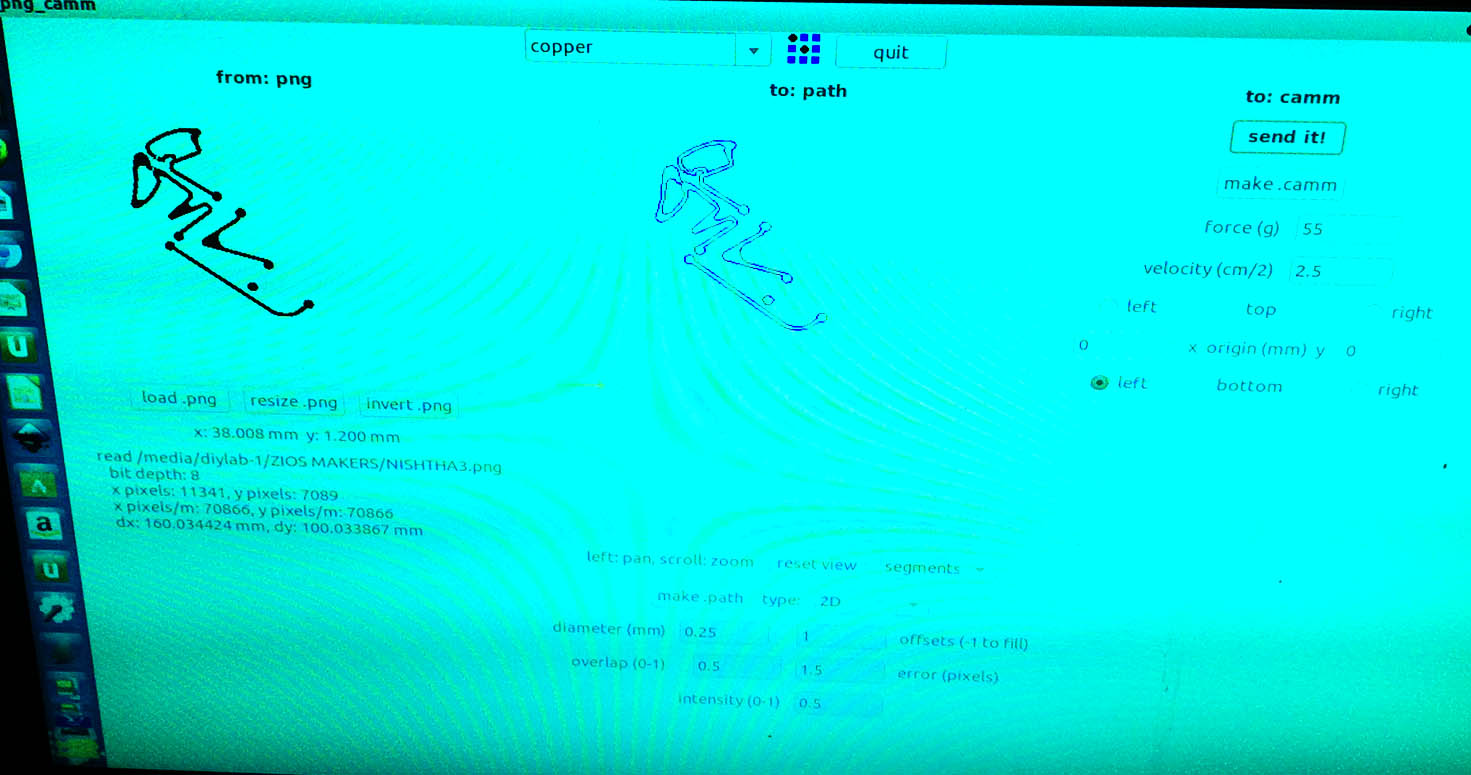
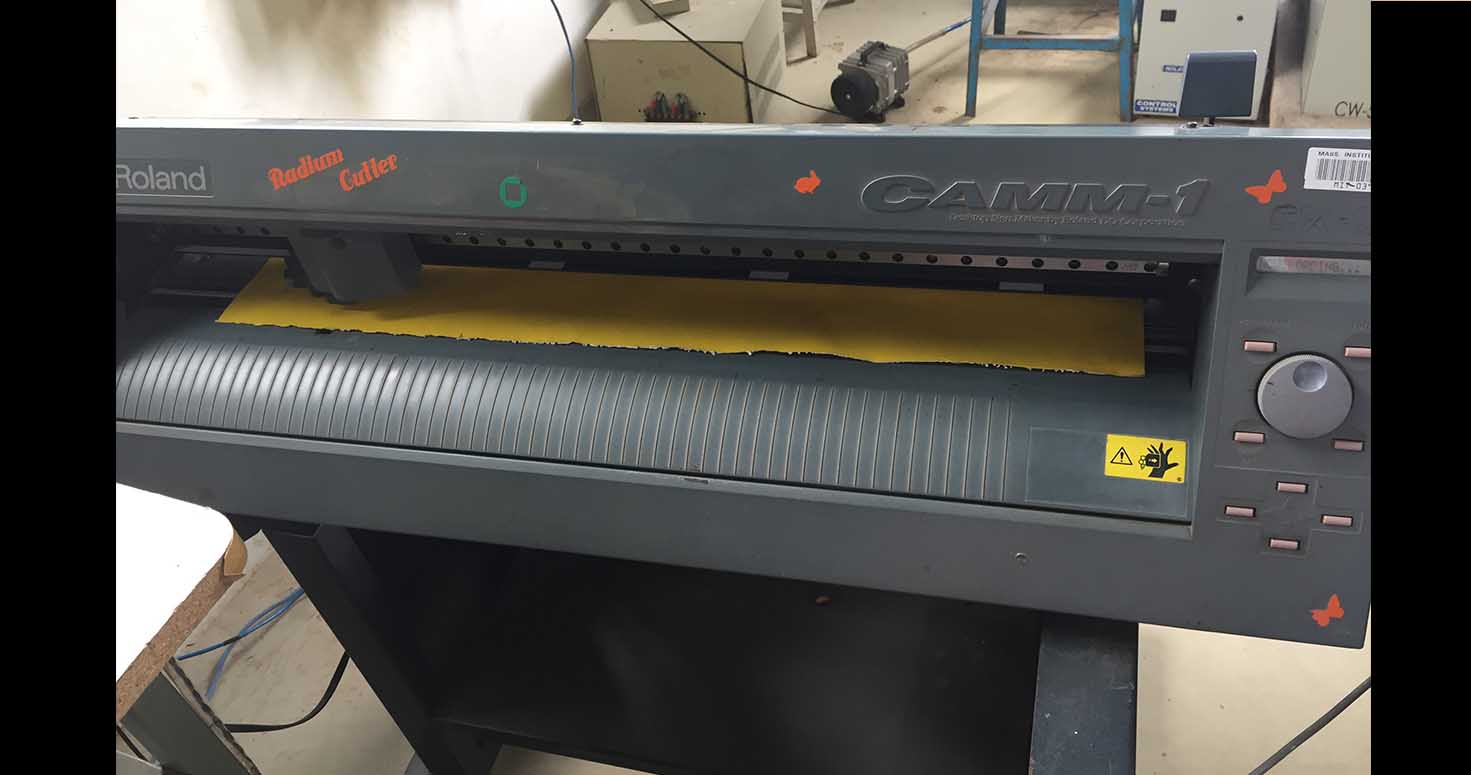
We used Roland Vinyl Cutter N1032 with the help of Fab module to cut a Copper sheet for my Project of this week mentioned above.
After being told by everyone that copper sheet doesnt come out well, i took it as a challenge and decided to actually go ahead and try.
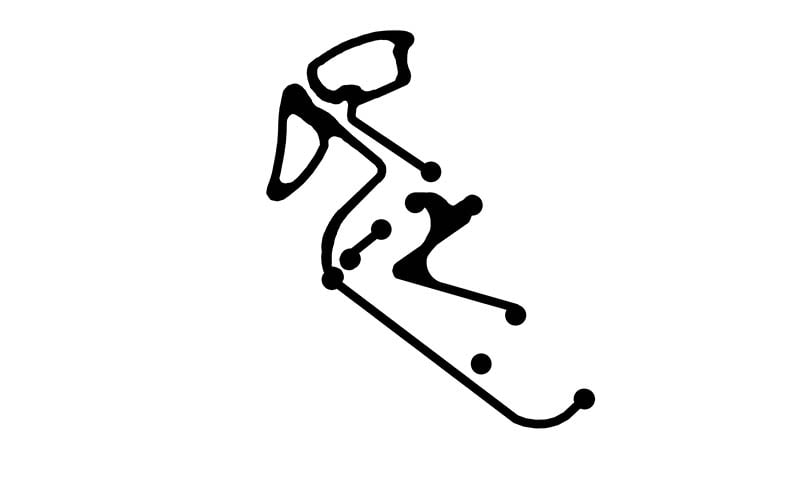
1. Designed Circuit in Eagle, with the guidance of one of the students here Prachi, i was able to understand eagle interface and design my circuit by myself in shape of my company's Logo ZIOS
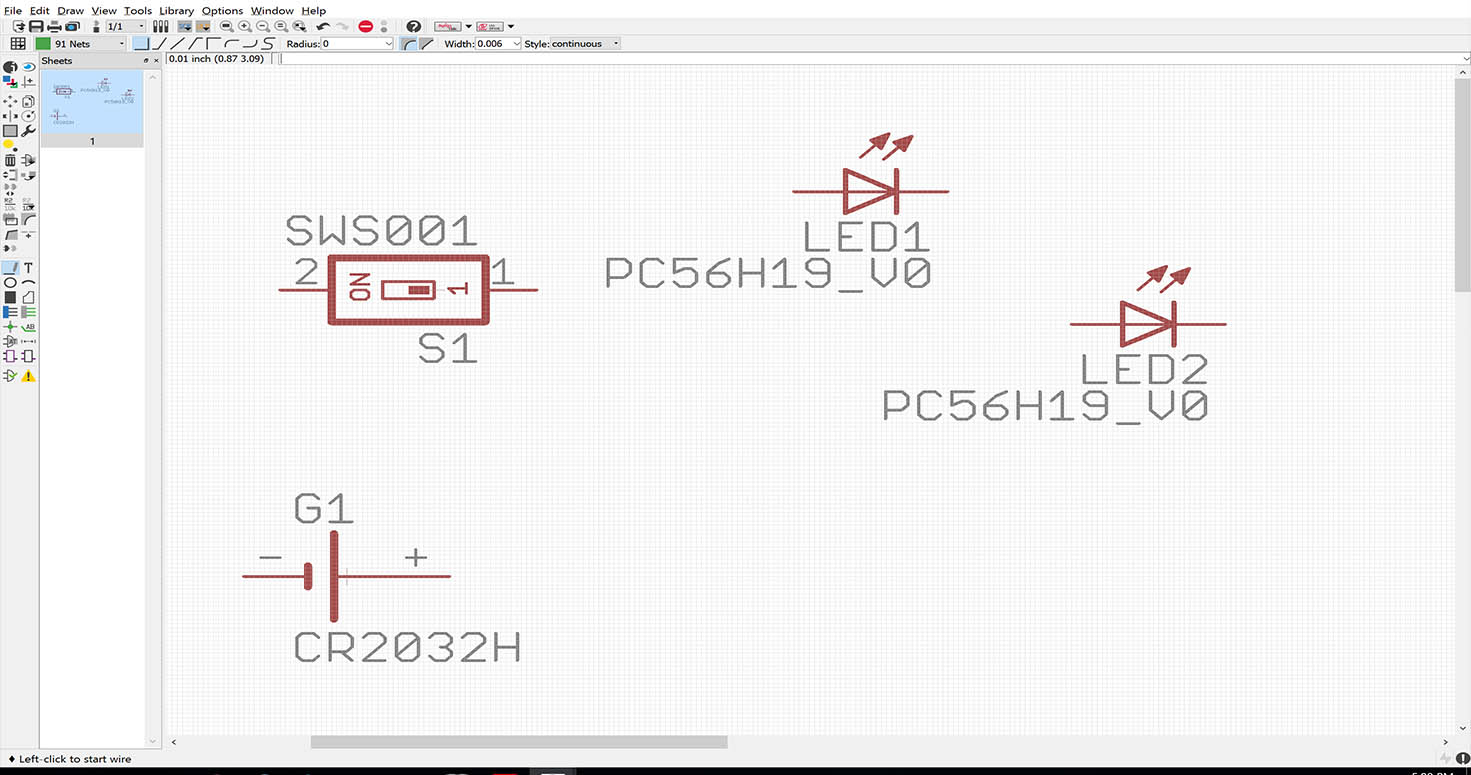
-Chose electric components from eagle library for Series Circuit

-Connections between my components (battery , switch, Leds)

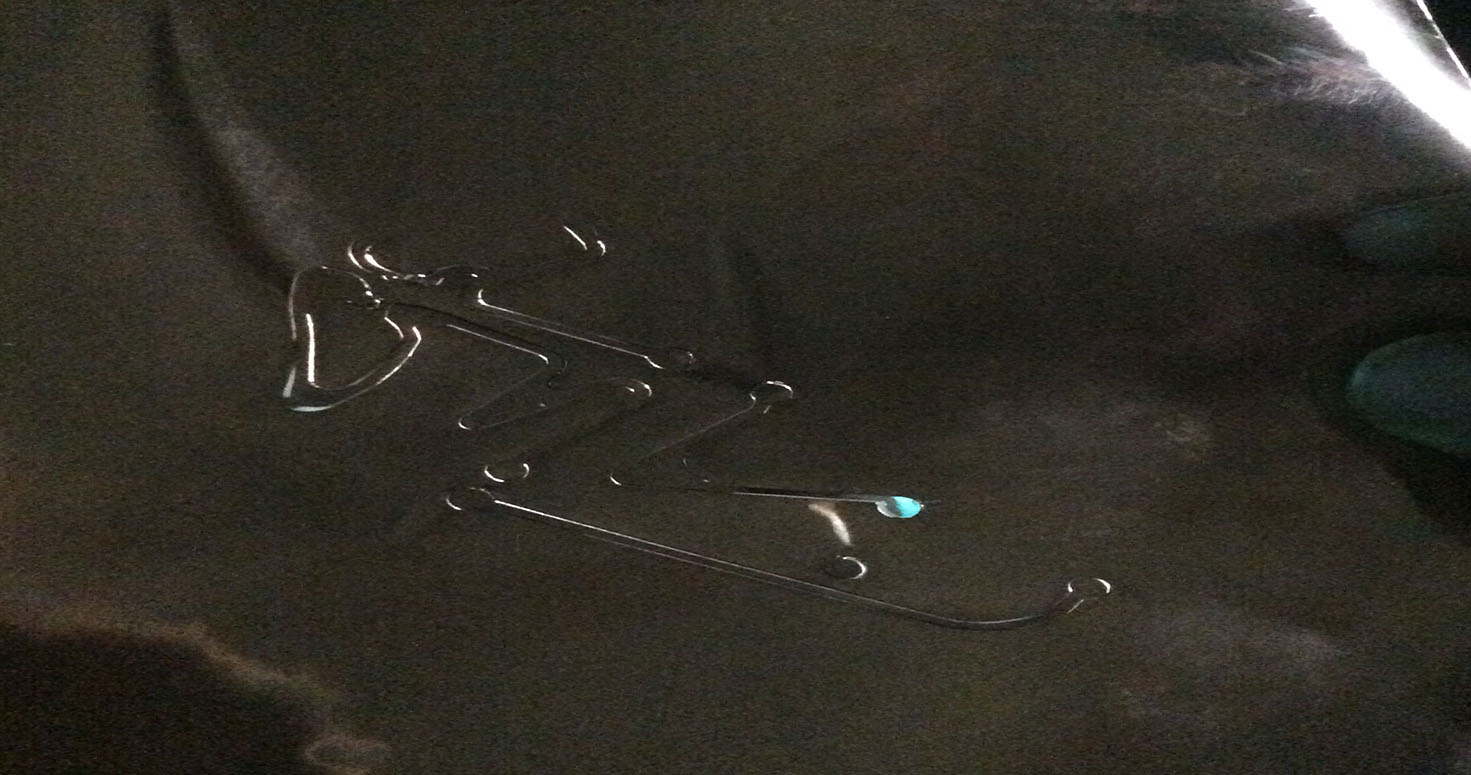
-Finally, ZIOS Series Circuit after Routing on eagle and saving it in PNG.
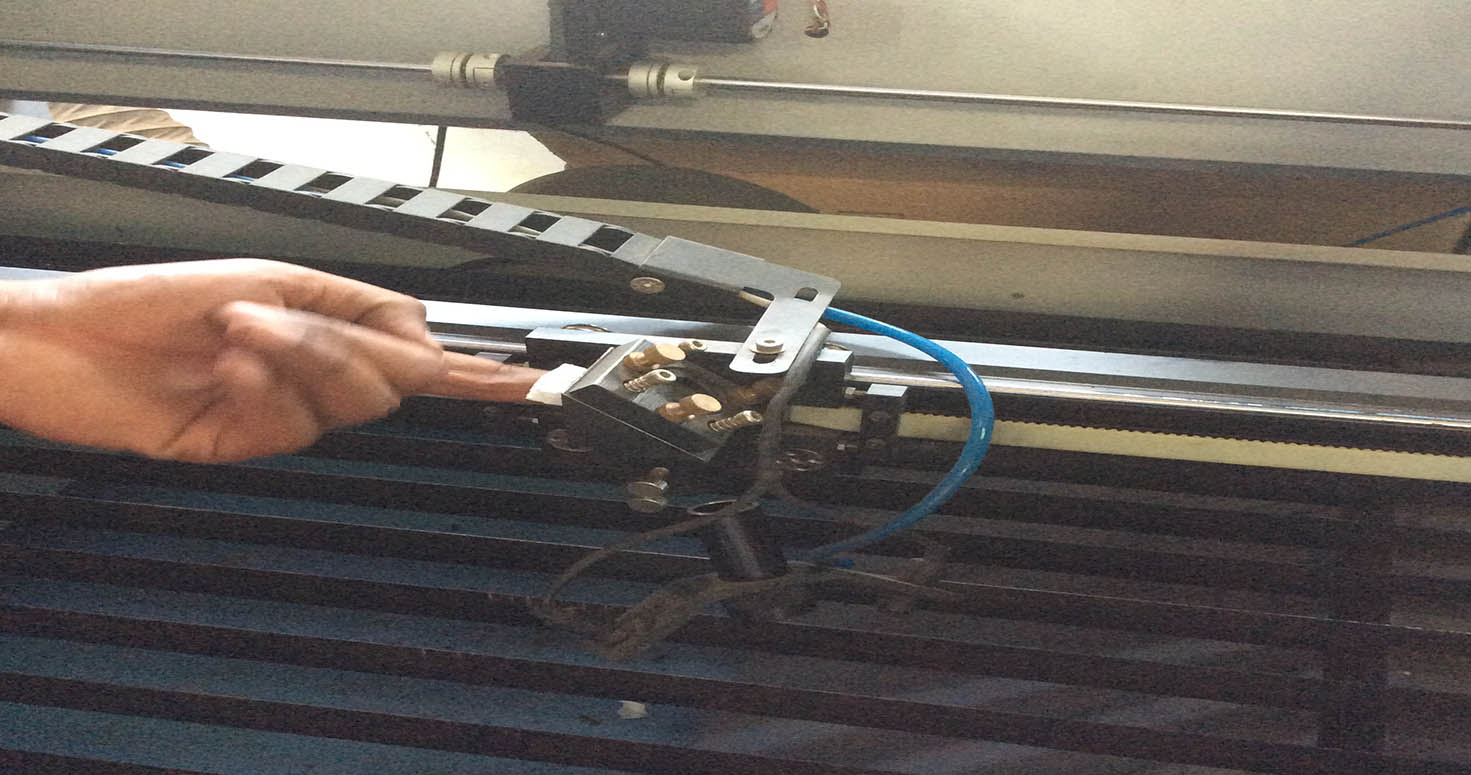
2. After designing, I went to Vinyl cutter, Our instructor Suhasji explained us its process and also showed us a sample by printing a gift box.
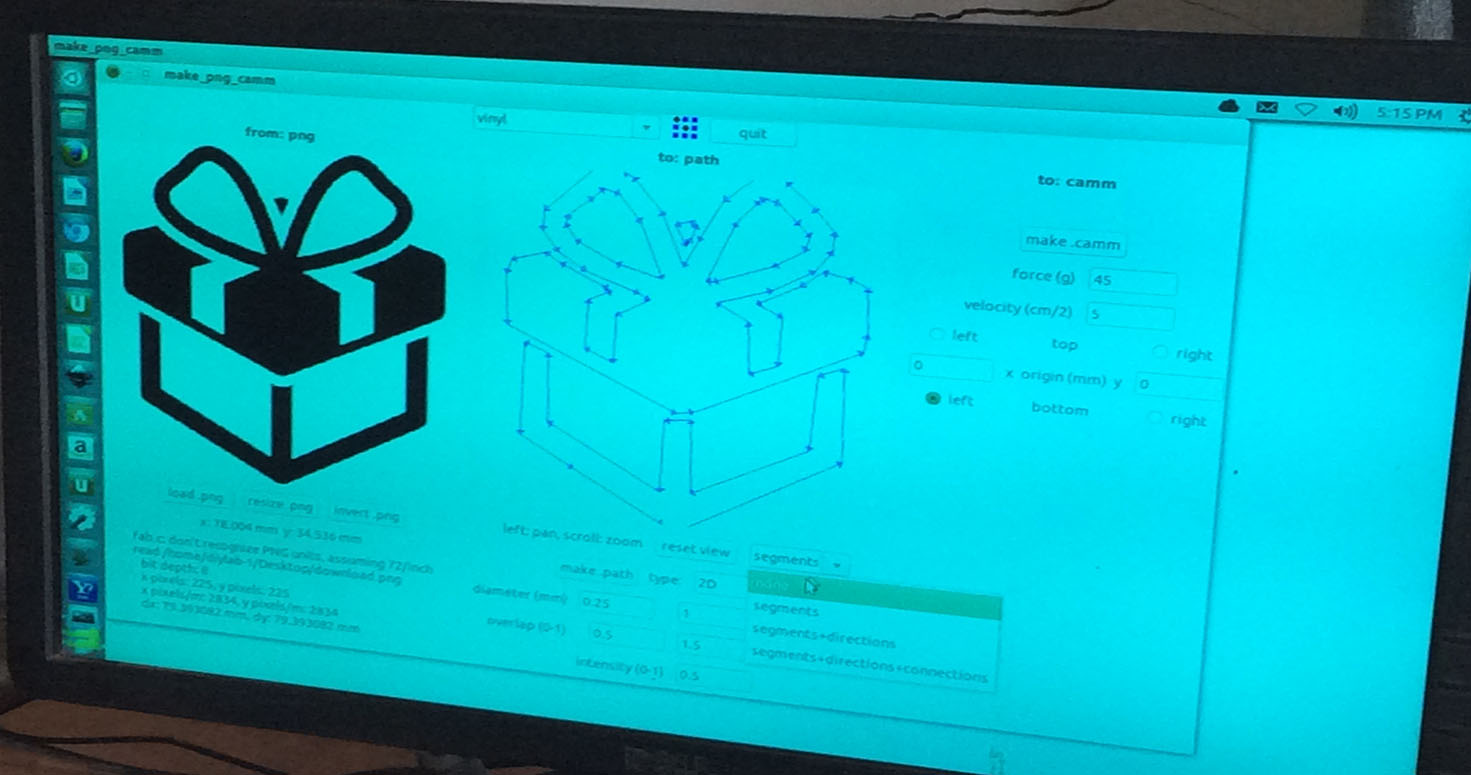
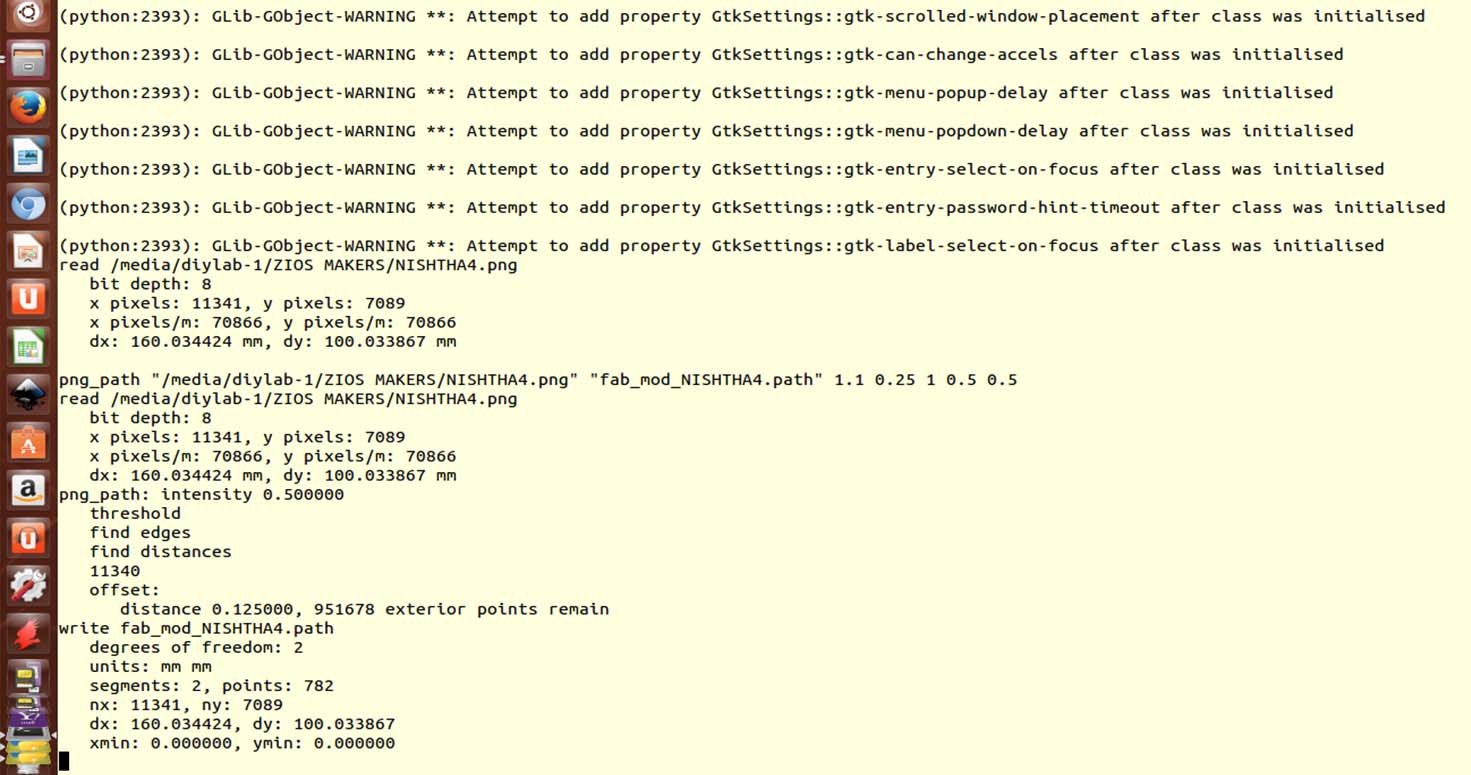
So after seeing its use, i used Fab mod through terminal ( sudo fab) and followed following steps.
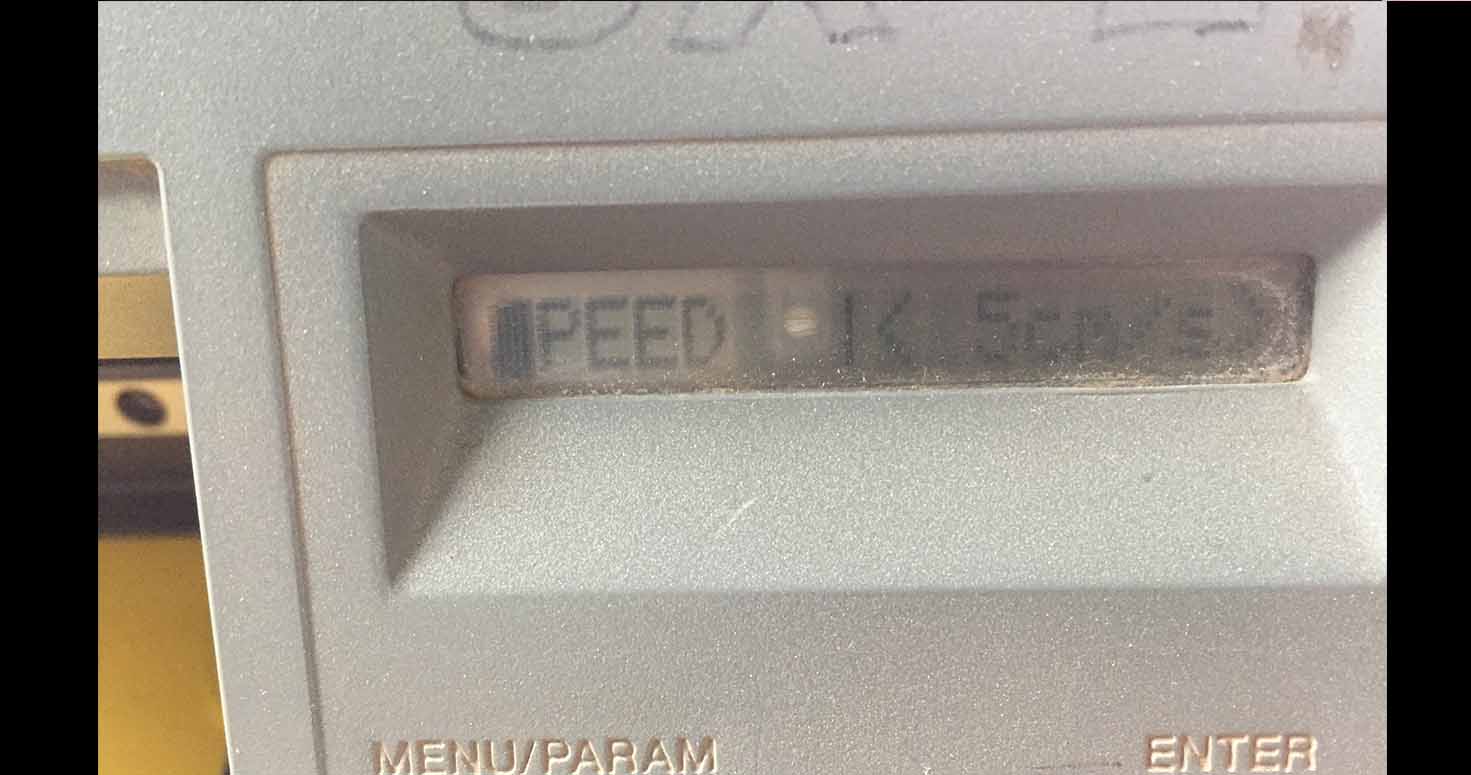
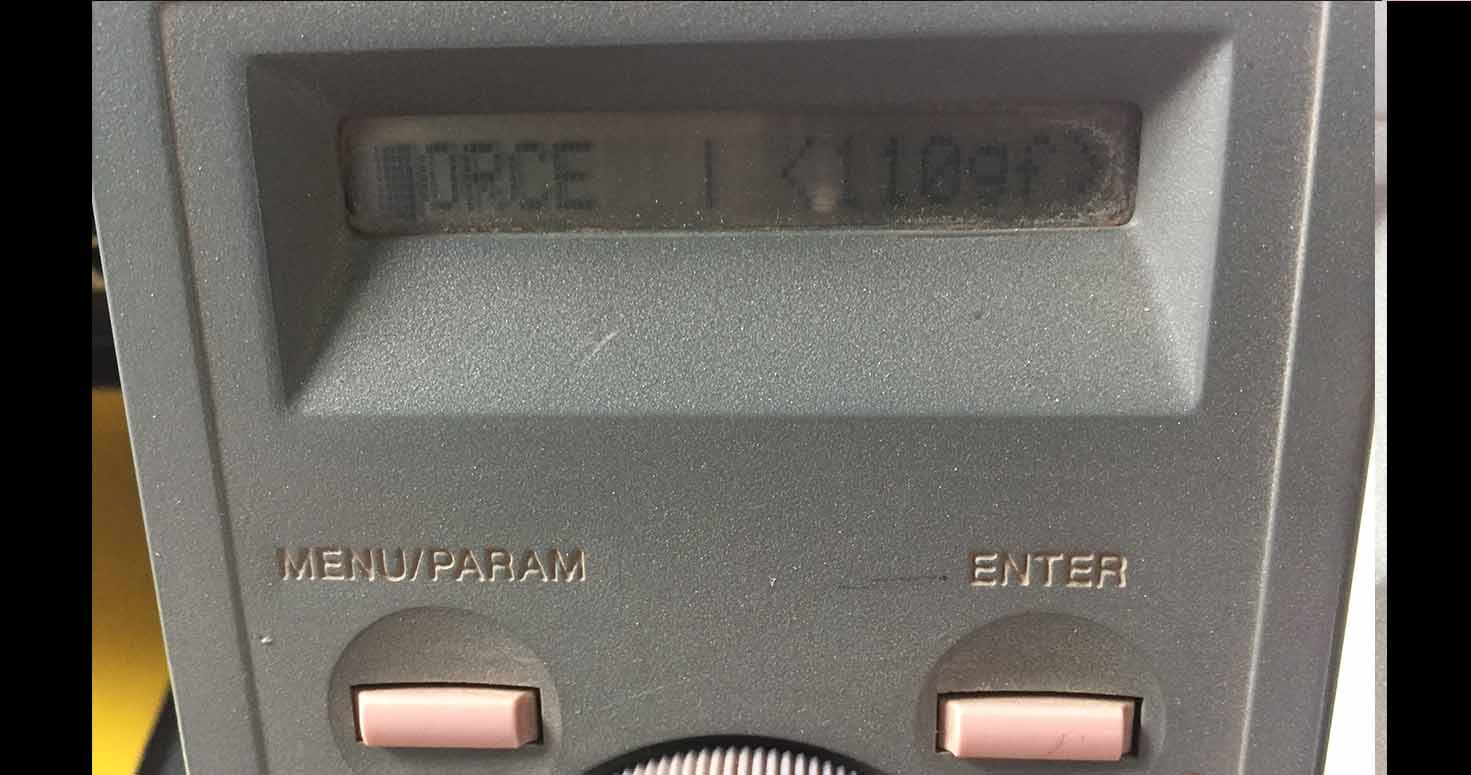
-Settings
-Force 110 gf
-Speed 5cm/sec
-Segments settings
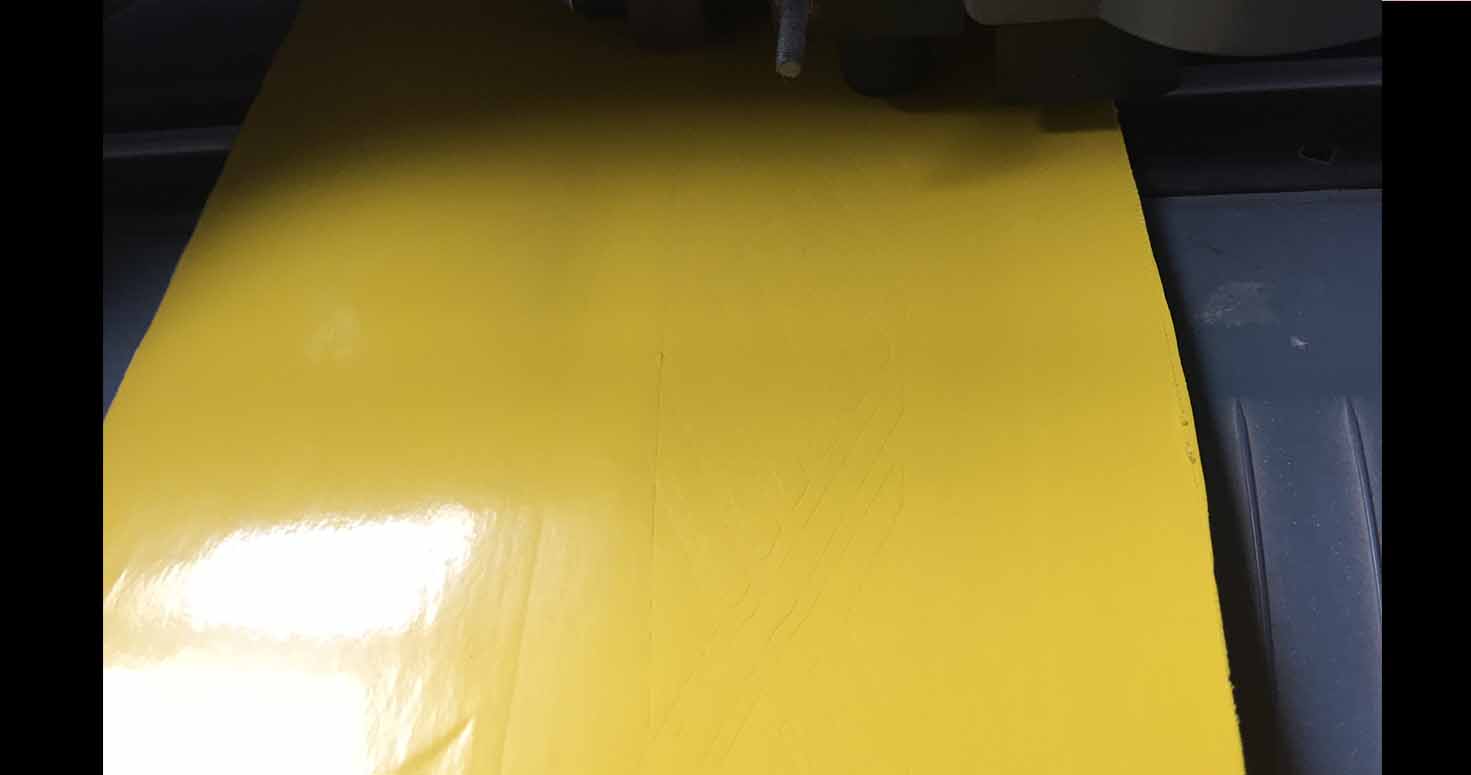
3. When my first output got printed, I saw that copper was tearing apart, I tried decreasing my force to 100 and tried again, and it was still tearing apart.
4. Then i asked my Co-partner and my classmate in fab academy Mahavir Singh to help me figure out as he himself was planning to use copper in his assignment.
So we spent almost 2 hours trying different speeds and forces.
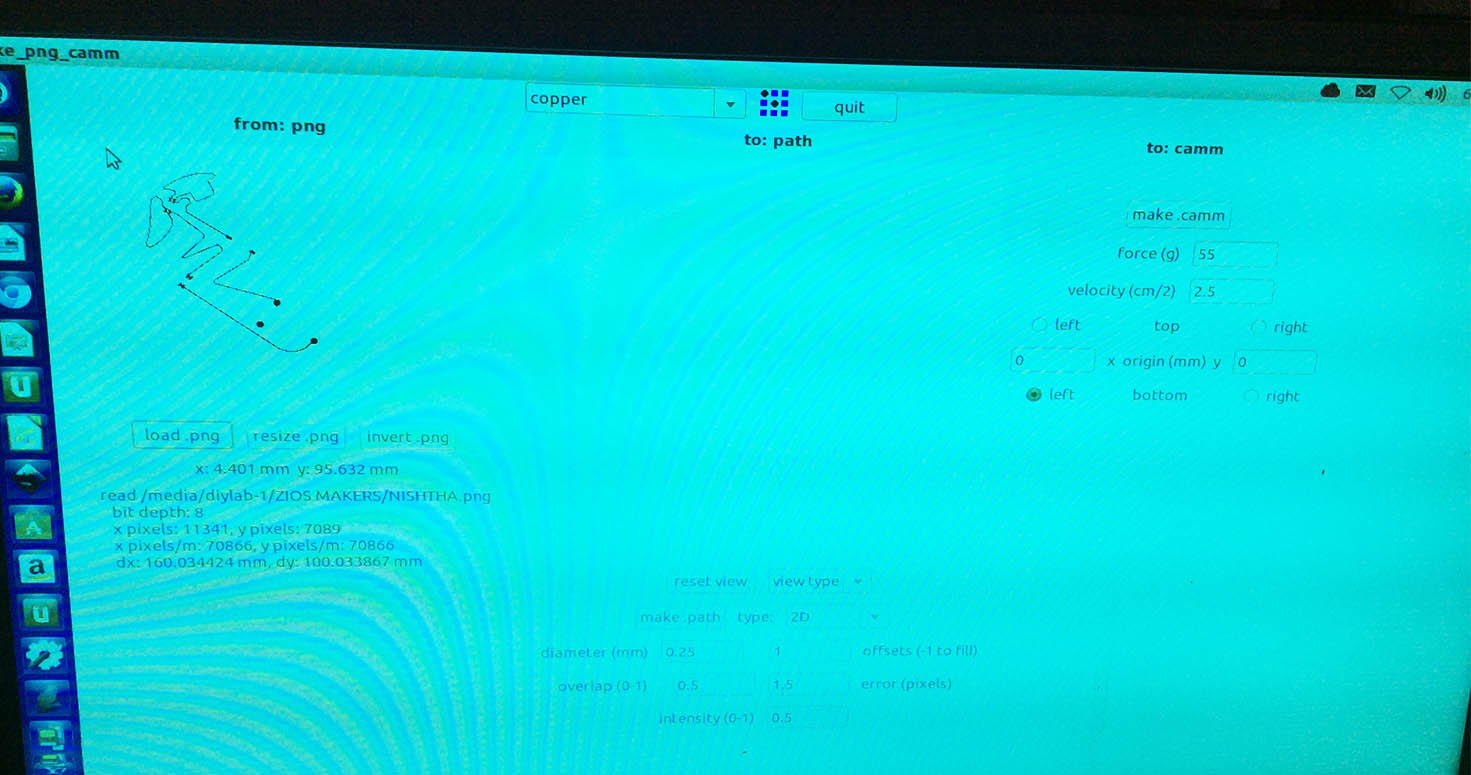
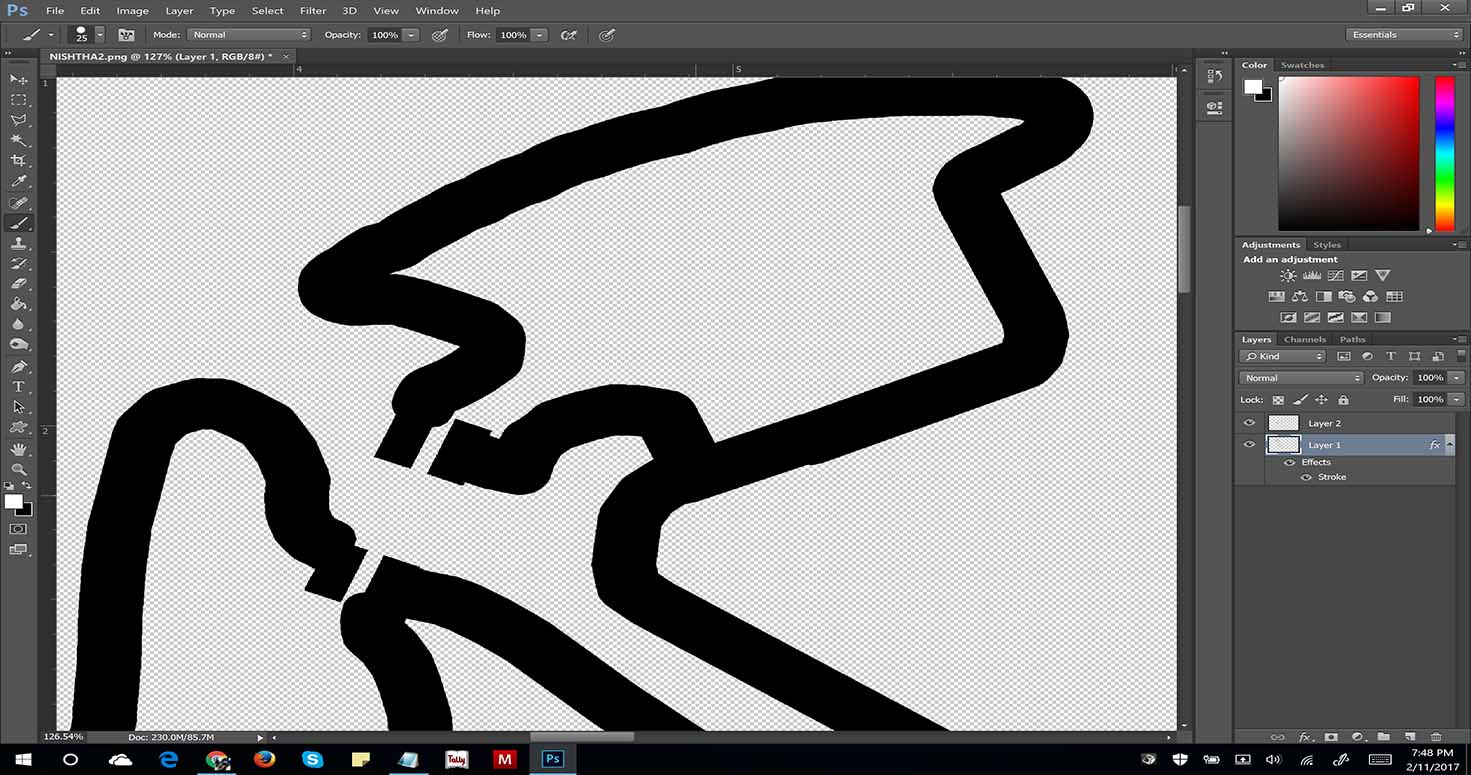
Finally realised that its not the force exactly, its the thickness of my circuit.I increased thickness, it again got tored up.
but then we pointed the points which had errors , edited them 3-4 times.
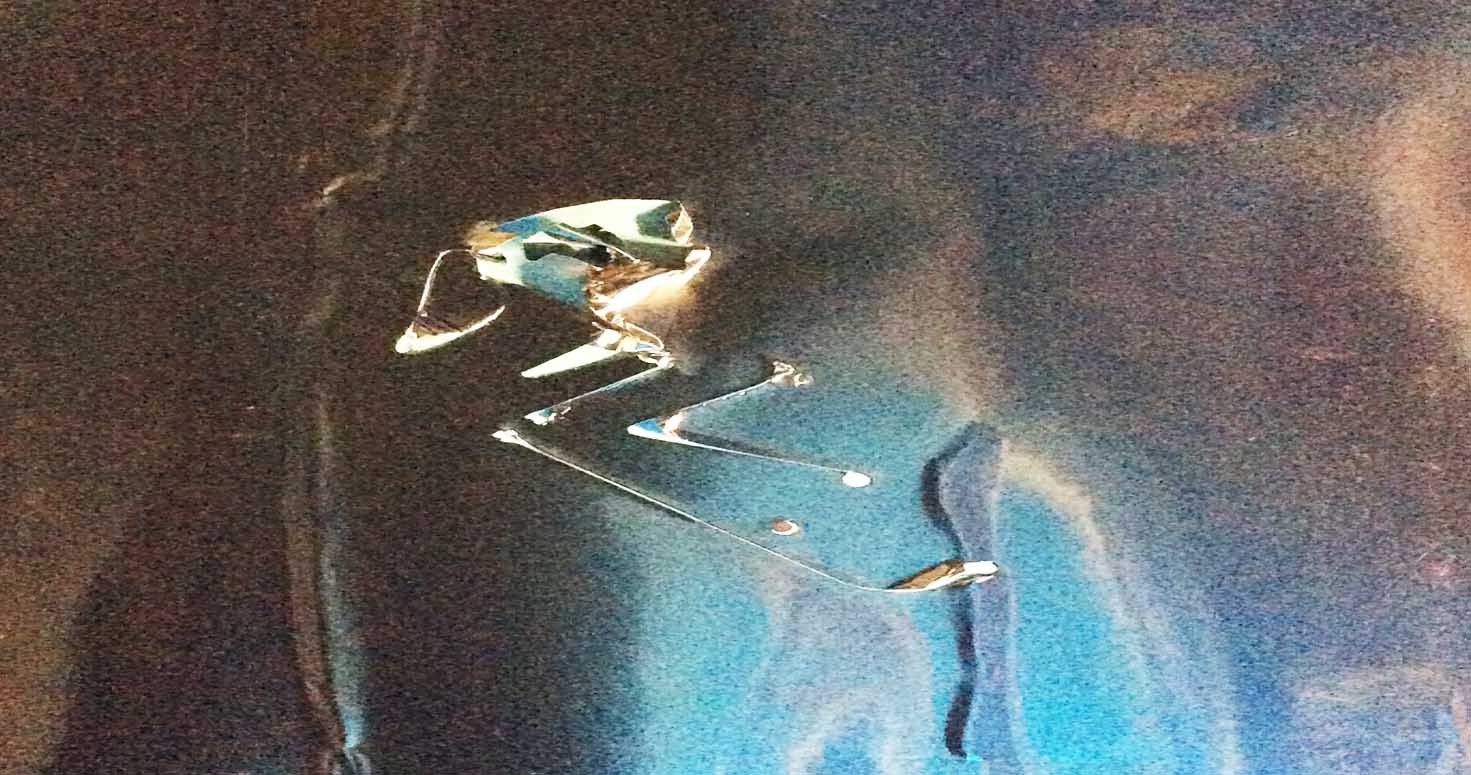
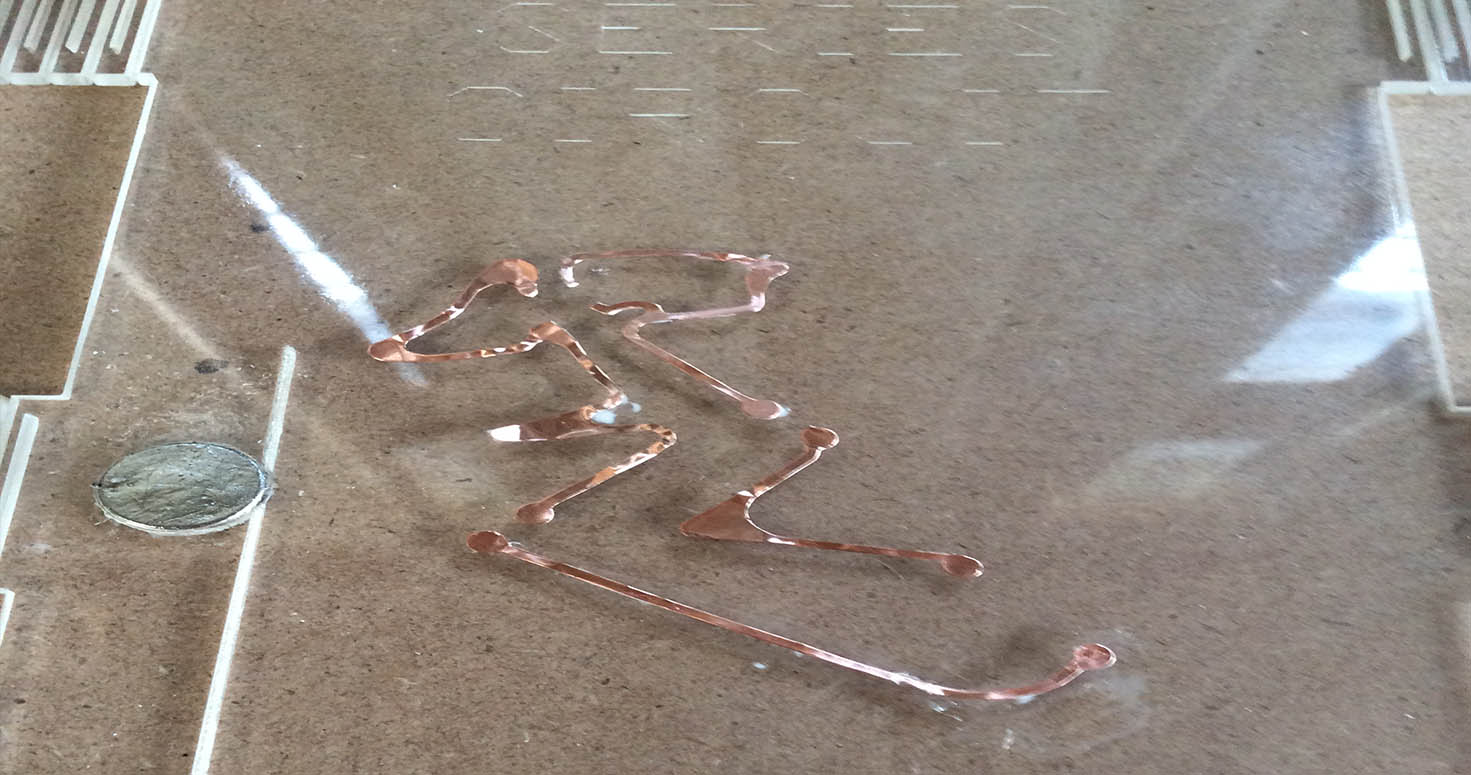
Finally , I was able to print my Circuit by editing in photoshop and giving right speed and force , that is,
FINAL RESULT:
DETAILS:
Speed: 1cm/sec
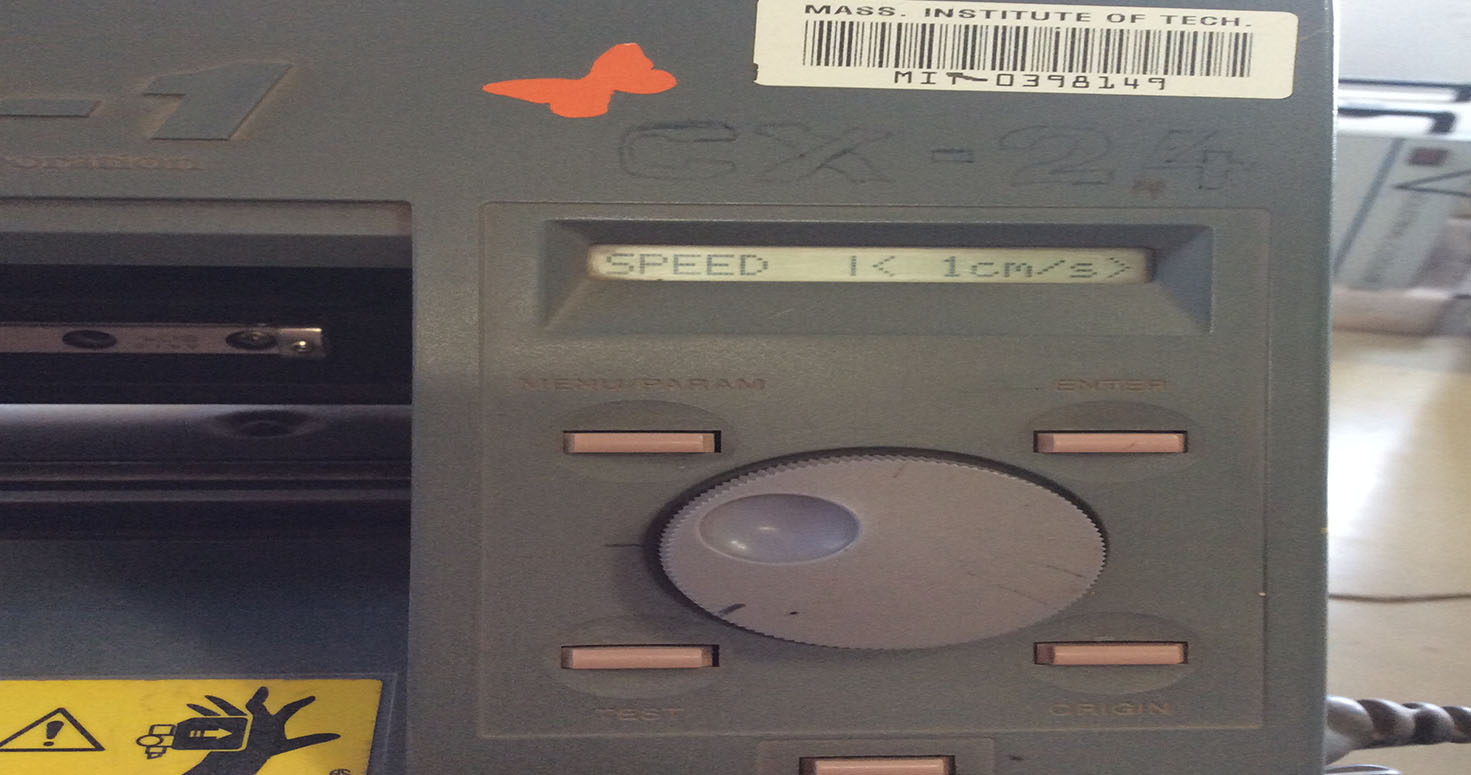
Force: 80

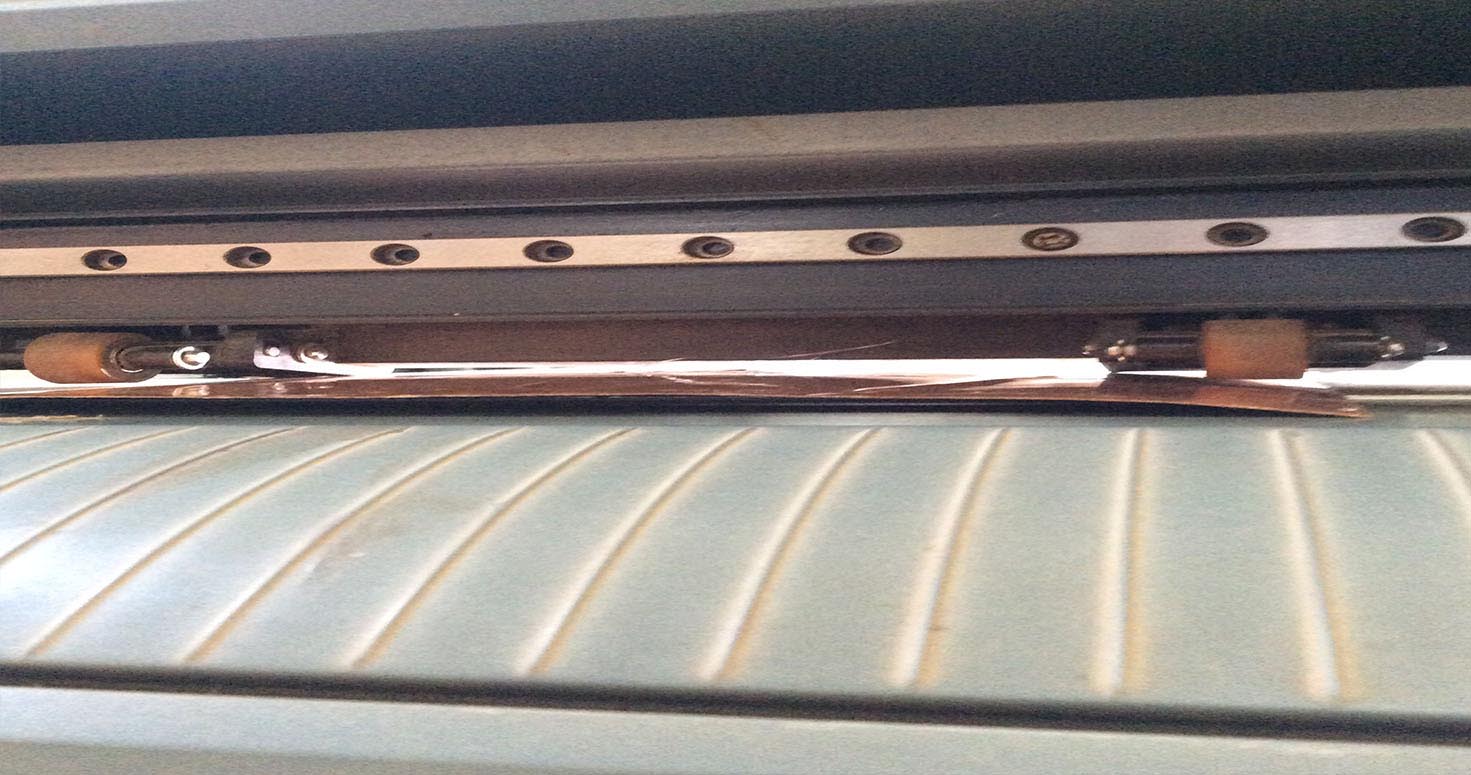
after Vinyl cutting , i went on peeling the copper sheet and Paste on my acryclic sheet.
My next step after printing my Vinyl was to collect all components and paste my vinyl on my laser cut book.
Then i went ahead to Solder my components, really great experience to connect my components one by one starting from LED to switch to Battery.
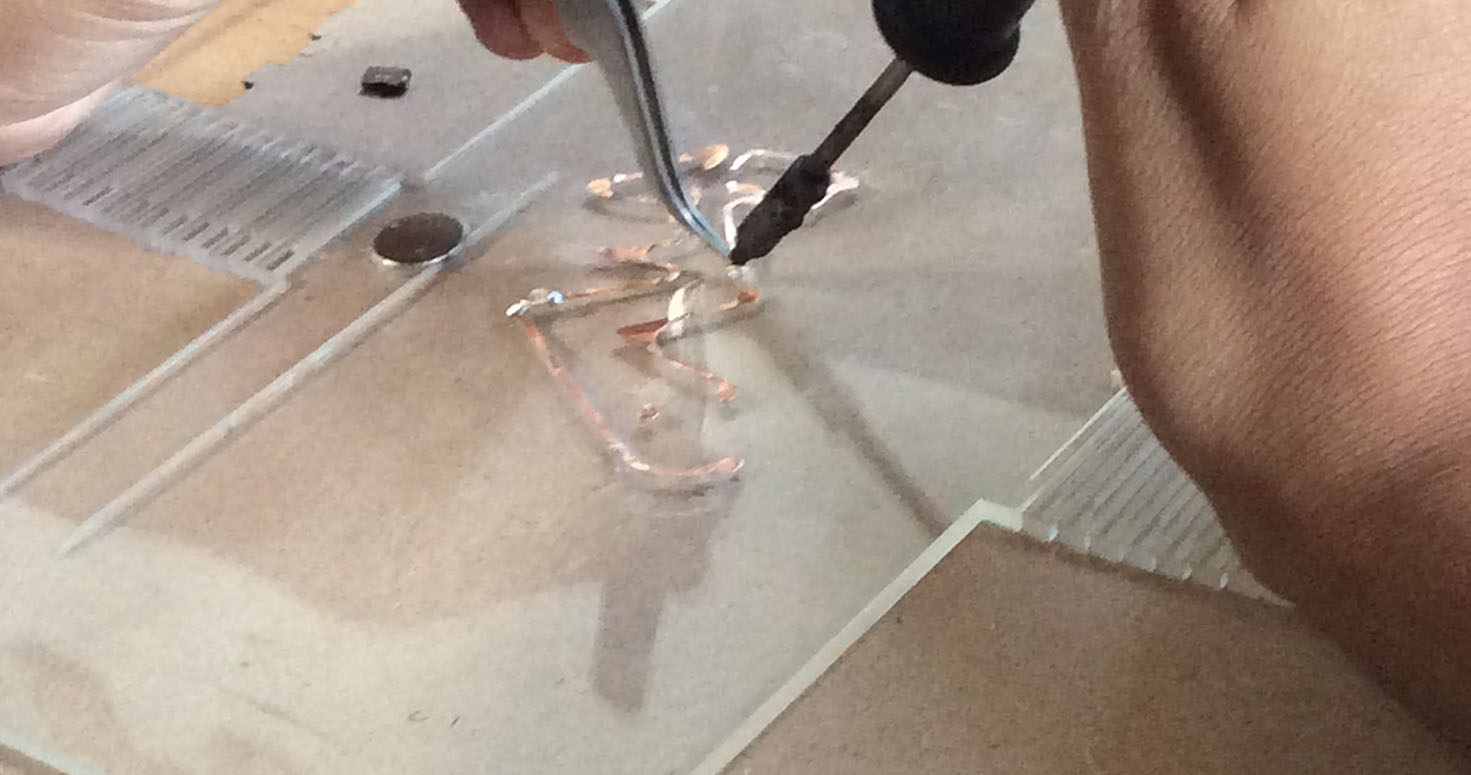
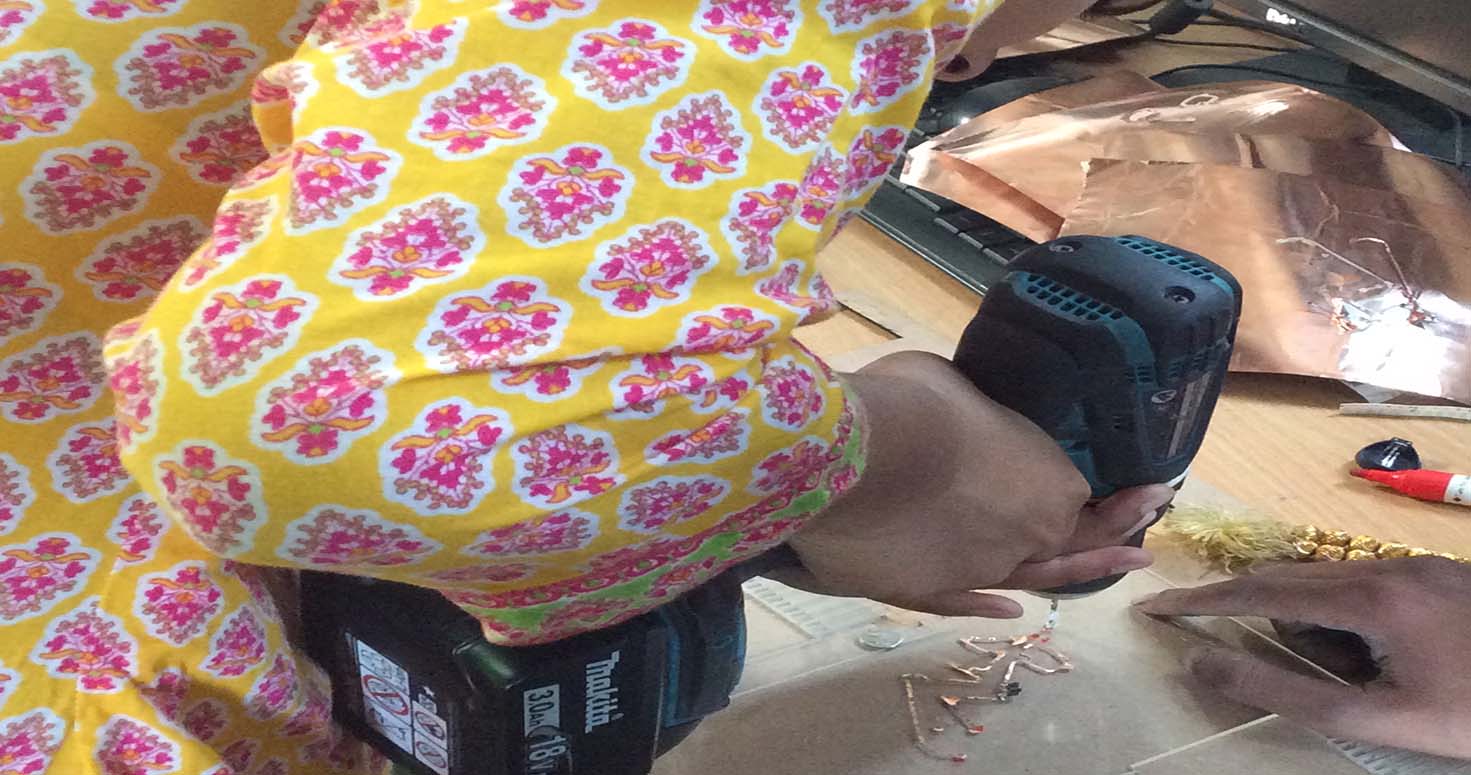
After soldering, i went ahead drilling and marking
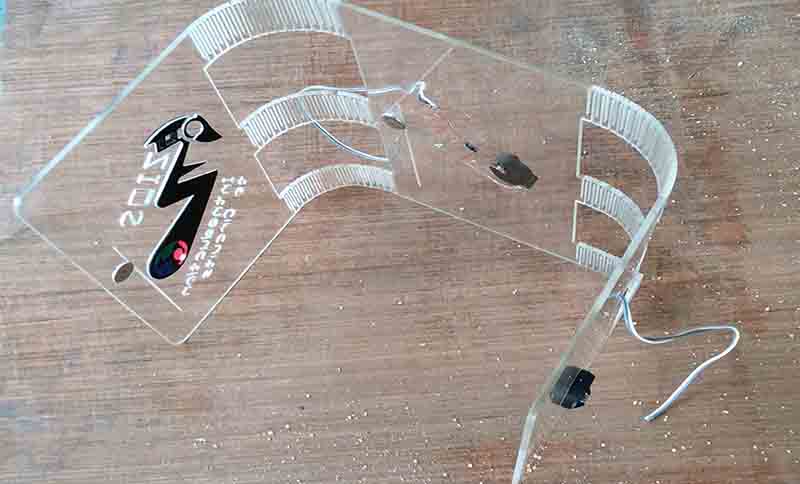
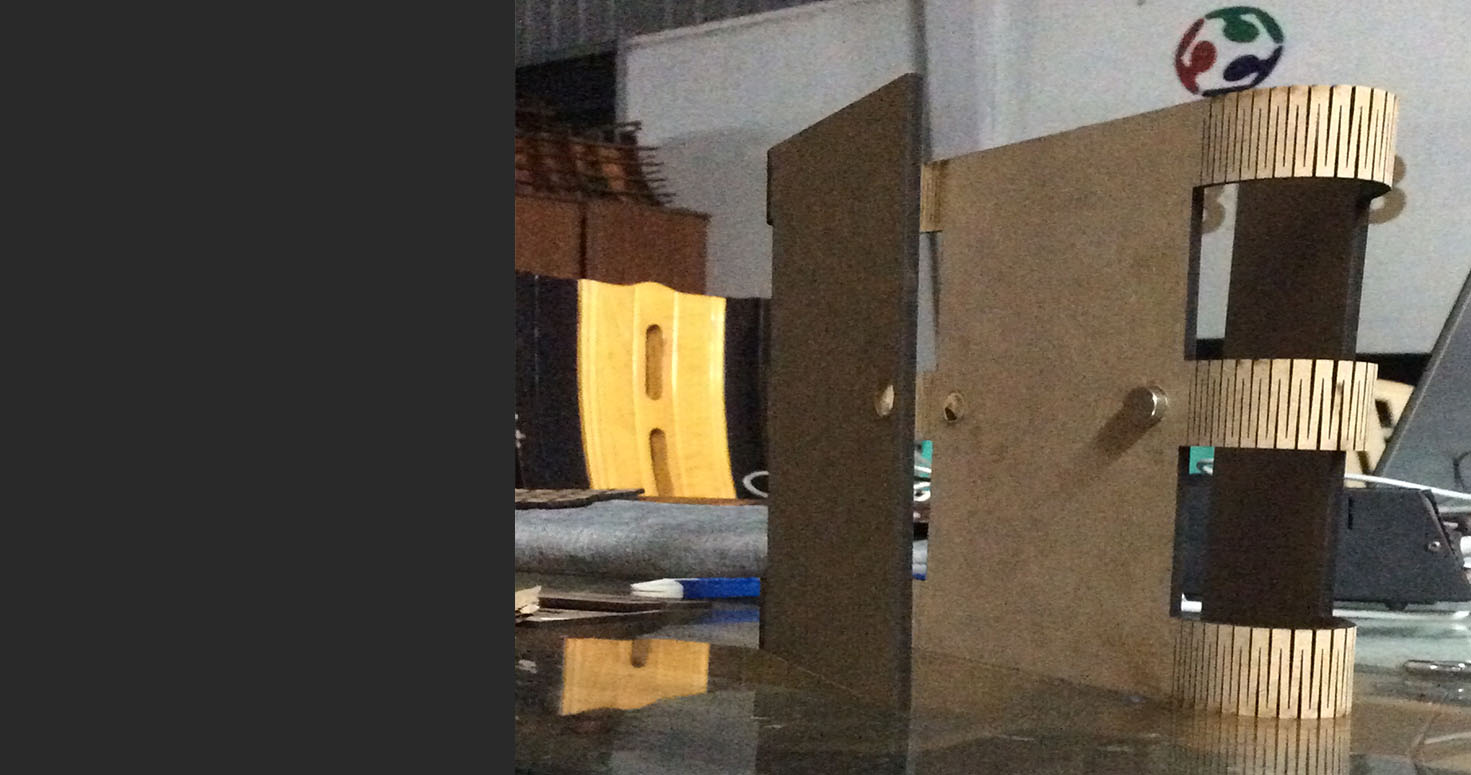
MY FINAL Product: It is an acrylic book which i laser cut with live hinges and engraved the text. Addition to it, i also pressfit magnets to close book.
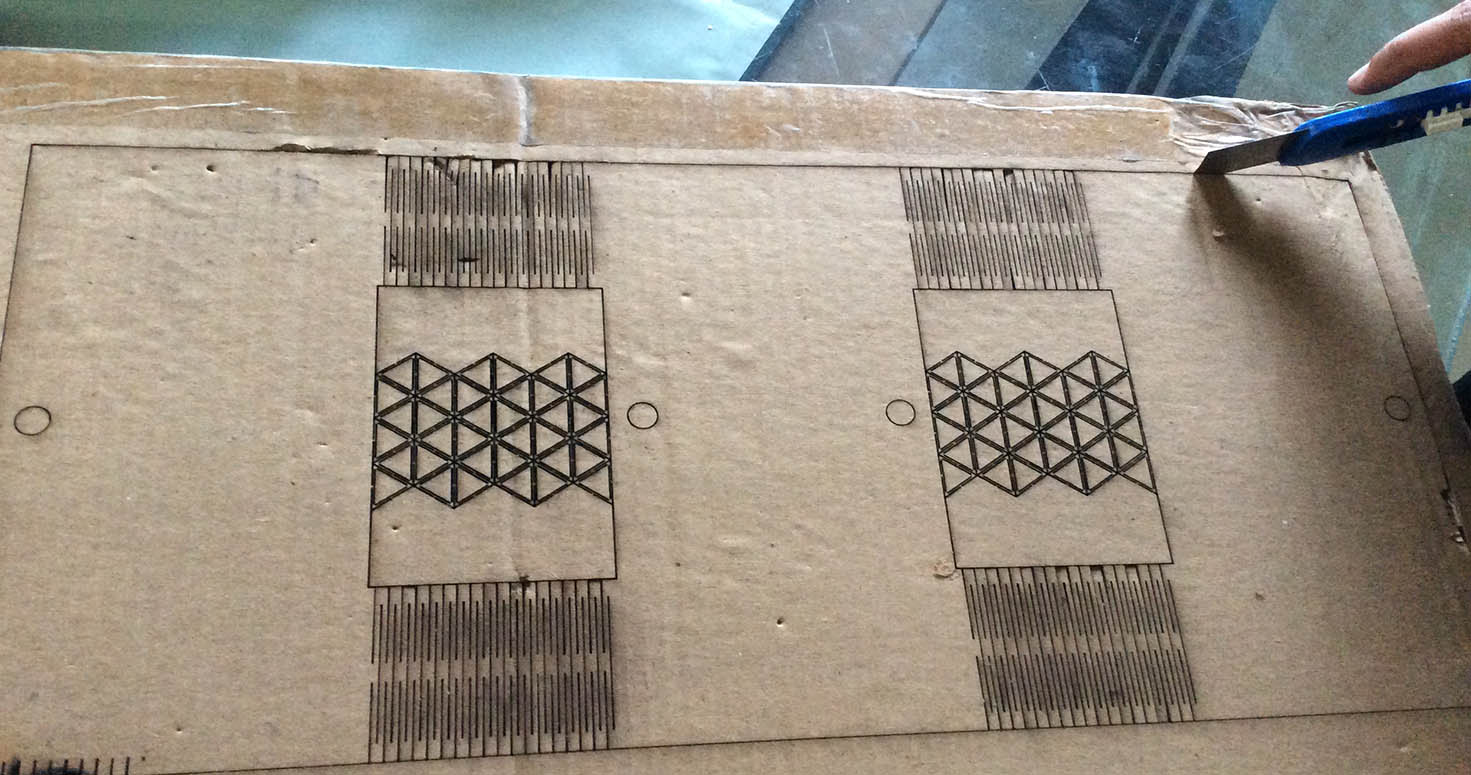
BAND PATTERN
I also cut a pattern of strips for my final project , that is for my RFID band
In this i uploaded the sheets within the white marks on the machine
Speed is 5cm/sec and Force is 110 gf
Download Pattern
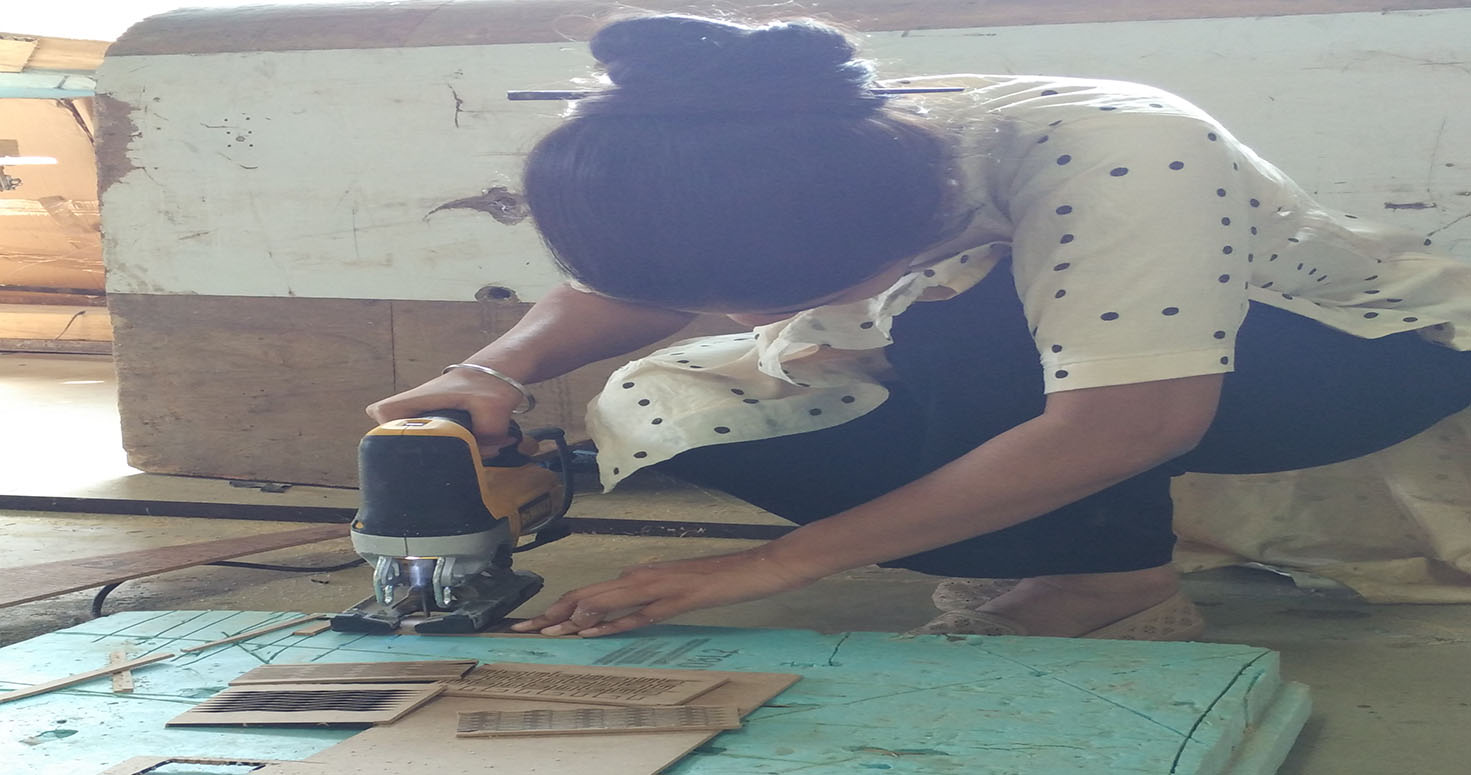
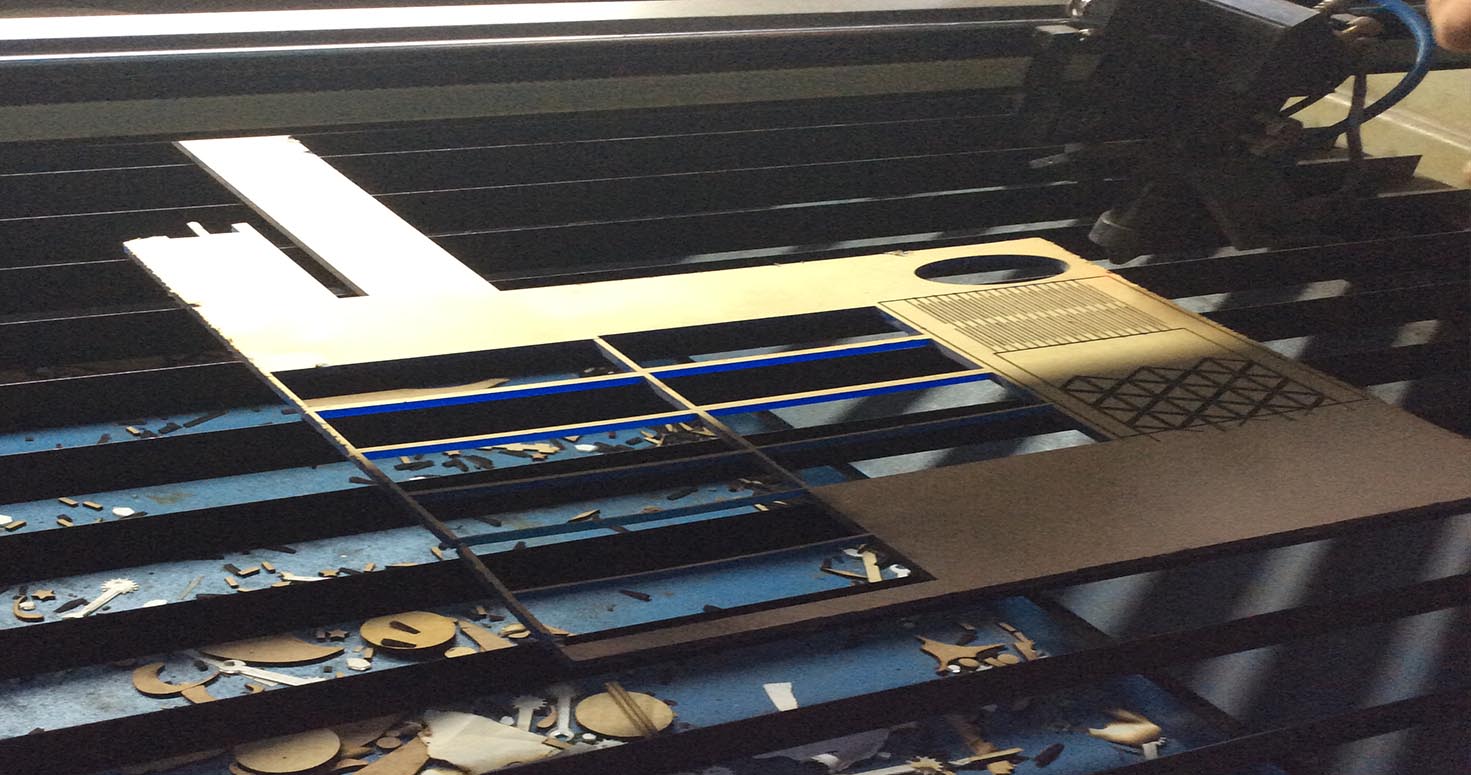
2. Laser Cutter
We used SIL 3x2 Laser cutter, Our instructor introduced us with the laser cutter, its variations and different speeds.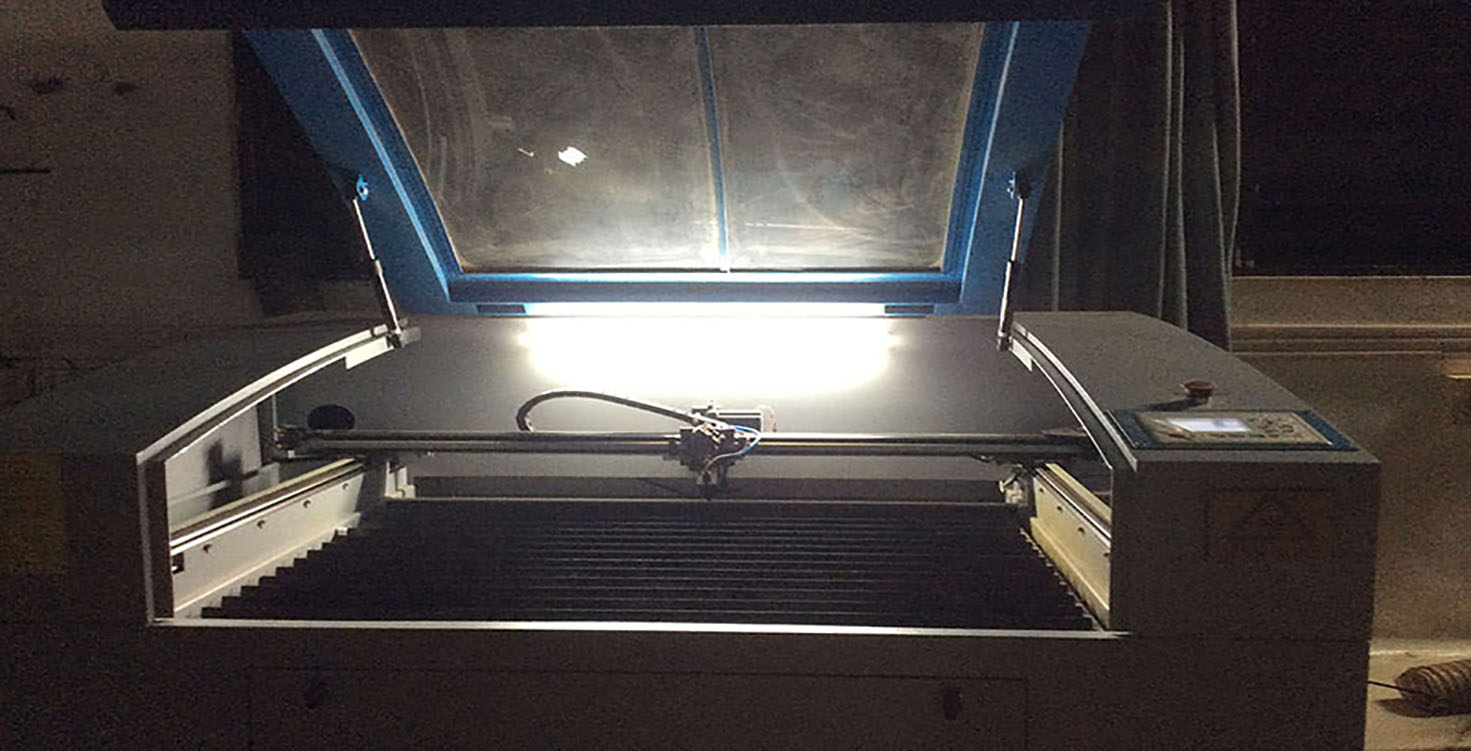
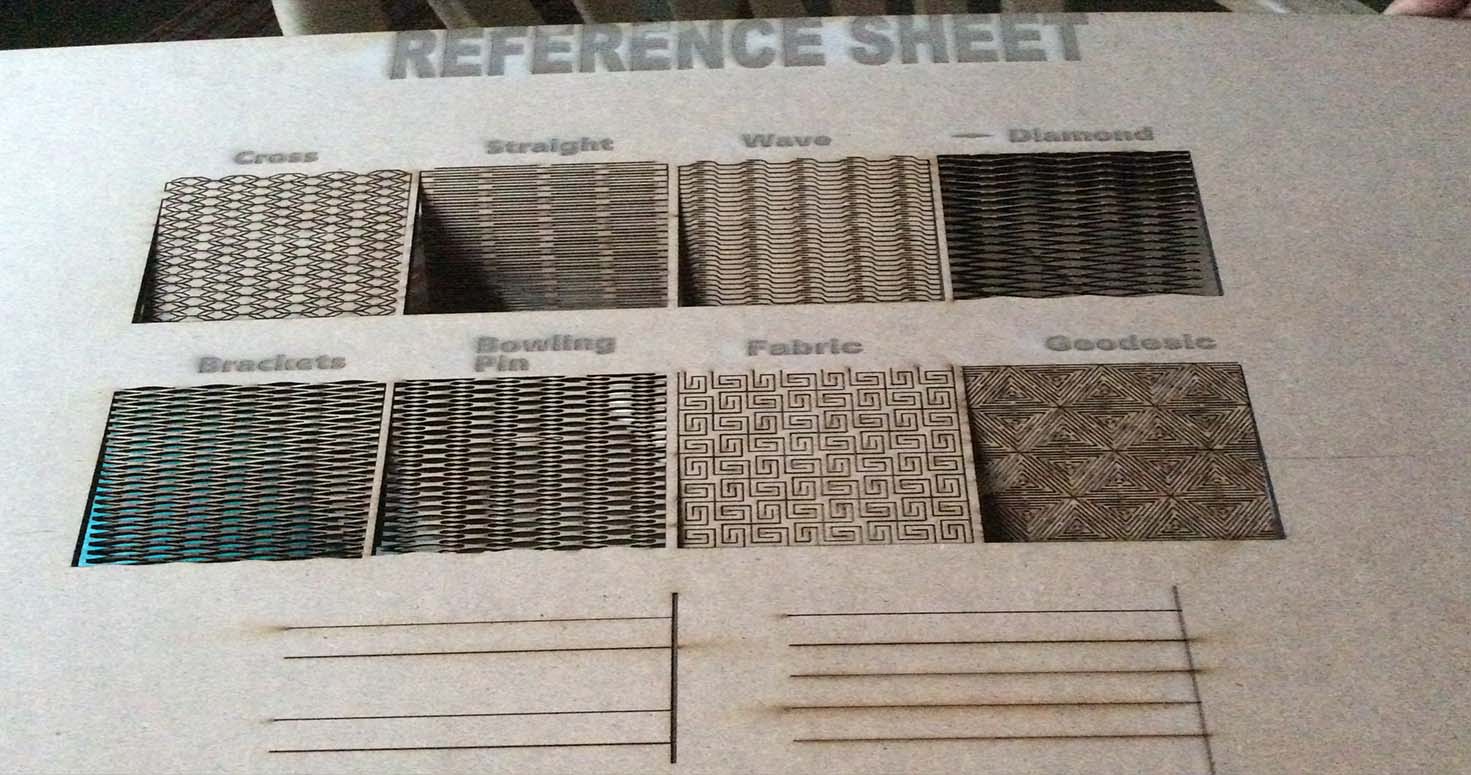
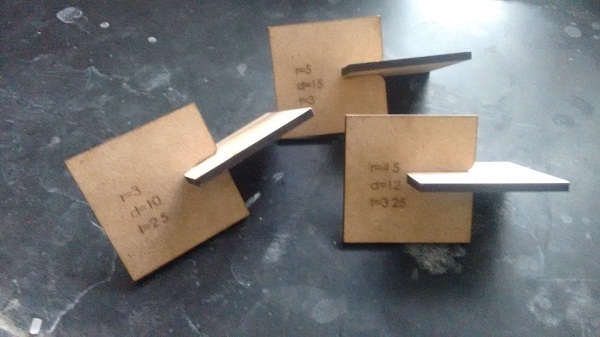
GROUP ASSIGNMENT: We all tried and tested different pressfits, joints, locks , few of them parametrically and gathered them on one file
and printed a big sheet as Module for refernce for our lab showing diferent settings and its cuts.
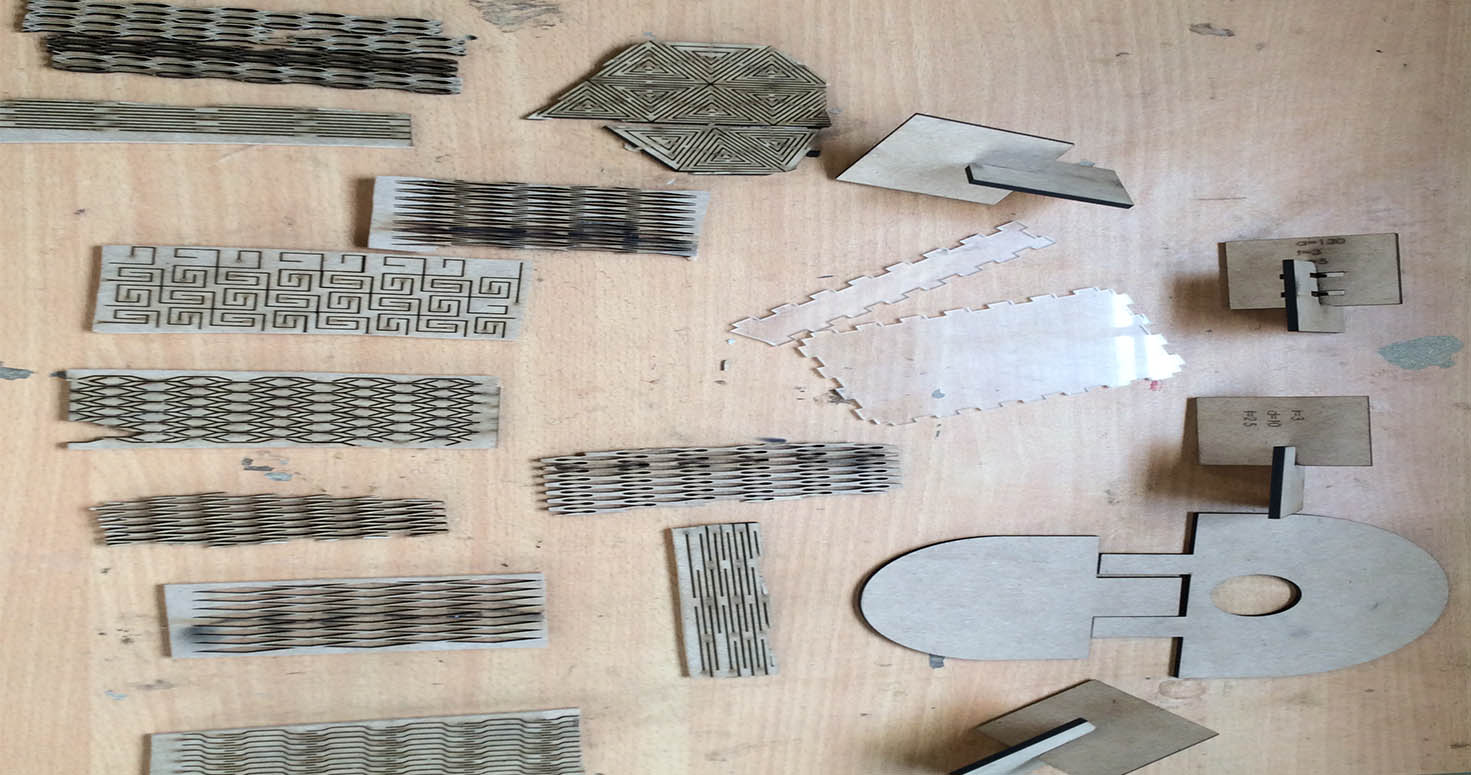
My contribution was these curves which i designed and cut which can be used by my classmates in their final projects if they have joints or curves in design.
The below image was a try. It broke before i could document it while everyone were checking which hinge fits well to which project.
We further designed a module for reference in which we put all the right fits and press fits and hinges.
Download Hinges file
We also discussed and together explored parametrics on Flatfab and Solidworks.
Where, we chose Chamfer and designed its pressfit, so change in one element in the design table also changes other parts of the design.
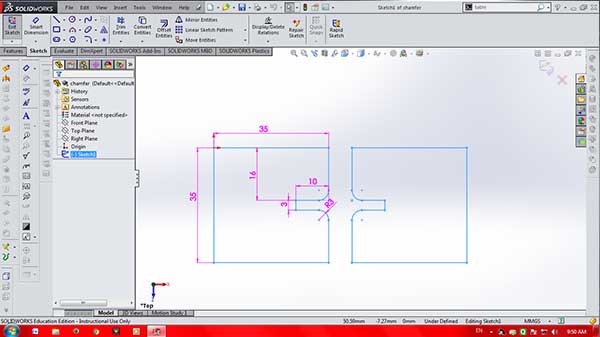
Designing the Chamfer
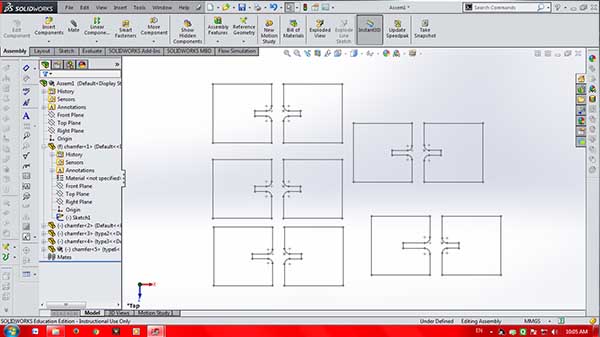
Design Table

Pressfit
Download CHAMFER
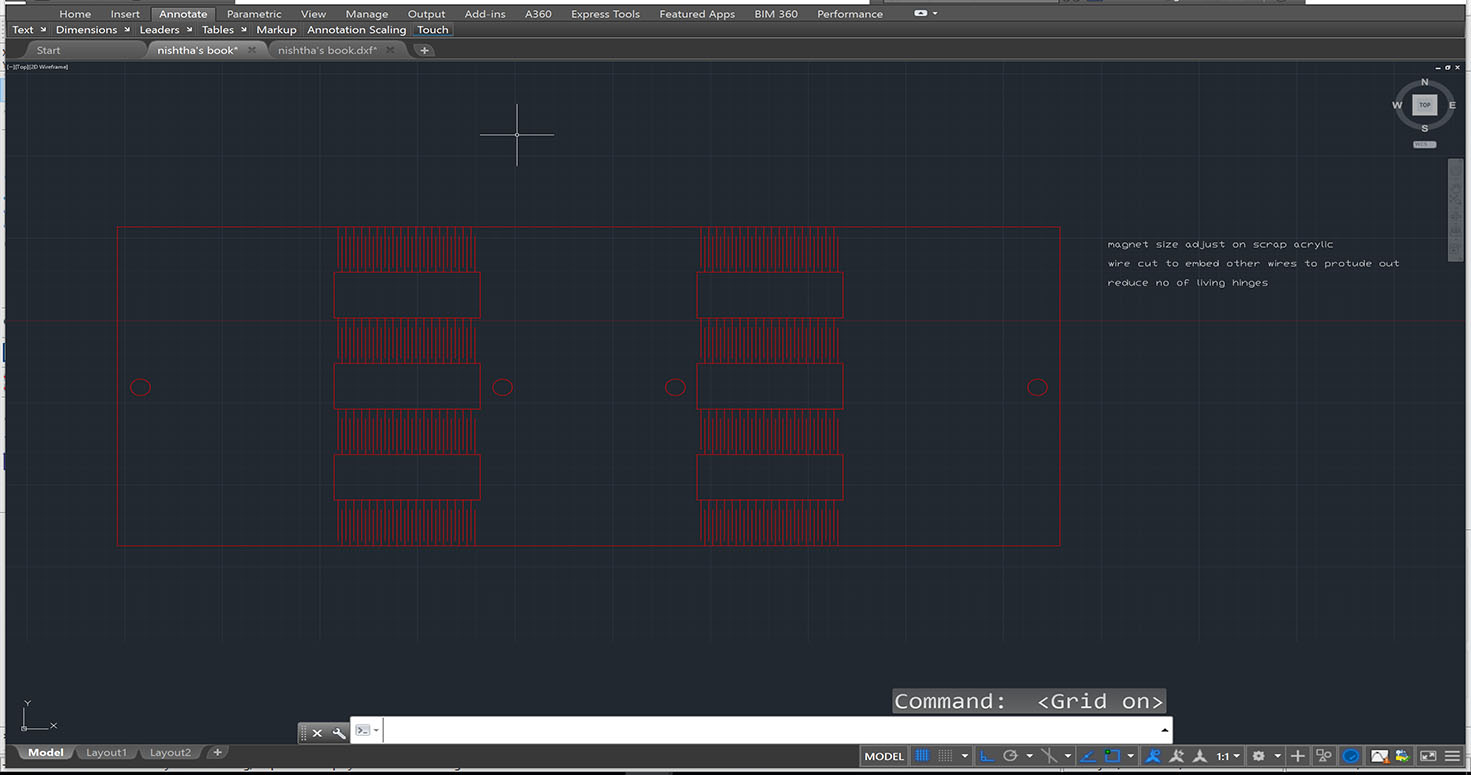
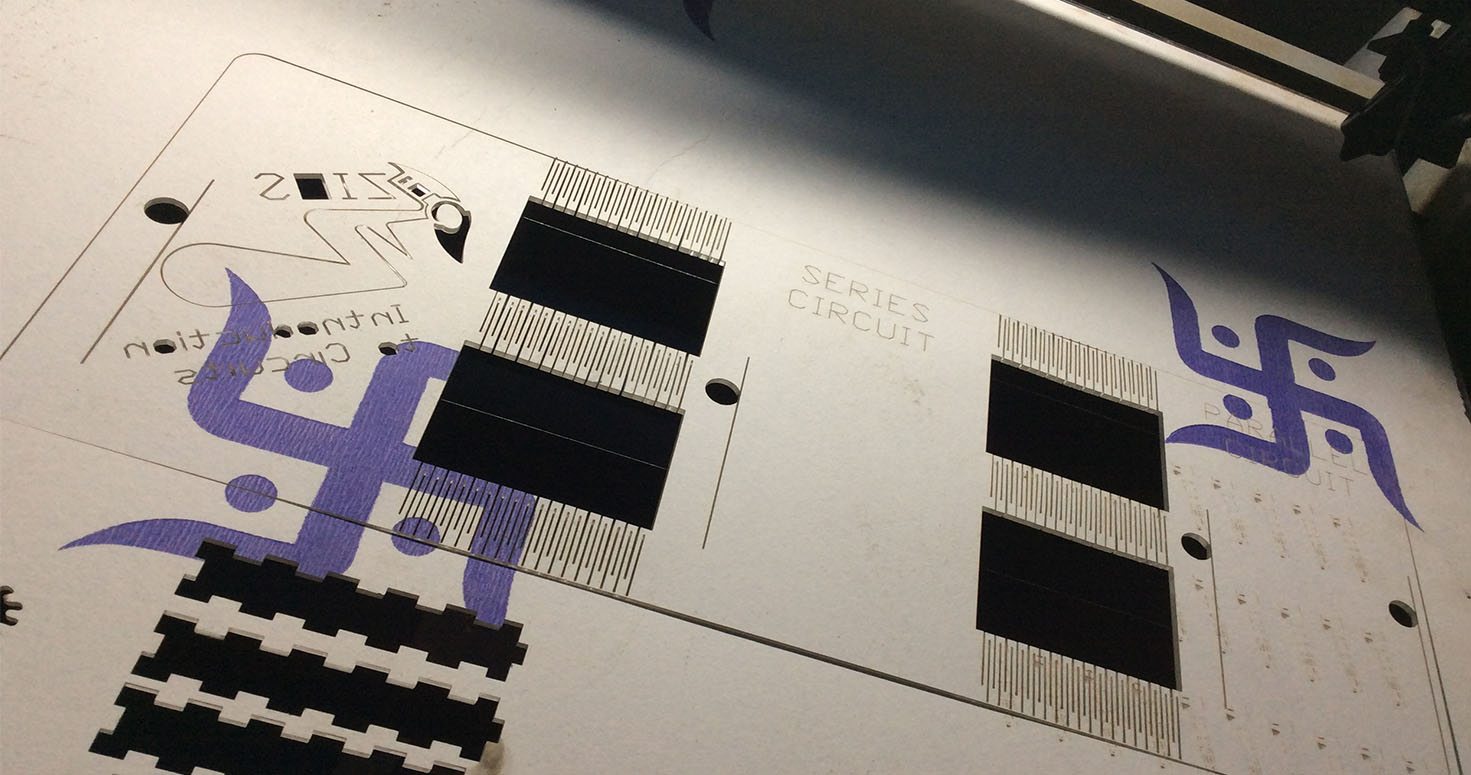
INDIVIDUAL ASSIGNMENT: I laser cut the booklet designed for educational purpose to learn about electric circuits. I also included two different types living hinges, magnets to close them and electric circuit (Series) and engraved welcome line.
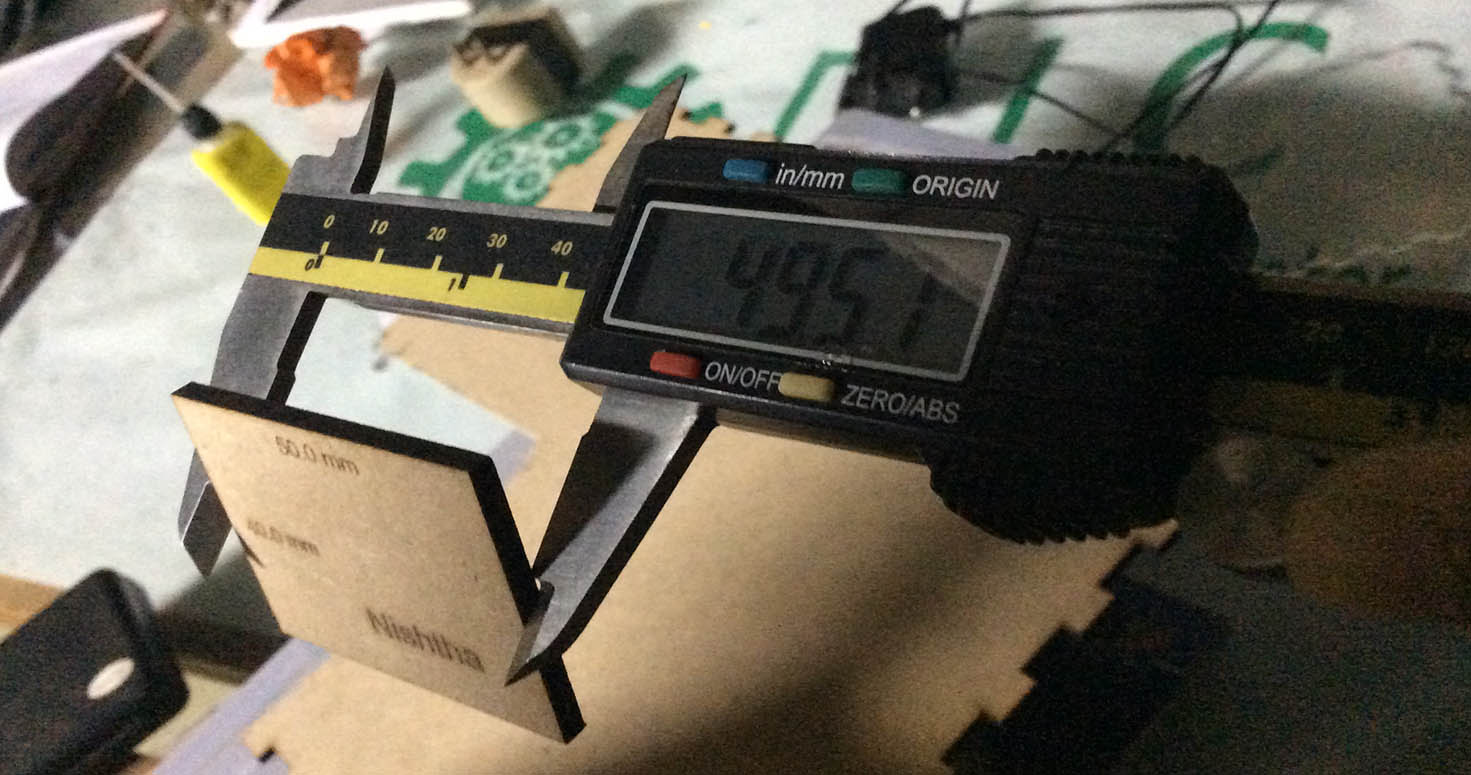
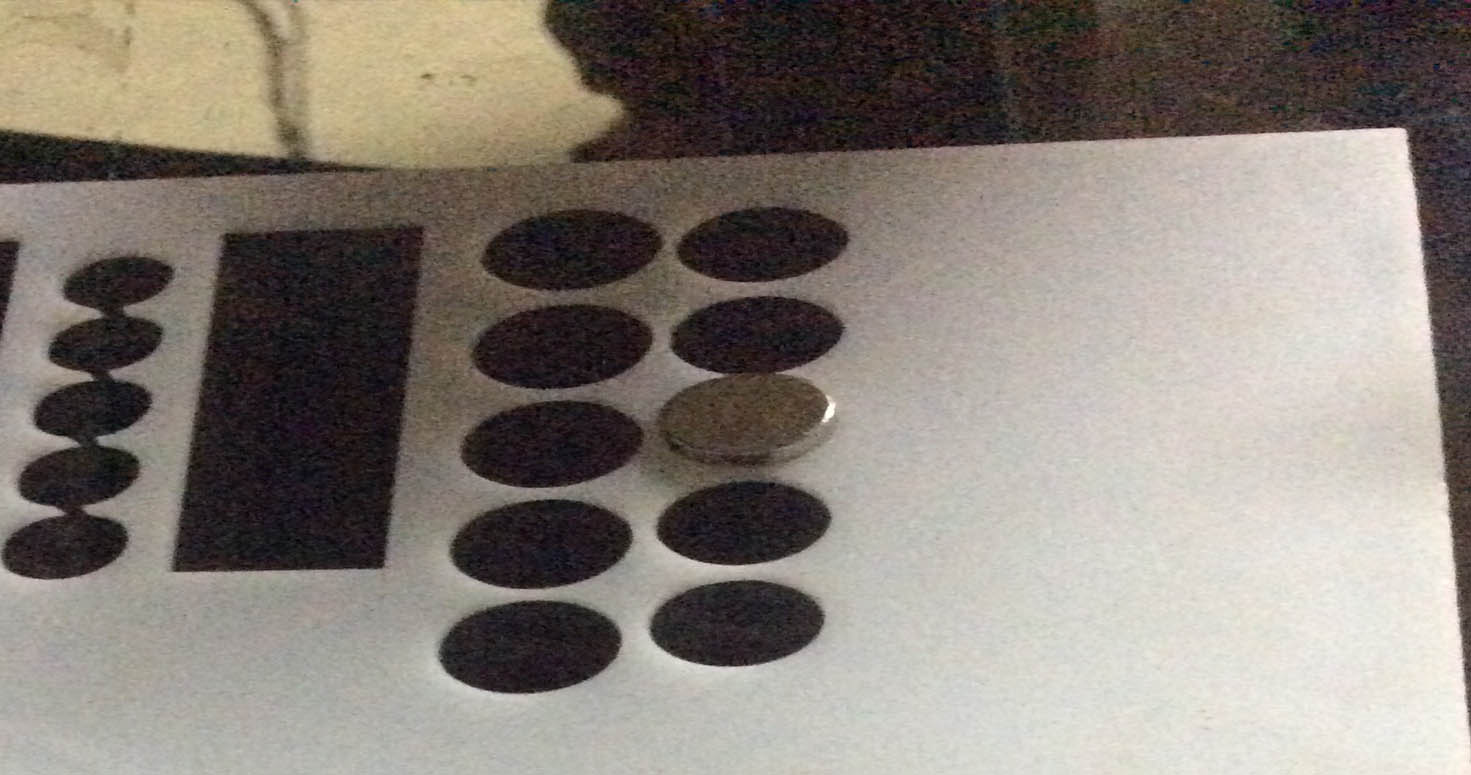
Before any laser cutting, I checked the size of the kerb.
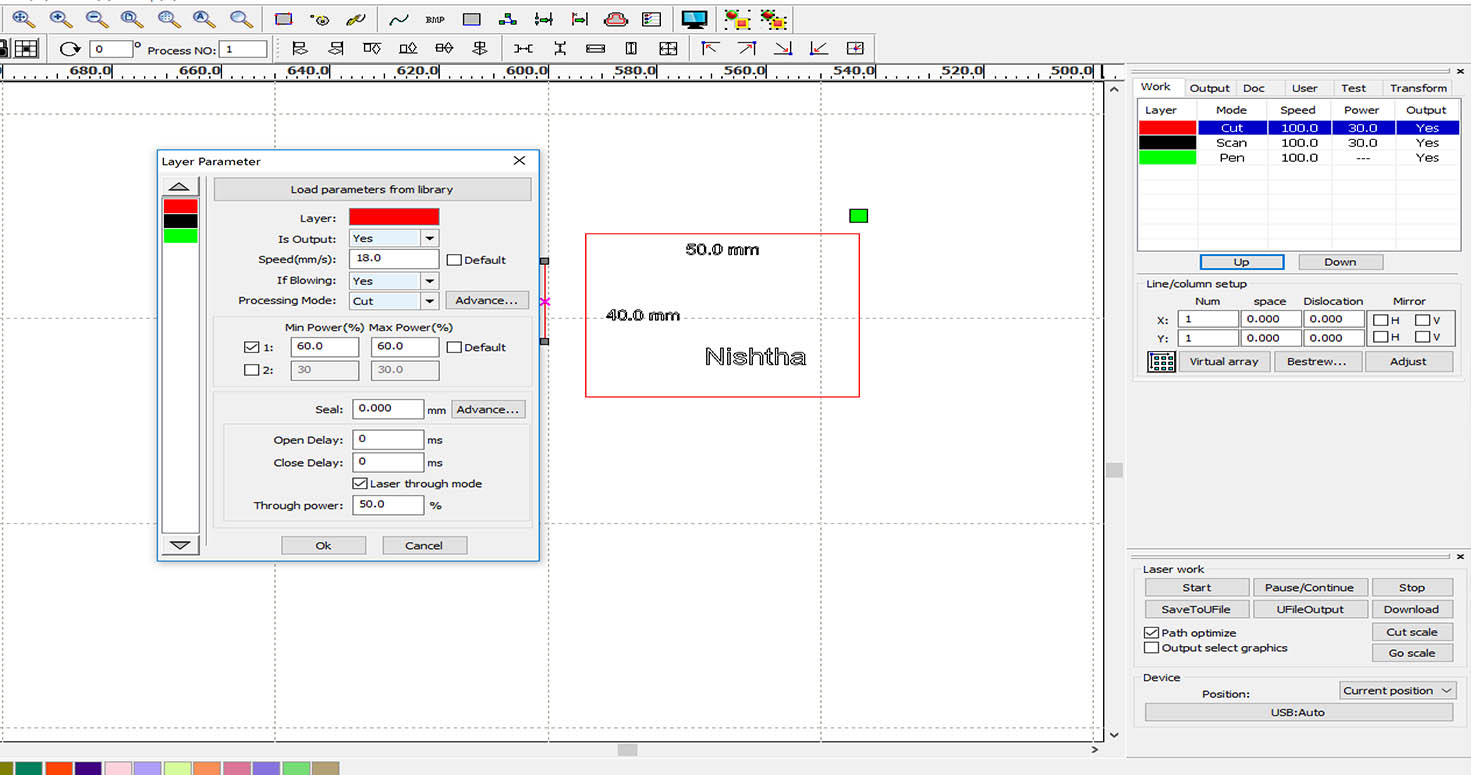
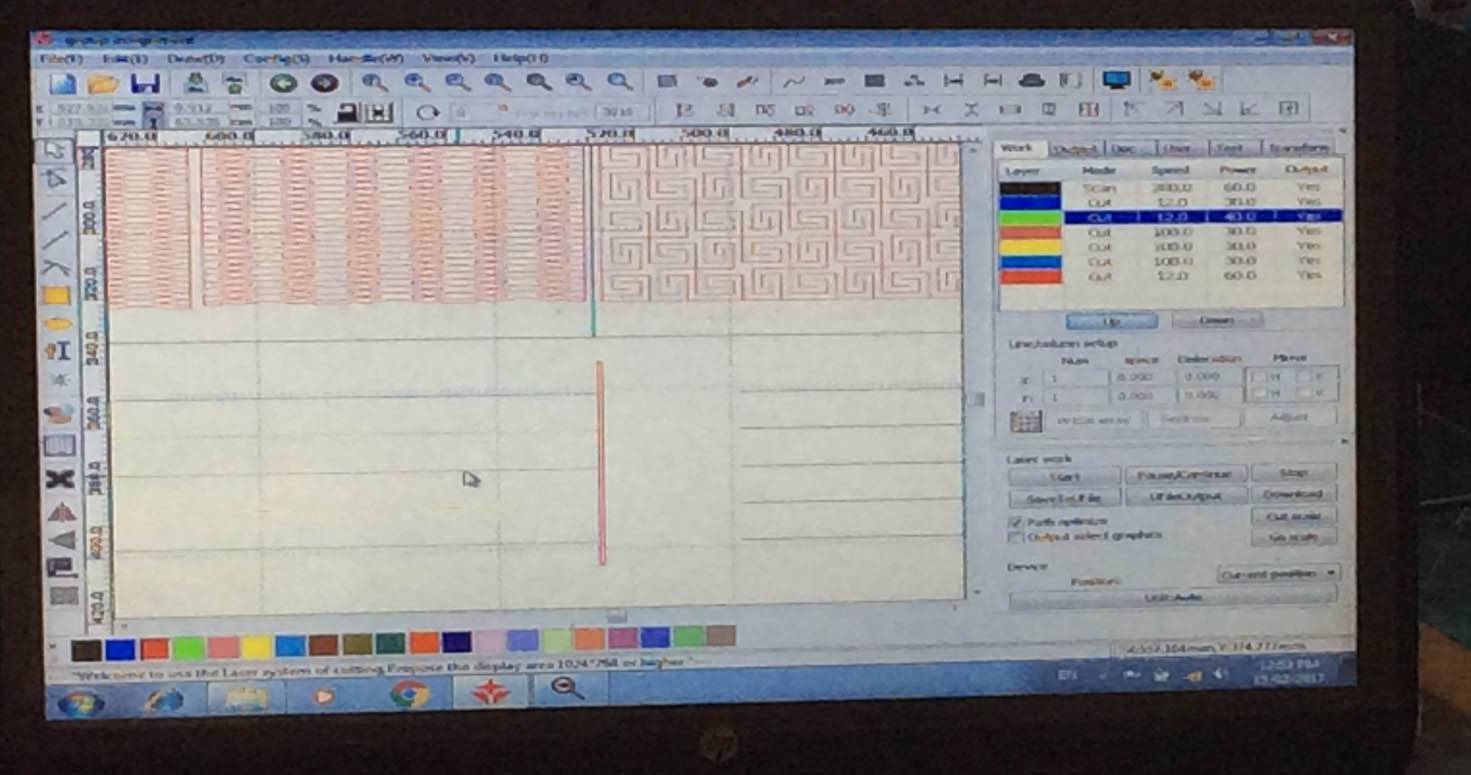
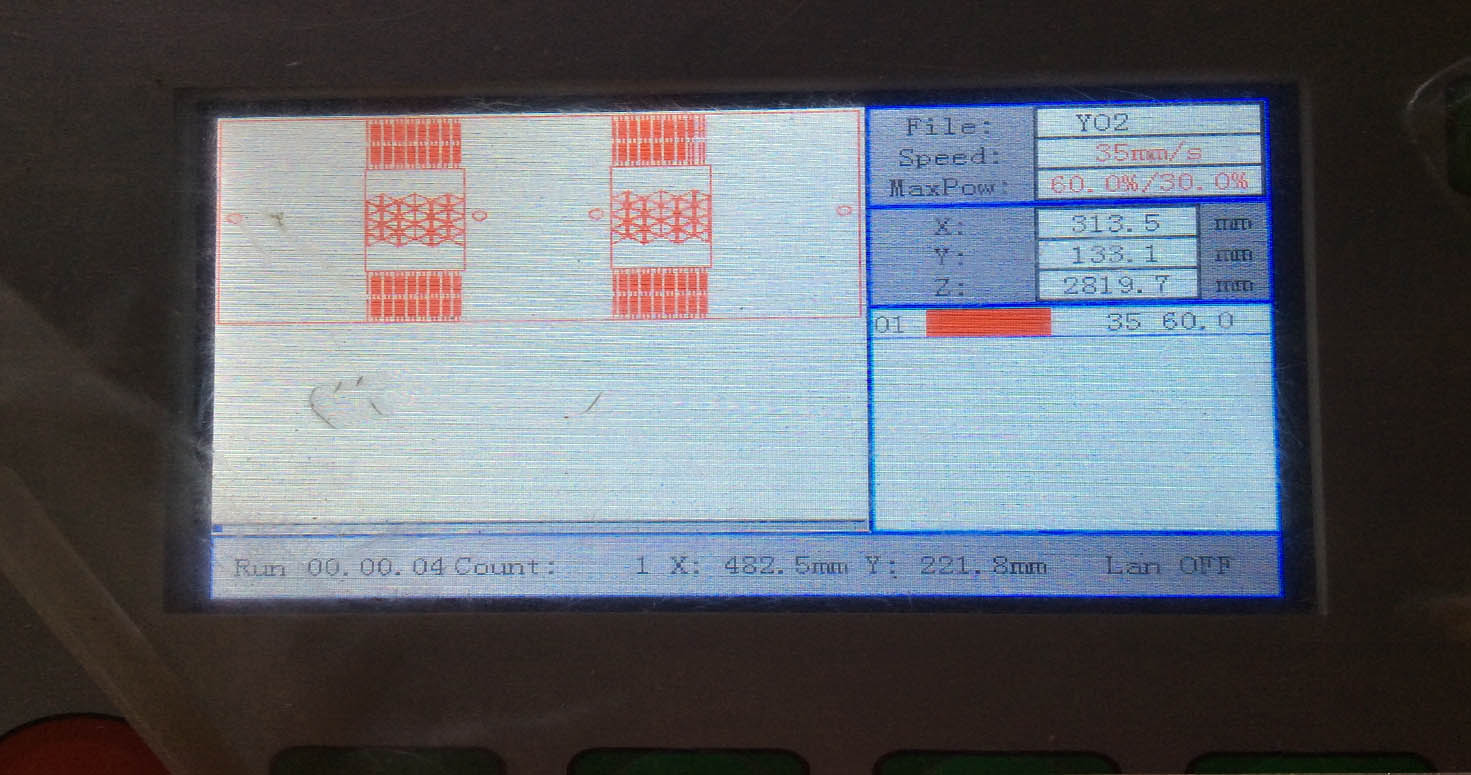
-Settings of Laser cutter with the help of RD Works software to transfer file from laptop to Laser cutter.
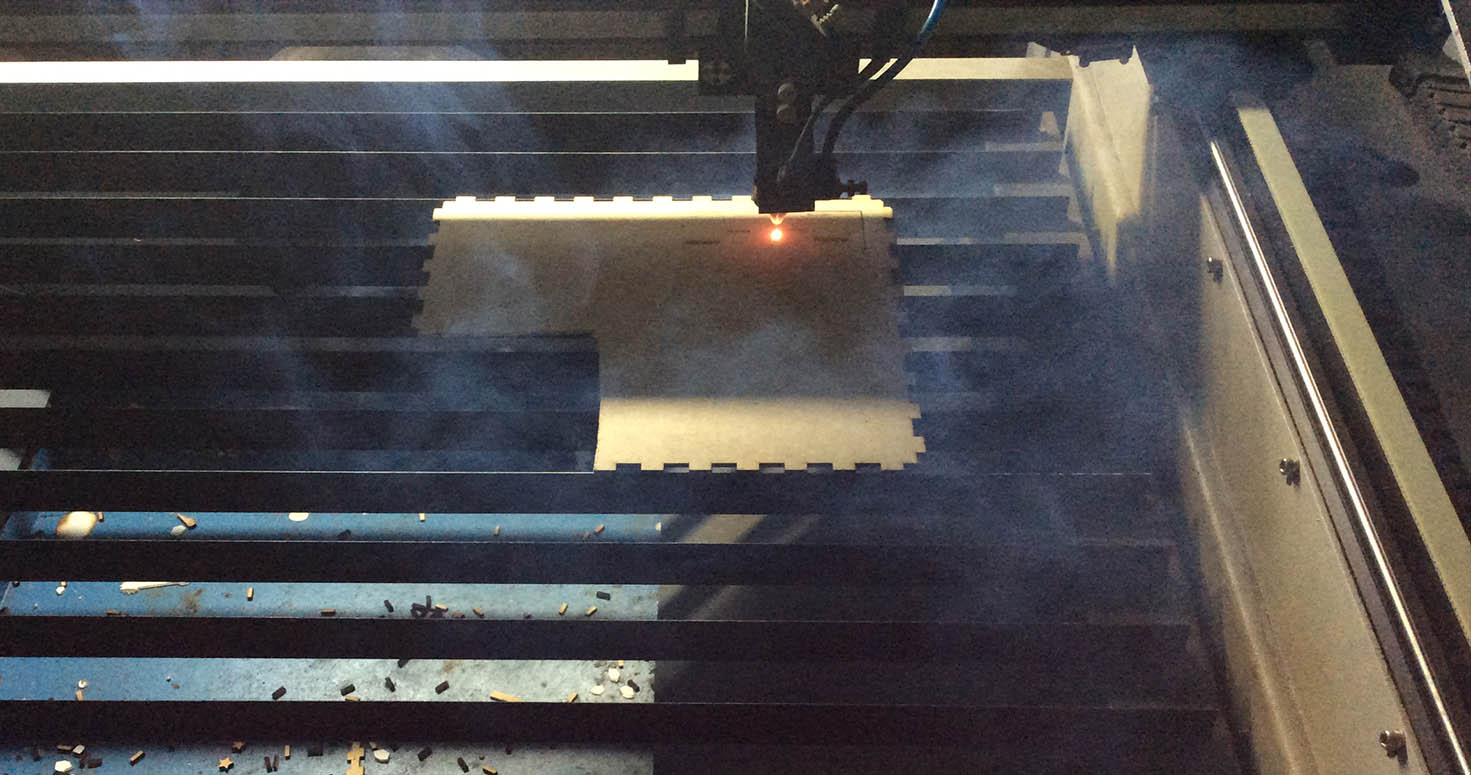
Keeping the Safety in mind, I closed the laser cutter lid.
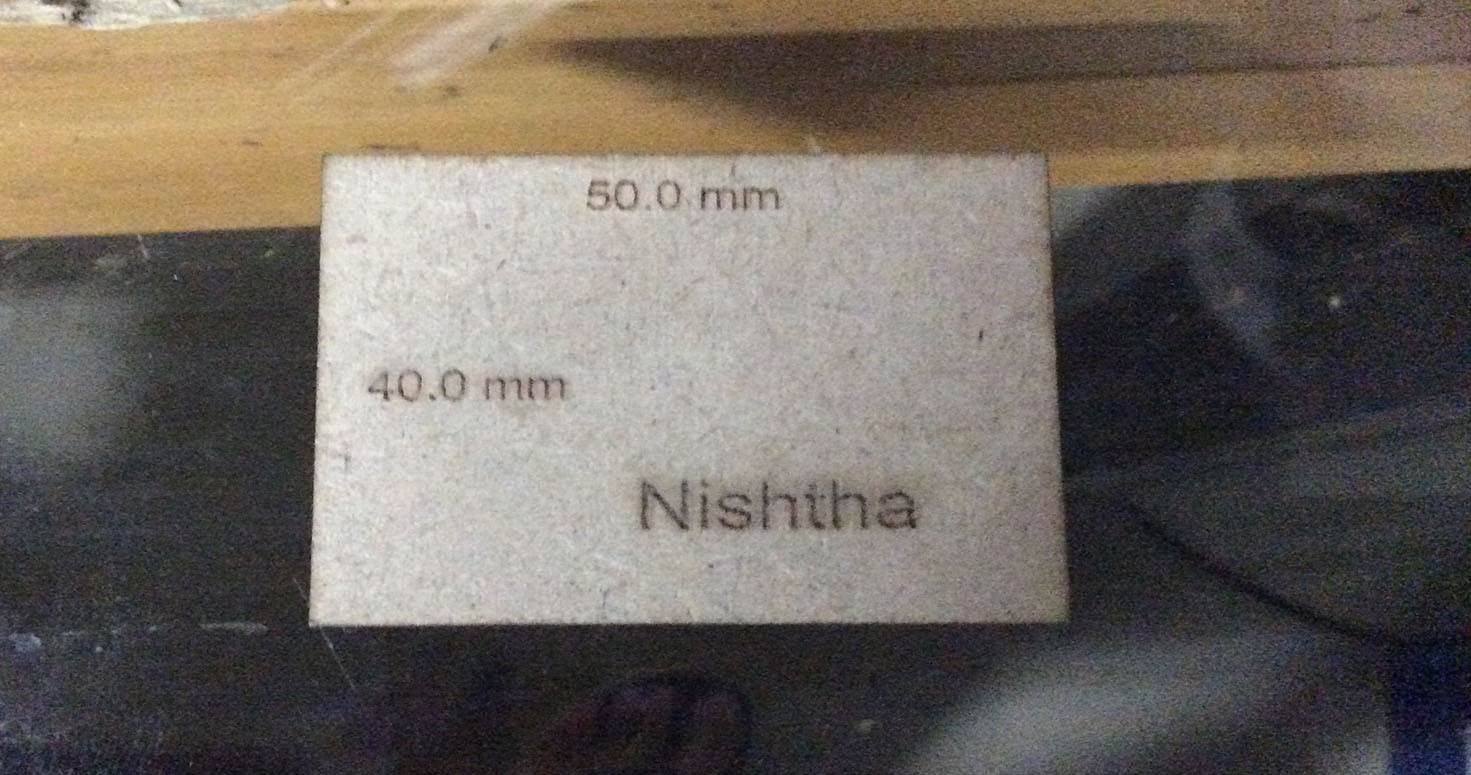
With the help of caliper, i measured internal and external offset which was 0.3 and 0.3.
TRIAL 1: Designed different hinges to see which ones is best suitable and after laser cutting it i could choose.
TRIAL 2: Laser cut my Book design on cardboard first to check if it folds, but cardboard got burnt so i immediately changed power and speed.
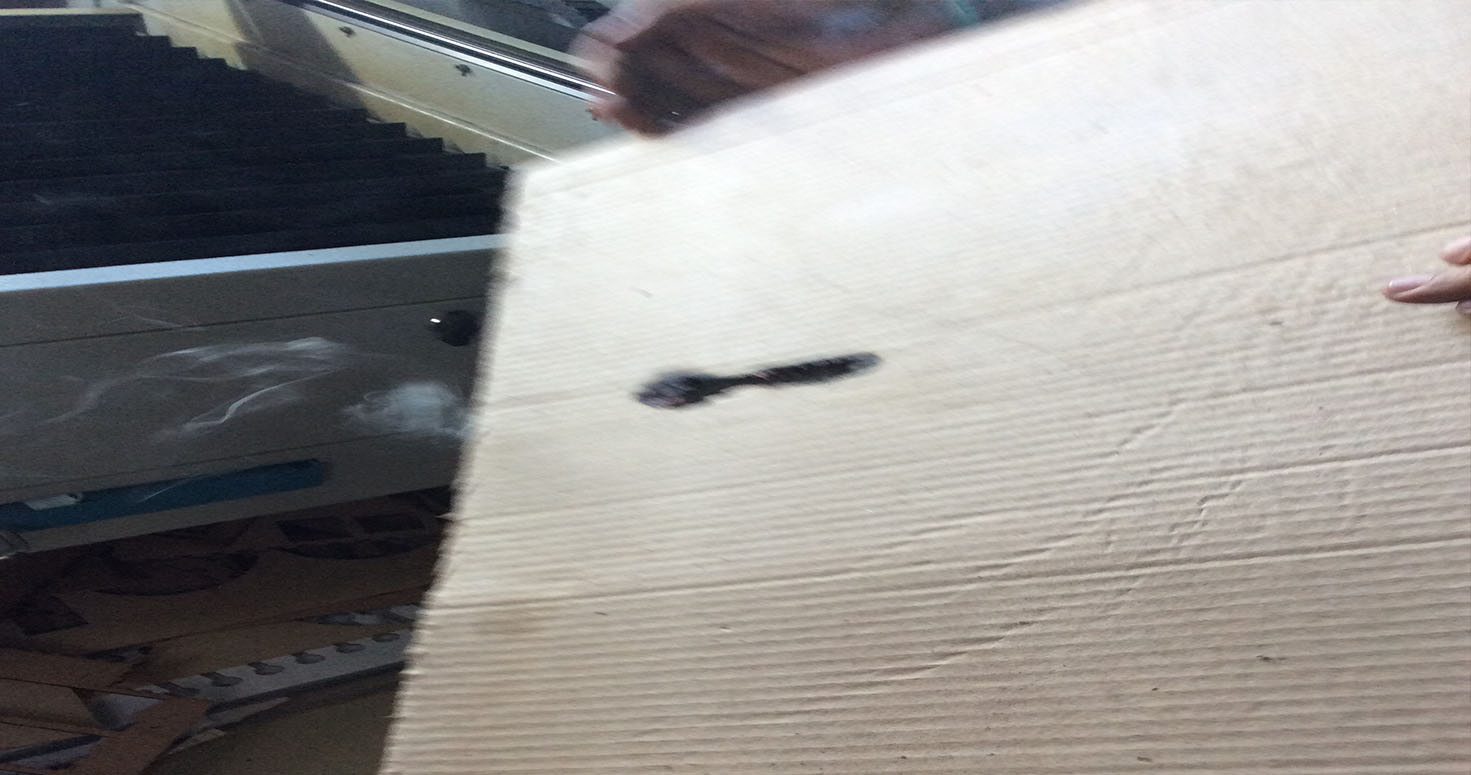
Cardboard wasnt cut perfectly but it made me think if i should try on small acrylic piece to understand if it bends well.
TRIAL 3: Laser cut on a small acrylic piece.
The FOLD:
TRIAL 4: I checked magnetic holds so that my magnet fits well in the book. The FOLD:
TRIAL 5: Then i Laser cut on mdf sheet my book with the application of magnets.
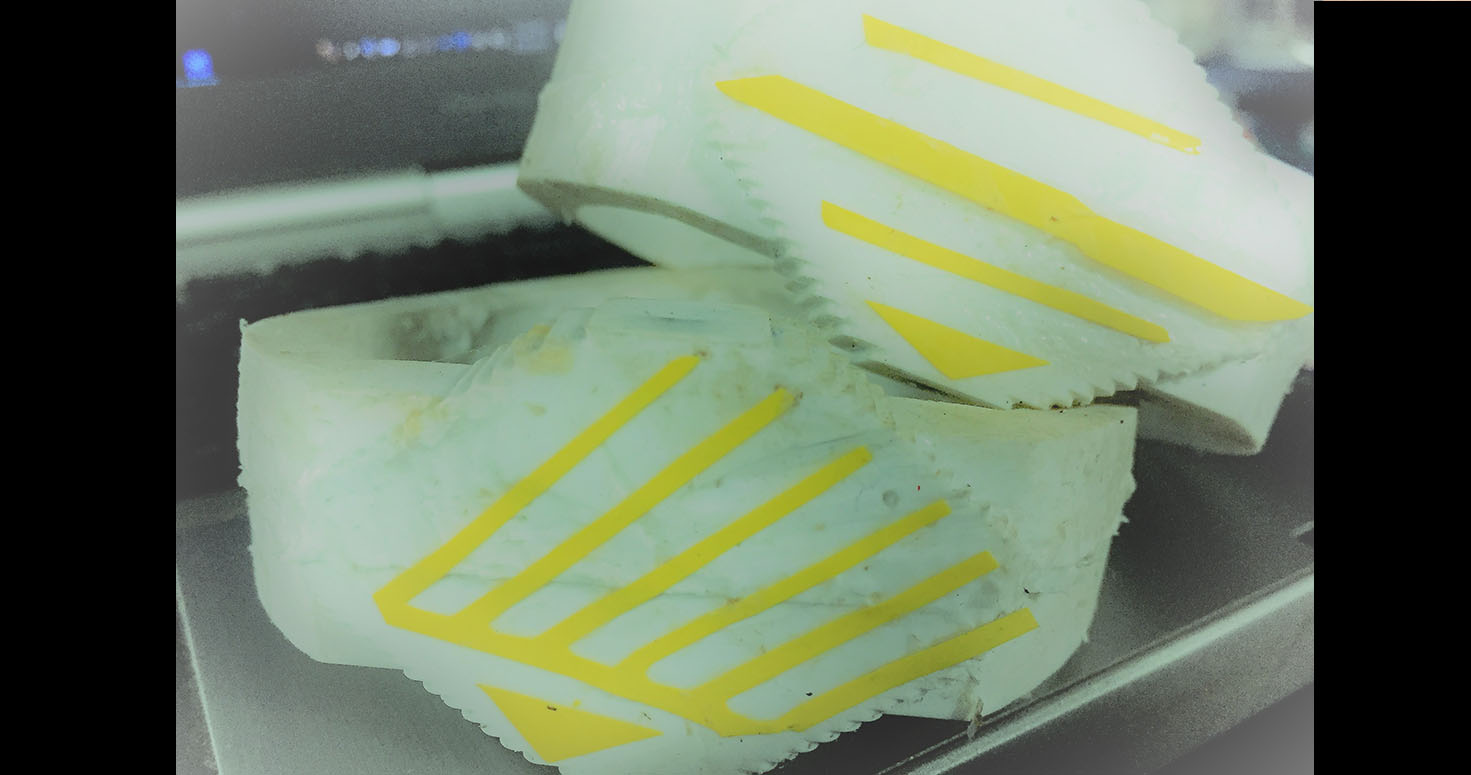
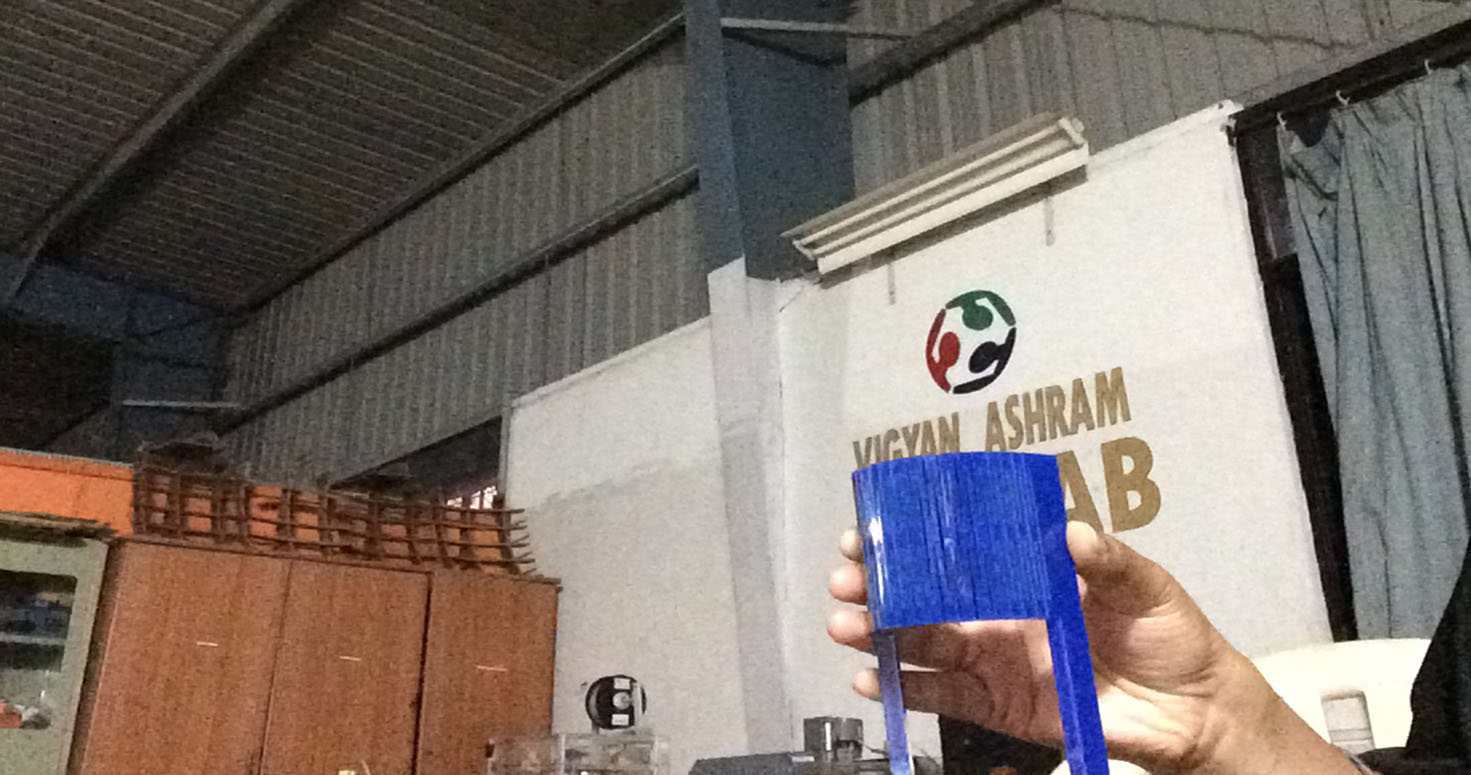
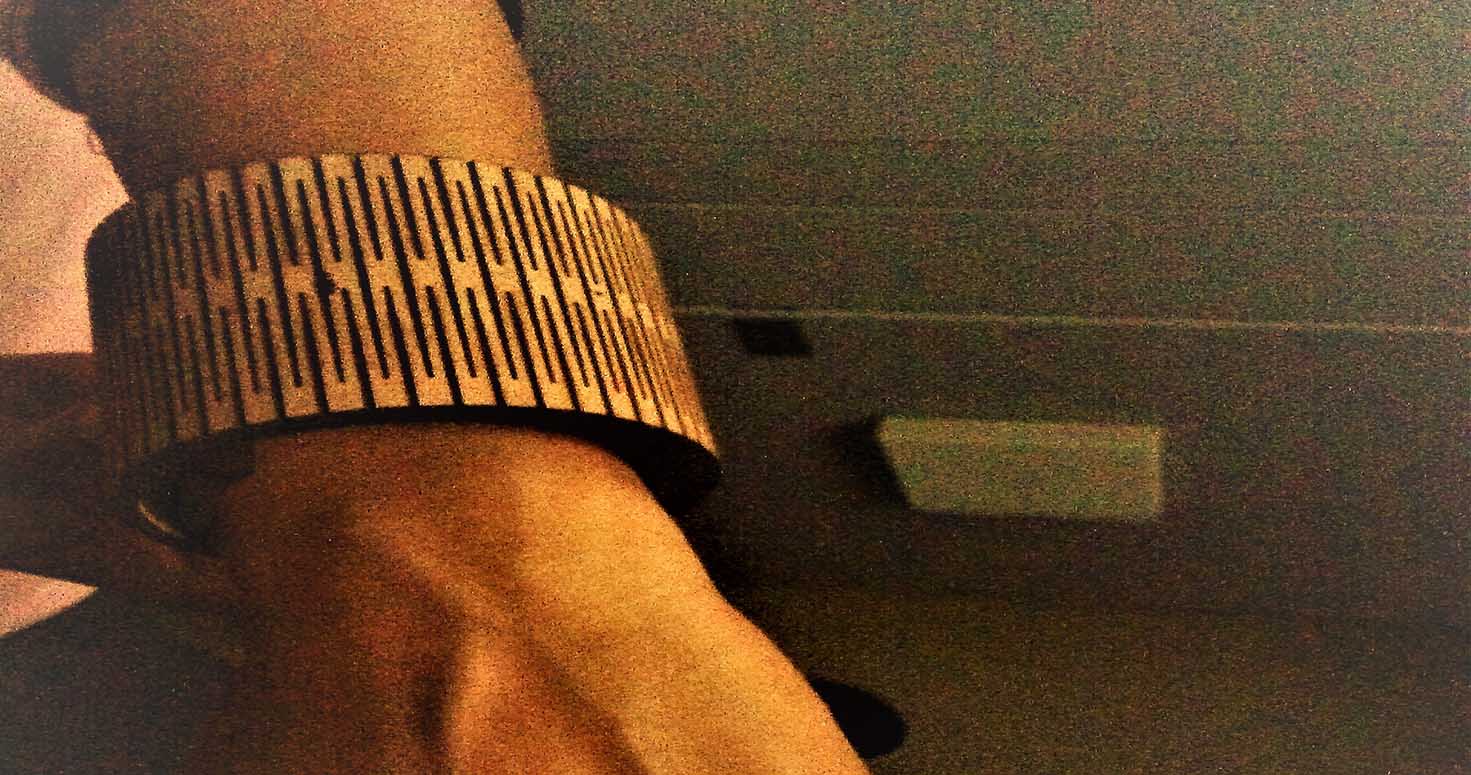
TRIAL 6: Also, laser cut a hand band which i used as neckpiece too.
I used it as band too. I love such elegant pieces. I was very happy i was able to design and cut one like this.
FINAL: Laser cut my book design, Engraved my Welcome message "Introduction to Circuits"
and lastly, soldered my electric components on acrylic. Well, i also tried soldering on acrylics to check if it burns or spoils my product. but it didnt.

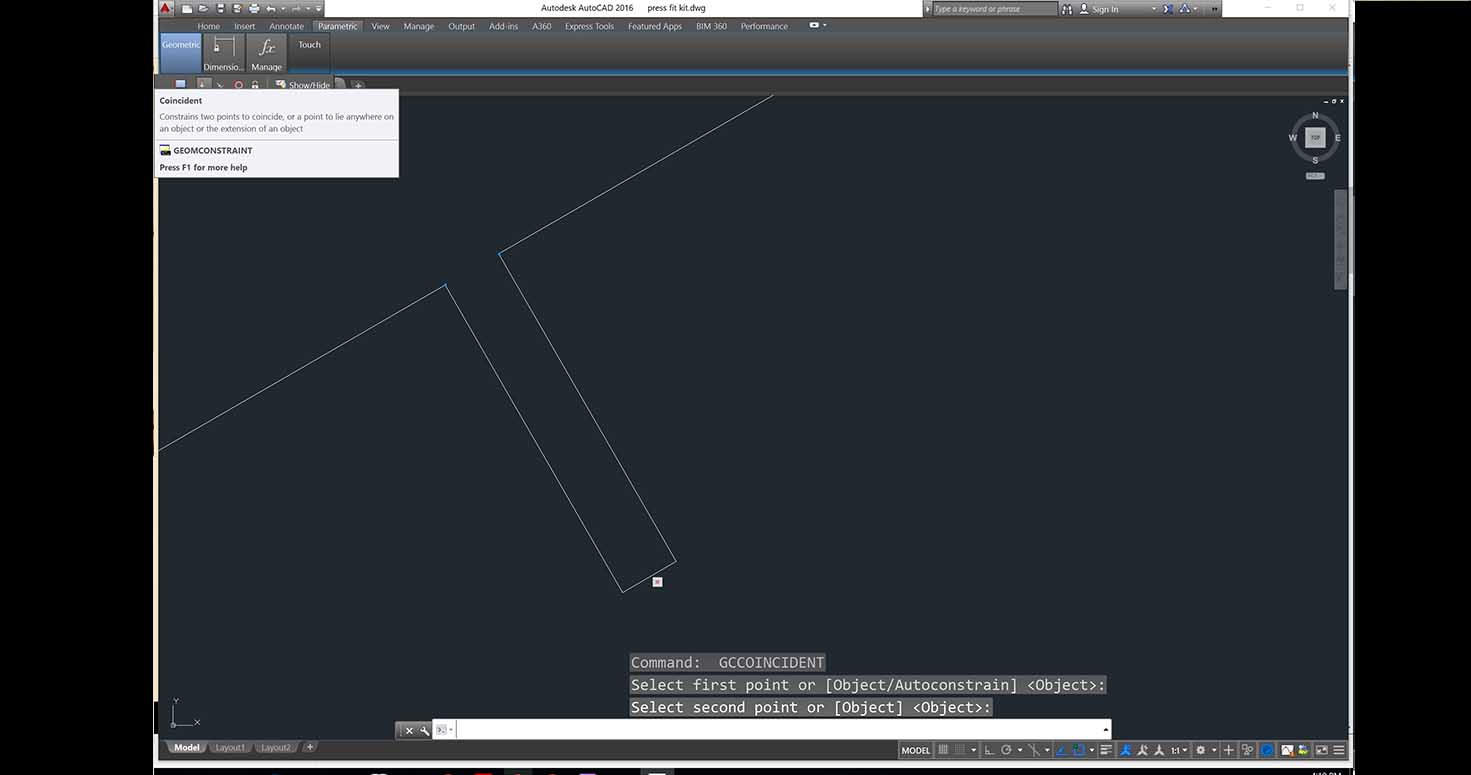
Parametric Press fit kit
I started by trying my hands on parametrics, I liked few other softwares specially meant to do parametrics like flatfab.
I am trying to learn in Autocad:
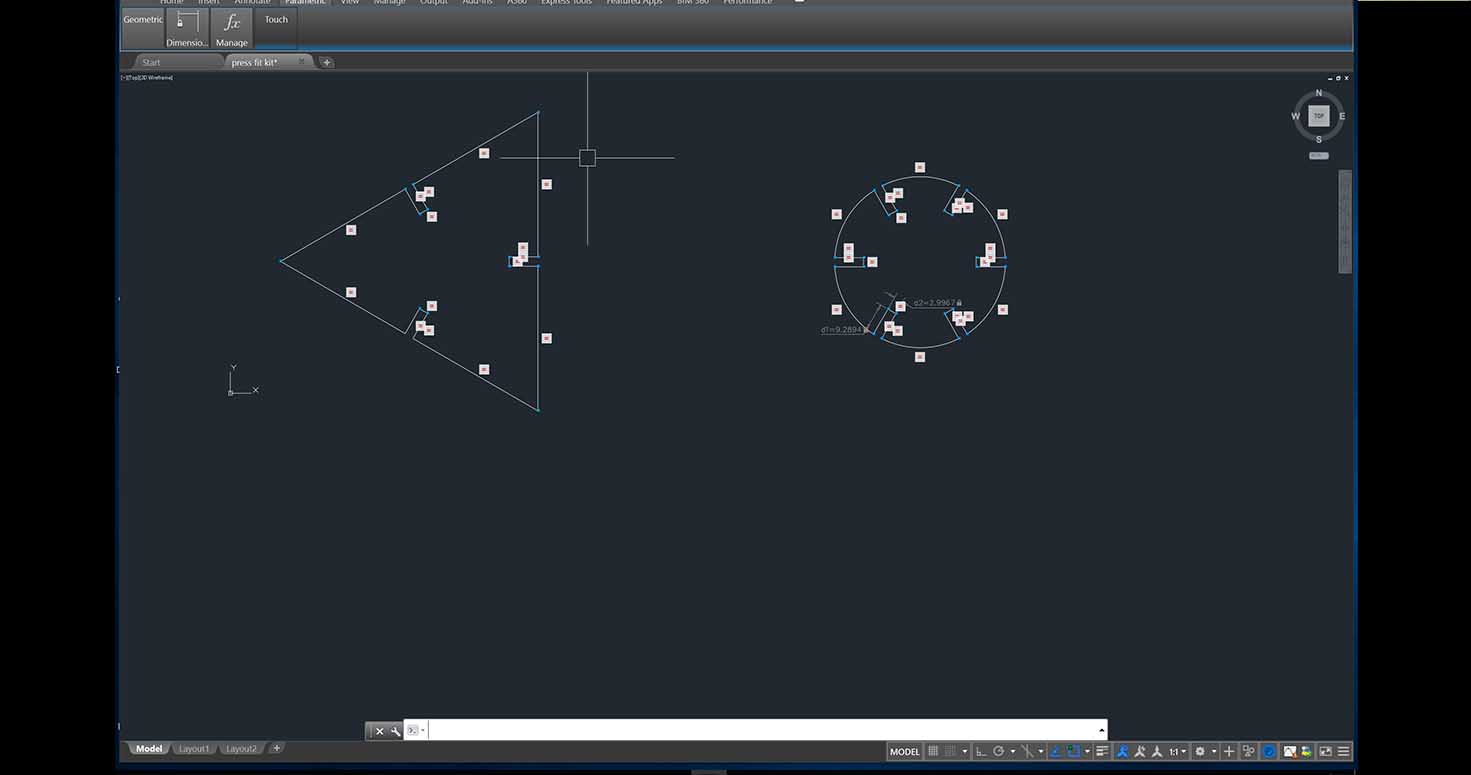
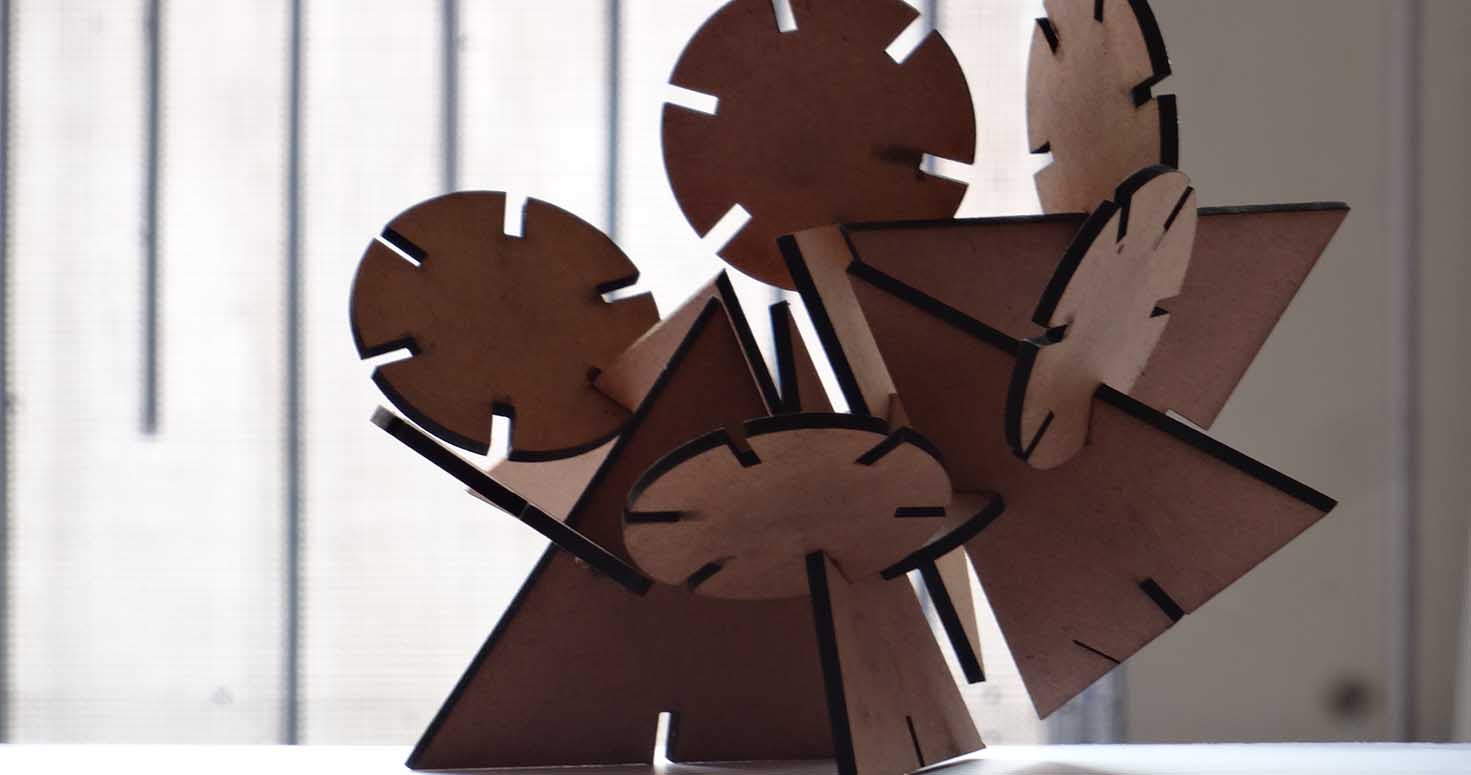
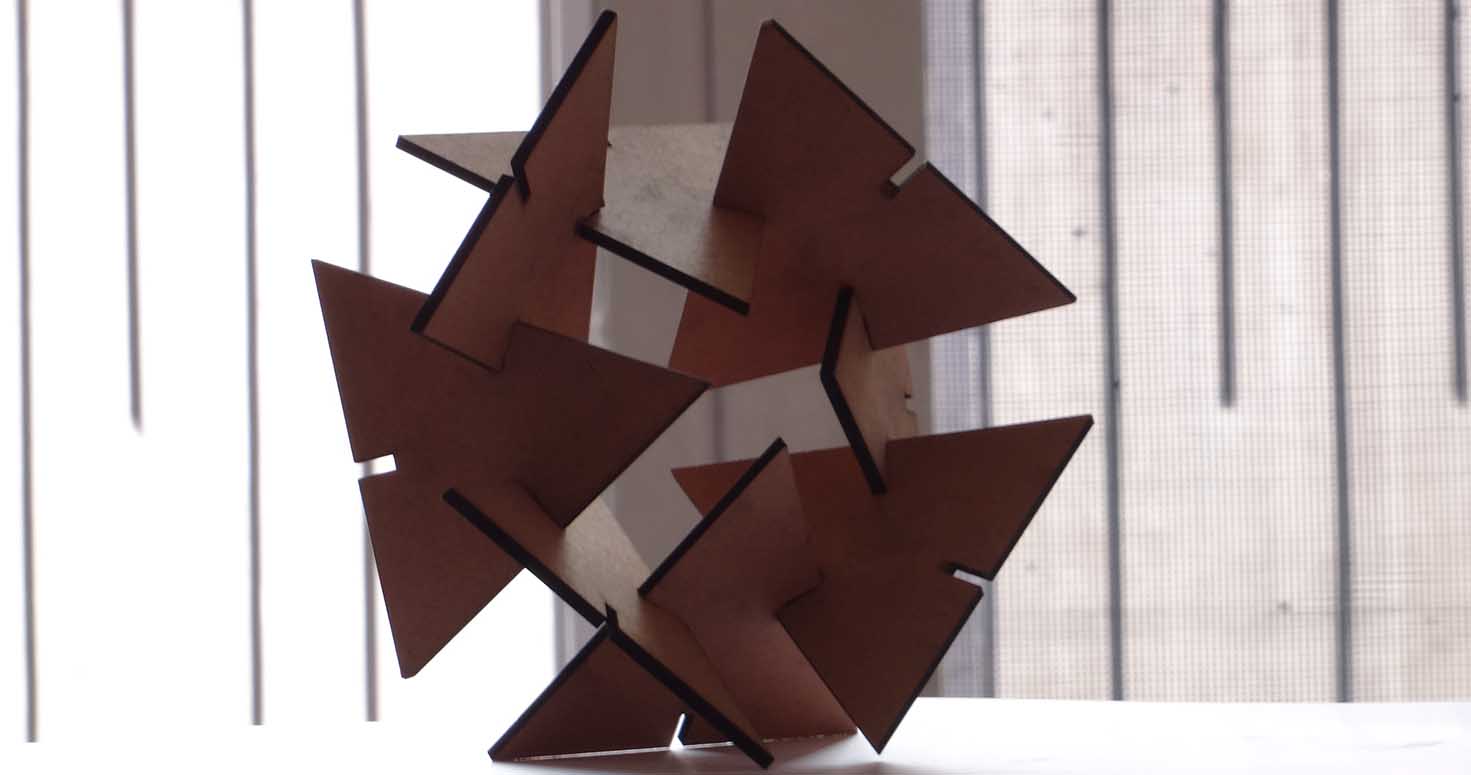
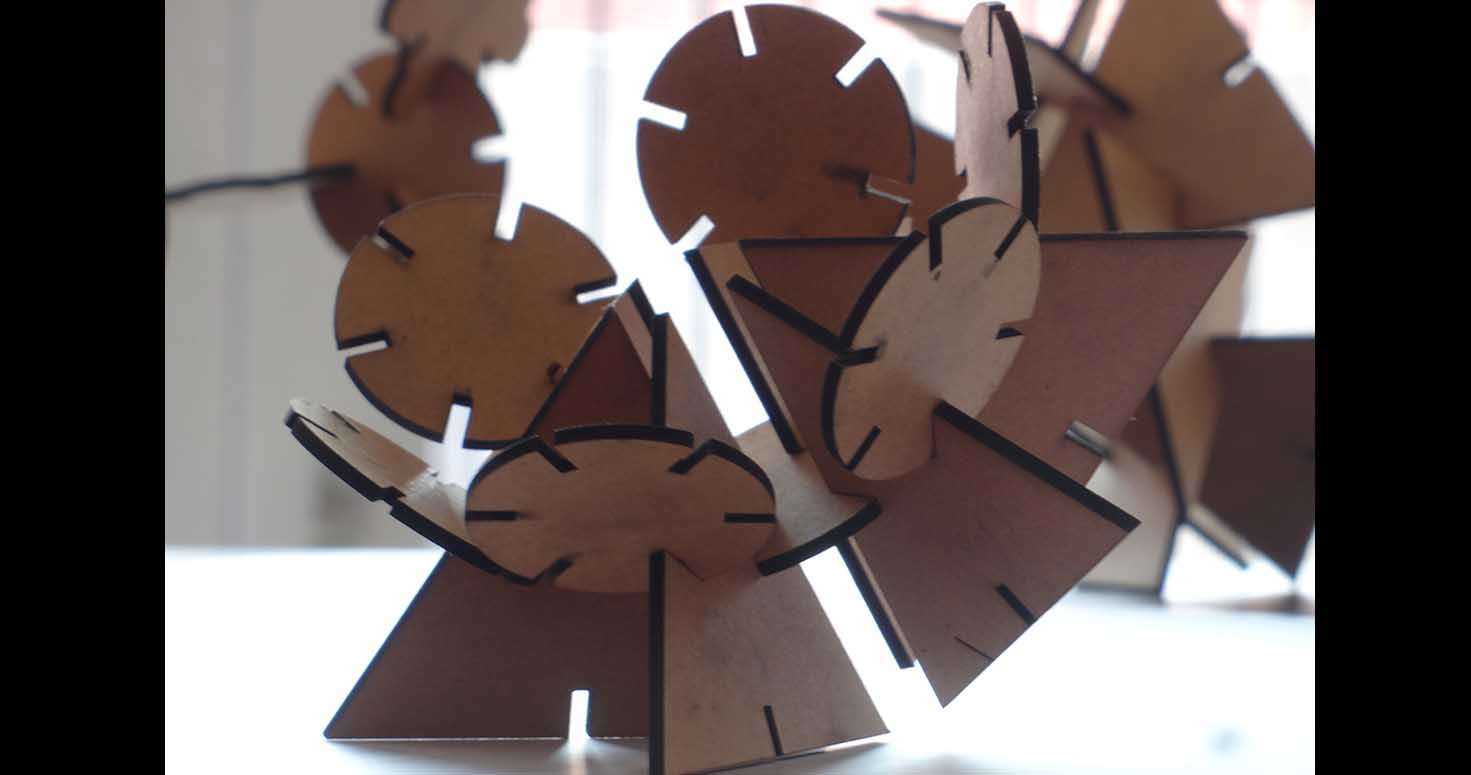
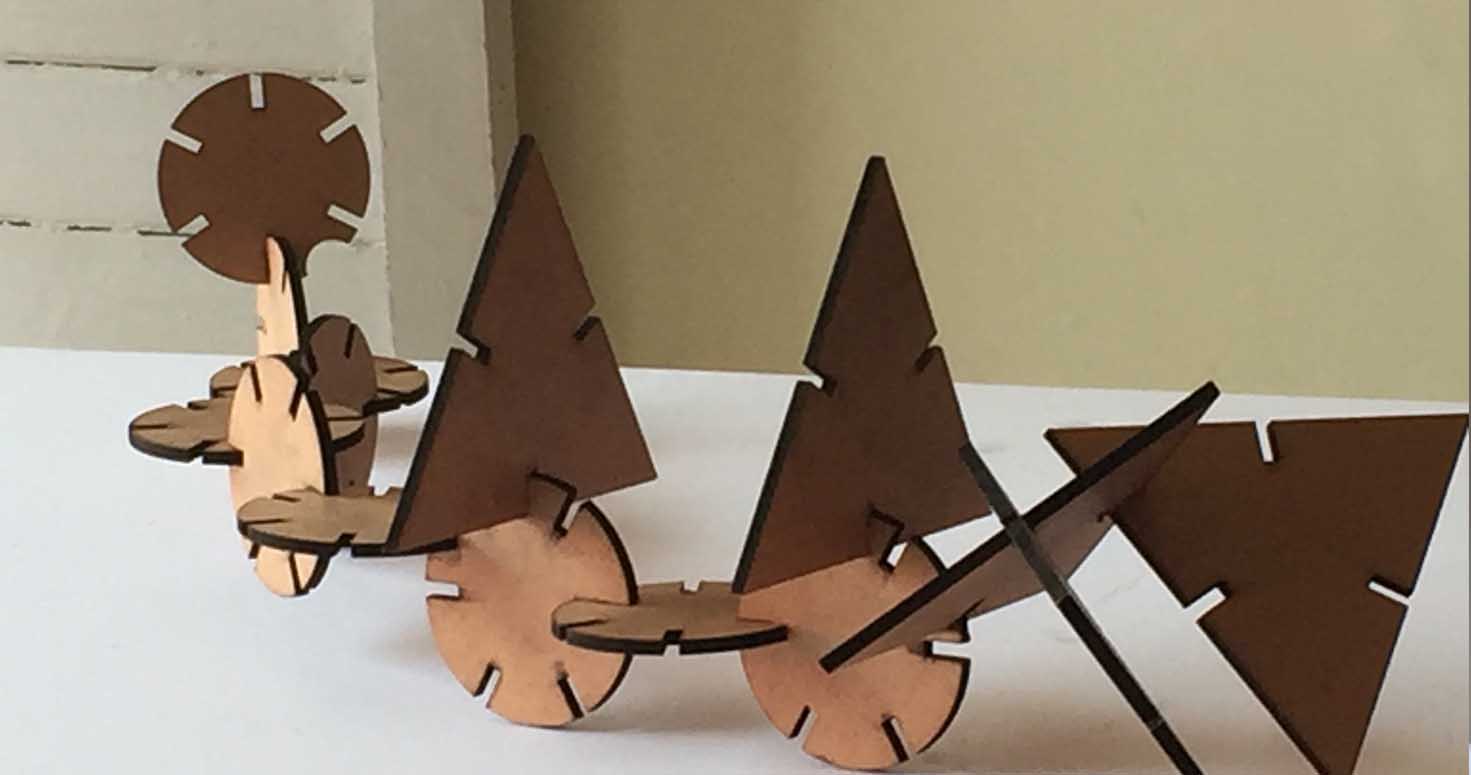
I designed Triangle and Circle pressfit kit parametrically on sketchup, which can be used like below for different activities for kids
First i designed the parts
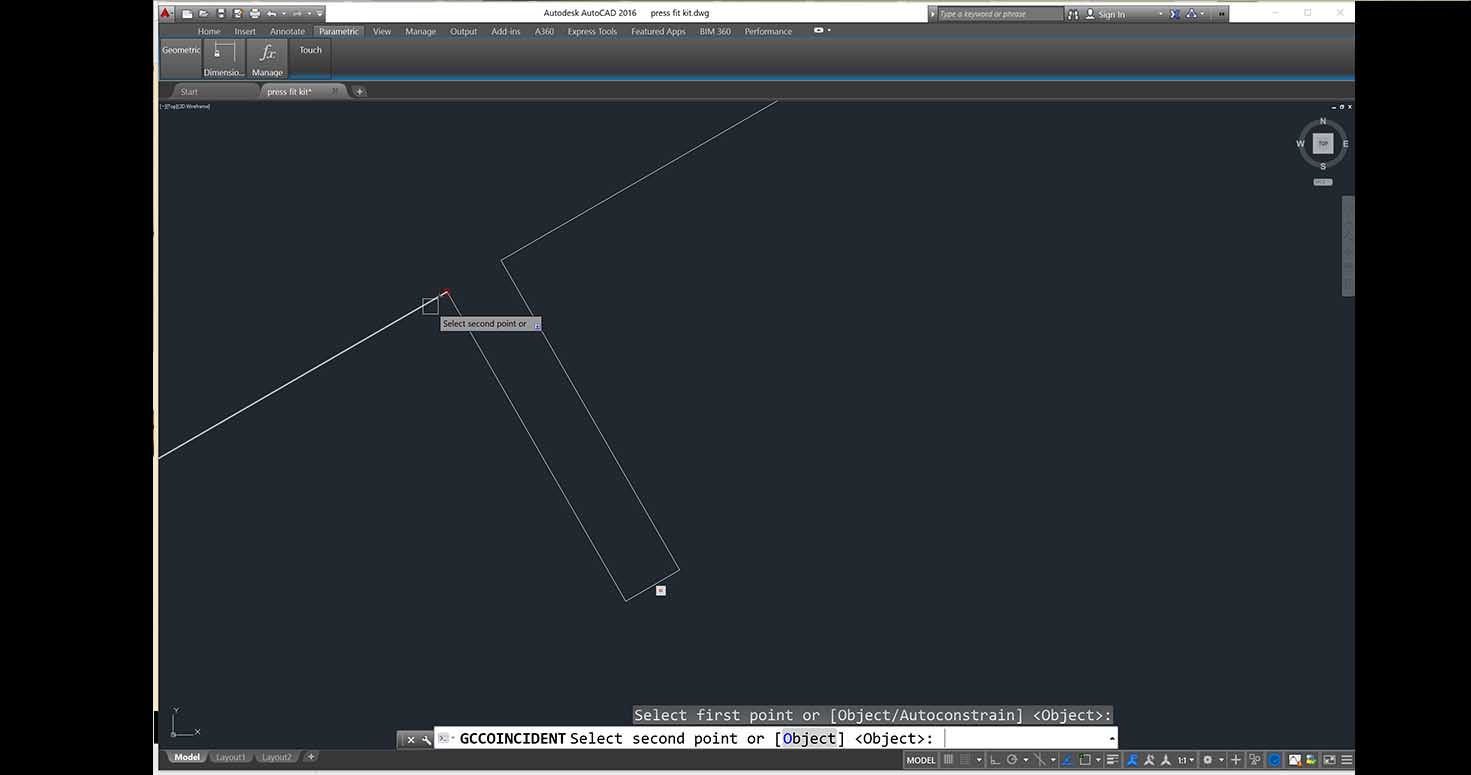
Then i selected Parametrics option from menu bar in the software.
Thats what happens
Download Pressfit file
Download Book Design
OTHERS:
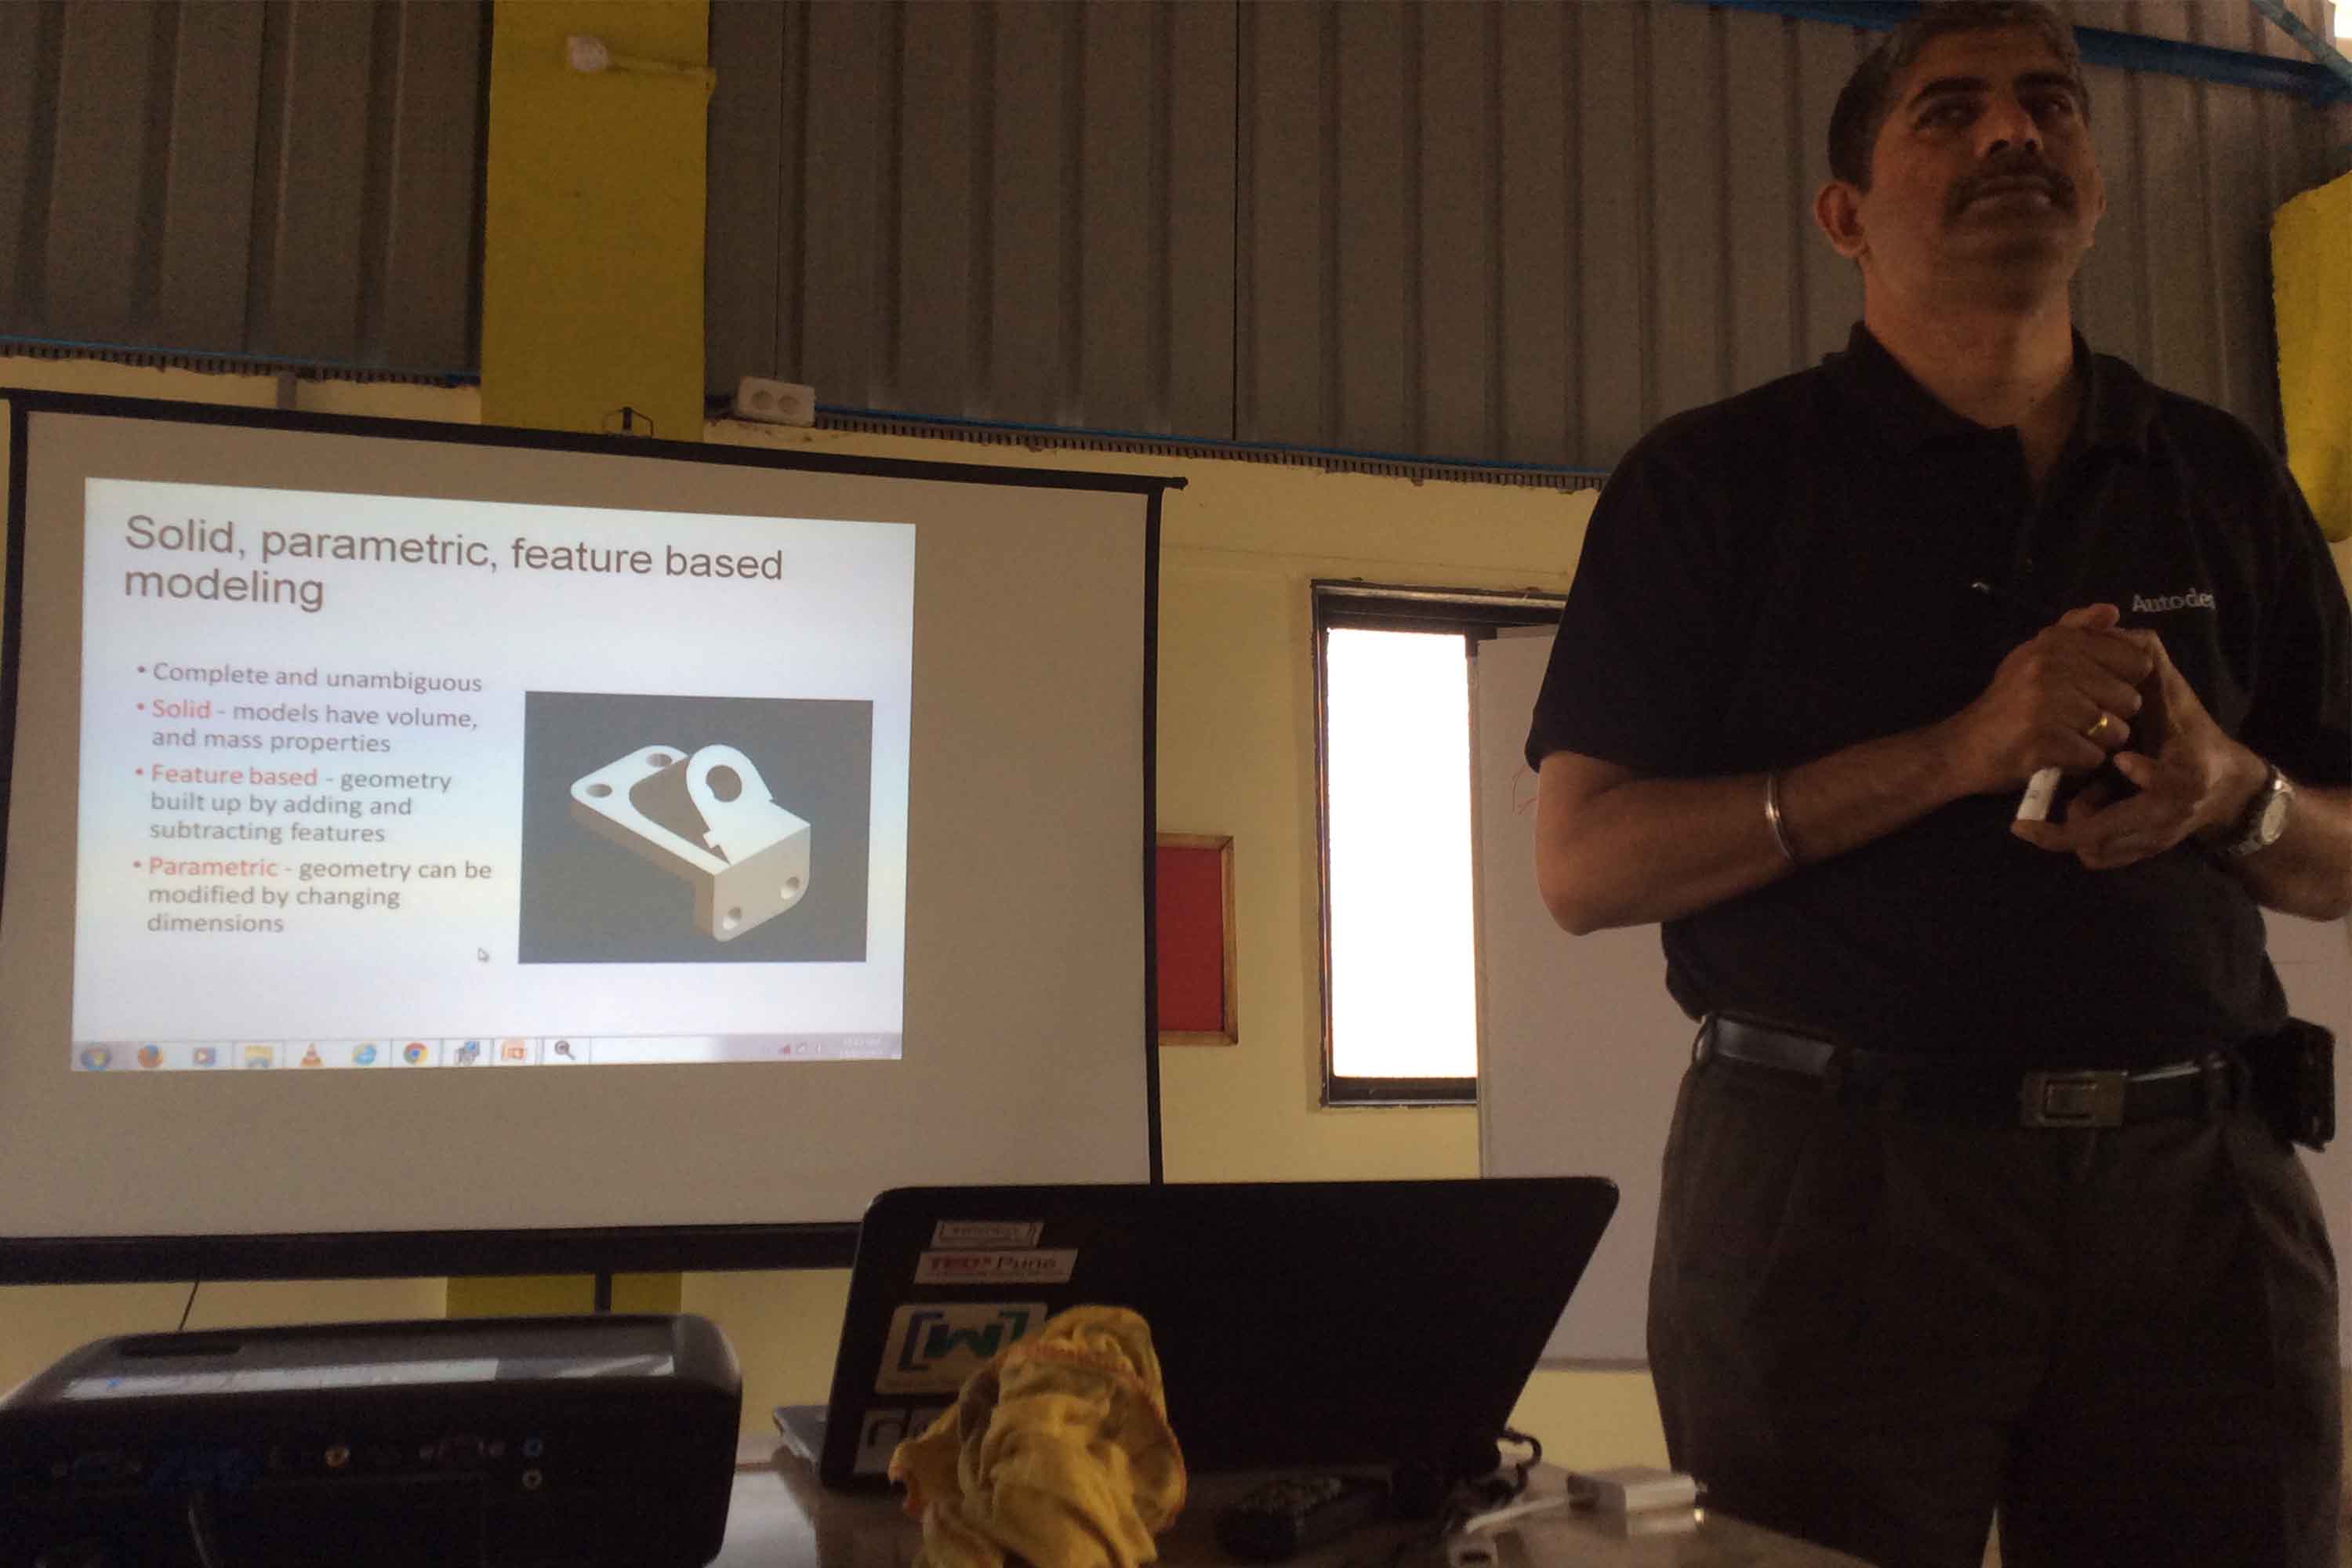
1. We also had a seminar on Autodesk by one of the persons Mr.Yogesh Kulkarni who worked in Autodesk, he introduced us to basics of simulation and parameters.
2. I could also explore FUSION 360 to understand simulation with his help.
3. Also, I used flatfab which was introduced in last recitation, its a very interesting software to do parameterics where change in one can change the dimensions of others accordingly.
4. Monday Recitation by Global Humanitarian Lab

5. Our laser cutter had some trouble, it started to release fire, so our instructor suhasji, opened and cleaned it, nice opportunity for me to learn how it is inside and what is right way of handling it.

Also, explored about its parts
Conclusion: There were no complications except looking for tools in the fablab as we are new here, It was great experience for me as I was able to make such simple assignment so complicated for myself because I pushed myself to learn consistently and work day and night in designing, trying , failing and finally giving options of hinges.
I followed the following process:
1.Calculated the kerb
2.Learnt Flatfab
3.Designed and laser cut few hinges as trial
4.Made reference module of different hinges, pressfits, joints with varied speeds and forces in group assignment.
5.Vinyl cut the circuit in shape of my logo, after lot of tries figuring out the right thickness, speed and force.
6. Lasercut my Circuit book
7.Soldering and drilling my components.
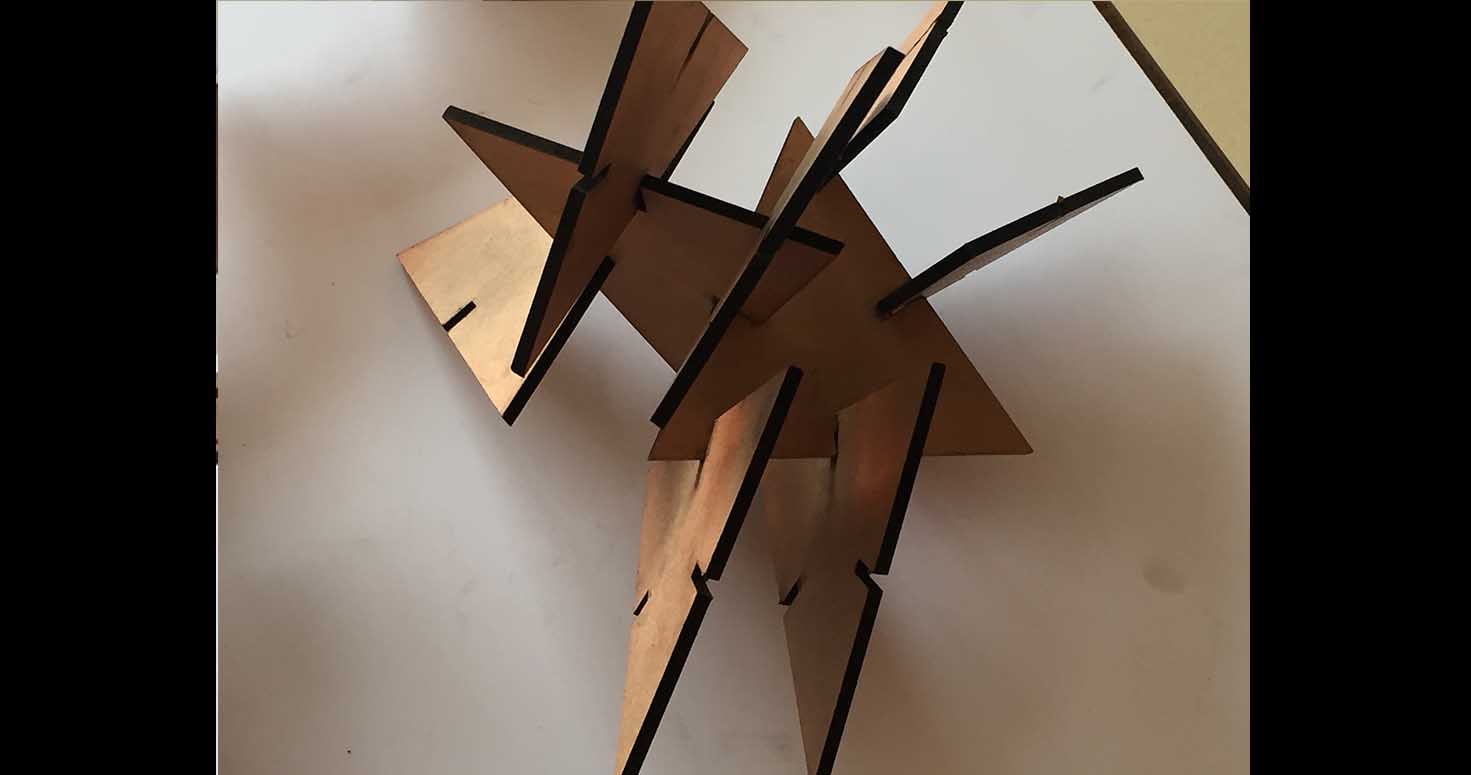
8.Made a press fit kit of random shapes to make a Abstract design.
9.Documented.
Looking forward to next Assignment :-)
