WEEK 2
Computer aided Design
1. Installation of Softwares
Next step, After spending whole 1 day on recovering my laptop.
After the Lecture by Dr. Neil on previous assignment and next week tasks,I started reading about each software given on fab academy website.
I decided to Install few of them like the following:
2D Softwares
a) Auto CAD
3D Softwares
a) Sketchup
b) Solidworks
c) Rhino
Render
a)Lumion
b)Photoshop
c) FUSION 360
Though I read about each software but I decided the above softwares on the basis of my past experiences, people's recommendations and most importantly understanding which ones can be helpful for me now and in future.
I started with Sketchup, I loved this software, it helps you put plugins , helping you add lot of minute effects and understanding.
Though my project is to Make a smart tool holder which can be used anywhere or everywhere for handling tools.
1. Starting From AUTOCAD:
I used AutoCAD Architectural 2015 for 2D, designing my smart tool holder and band in which ill embed RFID.I started with drafting a plan (Top view), went on to make a section and an elevation in reference to the plan.
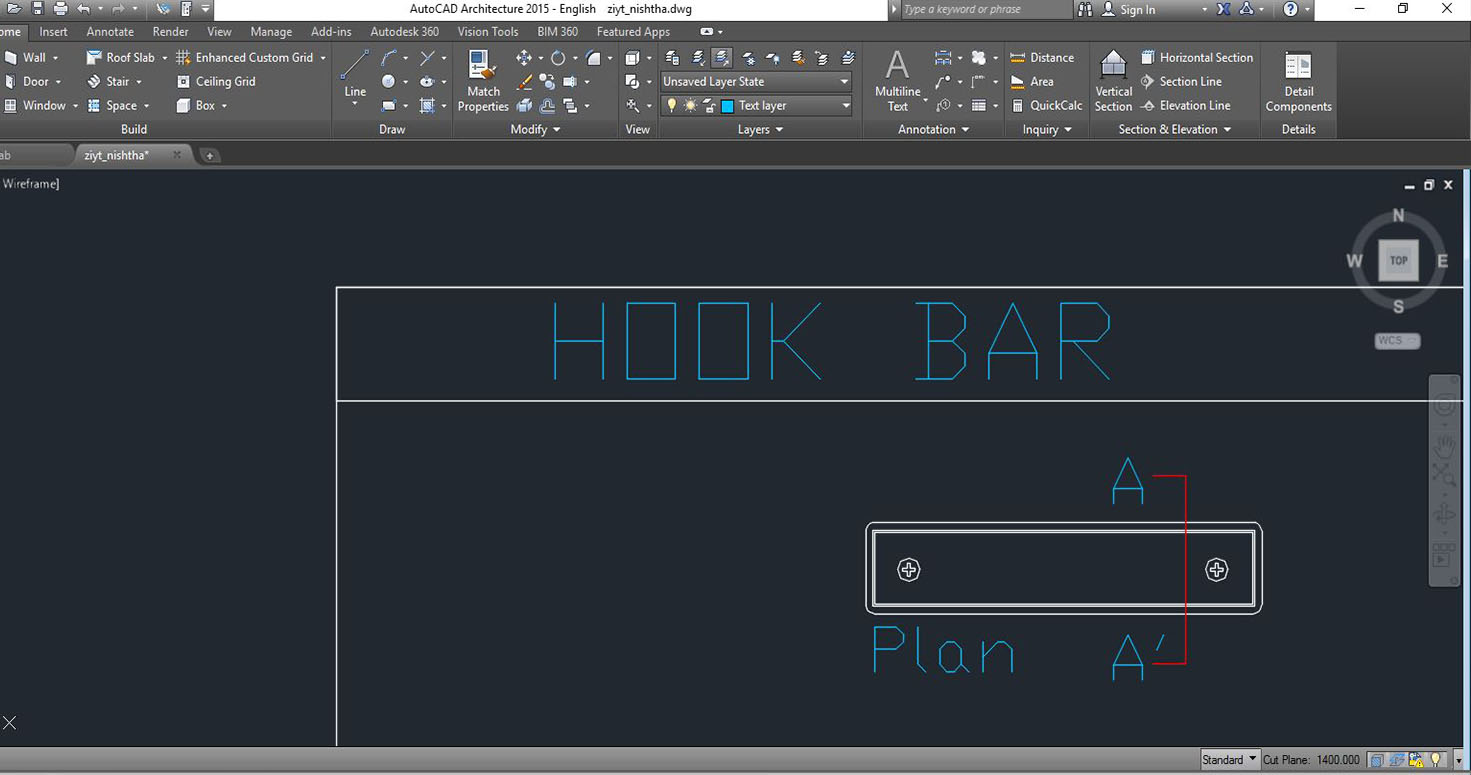
I used the following Commands and tools to draft:
1. Fillet
2. Trim
3. Extend
4. Polyline (it takes whole structure as one unline lines)
5. Join
I used these commands continously so there are no fix steps for me to design this 2D.
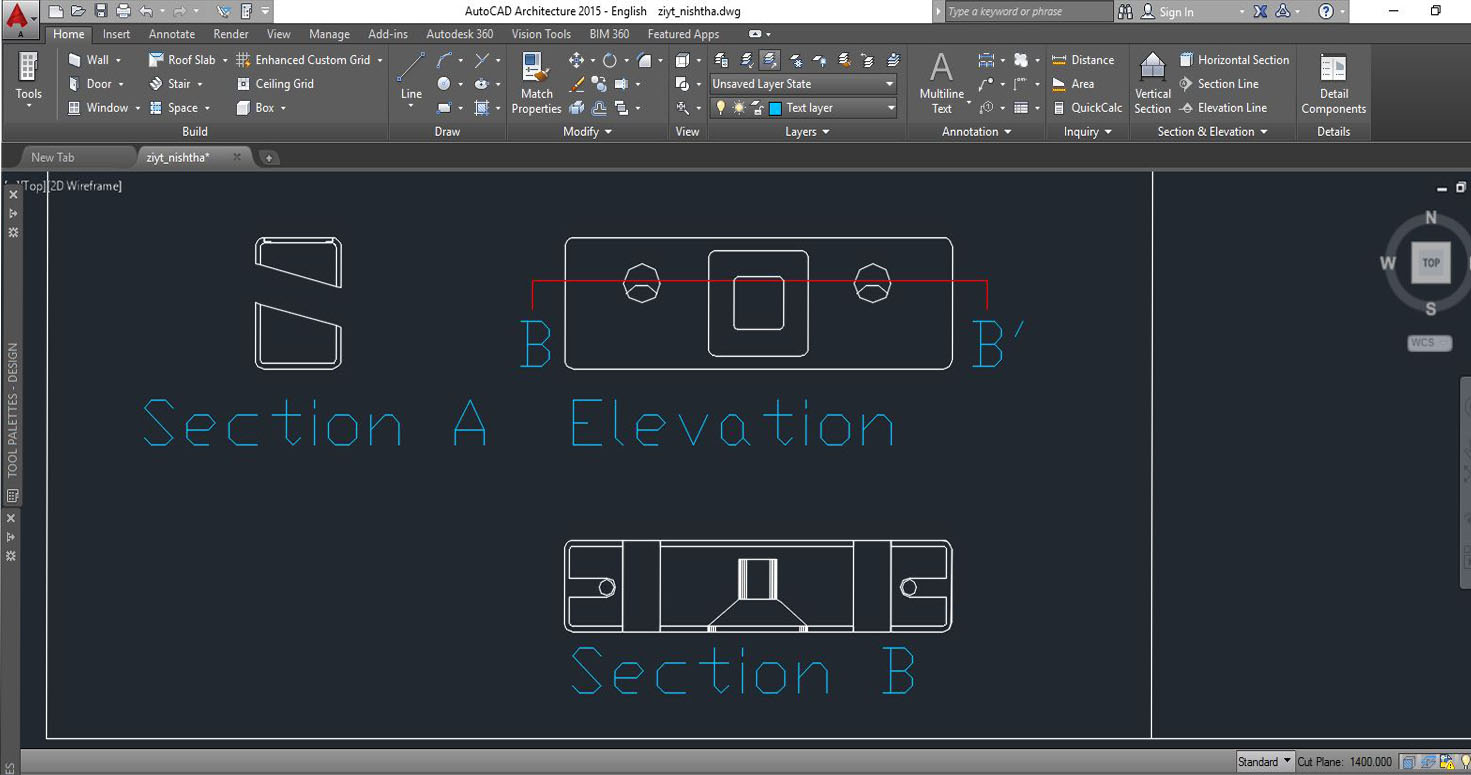
Full Picture of the 2D:

Download ZIYT design File
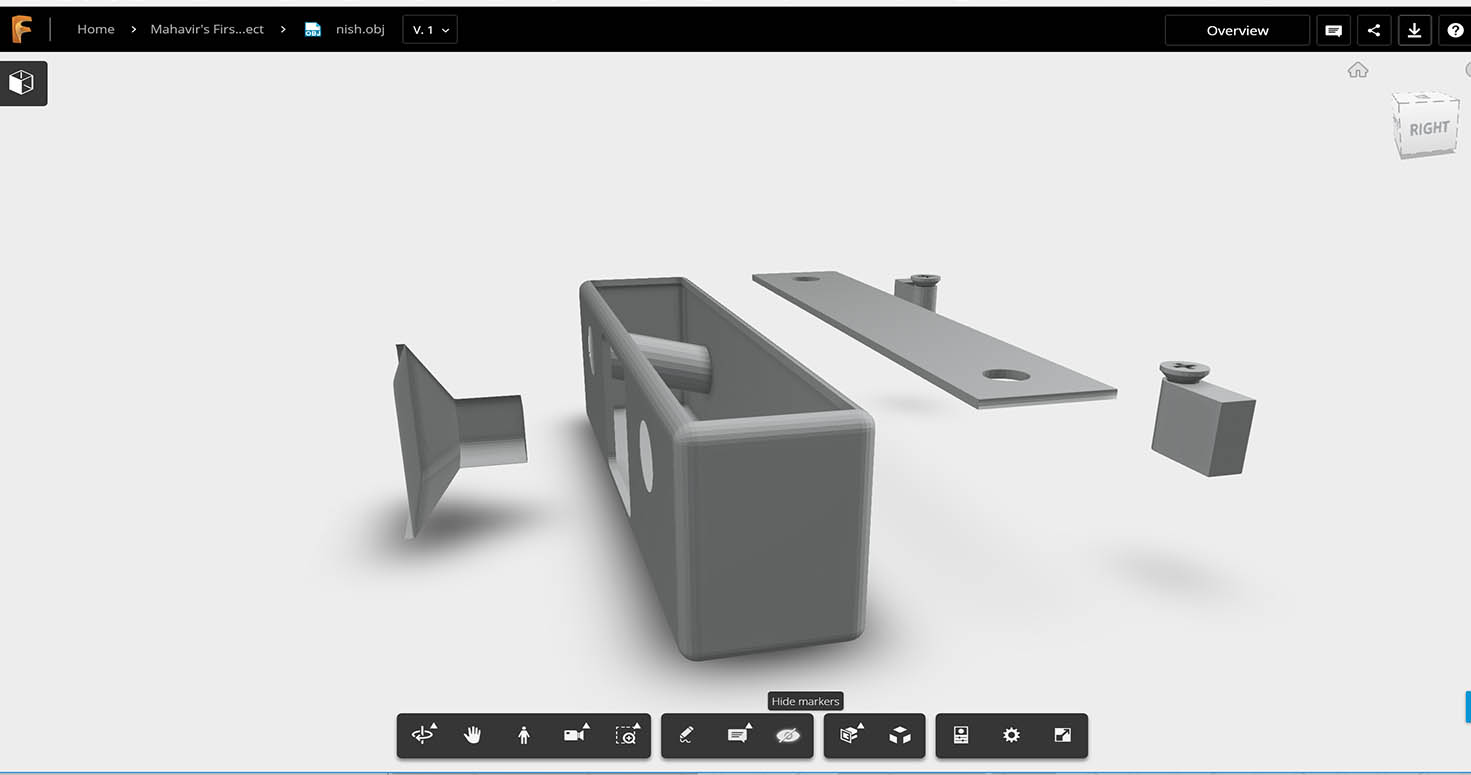
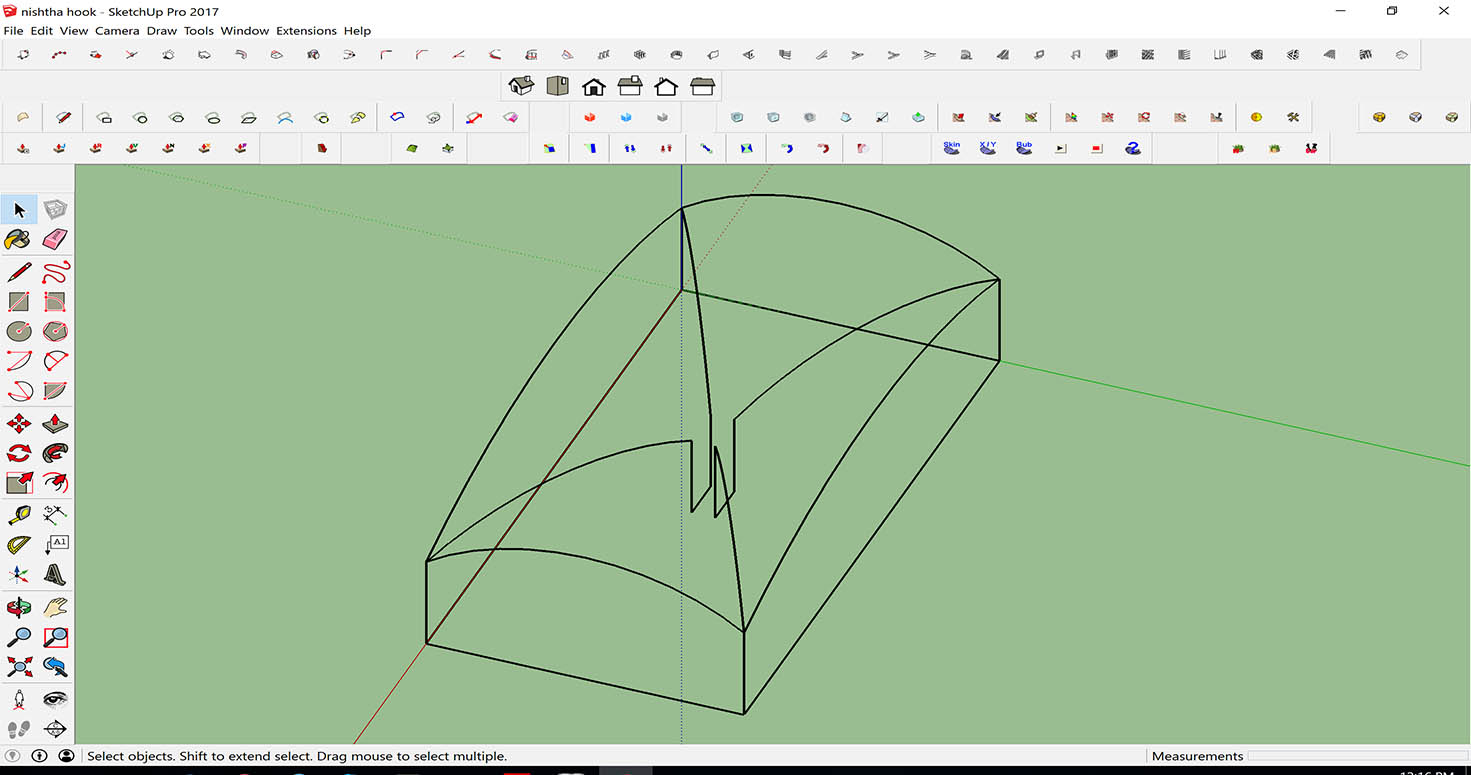
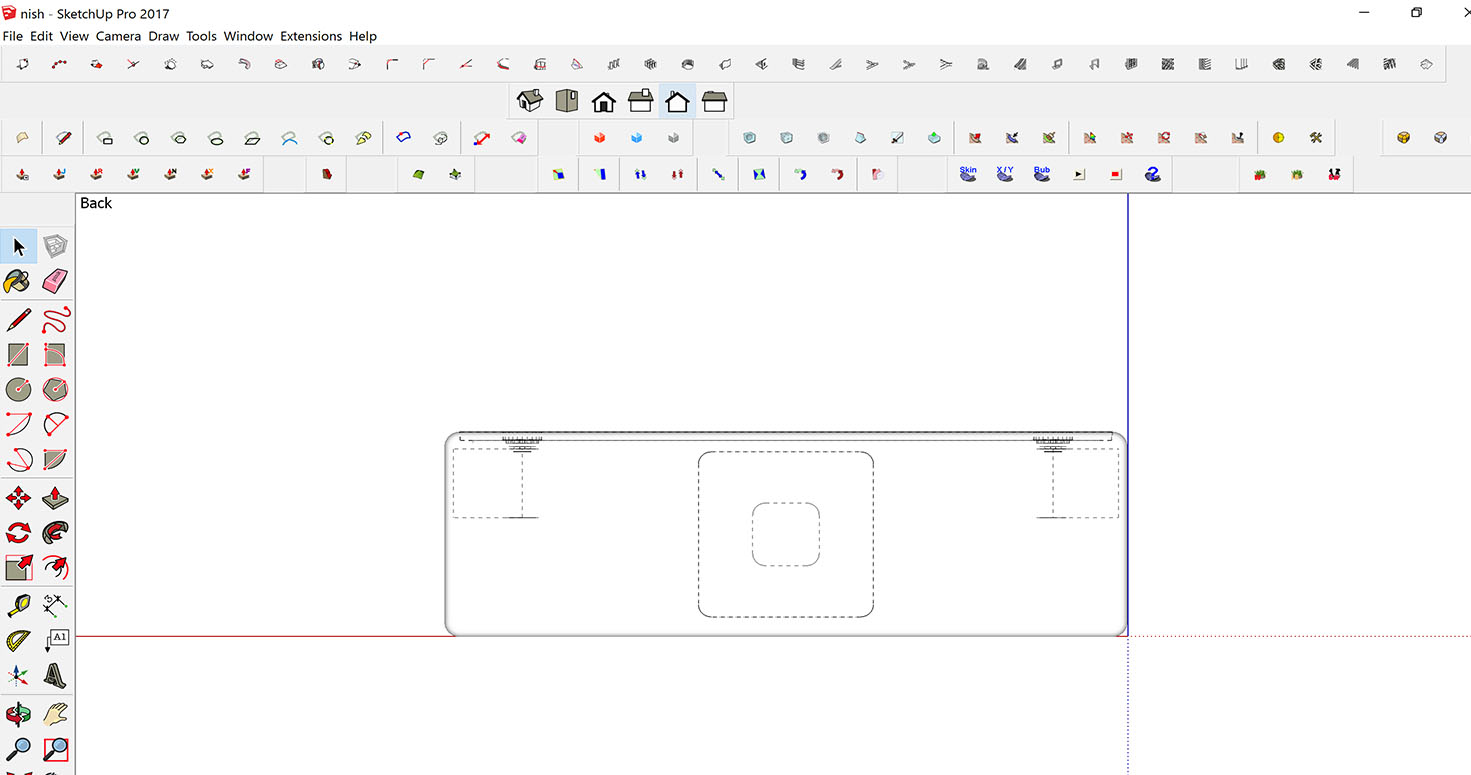
2. SKETCHUP
First understanding the interface of sketchup, navigation bars, toolbars and shortcuts to be quick.
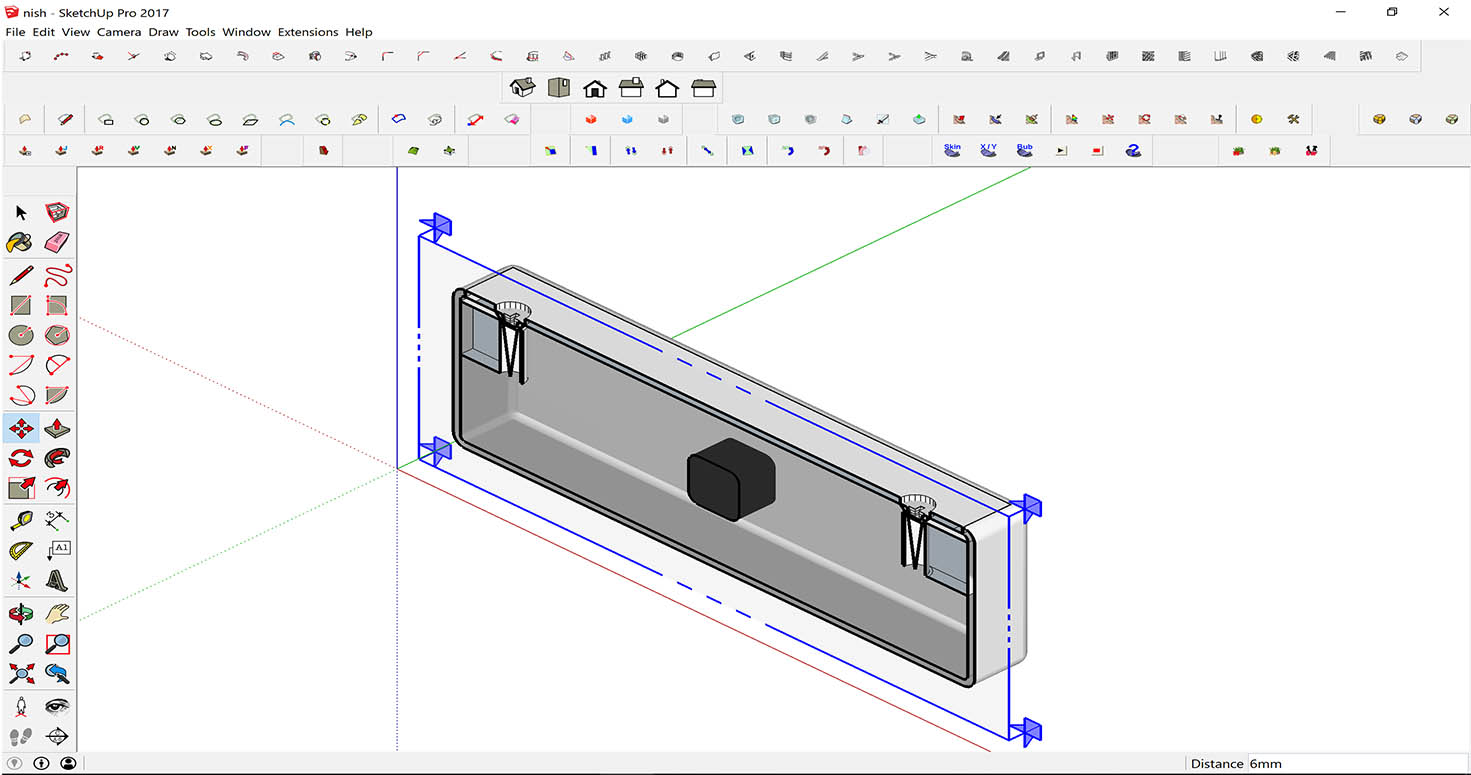
I have used Sketchup for 3D, as it gives varied options of plugins plus makes it easy and comfortable to have control on your design.
I Exported AutoCAD 2D file to Sketchup then designed my tool holder box with IR sensor using the following commands:
1.Rectangle
2.Push-Pull
3.Plugins like round corner (offset)
4.Section Plane
5.Joint Push Pull
6.Group
7. Circle Push
8.Bolean Function
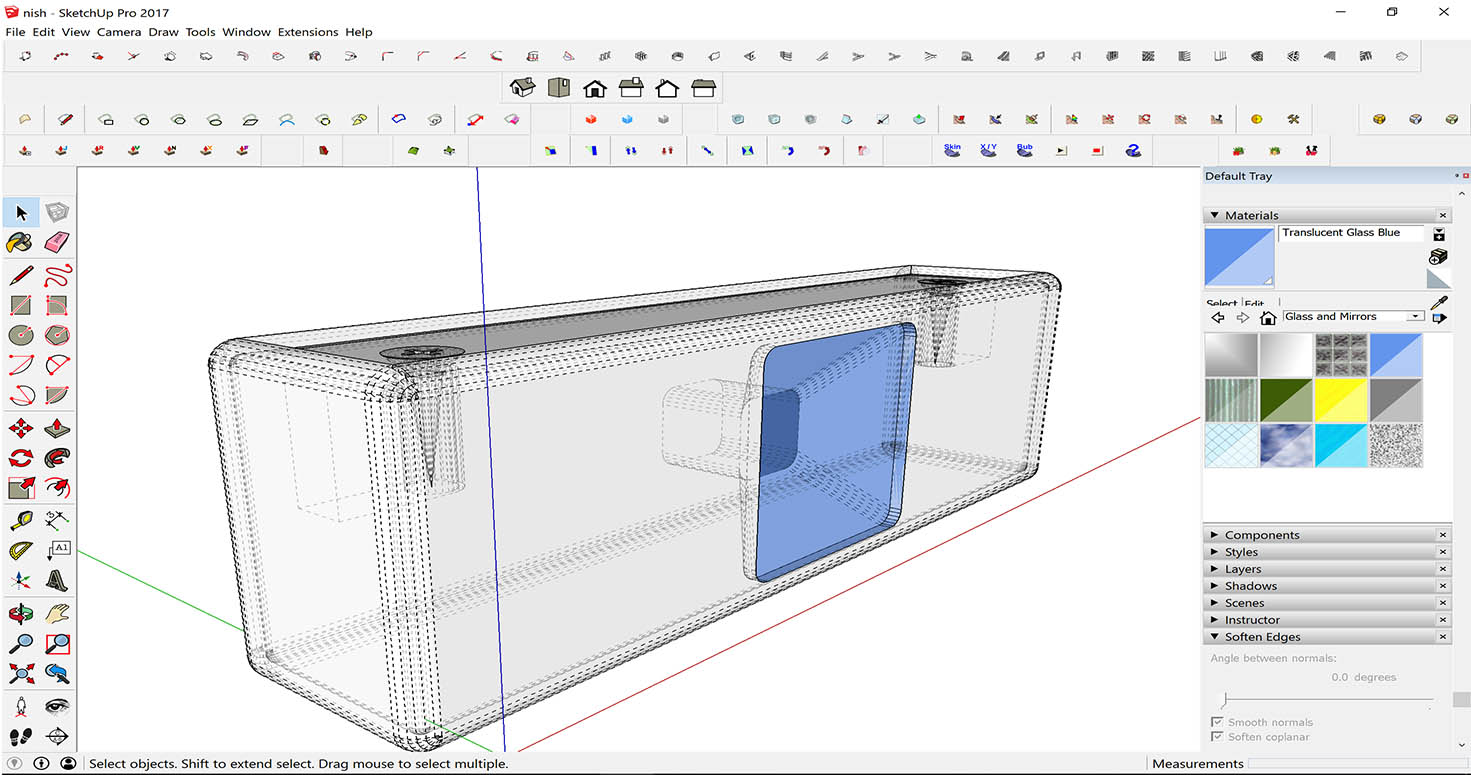
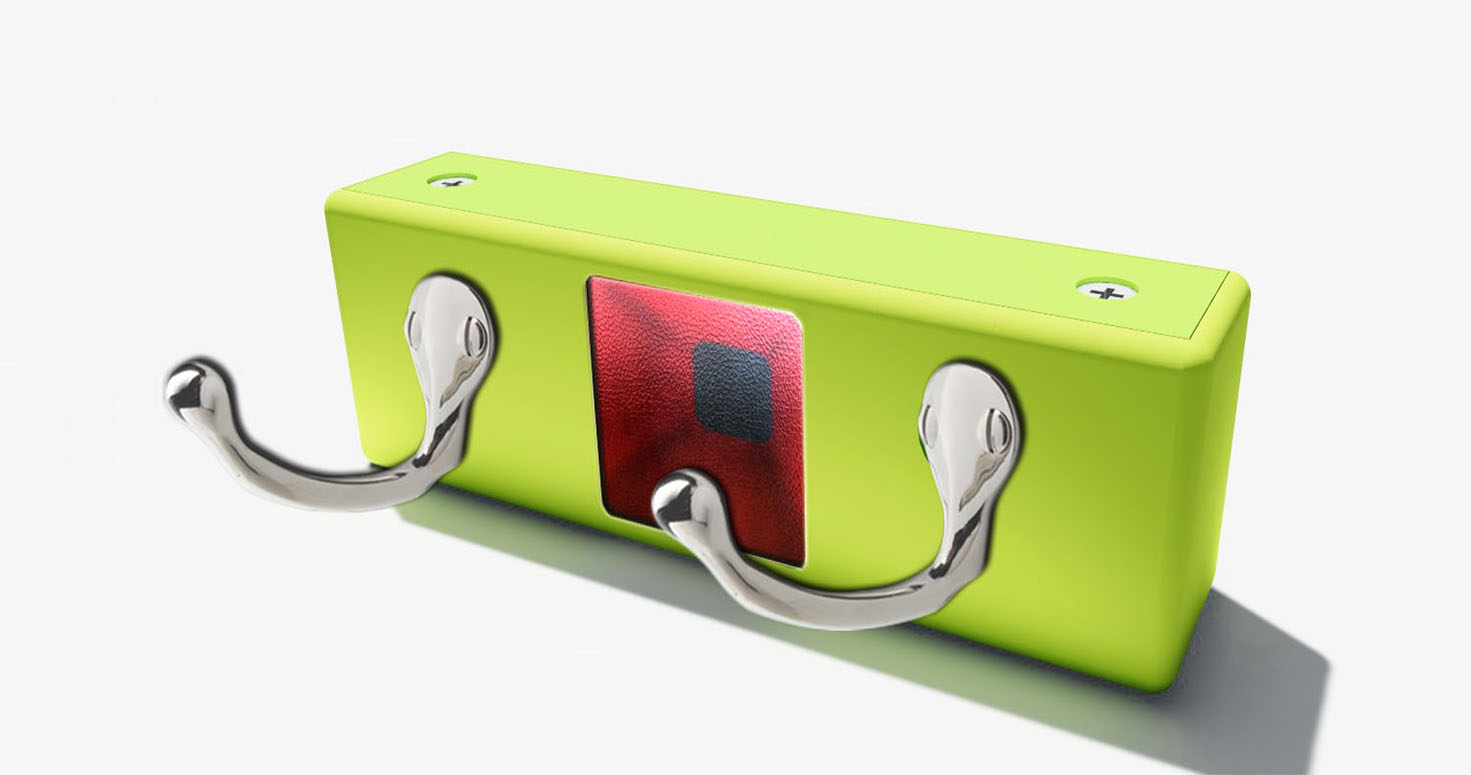
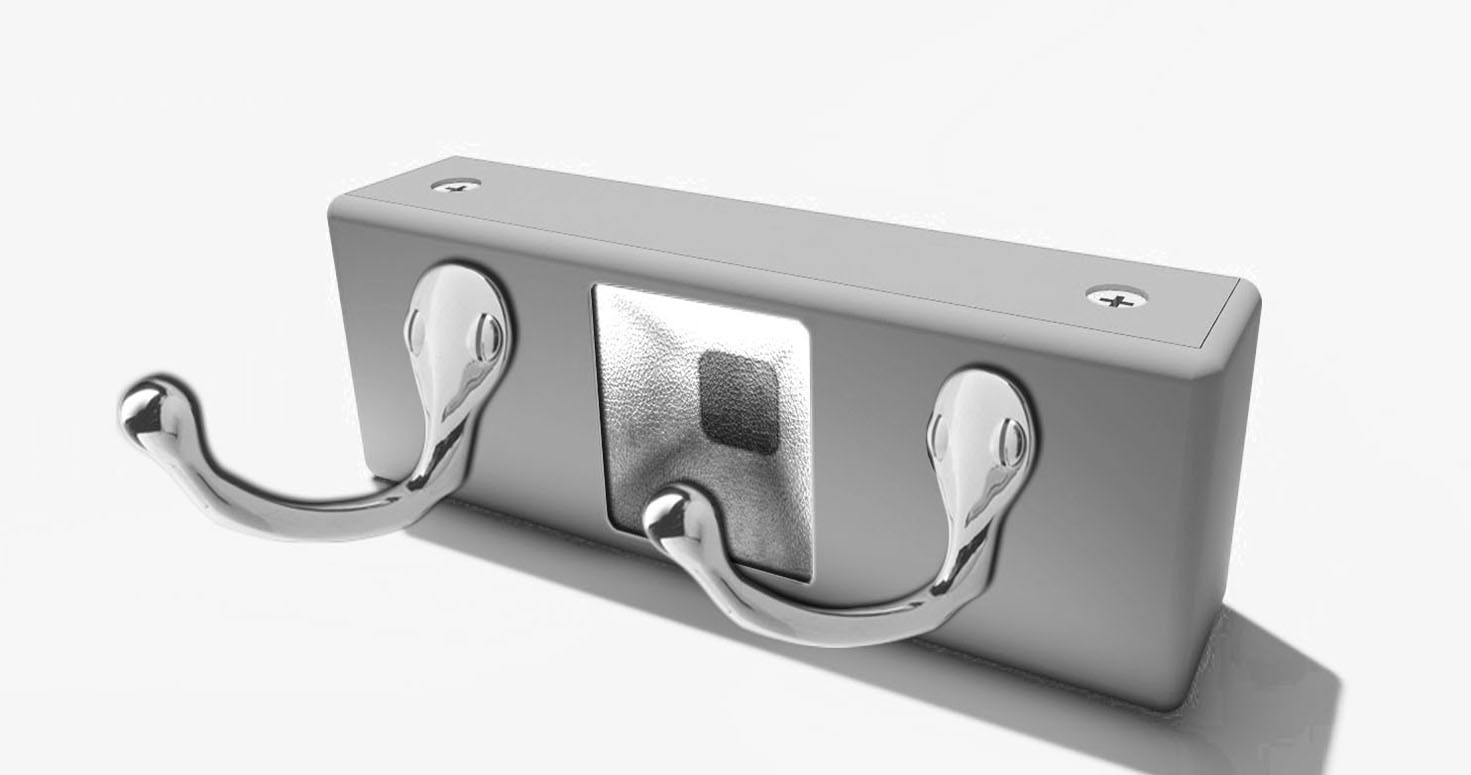
I tried various version of my product, one is this:
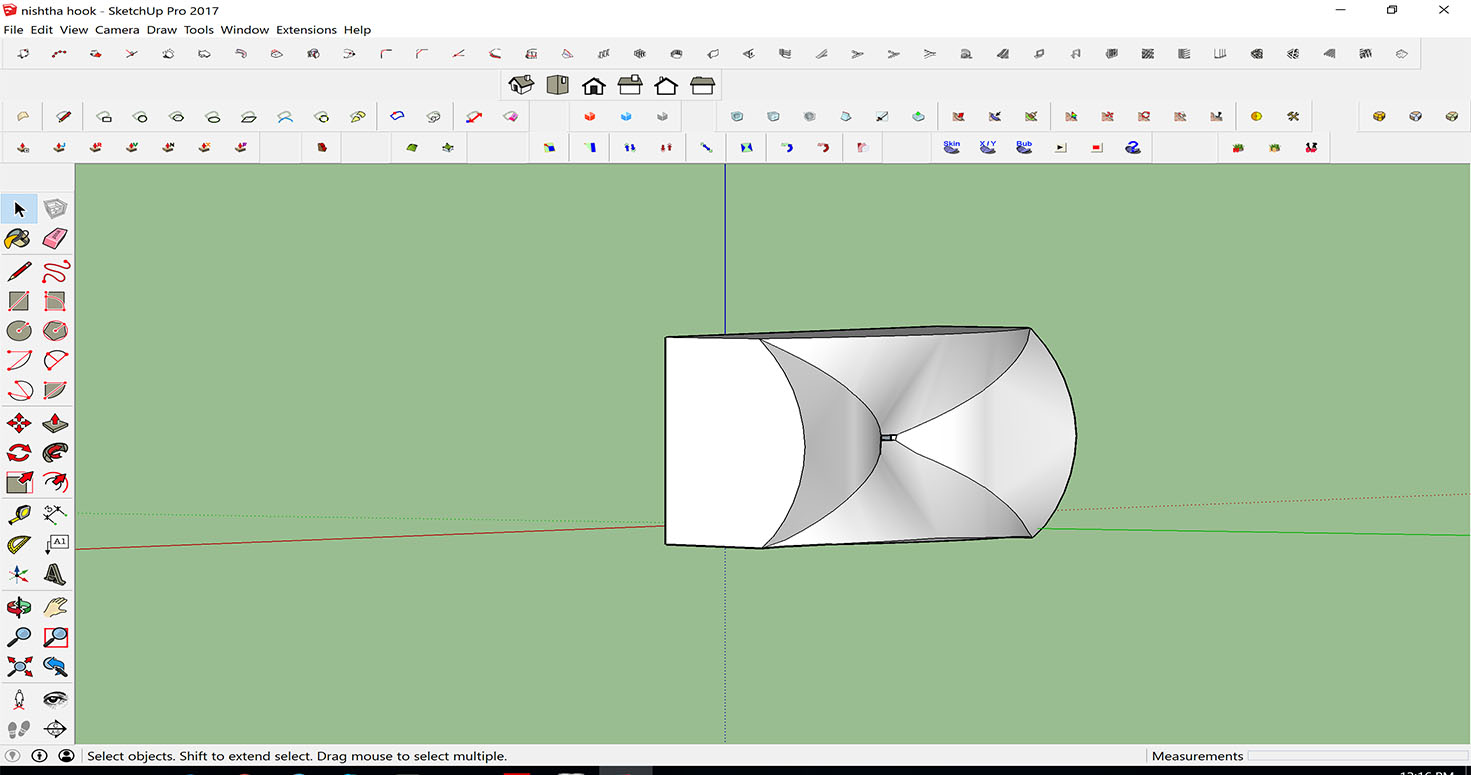
and then i formed my design's other possibility, which i feel would be easy to adopt due to its universal design.
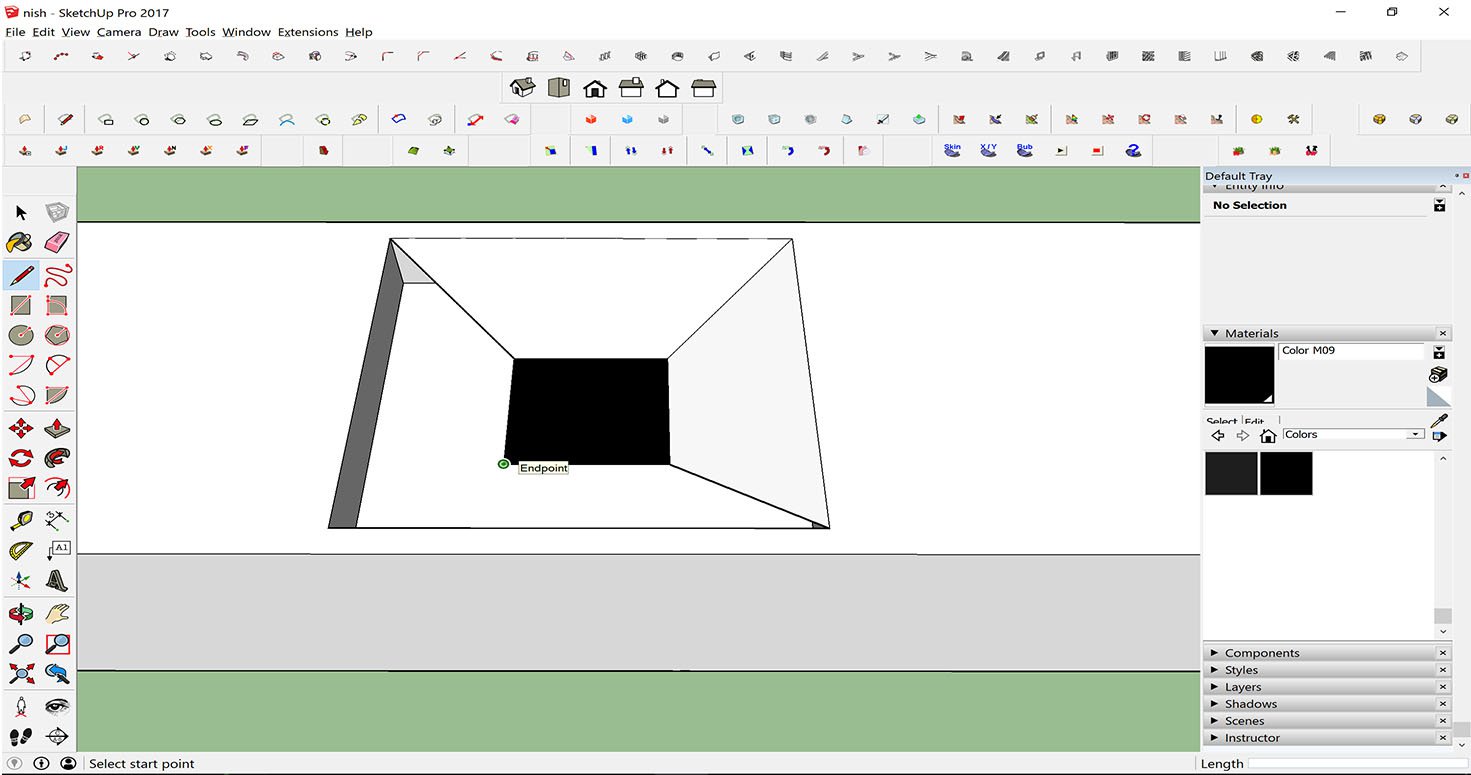
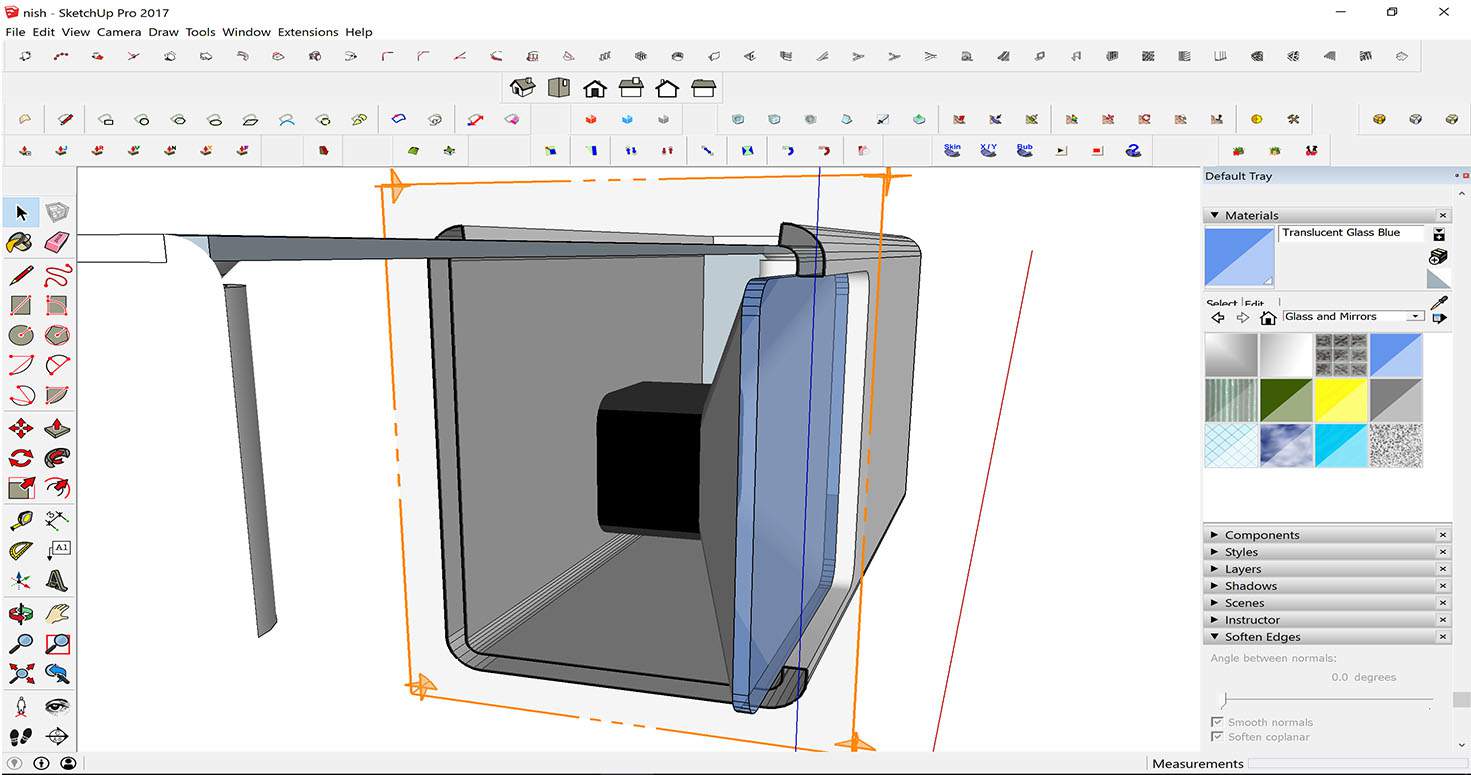
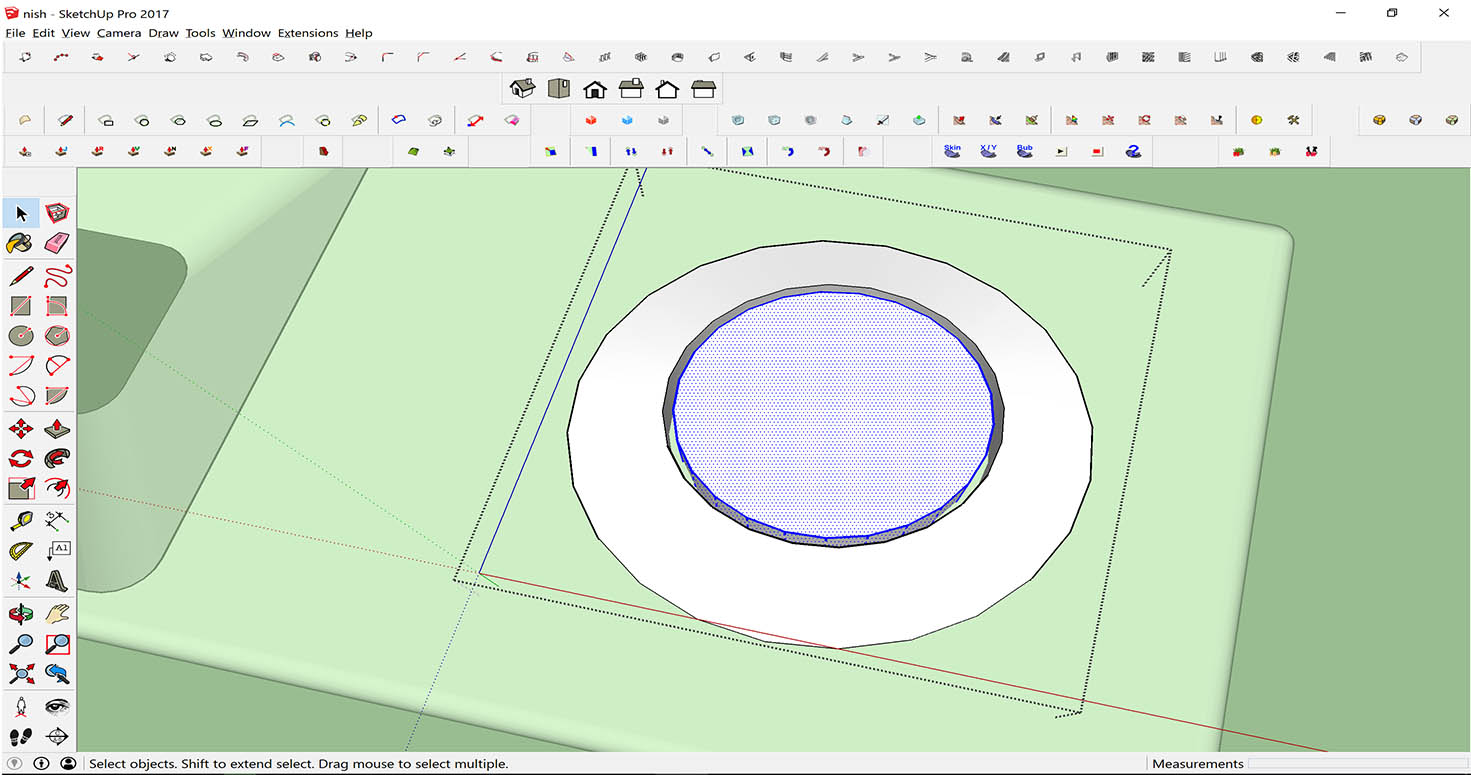
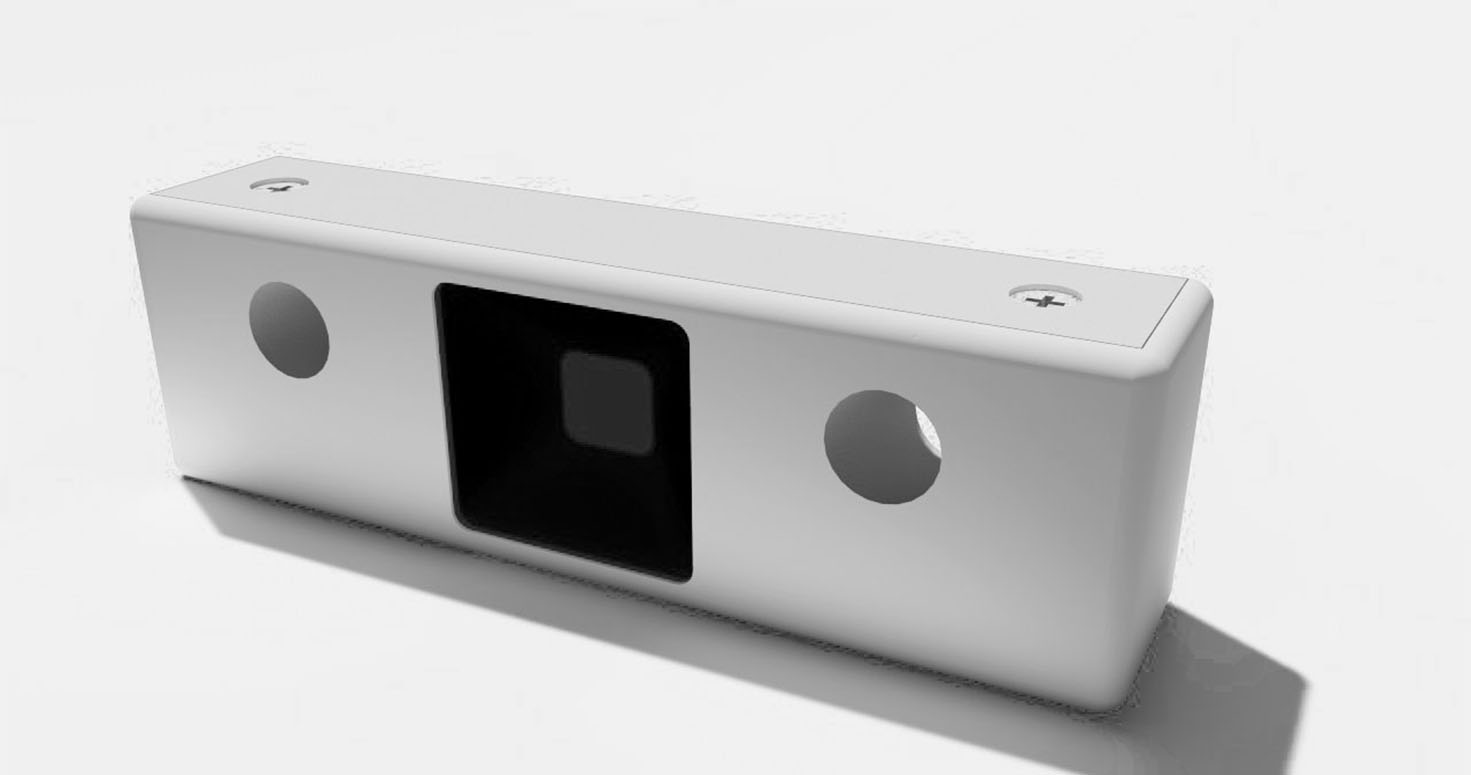
Designed sensor enclosure to maximise IR.
-Made faces using "Make faces plugin".
-Extruded in reference to the elevation drafted.
-Worked in groups.
-Used Boolean operation to intersect groups.
-Then I used Joint push pull command.

-Followed by Filleting using intersect groups to extrude curved surfaces
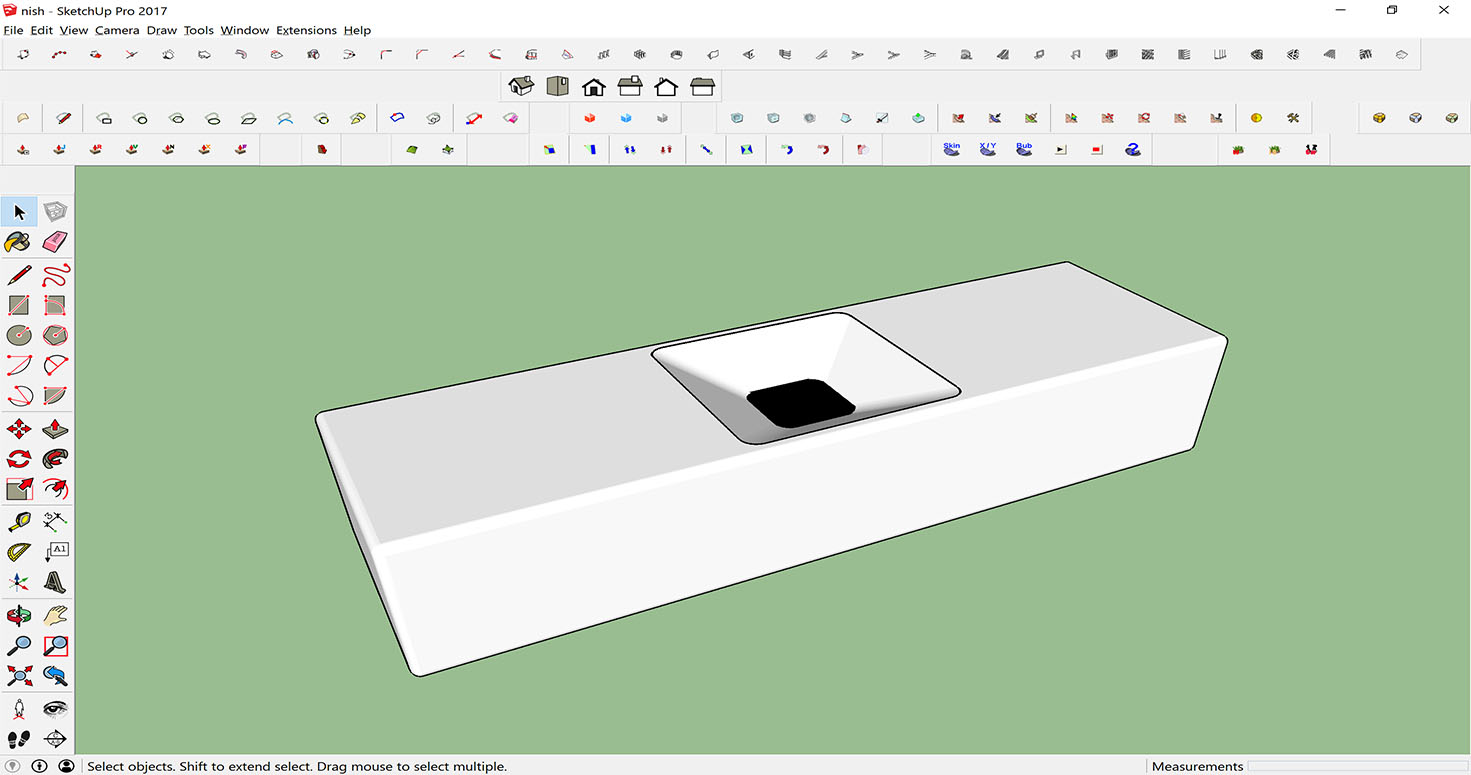
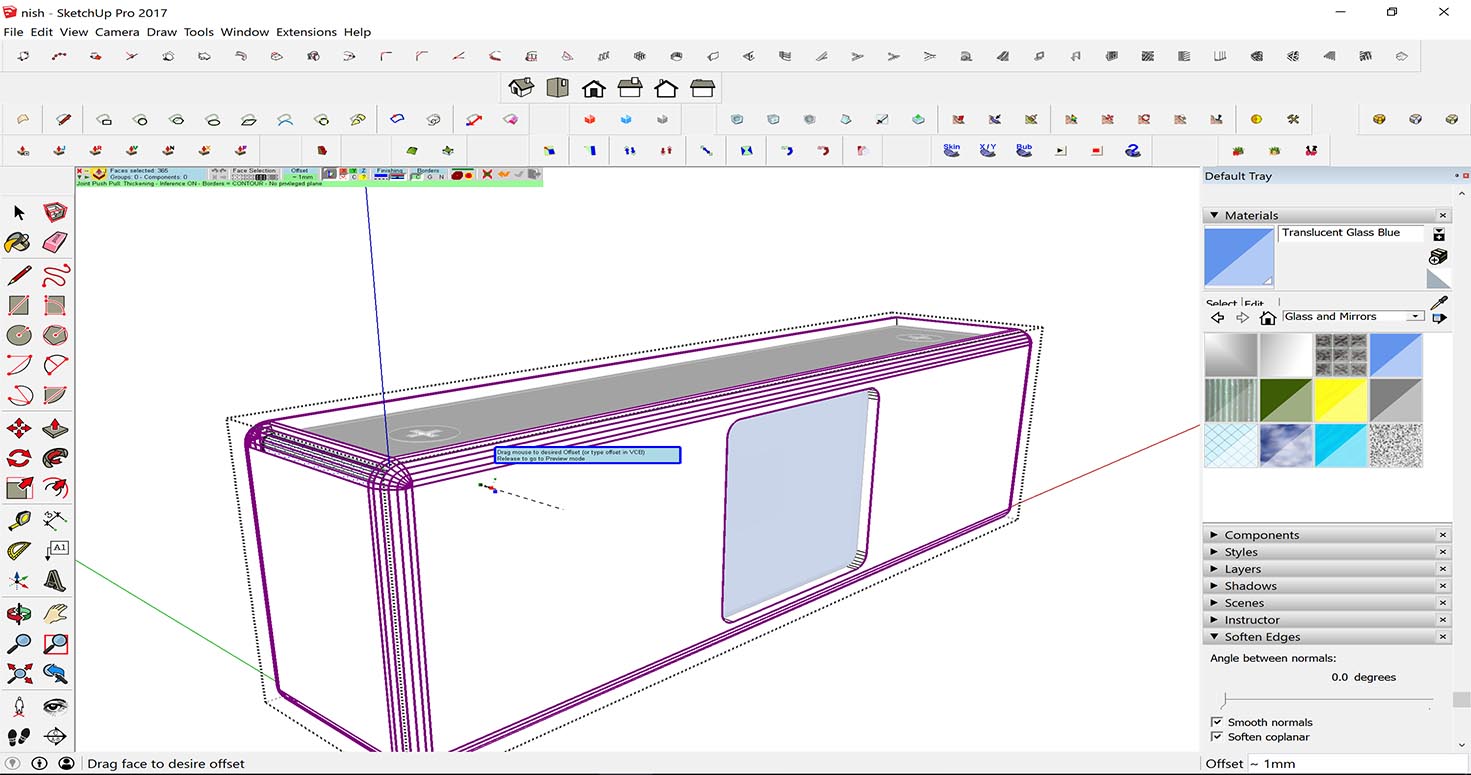 Thickness to the Frame
 Widening the Thickness
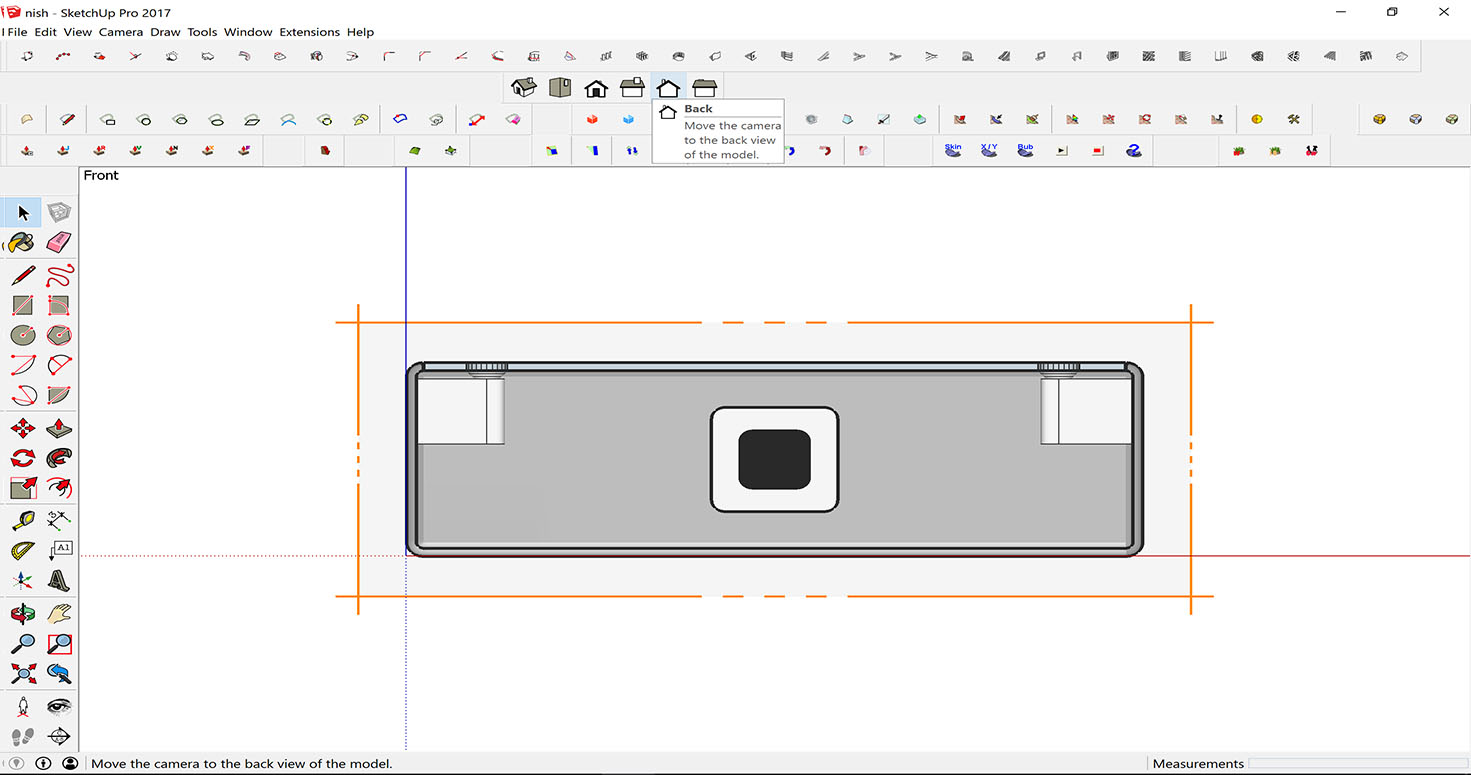
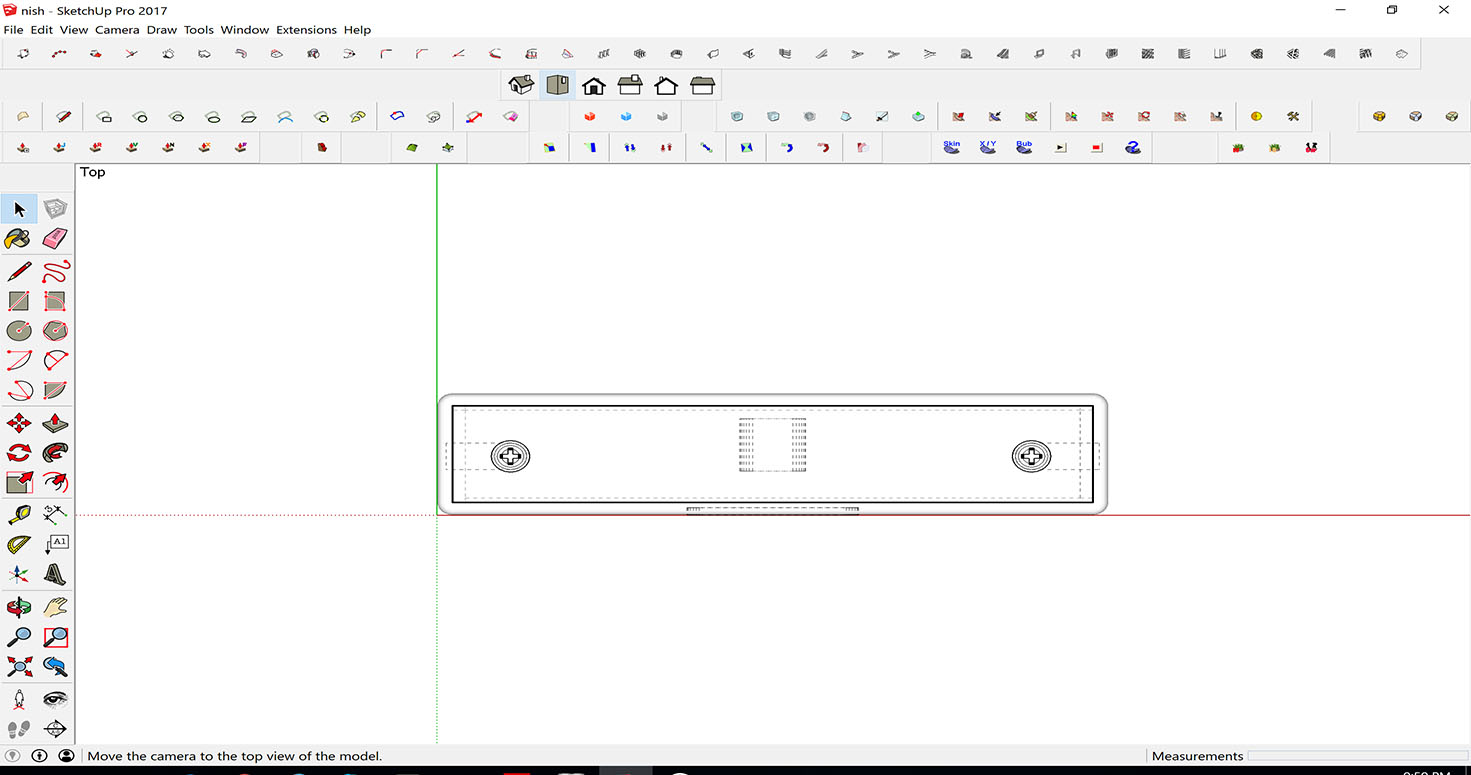
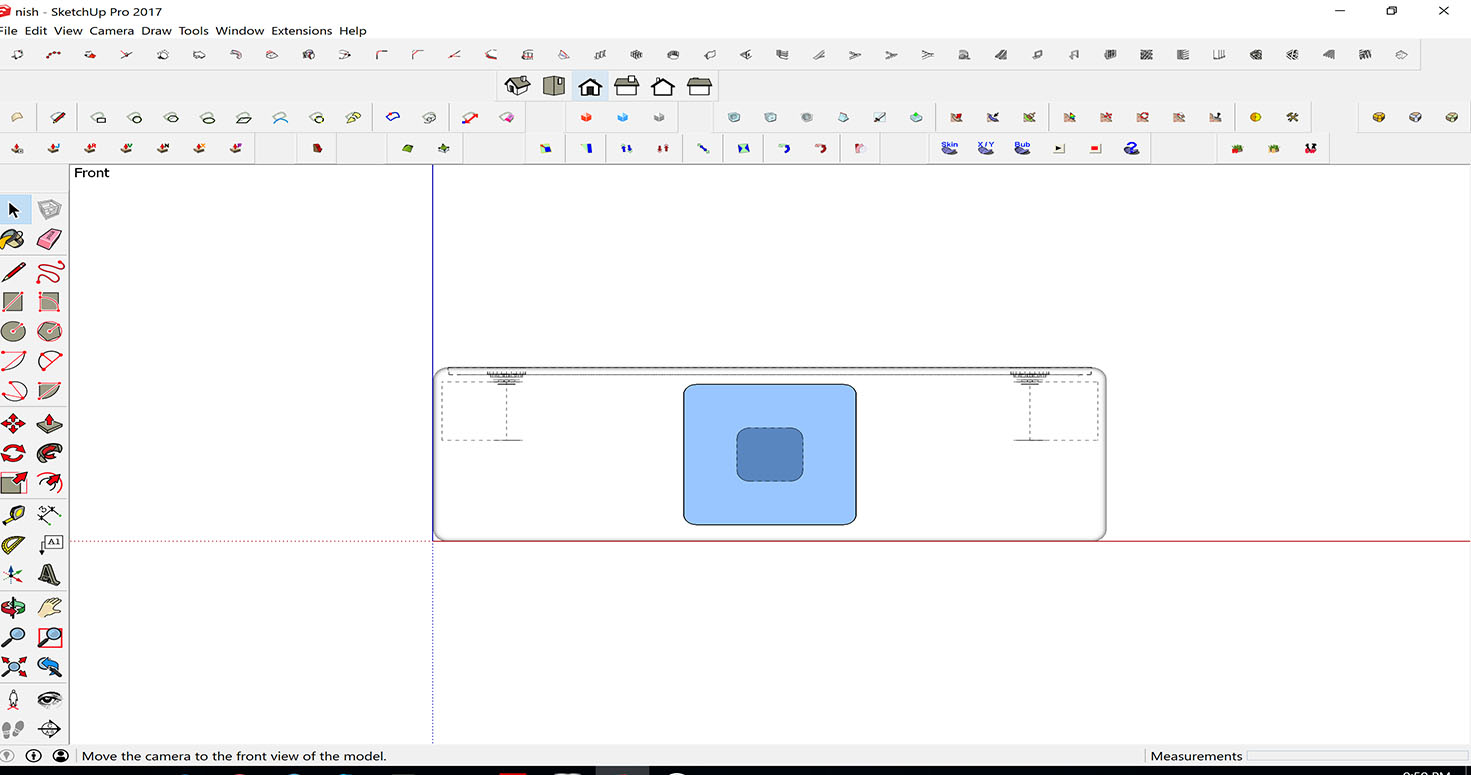
 Section of the model
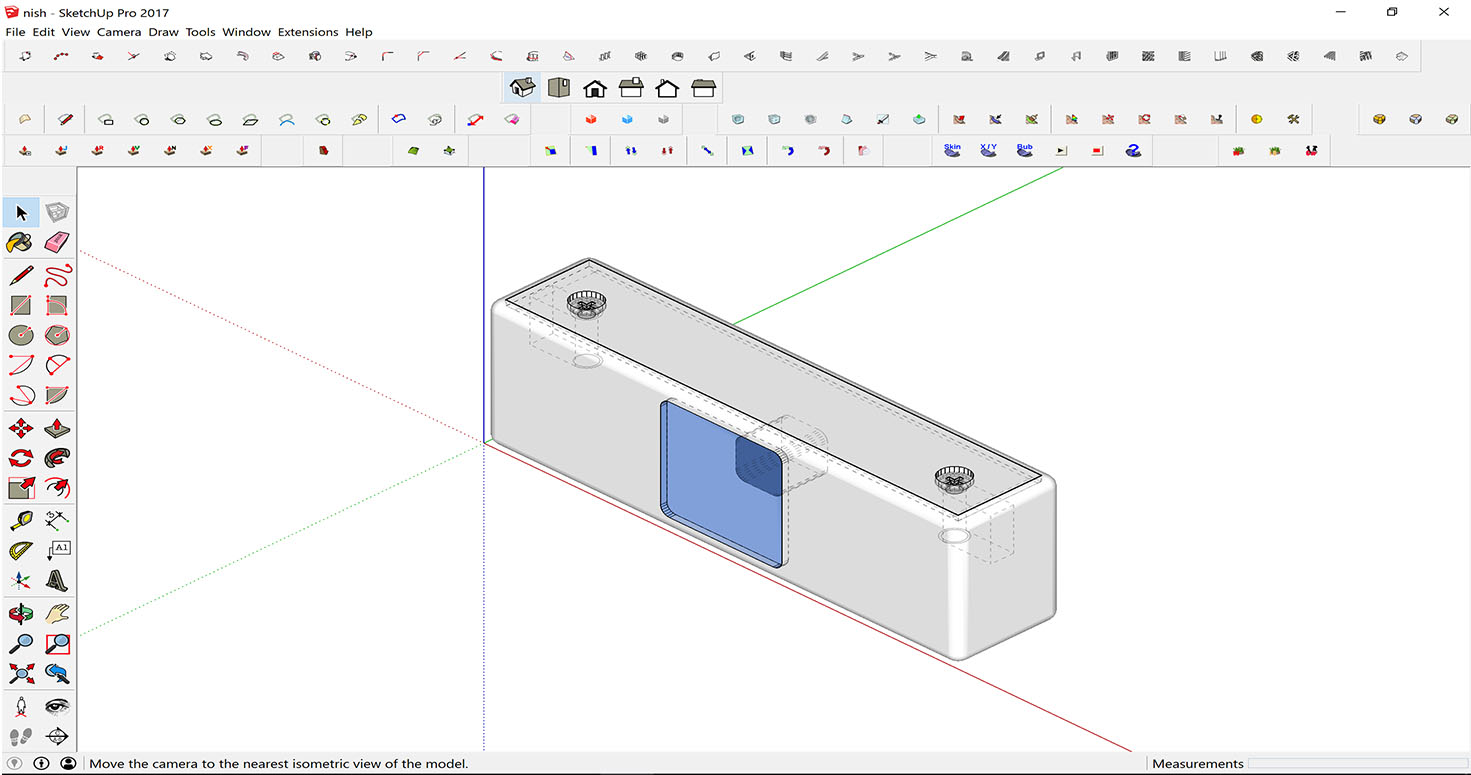 ISO view

Designed button as a separate object, In case I am able to learn then I will add this feature which either helps reset sensor or has sound clip as an output explaining function of that particular tool.
Download Smart band and Tool Holder design File
3. SOLIDWORKS
Vigyan Ashram have tie up with solidworks so they have educational license for the same due to which its very famous among kids for designing, therefore everytime i designed or shared, next thing coming up used to be SOLIDWORKS so therefore, i tried my hands on it after a small discussion about its use among Fab academy students, instructors and a teacher here Subir, who actually guided us how well this software can be in understanding different possible solutions.
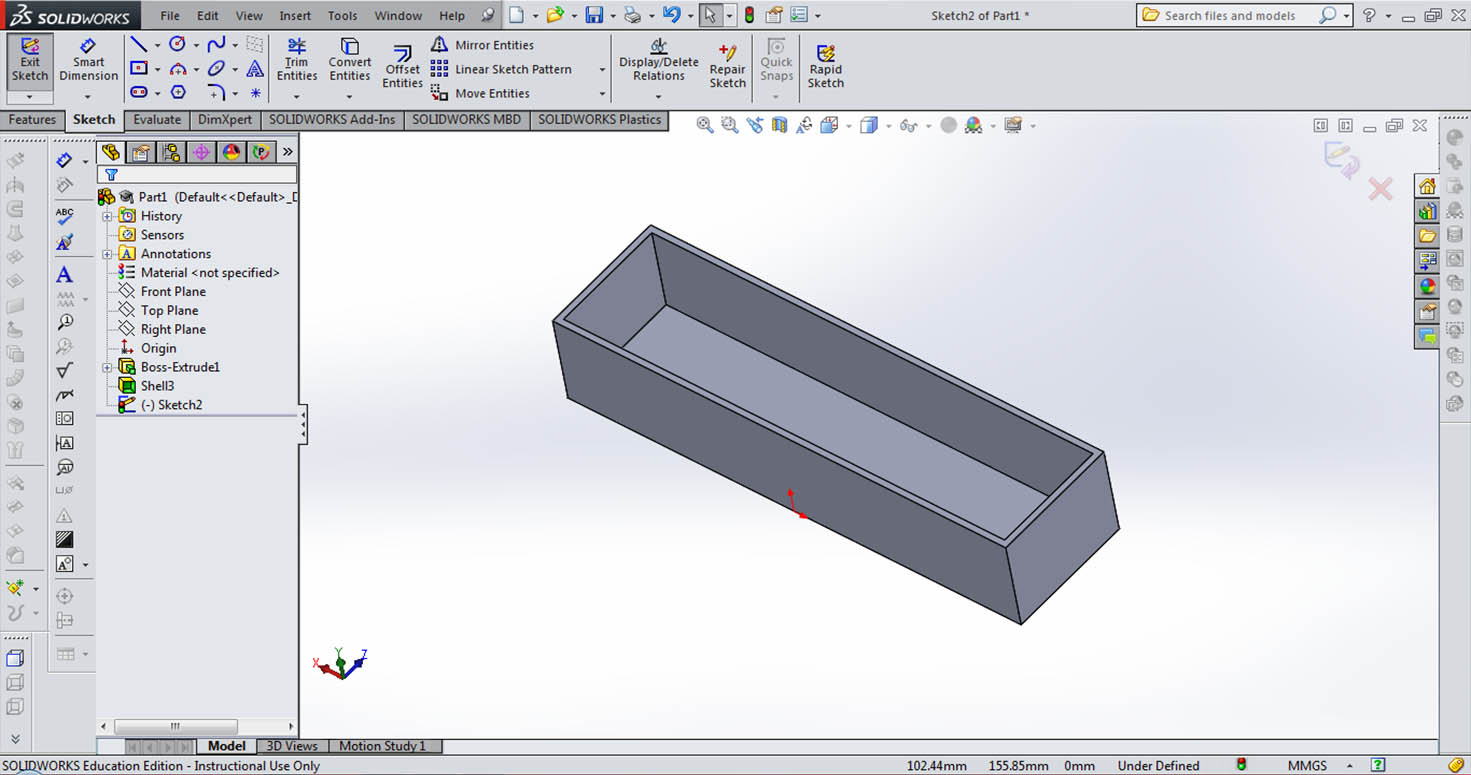
-Choose Parts to start
-Select plane , I chose top plane
-Select Rectangle from different options, I selected Rentangle from Center
-Used Extrude command with the help Smart Tool
-Changed colors

-Made Box with corner to corner which is my sensor and placed it along the tool holder inside it.
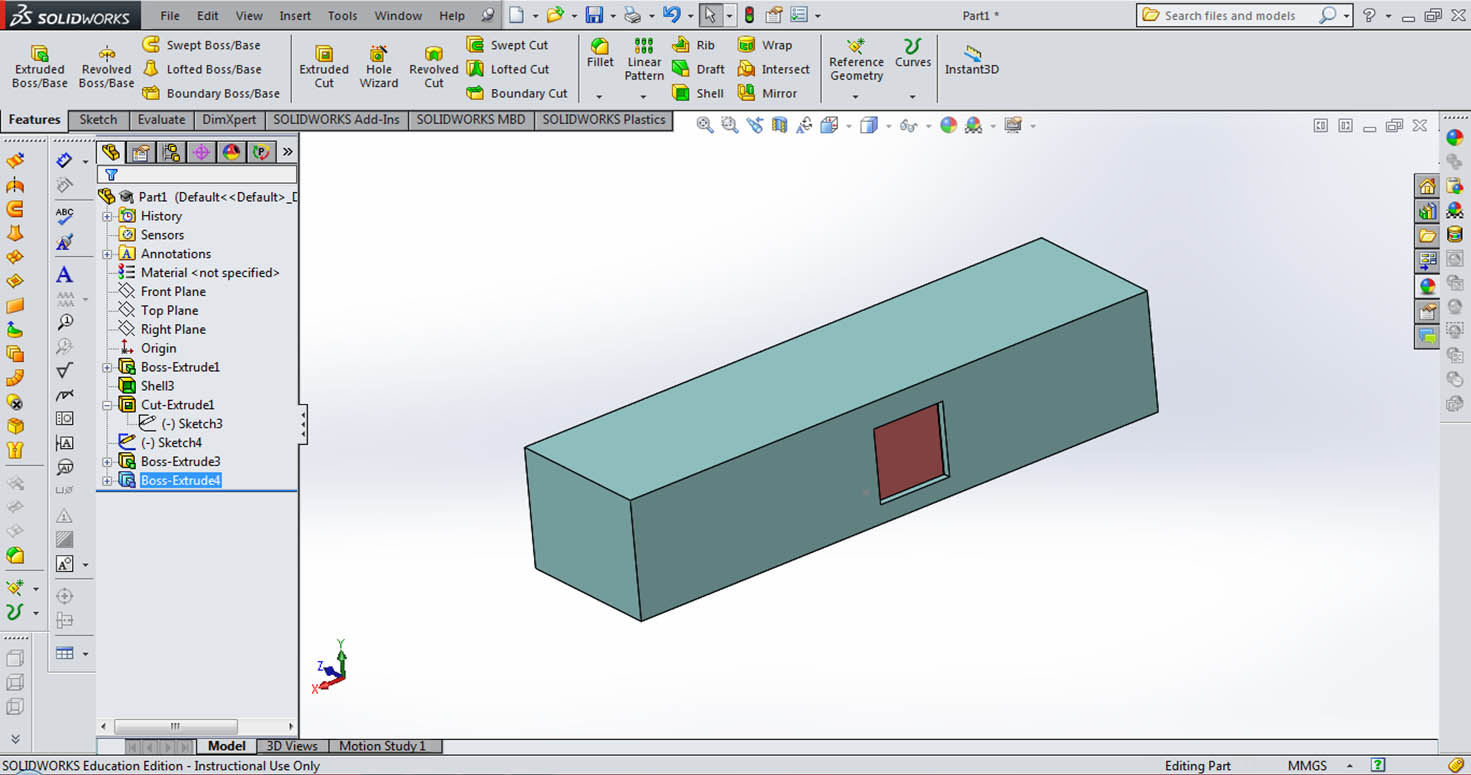
-One is Parts that you make in Solidworks, other is Assembling you do, So I assembled my Box and Hook together and locked them.
I also tried my shopbot project (evolution door) in solidworks.
Download Toolholder design File
4. RHINO
Still in early learning stage but I really feel this is a very powerful software and have very good interface.

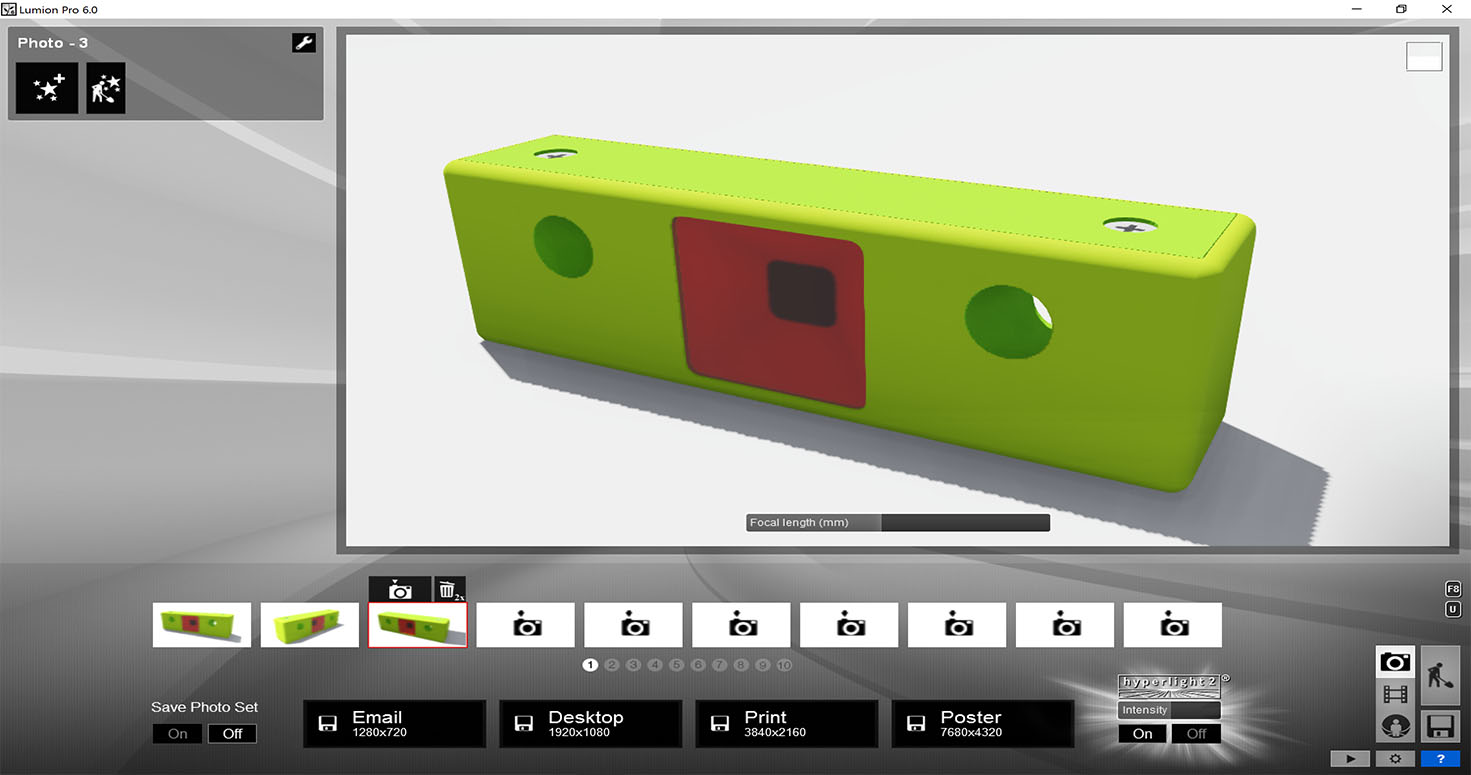
5. LUMION
This software was suggested by my friend Mahavir Singh to me when I started complaining about Softwares being so boring and uncomfortable for beginners and even after putting so much of efforts, you dont see the beauty in your product.
So i ended up using it and experiencing the aesthetics of my product.
-I exported my dae. file to Lumion.
-Applied Materials to it.
-Changed Camera settings and Effects
-Rendered.
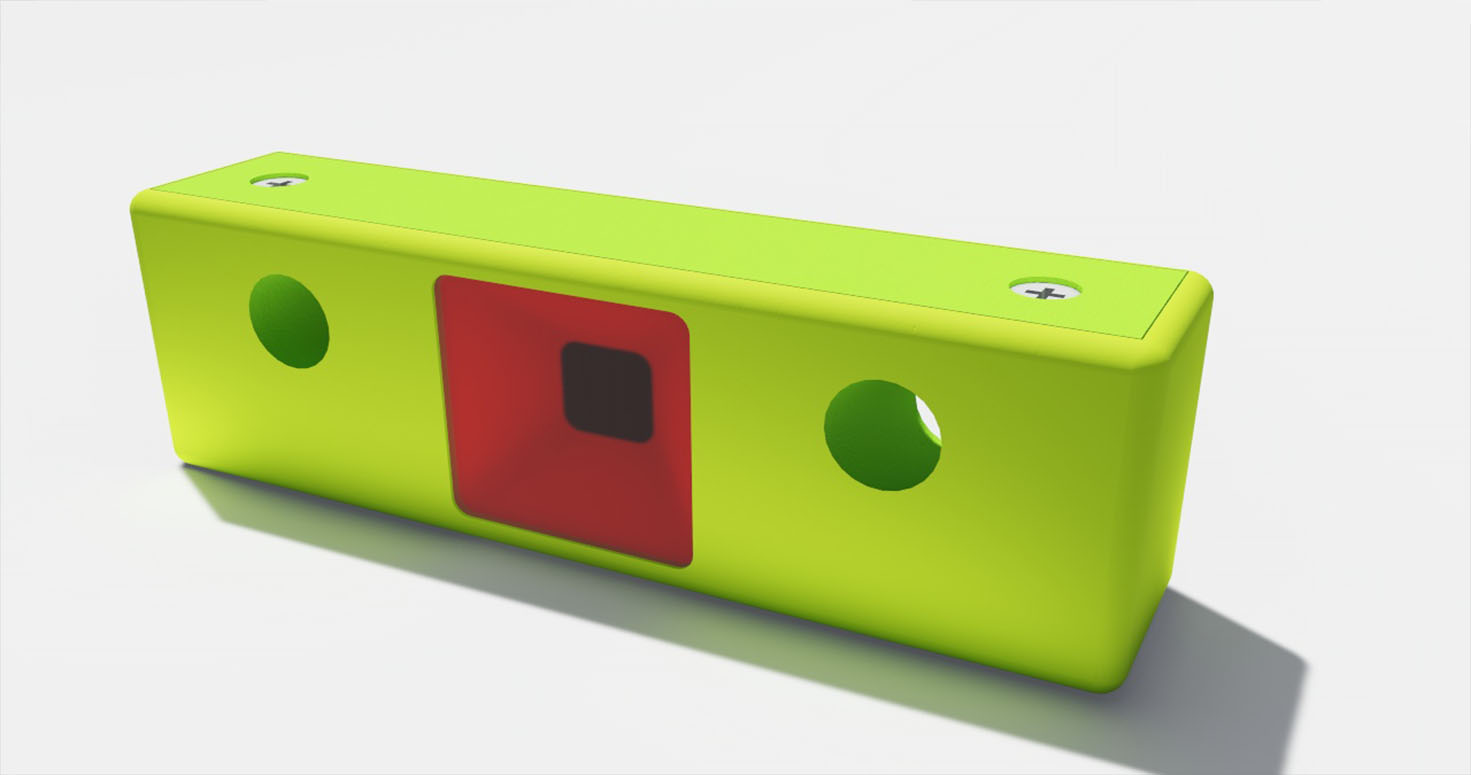
6. PHOTOSHOP
I am familiar with this software because i have been using it before , also have been resizing my images in it too. Thats why i used it in the end.
-I manipulated this further in Photoshop with the use of plugin named "Topoz".
FINAL Project improvements
After discussing the pros and cons of ZIYT system with all my instructors I decided to make some changes in my project:
Having locking system might restrict people's freedom to use them in a go.
ALso, like not having a whole ISSUE or RETURN option, Rather keep it open for the system to feed in the data depending on the movement on the TOOL on the hooks through sensors (explained on my Final project Page)
Complications
Well, experience was very overwhelming in terms of learning different softwares, their levels or complexity, understanding their different interfaces as well design in them and document them in just a week. Complication was to remember so many functions and what to use where specially when there are no universal shortcuts or functions. Also, uploading my drawing files was increasing my Folder size thats why i chose Sketchfab to upload my 3D file but now you can directly download from this page too.
"But I can say it might look like the end when you start but its just the beginning to something bigger. Thats what is Fab academy for me."
UPDATE: Today it is 13 Febuary 2017 , I tried Modelling, rendering and simulation on Fusion 360.
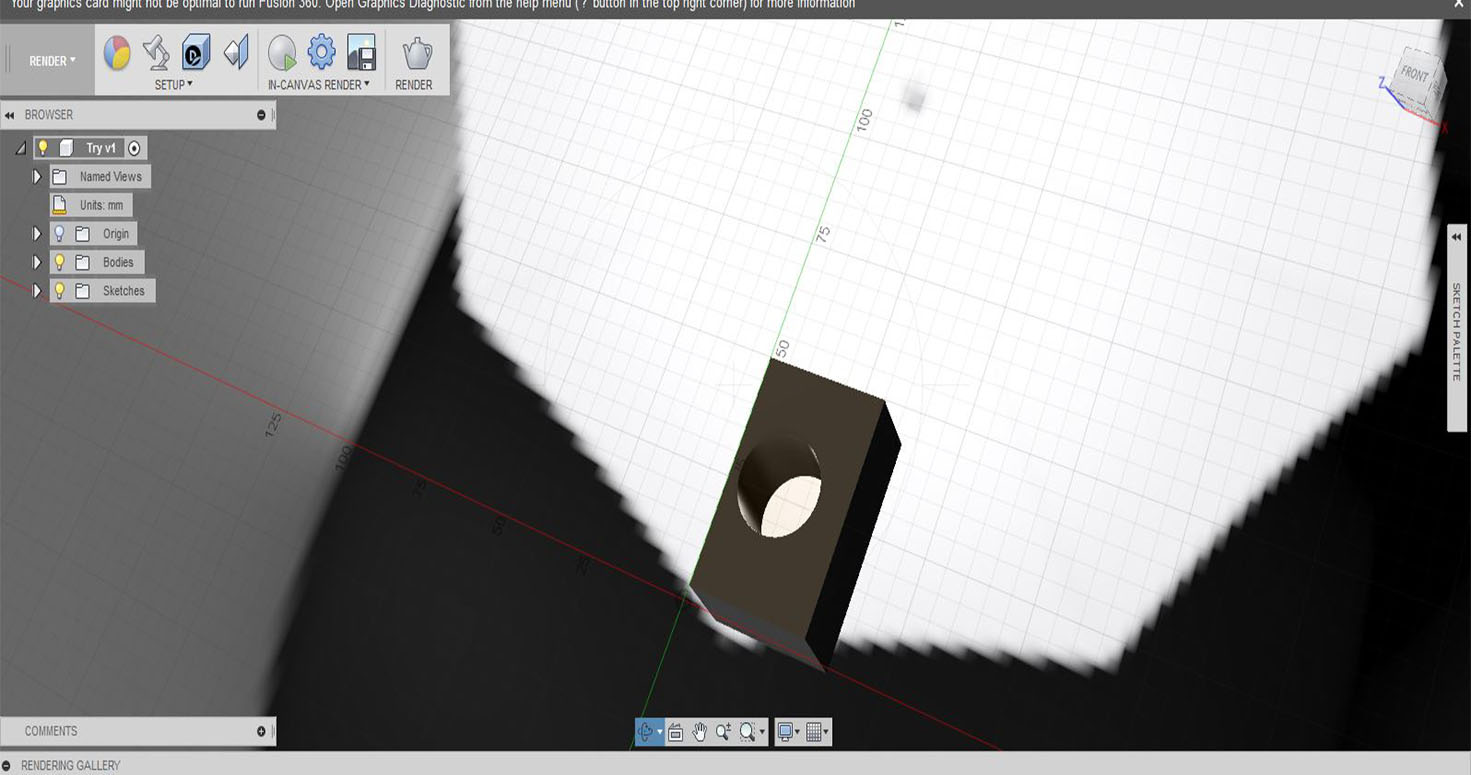
I found this software very comfortable for simulation and it give you categories and good options to opt. But i was not able to import sketchup file to it but only rhino file to fusion 360.