NOTE: Vigyan Ashram is known as "Fablab 0" , it is one of the remotest labs with very minimal internet access , therefore, we have been using old version of Fab module which is an offline version.
WEEK 15
Networking and Communication
Learning Outcomes:
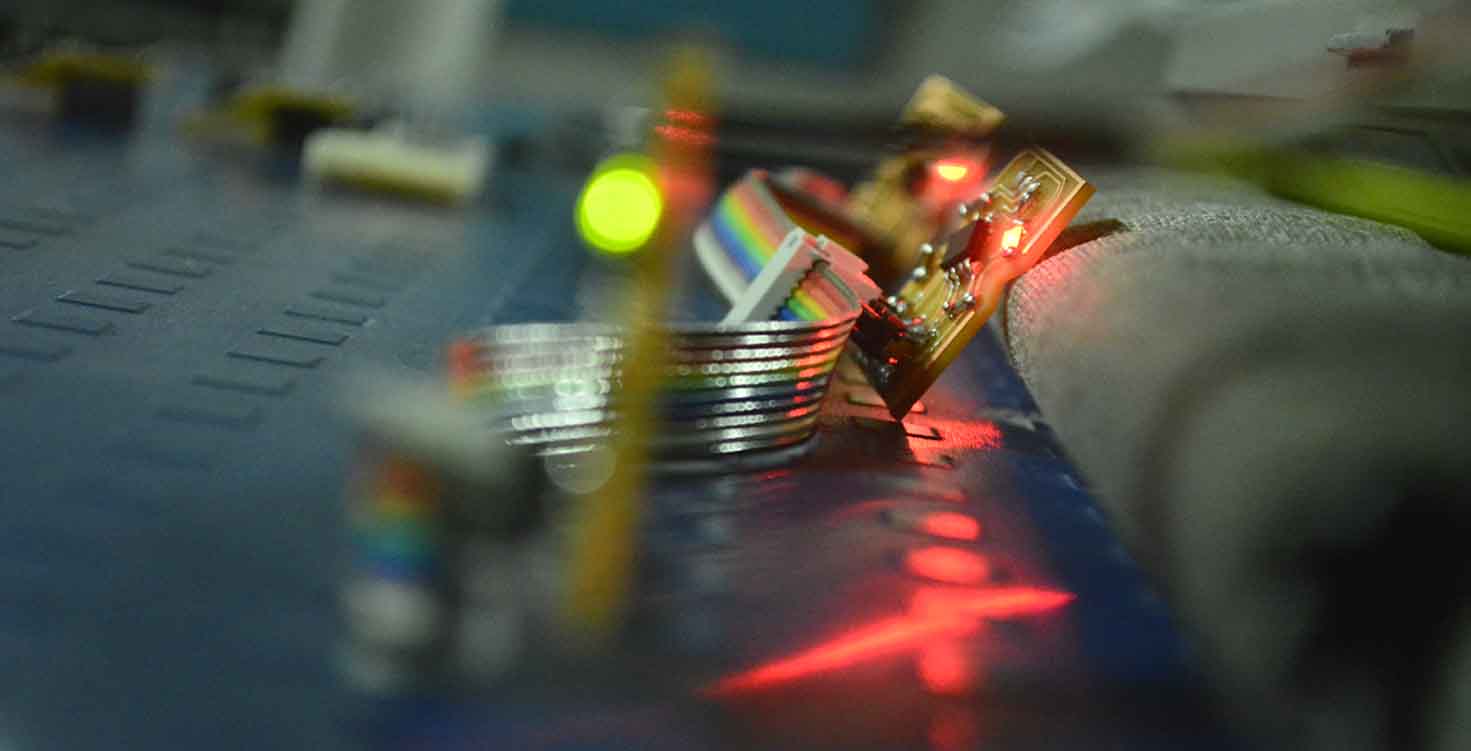
HERO SHOT
1. Reading Resources
This week was like a blank sheet for all of us, so we started by picking one topic each and discussing it the next evening. We shared our research and knowledge on Serial bus, OSI layer, Physical media etc, i read about Modulations, which really interested me. DETAILS are here.
Then i went through Neil's this week Lecture once again.
I also started reading and skimming through Neil's book The Physics of Information Technology
I am also interested in reading a book refered by Neil about Sociology and Technology.
We also had a session on my final project so we asked few networking questions from the resource person.
2. Designing a bridge board and node boards
This week was bit confusing as to what should be done. Neil said we should start with Serial bus if we are new to it. So i Chose that.
Started with Eagle, where i designed my node board and a bridge board.
I made all my board in a way that they can be used as node as well as bridge because only difference was the FTDI.

Designing:
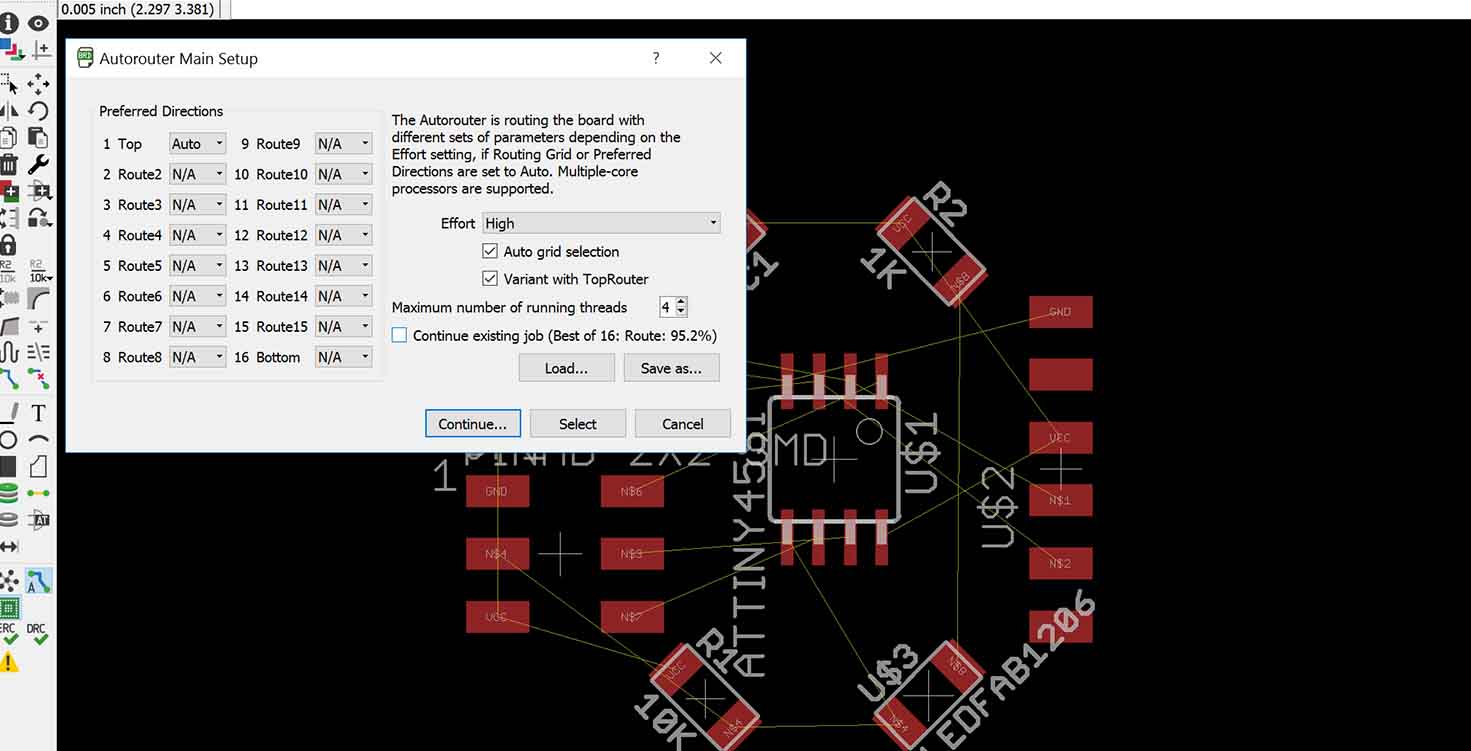
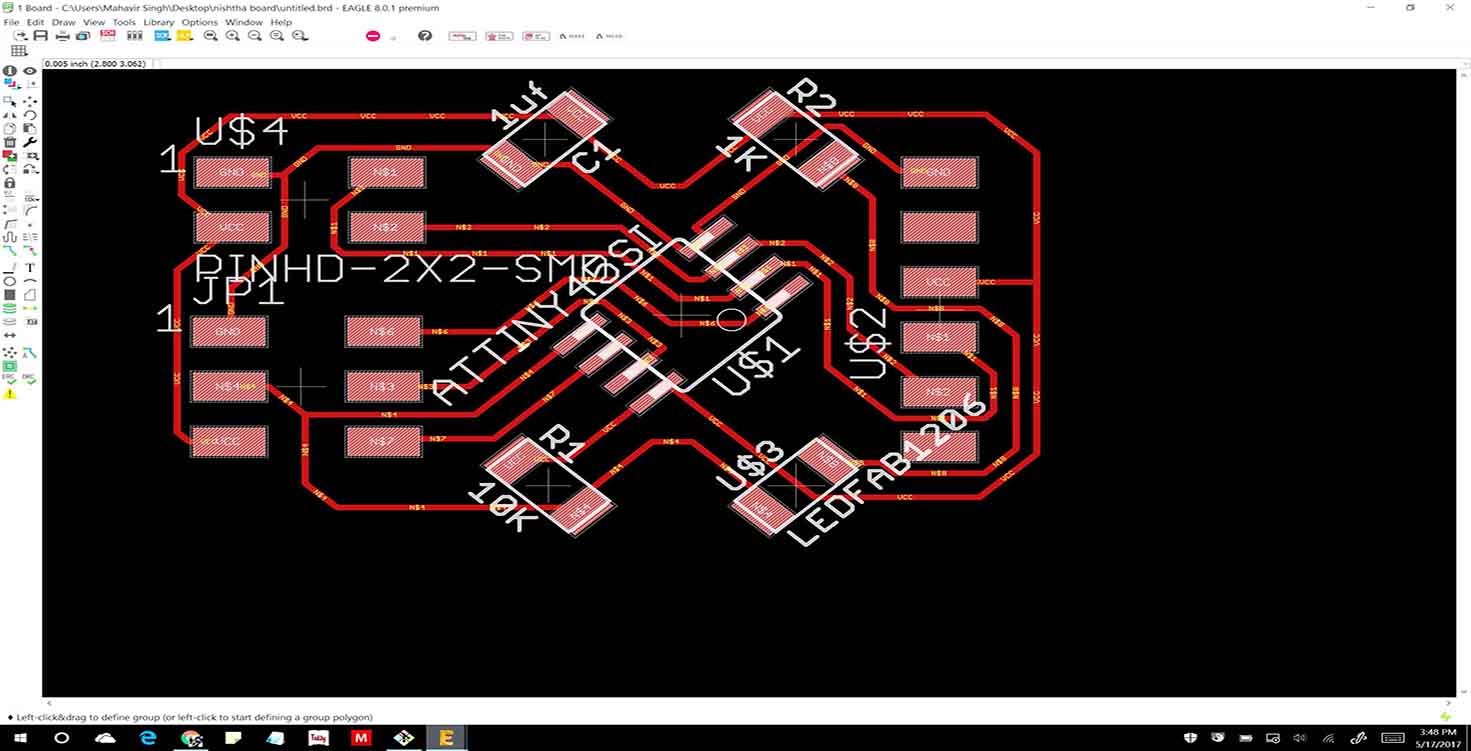
If you see closely, this is Auto routing on Board file. So here, I give effort as high because i feel what is the use of learning a software when you end up doing manual routing.
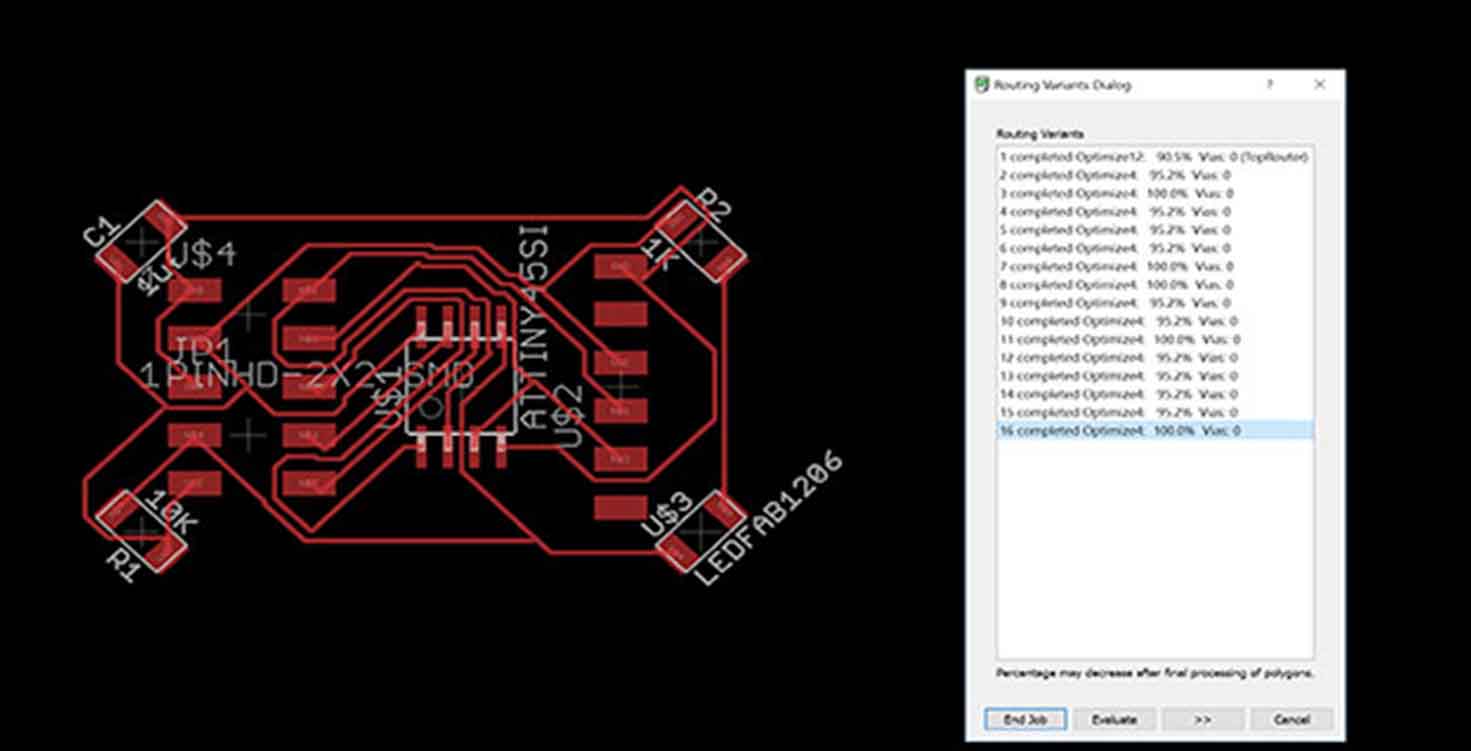
I chose Maximum number of running threads as 4, this means how many times will software try to fit in the lines to connect. Make sure 16-bottom is NA because we are not making double sided board here
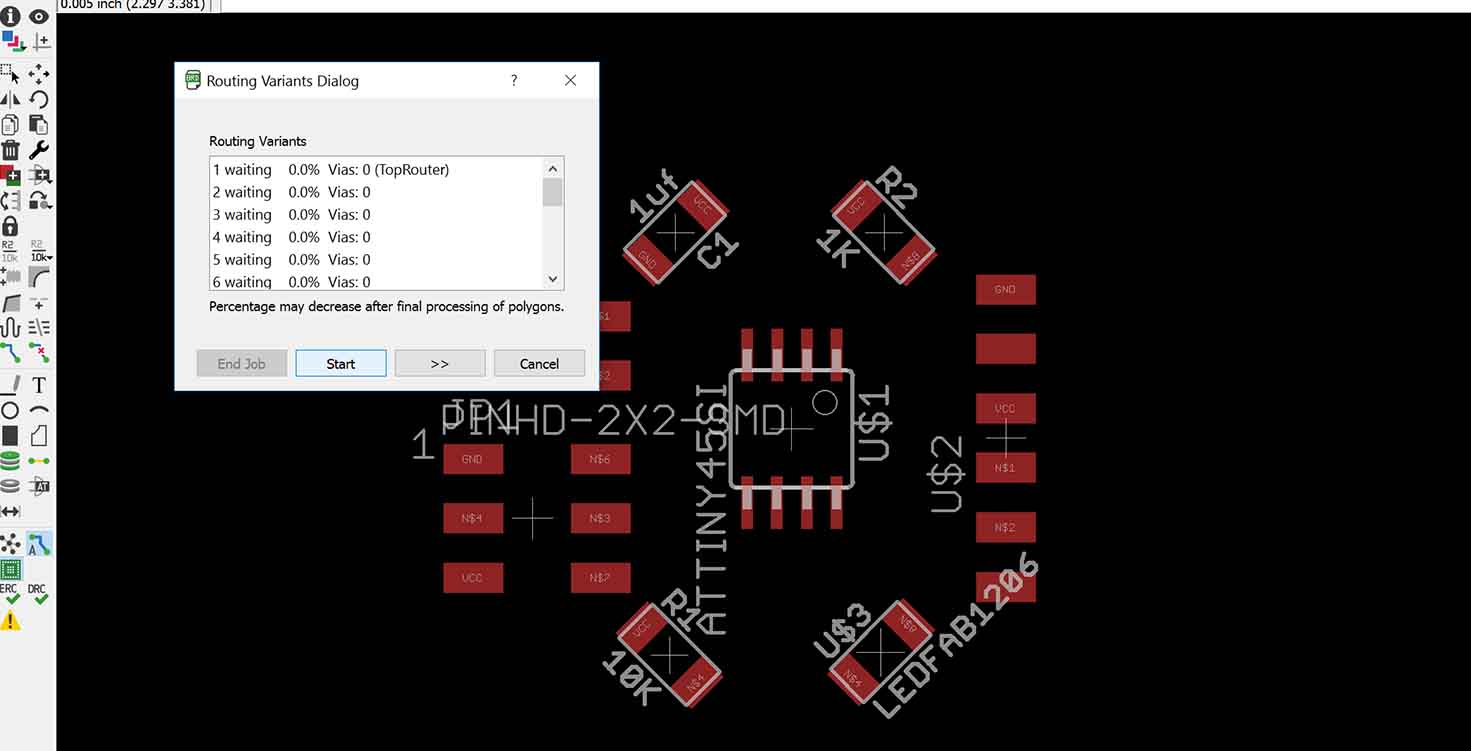
Its making its way, its routing through different variants
Its like a puzzle because if i dont get even one 100 percent, i keep rearranging my elements and soemtimes make conenctions simple ins chmeatic to achieve 100 percent. It sounds complex, but more easier than even manual.
Thats what it gives me as the best possible solution.
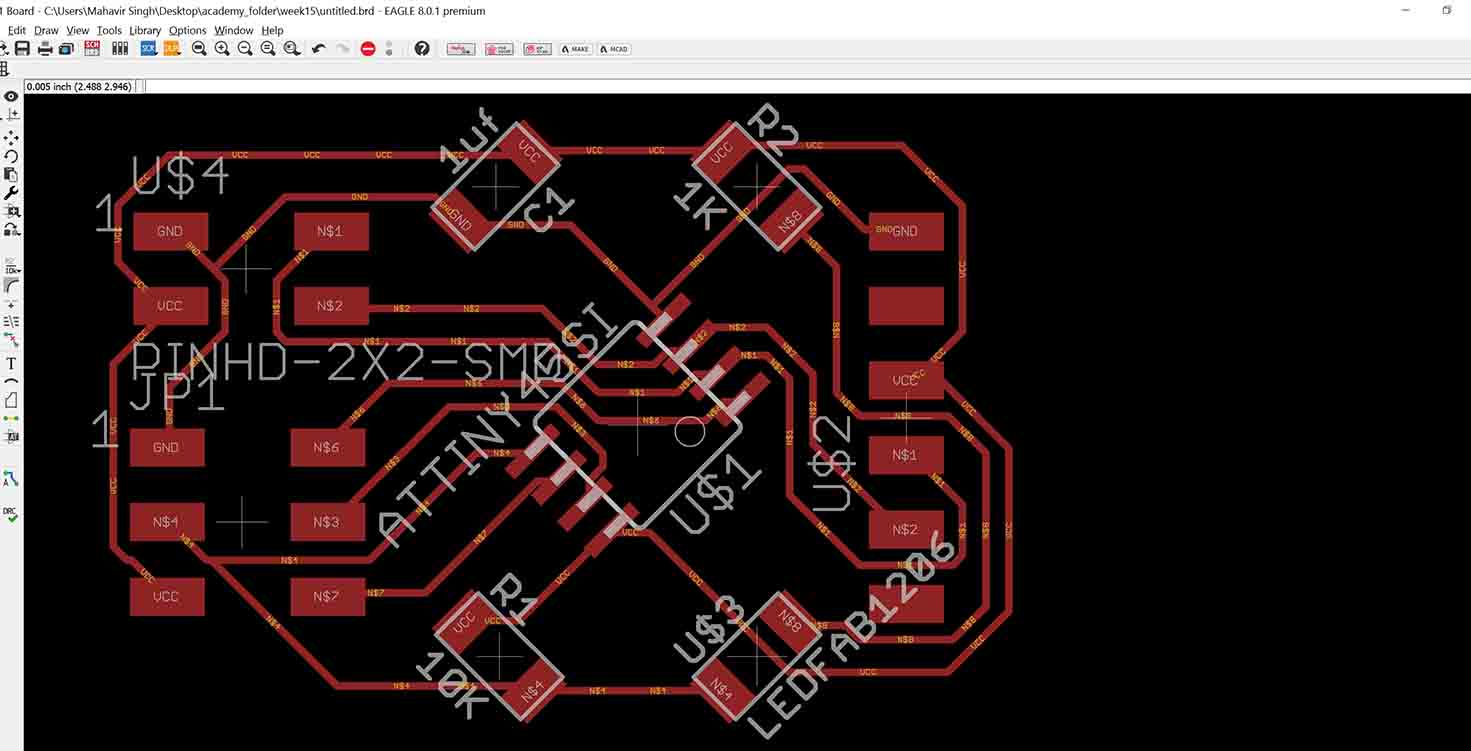
If you notice the difference, In above Image lines connecting to IC are turned, in image below i have straightened them up to avoid shots while soldering.
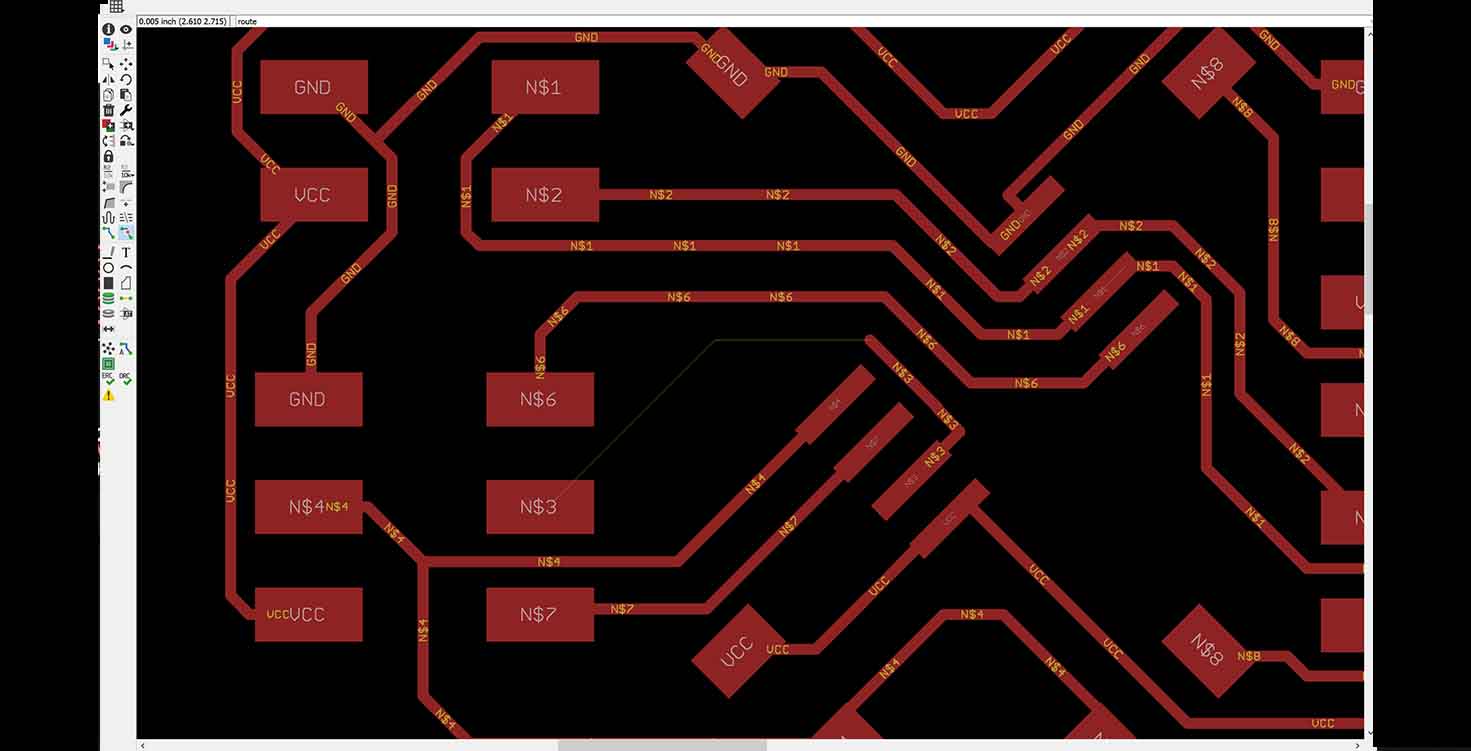
All layers are visible, recheking connections and again routing it because i didnt get 100 percent.
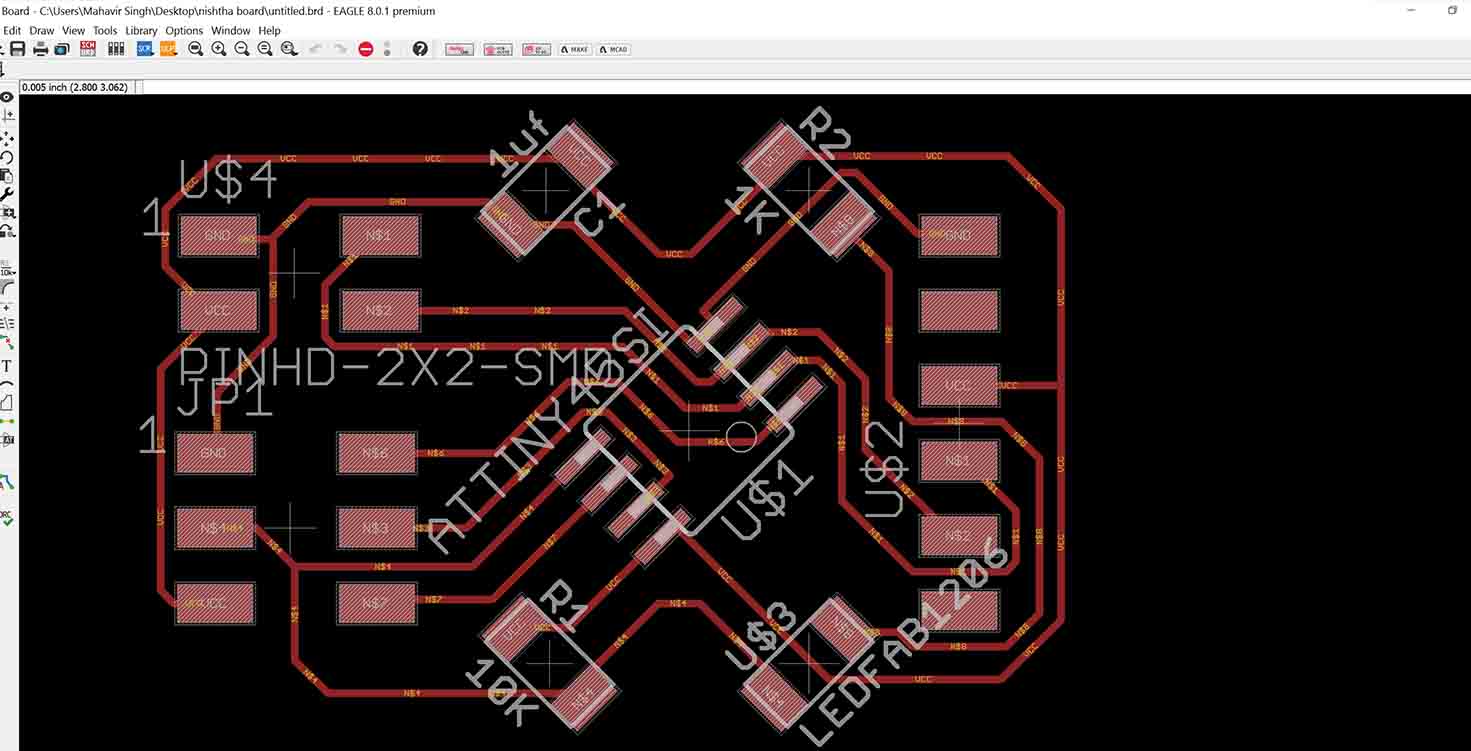
Finally made this
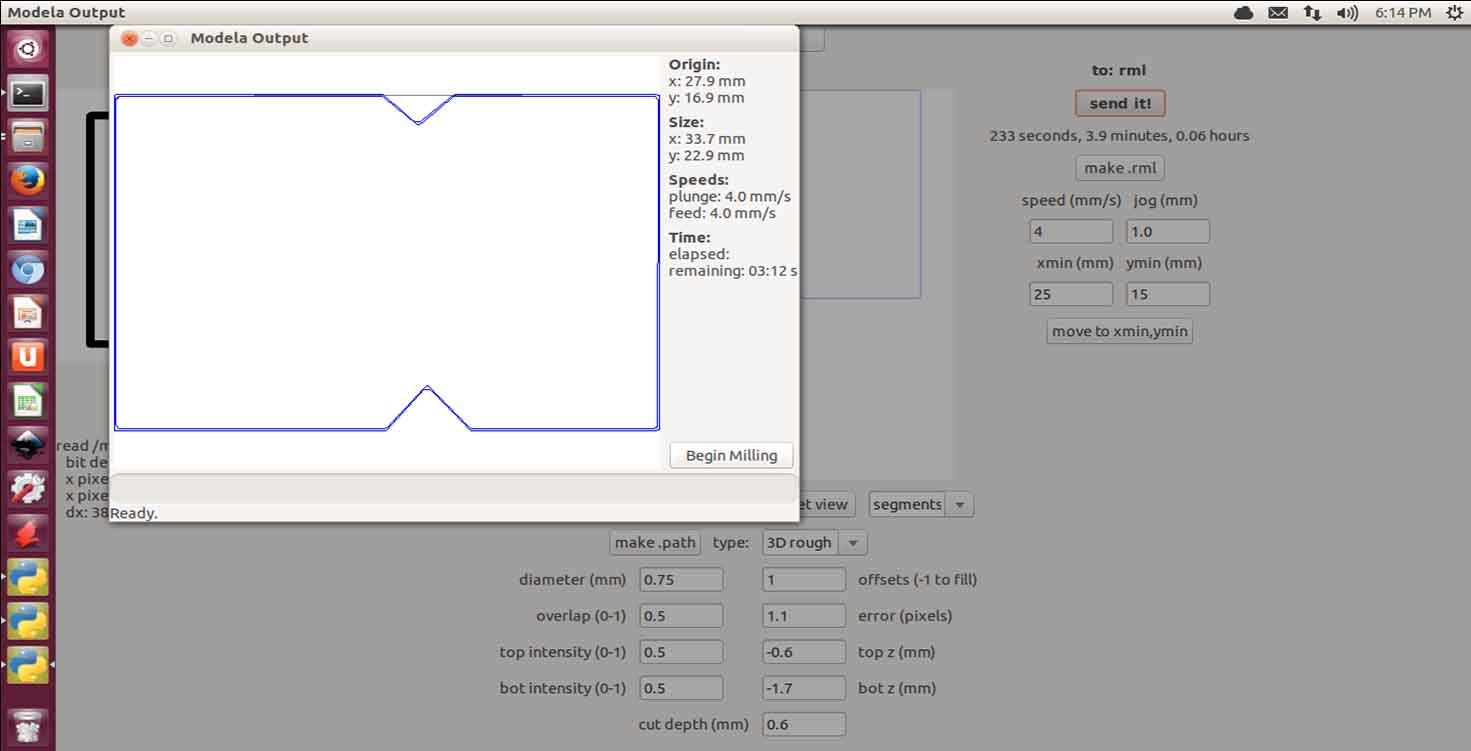
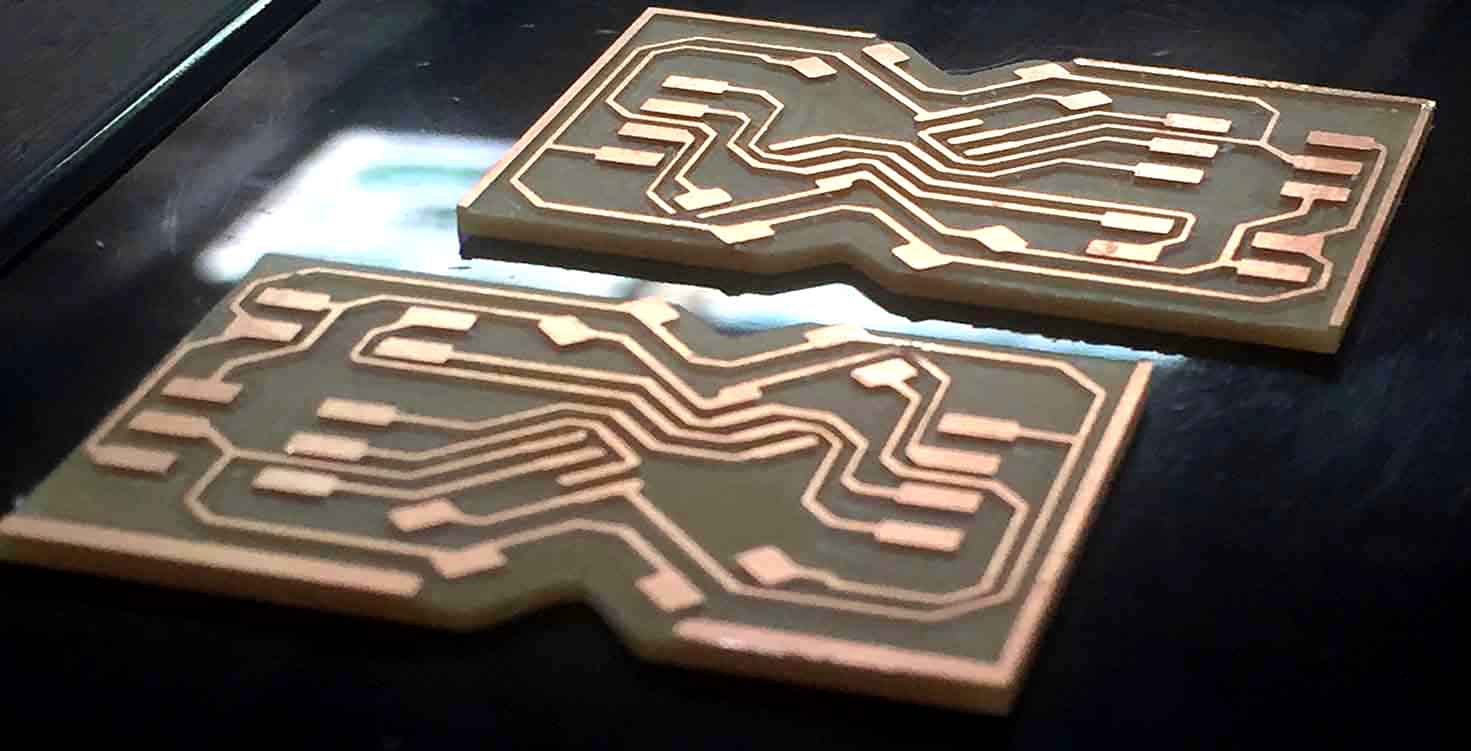
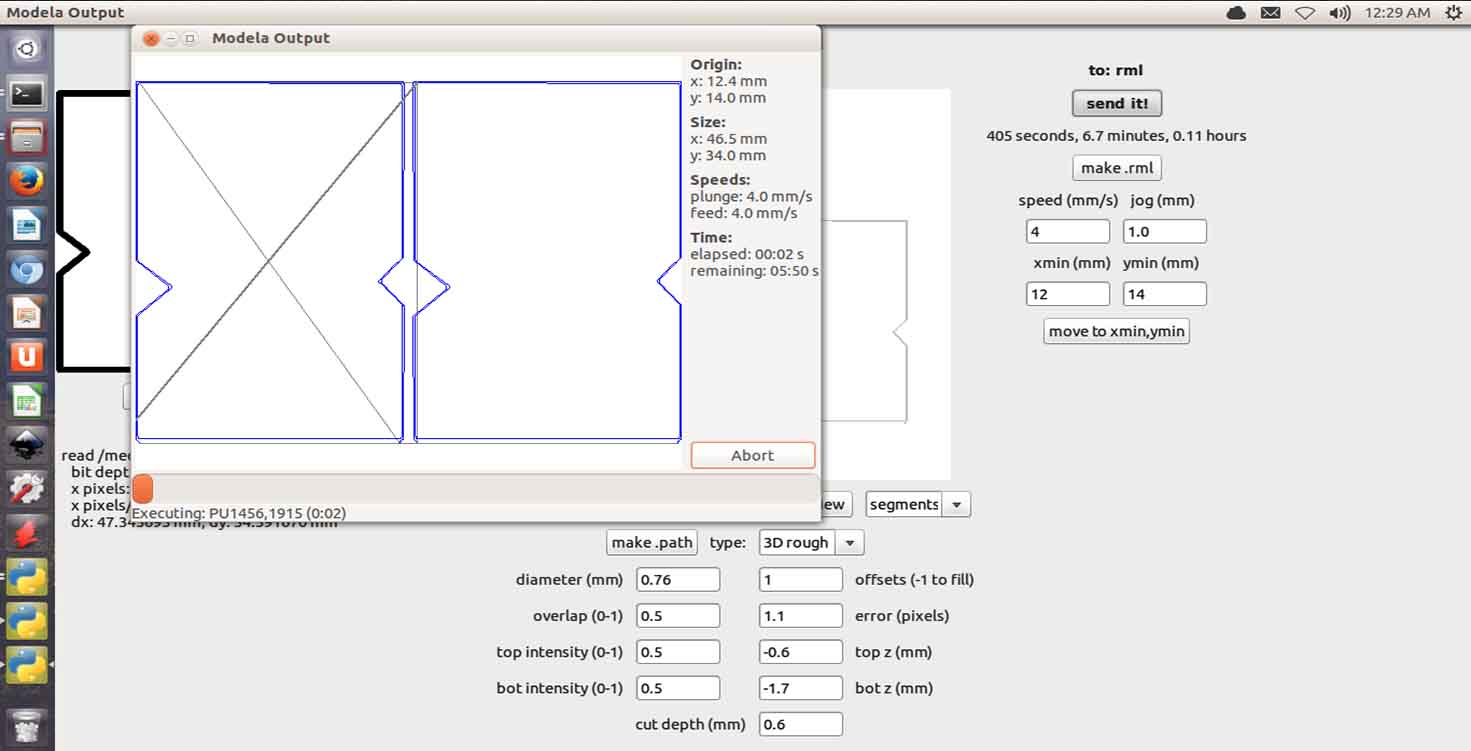
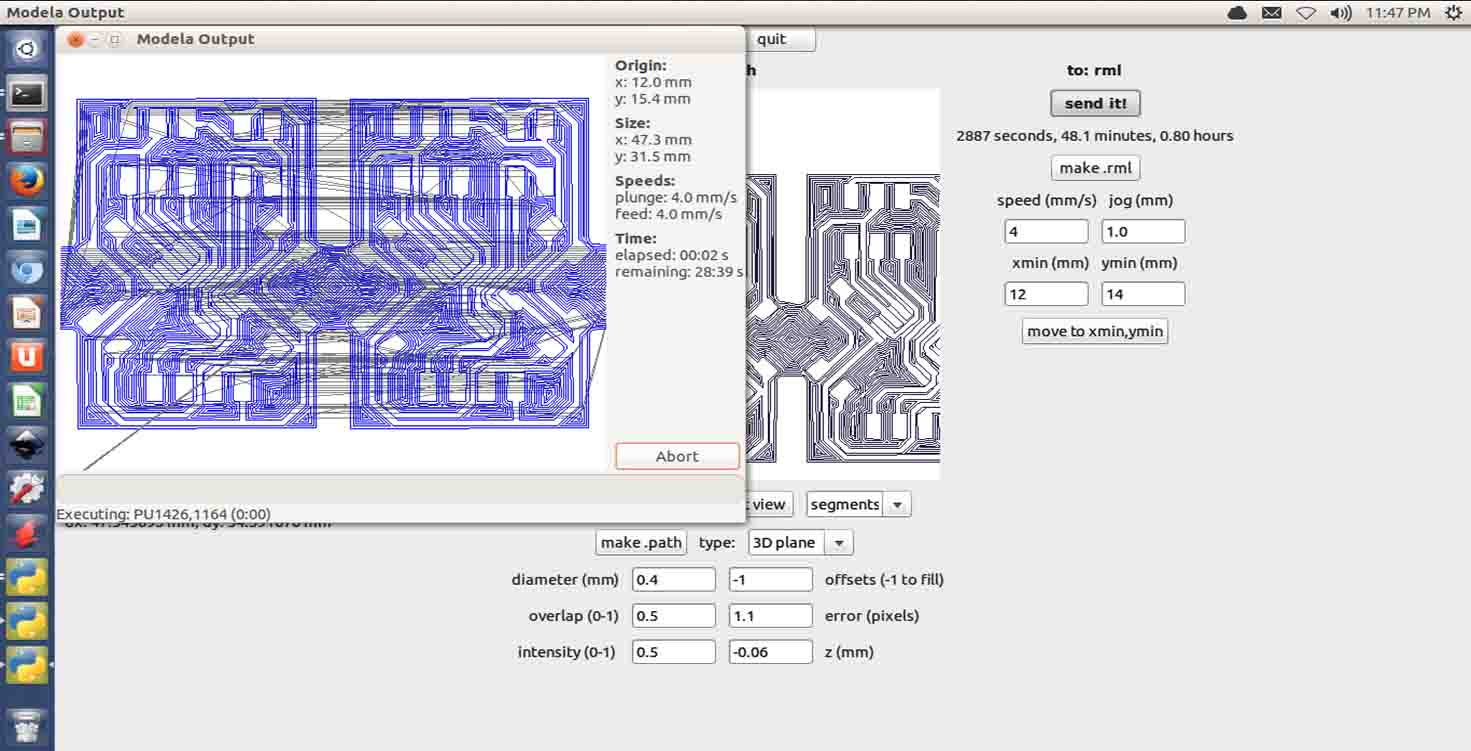
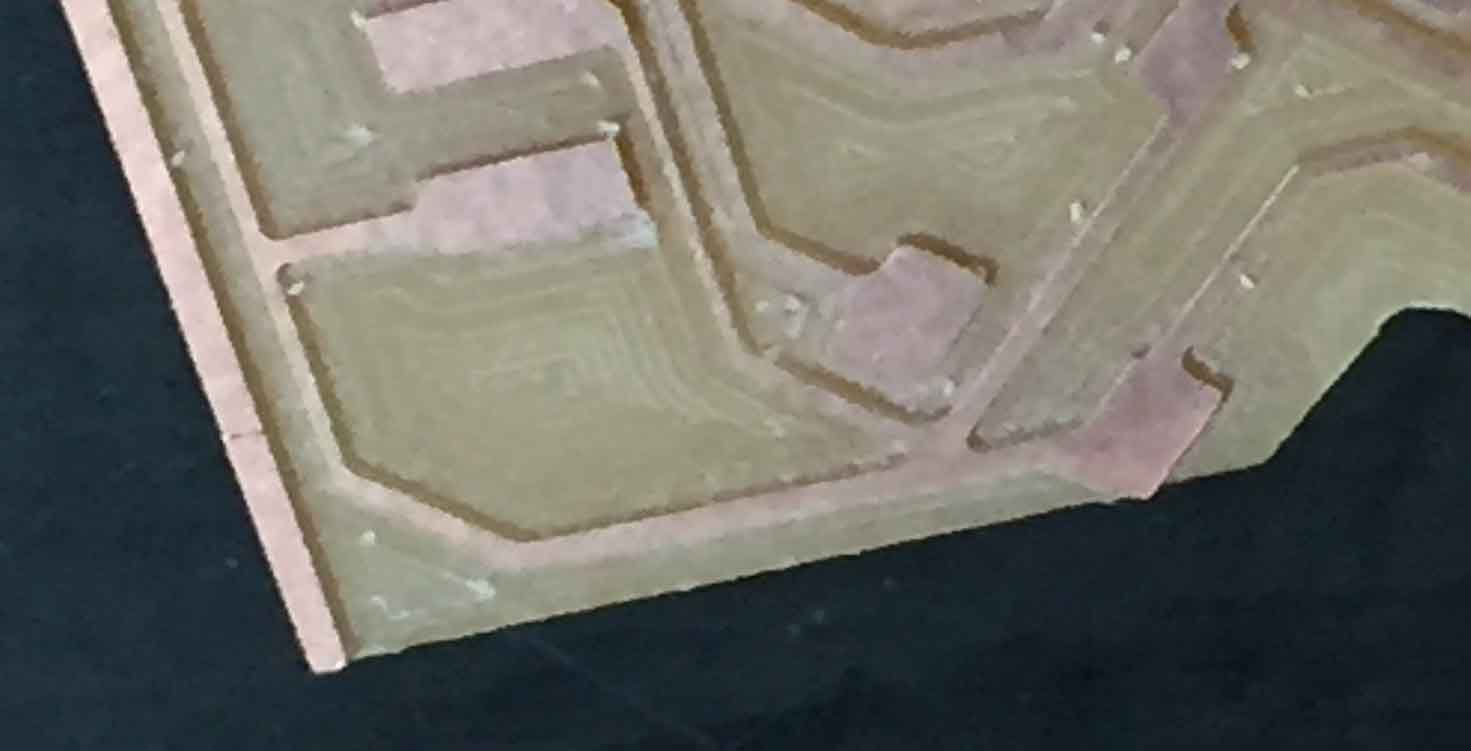
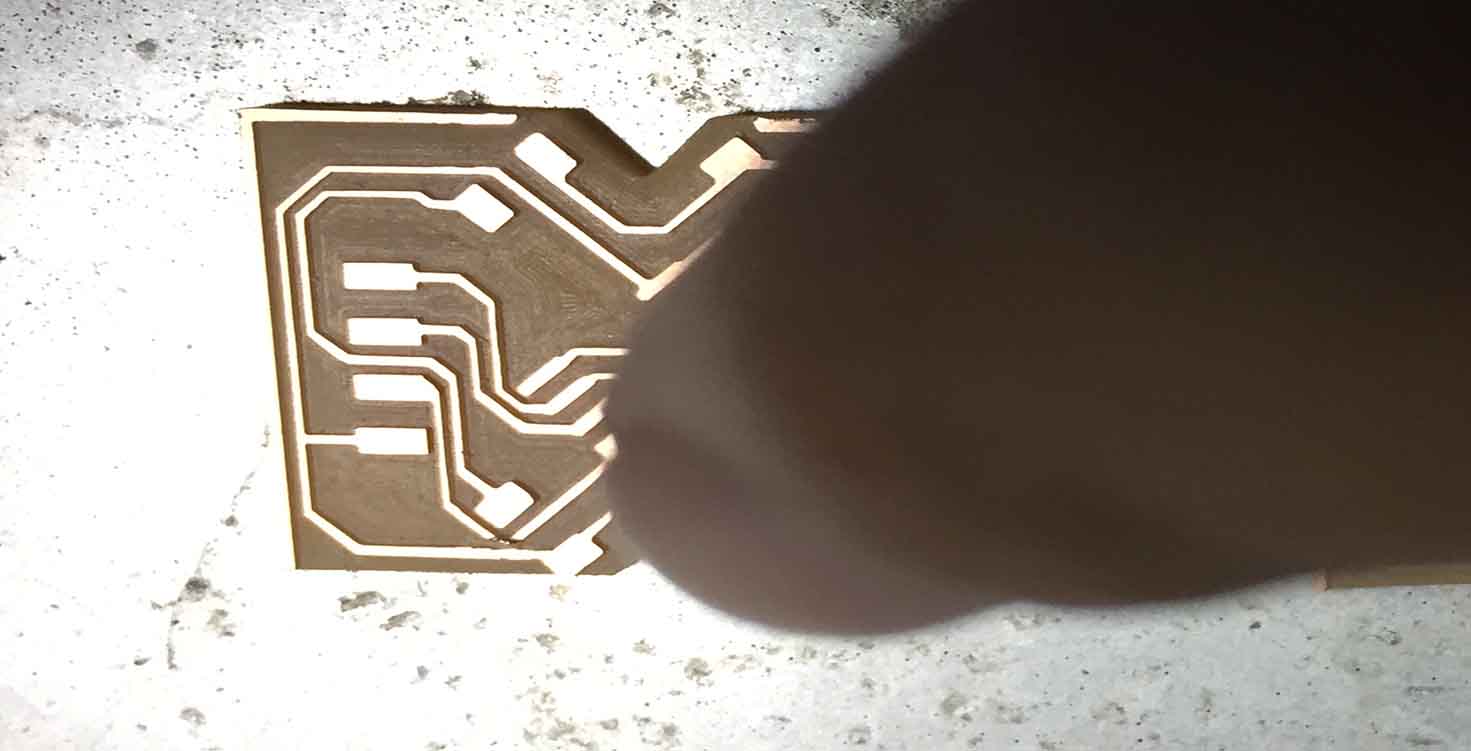
3. Milling boards
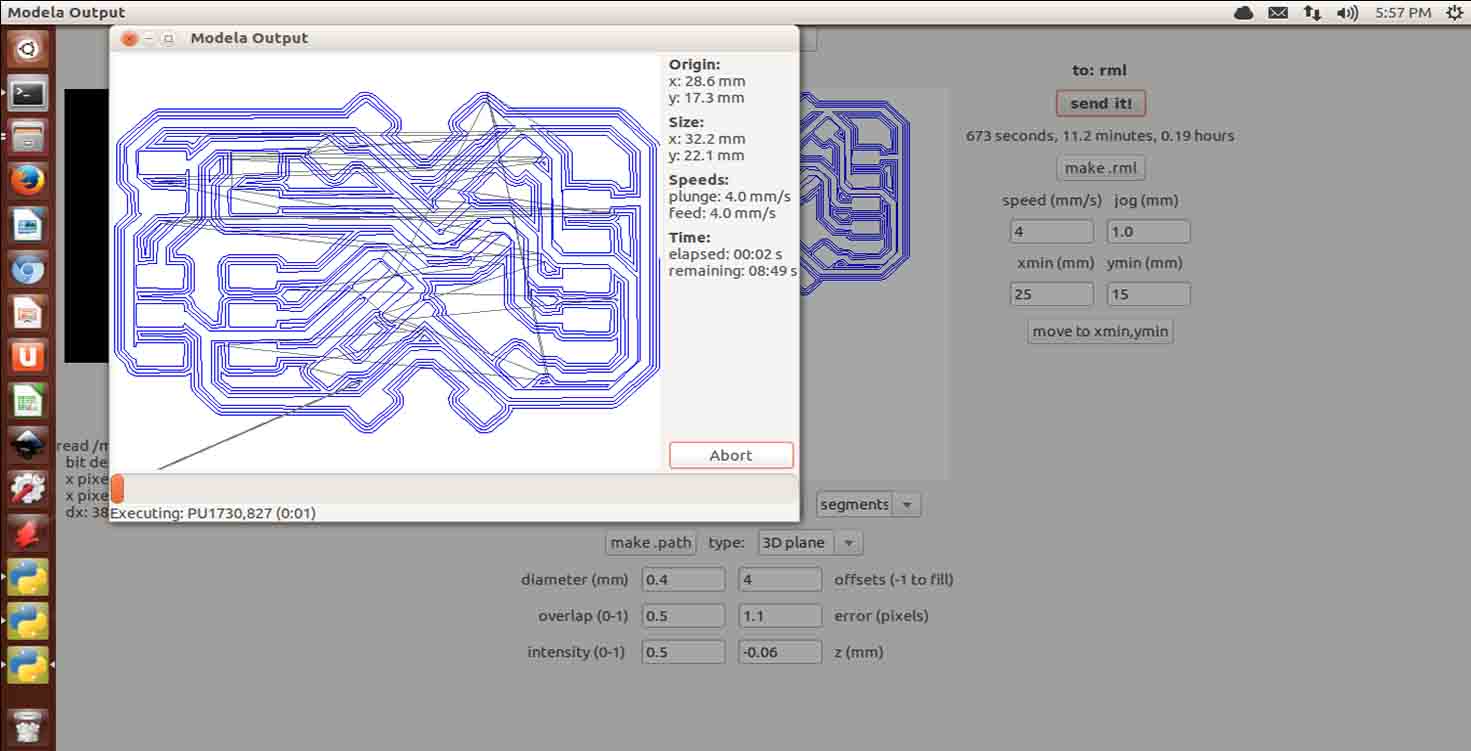
Cut file , cutting with 1/32 Milling bit
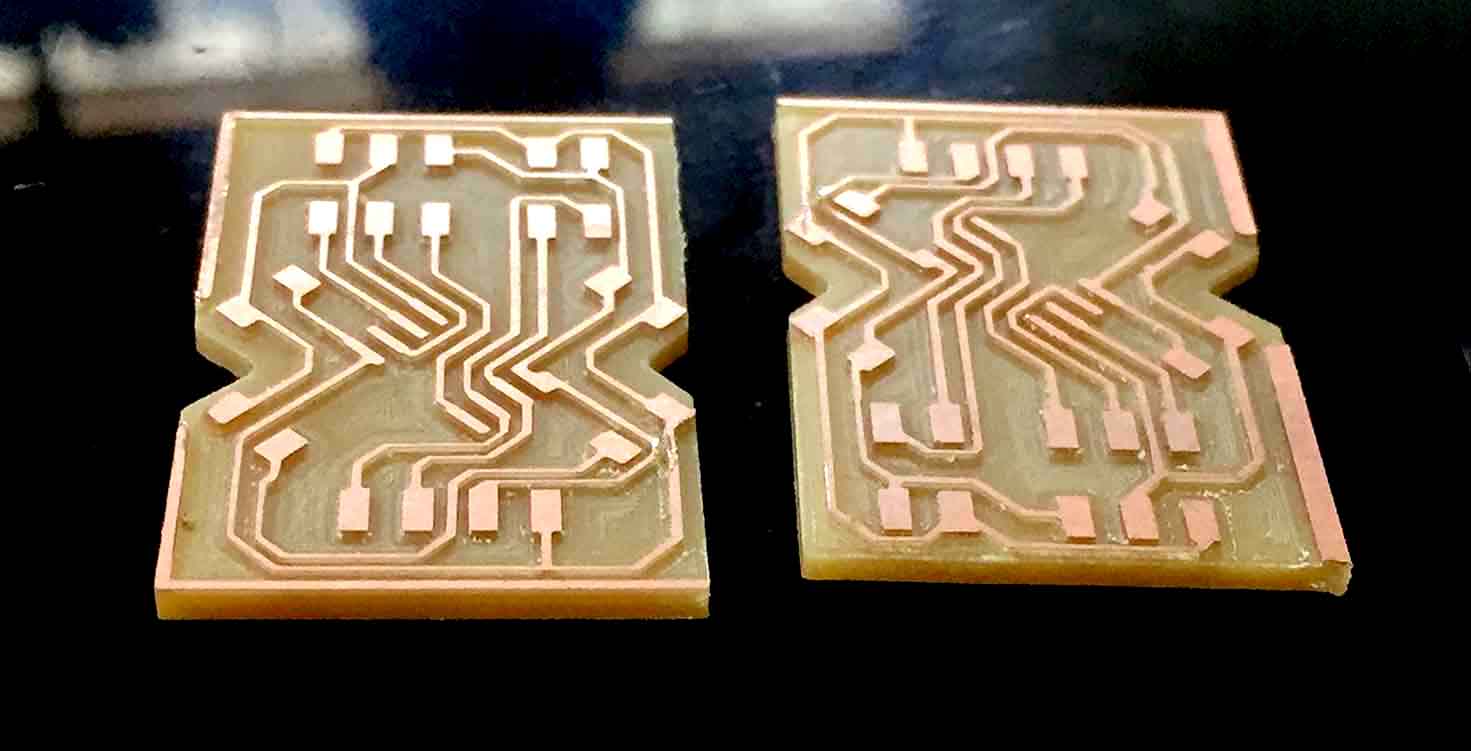
These ones are one of my favourite boards
4. Photoshop editing
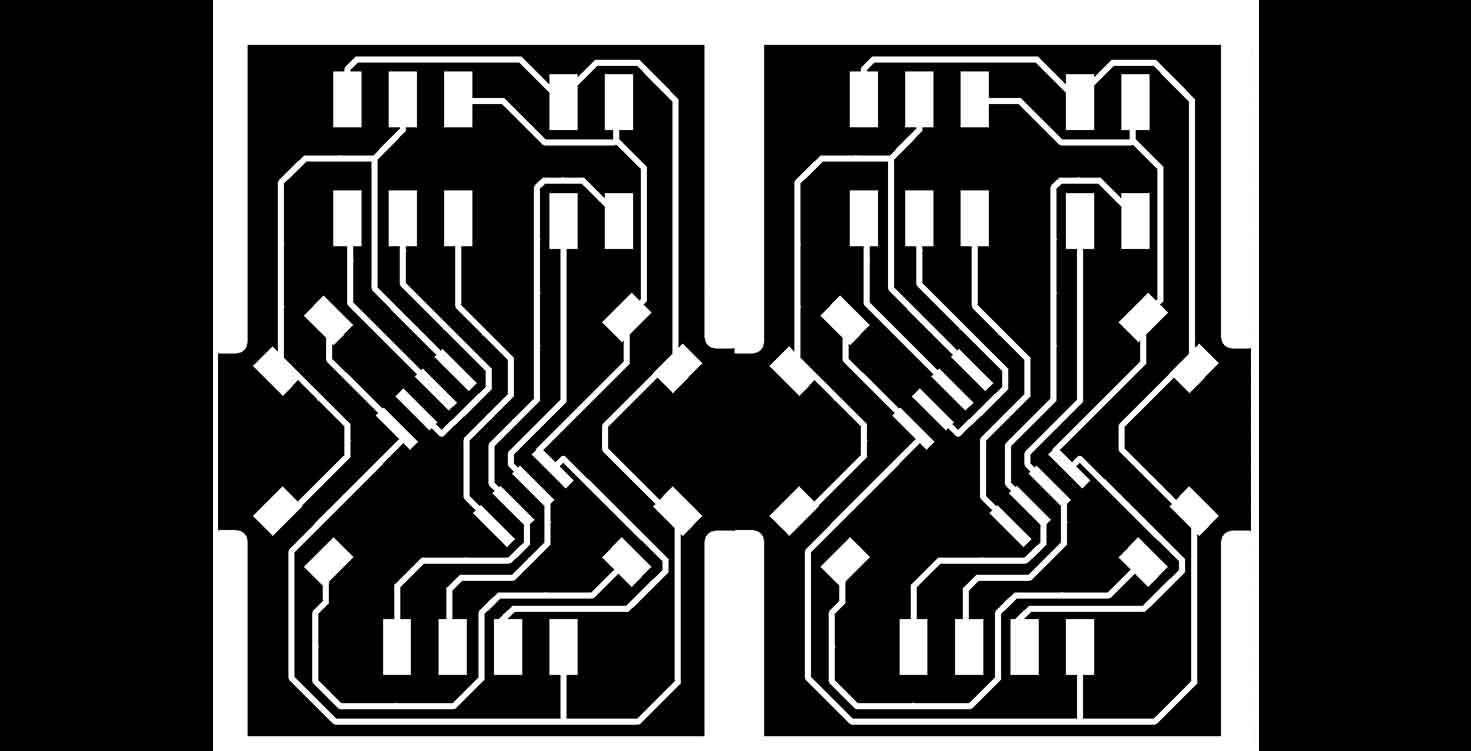
I basically got both boards together and rotated them, measure the ideal size of the board, adjusted them accordingly, saved them in png with good pixels.

The special thing about this board was that it can be used as bridge as well as node board.
This is my final design of Solo bridge board.
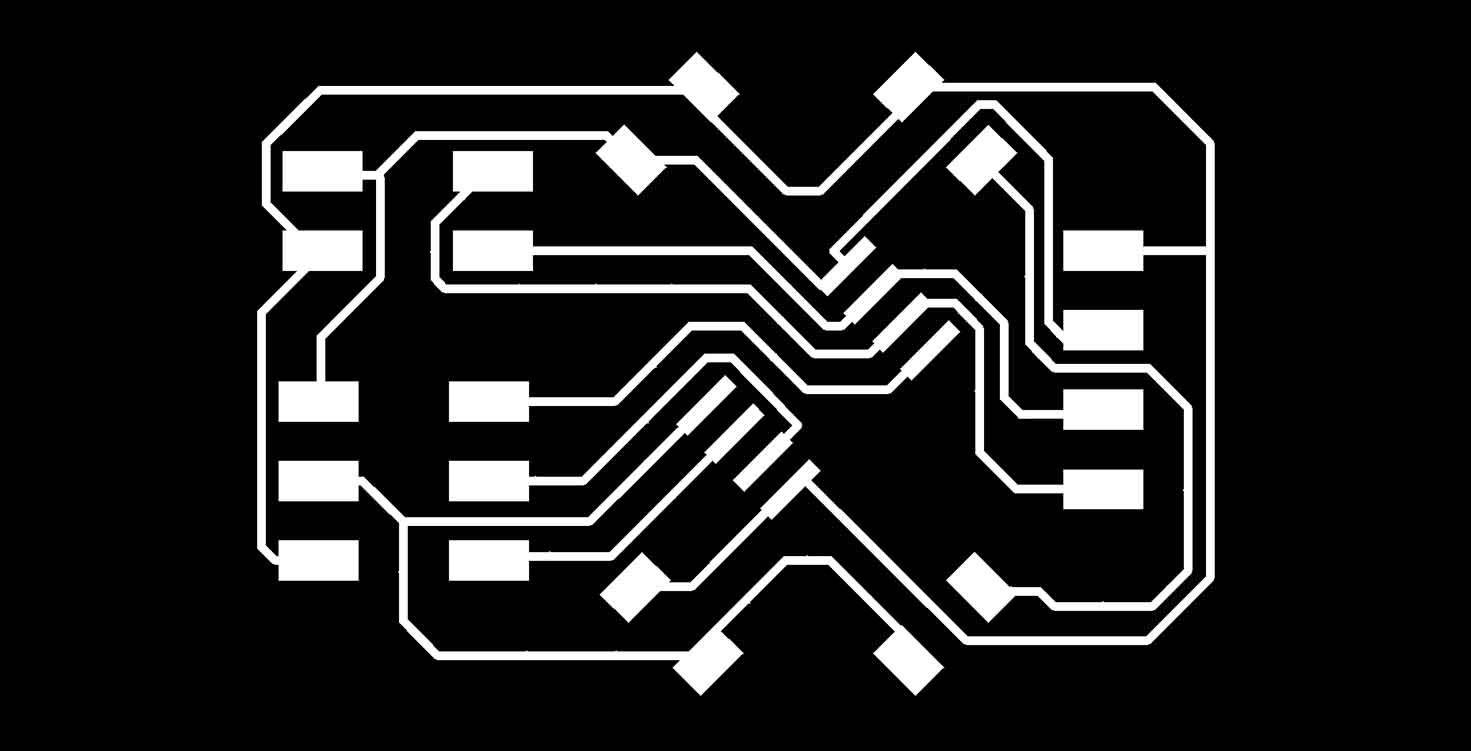
I needed two more, after doing 1, so i photoshopped and got them together on one board , saves time and material
5. Programming
I download the node code from Here
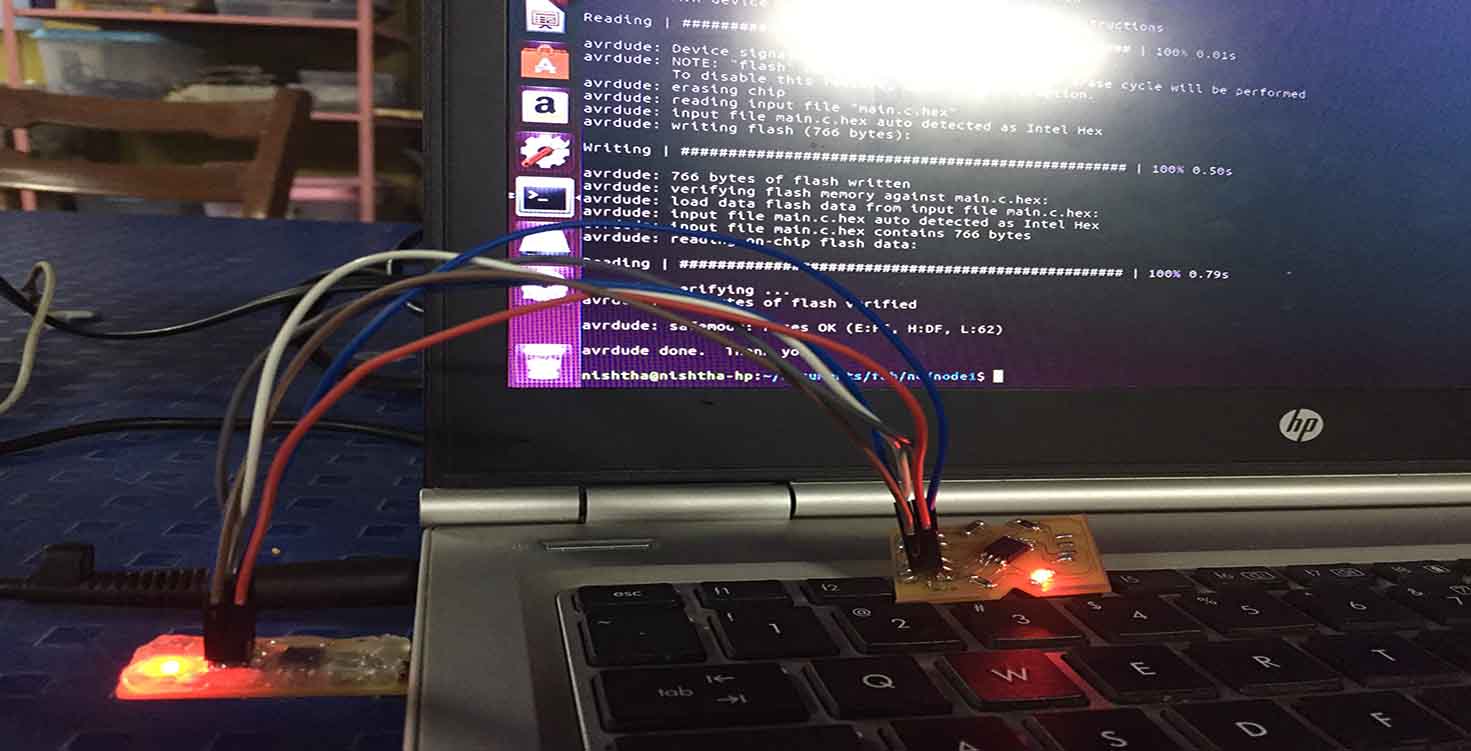
Using my Fabisp for programming
Programming, so when Led lights up it shows the programming has completed.
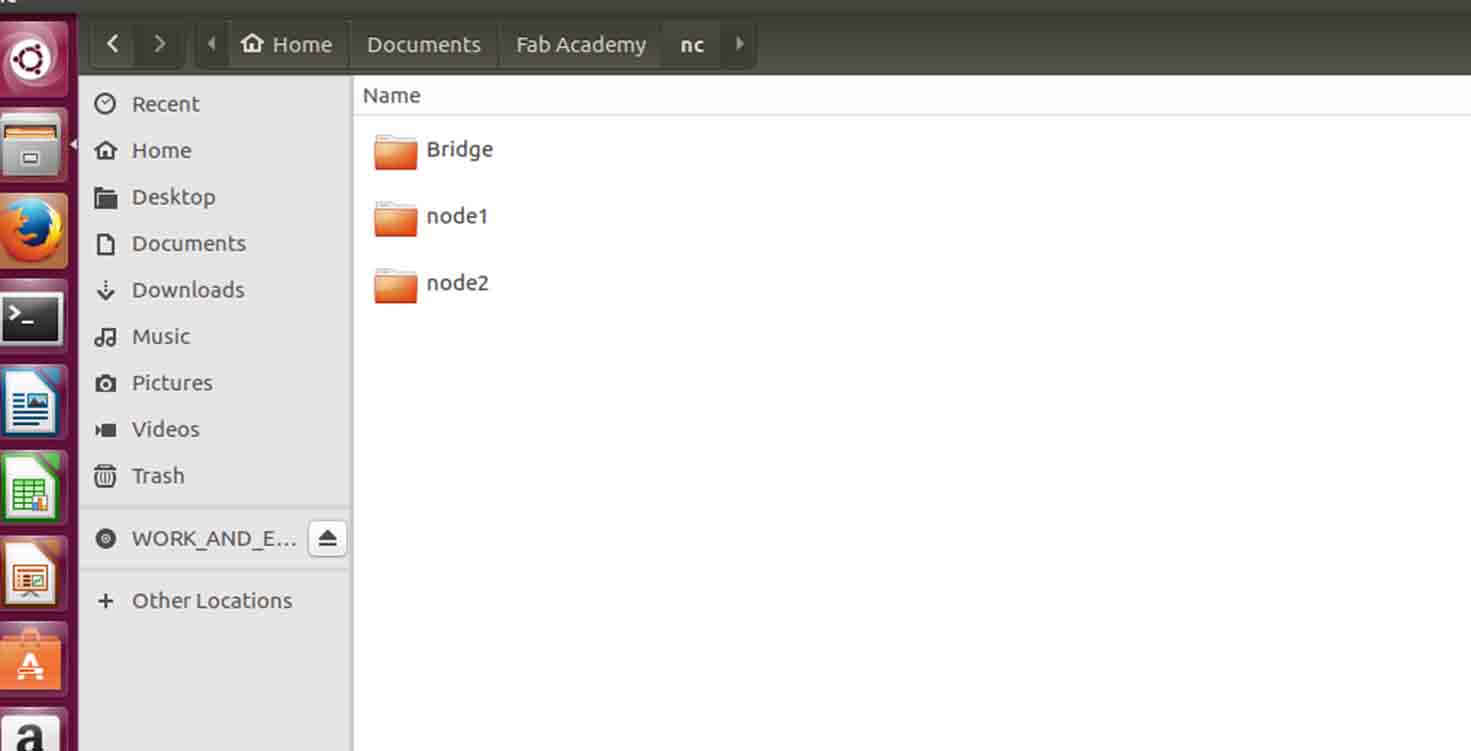
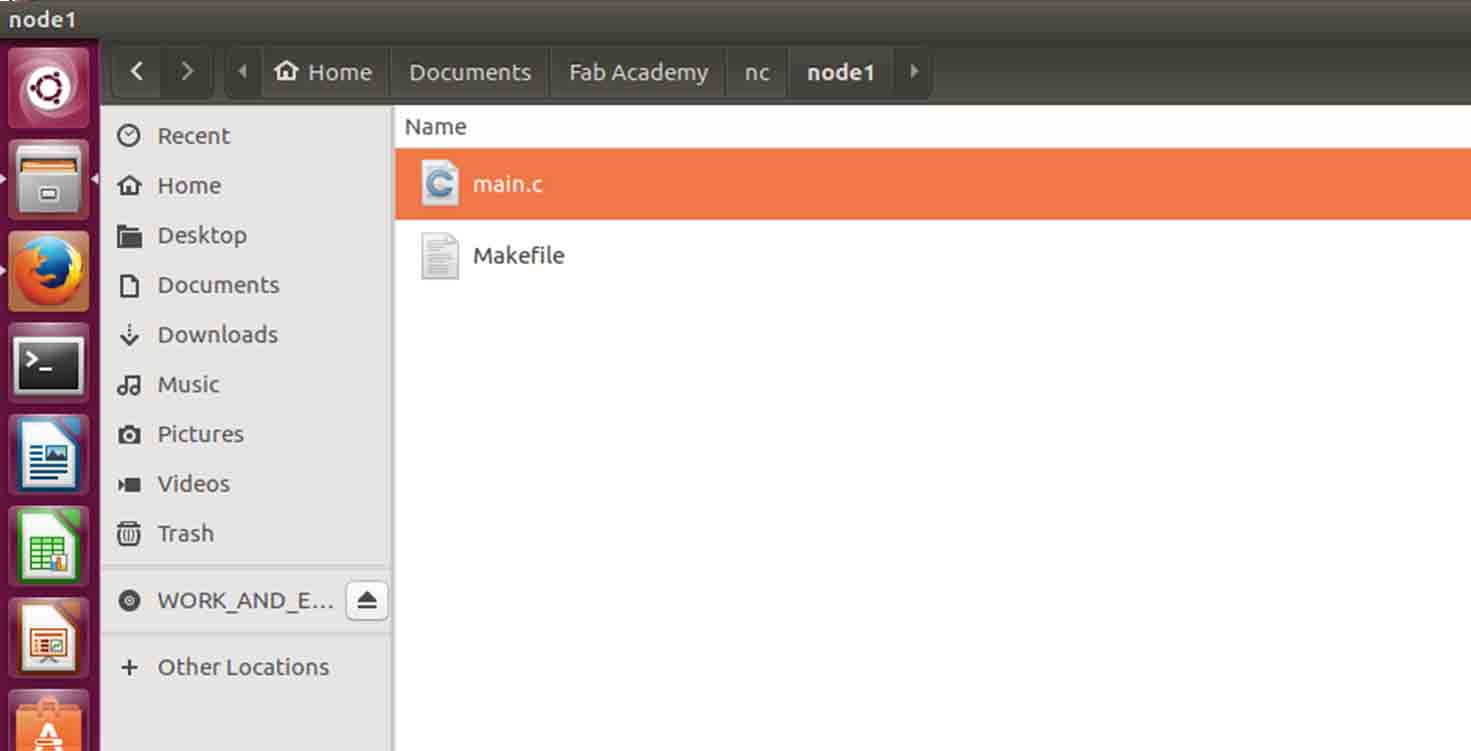
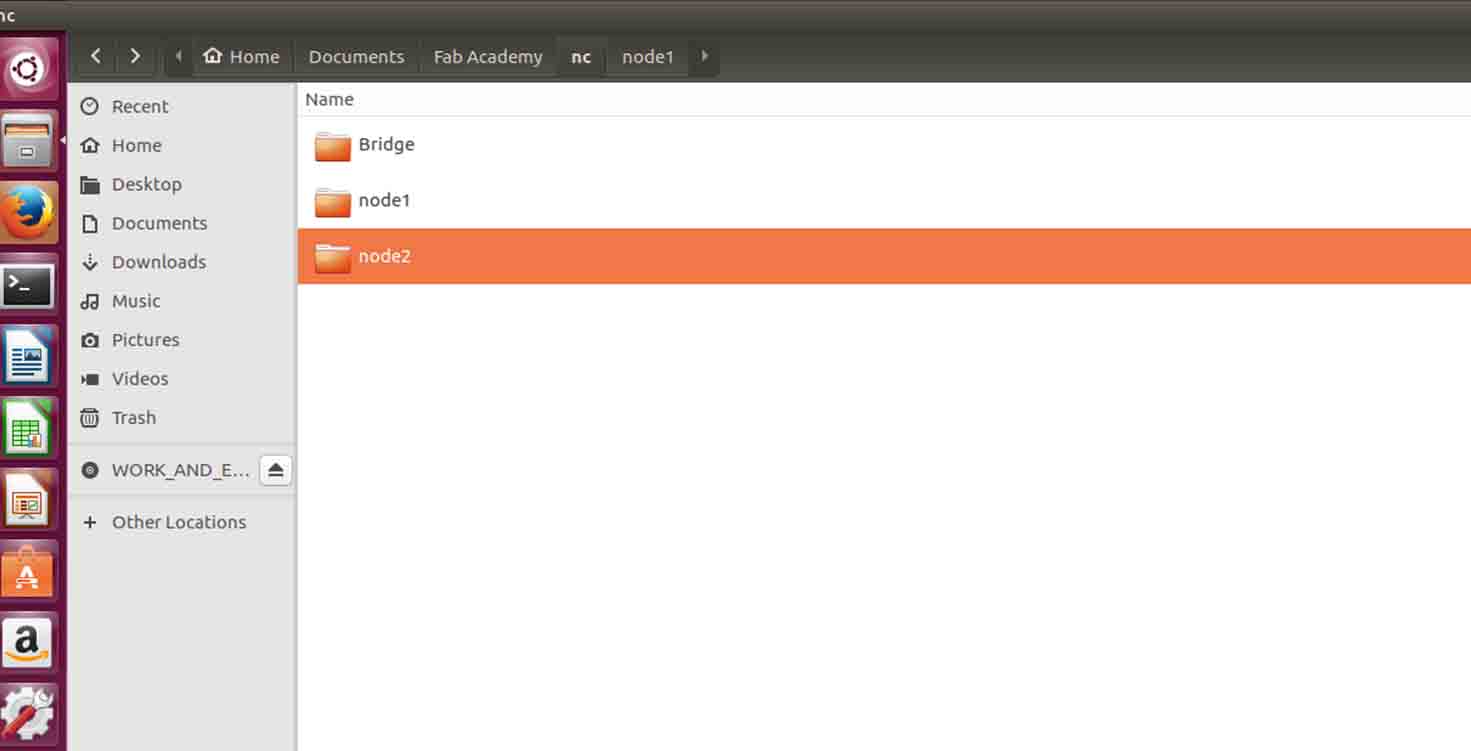
I started by making folders of my board where one is bridge board, and 2 are node boards. NODE 1 and NODE 2
Then after one milling, i combined my other two on photoshop after measuring the length and breadth of the idle PCB boards we had in Ashram's Fablab.
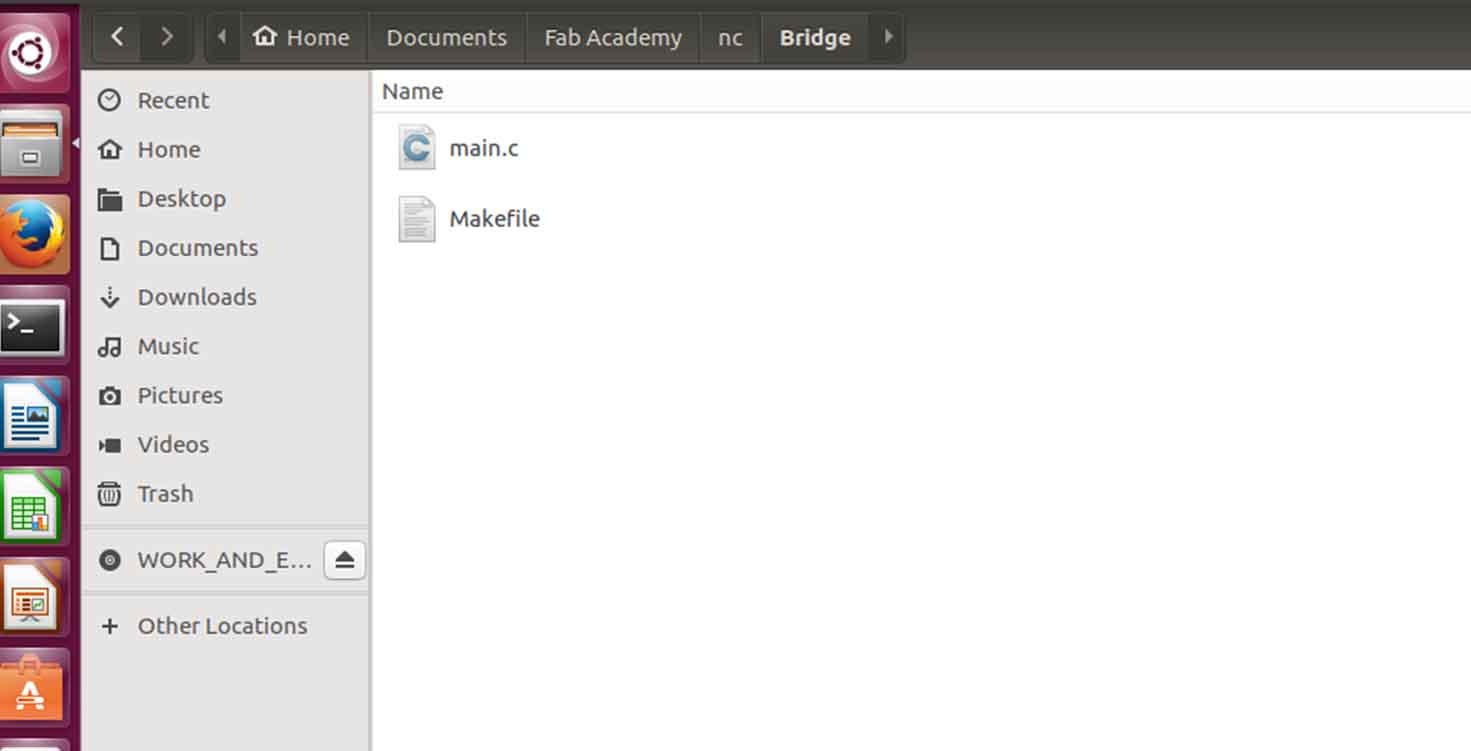
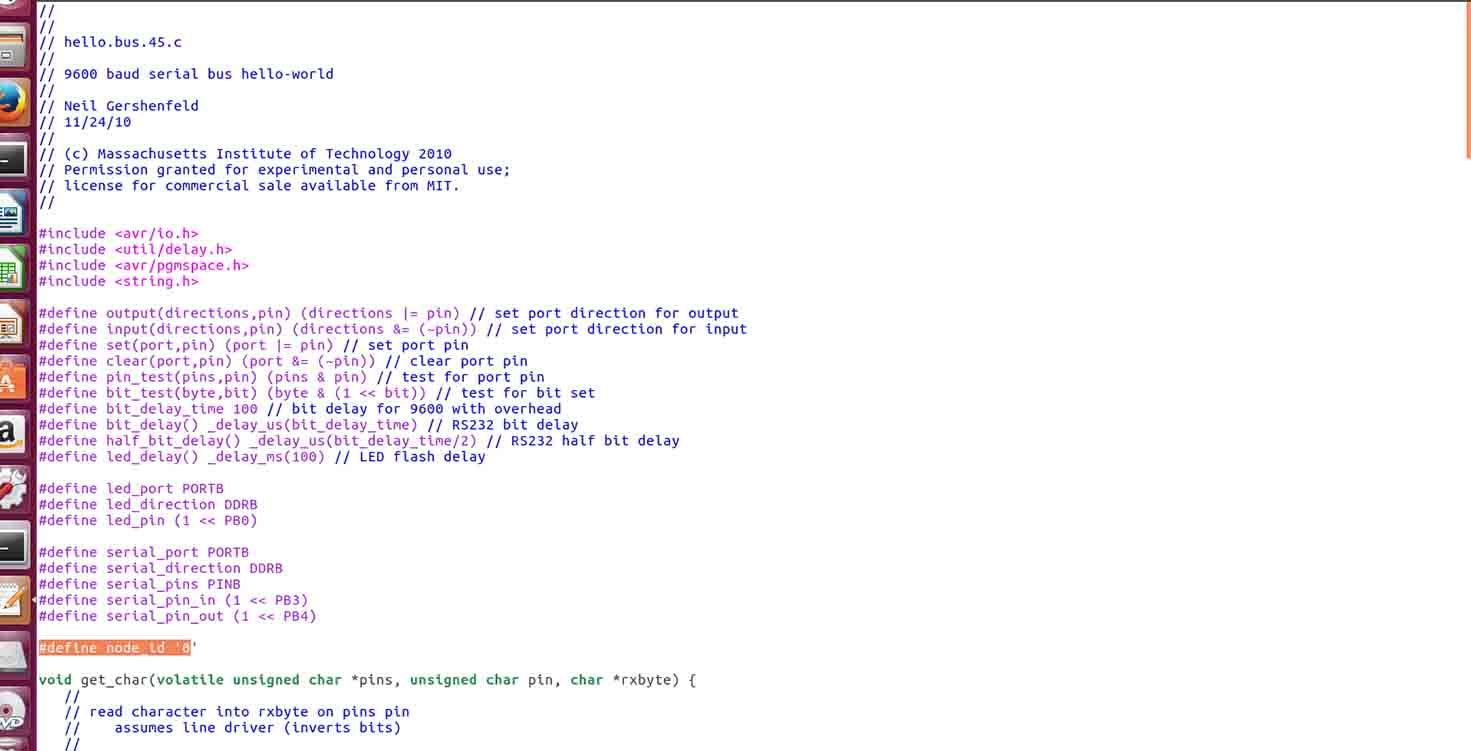
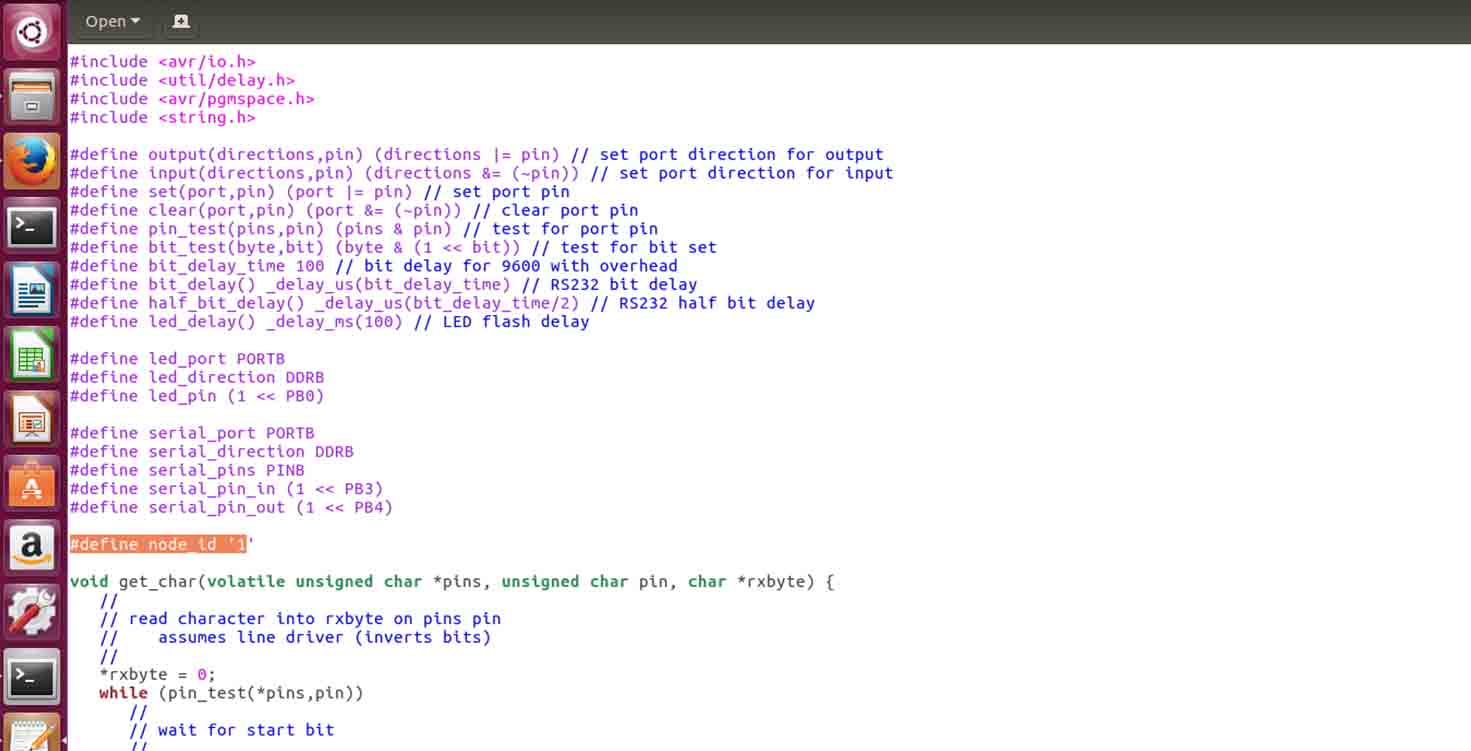
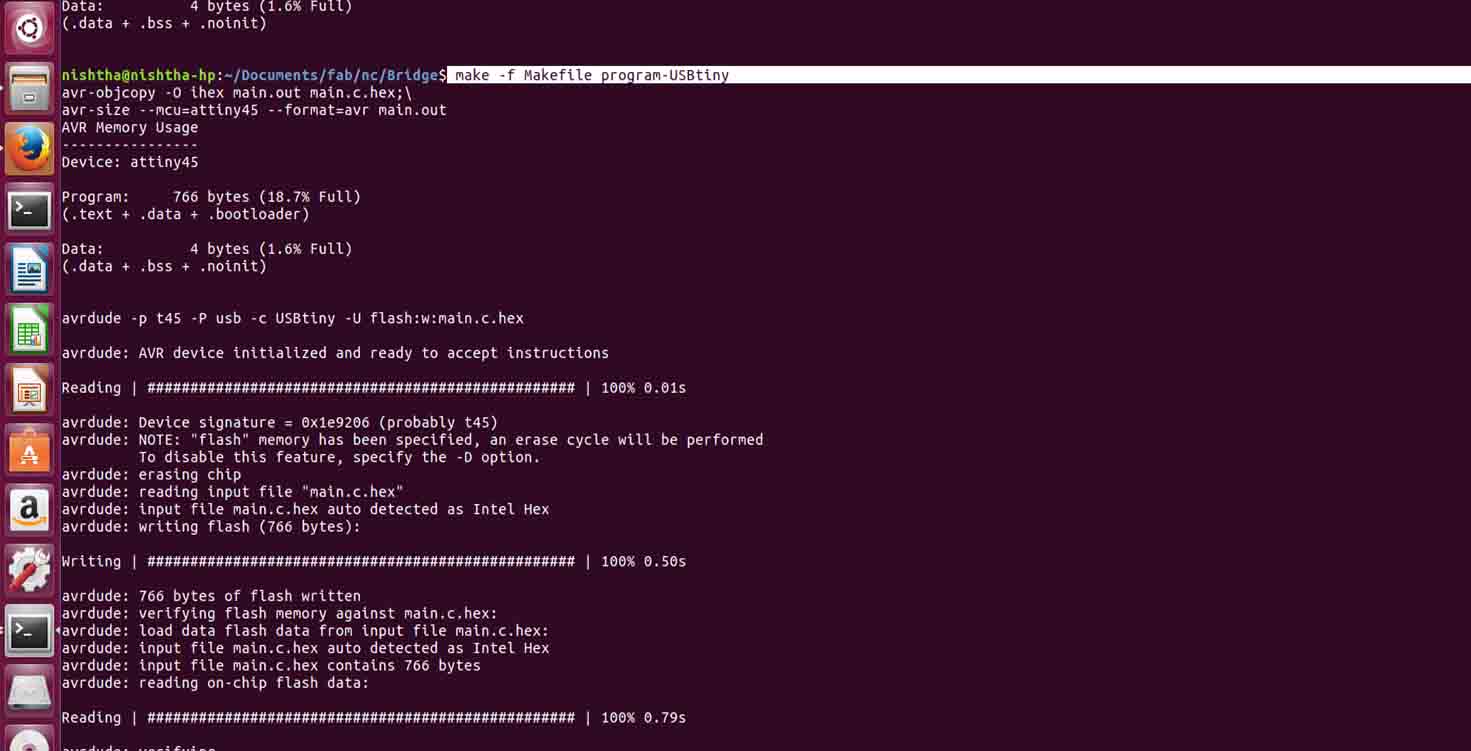
Starting from Bridge board, I downloaded main.c file and Makefile for the same
Changing the node Id to 0
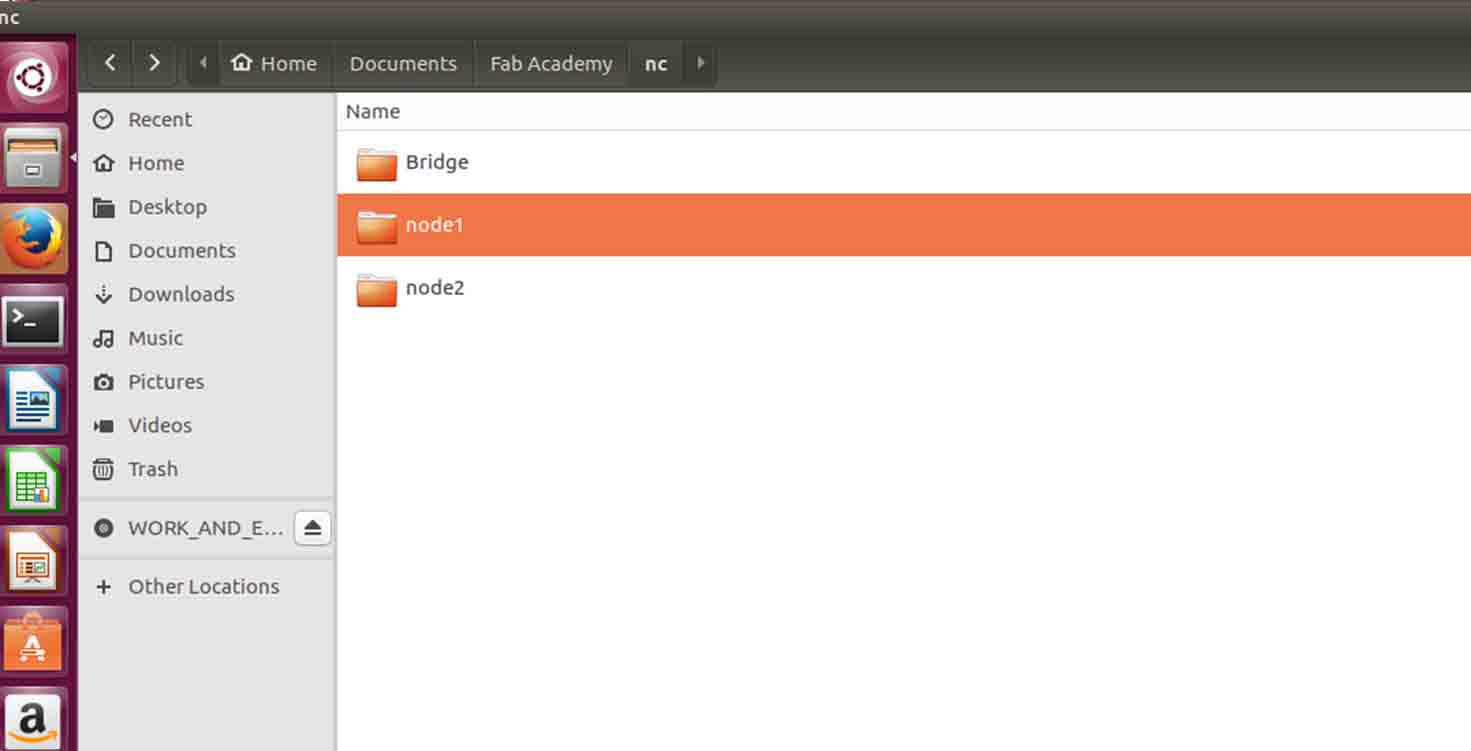
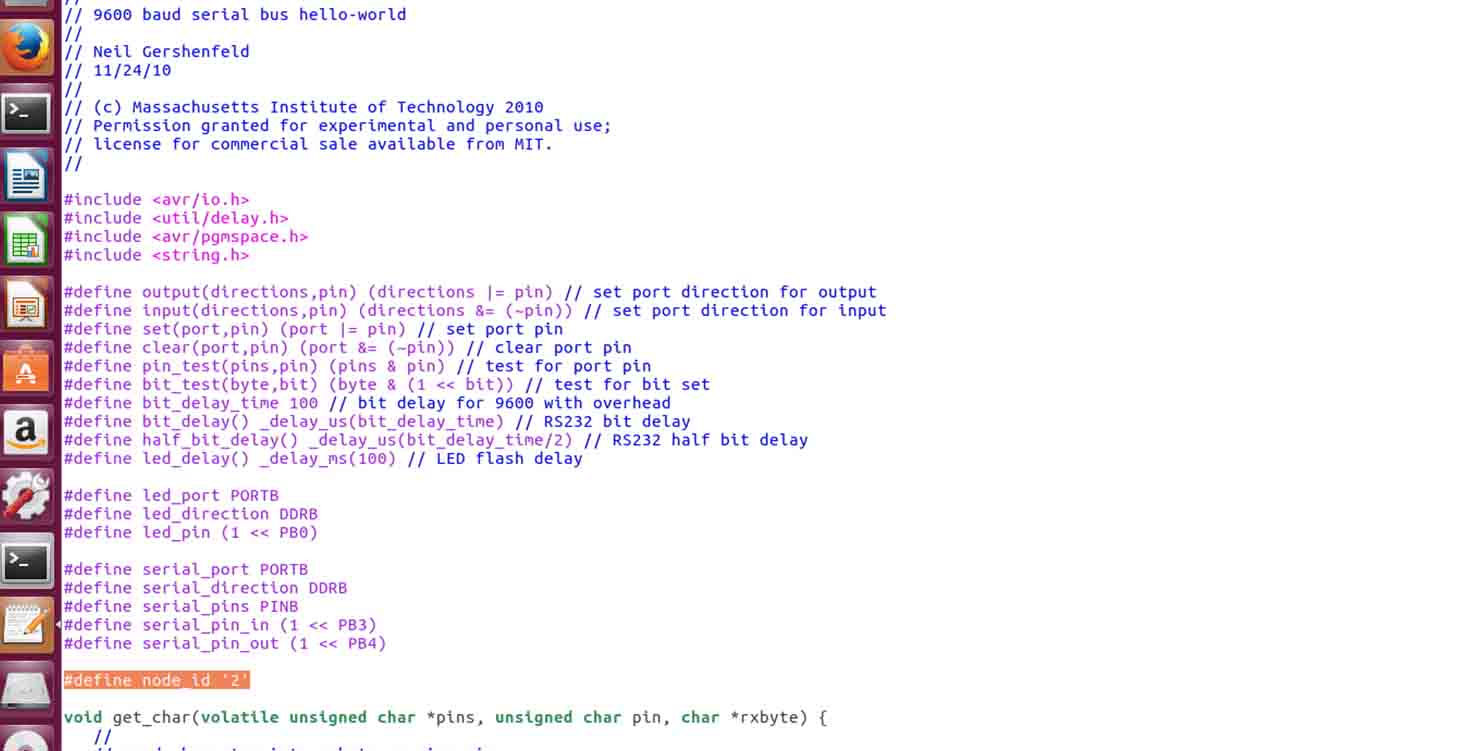
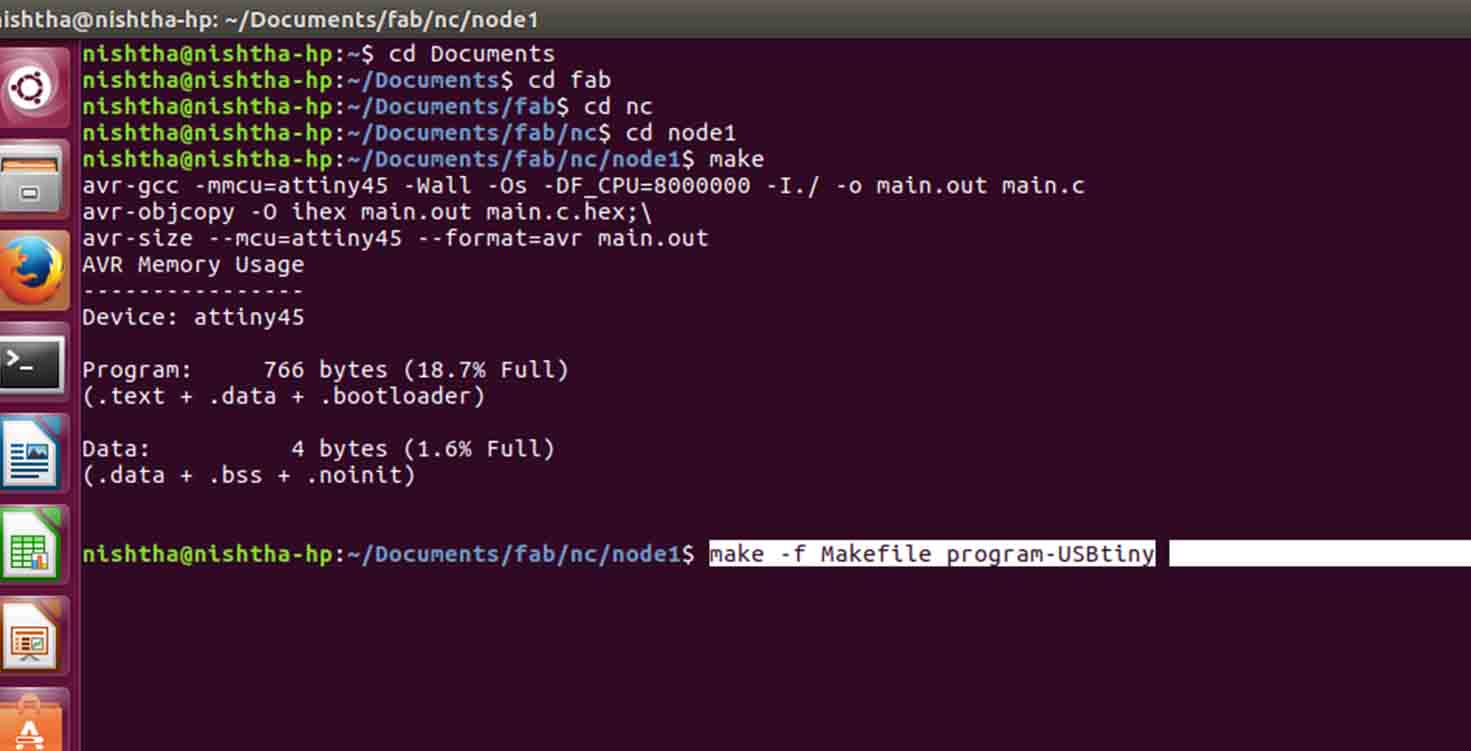
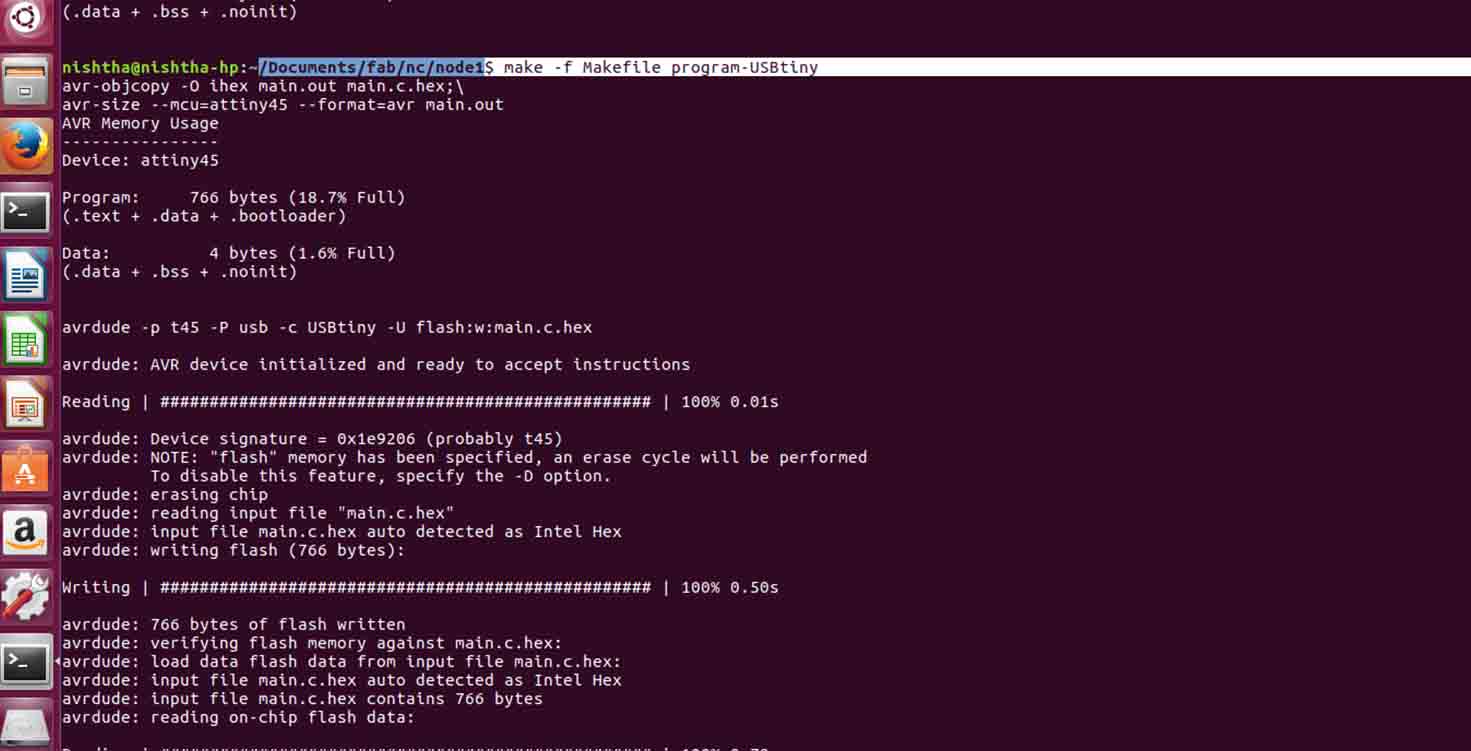
Similarly i do for other boards. Node 1
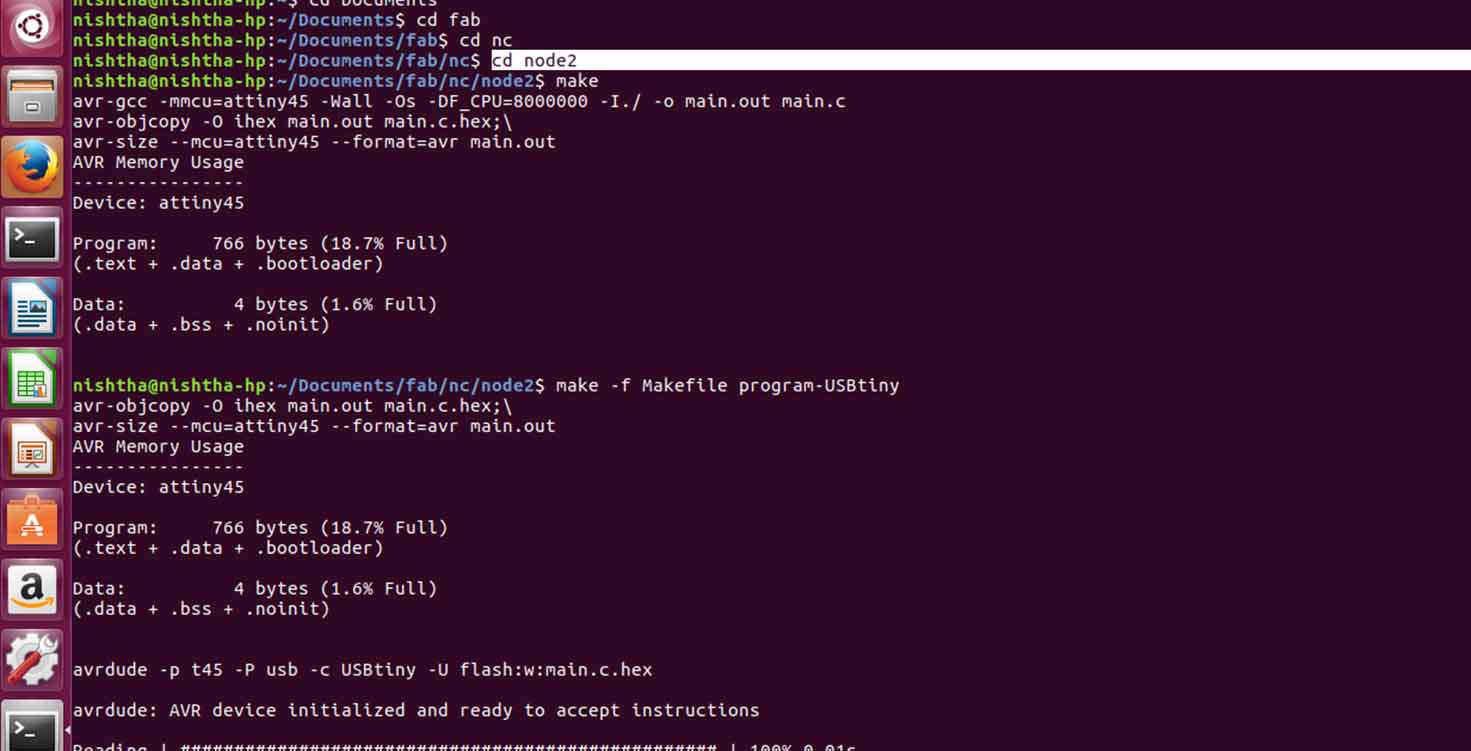
Making the folder for node 2 ,
Again, Opening the Make file in terminal for other board and giving same command and uploading the program.
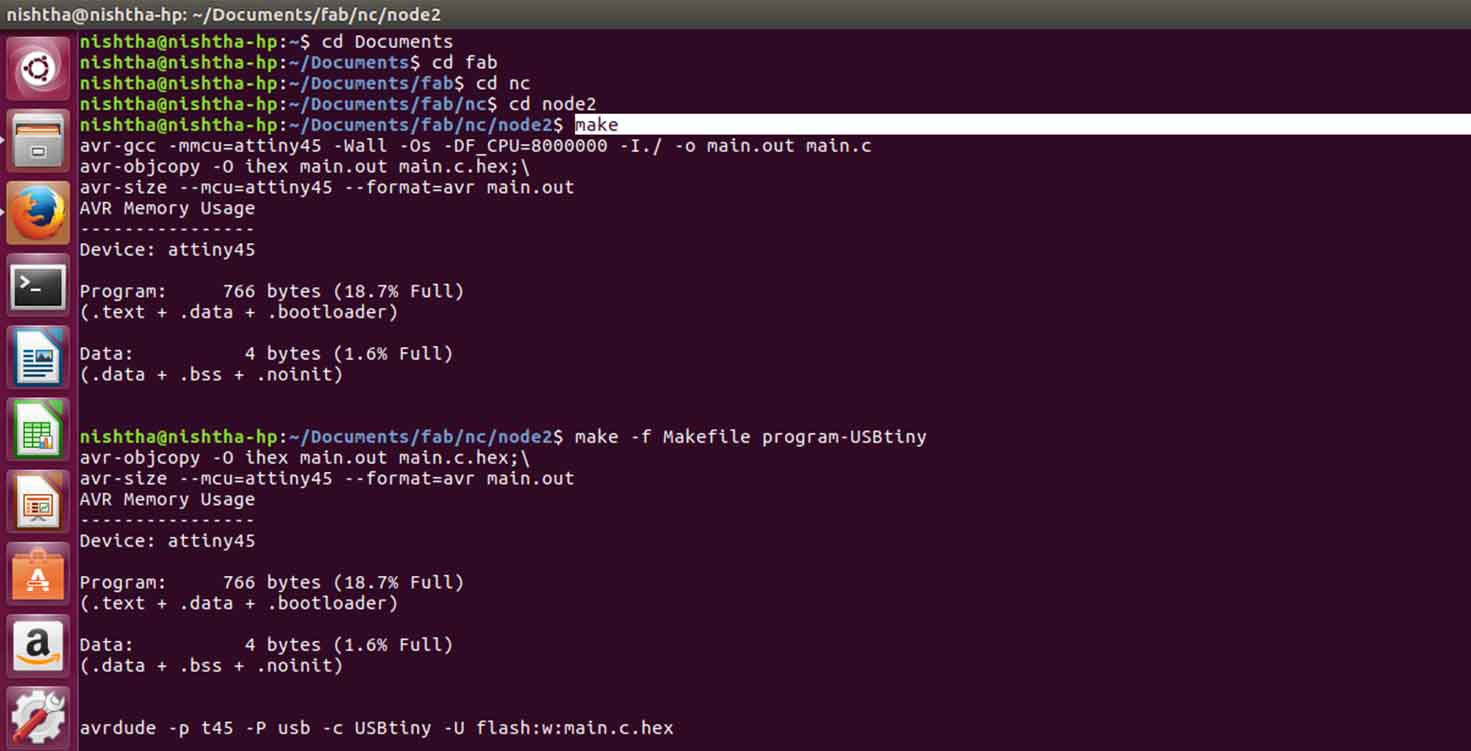
Open the Terminal

  Type    cd Desktop


          cd nc
Type make
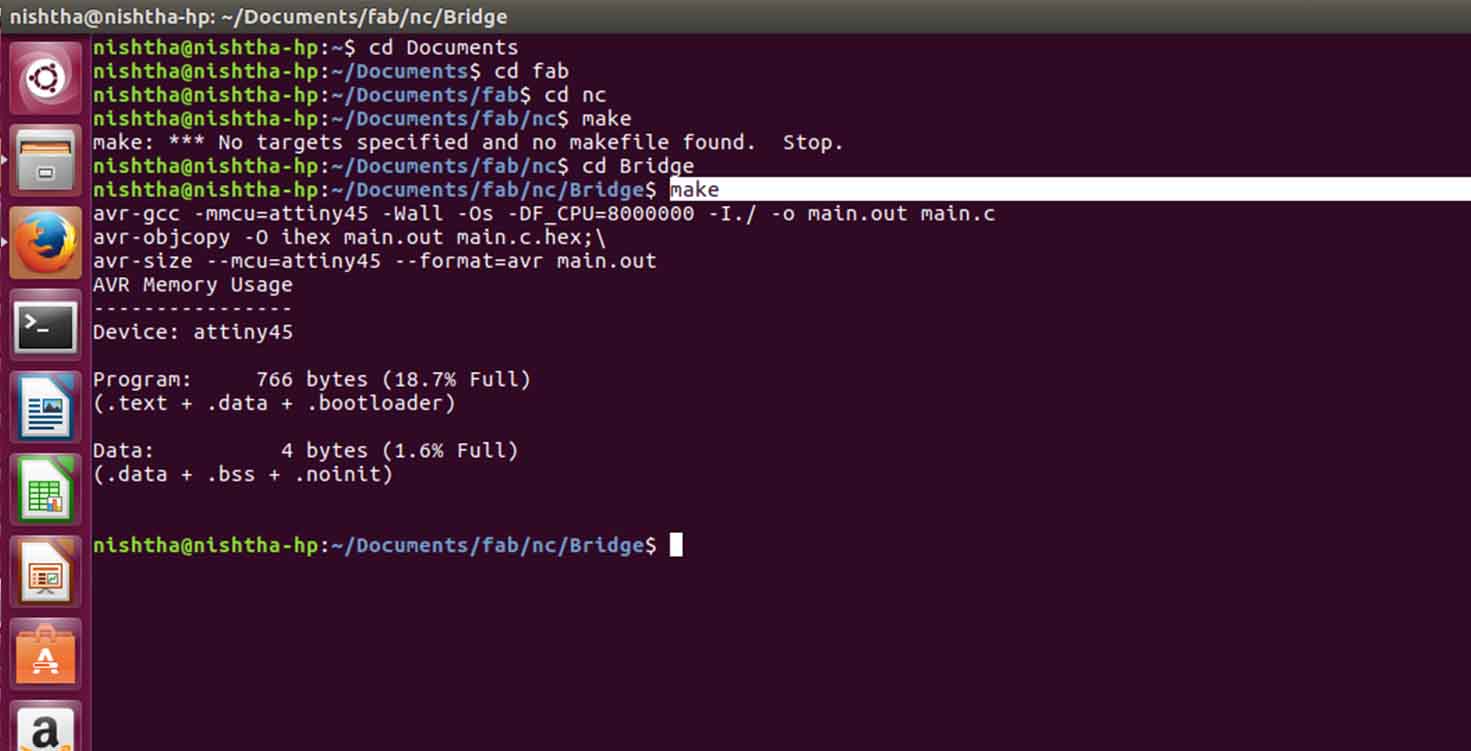
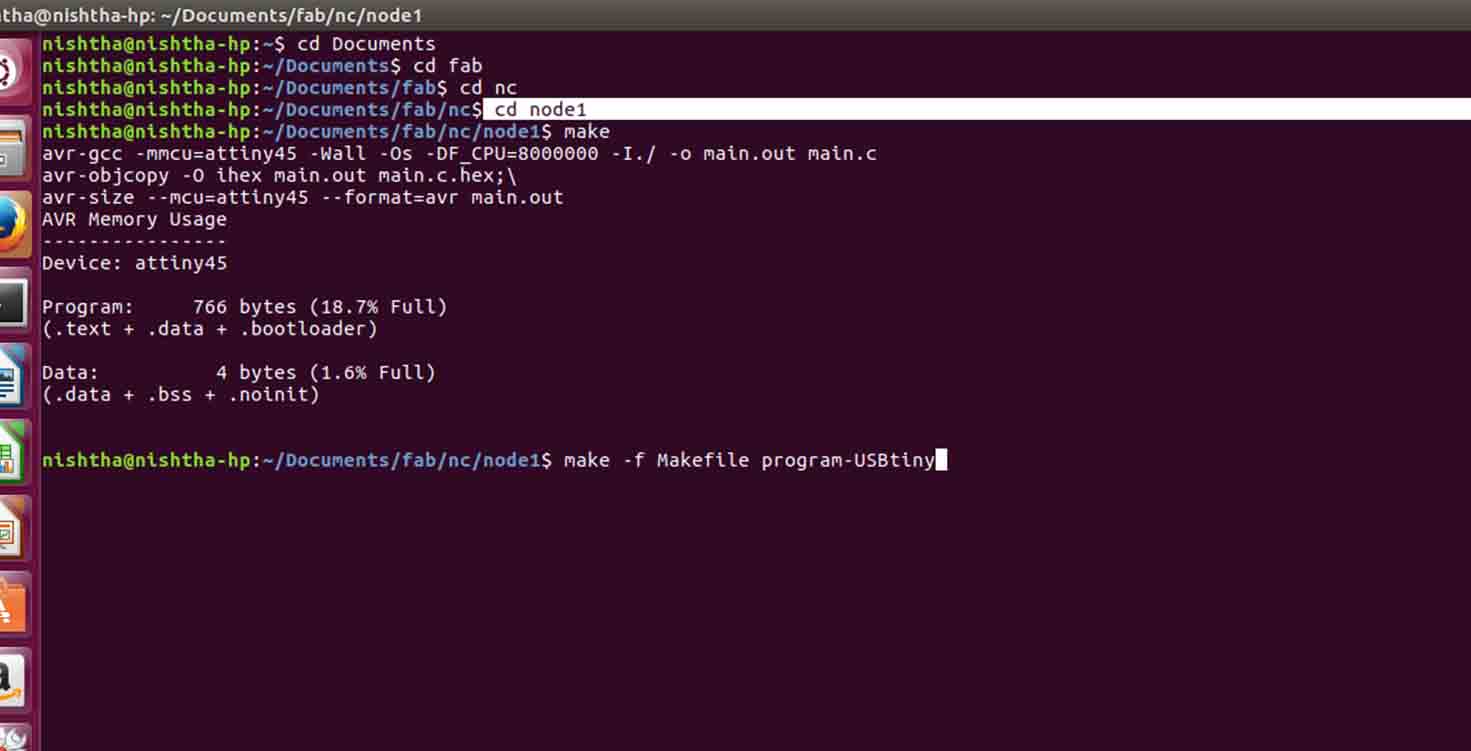
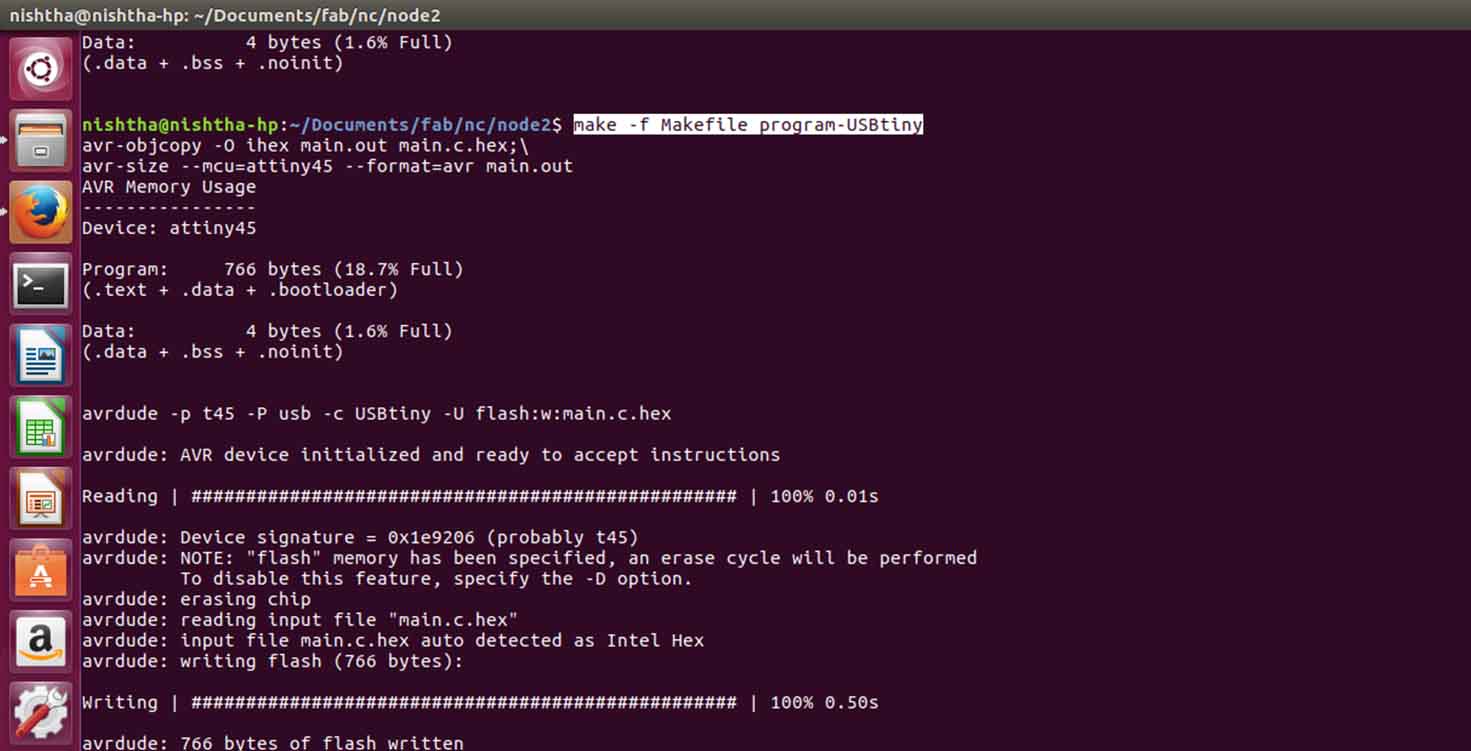
Type make -f Makefile program-USBtiny
Error came
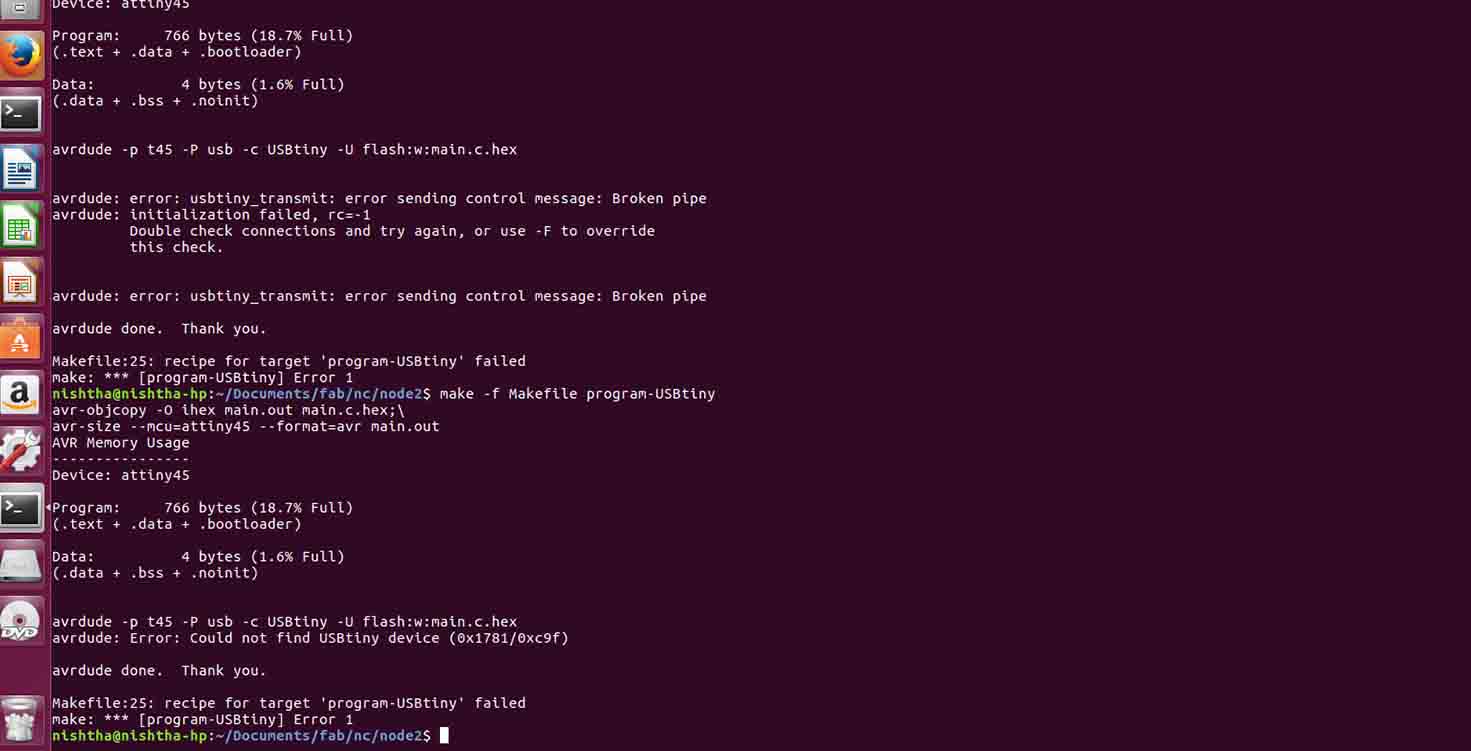
Disconnecting and connecting again
Gracias a Dios!
Same done for node 2
Make file
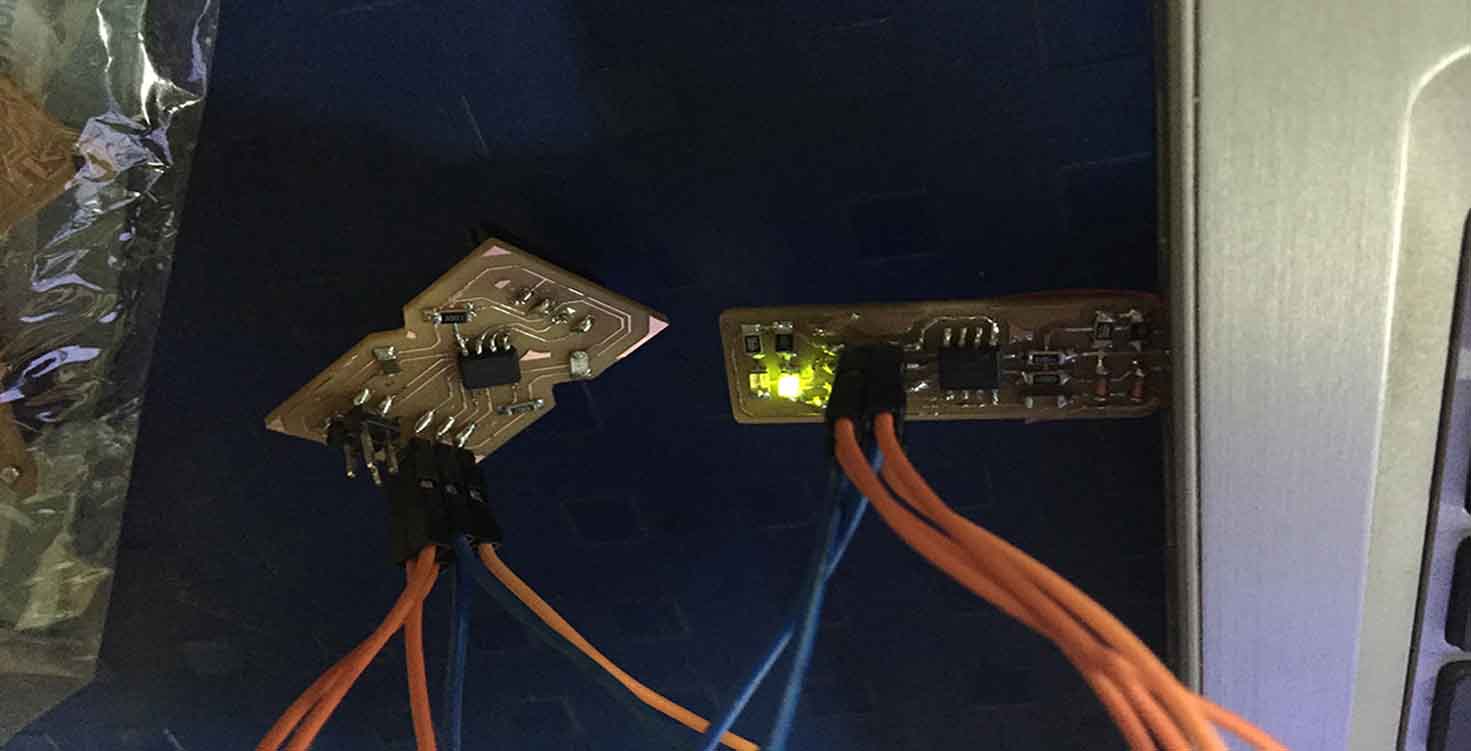
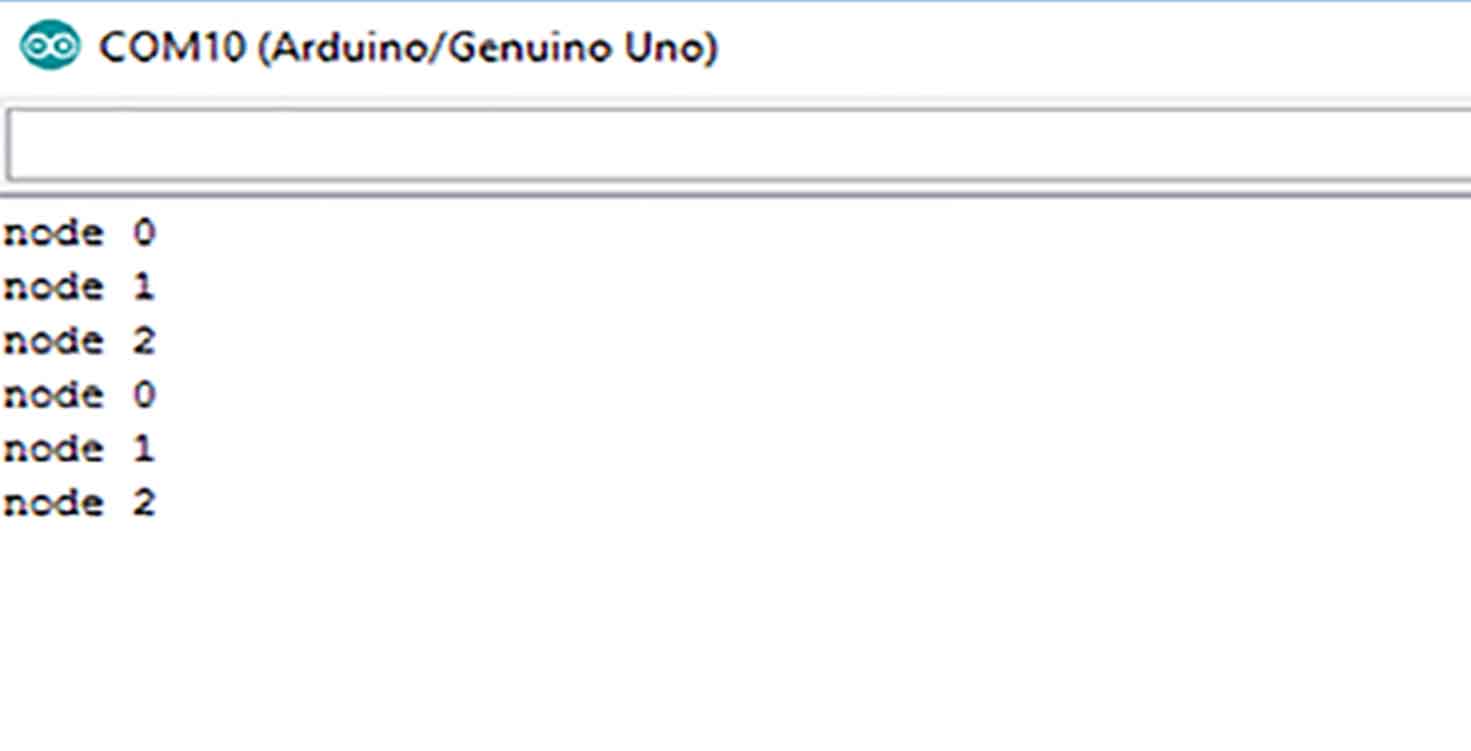
When we type node numbers in Serial Monitor of IDE after connecting nodes to bridge, and then to Usb port, it works, but my didnt..
6. Troubleshooting
There was a short in my board,
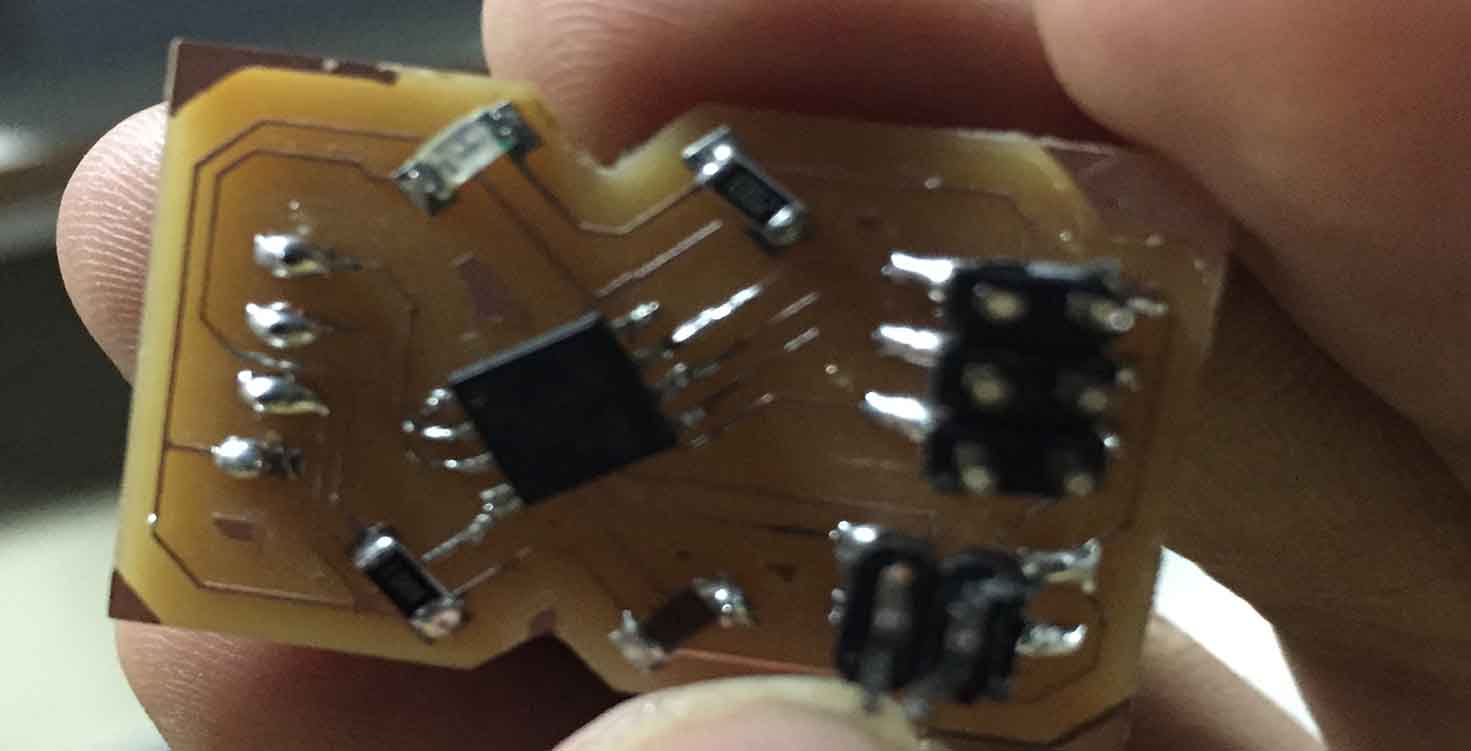
Removing the short, it came because probably while milling the machine wasnt able to cut this line as i had different widths on my board.
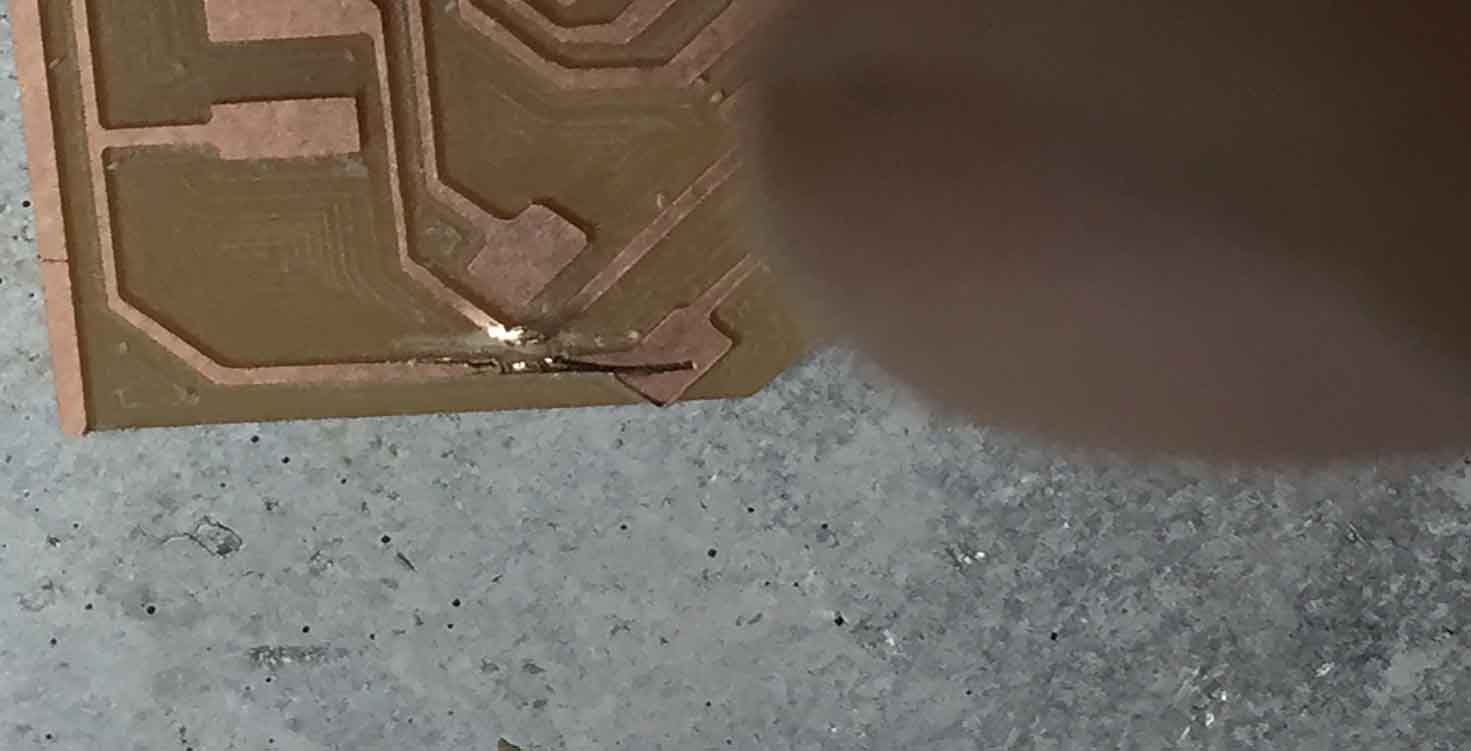
Sorted
7.Other Trials
I have used HC 005 Bluetooth Module
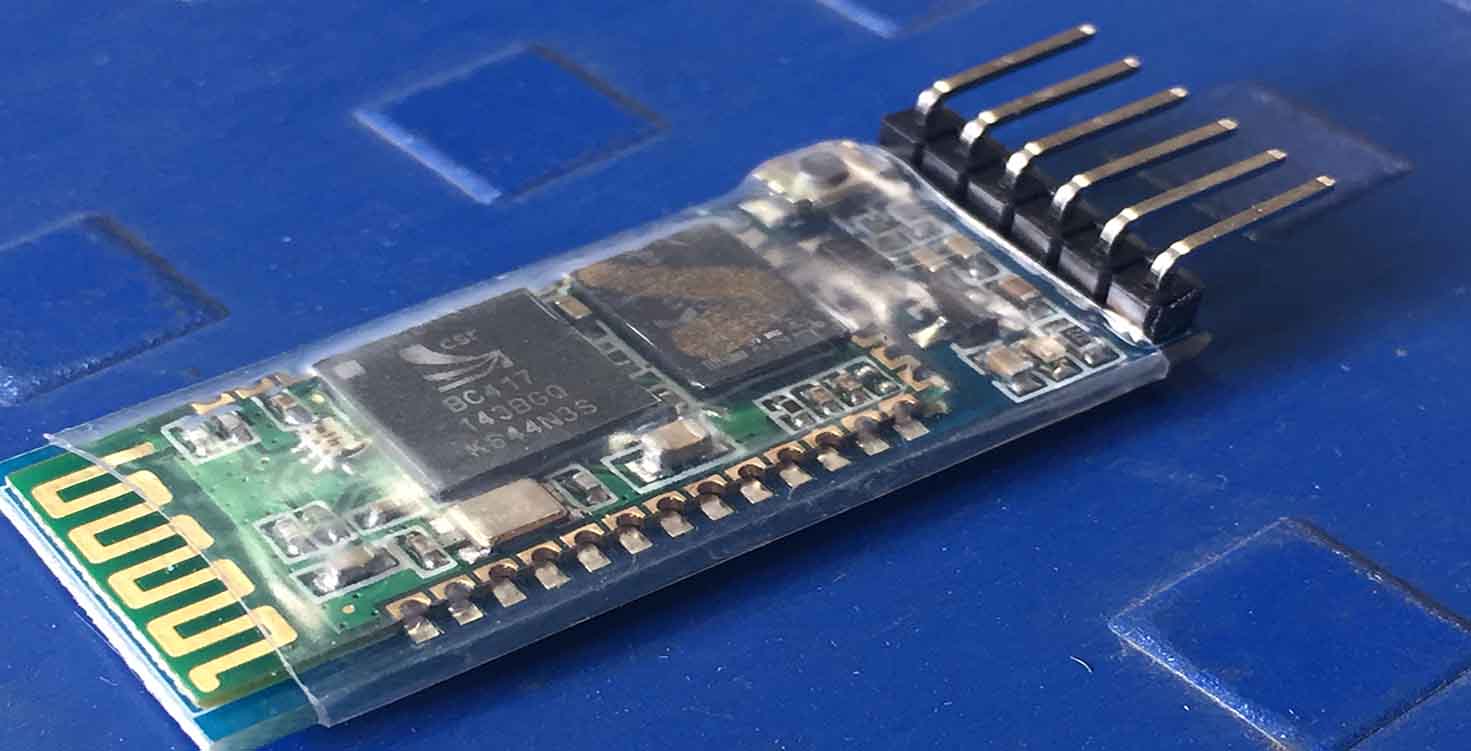
Connecting Bluetooth to one of my boards in which i kept pins for bluetooth specifically, i.e RX TX GND and VCC and further connecting board to Fabisp
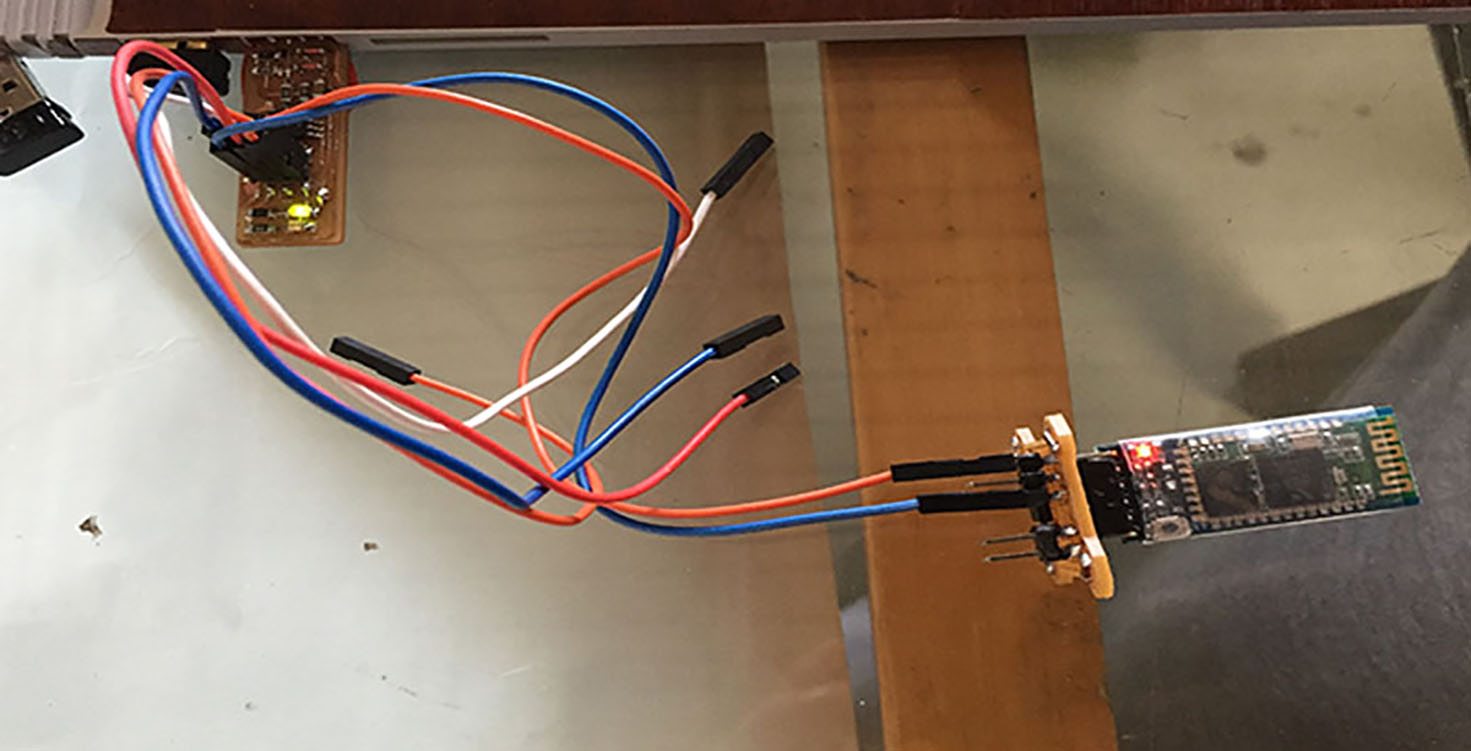
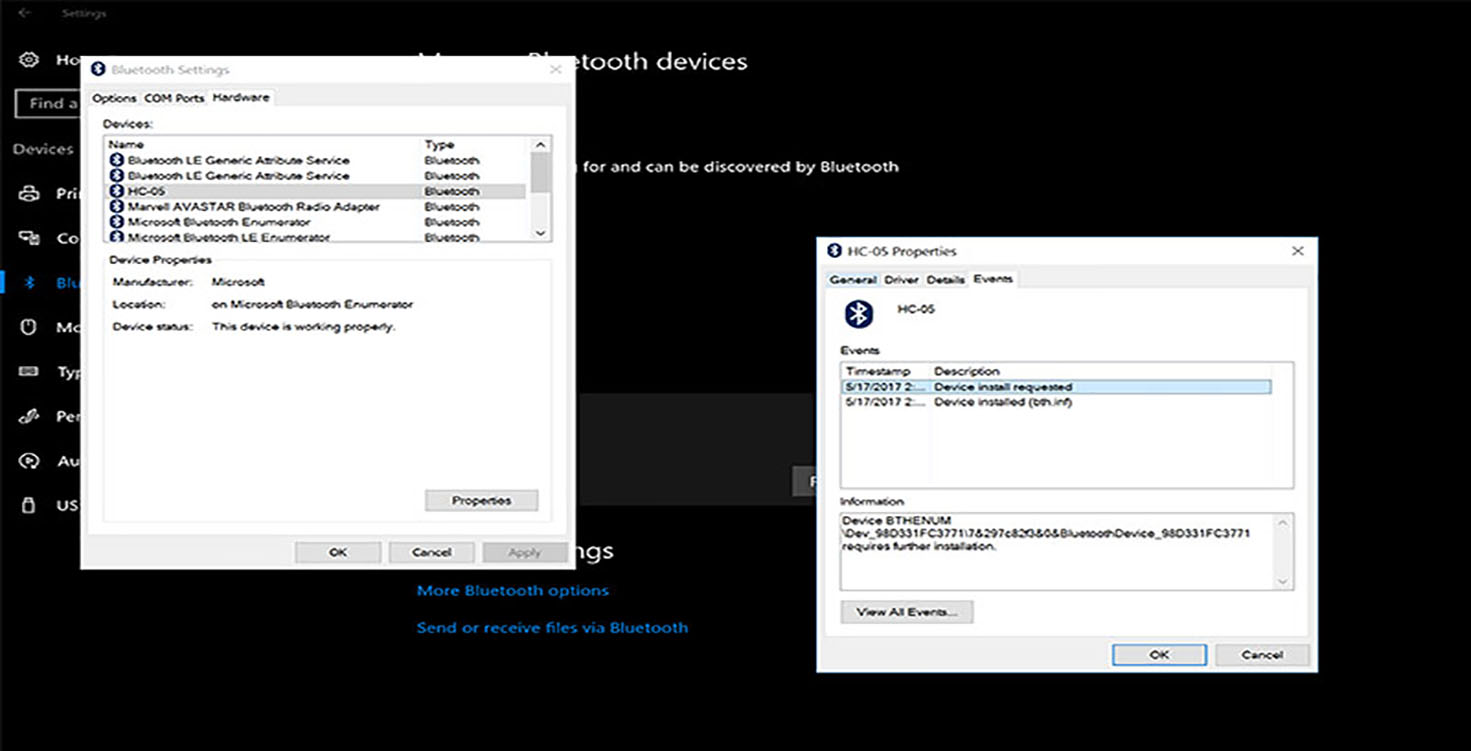
Could see Bluetooth on the laptop
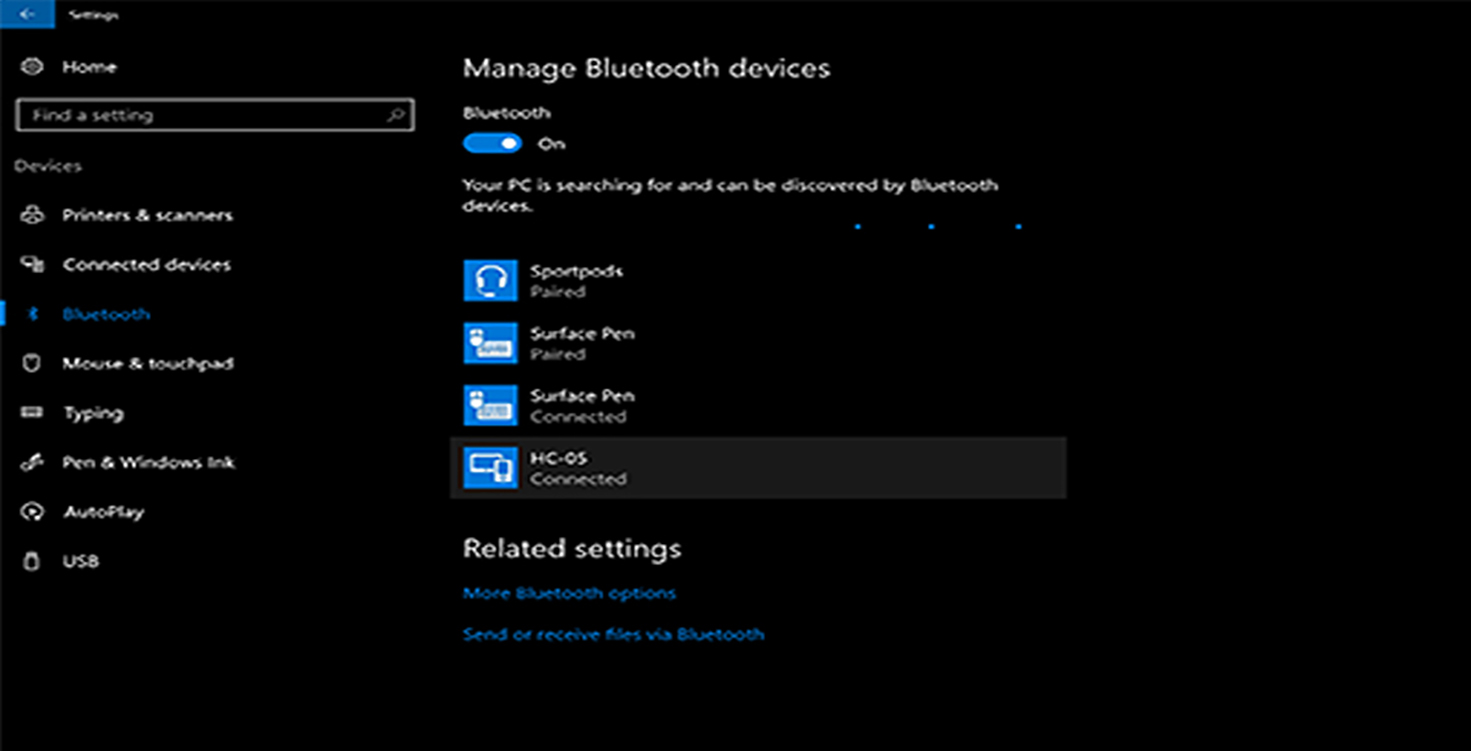
Confirming if this is the same bluetooth and how can we connect to it.
Default Password for this bluetooth module is 1234
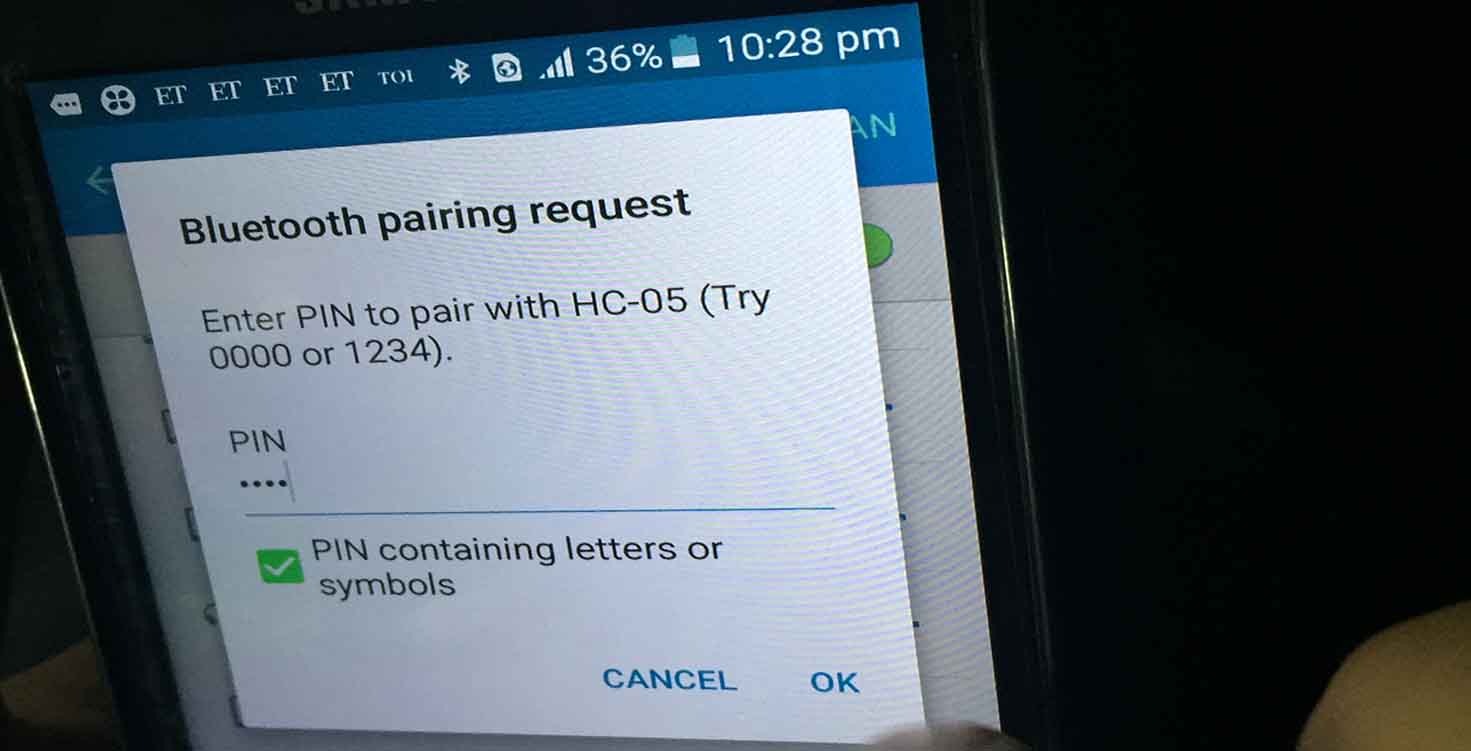
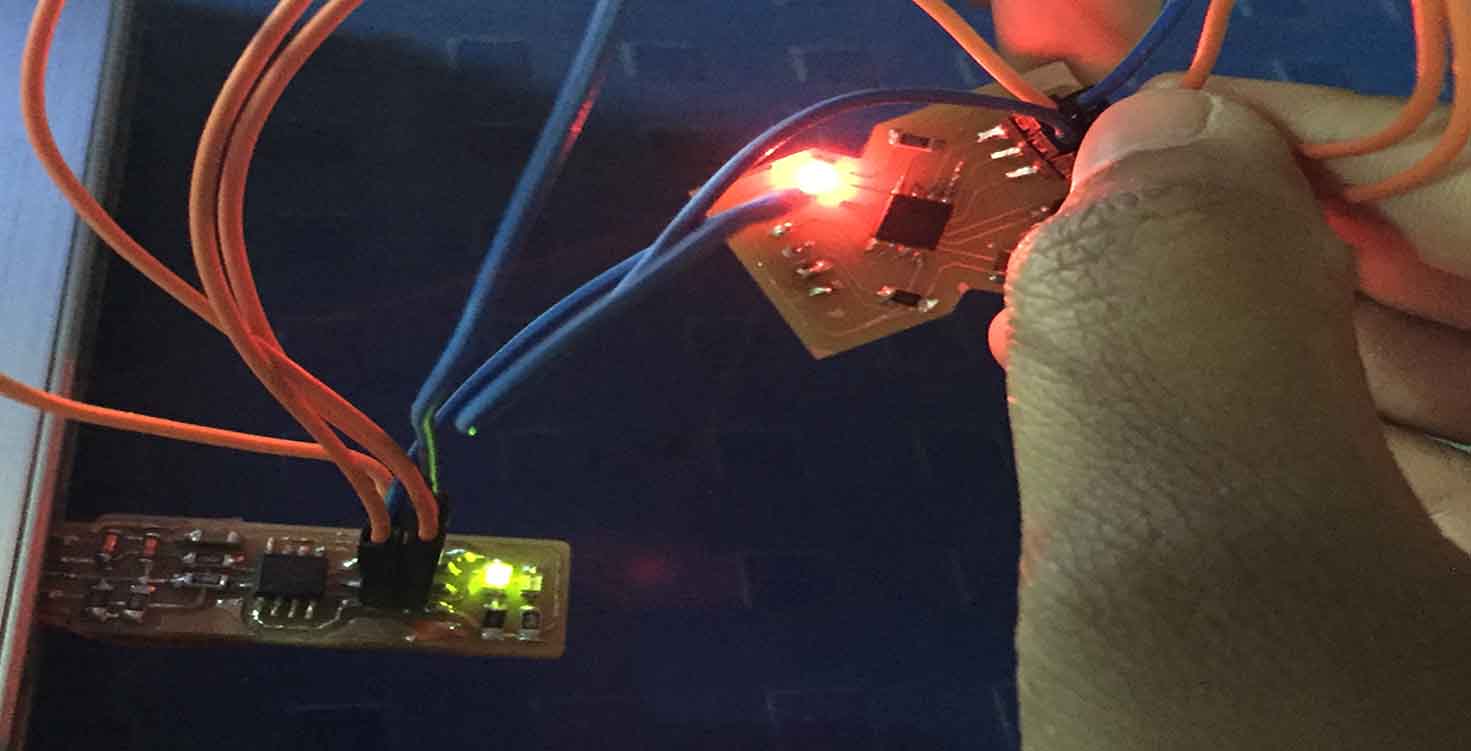
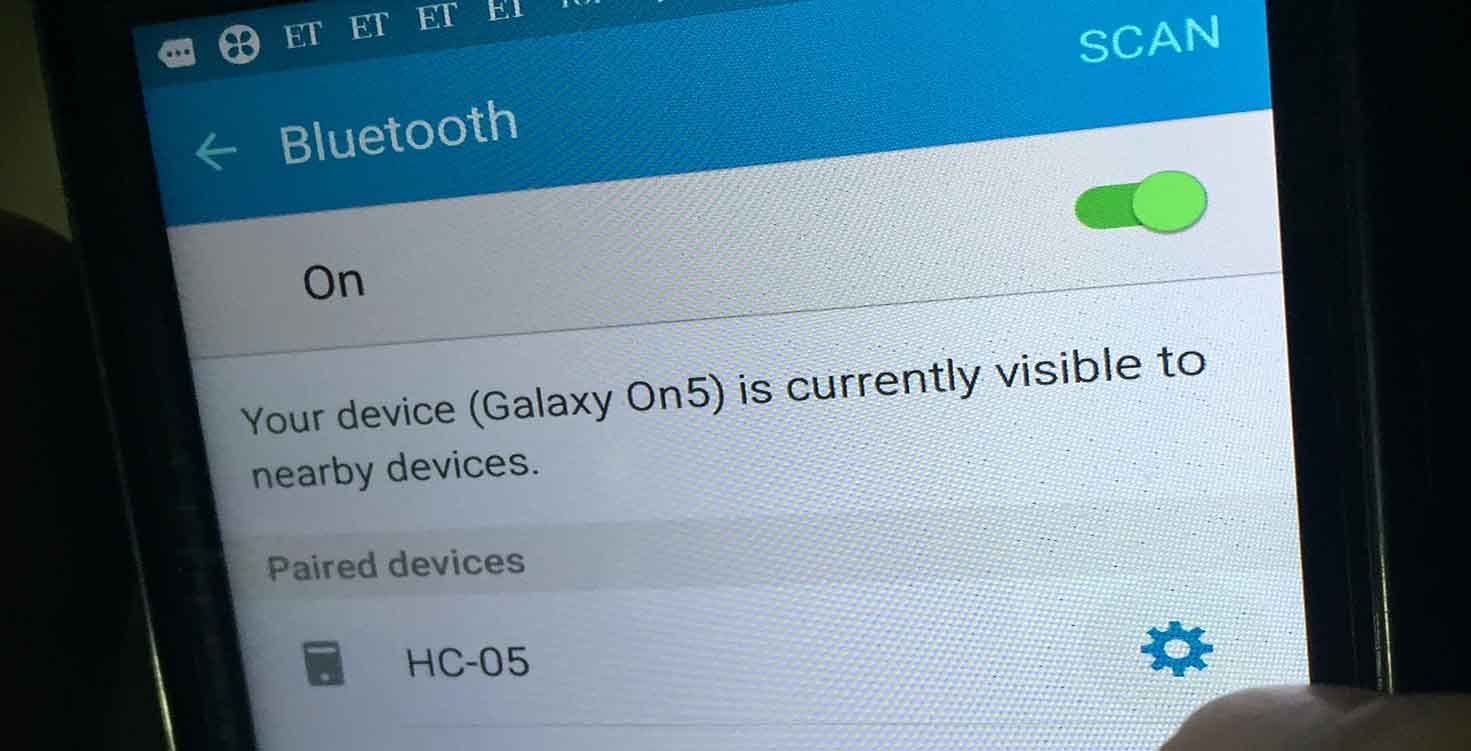
I had iphone, so borrowed Suyogji's (instructor's) phone to connect it to Android because we were downloaded apps to send bluetooth input, I was able to connect Bluetooth tp boards, run it, with help of App , i was able to run it that when i wrote 1 it lights up node 1 and when 2 it lights up 2. I could'nt record it in a video.
After Neil's suggestion to one of my fab mates to work on their milling of boards, Suhasji (instructor) requested Mahavir to teach other fab mates how to use eagle, edit in Photoshop , its width, and how to use Rolland Modella settings because I and he were able to explore the machine and come up with best settings for our boards everytime we milled