WEEK 14
Composites
Learning Outcomes:
1. Designer Seat:
Composite Design 1:
USING:
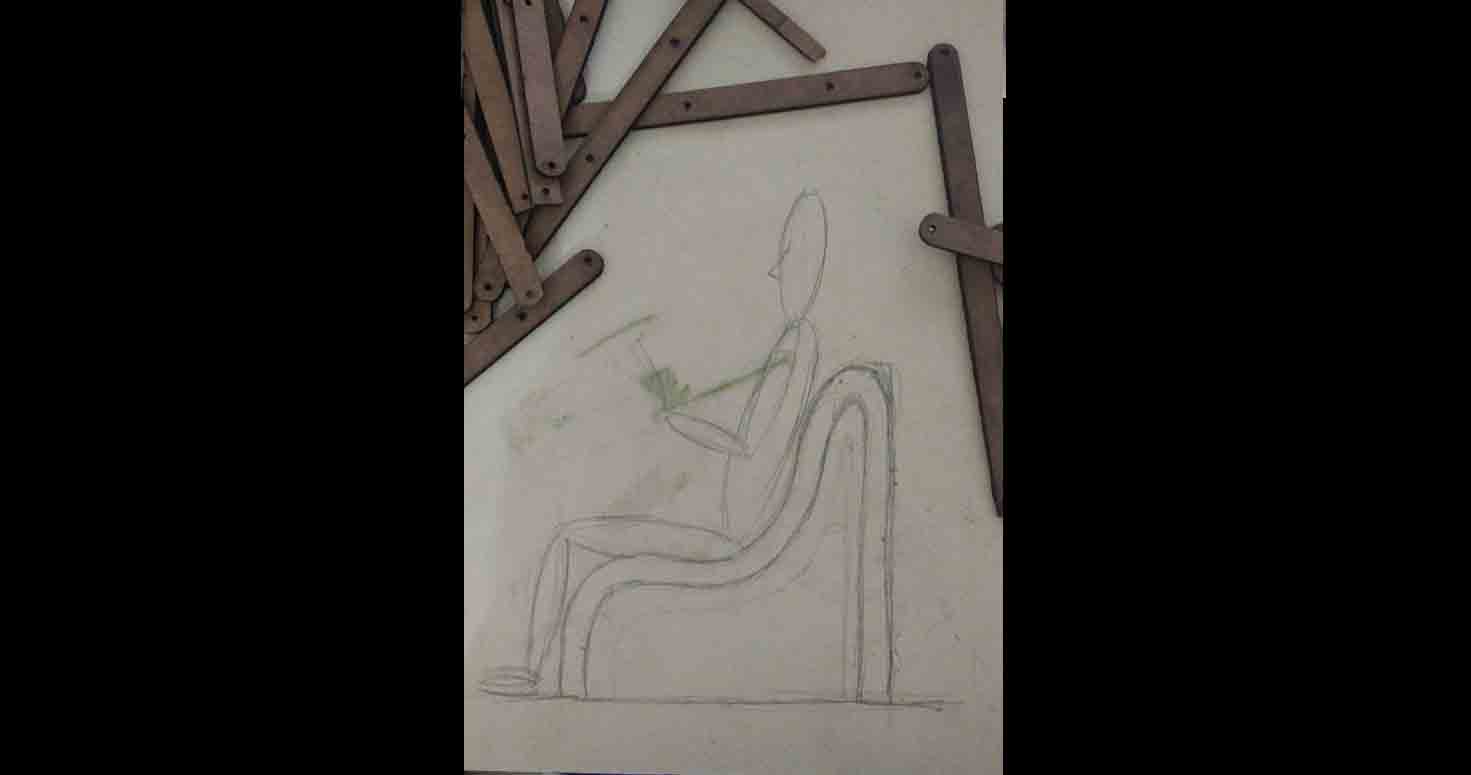
Laser cutter, SolidworksI decided to design a seat that would offer maximum comfort for the user. The seat would be designed to offer a slight slouched position. Designed a seat on solidworks and laser cutted its pieces and assembled that in two parts:
DESIGNING MOLD ON SOLIDOWRKS:
I started by choosing the Plane and making the negative: then, making the mold shape. Giving it right dimensions. Saving it as a part file.
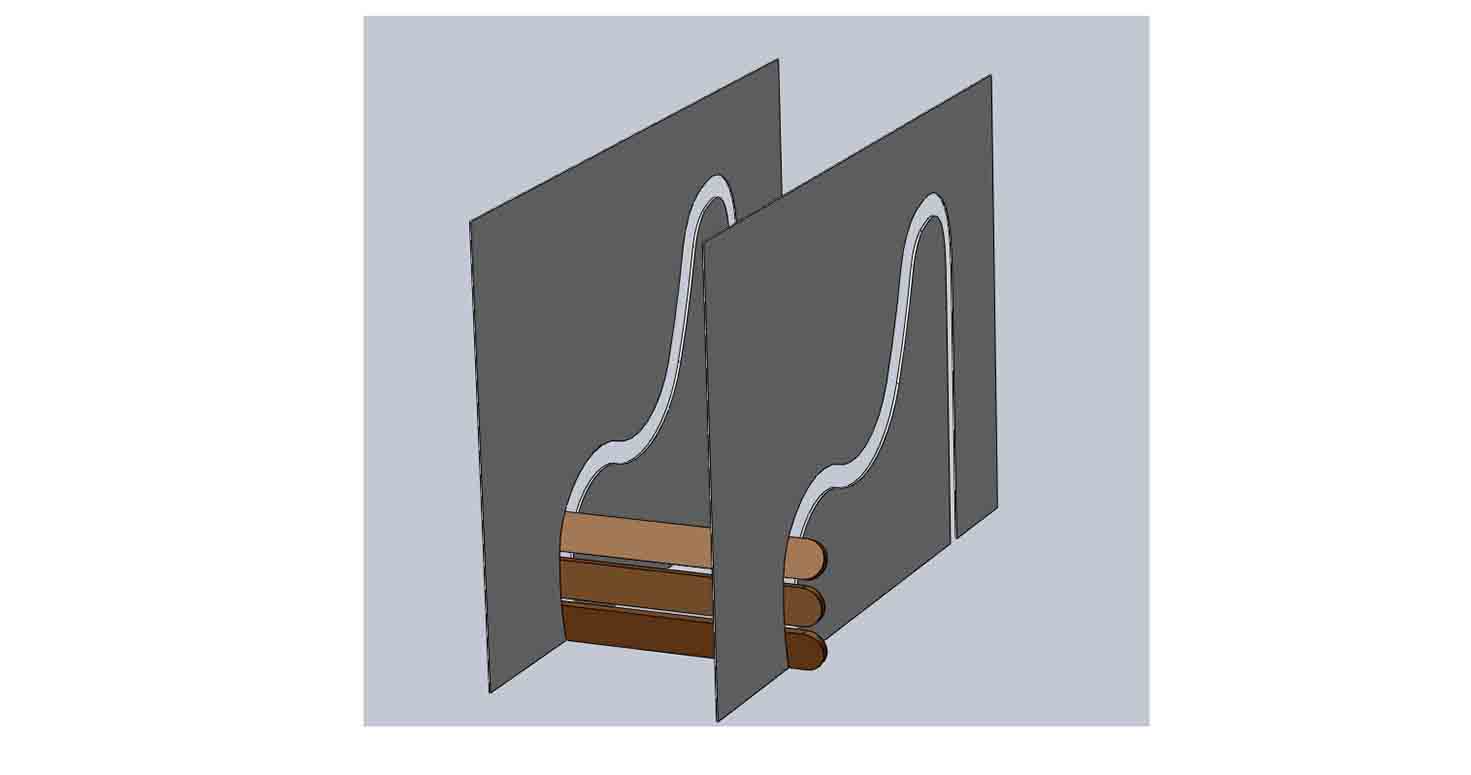
Then making another part file and fitting them together according to the dimensions in assembly. Video explains and shows all my trials and errors.
Composite Fabricate:
I laser cut the Brown pillars and the inner and outer mold of my seat.
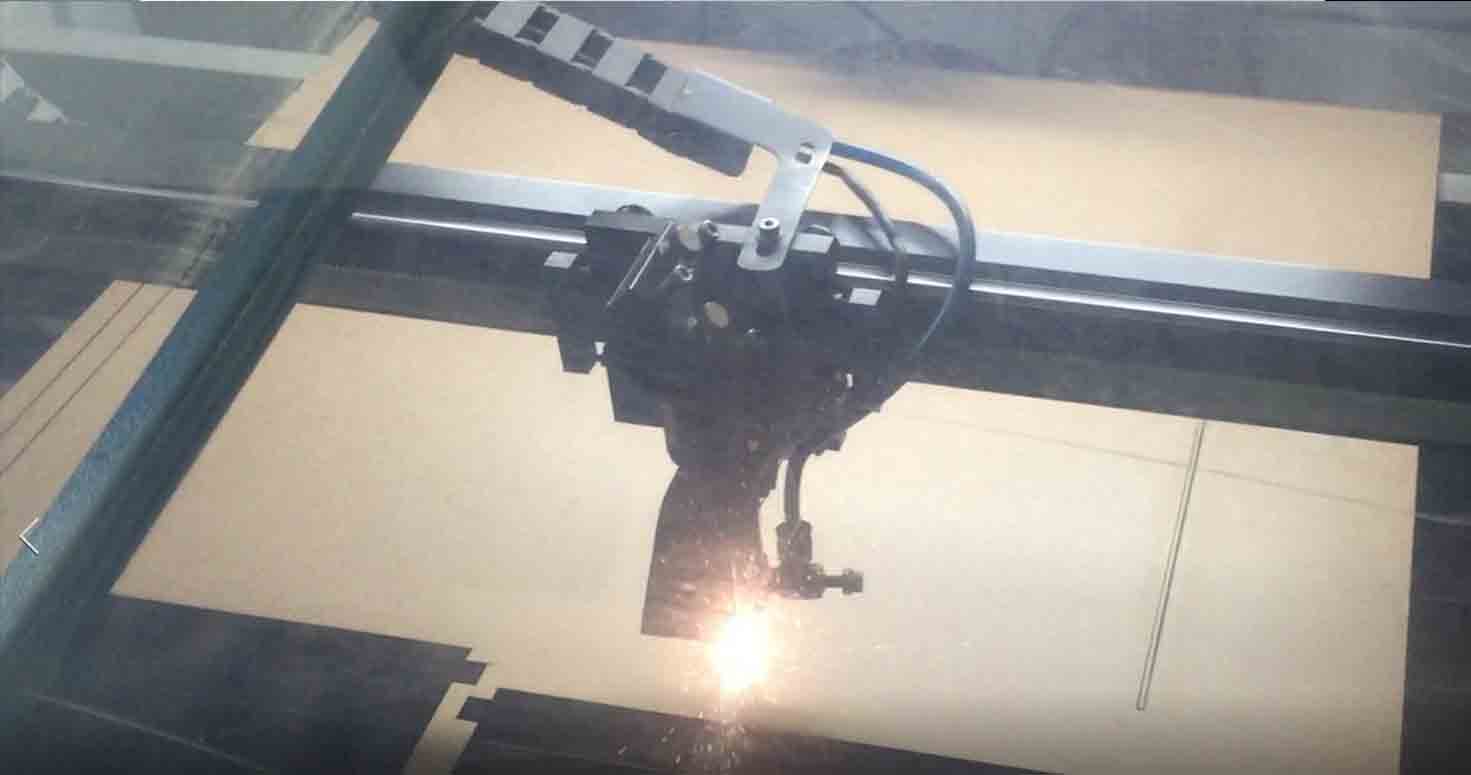
Here, for MDF, speed is 10 and Power is 60.
Composite
So i took the negative of my mold, wherein i two supporting panels which i laser cut and i got the other MDF strips pieces together to give it a shape of my seat.
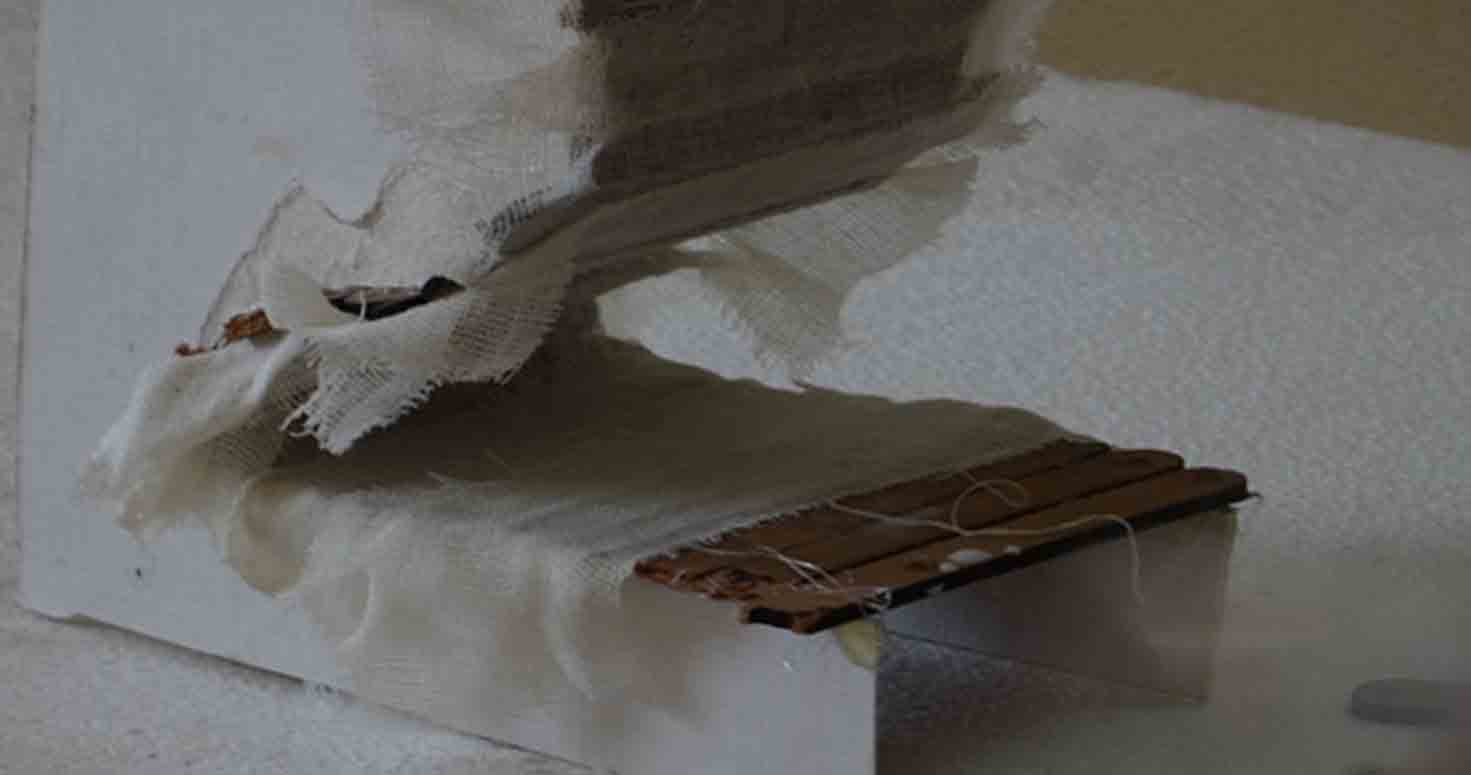

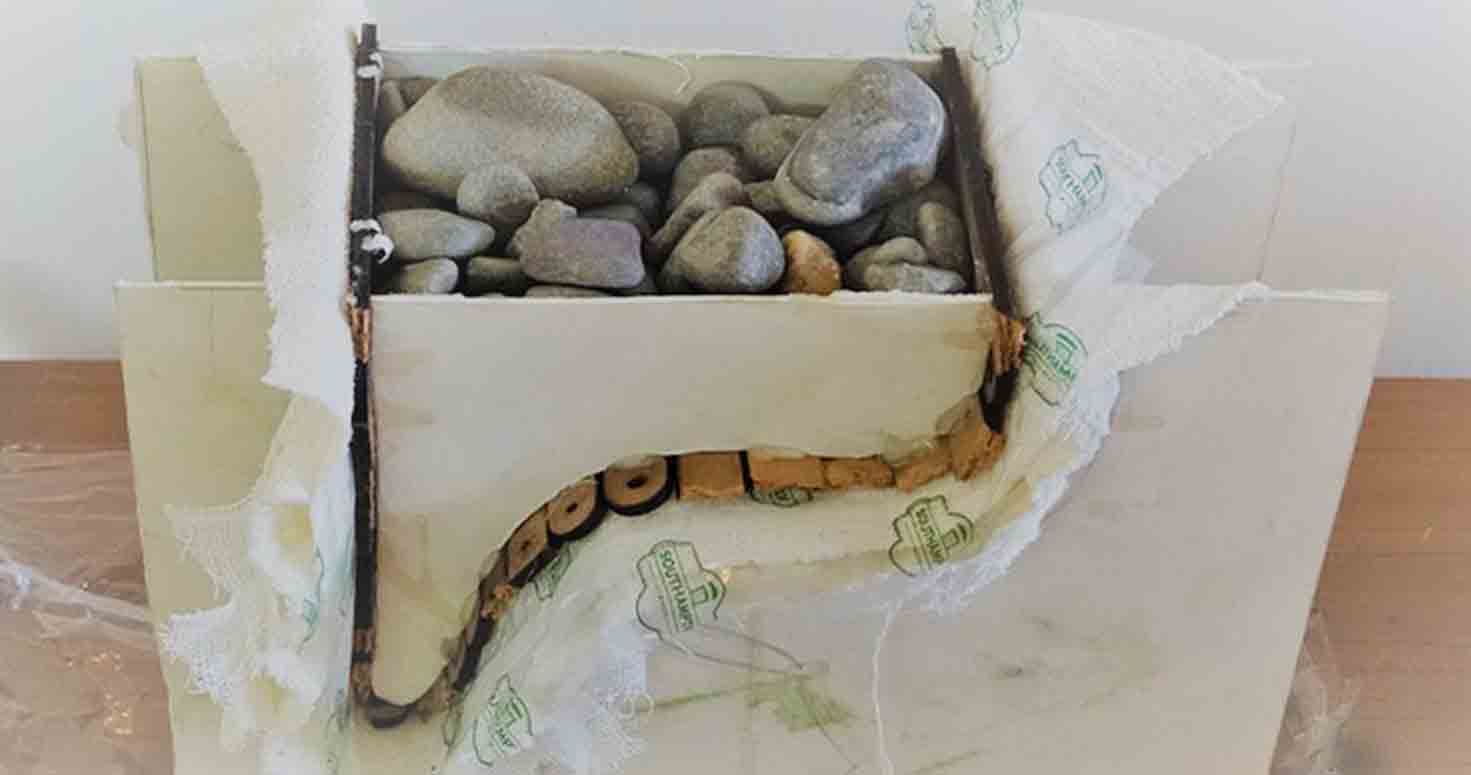
The seat came out so beautiful that we plan to make this seat in real form.
I decided to design a rigid frame structure that would hold the composite in a seating position. The frame would be adjustable so that the angle of the seating position could be finely tuned to the customers needs. By turning the two screws the customer could alter the seat from a slanted to an upright position. Whatever the position the chair remained secure with just a slight amount of give.
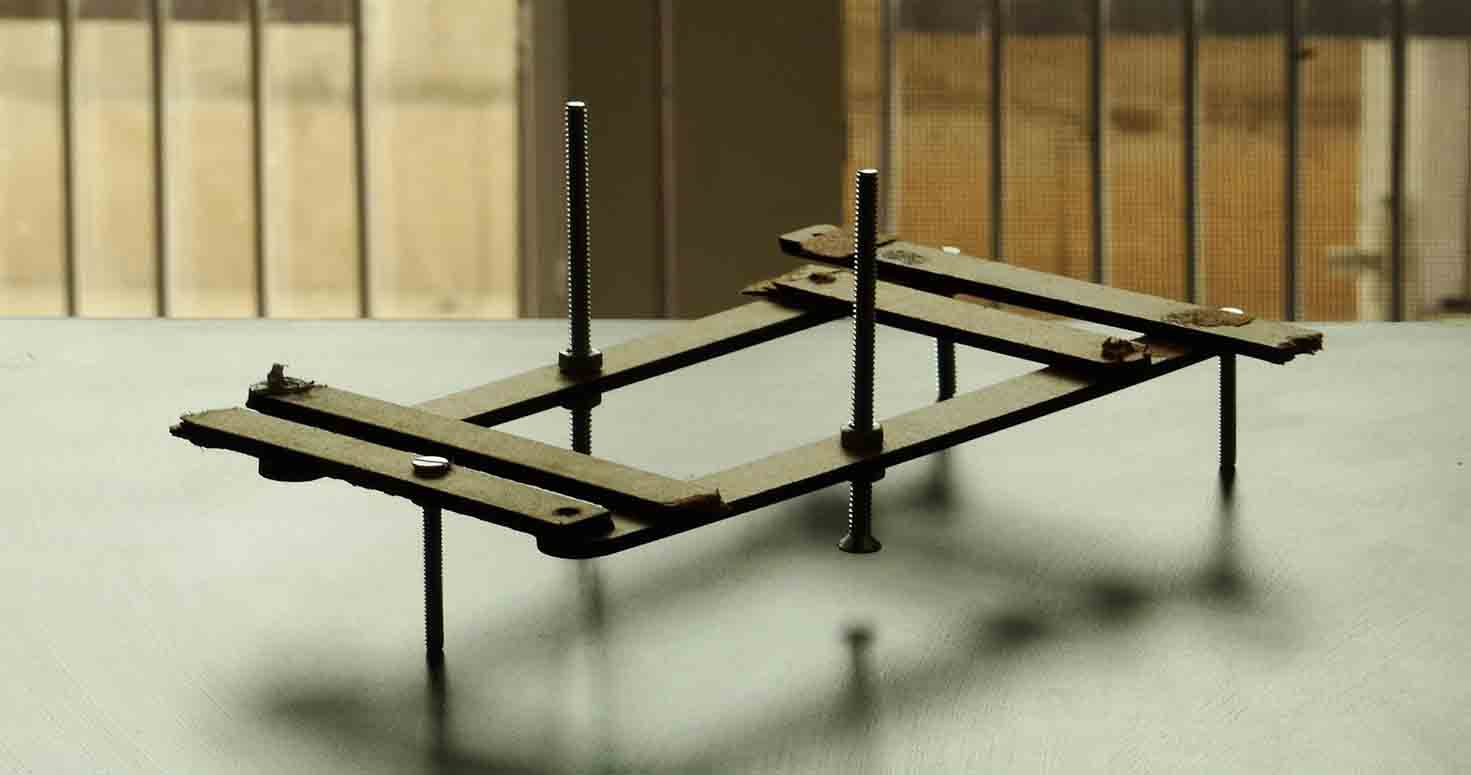
A weight was positioned on top to simulate the user. This position allows the user to lie back.

Download Solidworks File for the seat
2. Shopbot Door:
Composites Design 2 :
USING:
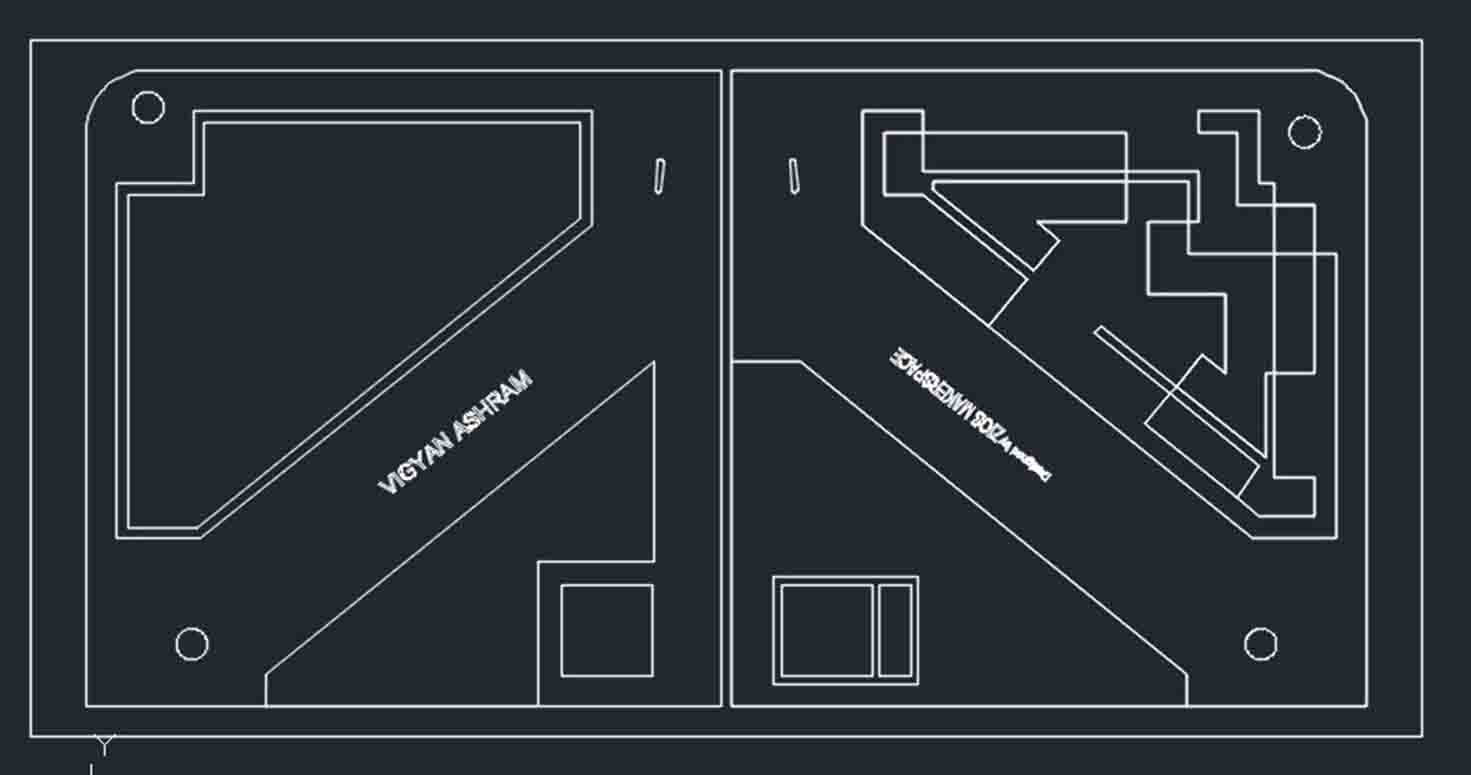
Shopbot, PartworksThis week is connected to my Shopbot week. I milled a door (which is a concept from Evolution Door by Klemen Torggler with small modification.) in Shopbot which has two parts, wherein one part had a window which i wanted to use for composites later and second part had pocketing which too i wanted to use for composites. But we were 3 people schedules for same day so i didnt had enough time so was suggested to not to do pocketing on Shopbot as it was taking around 4-5 hours. So my door was designed like explained below but i had to remove pocketing and i went ahead with the window which i used in composites.
This was my Door concept but its yet to be assembled after composites.
1. DESIGNING
I designed my Door design on Sketchup , here you can see it has pocketing with different levels on one door and other has a window.
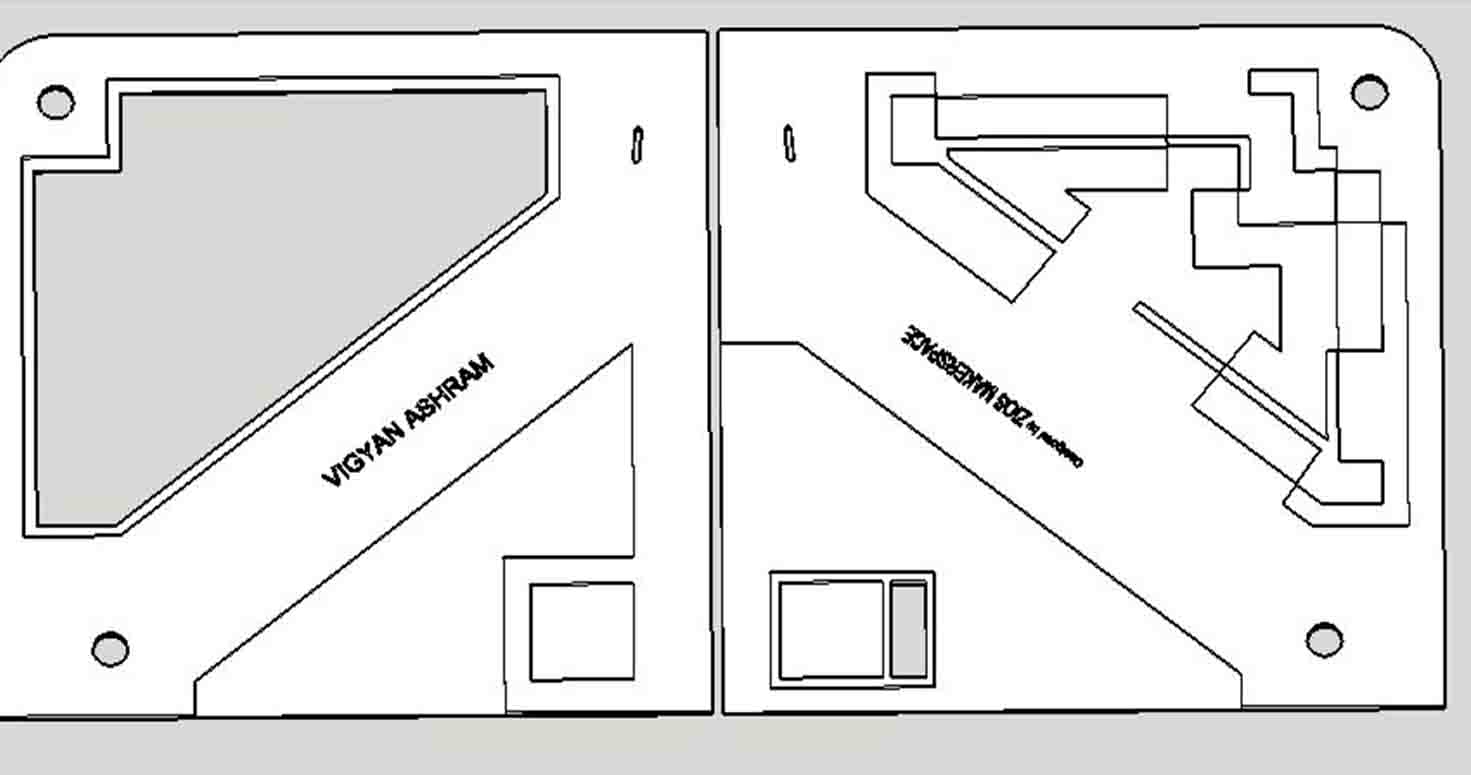
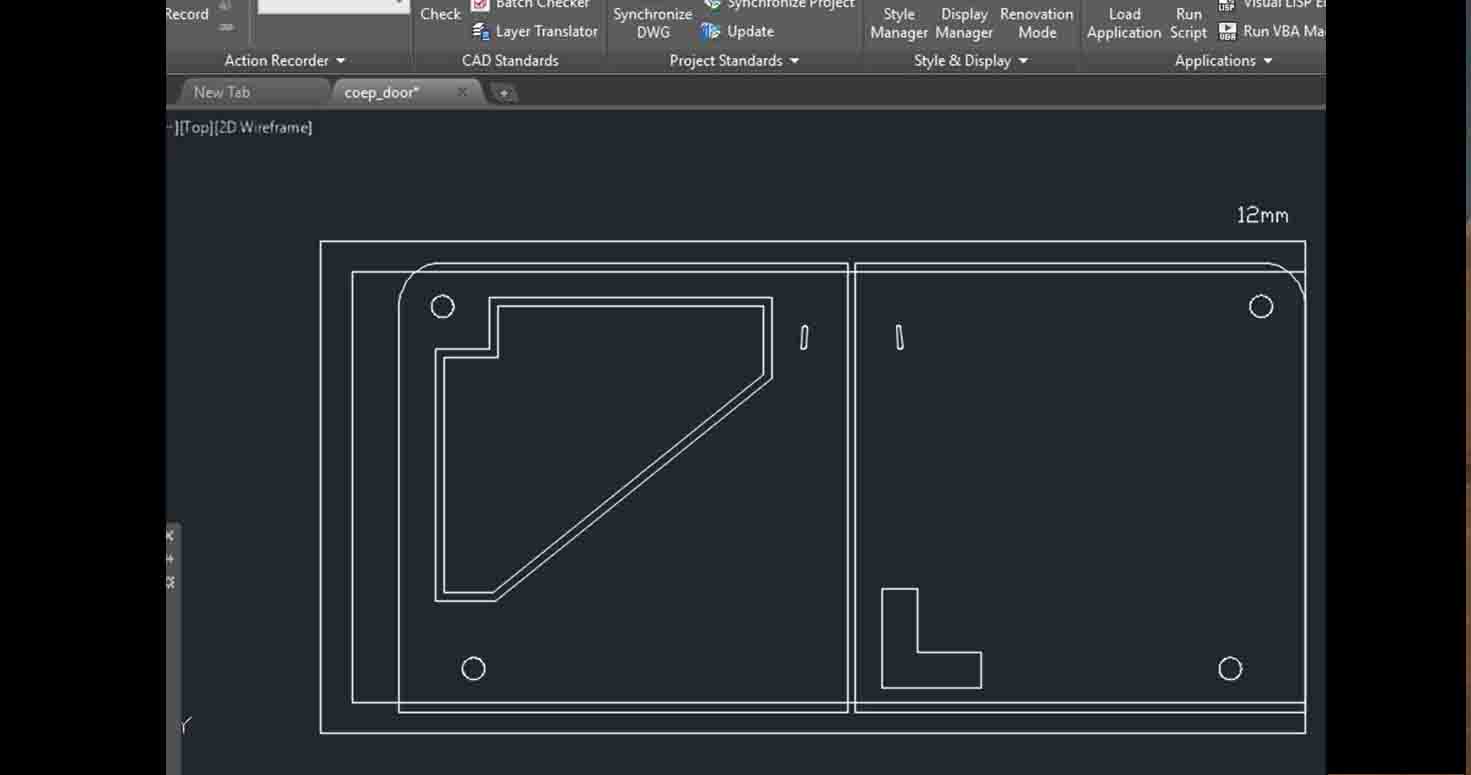
Plus i made 2D of this Design in AutoCad for milling, saving it in the format of .dwg.
2. Fabrication
I was very excited to understand shopbot because my firm plans to buy CNC's. Ms.Apeksha, who is handling Fablab in the Fablab Pune, explained what is the right procedure and safety tips for shopbot. When, i removed pocketing from my file, it looked like this!
So i went ahead by switching on the Shopbot by rotating the On Knob, then continued making the partfile.
By opening the partworks. I did the following steps;
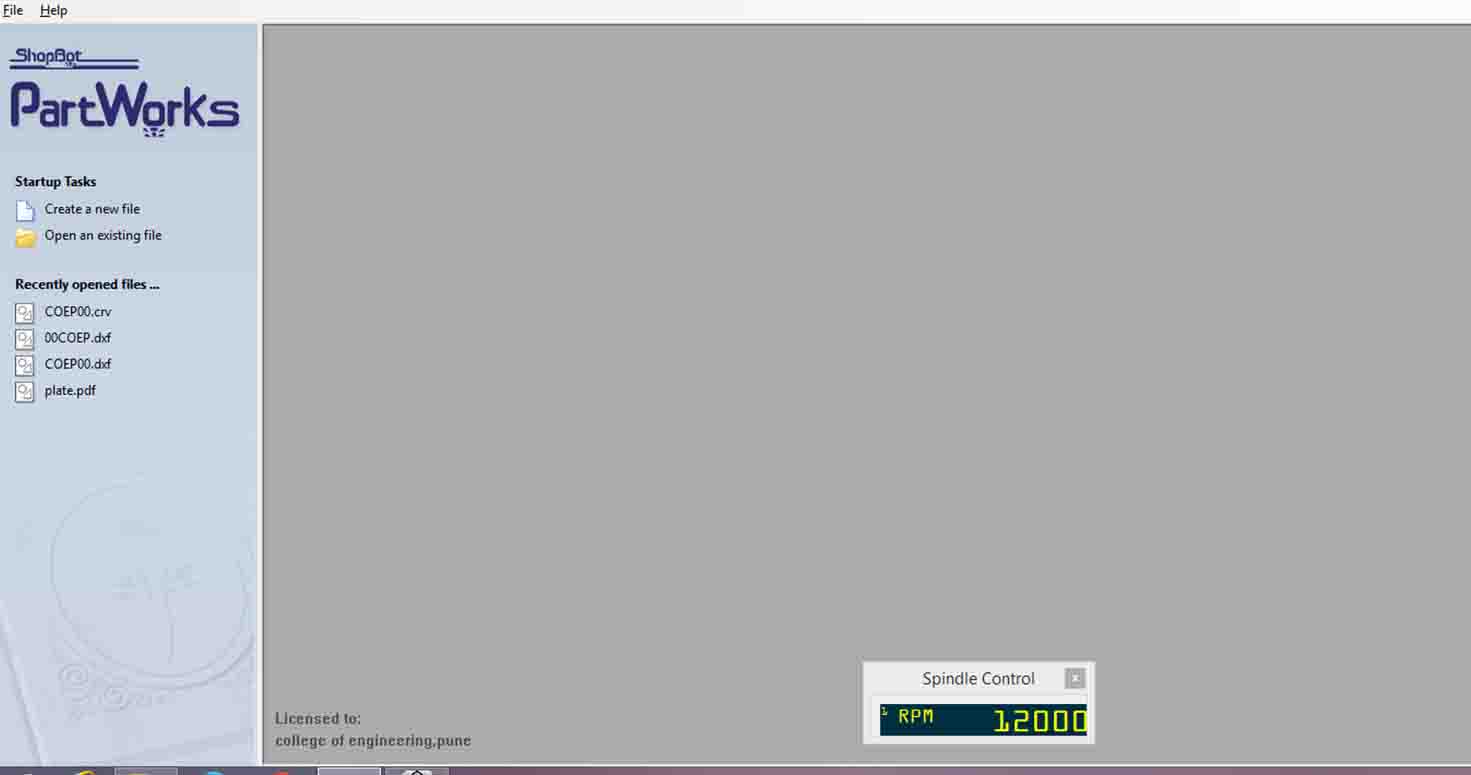
Open Partworks
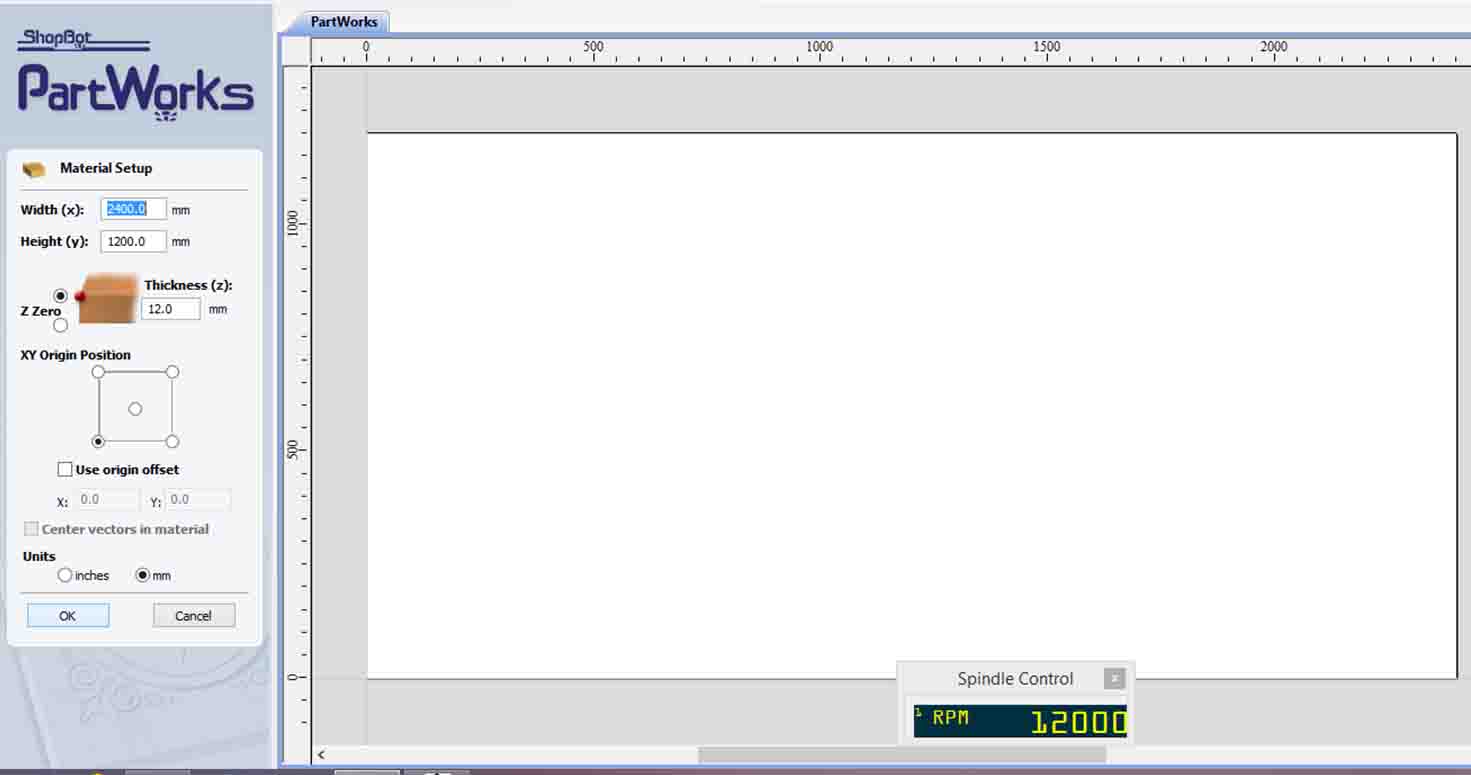
Set the Material Width and Height in this i set it as 2400mm (Width) and 1200mm (Height)
Select Open file, dont do new file.
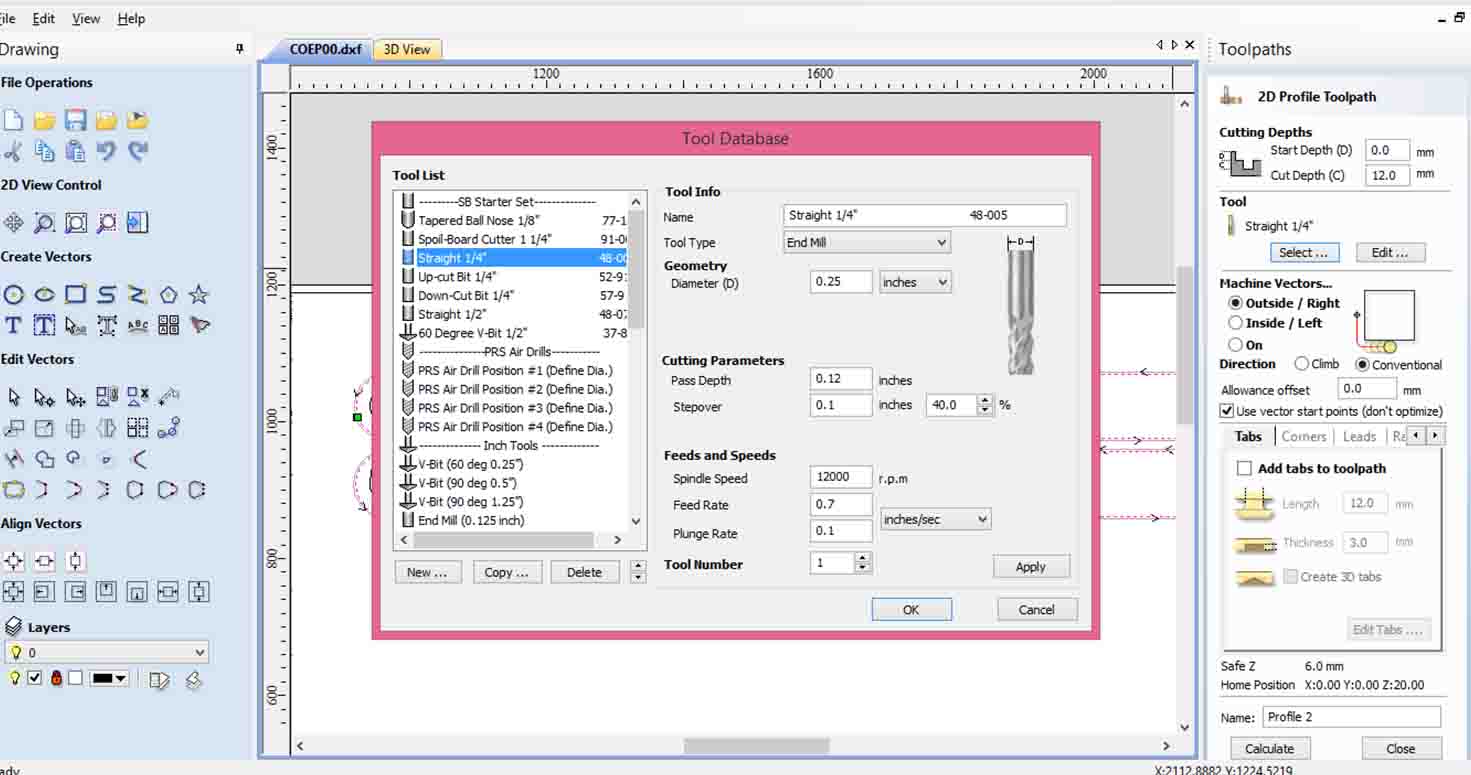
You start making profiles, here i making where mill will cut certain things from inside and certain from outside. Also, Choose the milling bit which i chose as straight 1/4 End mill, though settings were perfectly set for my project but make sure we check Pass depth, spindle speed etc.
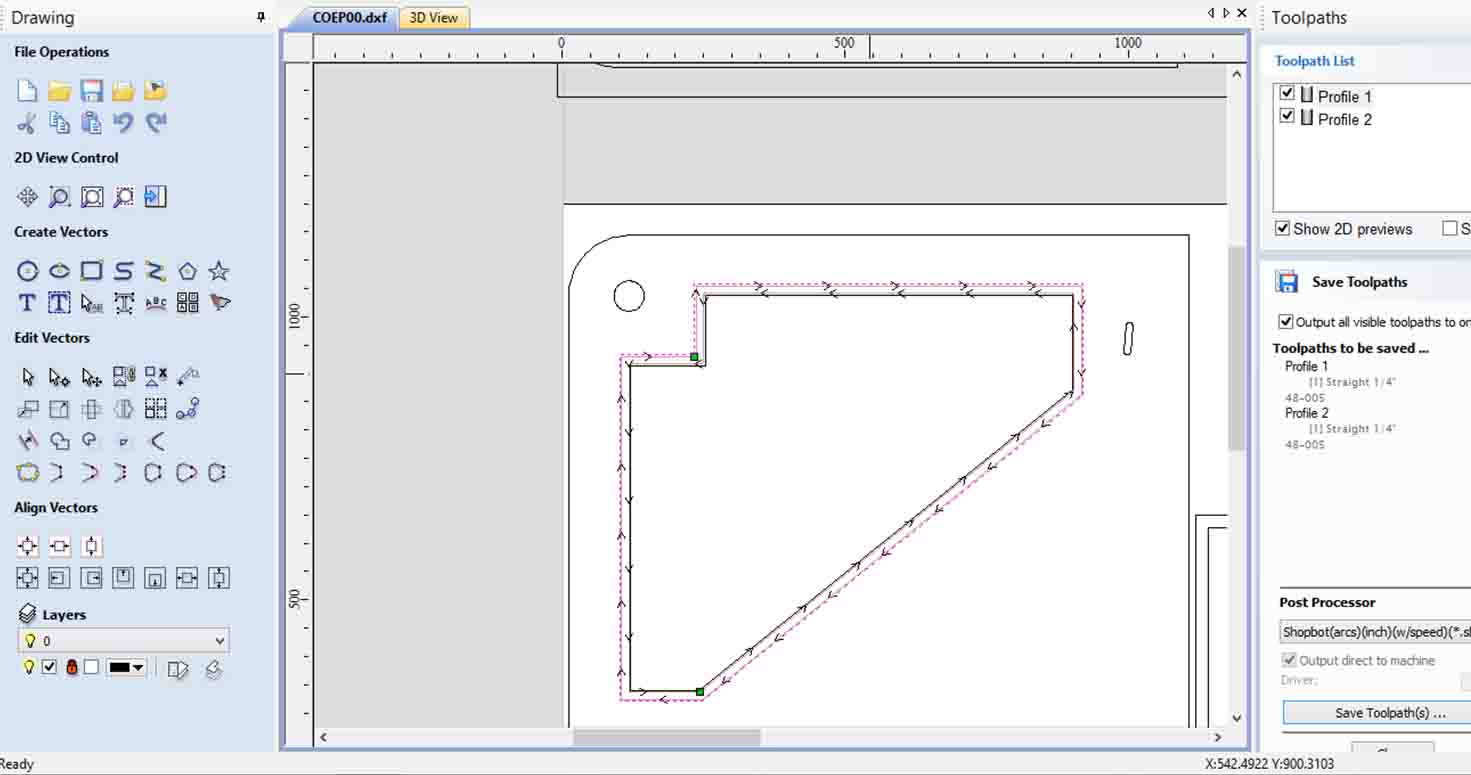
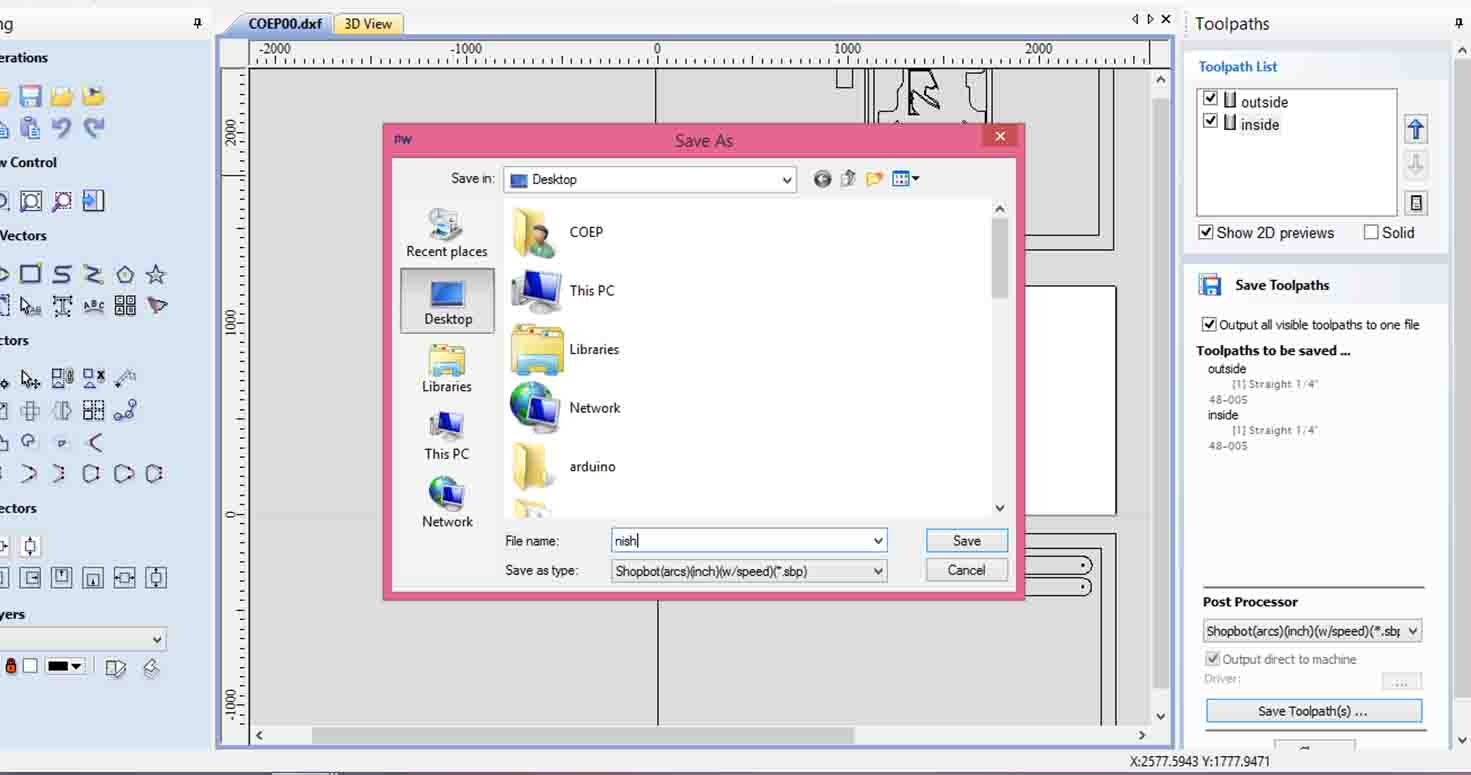
Then you can see the different profiles created indicated by arrows. Save the Toolpath.
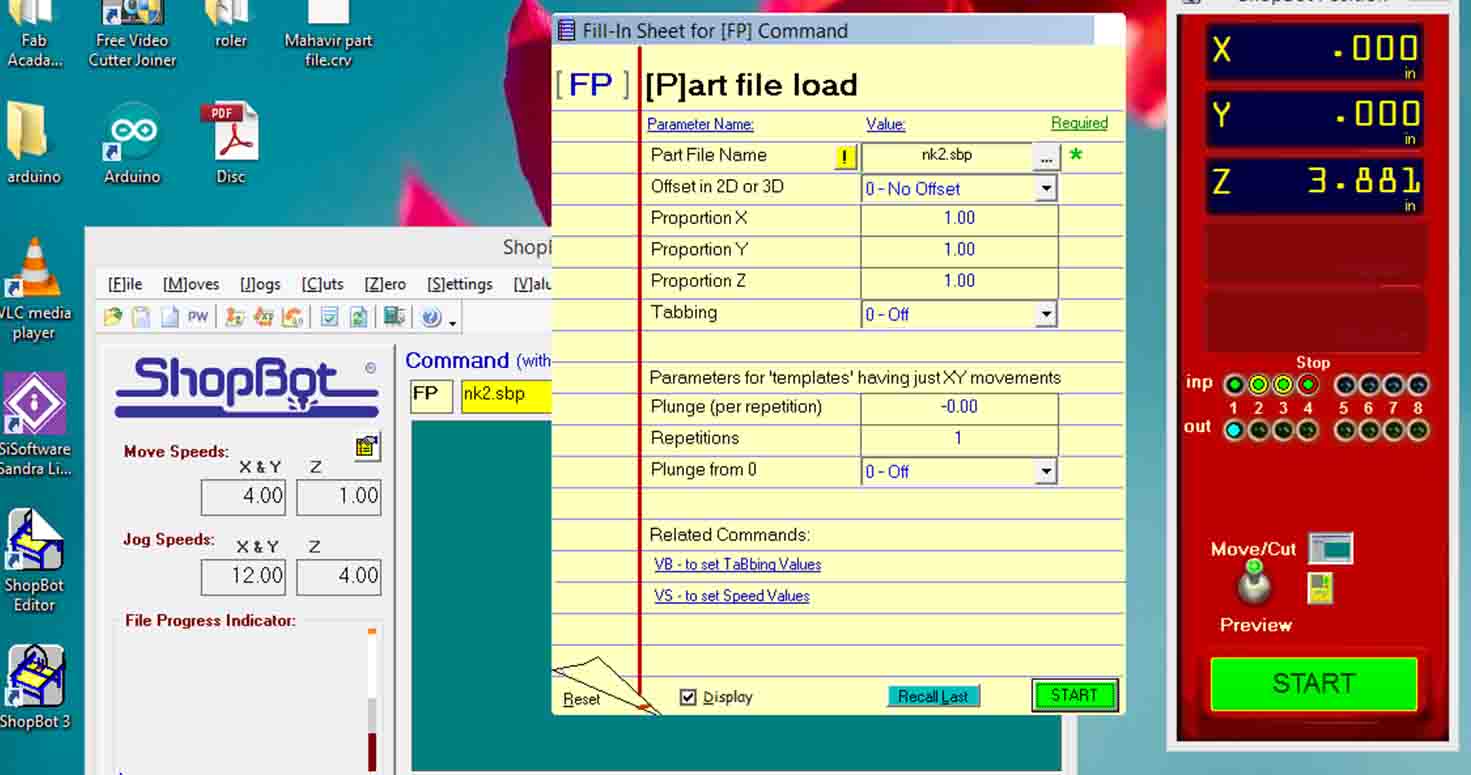
Open Shoptbot Software, Upload your file.
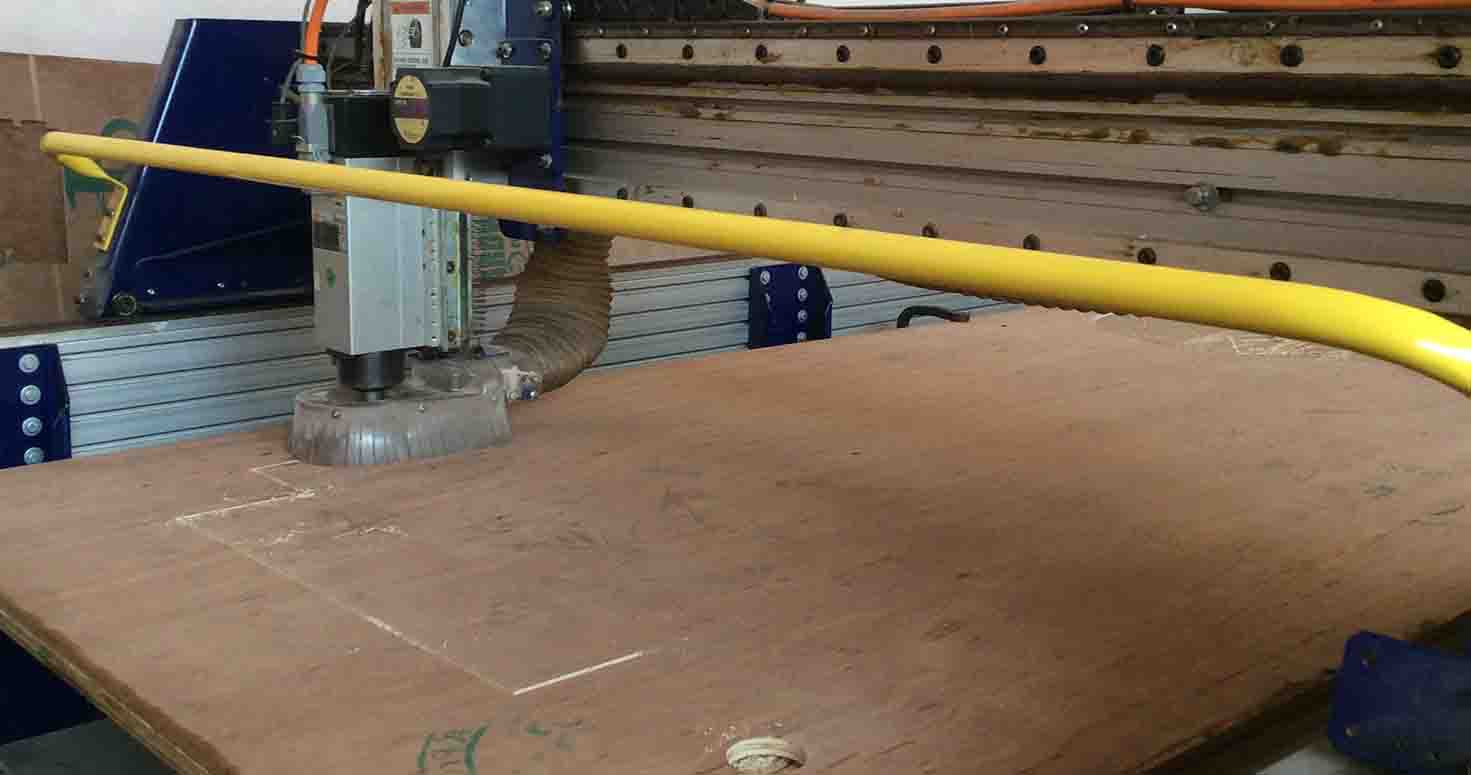
See the beatiful Computer Cutting.
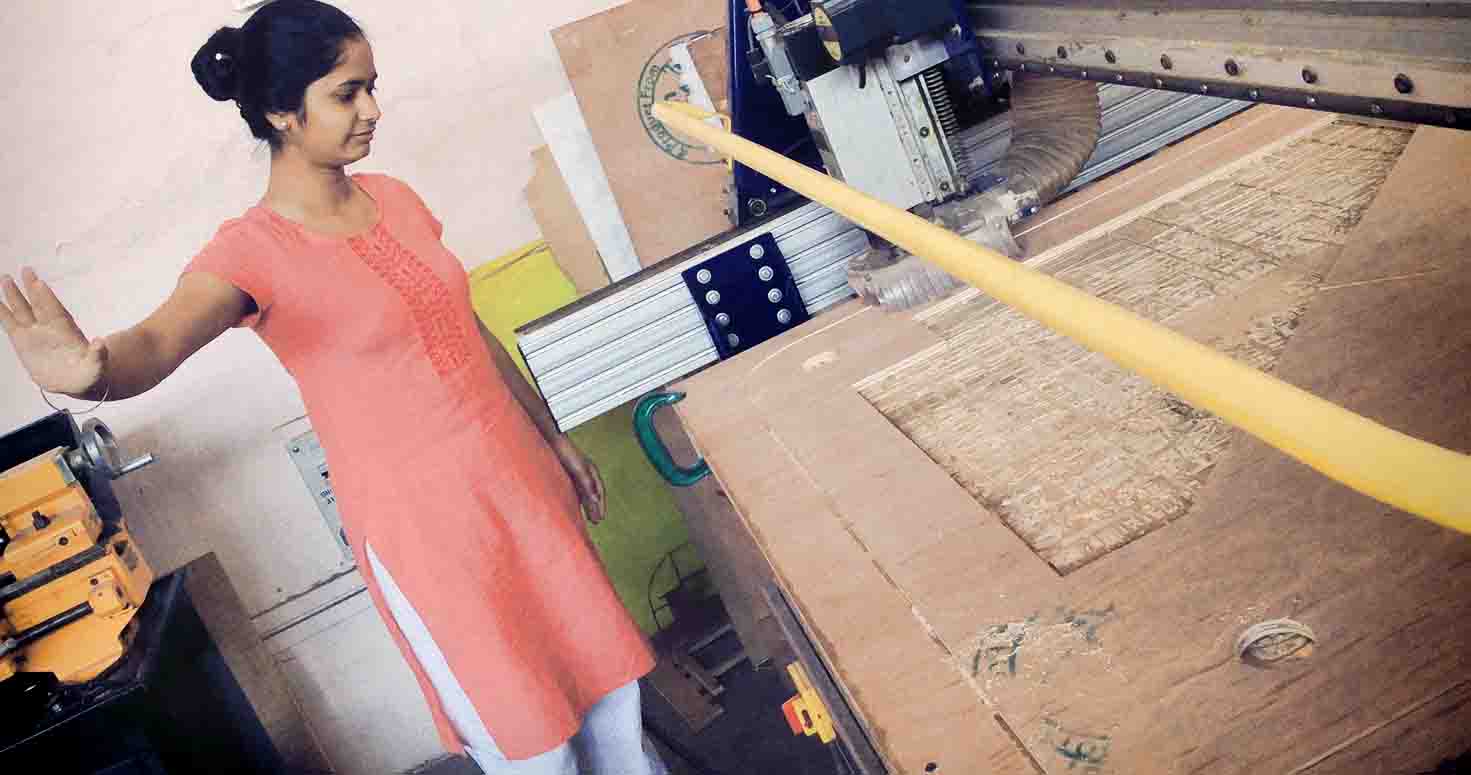
In case you see the small pieces getting between the cutting, stop the machine and remove it. Be careful, dont get your hand when its working.
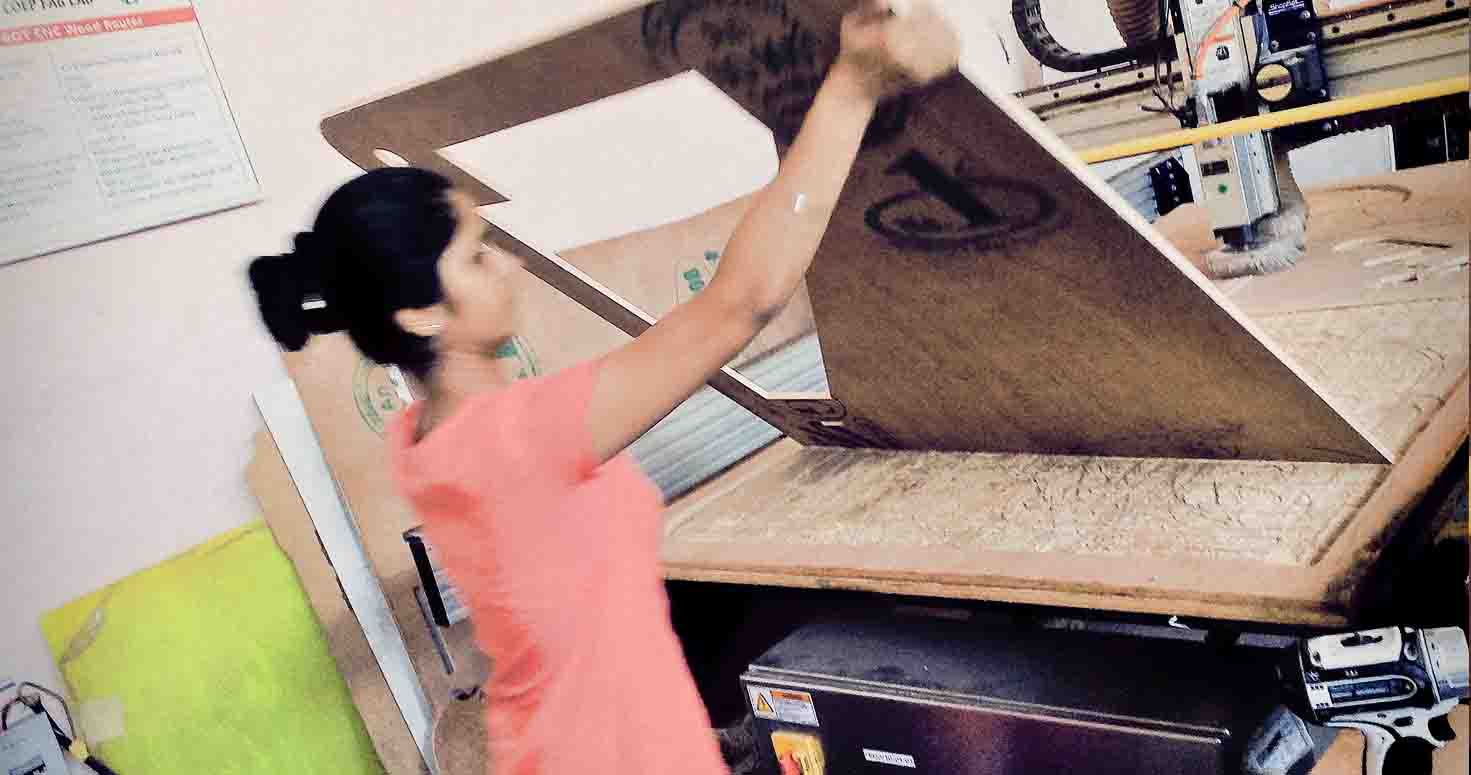
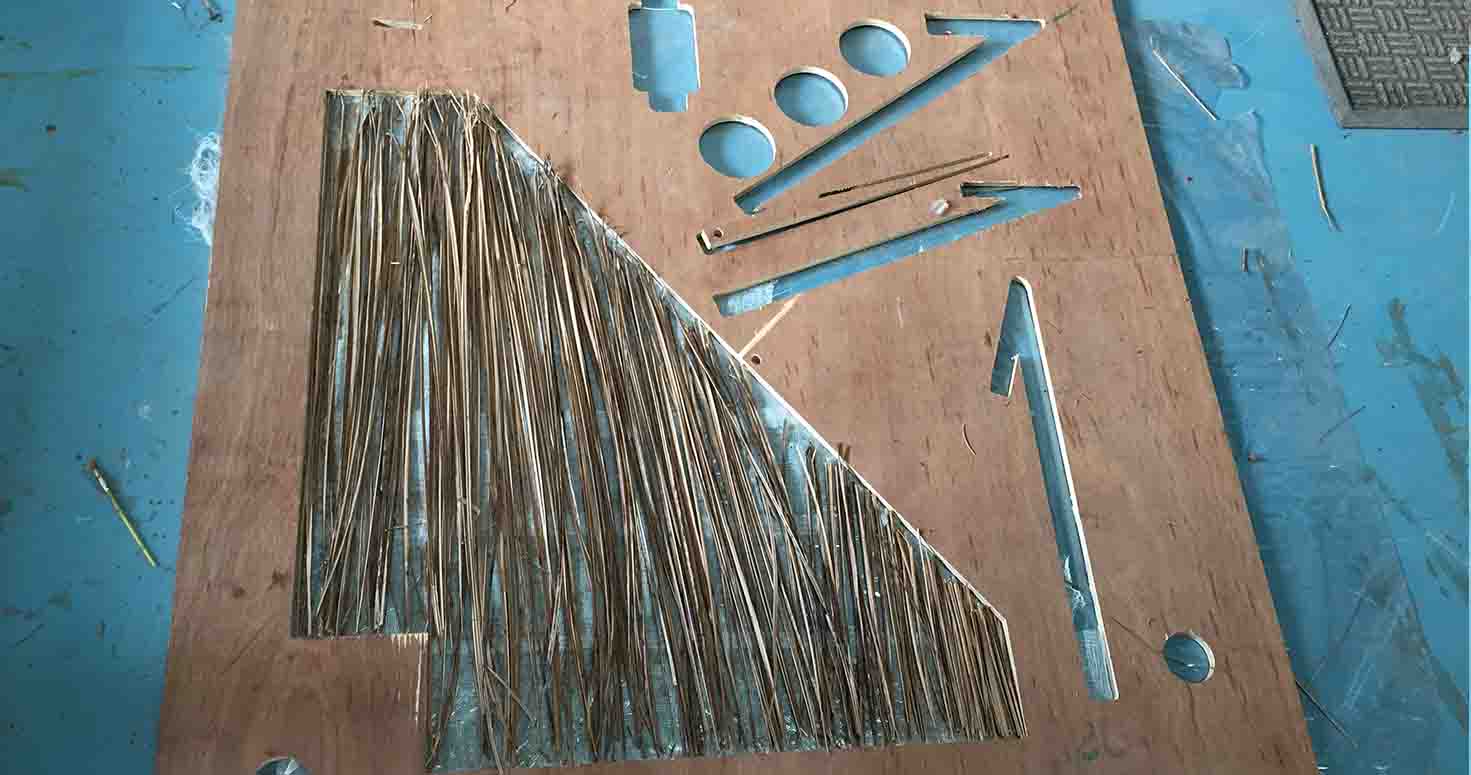
Thats how the piece looked.

When we went to pick our shopbot piece after a week (after official formalities for taking out college's property out of its premises), I saw that my piece was used by students for cutting some pieces.
First i decided to mill a new one but then I thought repairing this piece itself and use these cut spaces for composites rather wasting material.
Composite 1:
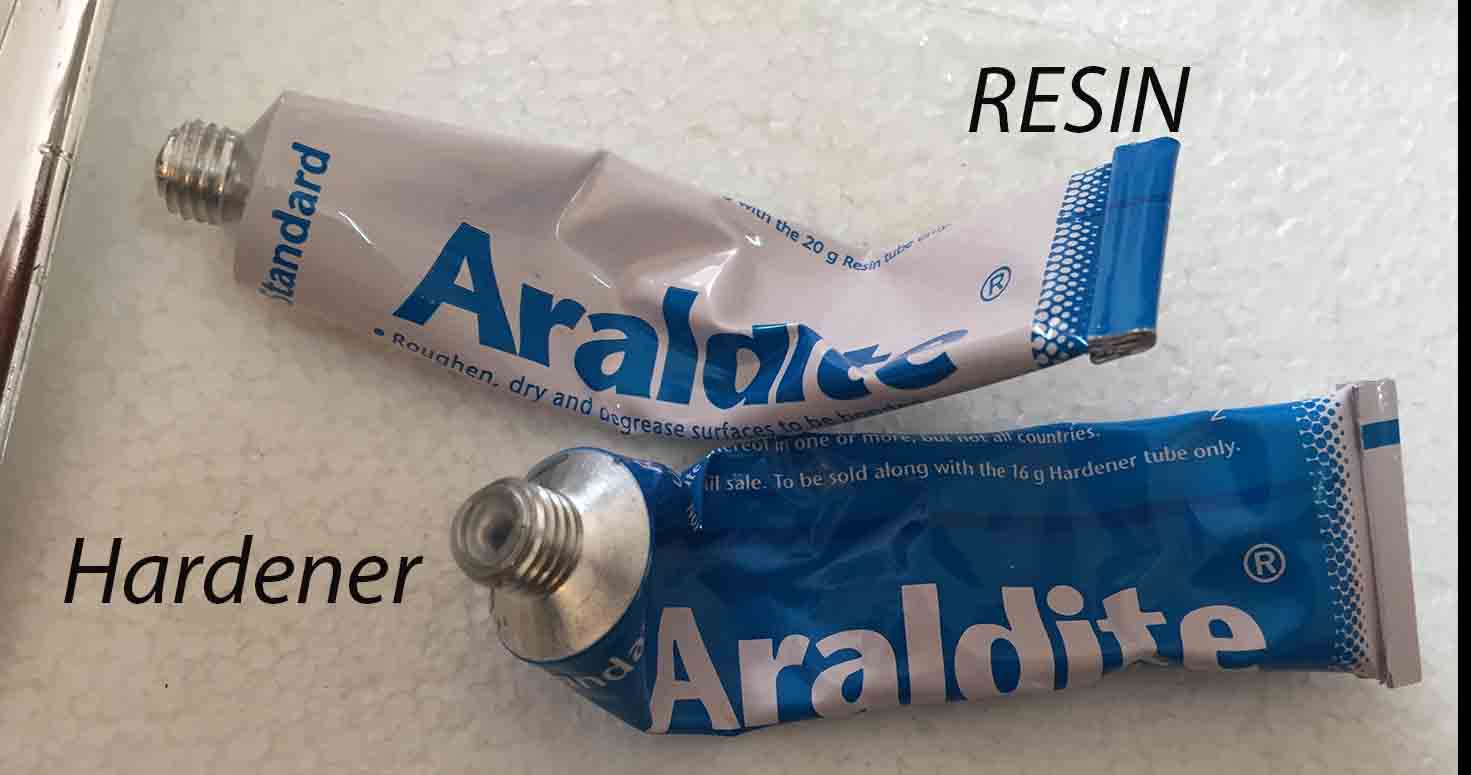
USING:Epoxy Resin , Hardener, Gauzes, Broom sticks, Plastic sheet, Vaccum Bagging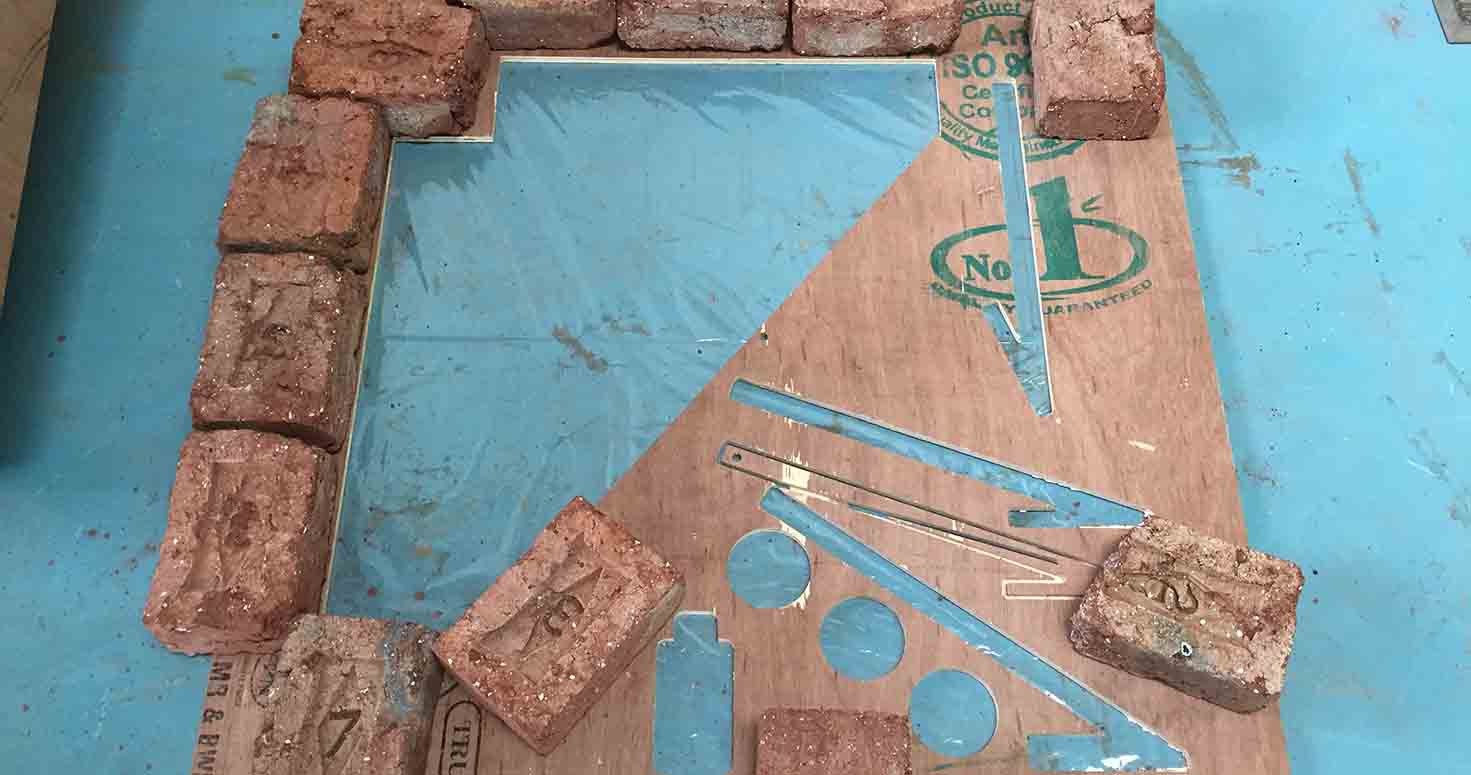
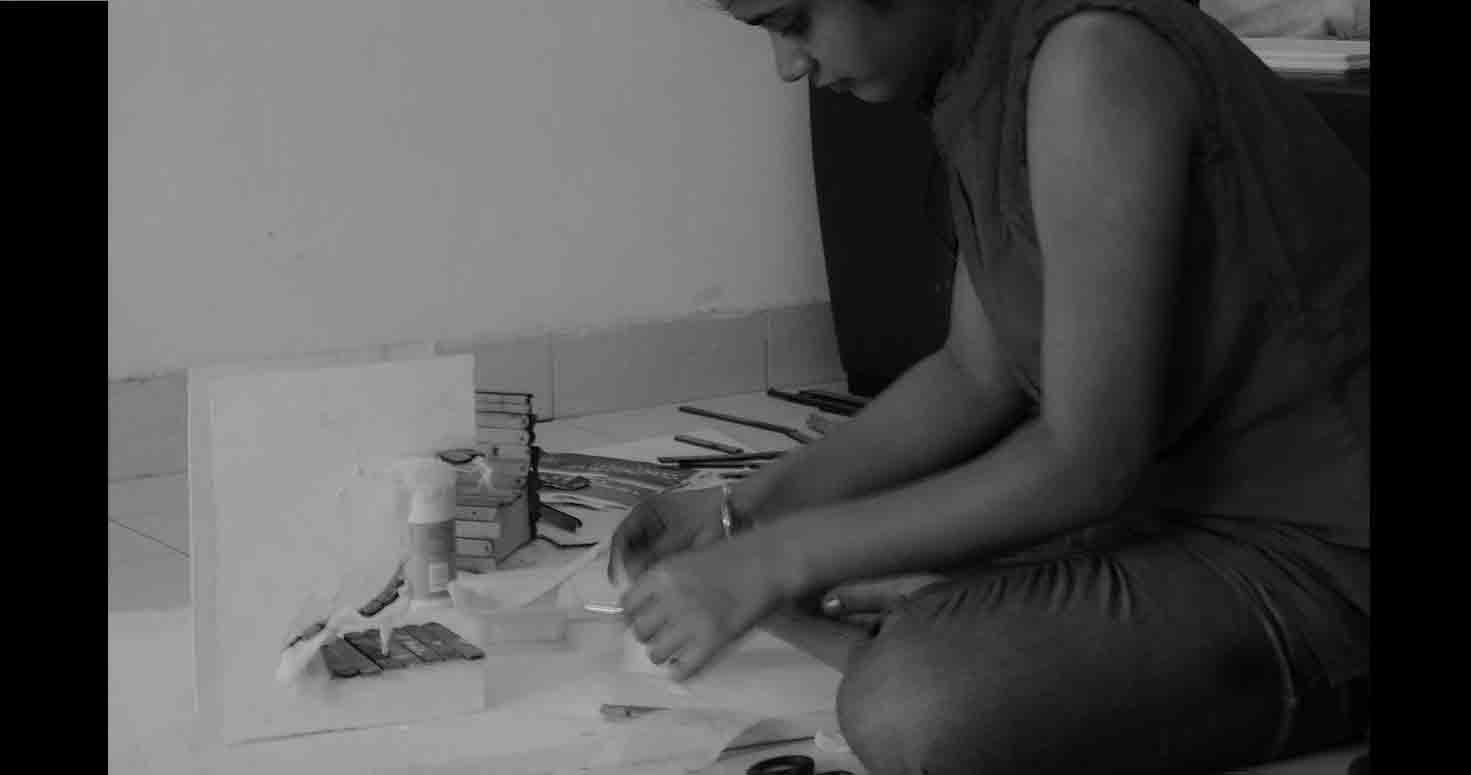
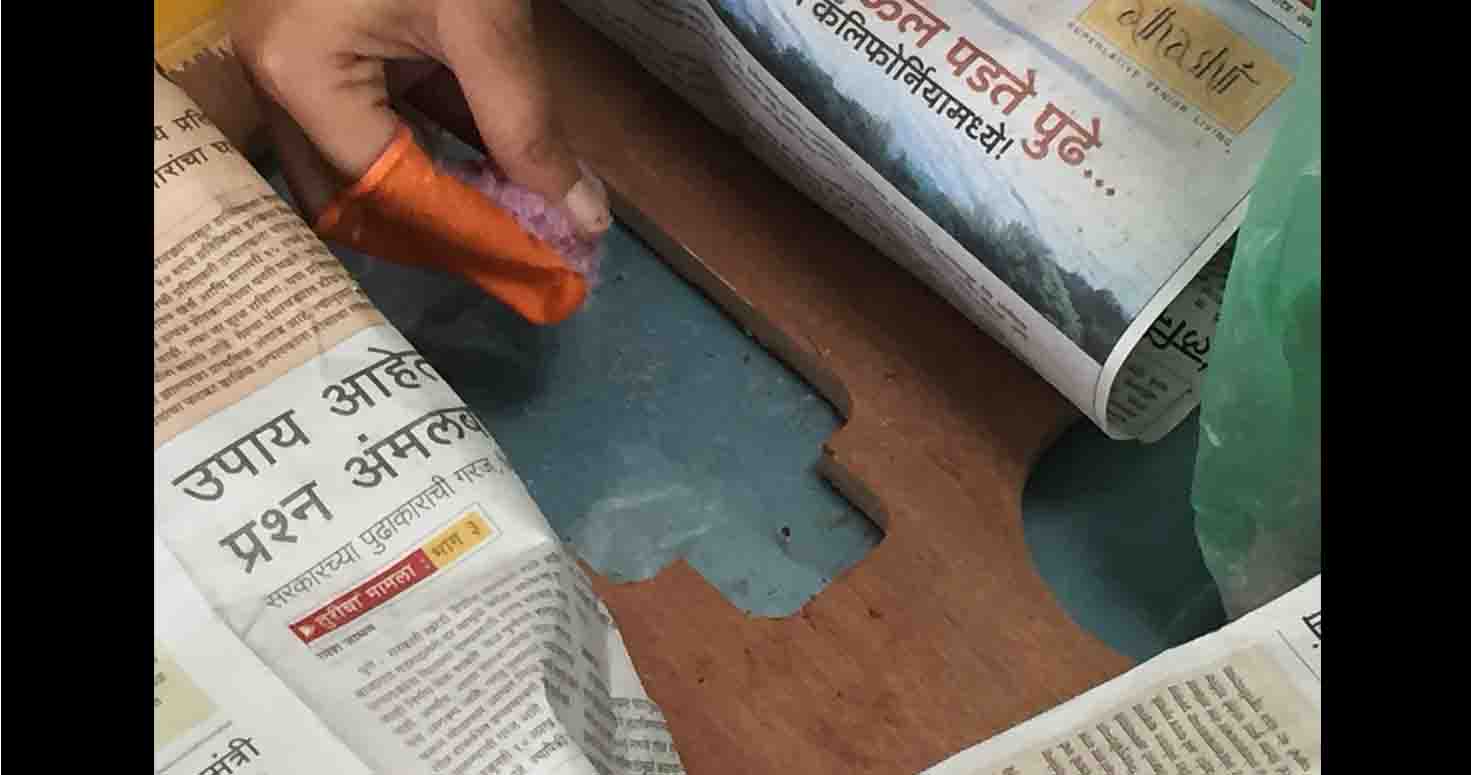
First I laid the Plastic sheet and my piece over it, also using heavy weighs to press it properly so that my composites doesnt flow around.
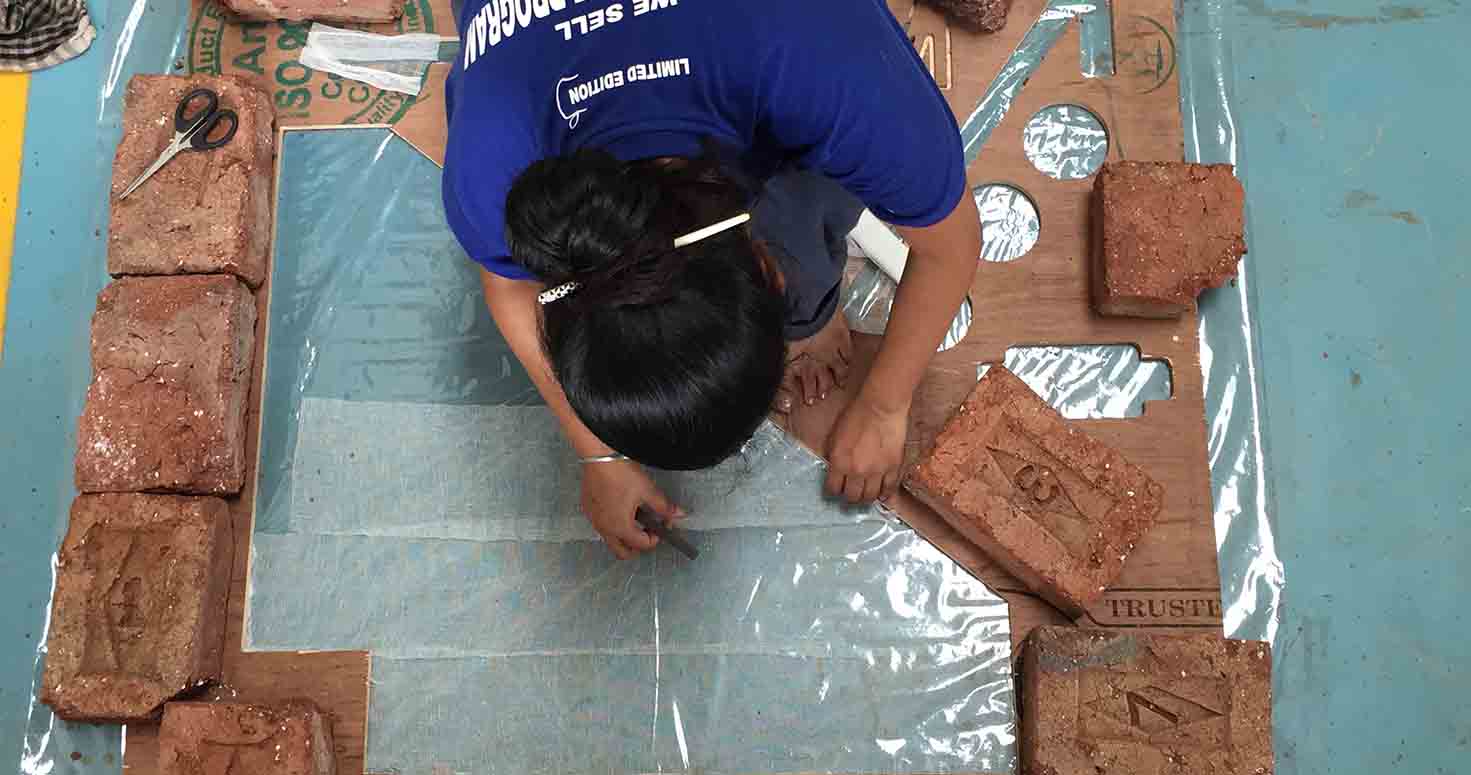
Started by laying gauze pieces, i was pressing it under the board piece.But then i realised as i put weighs so its difficult to get gauzess right so i removed everything and restarted by first laying the plastic sheet and spreading the adhesive to make sure gauzes stay there as strong base support
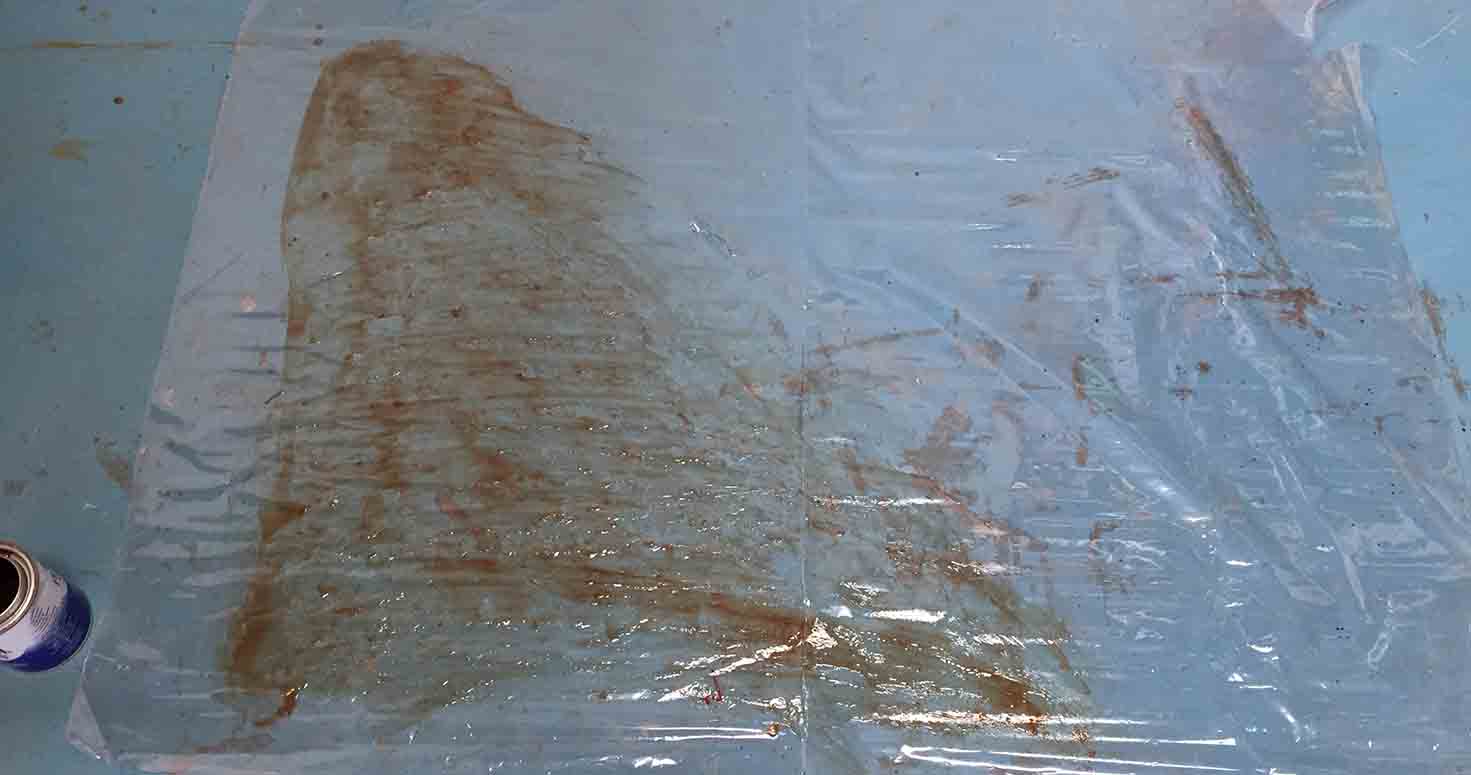
Spreded the mixture
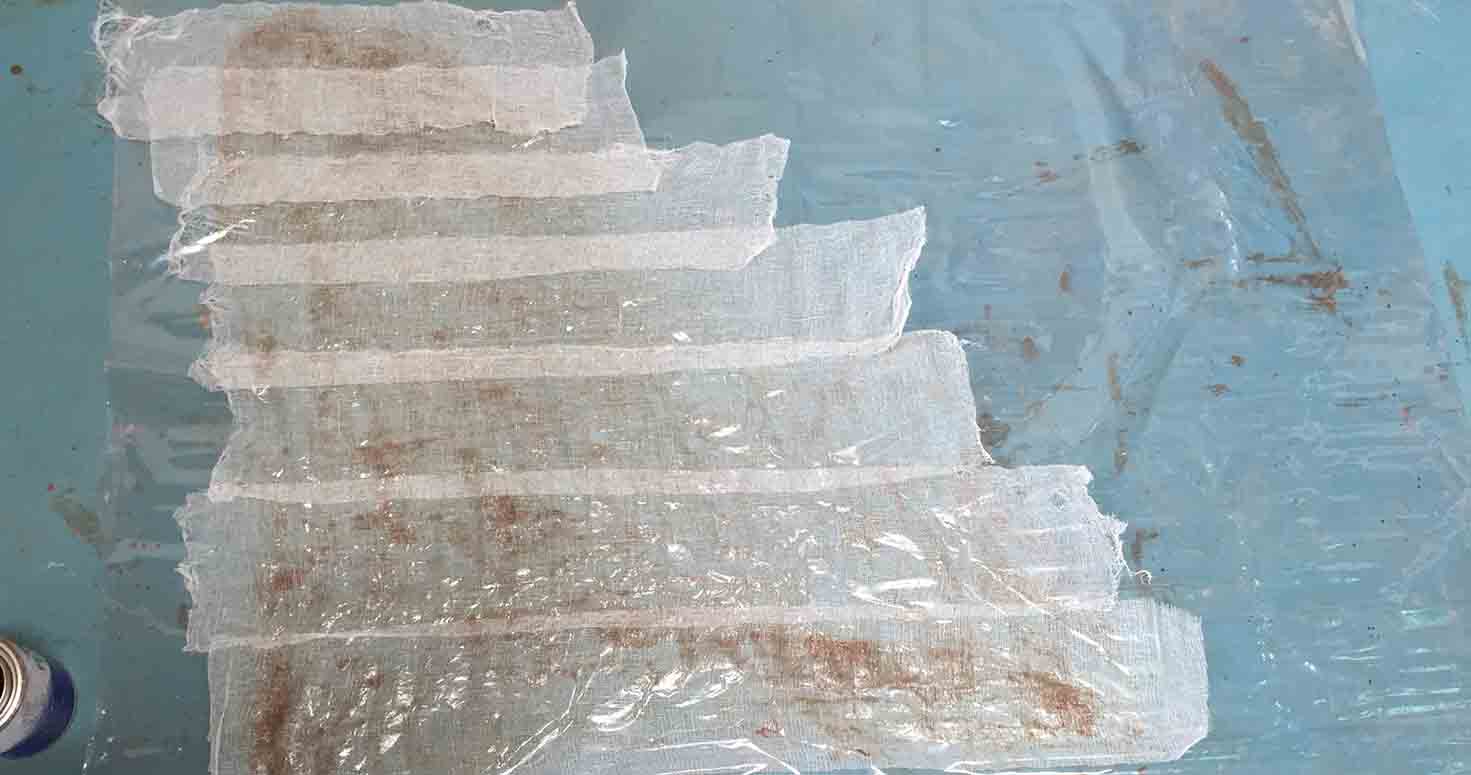
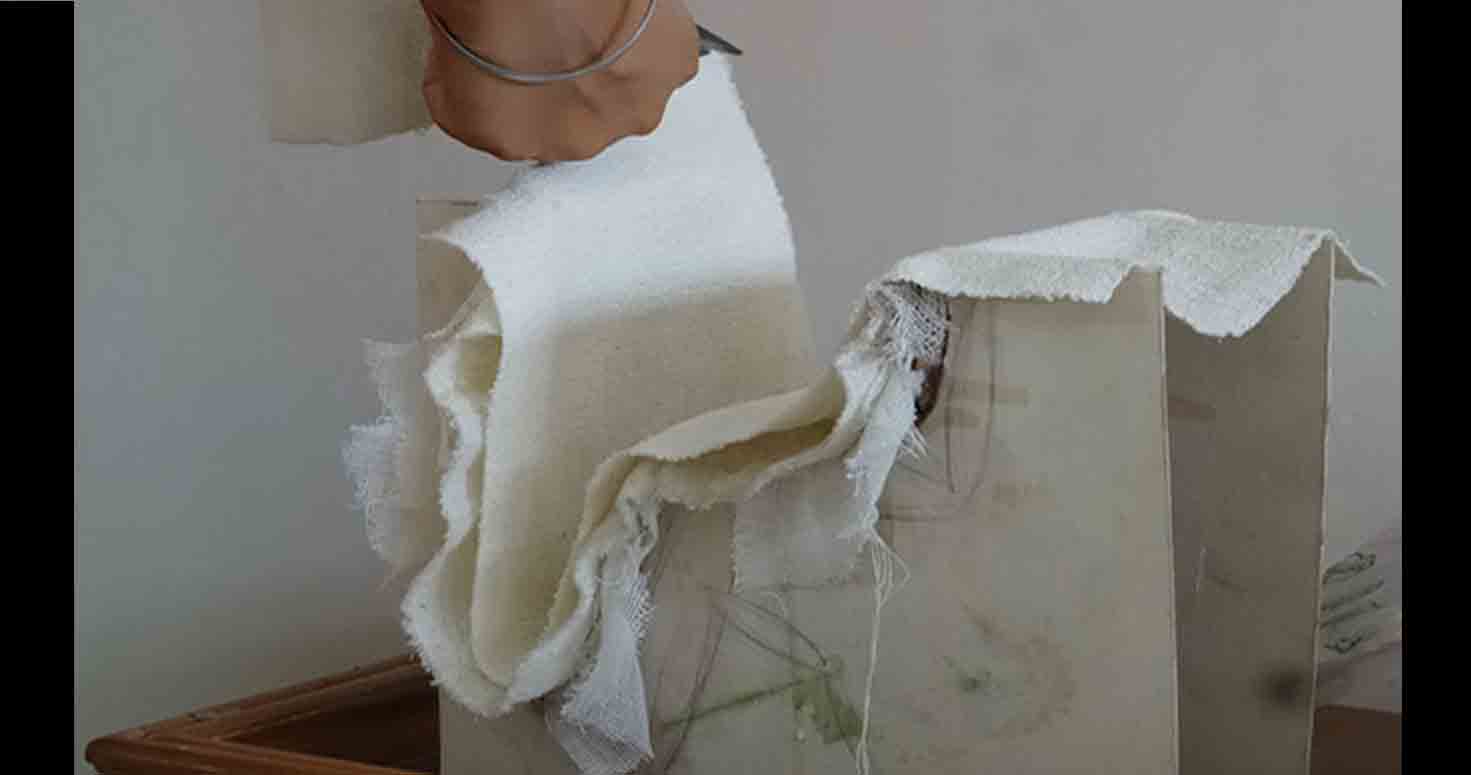
Again started putting gauzes
I did some overlapping of gauzes for design which i thought might come out really good. I kept increasing the overlap.
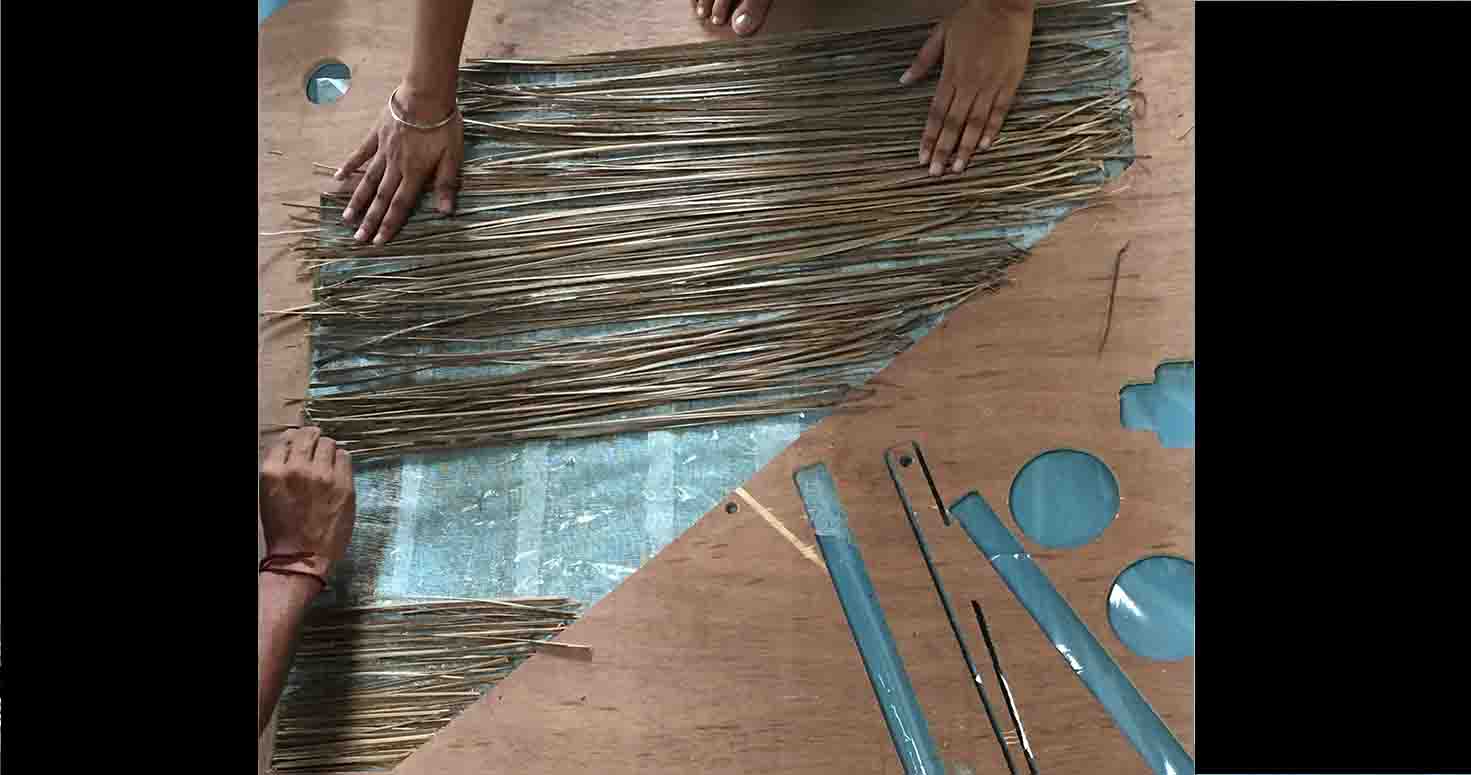
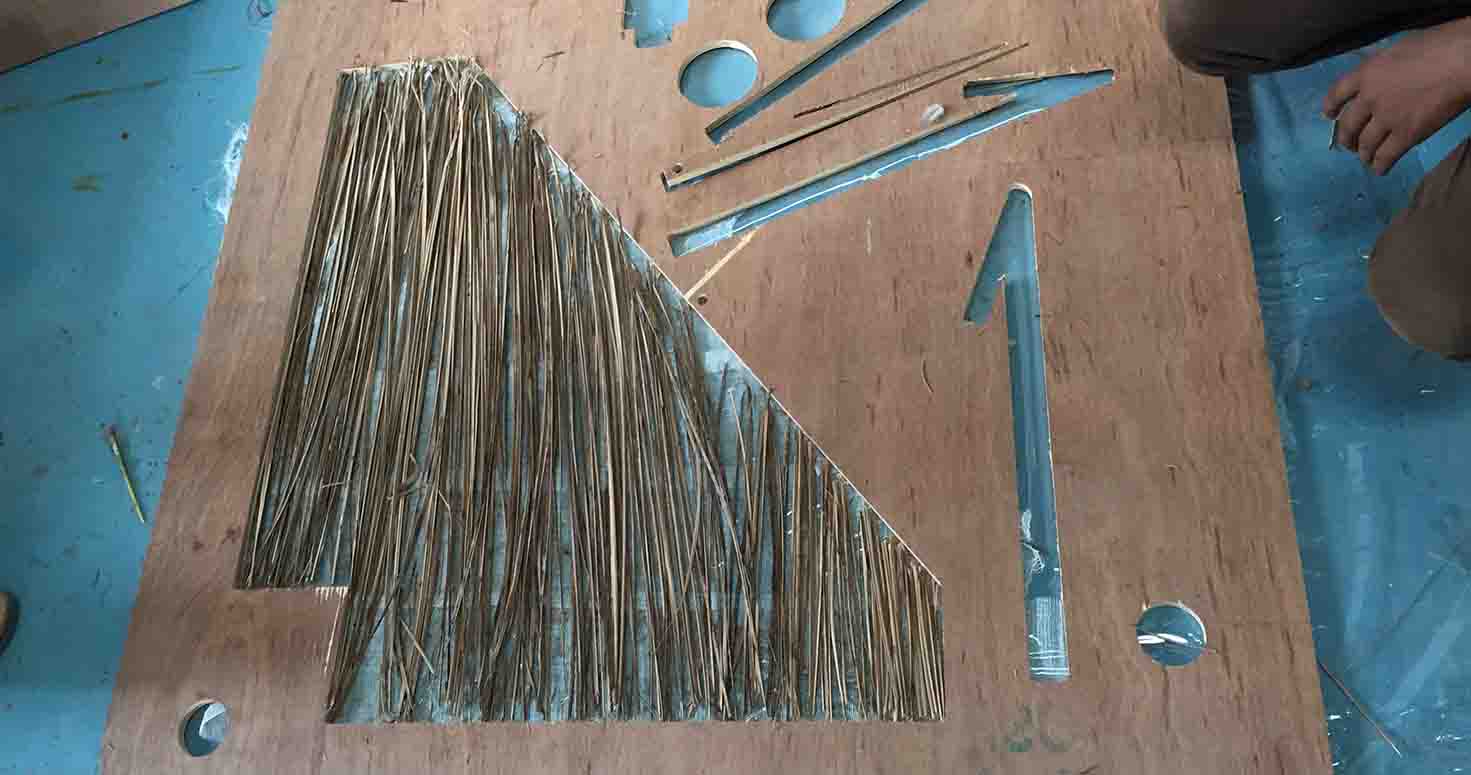
Then i started overlaying the broom sticks over the gauzes vertically first.
It looked natural and beautiful
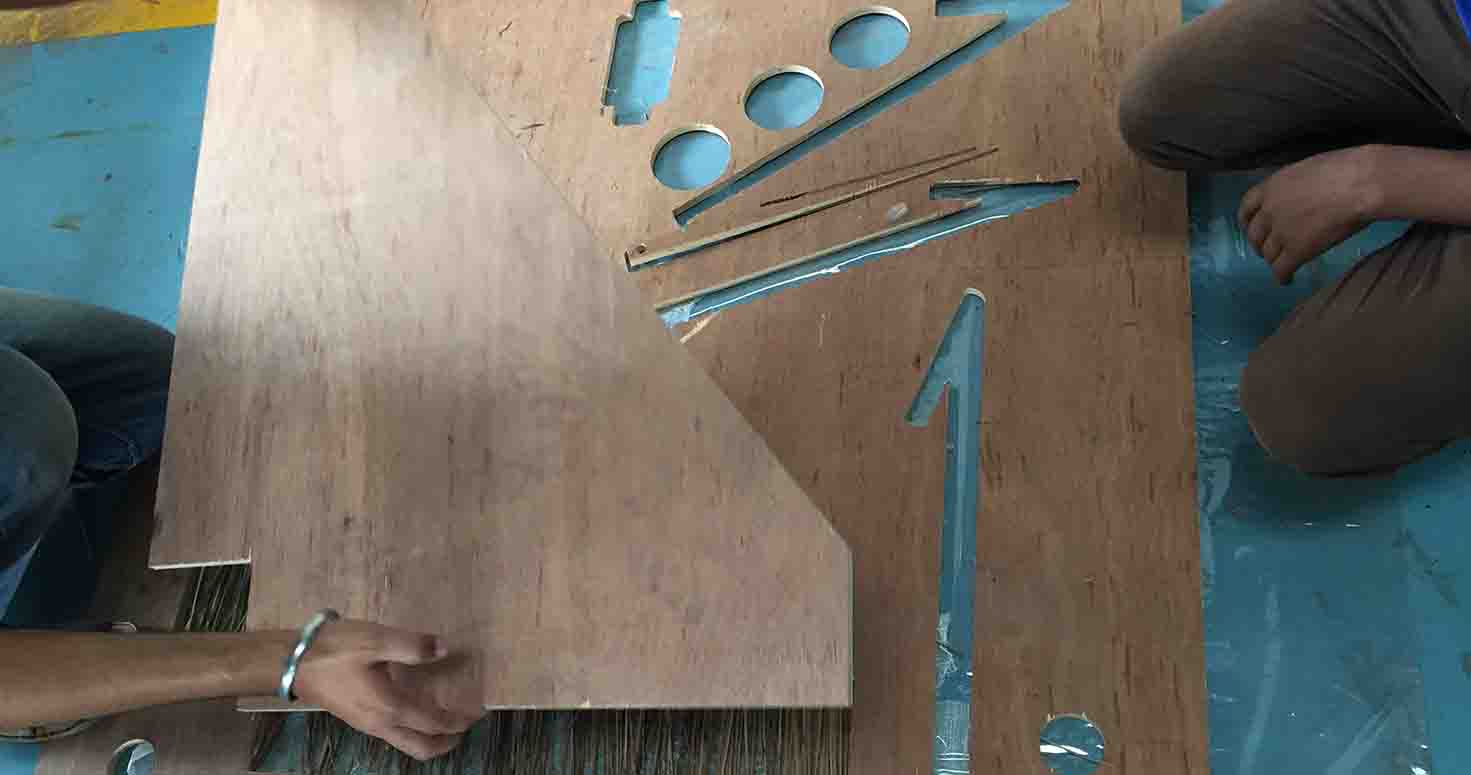
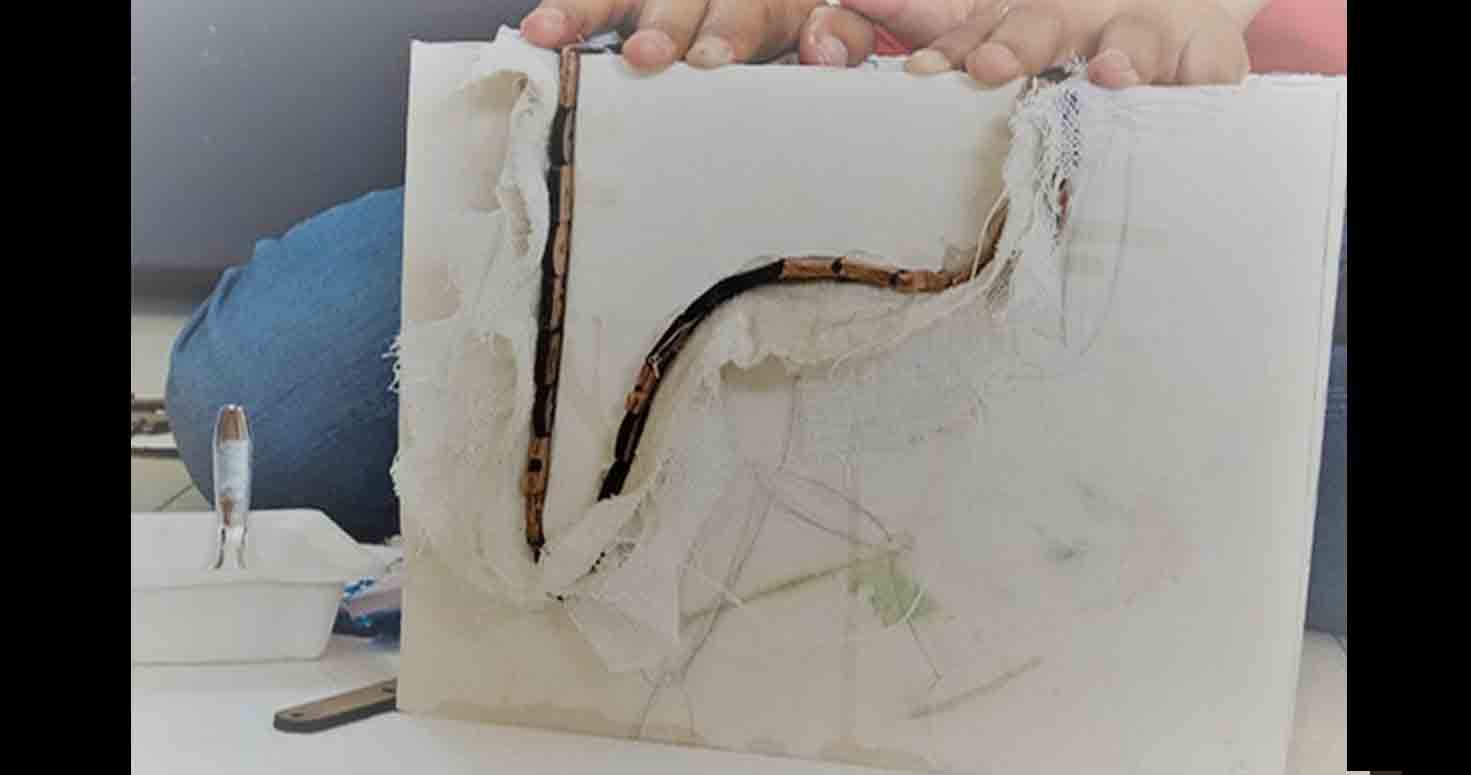
then i used the negative of my Piece and pressed it hard to make sure the broom sticks coming out are well cut and fit well.
Spreading Resin at the corners first.
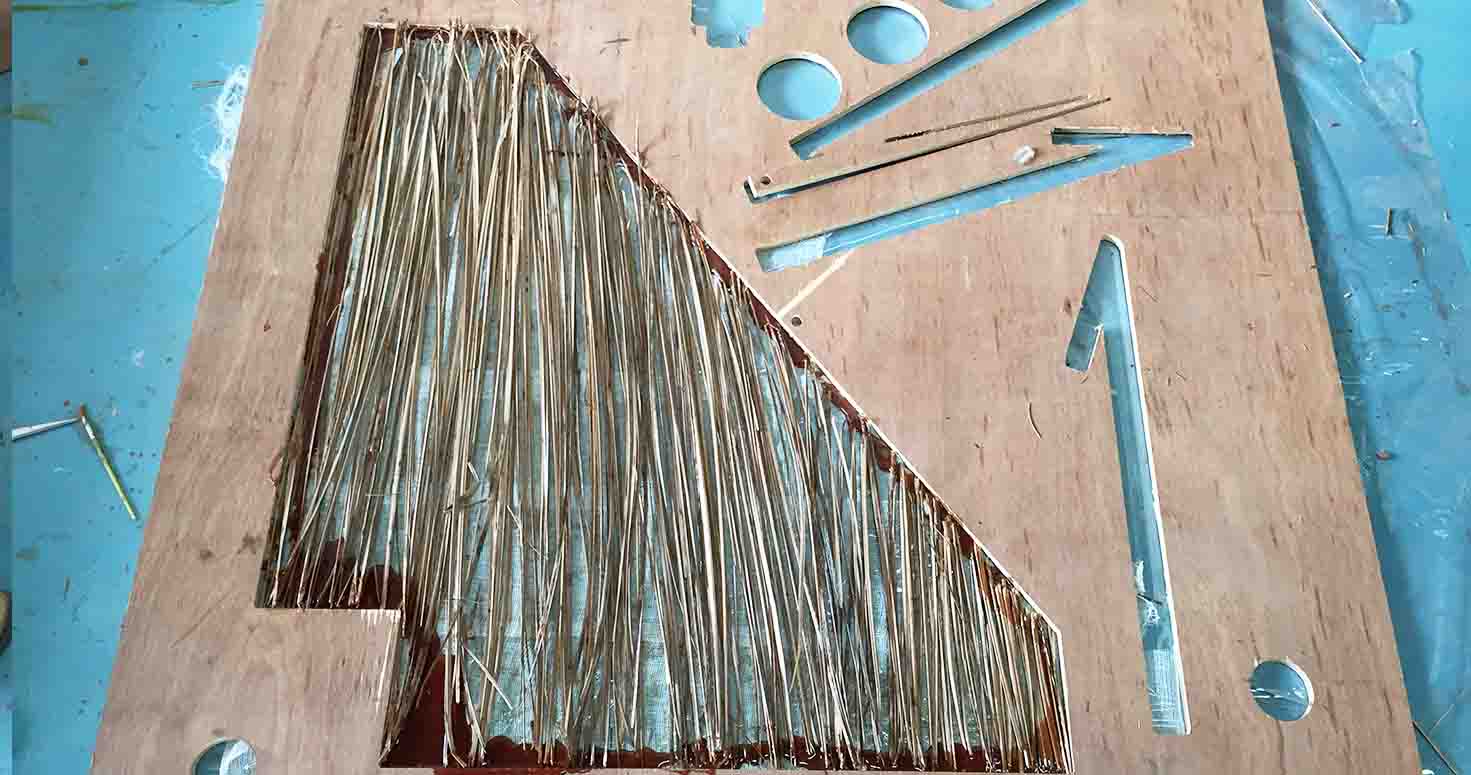
I poured Epoxy resin and hardner mixture on the corners and over the sticks and i forgot to document but i did another layer of sticks and again another layer of gauzes , using the same mixture in between.
Here im putting third layer of gauze.
It looked llike this
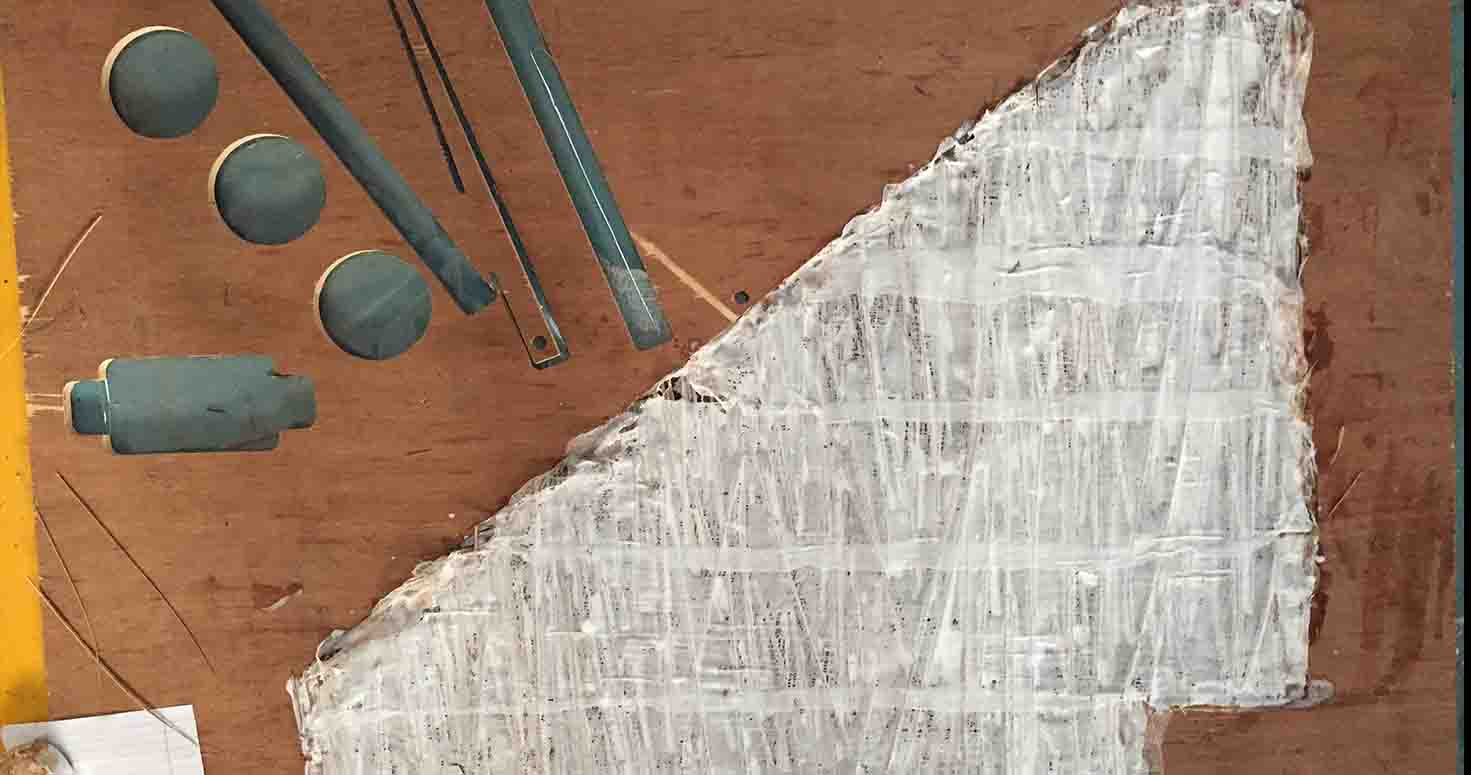
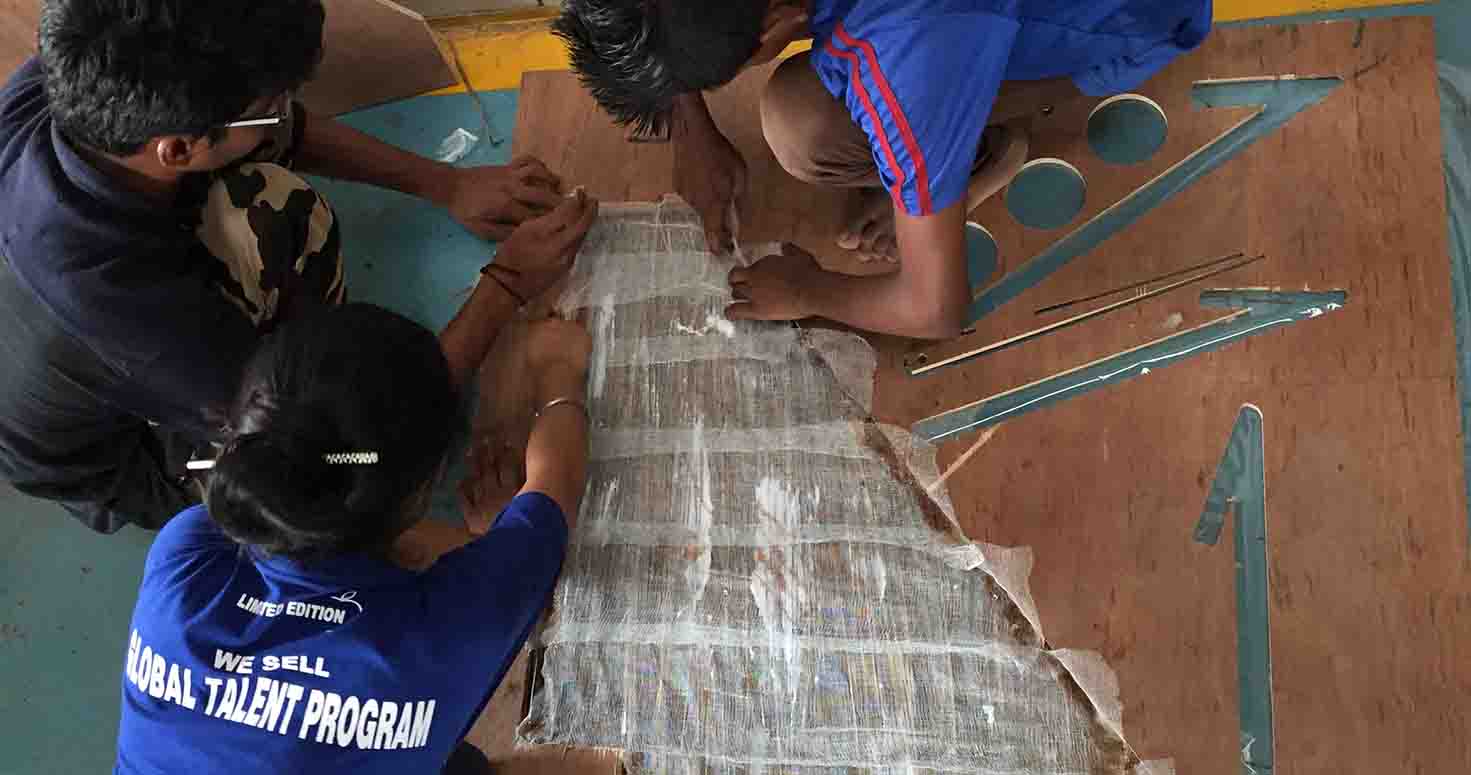
I brushed the thin layer of resin.

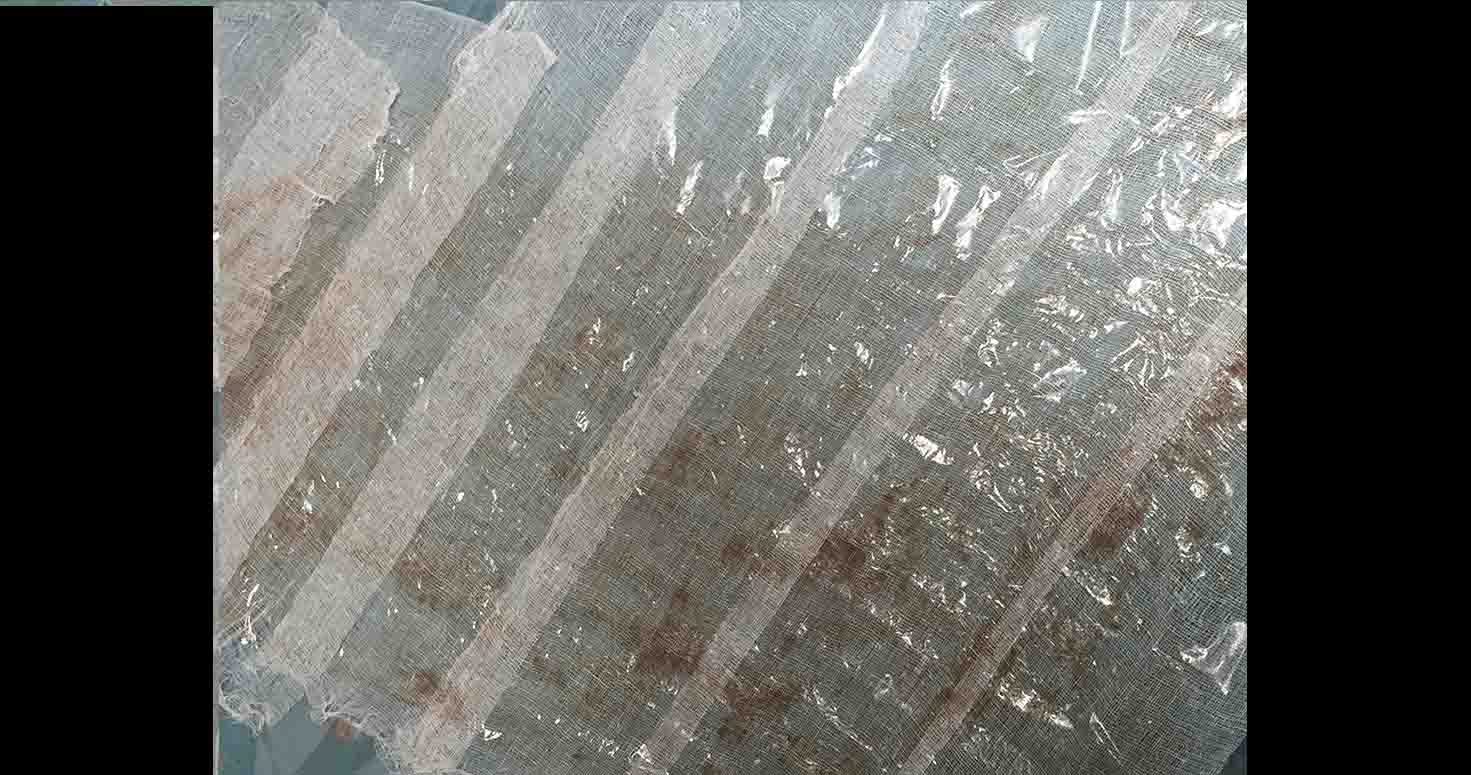
Covered it with plastic sheet
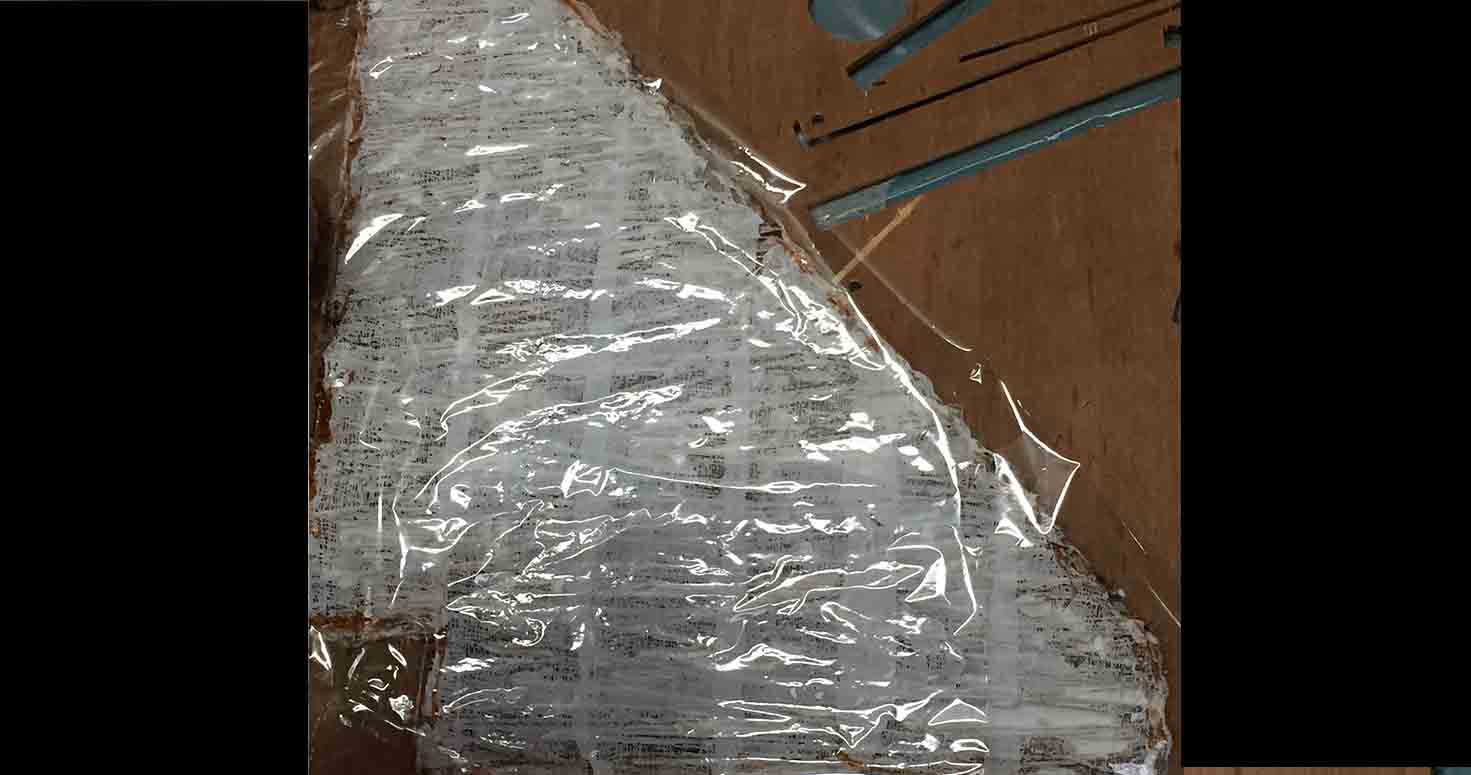
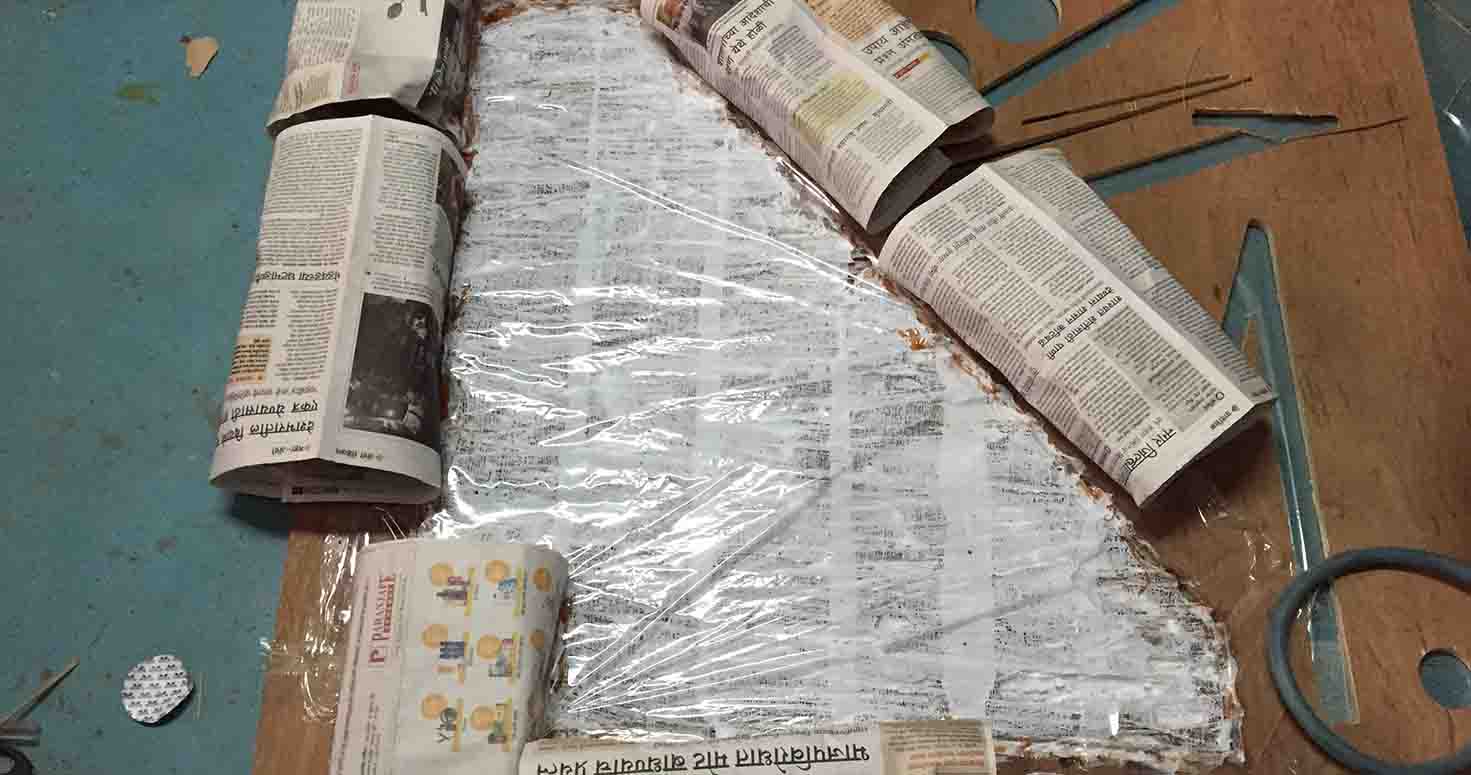
Tapped it around for vaccum bagging

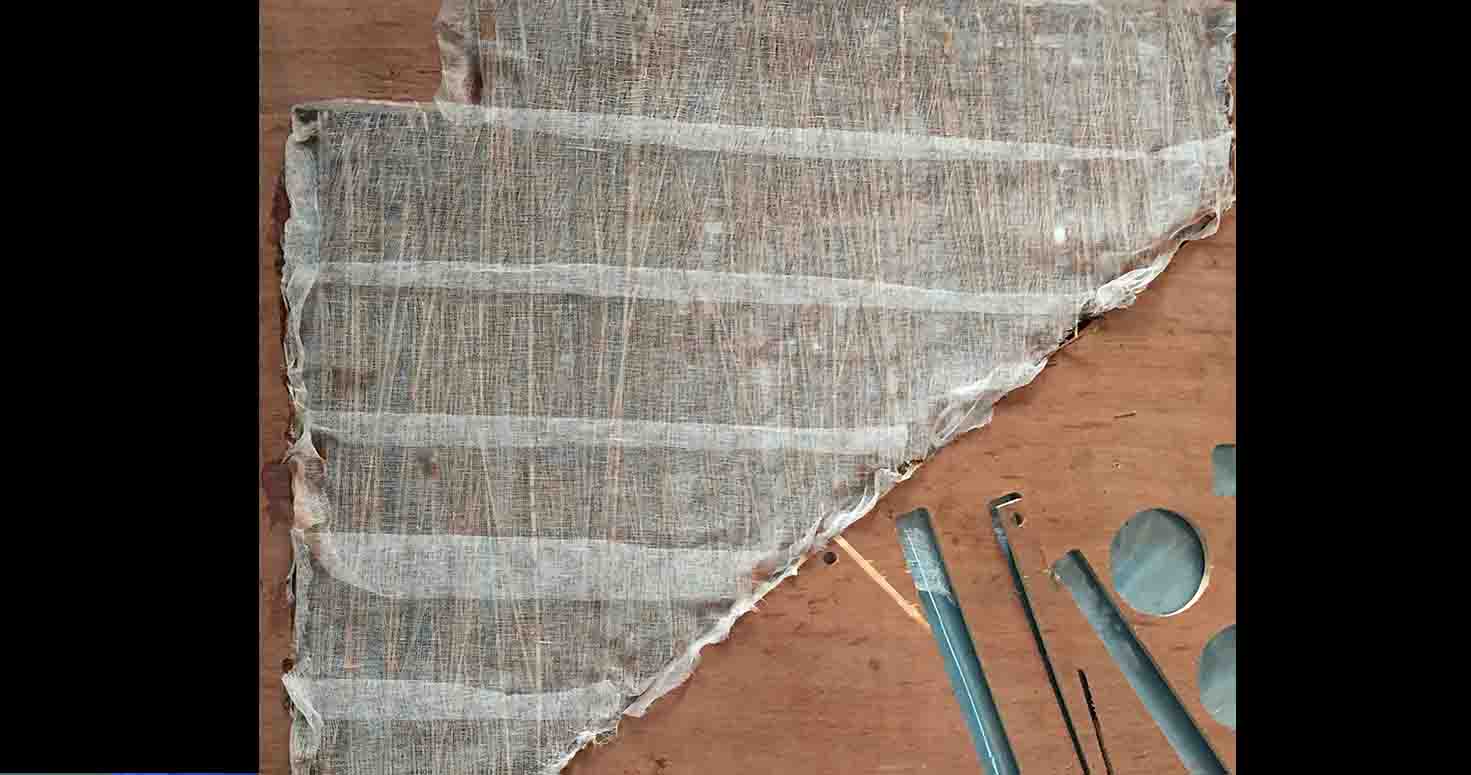
It looked like this after a day, i removed the platic sheet after a day so that it could dry.

Final one till now but i will update after its completely dried.
Composite 2
USING: Rubber AdhesiveRubber Adhesive is not a resin or a hardener, it wont be considered as composites. I had made it before i enquired about it from Dr.Neil, it came out good and strong so just wanted to document it,
Subabul, Jute from Sack
This is my second Composite on my door(TRYING)
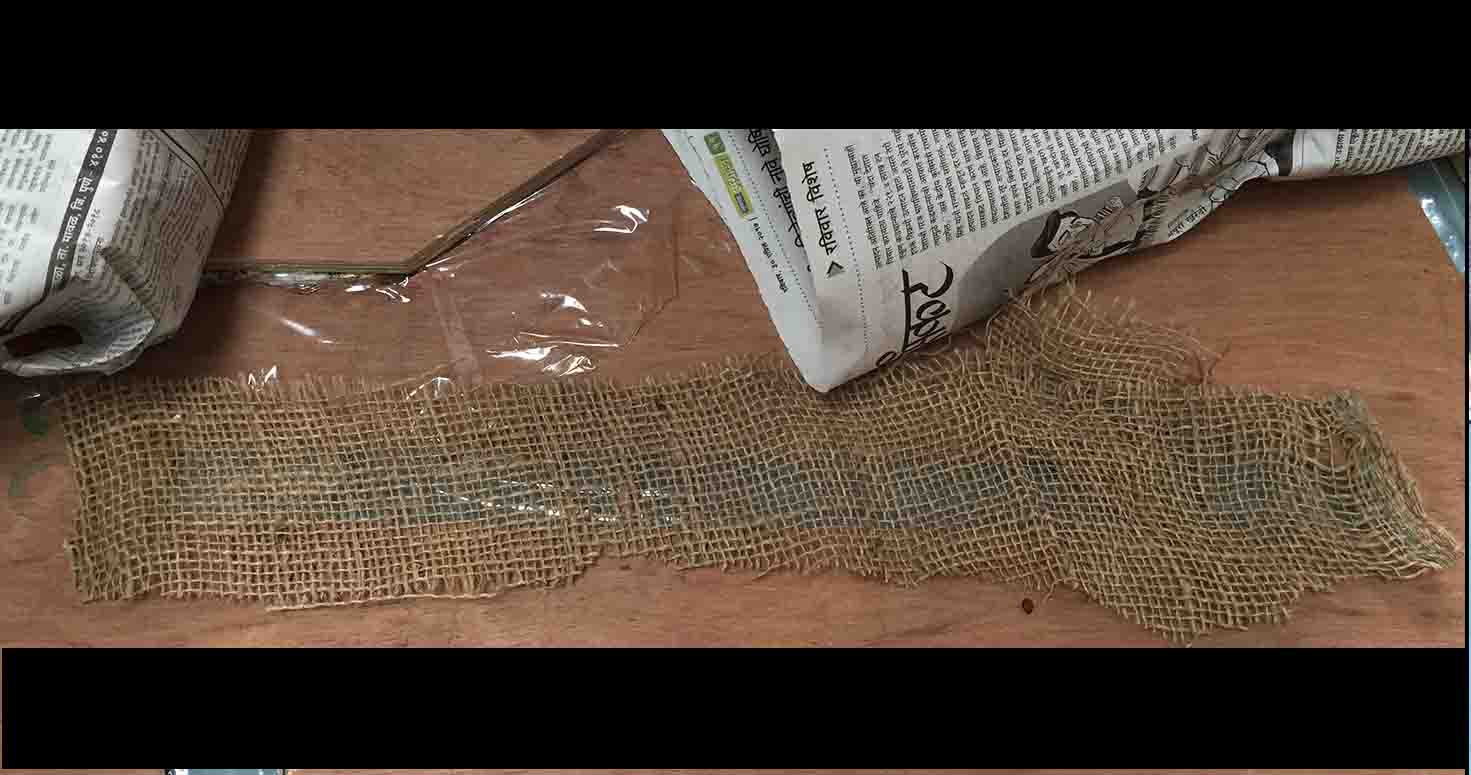
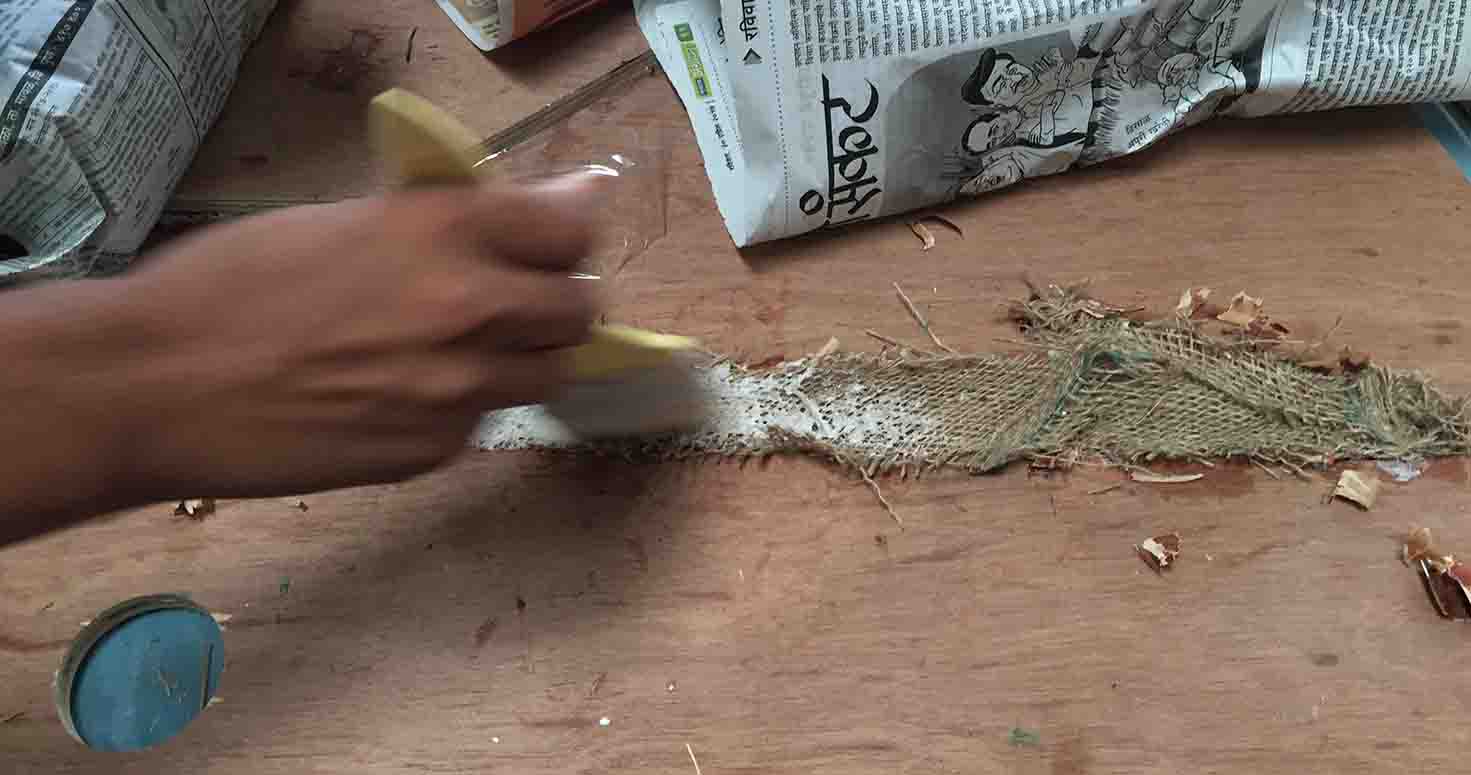
SPreading jute on the base
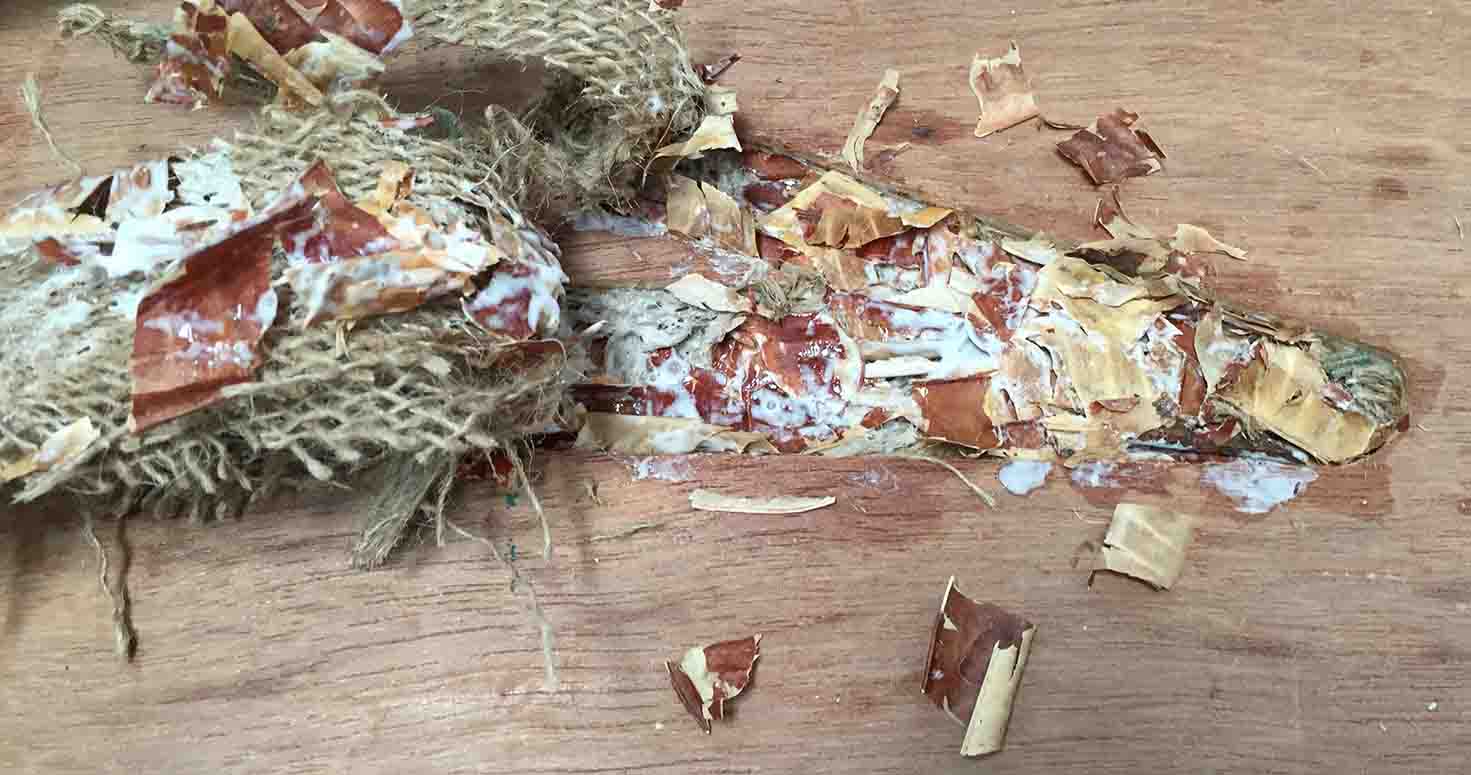
Used general use Adhesive and Crushed leaves of subabul tree.

Another Layer of Jute.
Another layer of resin, then laid plastic sheet over and put weights over them. Removed Plastic sheet after a day to let it dry
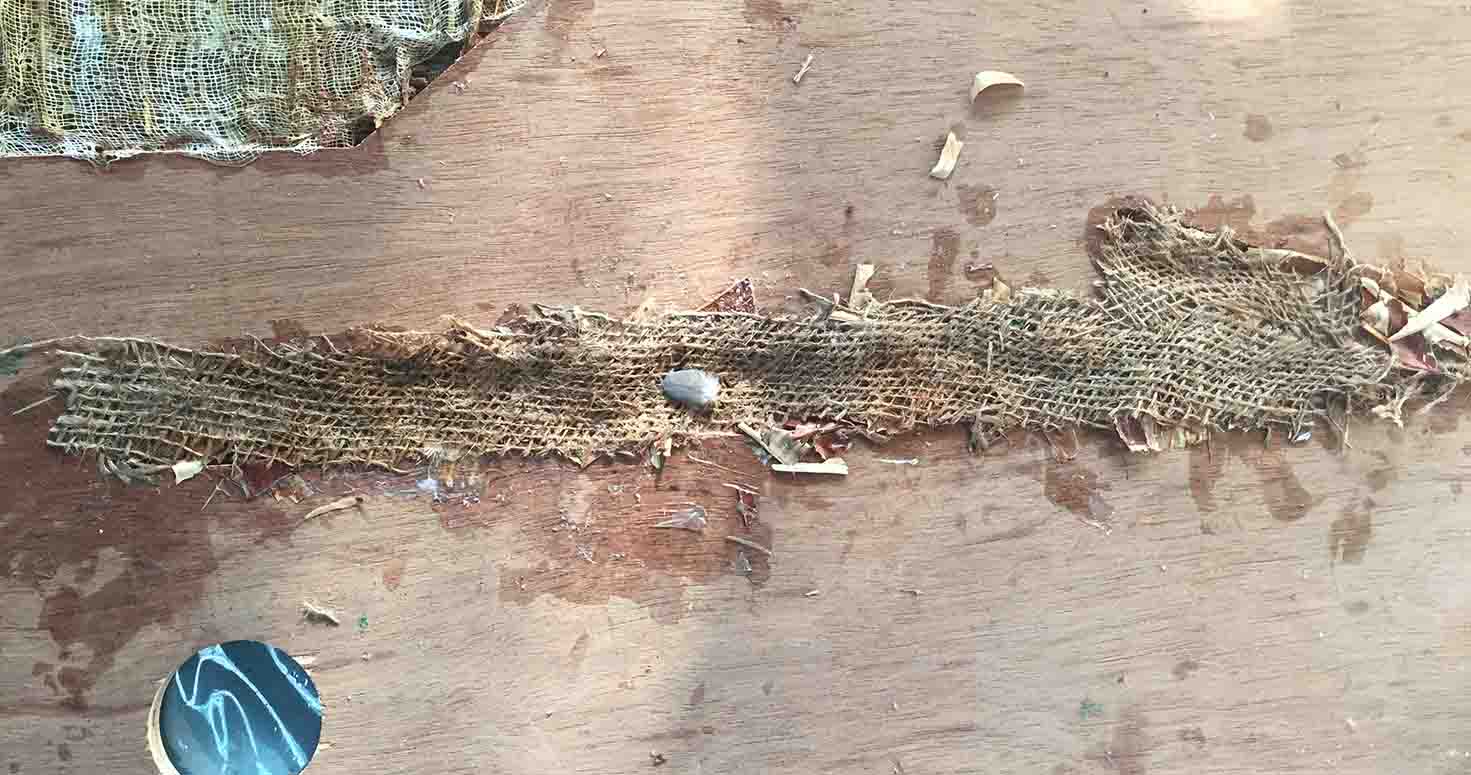
Its still drying ...
Composite 3
USING: Rubber Solution, Hydrostone, Wax Shavings, Mirror pieces, Plastic sheetAnother Composite hands on..
Using Milled wax shavings
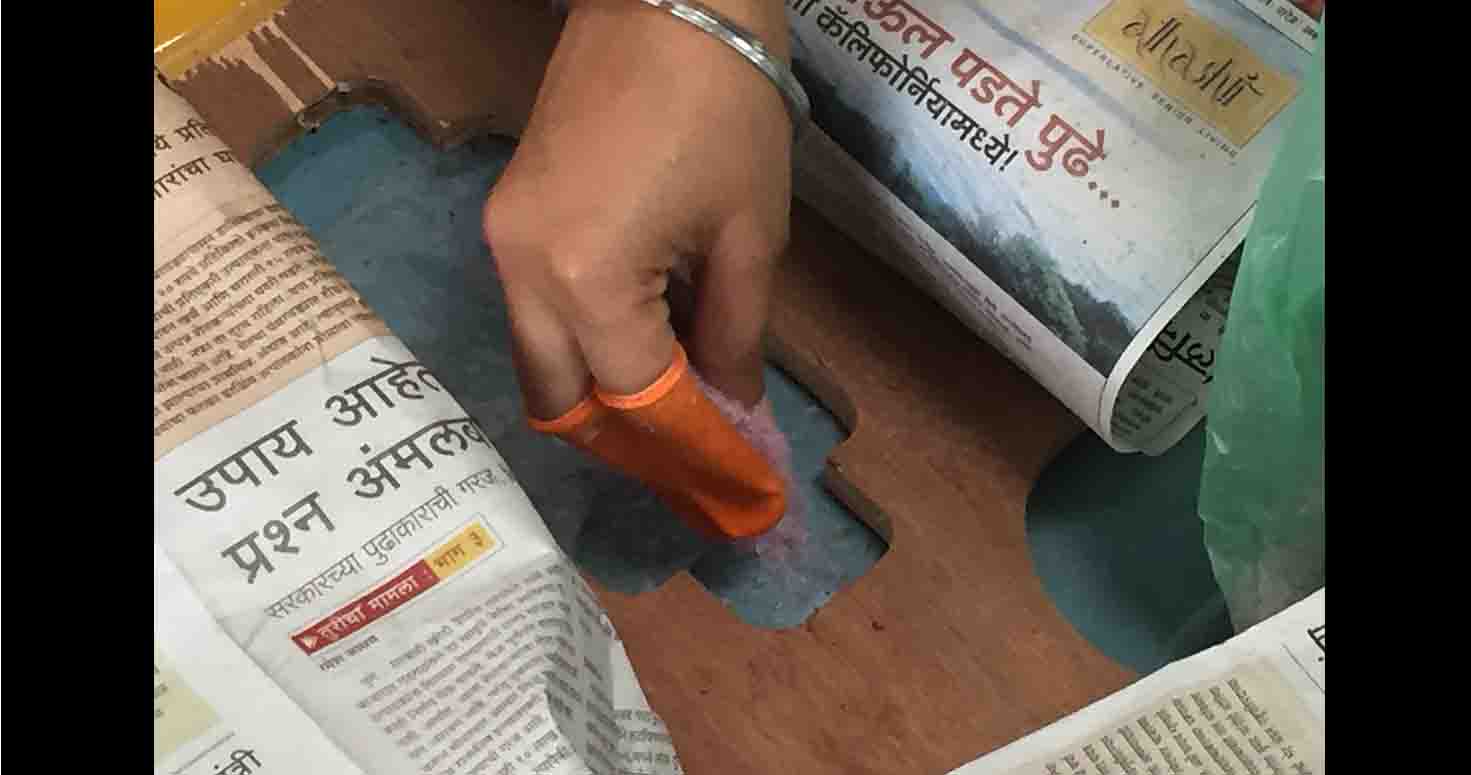
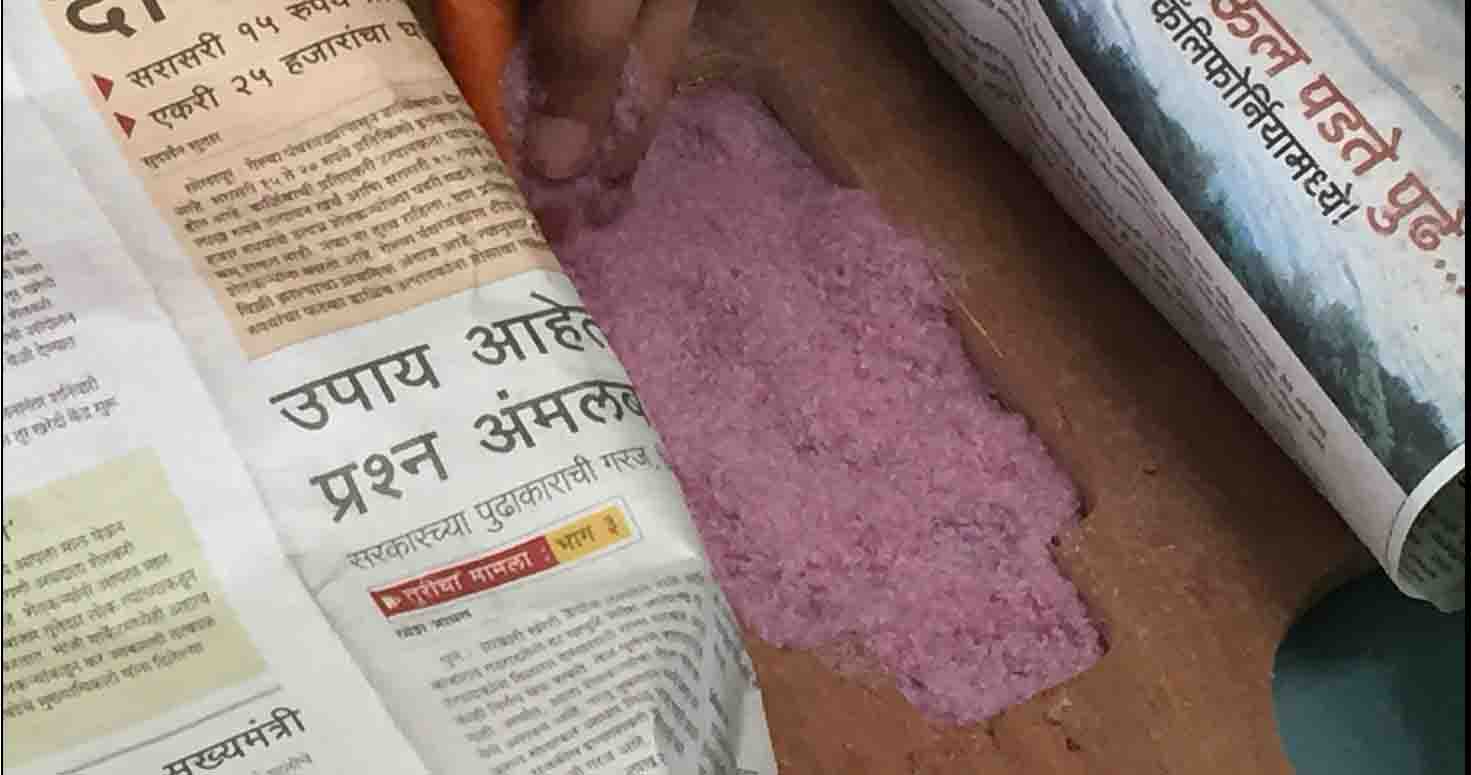
Making a thin layer of it
here im making small holes to put my mirrors over the wax
Dropped mirror pieces facing the opposite side so that they are visible from the other side too.
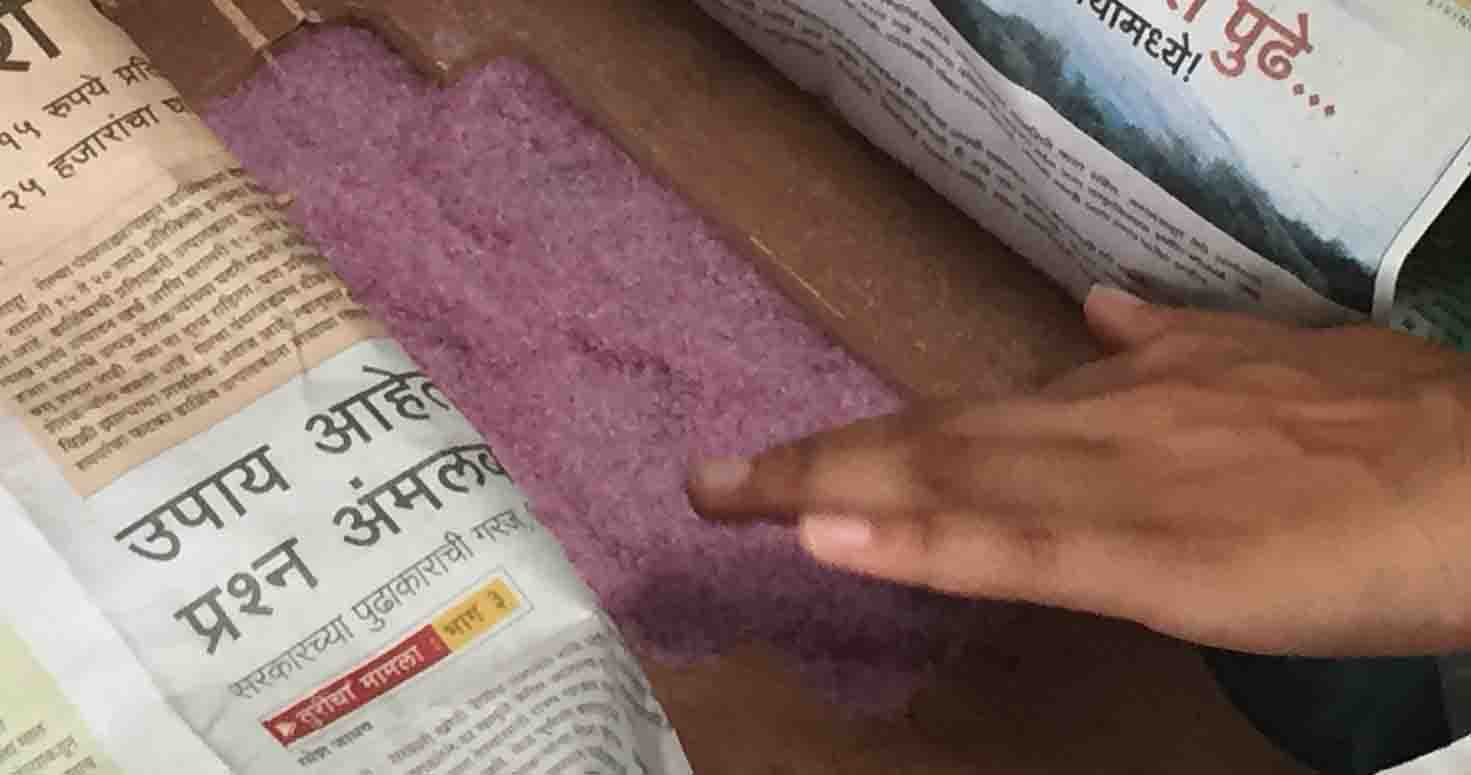
Using mixture again over the wax too make base fr another layer
Again wax
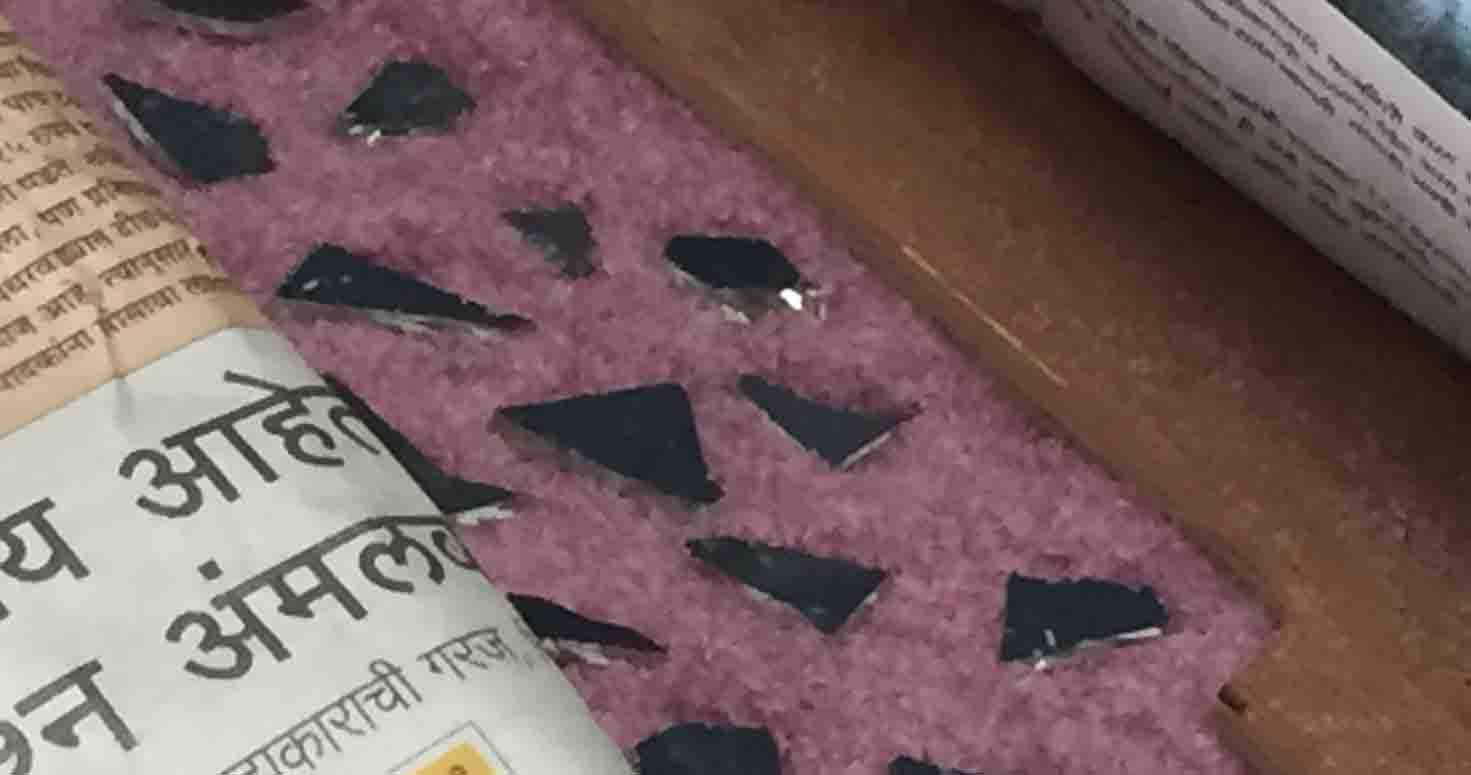
Now laying down mirror pieces facing upwards
Used a layer of hydrostone to hold the material and a rubber solution in the end
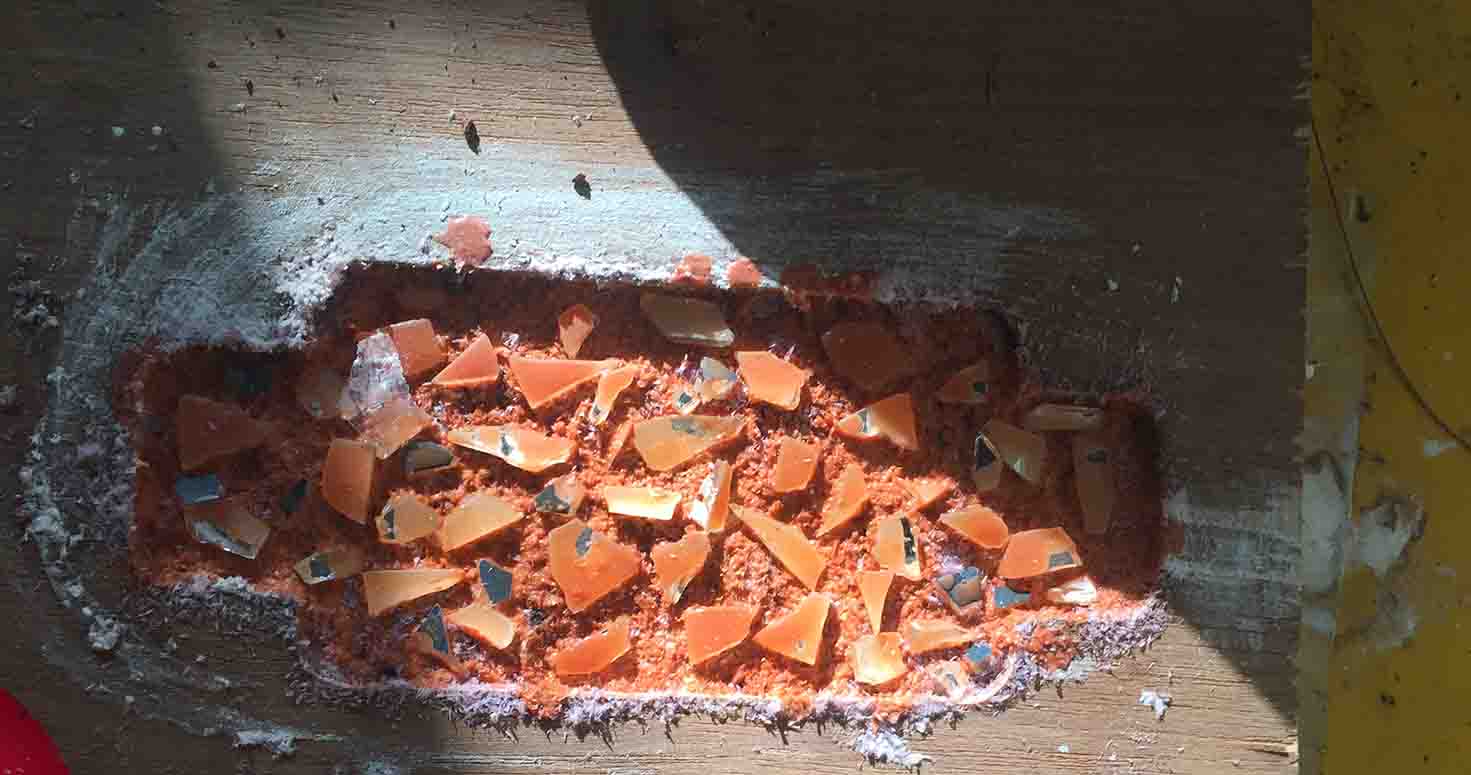
It loooks like this after 24 hours
I also read TDS and MSDS for epoxy resins. I could'nt find the MSDS for the Epoxy resin we used. but did read about it in general before using.
You can also read about Hydrostone
Download Sketchup File
