NOTE: Vigyan Ashram is known as "Fablab 0" , it is one of the remotest labs with very minimal internet access , therefore, we have been using old version of Fab module which is an offline version.
WEEK 16
Interface and Application Programming
Learning Outcomes:
1. Exploring:
This week I started by going through these resources and installing the following:
1. Processing: This has been adviced as simplest form of programming language , also it is somewhat like Arduino IDE, so its good to start with Processing, you can download it from there official website , its free of cost. You would need Java Development tool
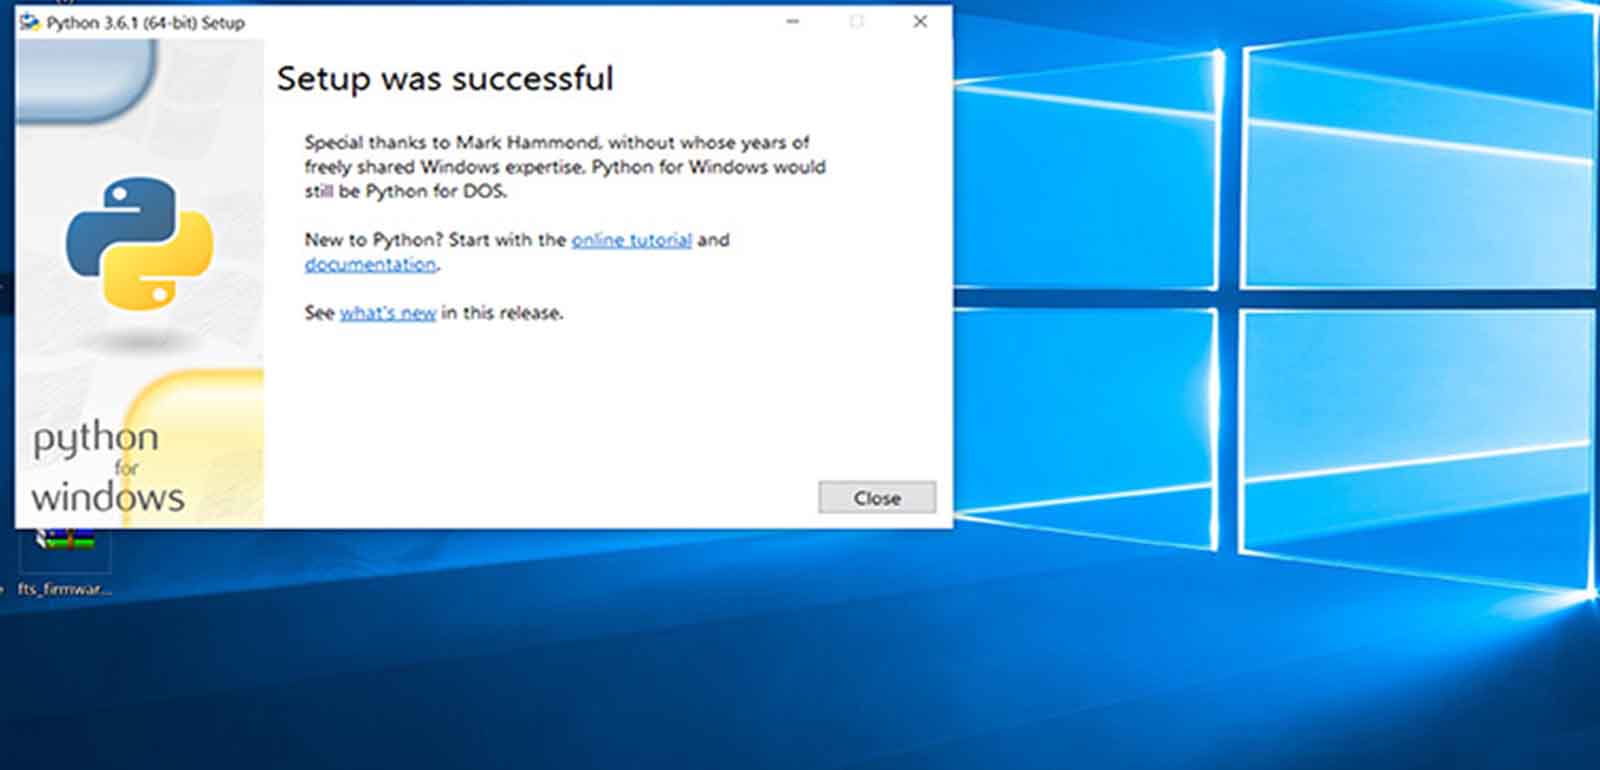
2. Python: This is one appreciated by Neil and i would really like to learn this and they have official tutorials for it , you can even find tutorial for the same Here
3. Node.js: This is other i am learning and would like to advance in it with time. NODE
4.Eclipse I did install it , but it did get time to explore it.
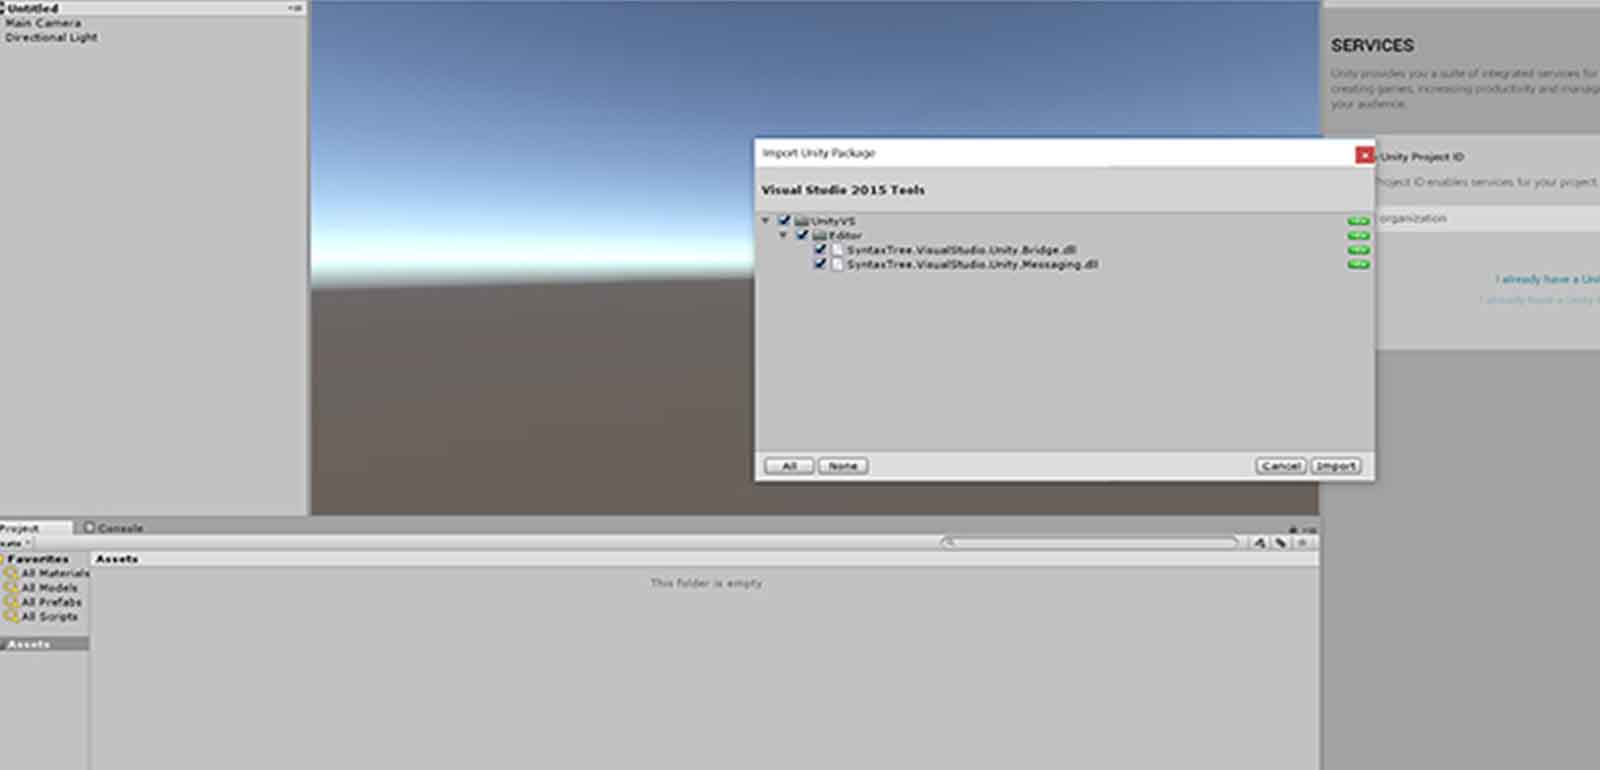
5. UNITY- Yet to explore but seems amazing to use in terms of graphics.
2. How to setup Grasshopper (using Arduino)
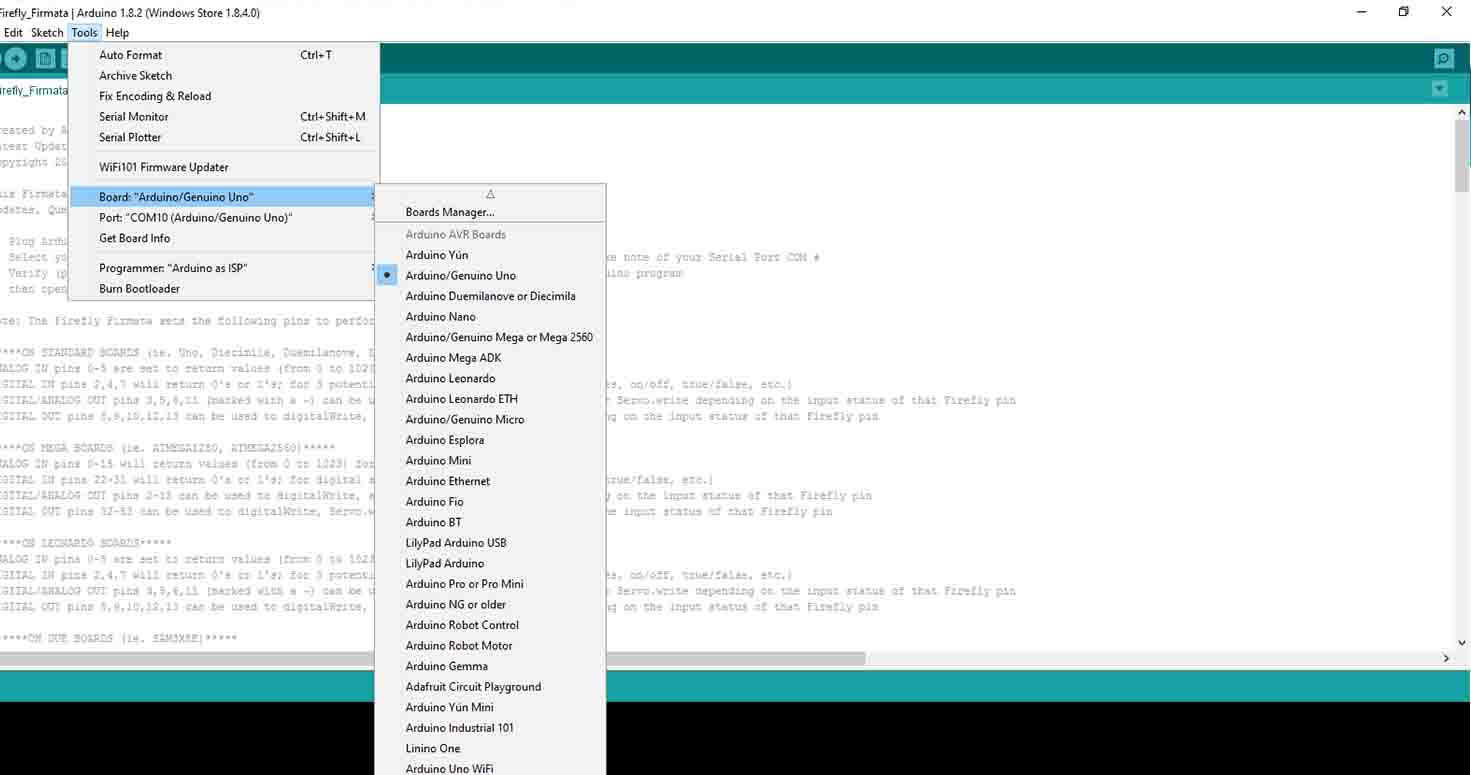
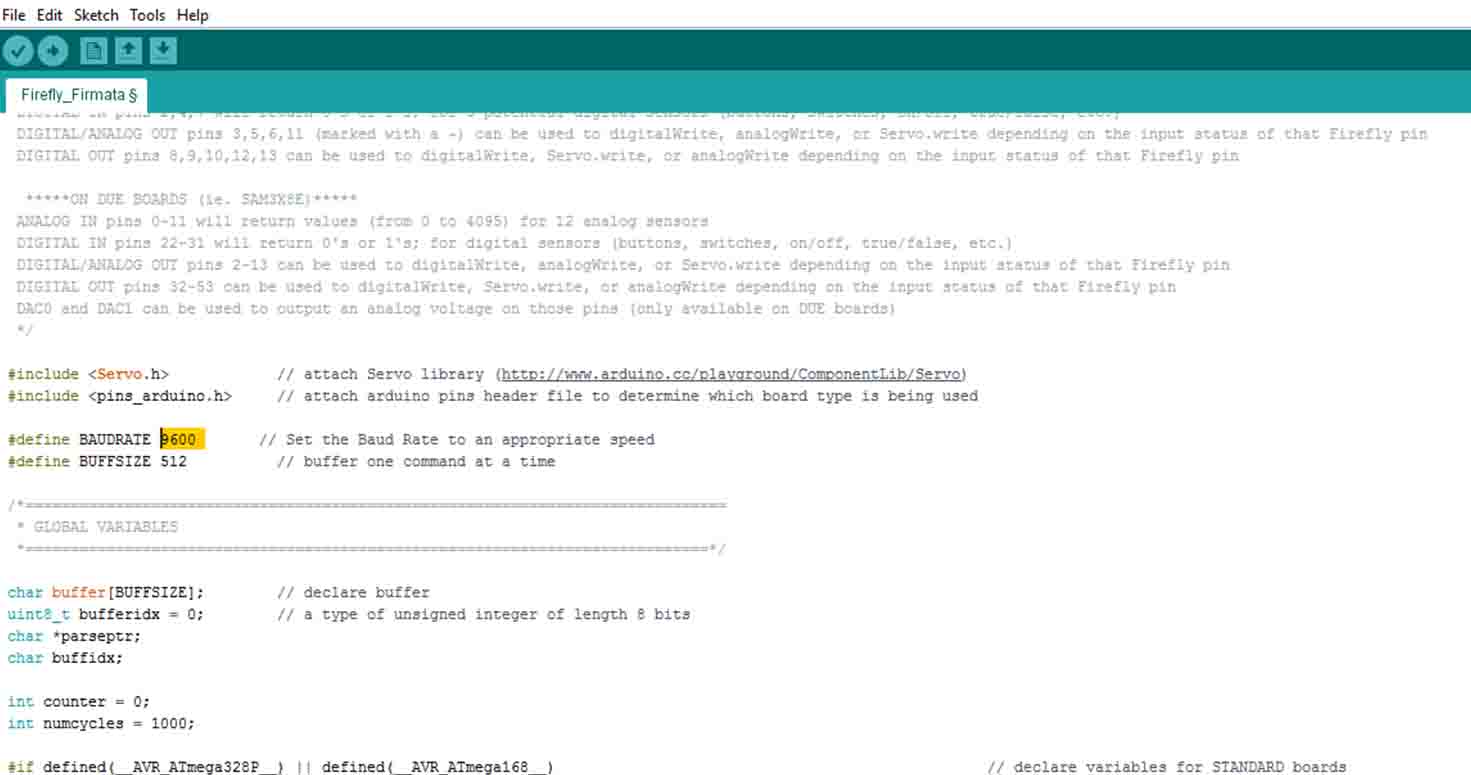
For Grasshopper, I first installed Firmata in Arduino because that will help Grasshopper communicate with Arduino.
Steps to installing firmata:

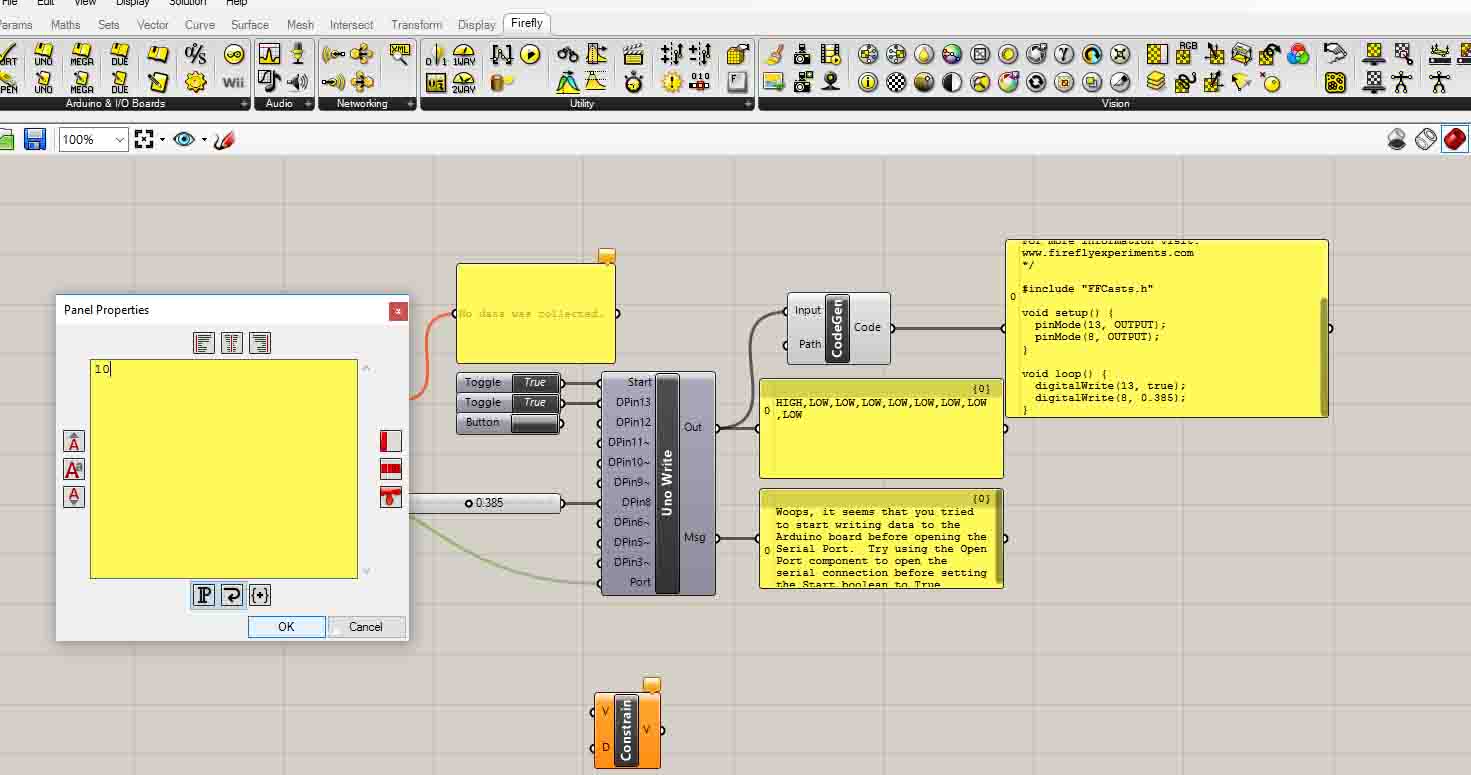
We can also add graphs and Pie and show our values.
Grasshopper controlling IR
This is a very interesting thing which i tried and i was amazed, felt like hacking ... but its ore like going live..
SMALL VIDEO GUIDE TO USE GRASSHOPER:
You can refer this link for more information on Firefly Guide
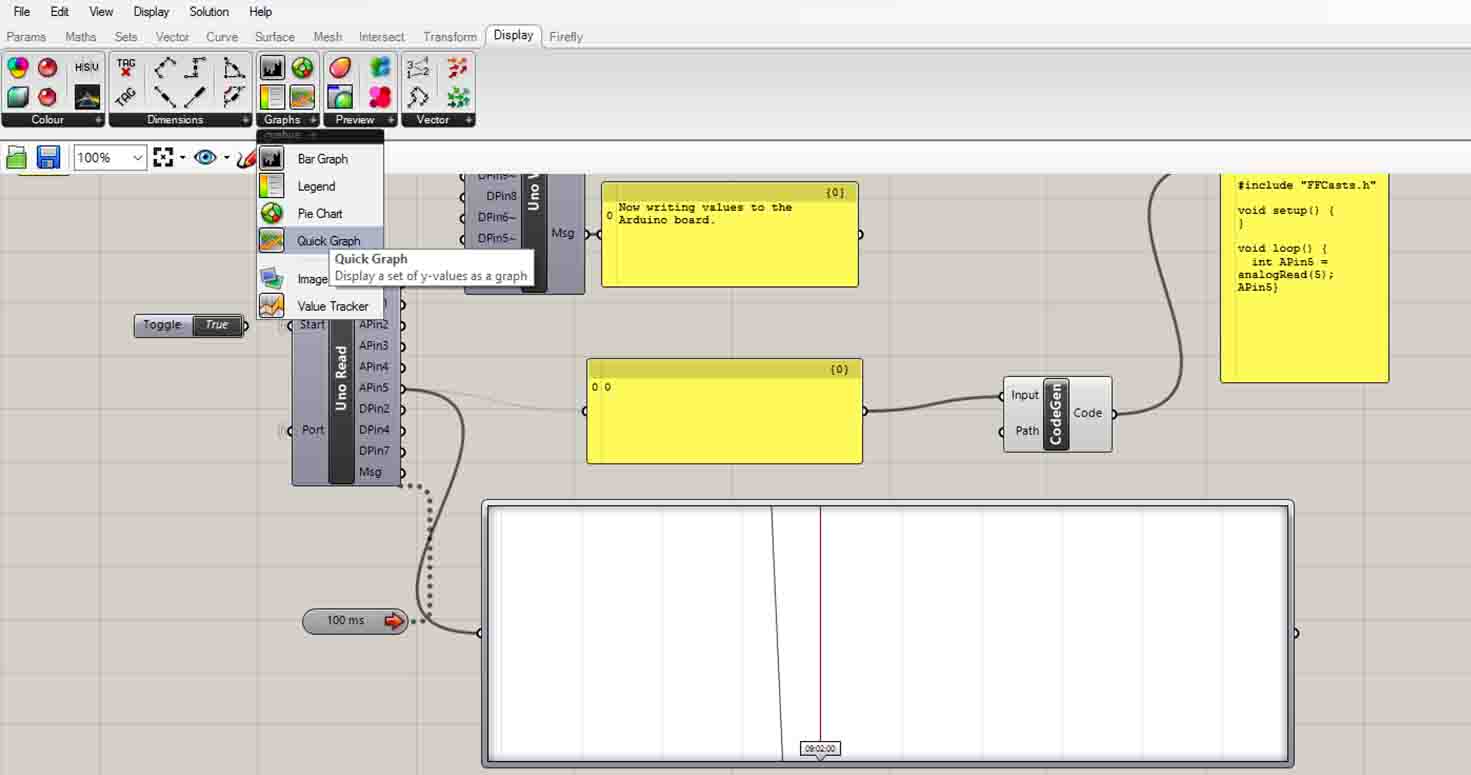
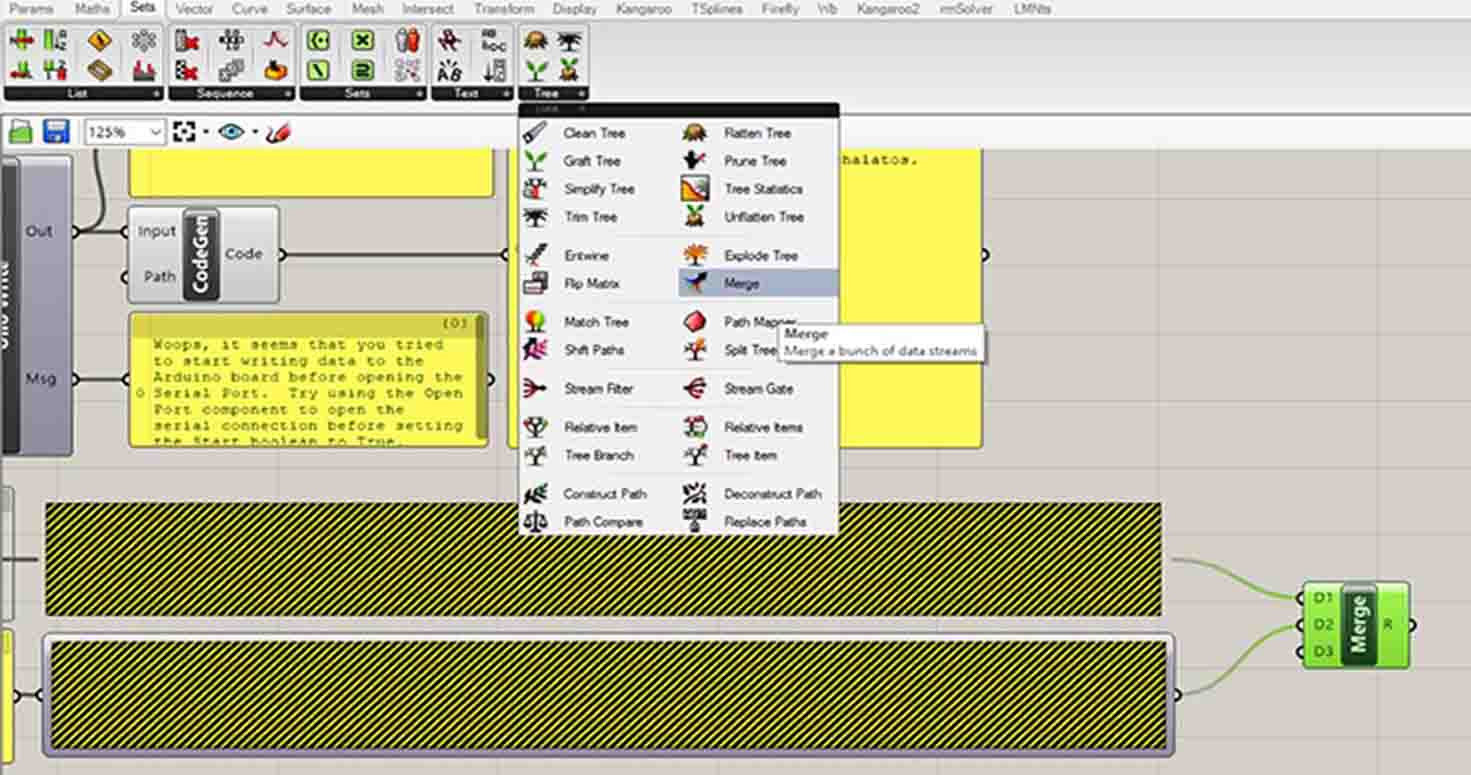
3. Grasshoper on Rhino with atmega 328
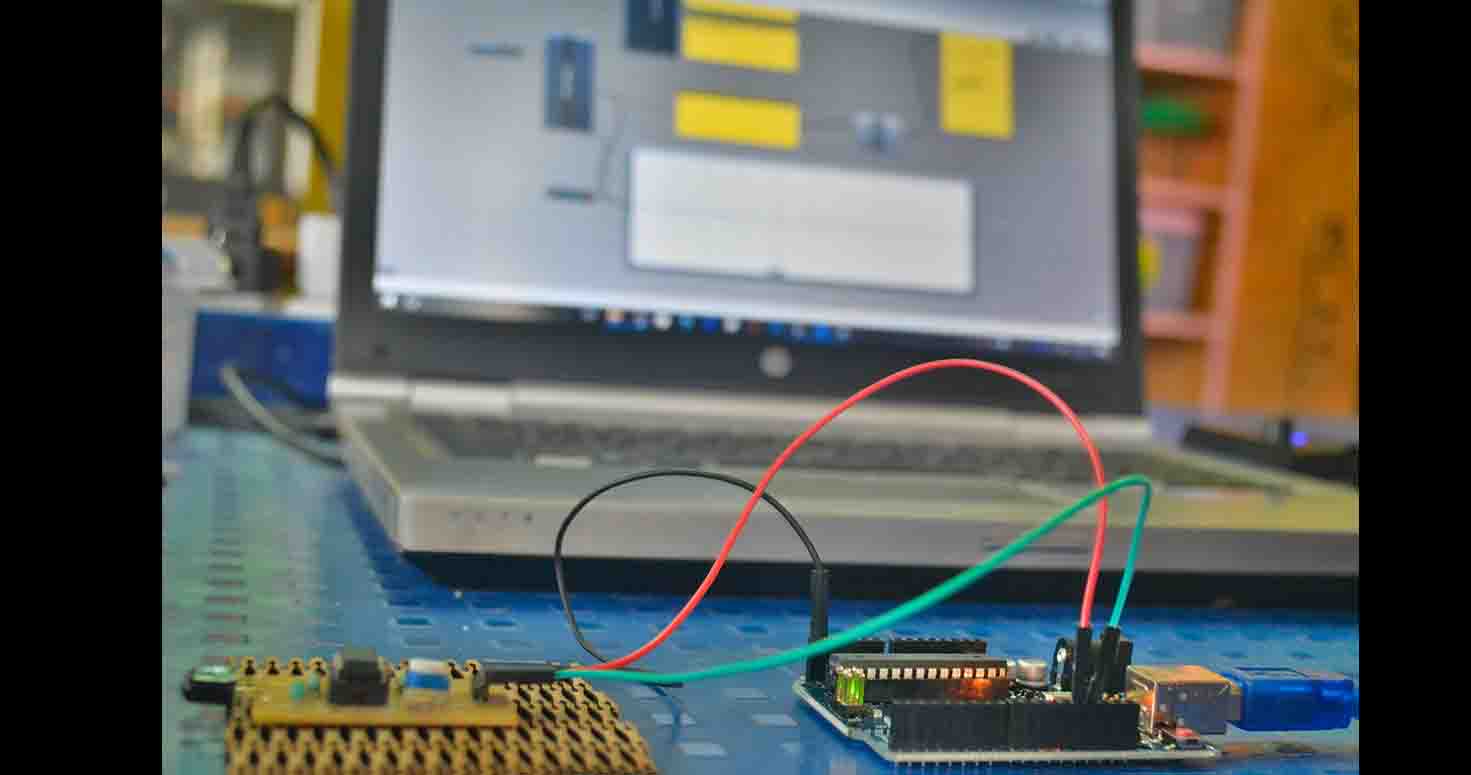
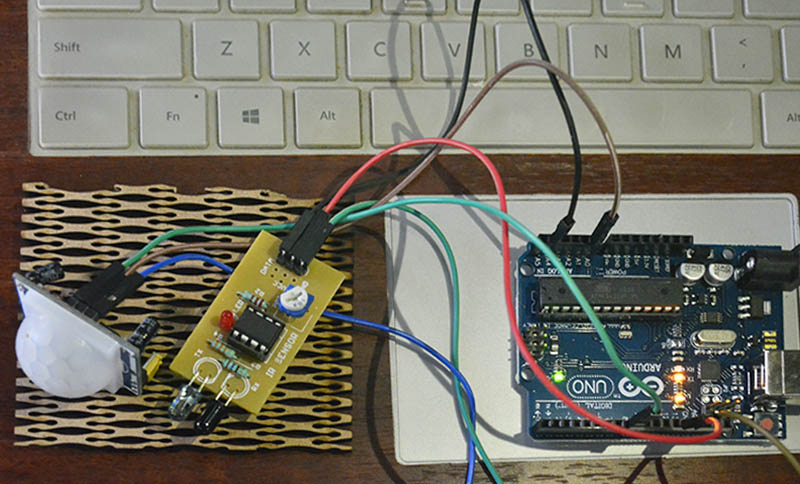
After learning on Grasshopper , now we received ftdi cable so i used it to do it with my Atmega board.
Similar steps like we did with Arduino for putting the firmata and setting up the canvas.
How did i do it?
Refer this link please:
I basically connected my Atmega 328 with FTDI and FTDI to laptop.
Also, my IR sensor was connected to my Atmega 328 board. So whenever Ir sensor senses something i was able to show it live on my screen in grasshoper. I also tried making graph out of it.
I find this very interesting that we can do live electronics.
3. Processing on Arduino (Trying other tools)
I really found this good to start it as I am familiar with Arduino by now.
So i started with , where, Arduino sends the message and I use processing to show the information.
First Install Arduino IDE , if you dont have till now.
Open IDE , Start typing the code below:
You would notice two parts to my code, one is void setup which is the initial code and void loop is what runs continously. Also we have to make sure that baud rate is same while we are communicating between two boards or softwares.
CODE for Arduino:
  void setup()
{
//initialize serial communications at a 9600 baud rate
Serial.begin(9600);
}

void loop()
{
//send 'Hello, world!' over the serial port
Serial.println("Hello, world!");
//wait 100 milliseconds so we don't drive ourselves crazy
delay(100);
}
Then i connected Arduino Uno to the laptop and uplodaded the code.
then i opened Processing and did the following: CODE for Processing : Go to Sketch-Import-Serial
You should see a line like this:
import processing.serial.*;
Then type : import
Serial myPort; // Create object from Serial class
String val; // Data received from the serial port
  void setup()
{
  // I know that the first port in the serial list on my mac
  // is Serial.list()[0].
  // On Windows machines, this generally opens COM1.
  // Open whatever port is the one you're using.
  String portName = Serial.list()[0]; //change the 0 to a 1 or 2 etc. to match your port
  myPort = new Serial(this, portName, 9600);
}
If you hit the ‘run’ button (and your Arduino is plugged in with the code on the previous page loaded up), you should see a little window pop-up, and after a sec you should see `Hello, World!‘ appear in the Processing console. Over and over. Like this:
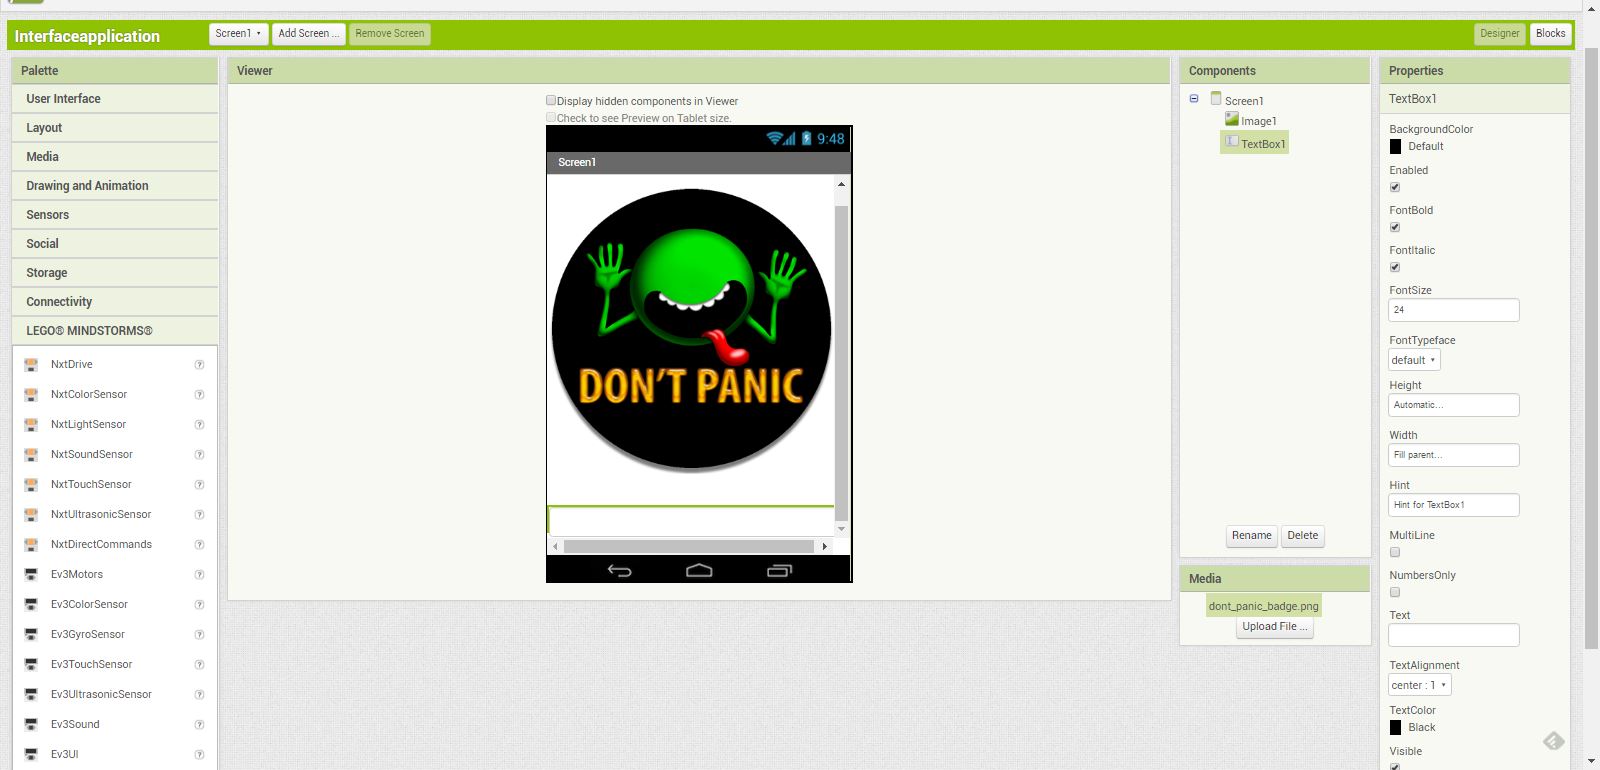
4. MIT App Inventor- Tried, want to explore more
Trying my hands on MIT app inventor, i didnt make something in particular, just explored a bit of it,
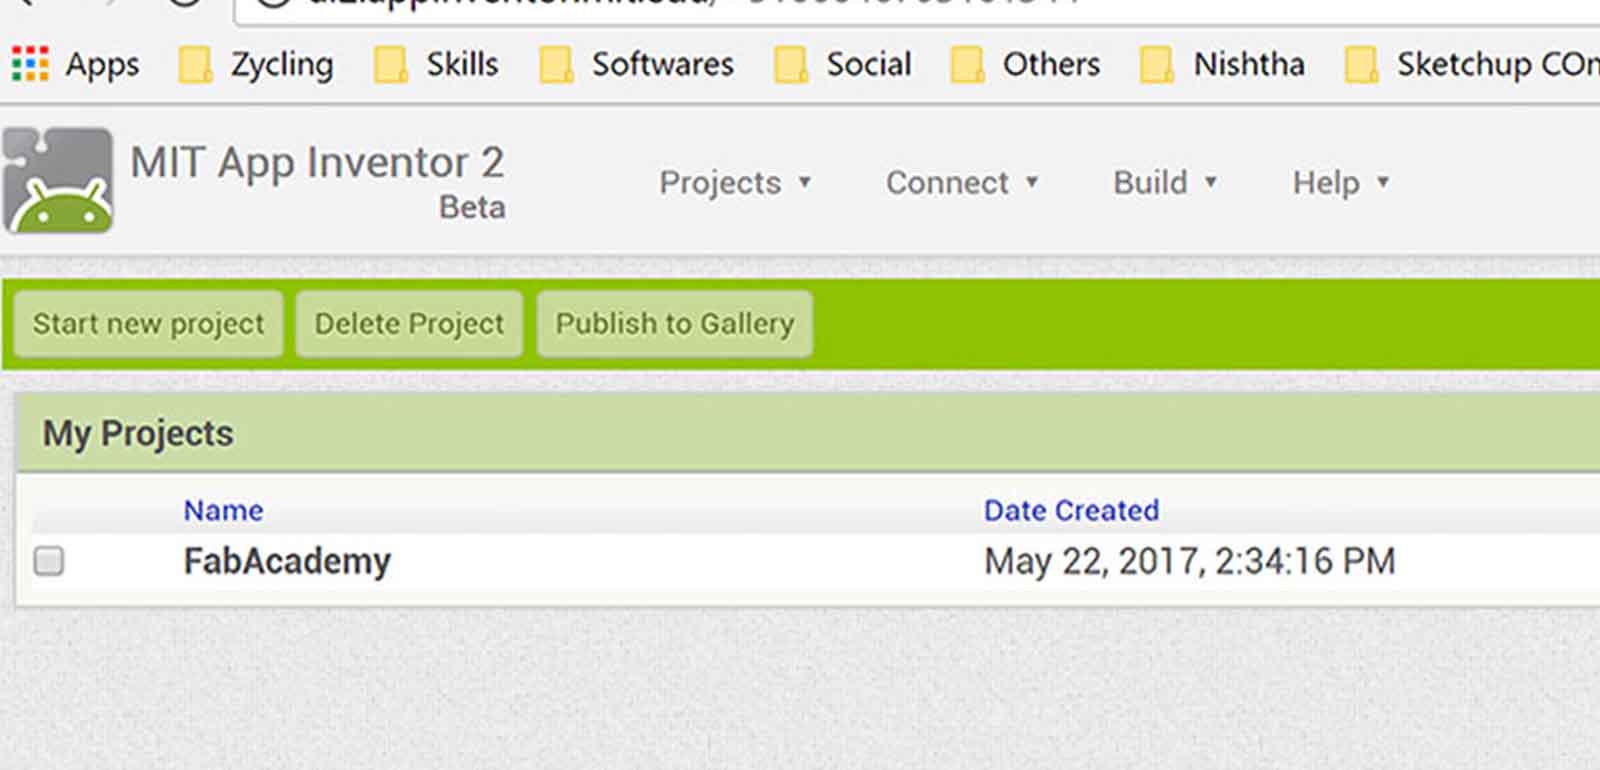
I just started a project
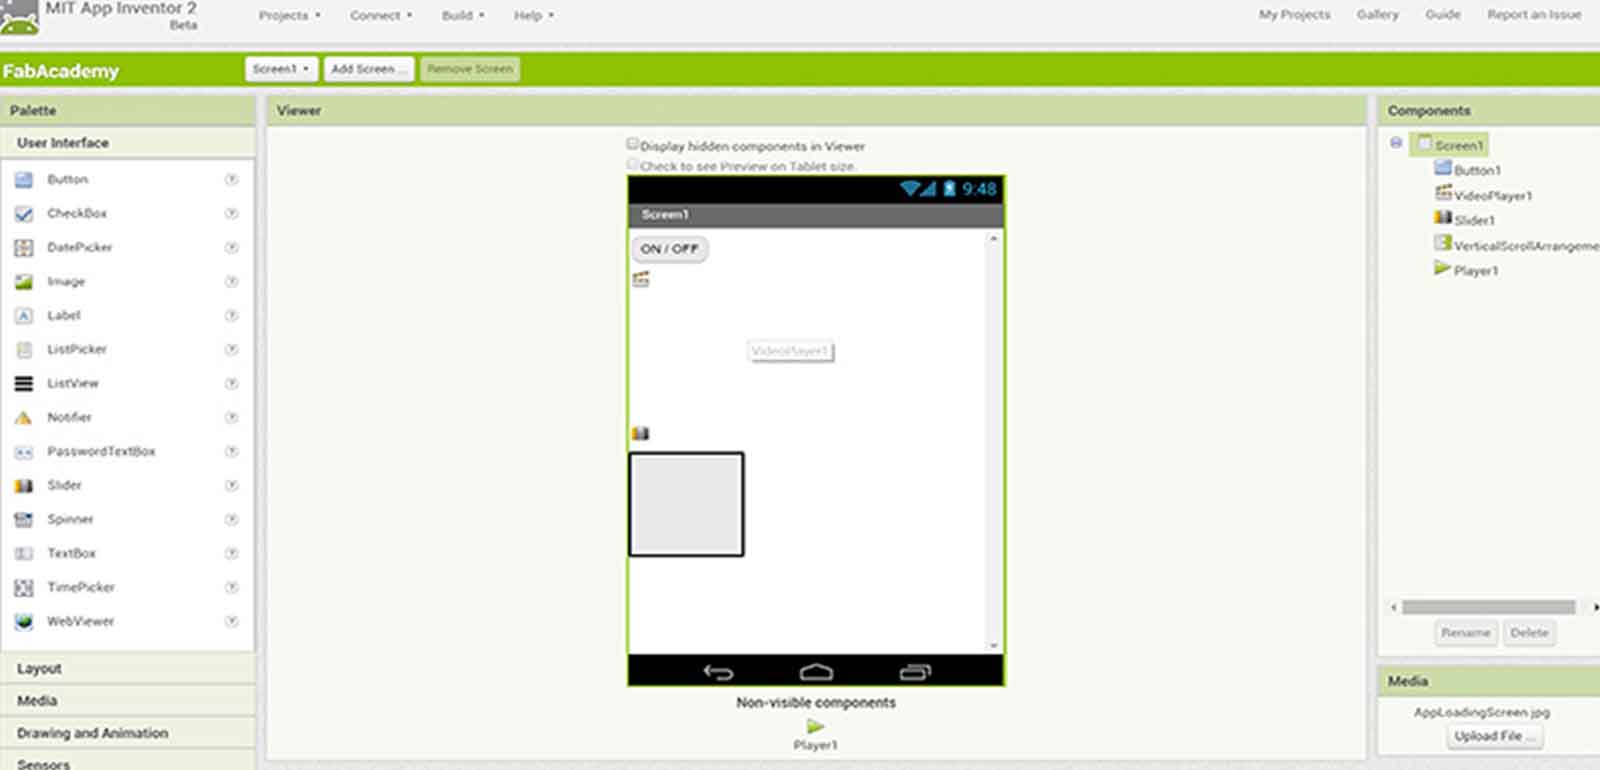
and Embedded the image
Python
Trying my hands on Python
Unity
Its a Paid software, So not many people do it, but i had one so i was trying hands. Its powerful and needs more time to learn