WEEK 11
Machine Design
WEEK ASSIGNMENT: Make a Machine
Using: X-Y-Z axis
1. Light Art Machine
GOAL
This week has been about making a machine and we chose to make a Light art machine machine. As we did designing, prototyping and mechanism in Mechanical Design, this week it was about everything we have learnt in last few weeks.MAKE A MACHINE- GROUP PAGE
2. Individual Contribution
Introduction
We planned to make a machine which involves aspects like mechanism, function, axis and uniqueness of its application. We together designed Wood Carving Machine first, but we didnt had the end effector plus its functioning wasnt stable. So we came up with an idea of Light Art Machine.CONCEPT
So the Concept of the Machine was that when we decrease the shutter speed of the Camera (we used DSLR D5200), Shutter stays open for longer time and the light movement in front gets captured and it comes something like this :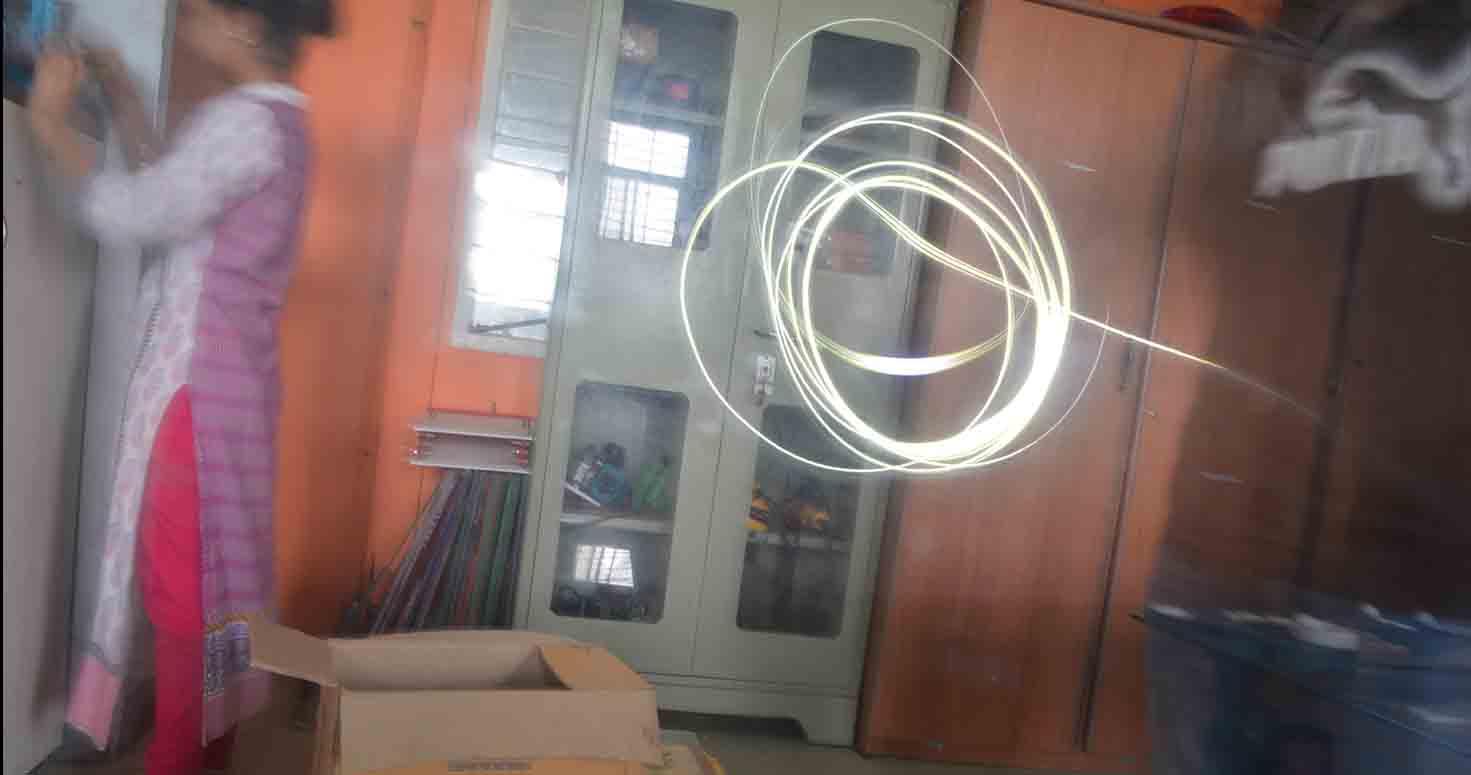

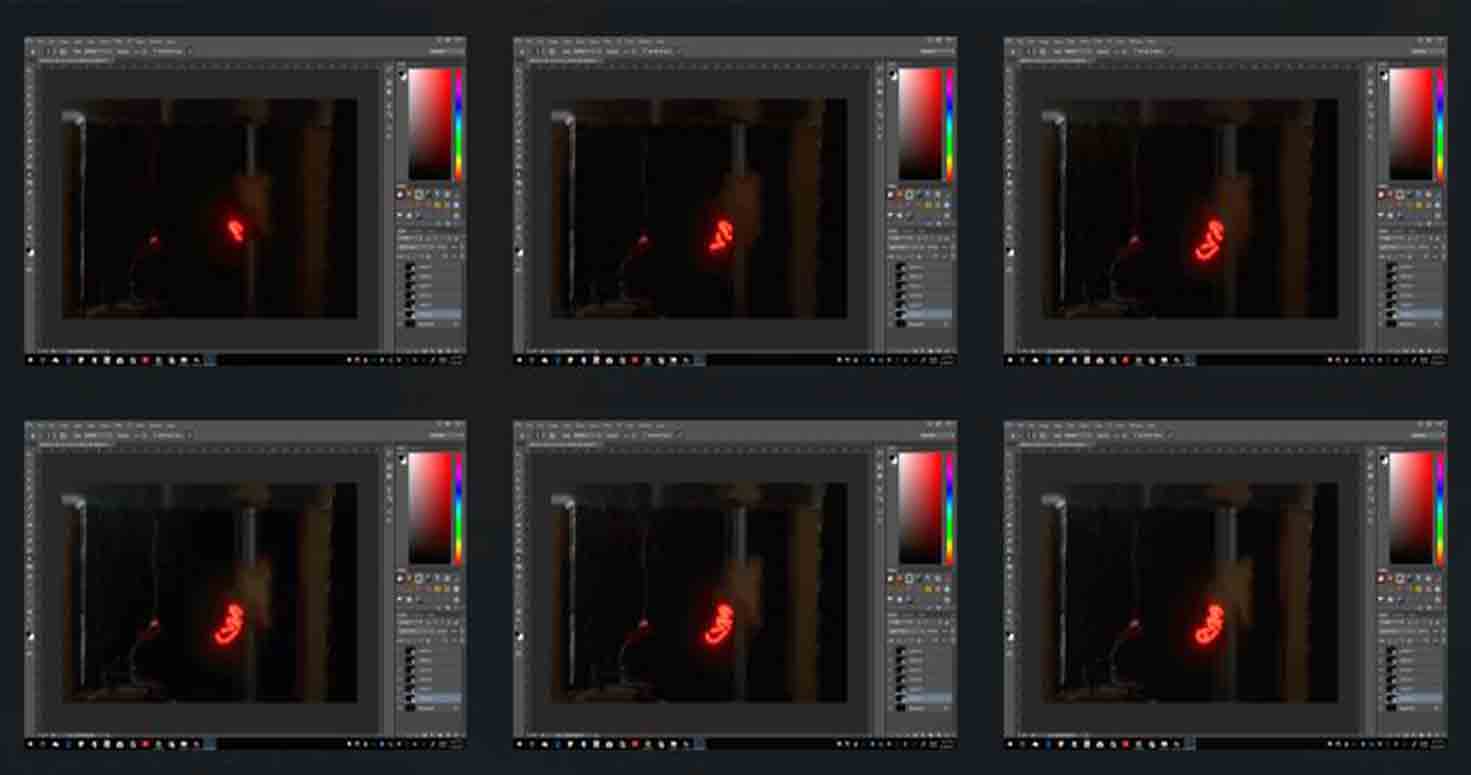
and therefore, when we overlay lot of images together in same, we receive a final image like this:
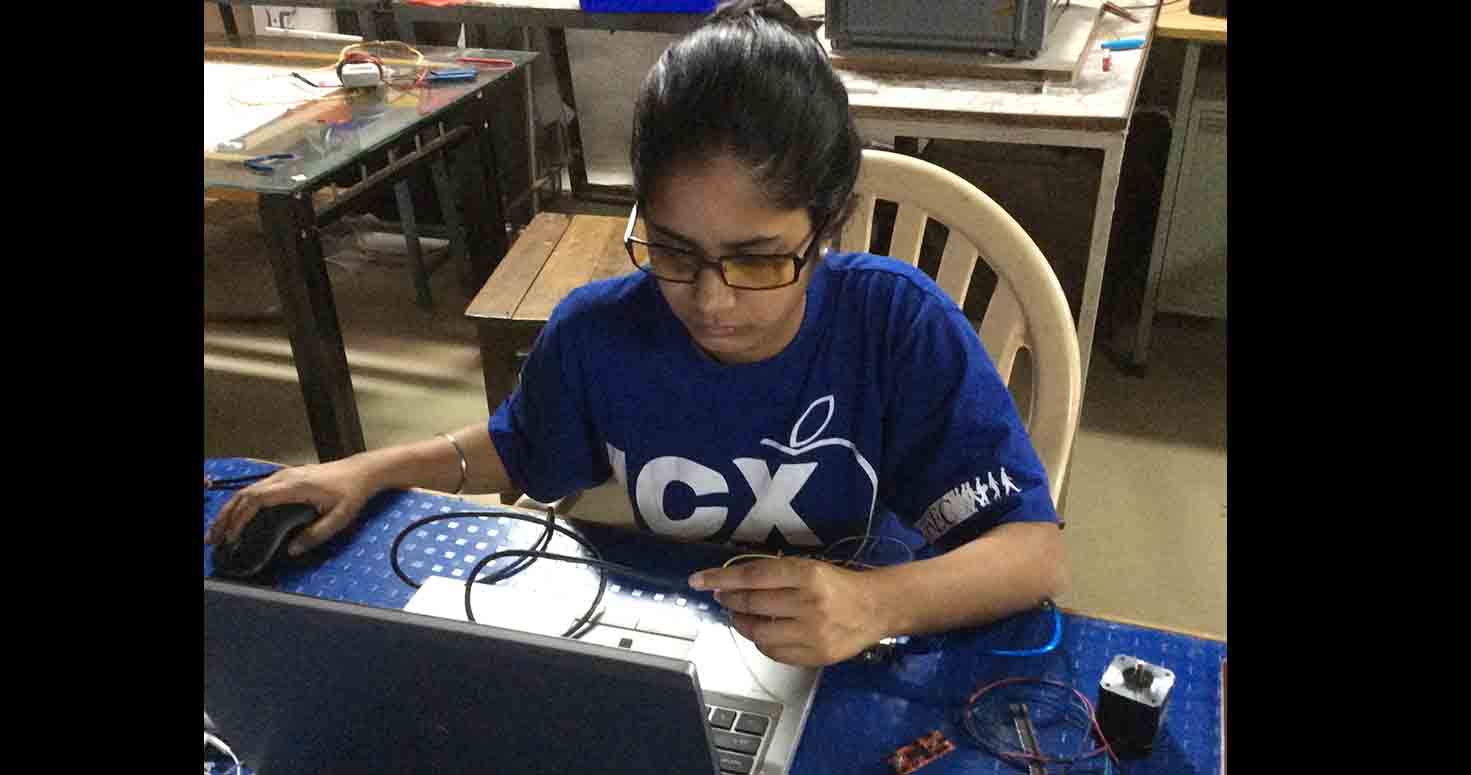
I was working on Assembly, Electronics and collecting media for Documentation.
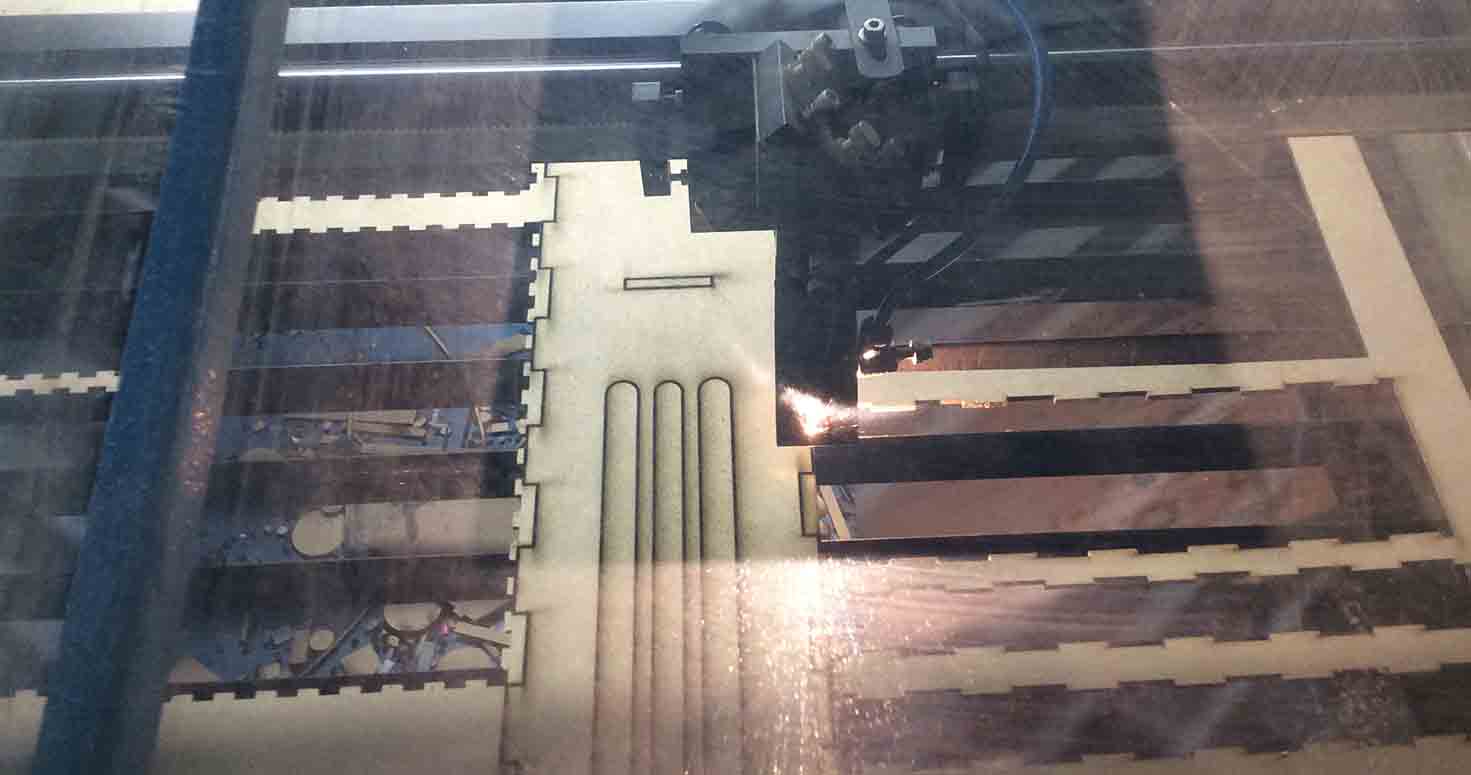
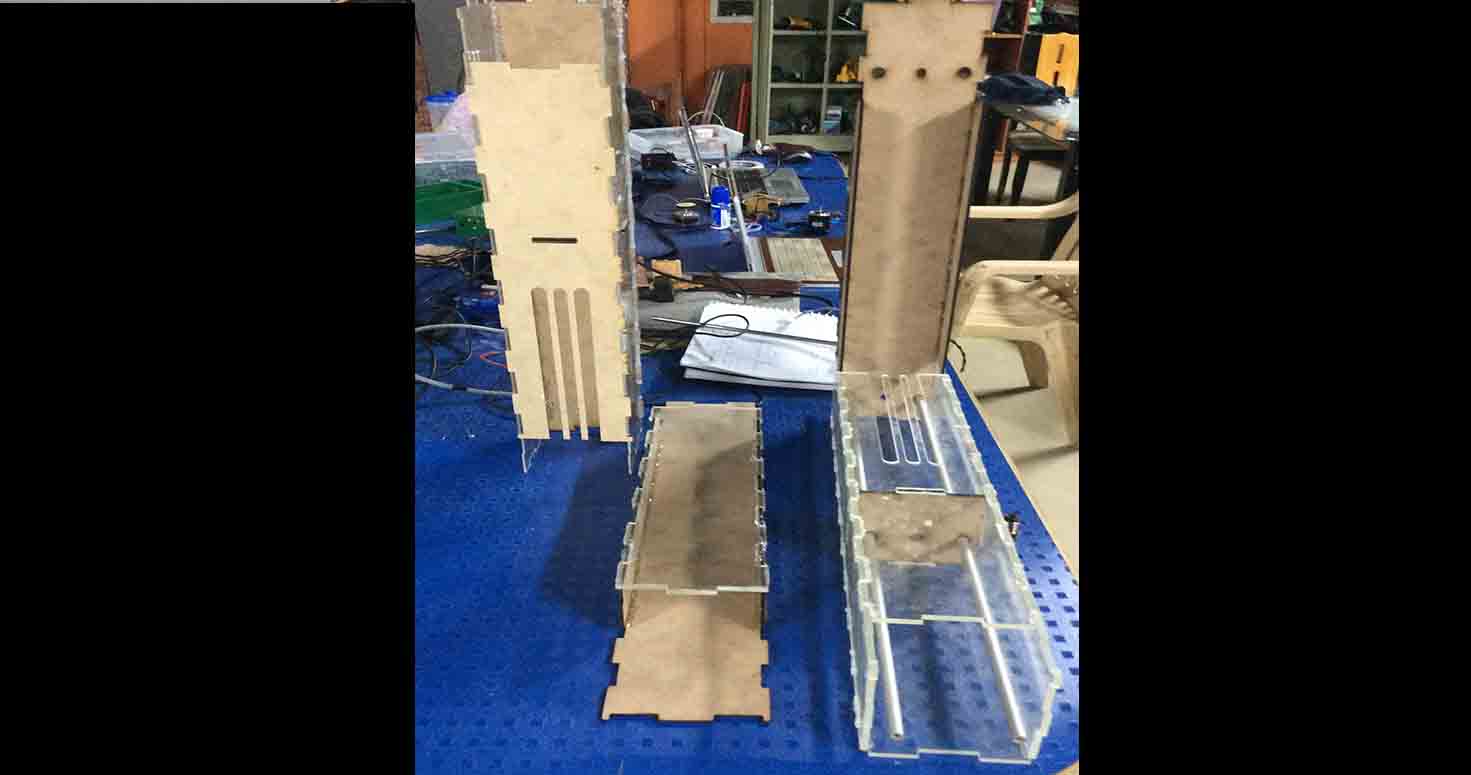
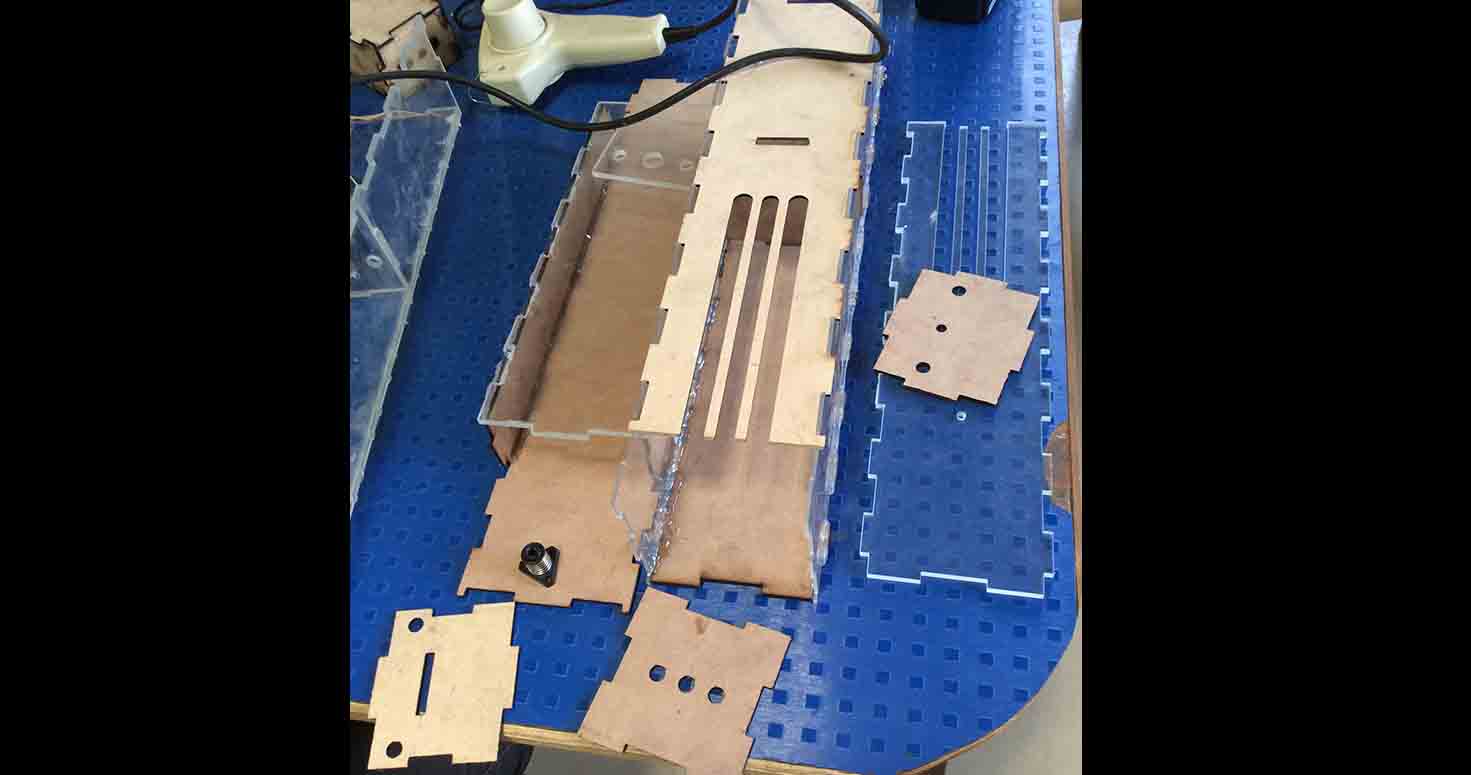
Last week we made a Proof of Concept Design and Prototype of our Wood Carving Machine, so, this week we decided to move with the final Design and Prototype of the machine. After doing a lot of brain storming and after going through with various iteration of rough design, we decided to move forward with first designing and then prototyping it via all the process of Laser Cutting, Assembling, Electronics, Testing, etc. So we first decided to divide the task among us, I took the Electronics part and will be helping in Assembling and documenting the Machine. We started by laser cutting our parts after we were sure about the dimensions and the design.
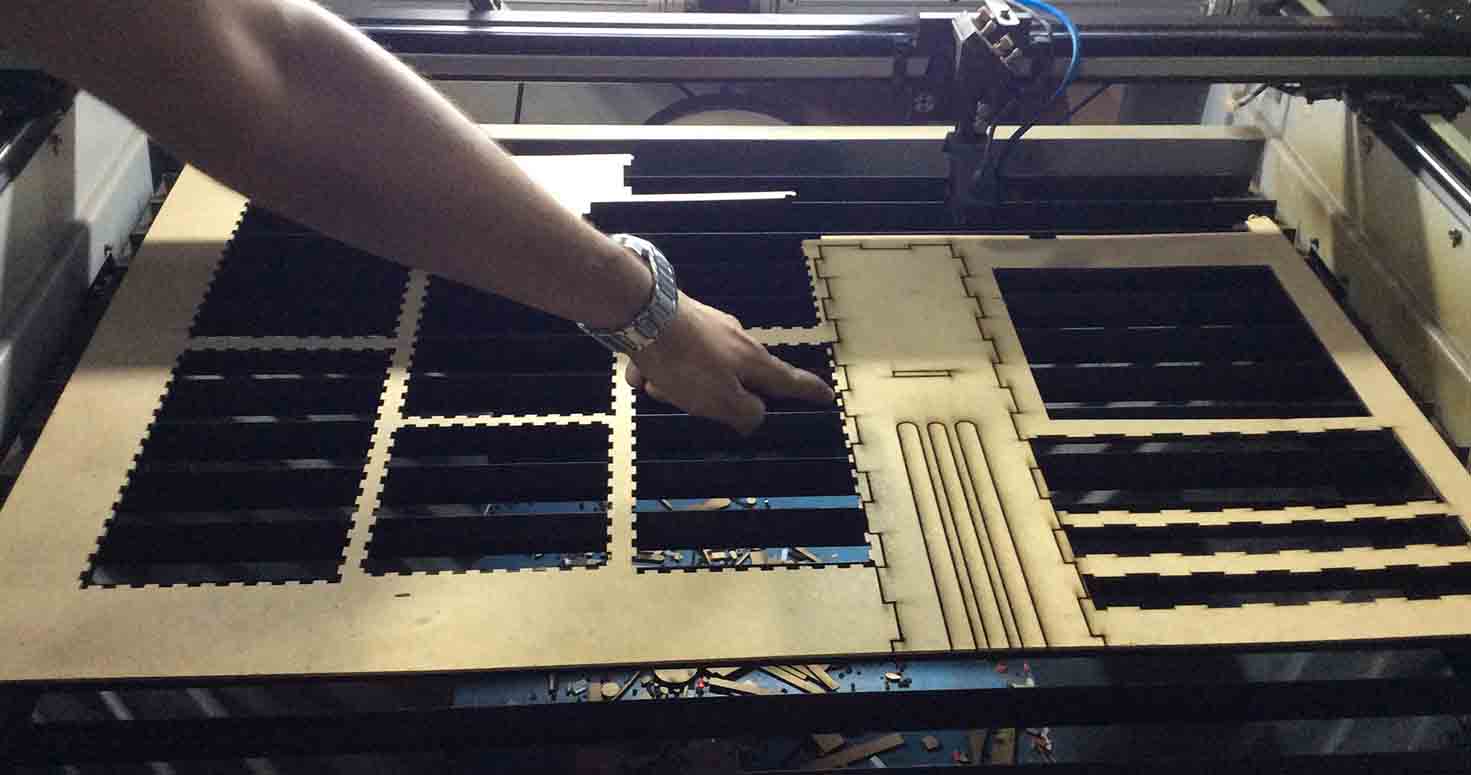
Then we went ahead assembling the parts we laser cut.
The major task where I got stuck was in Electronics, where I planned to use Satshakit cuboid kit for our machine made by mahavir.
As I kept trying, I first tried stepper motor with arduino, then I tried it with satshakit, but as I was not able to make it work. I tried Led blink program with satshakit to see if the satsha board is working or not. But it was.
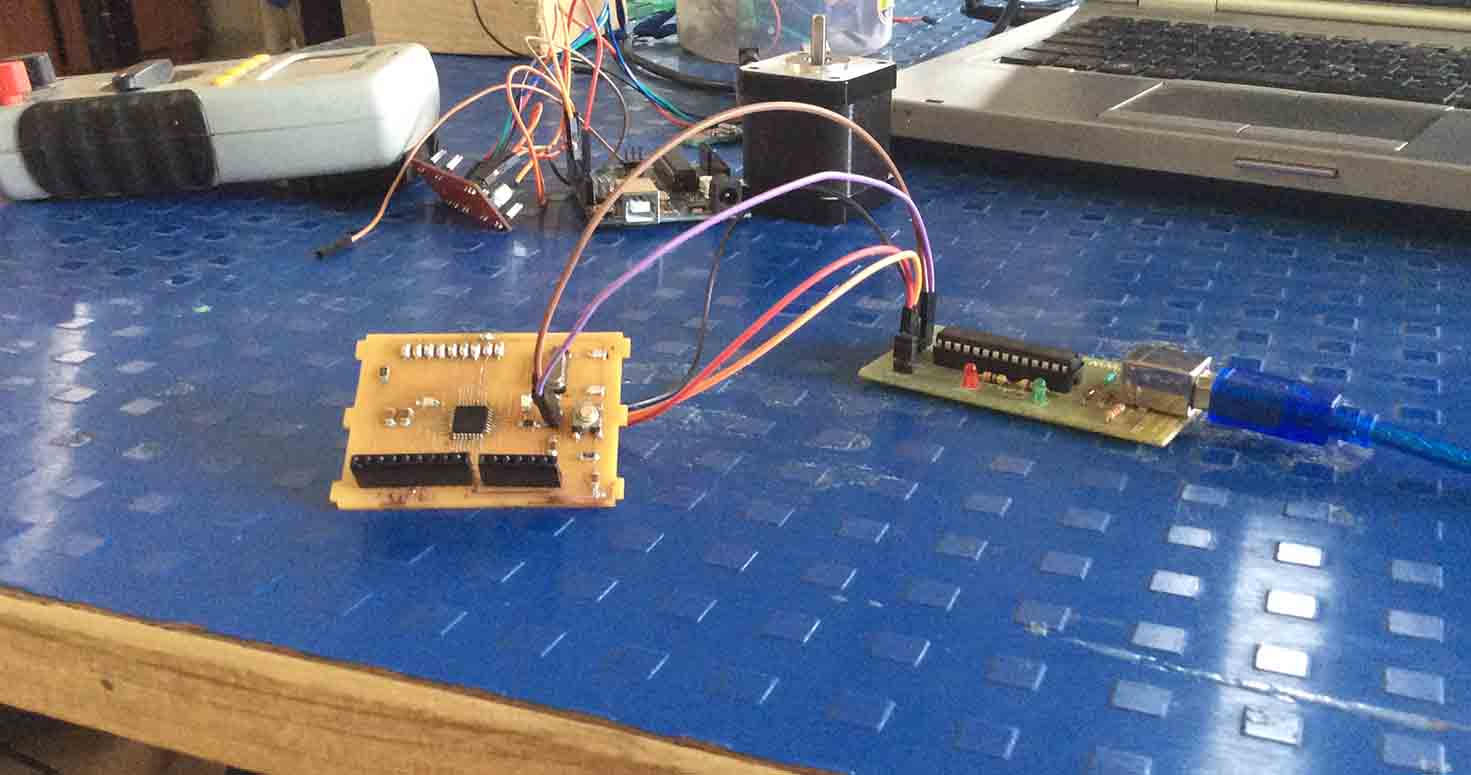
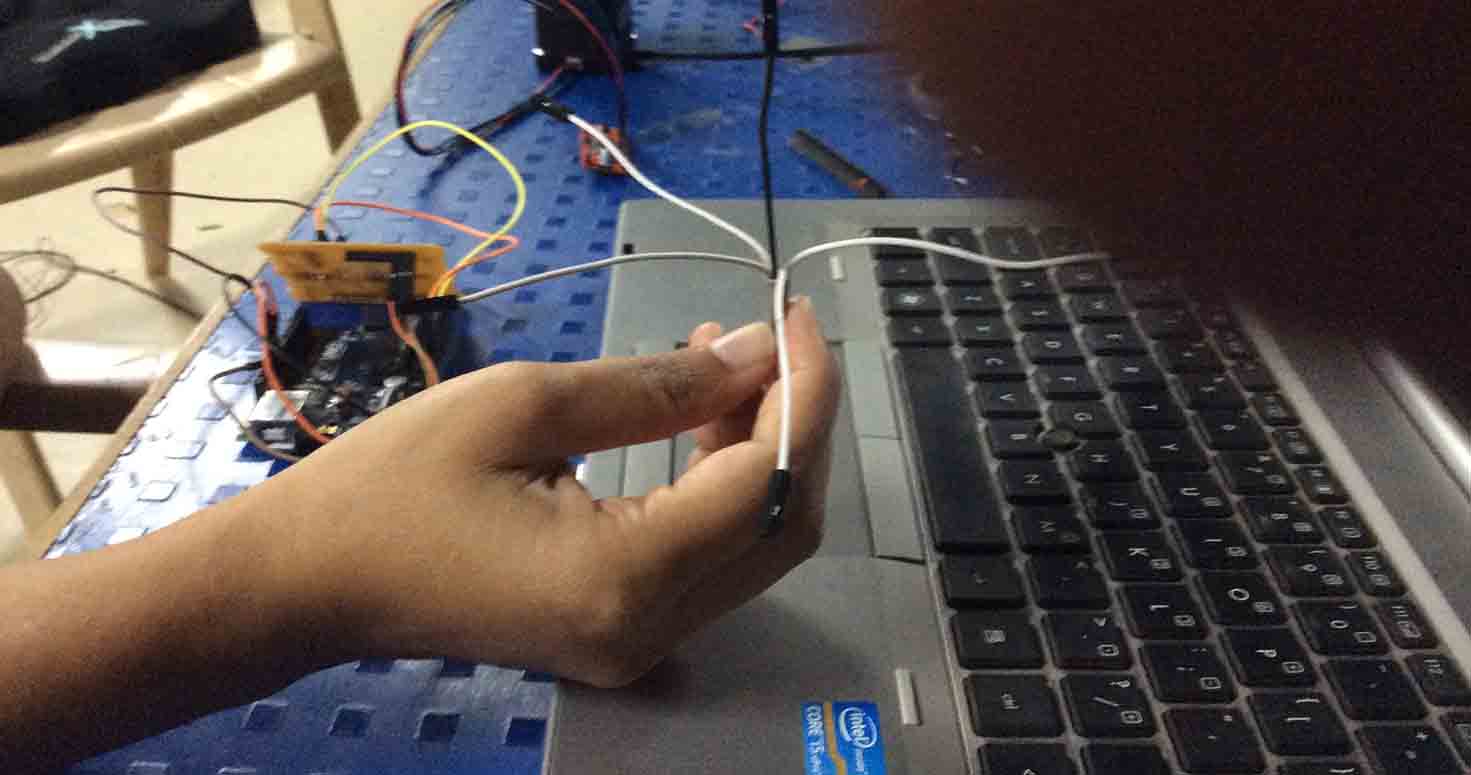
Then i went on checking if im giving the power right or not. I figured that My motor needed more than 5 V and 2 Amperes but i was giving it 1 Ampere. Therefore, I changed my power adapter. Then i again connected my arduino with Satshakit, uploaded the code, connected my Satshakit with motor driver and motor driver with my stepper motors. Well, it didnt work. I then went ahead trying with FTDI cable where i planned to eliminate the Arduino board. But again FTDI cable wasnt working.
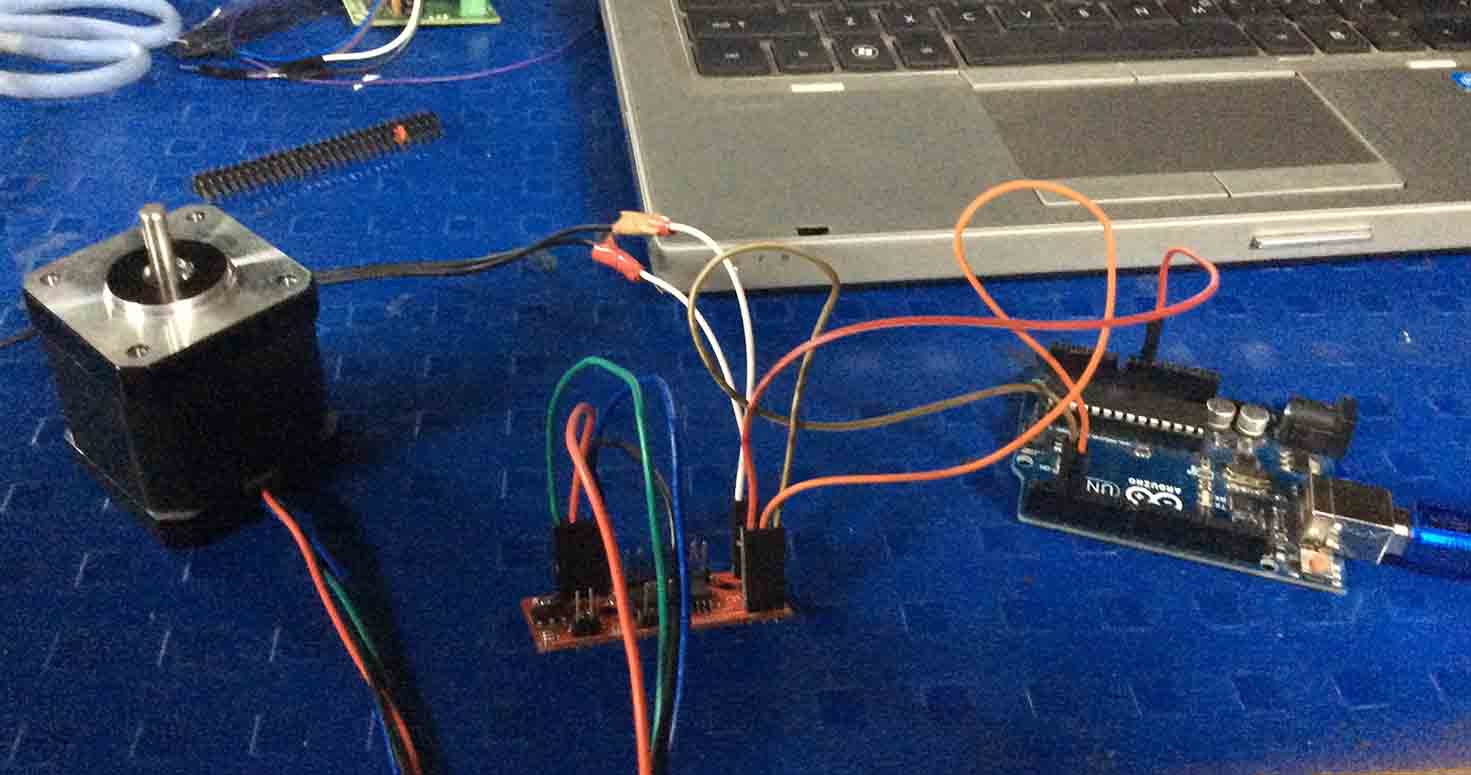
So for now i connected Arduino uno and motor driver and Stepper motor. Where in Connections made were the following:
Arduino uno to Motor driver- 1. GND and 5V of the motor driver to Arduino 2. For power GND and Power adapter with above 6V and 2Amperes 3. GND-STEP and DIRECTION to be connected to any pins on arduino and you can define them in your code. 4. Enable pin in any pin again 5. M1 , M2 and sleep pin can be used too but only after you sure your board is able to run the motor. Well, Next contribution was of the Documentation, i took charge of capturing all the work and later compile and share with others like this with mahavir:
Putting GRBL firmware and running driver motors
Also, This week i was able to run my motors, connect laser beam and torch. We used Arduino in which we put Gbrl firmware and further uploaded ZIOS logo and created its gcode on Universal Gcode sender.
In the video below, you will see laser beam moving and following the path of ZIOS Logo.
and Finally , we came up with this:
Download Design File and others can be found on the group page
