Week 09
Mechanical Design
Objectives
Learning Outcomes
Have I ...
We started having a group meeting, where we define our role inside for the construction of the machine. At first, I was part of cutting laser, assembly and electronics.
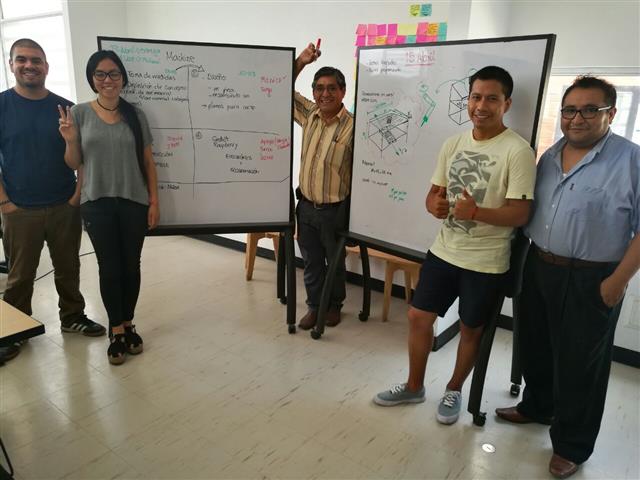
There were delays in the design part. So we decided to make attempts with David Maita in order to advance, he has good mastery of inventor.

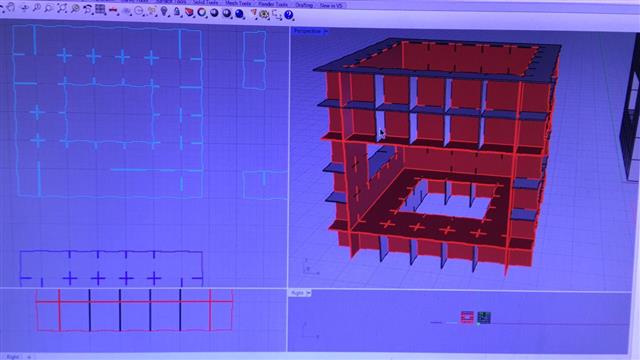
Monica Copaja, a woman with great rhinoceros skills, takes the bull by the horns and did the design of our machine.
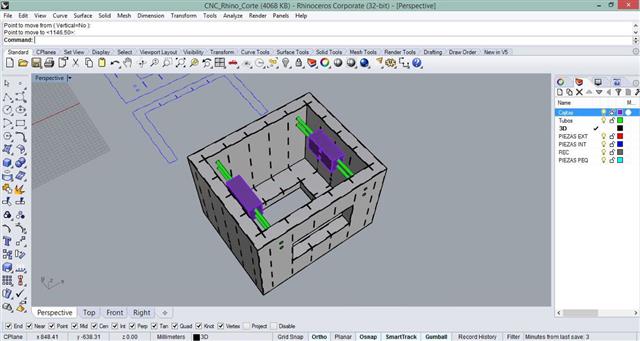
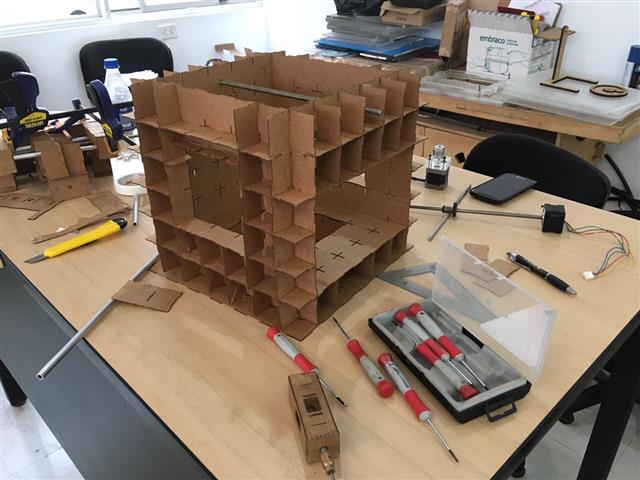
So, we proceed to cut using laser machine and assembly.
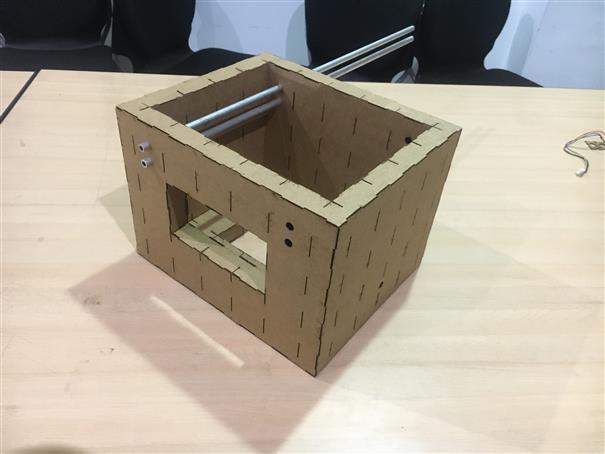
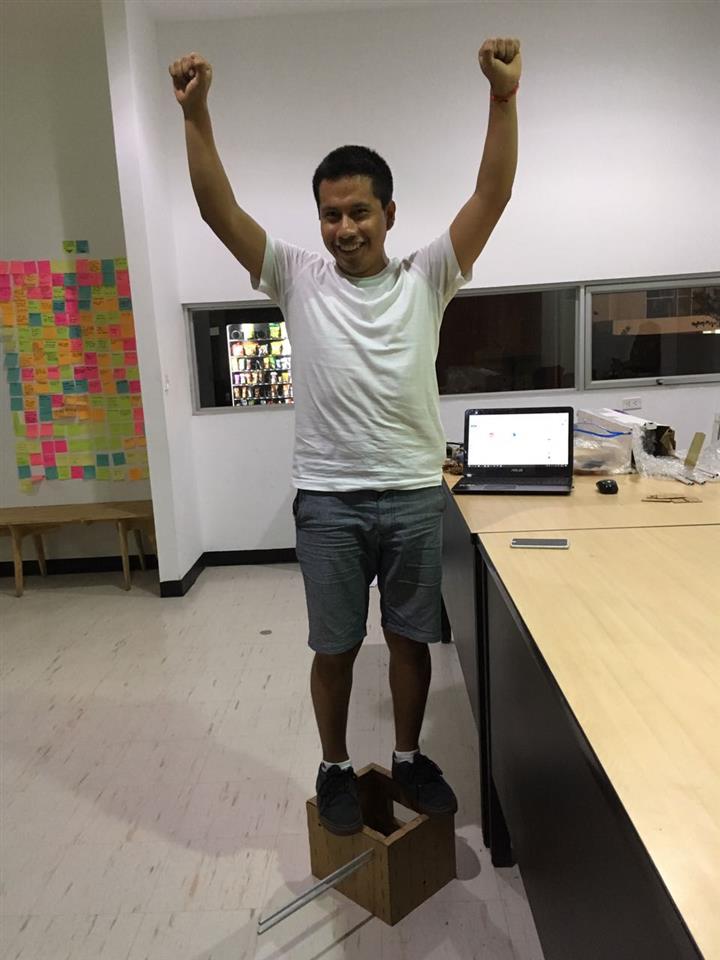
Our little model had good strength as we can see. Holds approximately 120 lbs.
We see a problem, how to add Y axis and Z axis to our first model. So, we had a meeting with Fabio Ibarra, a fabber from FabAcademy 2016. He give us some good advice. Because, his team did a Tube Cutter using cardboard too.
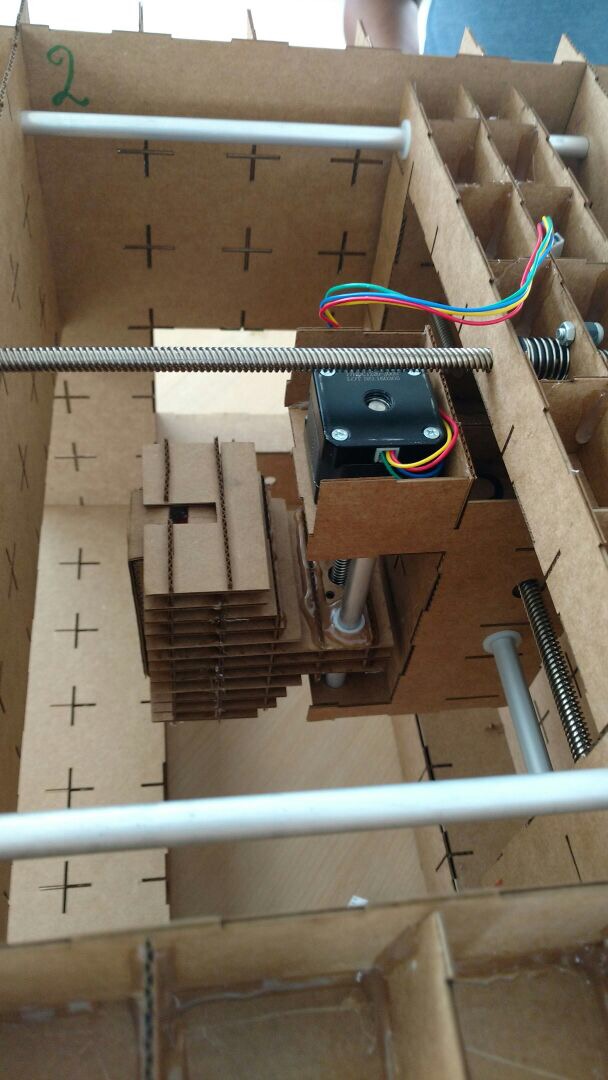
After this meeting, design team did a new model.
We cut the new pieces and assemble them.


At the same time, we were studying Gestalt card theory.
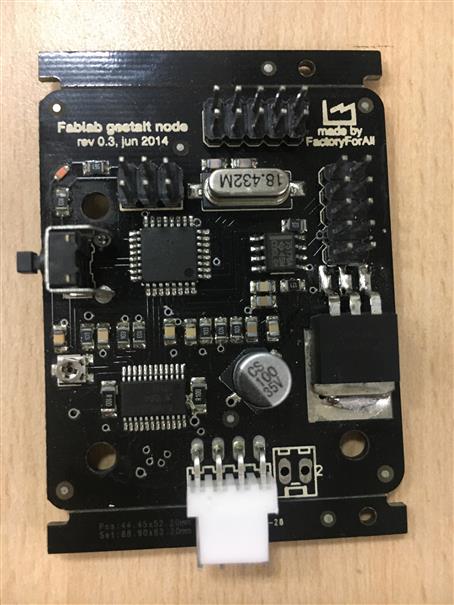
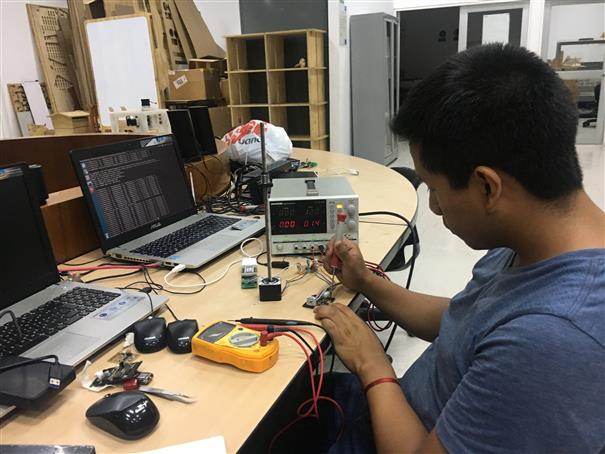
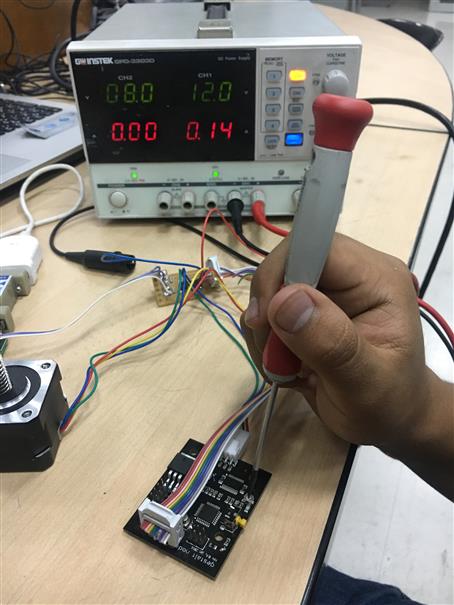
During the tests of the cards with the stepper motors, we appreciate that they were overheated. This was due to the overload of current that gestalt gave them. The recommended was 150mA, but they were consuming 450mA. Using a hanger, we set the value to 150mA by adjusting the potentiometer.


Once we had our new model, we did a support for head.
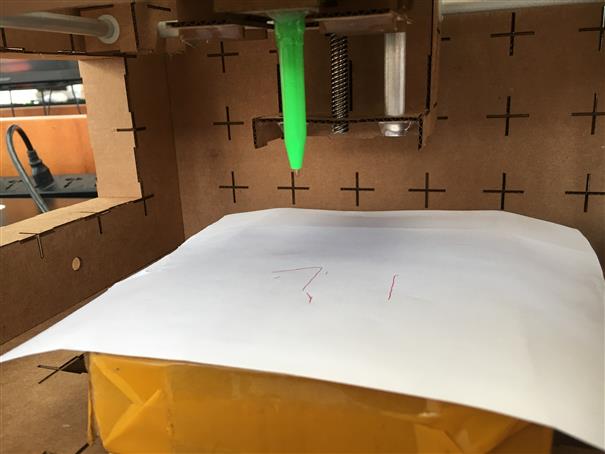
We used a pen to perform our first tests.
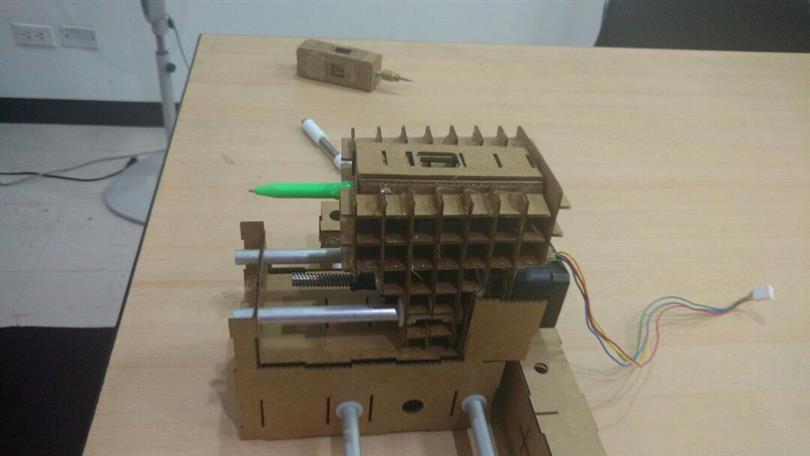
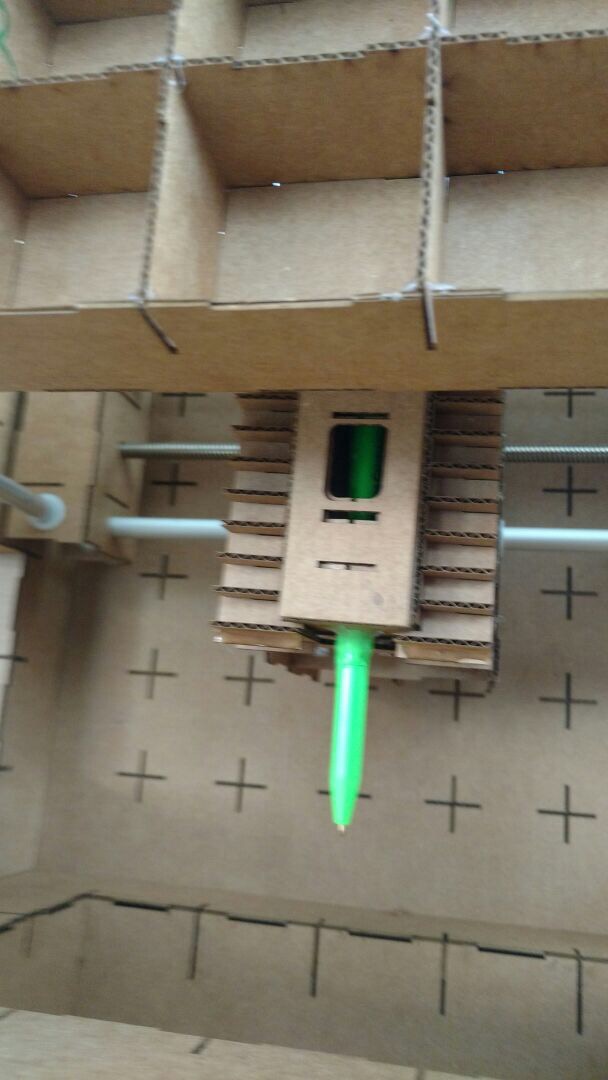
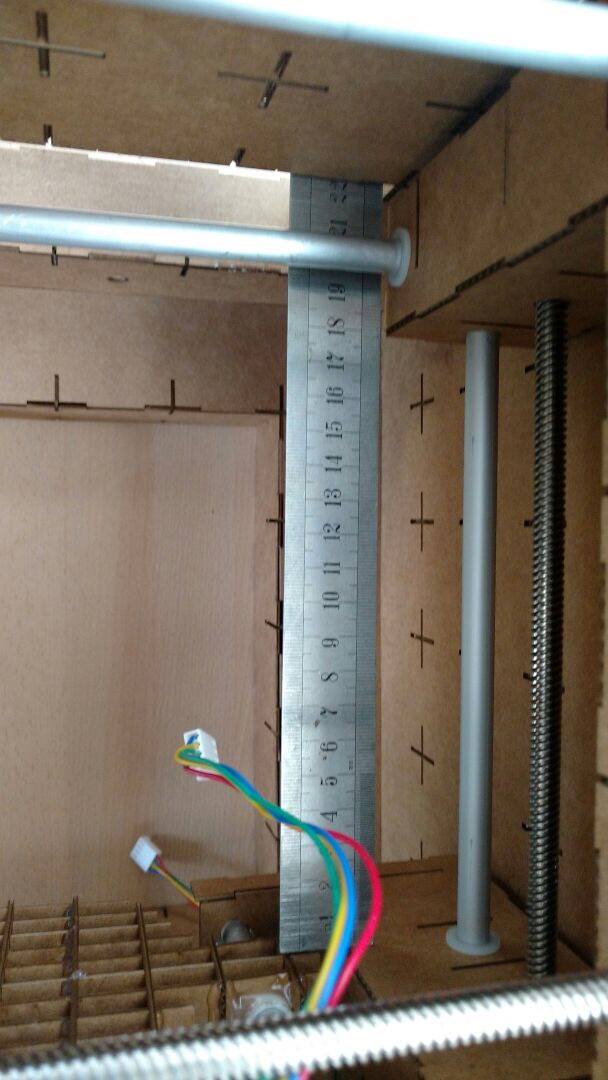
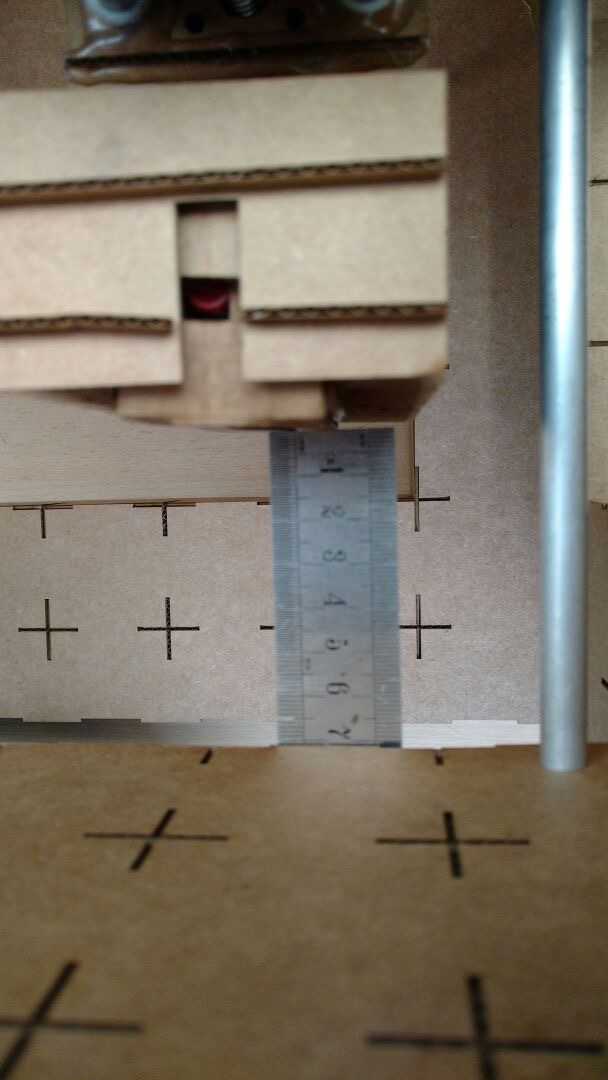
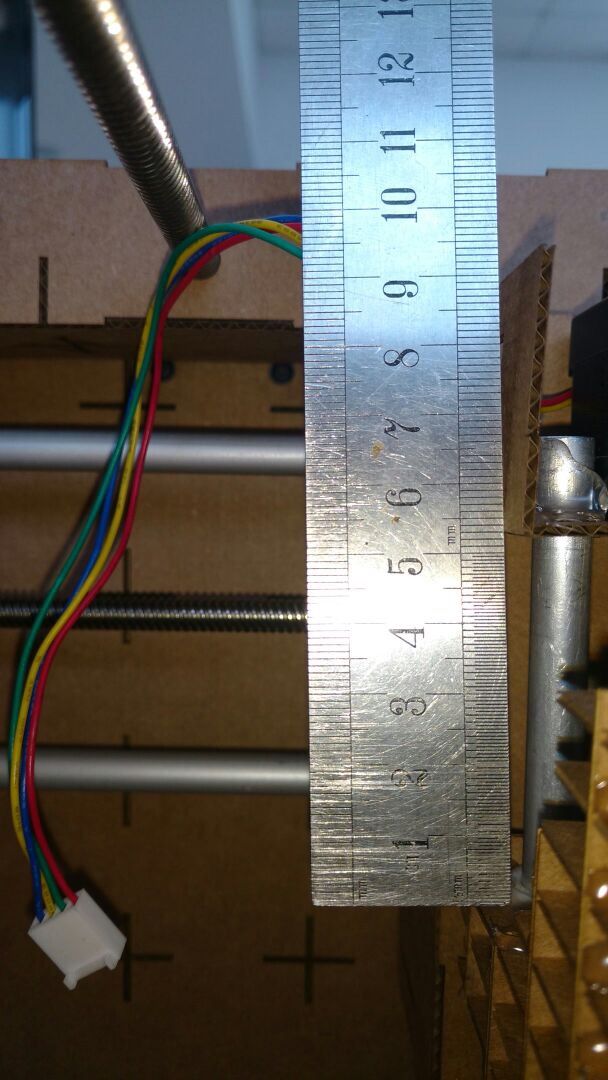
Before performing the test, measured how much the displacement of the head in our 3 axes. [ 170mm in X axis | 70mm in Y axis | 50mm in Z axis]
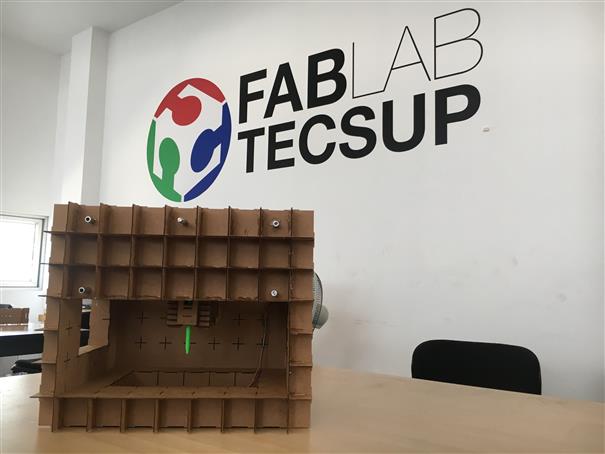
Finally, the time to test our 4 AXIS CNC MILLING MACHINE had arrived. Until this point, it only had 3 axes.
Our machine is ready to be installd the 4th axis. I could be part of all the stages of construction of our machine. It was an amazing work of each participant.
TO SEE 4AXIS! CLICK HERE!