Molding & Casting

Twelveth week's Assigment

 For this week, the assignments to be accomplish are:


Making a 3D Mold

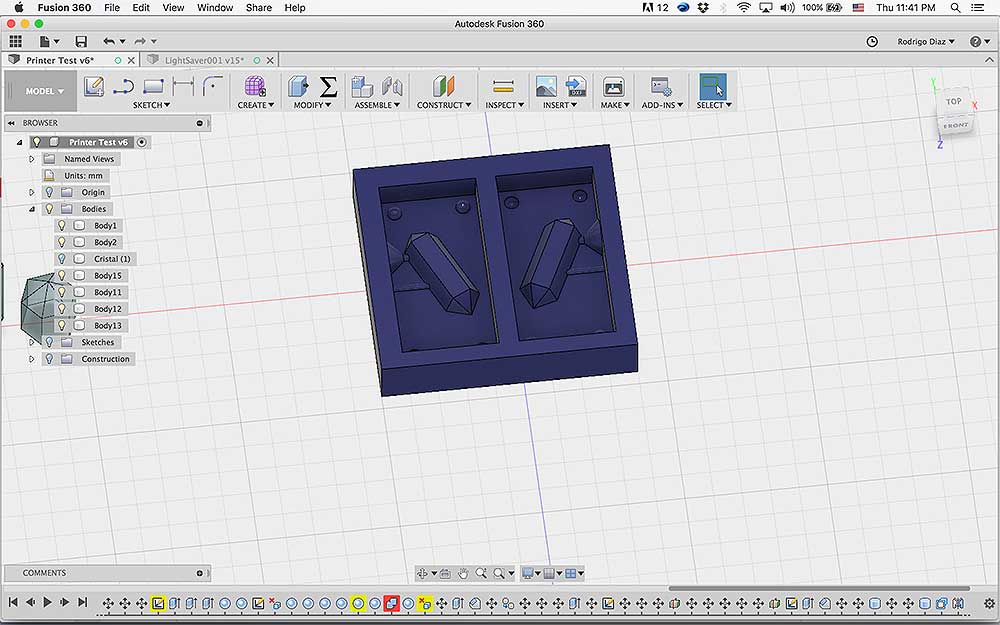
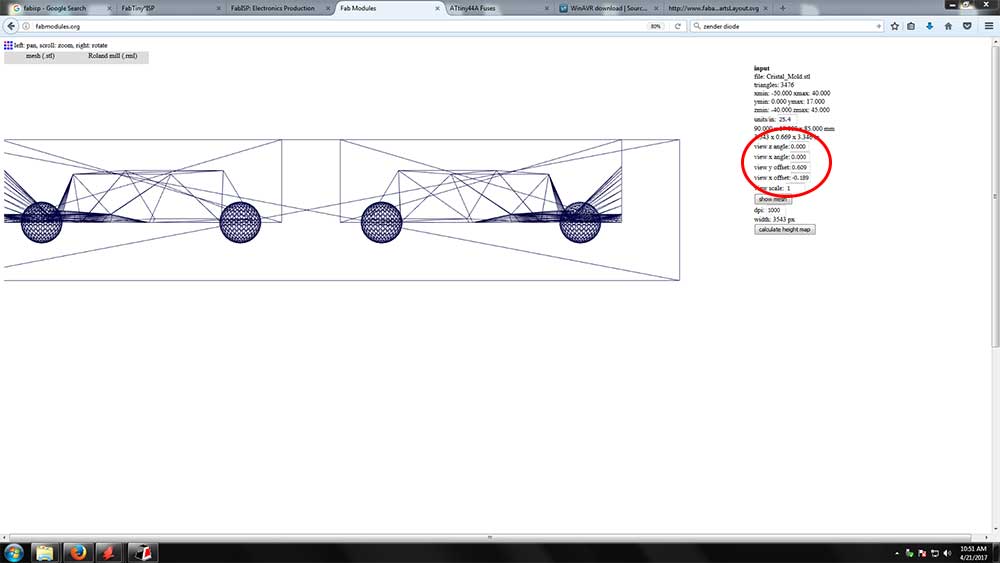
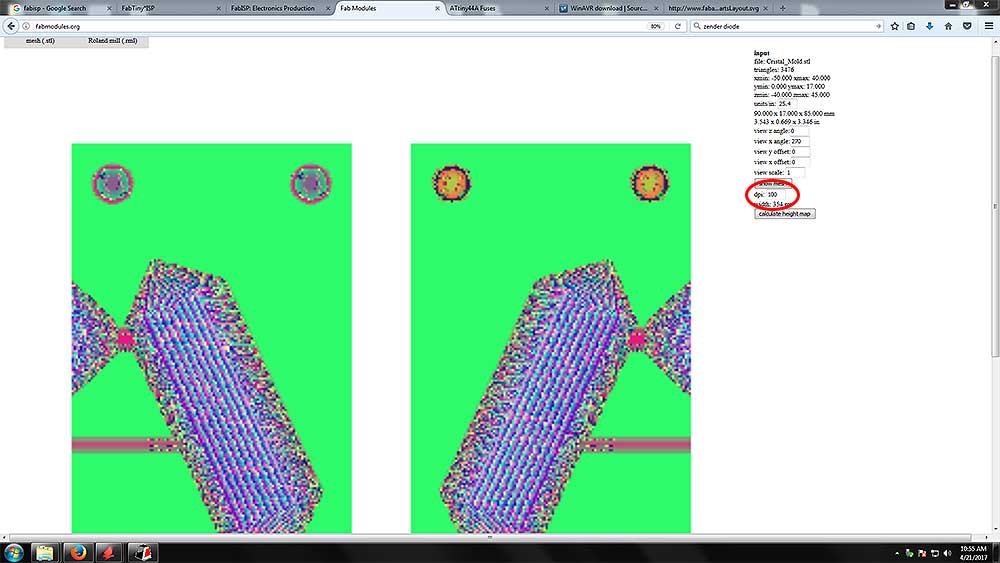
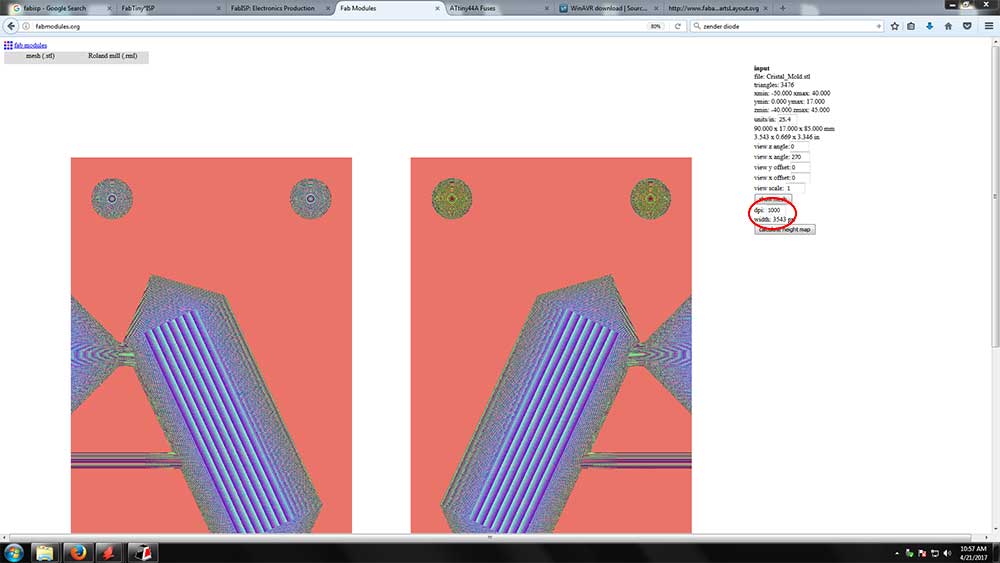
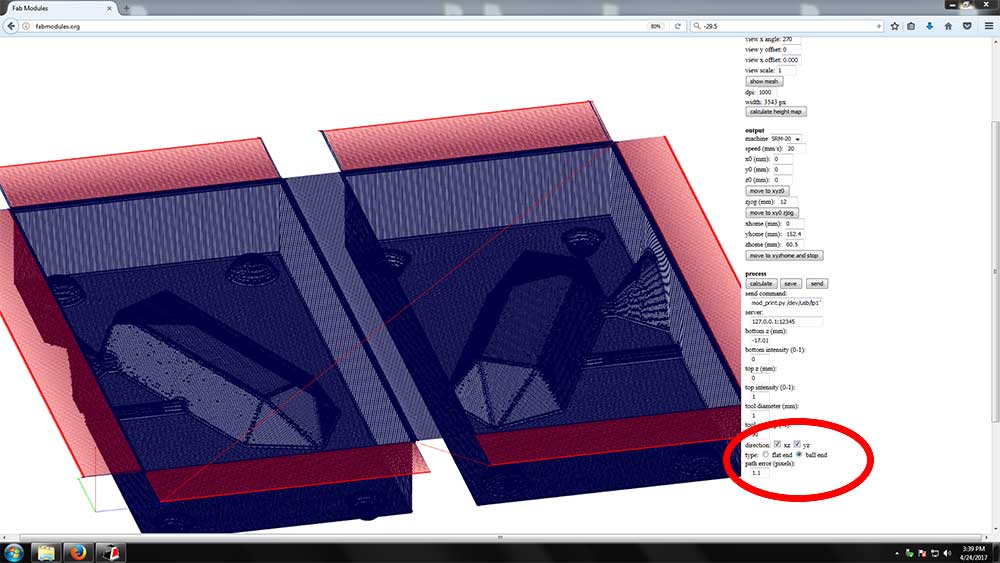
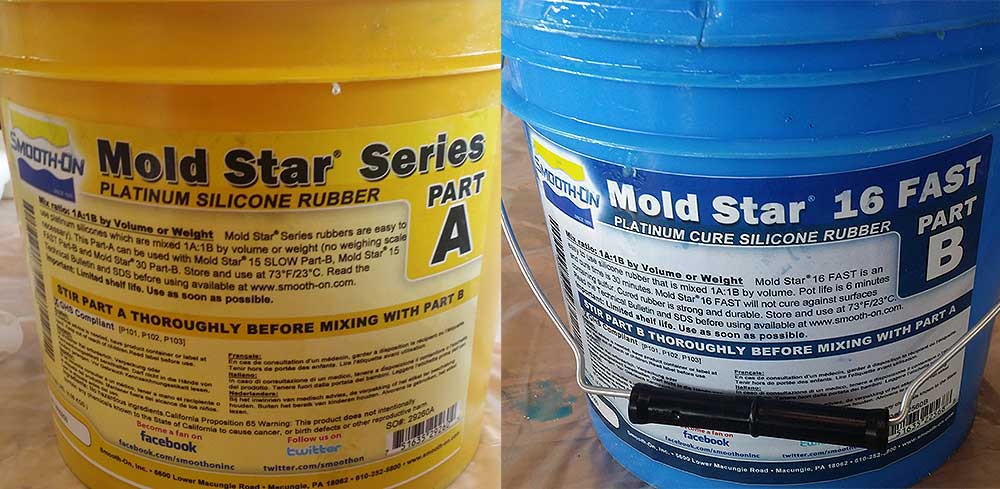
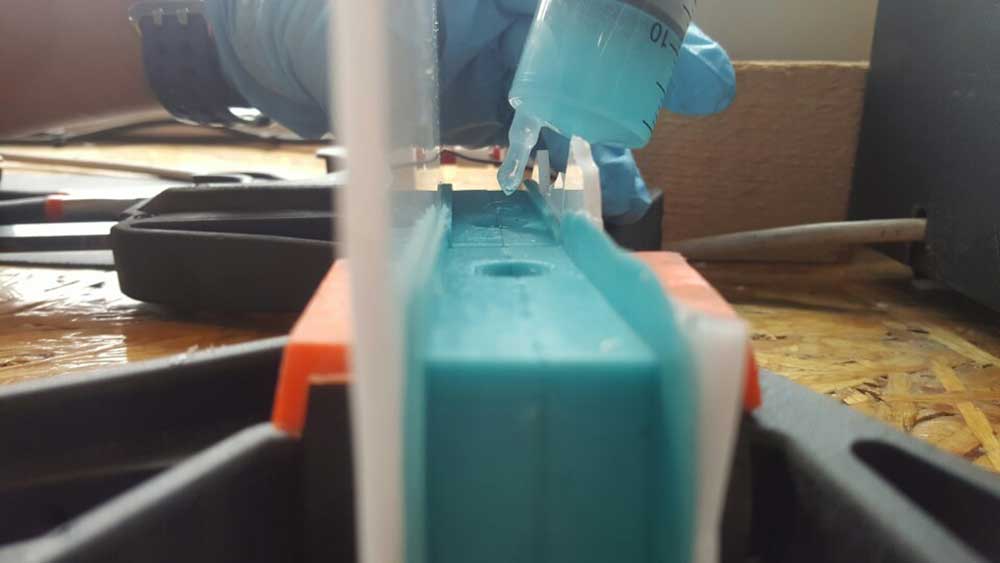
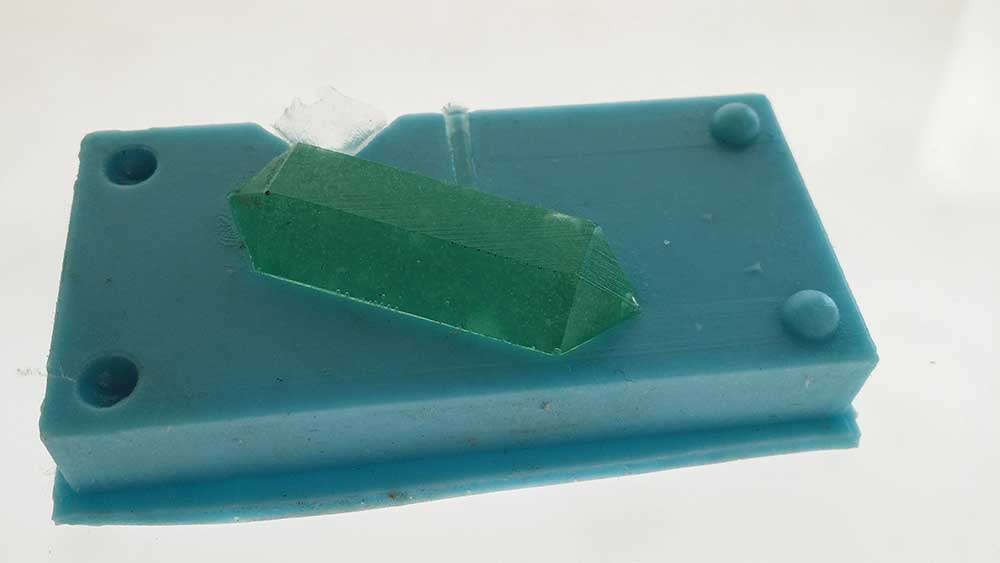
Since I have change my mind regarding the final project I realized that I need to start working ASAP if I want to make it in time, therefore, this time I made a mold for a Kyro Cristal for my Light Saver

FabAcademyProject2017 FabAcademyProject2017
I made the model of the cristal using Fusion 360 and then exported an STL file.

FabAcademyProject2017 FabAcademyProject2017
I took the file to Fabmodule and I had the first problem since the model was sideways.
So, I had to flip my model by rotating 270 degrees on the "x angle" and check that the model was looking forward by calculating the "height map" using a low dpi(100) because it takes less time to calculate.

FabAcademyProject2017 FabAcademyProject2017
Once I knew the angle was ok I went for 1000dpi and made the tool path for the Rough Cut Wax.

FabAcademyProject2017 FabAcademyProject2017
Follow kind the same steps for the Finsih Cut. Actually, this is the second mol I made because I forgot to choose the ball end mill and the finish cut was not good so I made a new one. (pictures of comparison below.) I spray sillicone realease agent before cast =ing the mold.

FabAcademyProject2017 FabAcademyProject2017
I used "Platinum Silicone Rubber" as A agent and Mold Star 16 fast on a 50-50 mixing ratio in volume or weight, also I had 6 minutes before start to cure so I mixed for 3 minutes and pour the remain time using the technique learnet before form the instructor by using a very thin layer to break the bubbles and avoid trapping air.
Before I started I read the indication in the website for safety and "DO and DONTS" (specially safety) here

FabAcademyProject2017 FabAcademyProject2017
the mold on the left is the picture if the failed mold (the example that Neil talks about the stairs in a mold), this is due to that I forgot to change the "flatend mill" to the "roundend mill" in fabmodules. as you can see once I made that simple change the final mold (on the right) looks perfect.

FabAcademyProject2017 FabAcademyProject2017
Since the whole to pour the the Epoxy resin was too small I had to use the "injection" technique, and as you can see on the right the cristal came out well. although it needs to cure for few days more to be completely hard aa a rock.

Lessons Learnt

  What I was not able to do this week:

  What I did but need to get better at:

| Week11 | Week13 |


Creative Commons License