Fabrication: Making off!

Some Ideas need a little more time
Less is more or in this case the possibility to make almost anything!
The plan started as a super detectable product, but as time went by we had to cut off stuff and make it work in a nice an simple way, this as the first prototype is a super big step for making progress. Changes will be made as we have more time after.
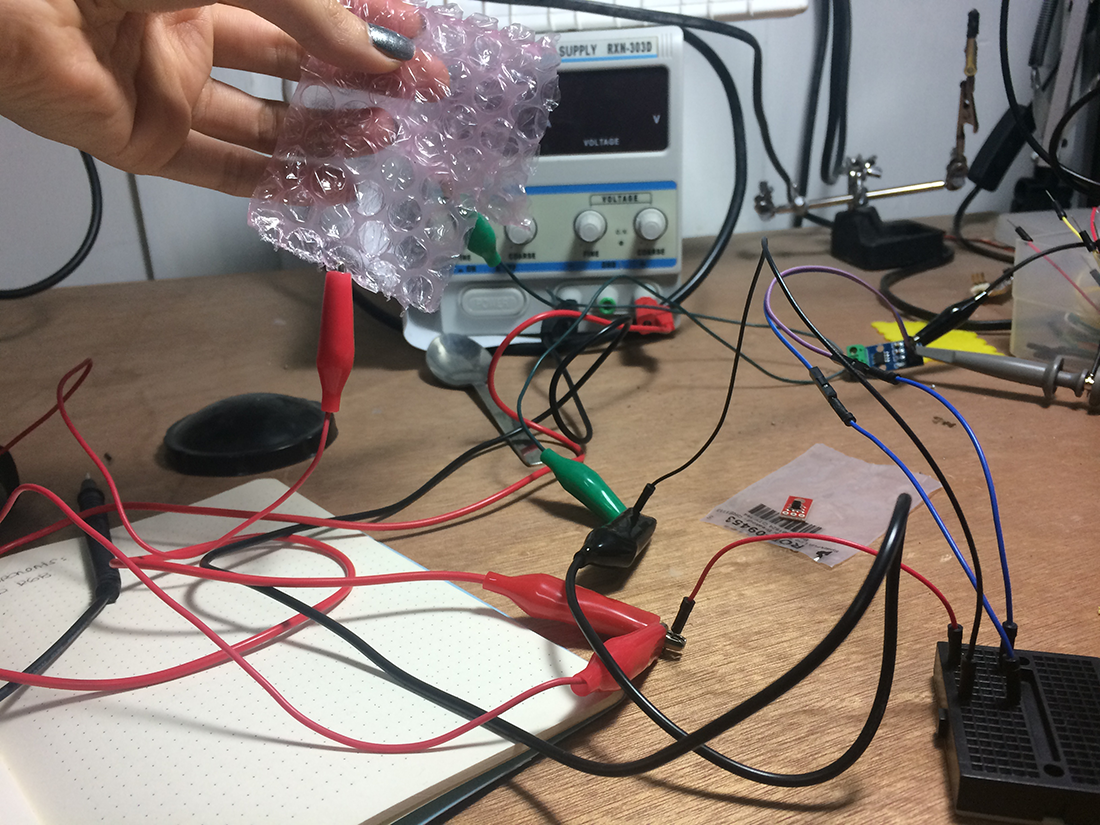
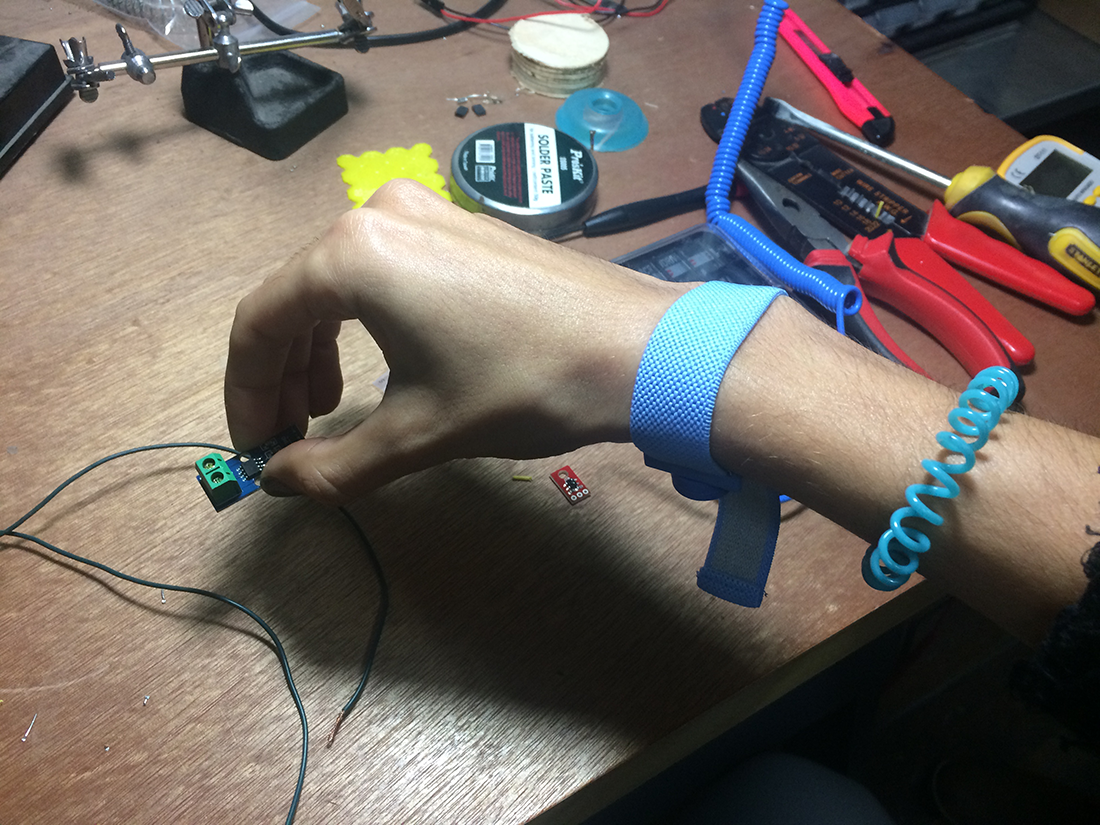
Base on the idea of detecting 5 materials we first started to create a list of materials based on it reflectivity properties, with the help of some sensors. Working progress during the week was not enough to make this possible, but we manage to make some progress and to differ from when it had material and when it didn't. (image above show how we made all the process)
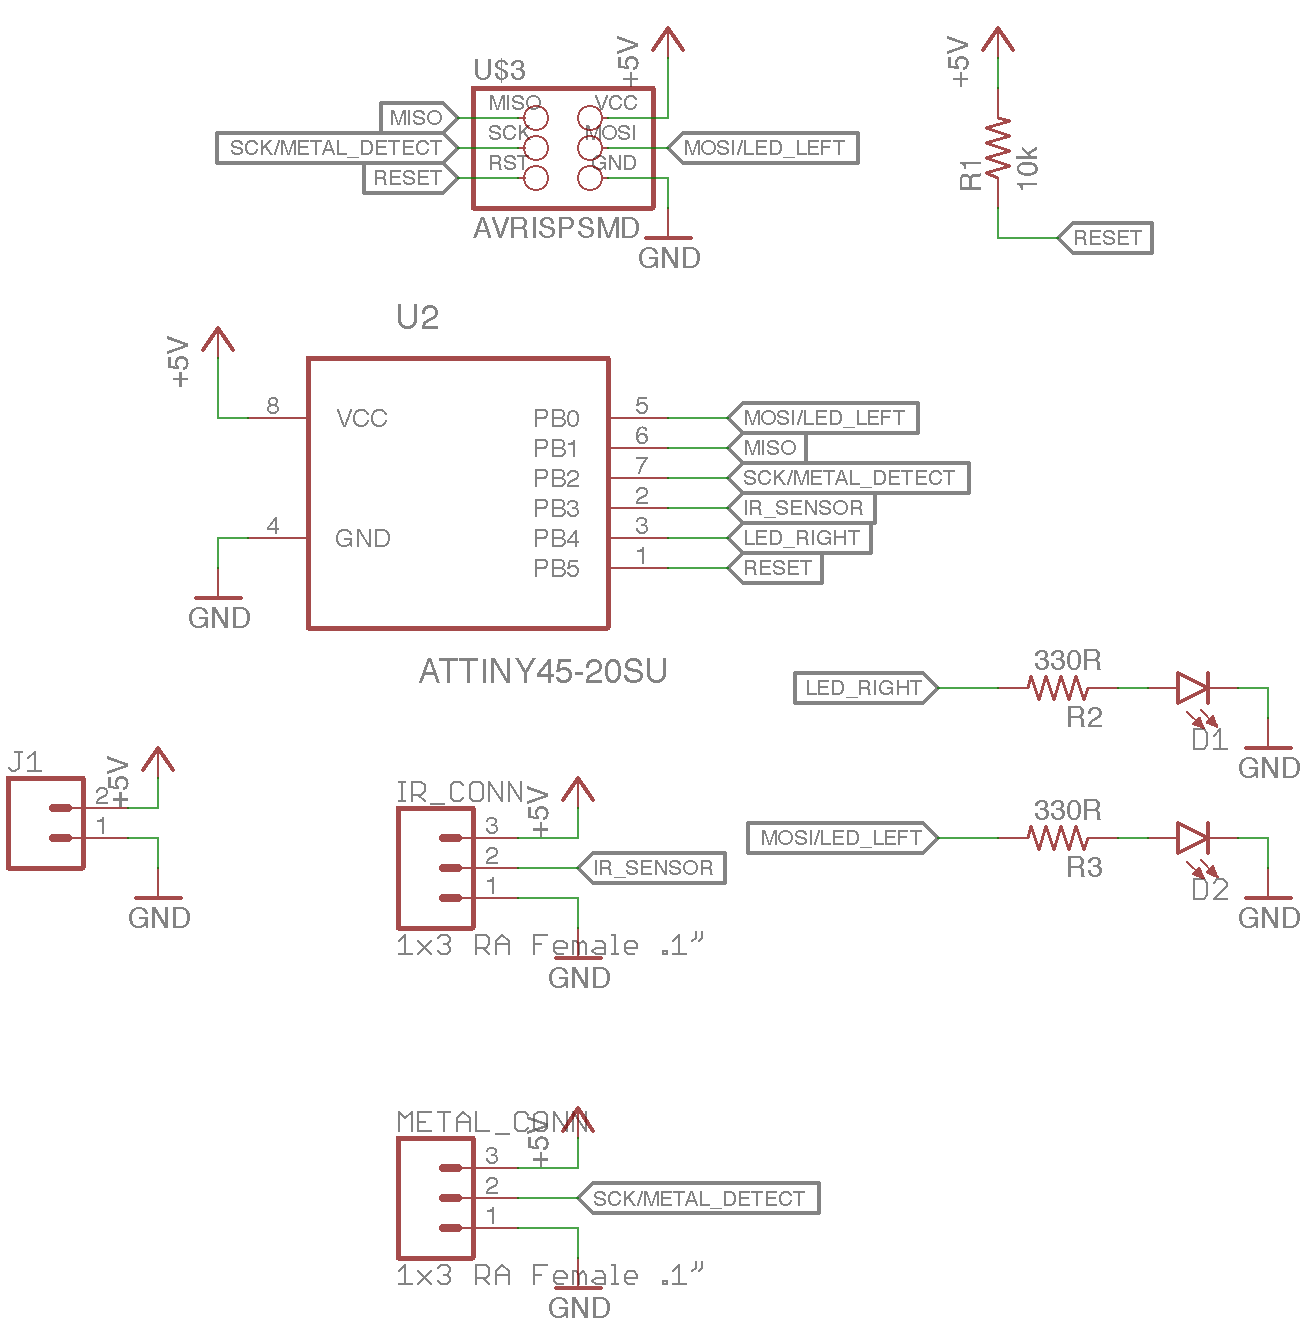
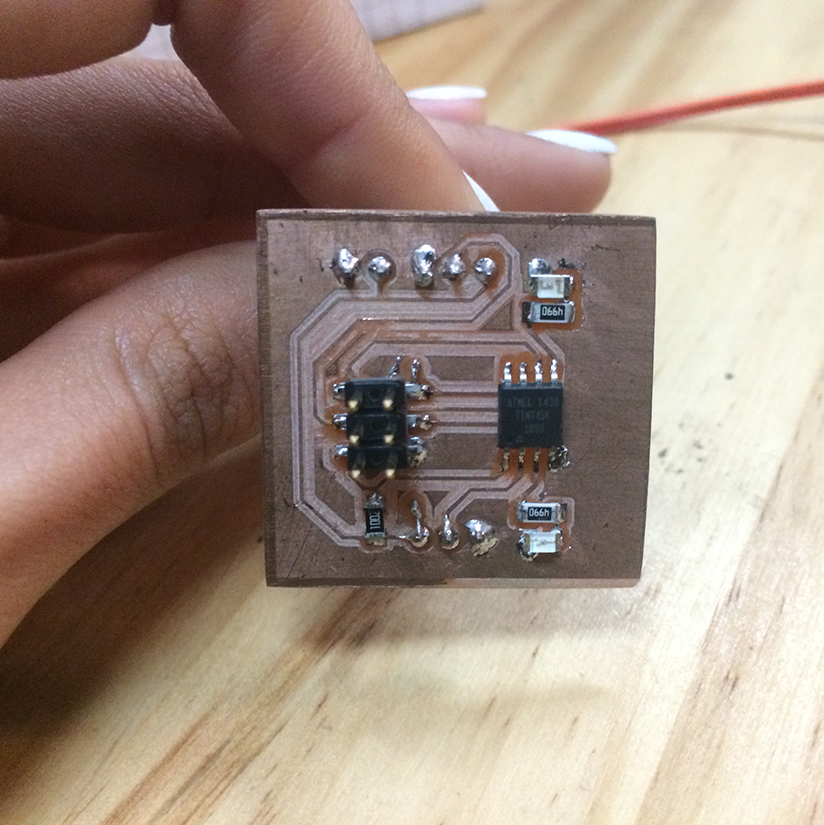
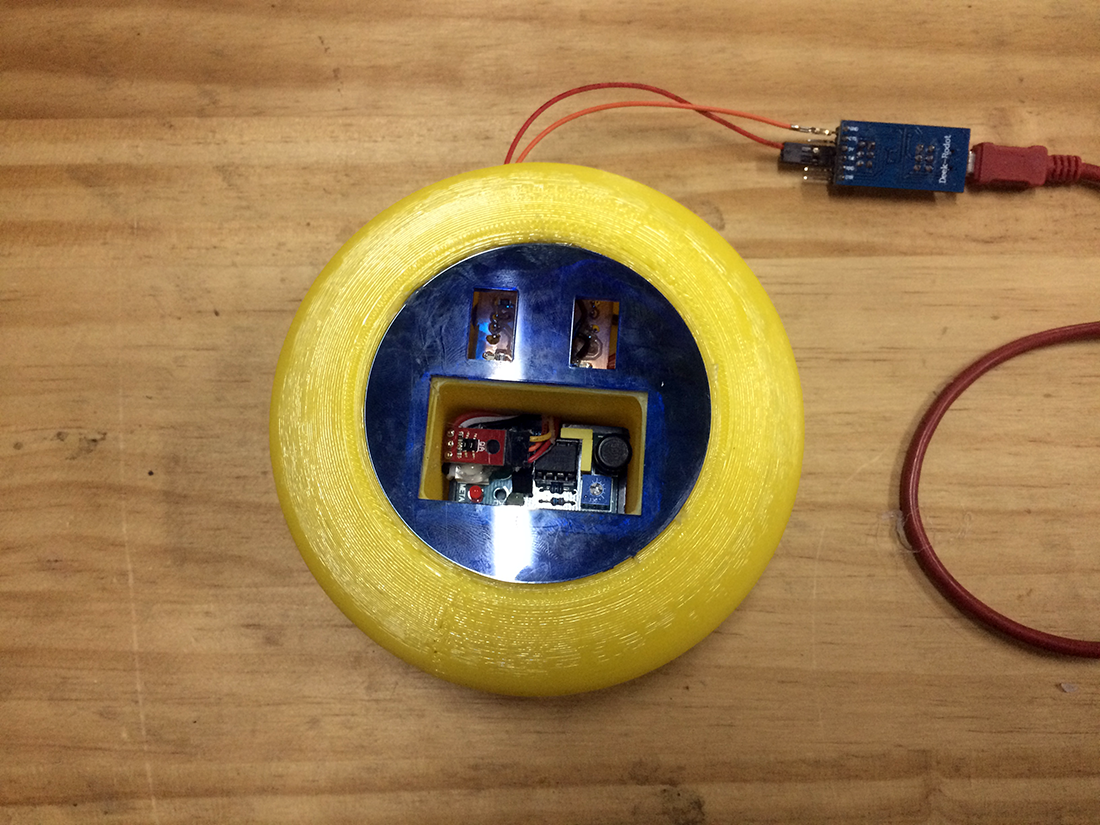
The sensor helped create a list of range, and wit help of the oscilloscope we manage to see the difference between the non and available materials. After that we created an Schematic to define the components. The system is composed of sensors that give different information about the input materials, a metal detector that outputs a LOW logic level when there’s a metal near. The reflective sensor (Assignment 13- Towards final project) changes the voltage according to the reflected light at the sensor. With these two sensor the system estimate the kind of material it is.(image at the left) Then we went on fabricating our PCB, this had a series of unfortunately event (milling not cutting, electronic design not working, tool breaking several times, etc) this was not the nice version, but it sure was the one it worked! (image at the right)
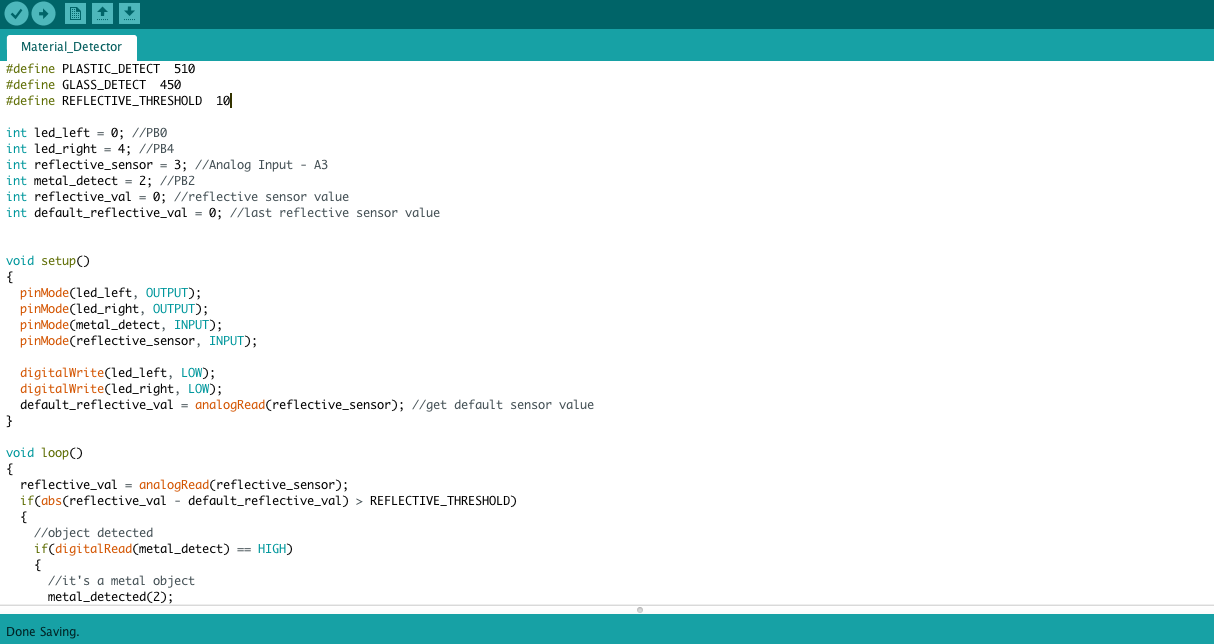
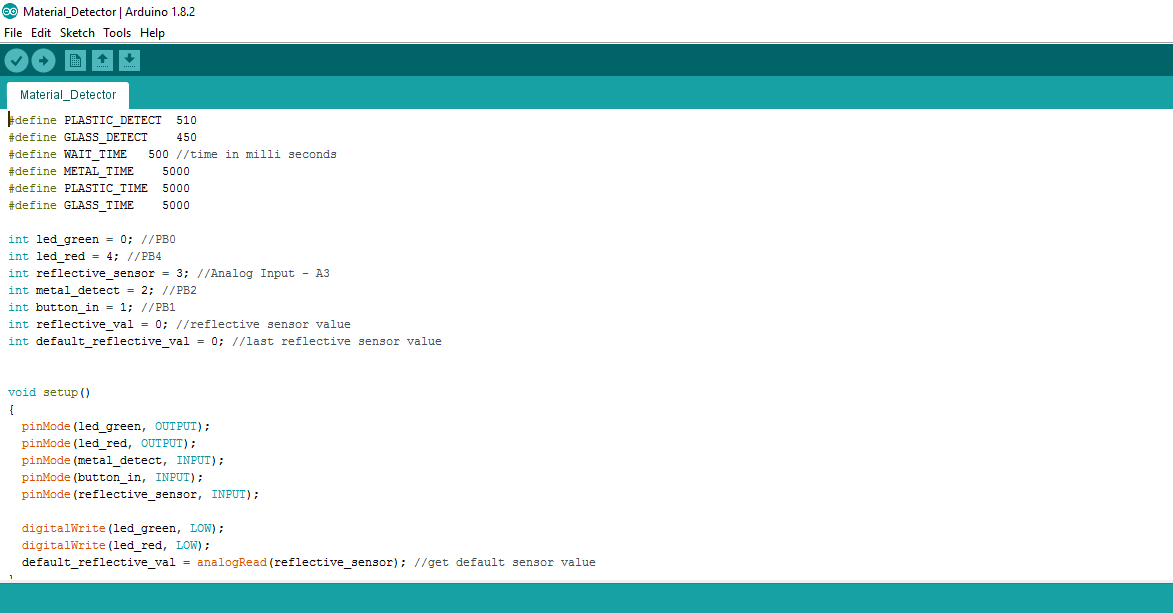
The board has two output LEDs and a button input. When the button is pressed the board reads the metal detector, if it’s LOW then it’s a metal material and an output sequence with the LEDs is shown, if not then it reads the reflective sensor value, if the material is a glass then it won’t reflect anything if it reflects then it’s plastic. This is the embedded programming of REC KIDS (as you can see in images above). Then all this information was uploaded to the micro-controller and we started testing to see how it worked and respond.
The sequence depending on the material vary:
Plastic = Green led on
Glass = Green and Red led on
Metal = Red led on
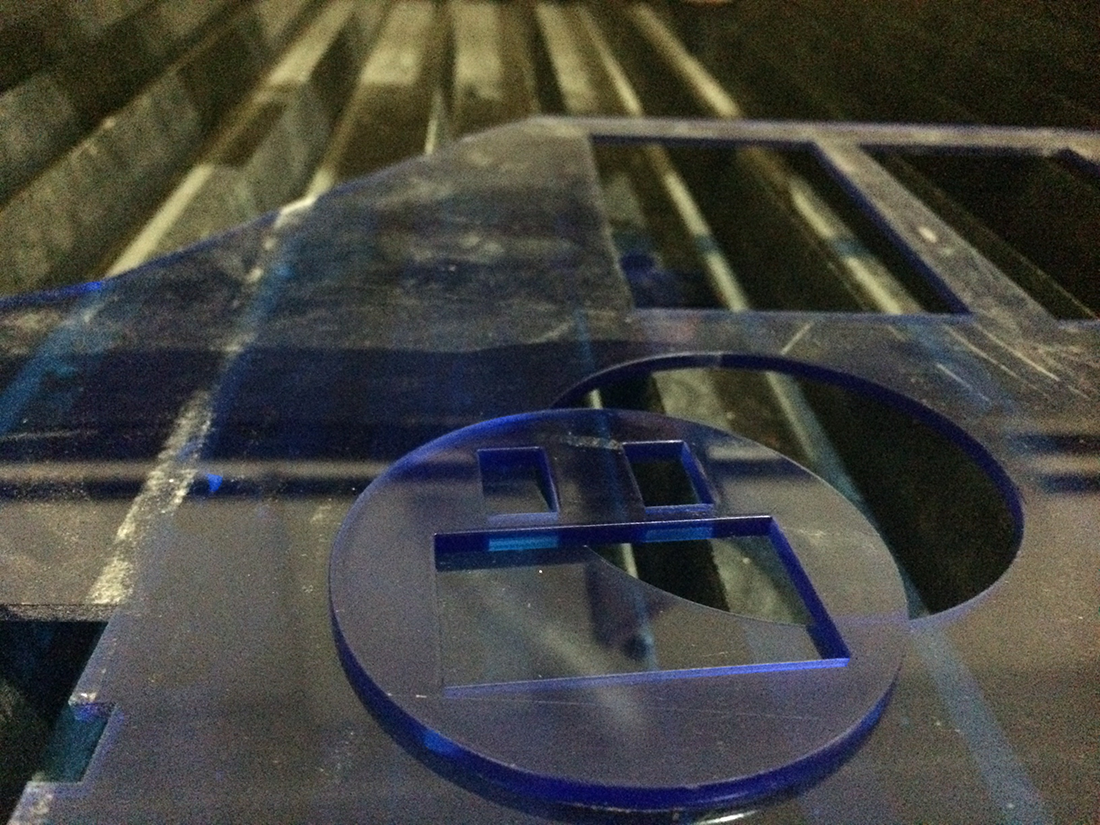
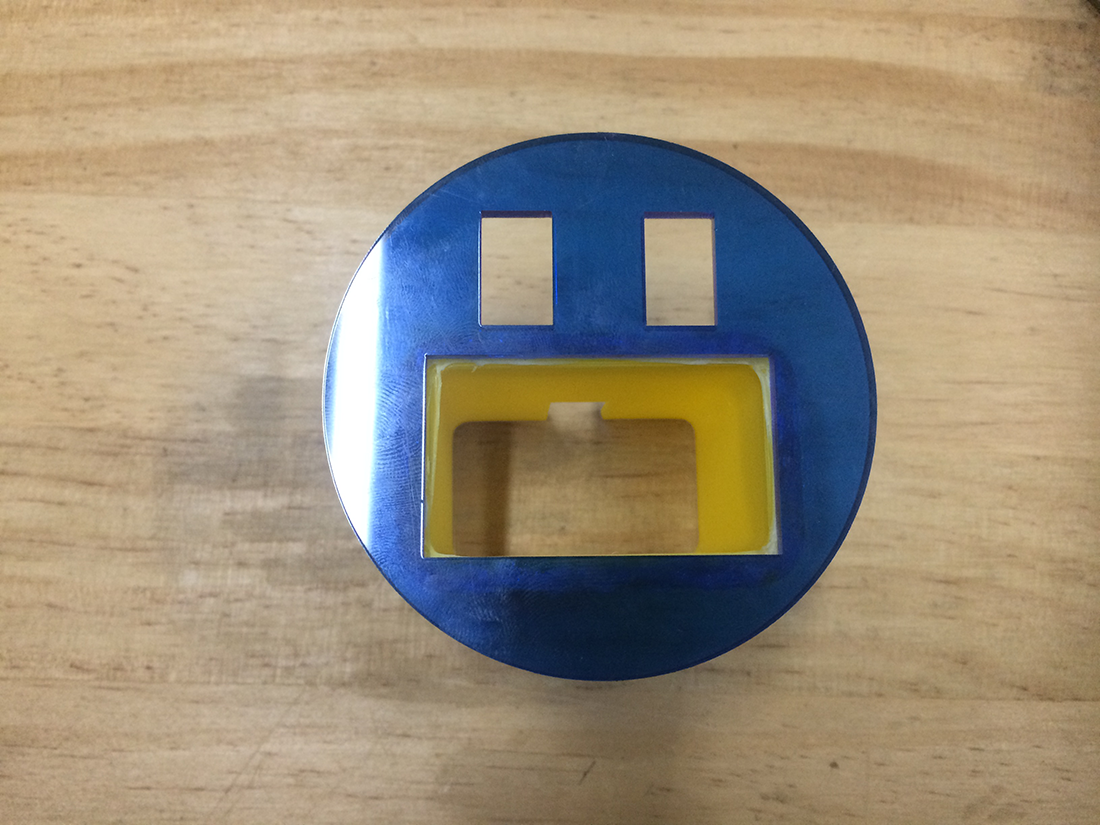
When creating electronic designs and production, sometimes the design is the one that has to adjust to the electronics and not the other way around.THIS WAS MY CASE. Even though I had planned a nice design, I wasn't able to print of cut until electronics was done. The truth is that we had to make sure that changes made during the prototyping stage can fit the correct way once everything is done. So after that we printing all the parts (basically 2, mouth and head) and cut the face in laser (images above)
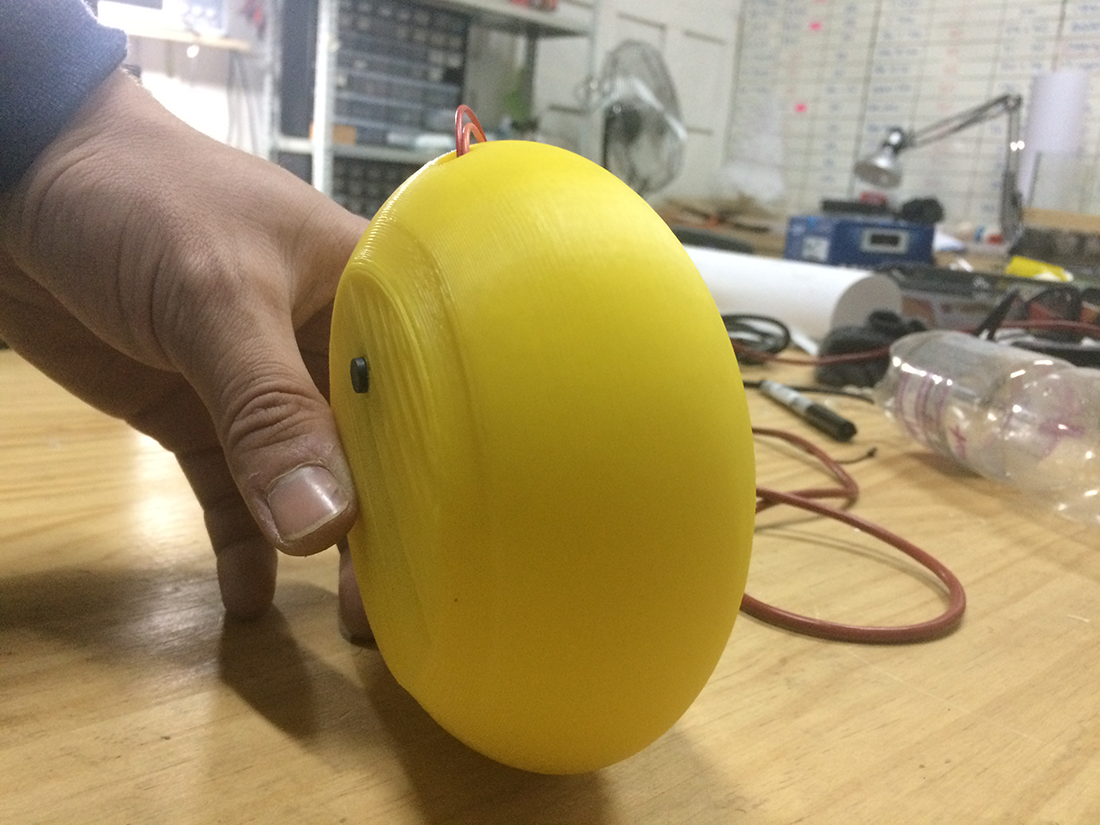
Finally we insert and adjust all the pieces together: (electronics into mouth- mouth into face- electronics into head) and WALA! REC KIDS IS ALIVE!
To see how it works check the PROTOTYPE PAGE
Download Files here:
Final Project Files