Prototype: How to build it and how it works!
Getting started to build your Rec Kids
Once you download all the files, you can proceed with the following steps:
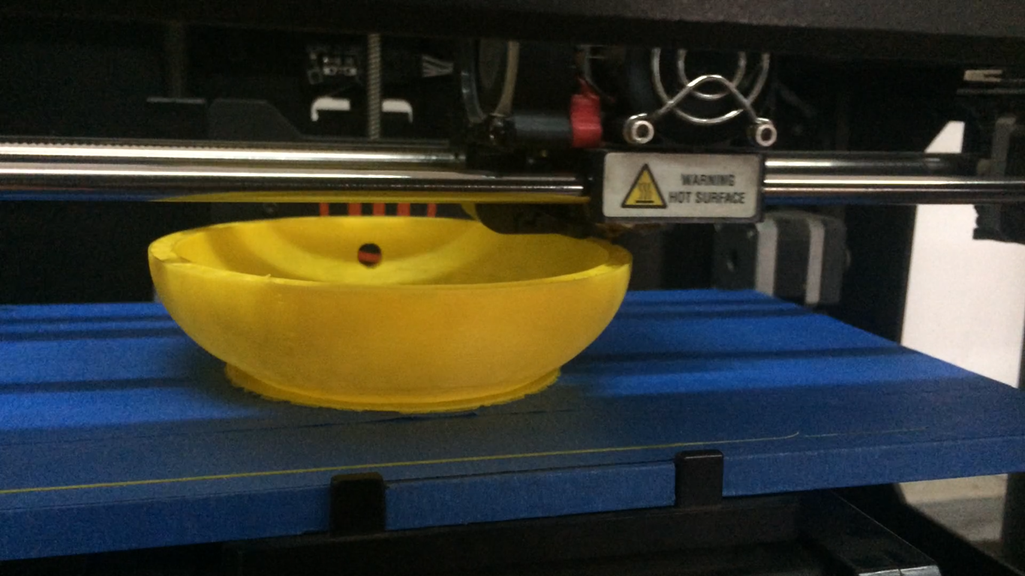
1. Start printing the body and the mouth, it takes about 4hrs to print both pieces
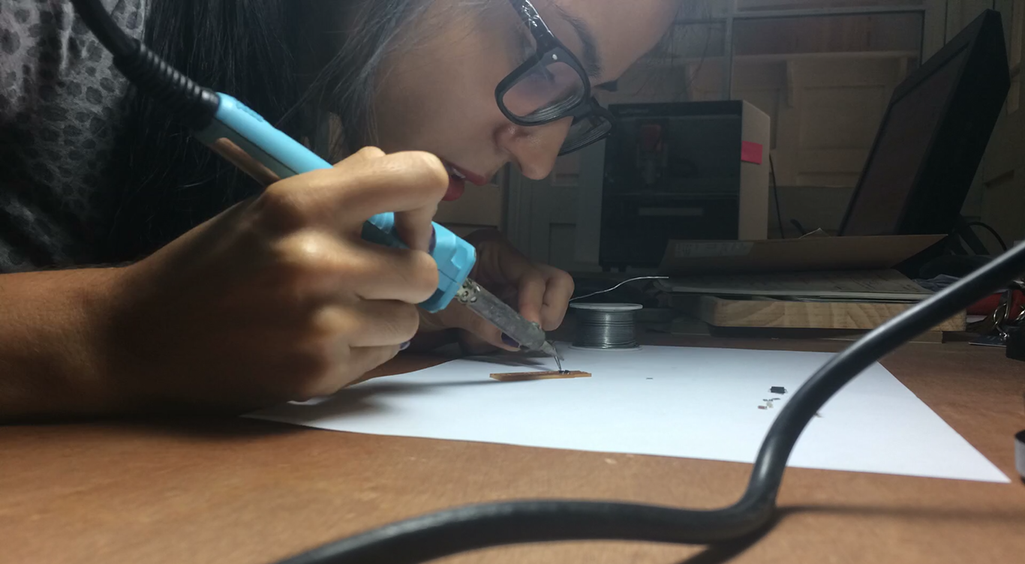
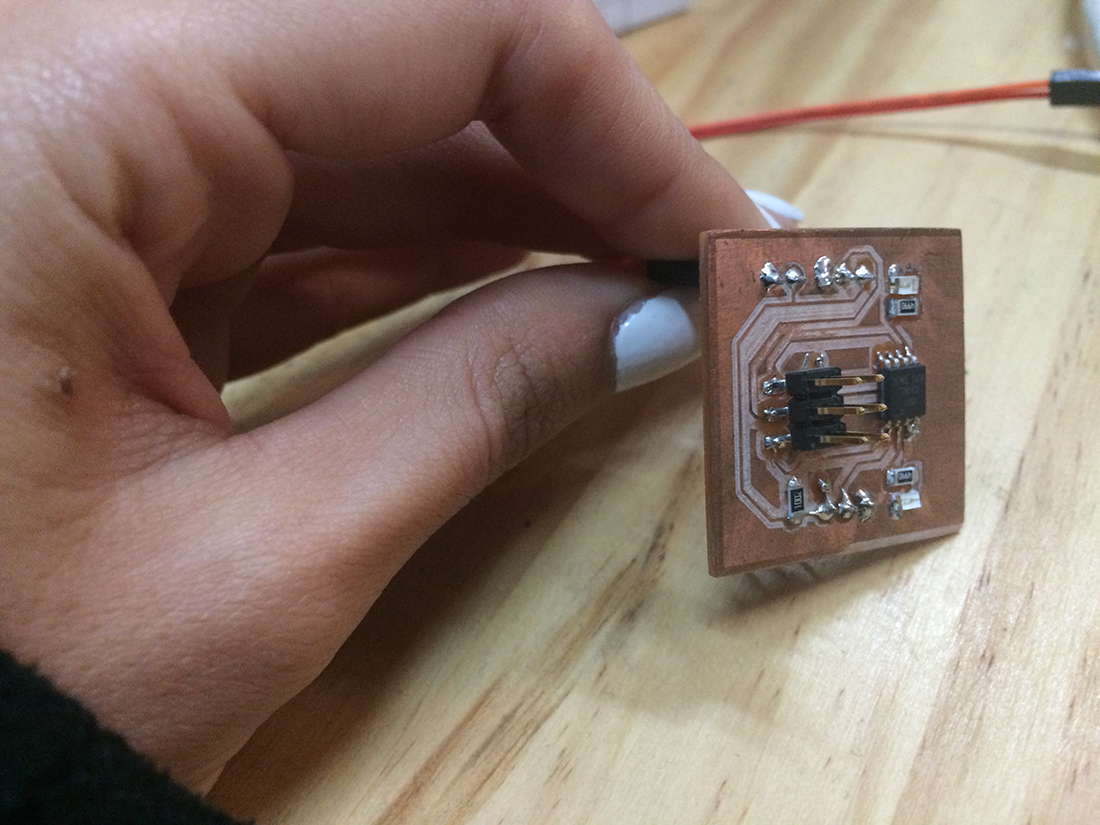
2. Meanwhile the pieces are printing you can start creating your pcb boards and adding all the components to it.

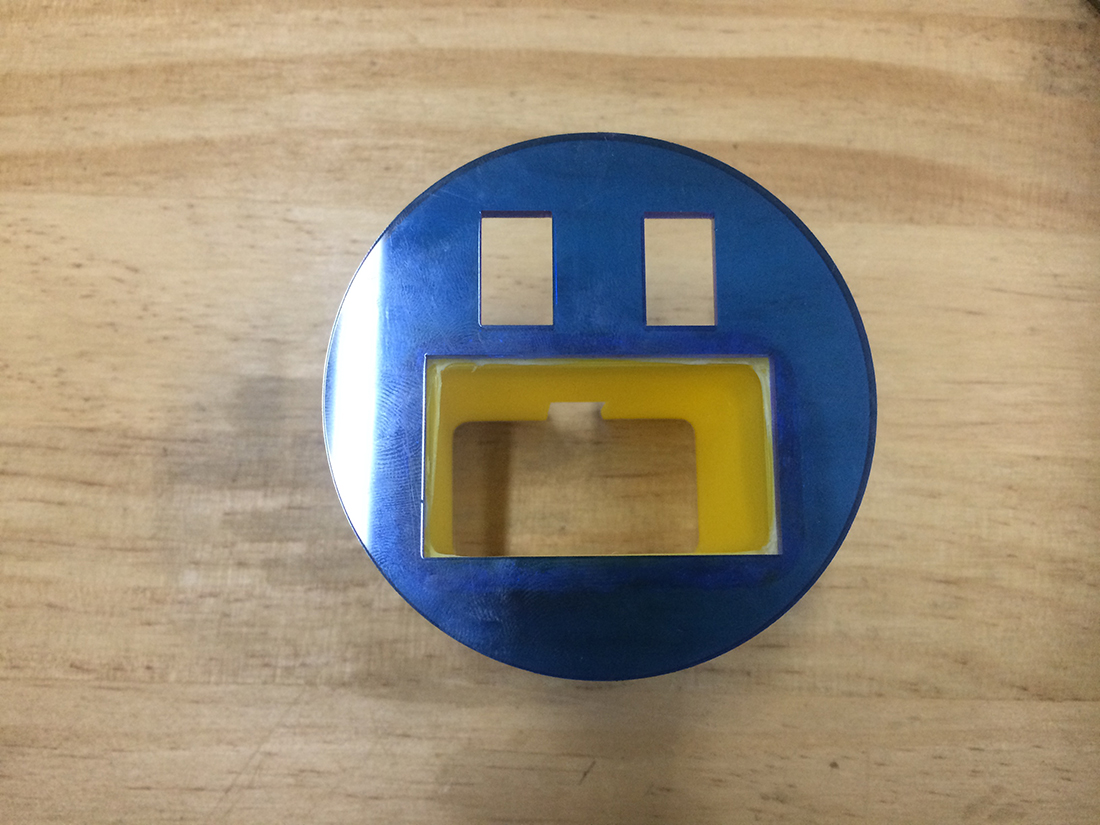
If you are a fast soldering you can proceed to cut the face of your rec kid in the laser cutter:
3. Take into consideration the parameters of your machine it is 3mm acrylic. The machine we have in Fab Lab Santiago uses the following parameters: speed 10 / power 85.
4. The next step is to start with the programing of the board.
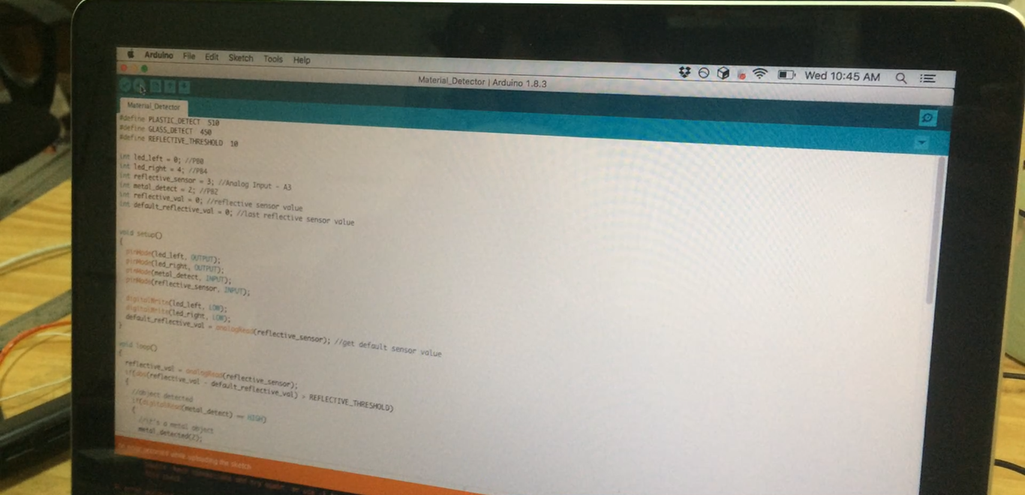
For programming please refer yourself to the following page for more instructions: Input Device. If you have already download the files you will just need to add the code and make booth-load to your board.
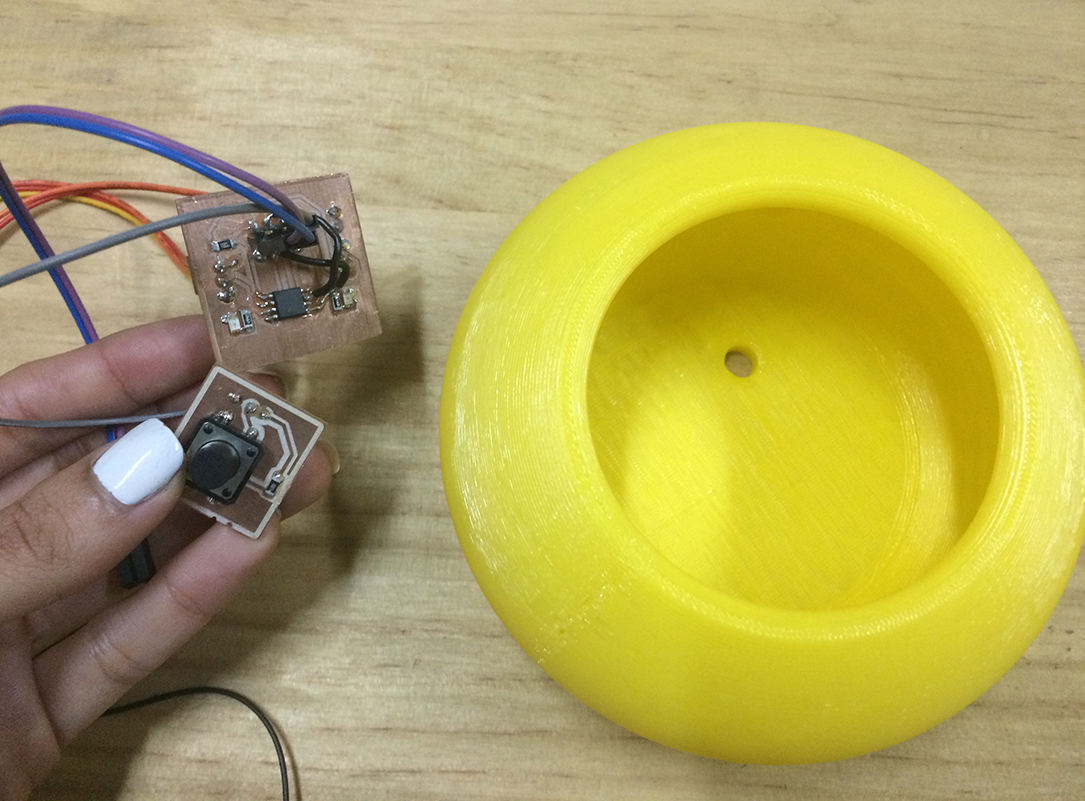
Once all the parts are printed:
5. Connect the face to the mouth.
6. Place all components inside.
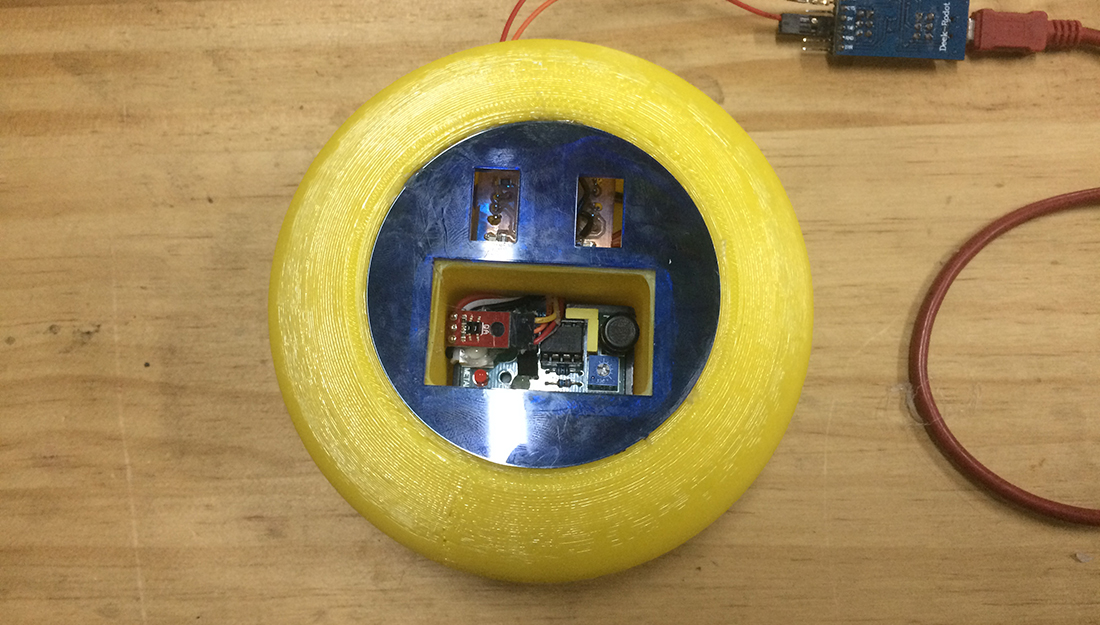
Make sure everything stays in its place:
7. And yo have build your own Red kids.
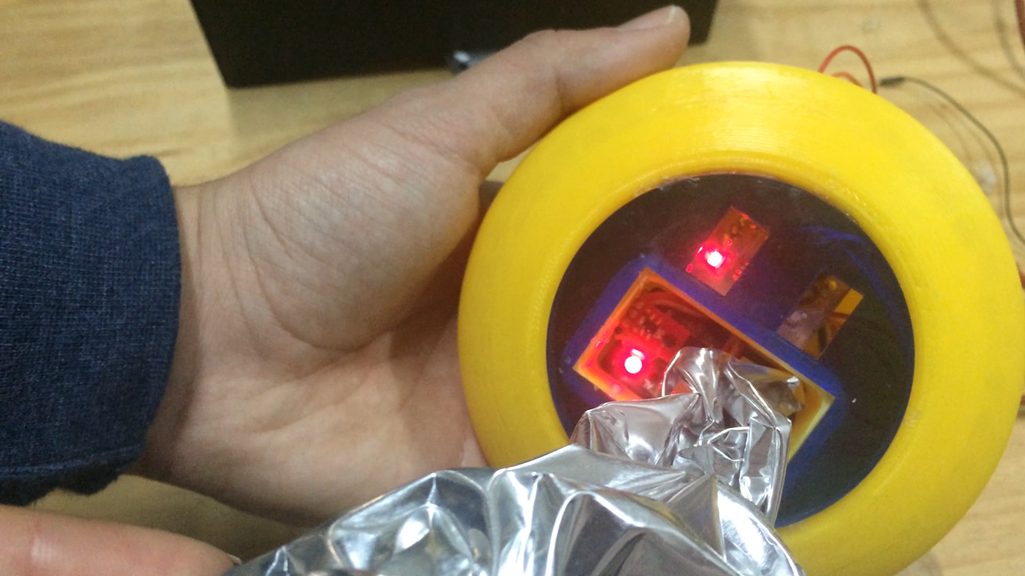
8. Now plug it in, and place a metallic object. You will see that red leds turns on.
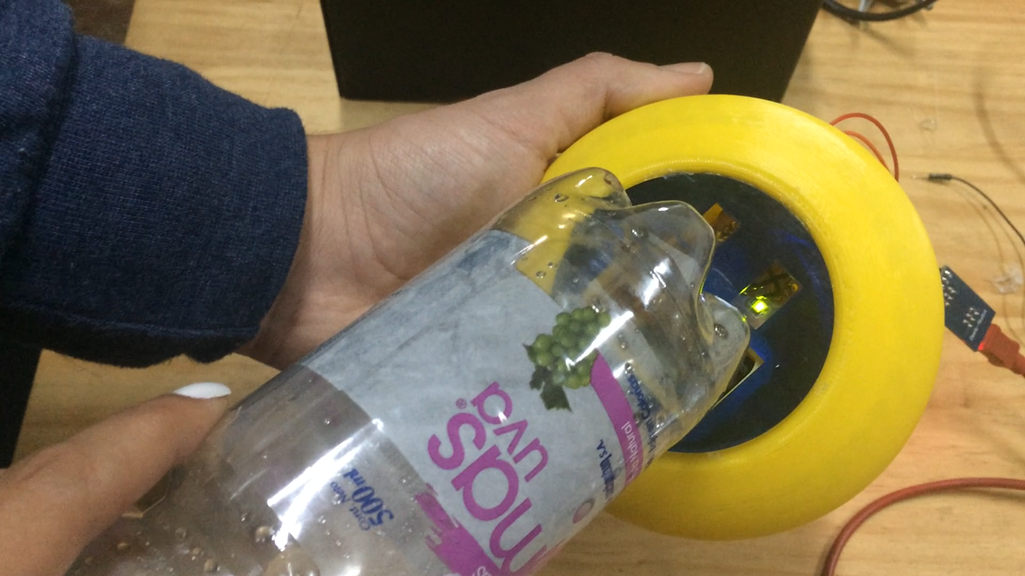

Now is time to change material:
9. Place a plastic object. You will see that green leds turns on.
10. Now keep on identifying materials.
REC kids

REC kids Video Working
1 minute video Final Presentation