Mechanical Design. Let's Build a machine!
Assignment
design a machine (mechanism+automation), including the end effector build the passive parts and operate it manually document the group project and your individual contribution
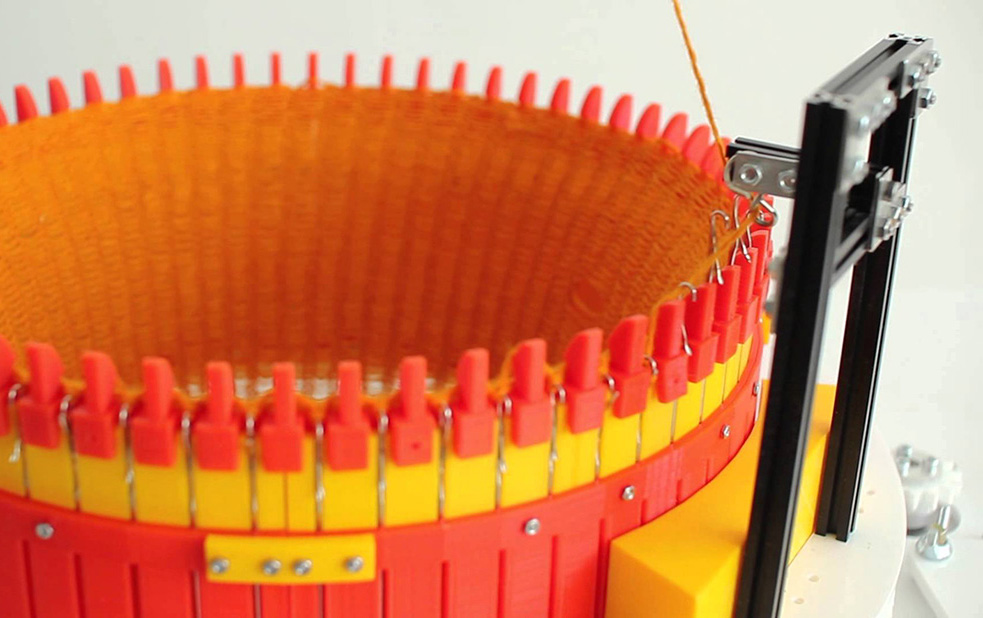
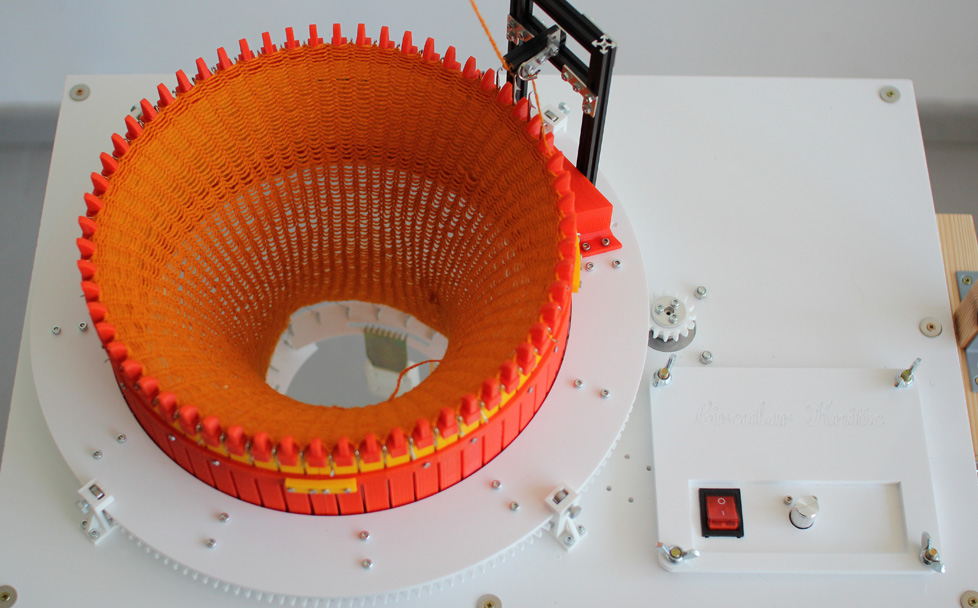
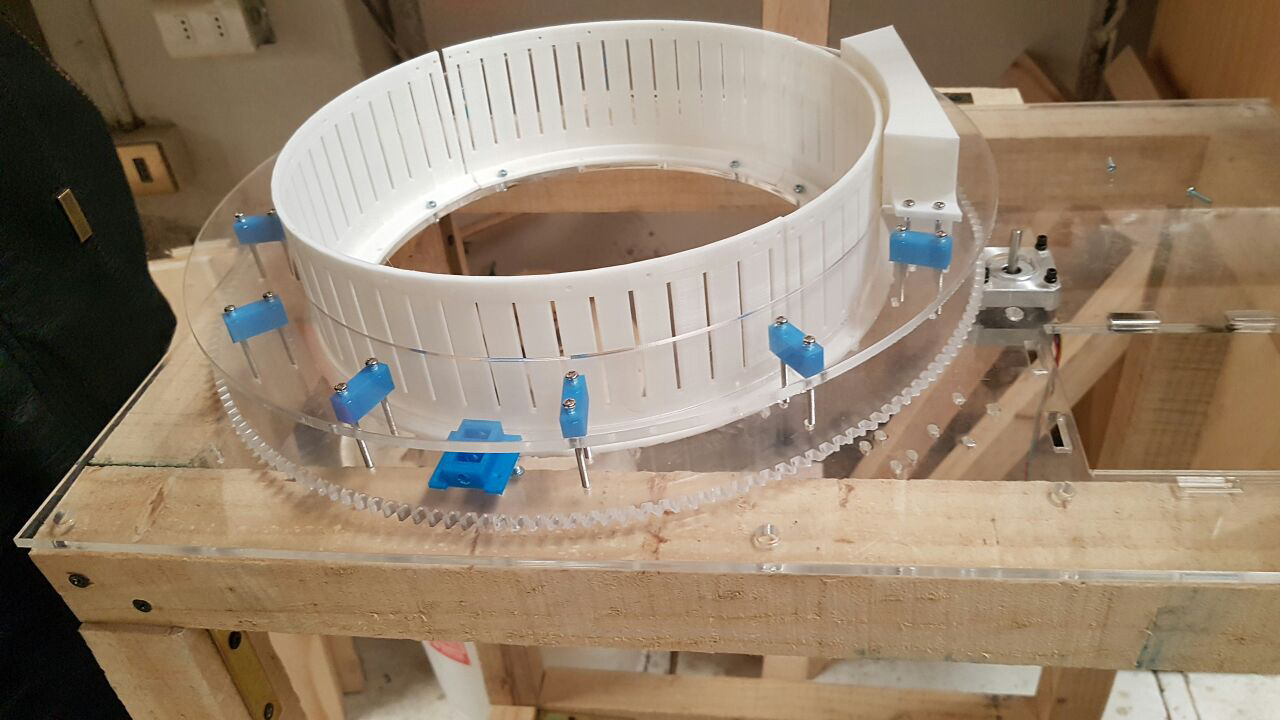
This week our task was to make a machine that operates manually. As a team, Alysia and I are making a circular knitting machine from Instructables (as you can see in the images above)

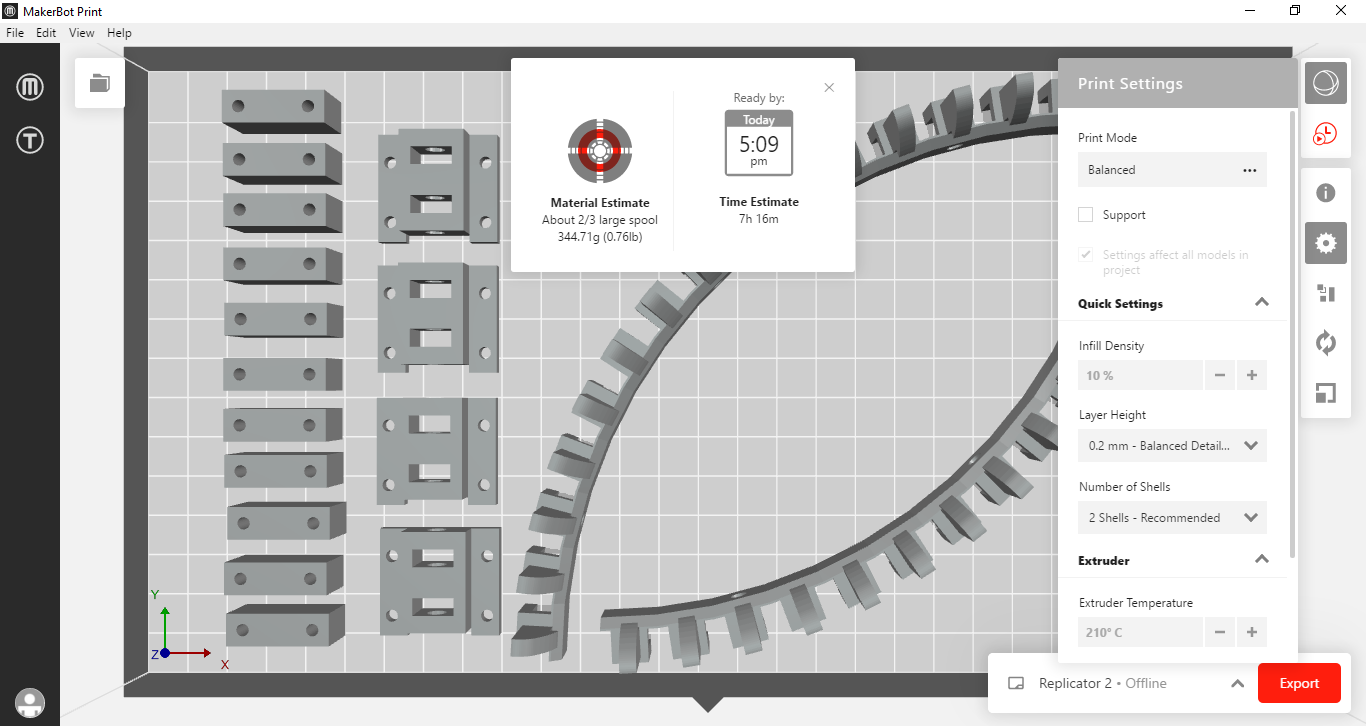
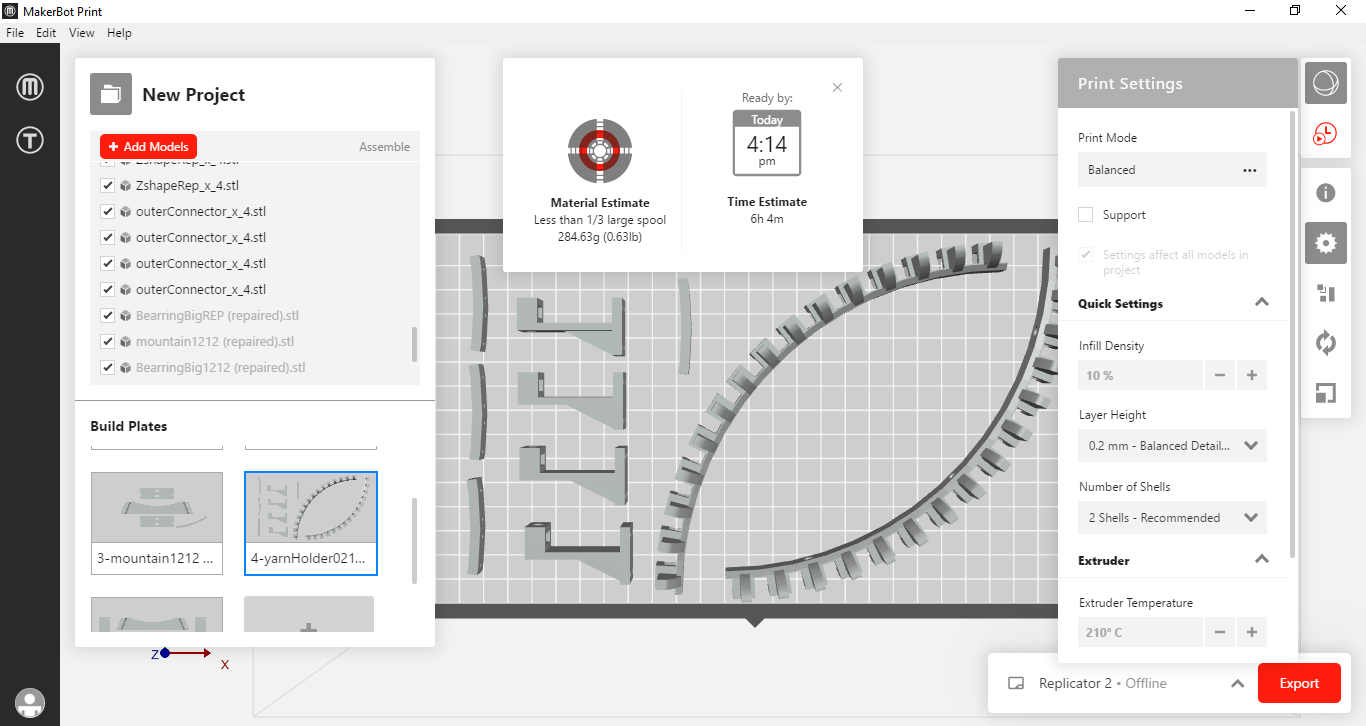
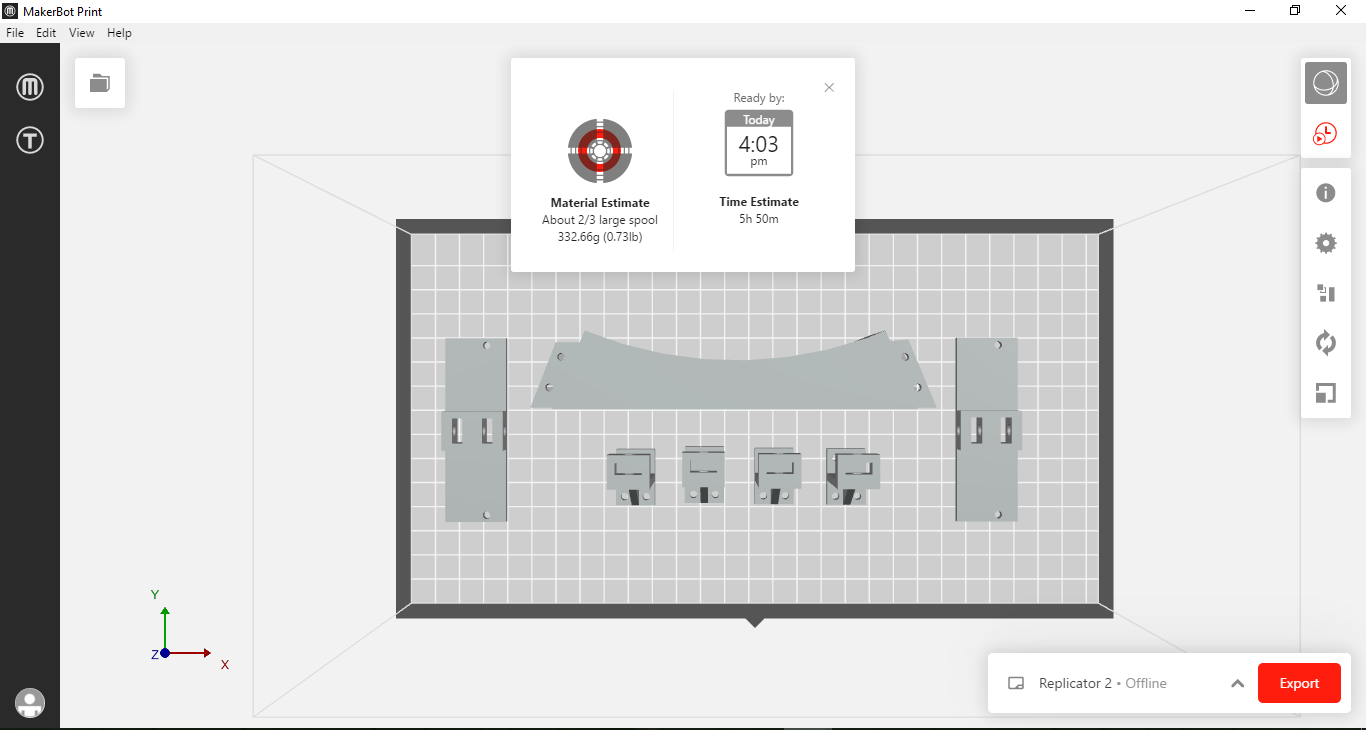
Step 1: download the .stl files from Gitub: Circular Knitic. The name of a file tells also the quantity and how many of them you will need. Print in high quality max. 0.1mm layer height! In the images above you can see can see how the process was done.
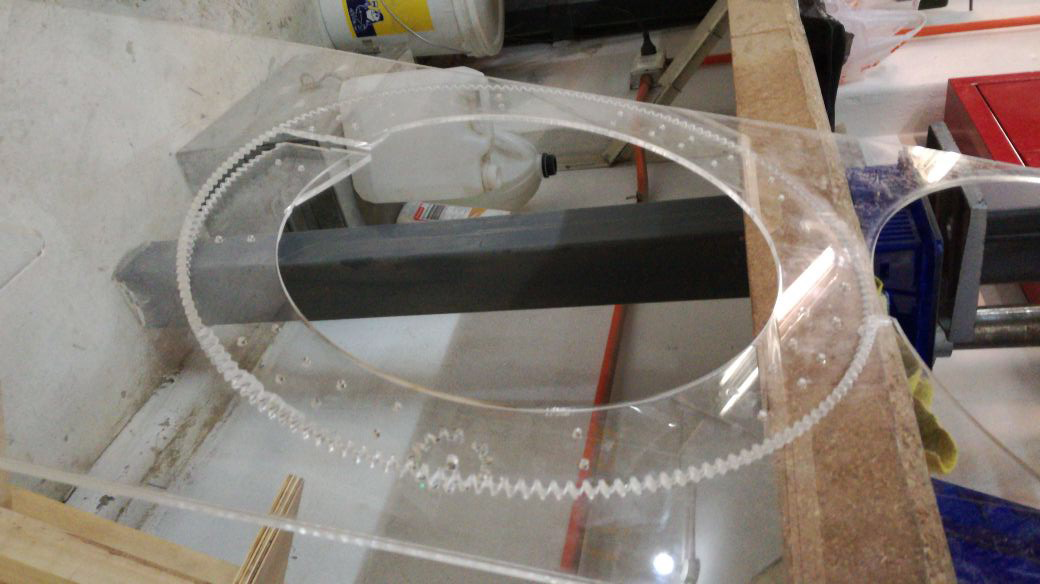
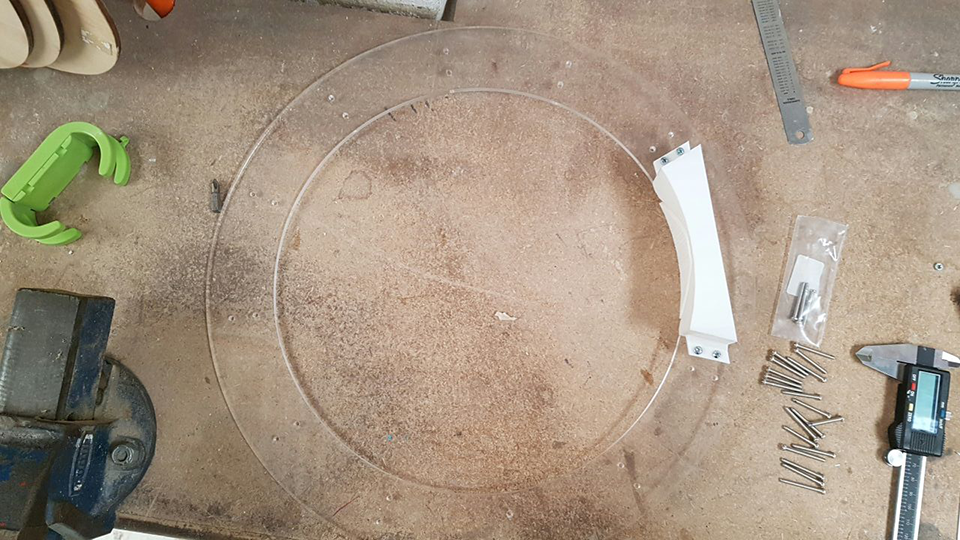
Step 2: Laser Cut Parts, you will need 5mm ja 6mm plexi. Files in Circular Knitic. Again file name will tell which plexi is needed.
Step 3: Cut Wood, Use 28x28mm wood if possible. The wood is needed for building a table or a frame for the circular knitting machine. Hence, the dimensions of a table are 60x40cm. Cut the 28x28mm wood into following parts:
- 4x800mm
- 3x600mm
- 2x540mm
- 4x344mm
- 3x180mm
- 1x80mm
- 28 x L-Shape
- Some screws
Files in Circular Knitic.
Step 4: Get Materials, in Chile they didn't sell some of the parts, so he have to order them form US (took almost 1 month to arrive and some parts didn't arrive, so lest see what we can come up with):
- 60 x needles
- Stepper motor nema23
- Big Easy stepper motor Driver
- Arduino Uno
- Ventilator 12v 40mm x 40mm
- Power supply 12v
- Cabling
- Carbon fiber tensor 2mm (55cm)
- 14 x bearings (bore 5mm x 10mm x 4mm)
- Screws and nuts
- Shaft of motor
- Switch
- 60 x paper clips 50mm
- 2 x makerbeam 150mm
- 2 x makerbeam 60mm
- Makerbeam 40mm
- Makerbeam screws
- 6 x makerbeam Lshape
- 4 x claw weight (this we didn't buy)
- Spring
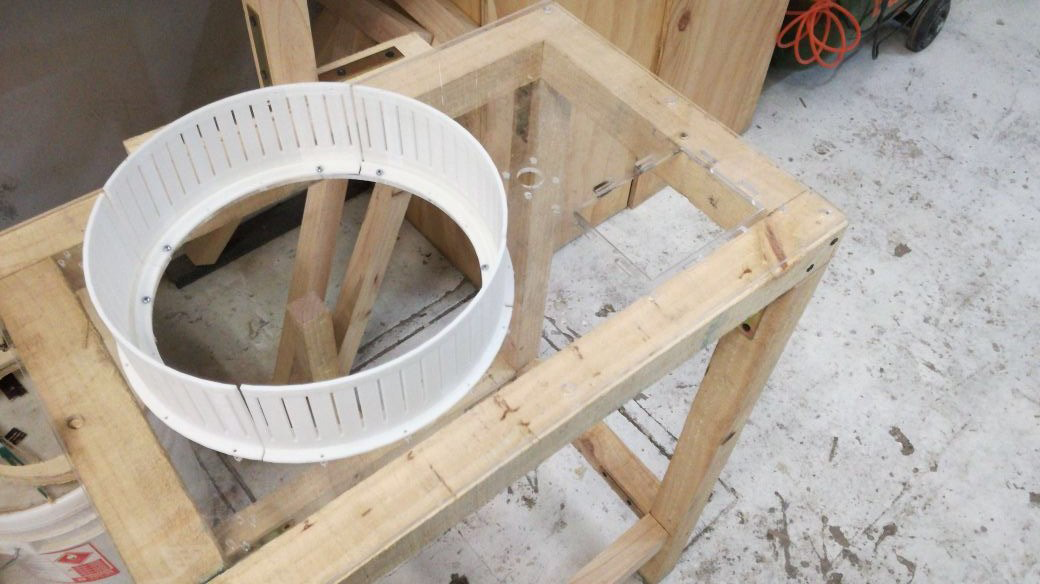
Step 5: Wood Structure, using wood, 90 degree-angles, and screws mount the wood structure for Circular Knitic.

Step 6: Circular Knitic Base, fix base of Circular Knitic to the wood structure using washers and screws.
Improvements: Based that we had to used local materials we found out that using wood instead of the maker beams did work, so maybe is not completely necessary to have additional metal structure on the wooden structure.
What would be done differently: The Laser cutting parts for a second tryout can be reduced (in the case of the electronic box) since it has a lot of extra space and can be made in a simpler form.
The problems we faced:Building a machine is a complex task, buying the parts may seam easy but if your country or city doesn't have them the complexity is a challenge. We try to make a substitution of materials with what we had and apparently it worked.
Download Files here:
Circular Knitic Instructable