Input Devices. Measure Something!
Assignment
Measure something: add a sensor to a micro-controller board that you have designed and read it
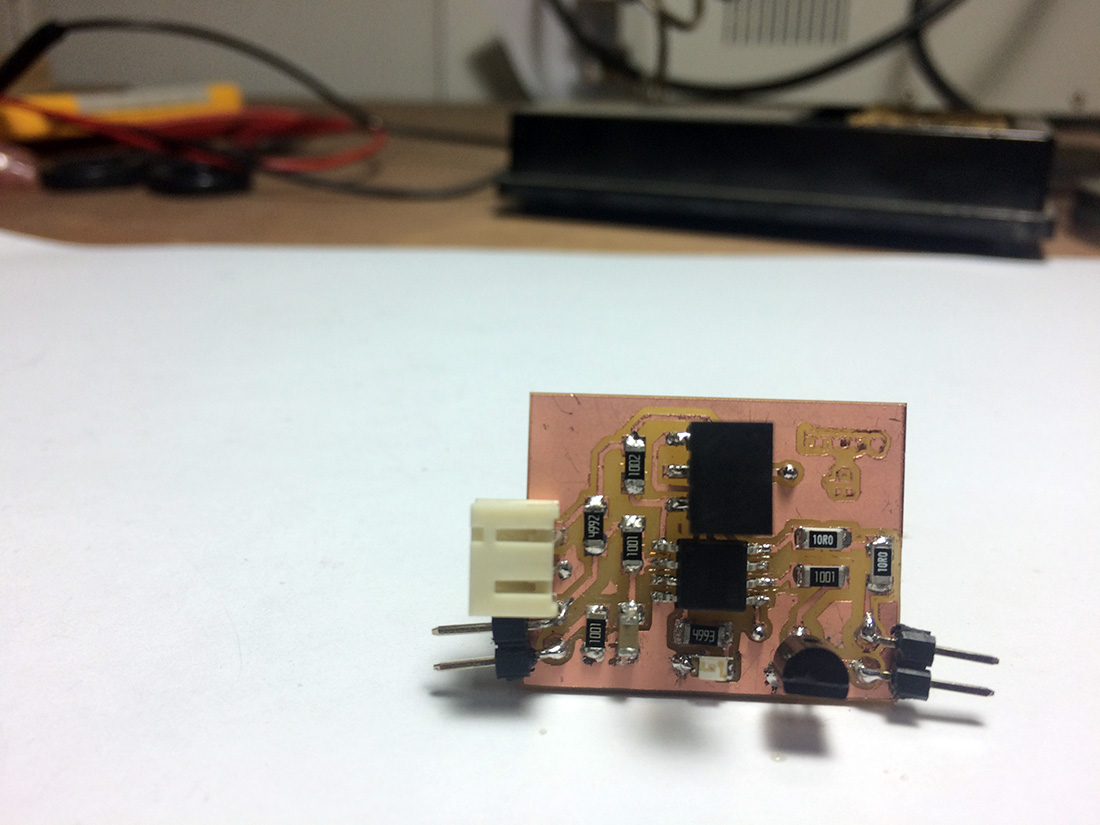
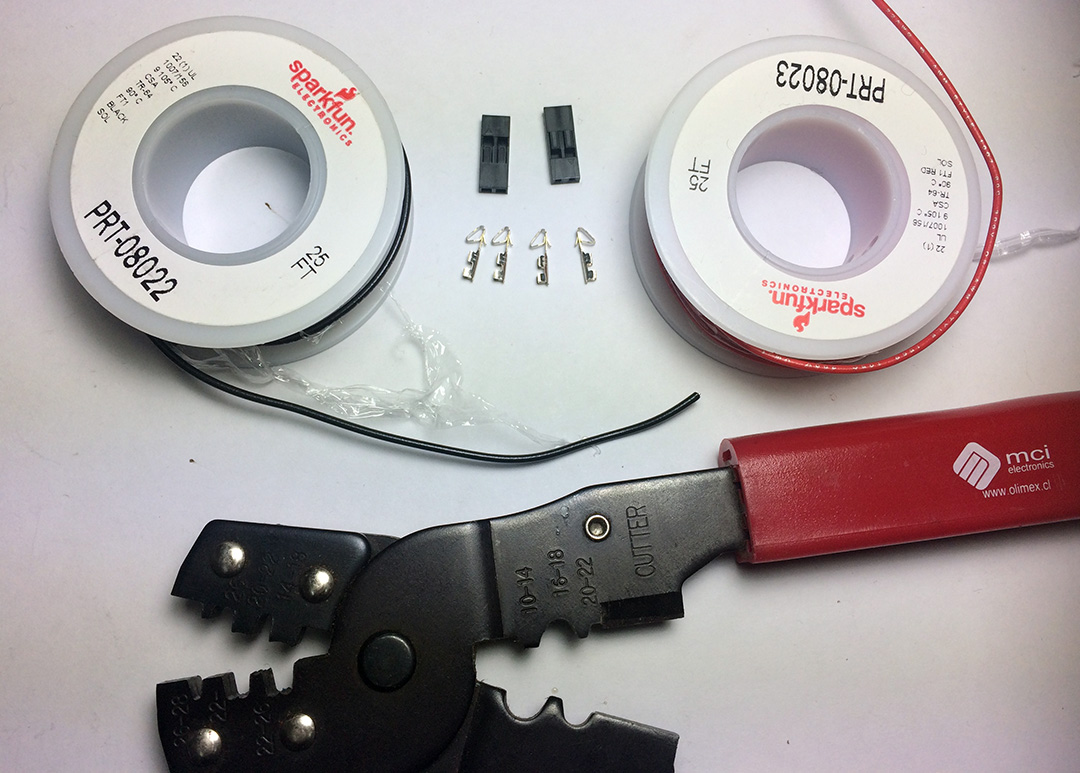
For this week i took the bnore board to try out first (images above) from Output Devices Assignment 10 and decided to vary the voltage to close de circuit in an analogue way, basically by to ways: HUMAN CONDUCTVITY or CONDICTIVE MATERIALS.
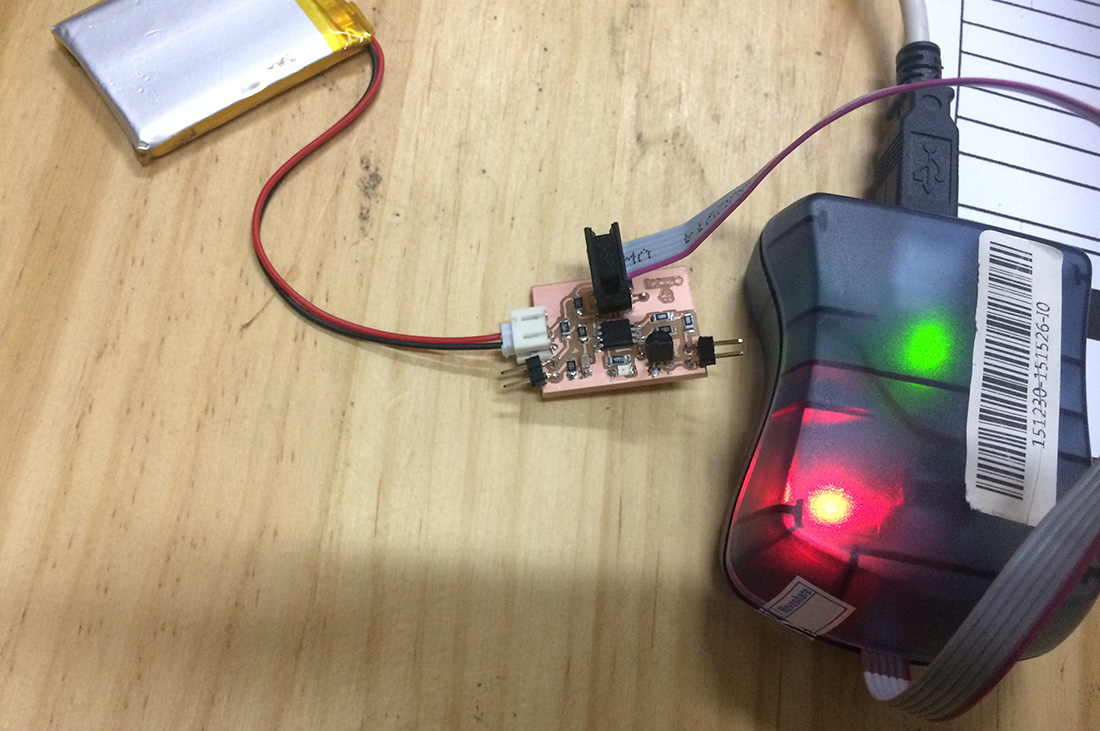
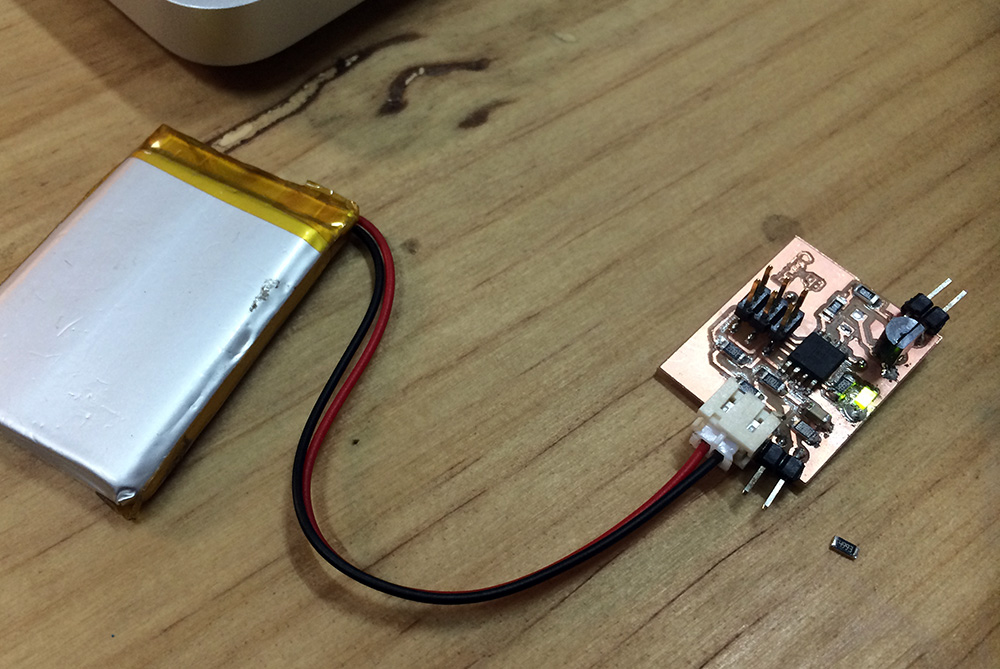
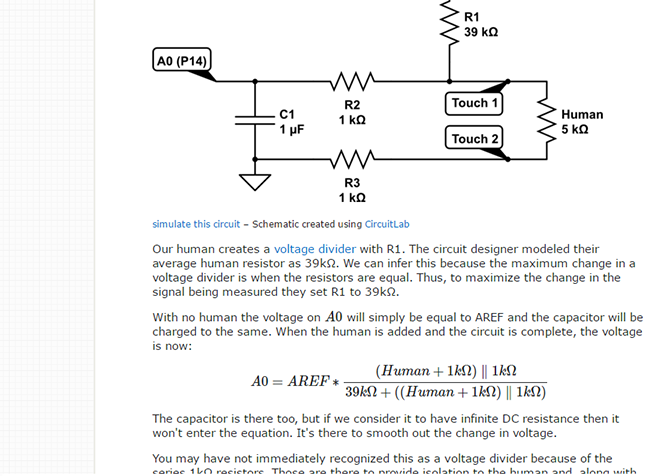
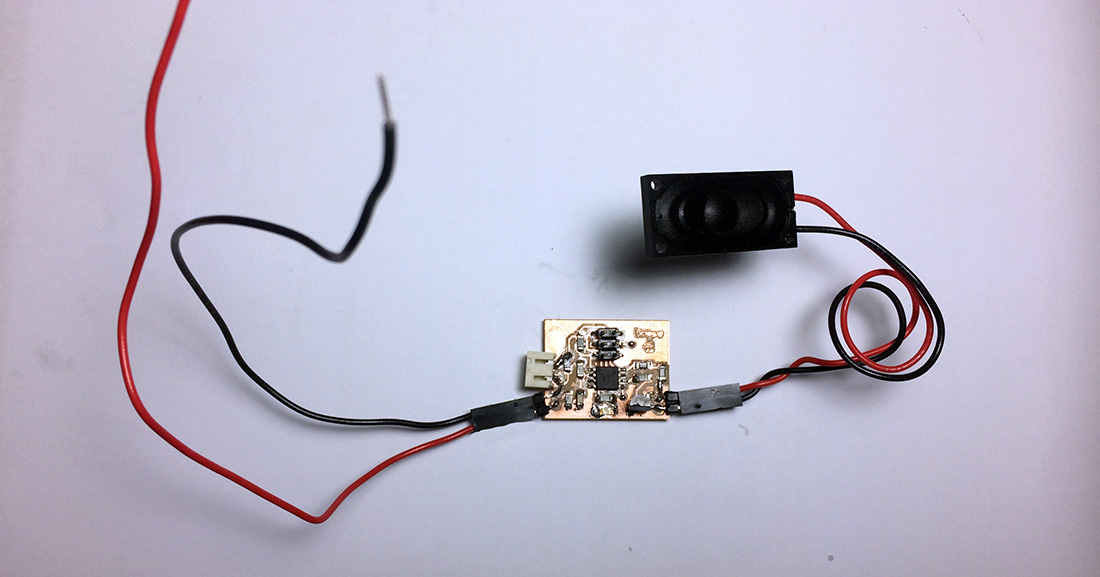
Since we already had the PWM frequency, now we had to reprogram it, so that it could vary the resistance and the frequency based on the things (human or metal) that closed the circuit. As you can see the images above we are changing some stuff to make it work.
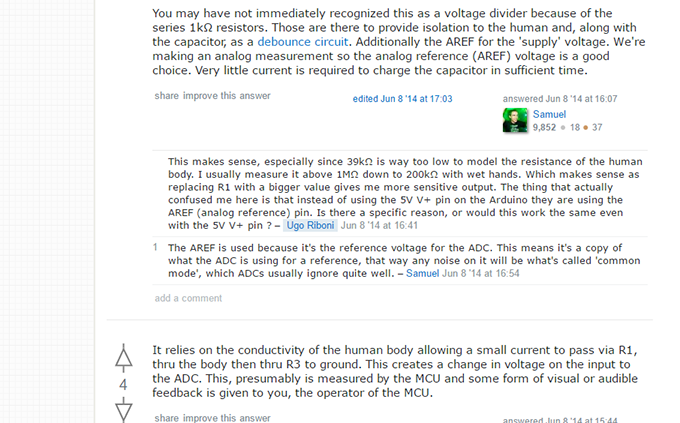
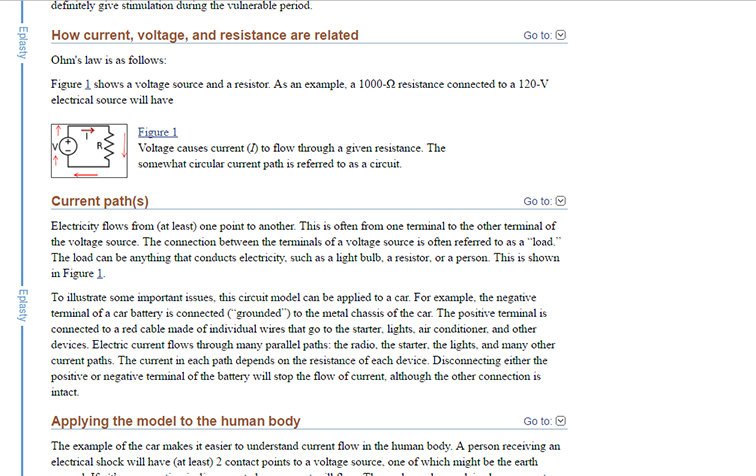
We had to do some additional research to make this possible, the following pages helped:
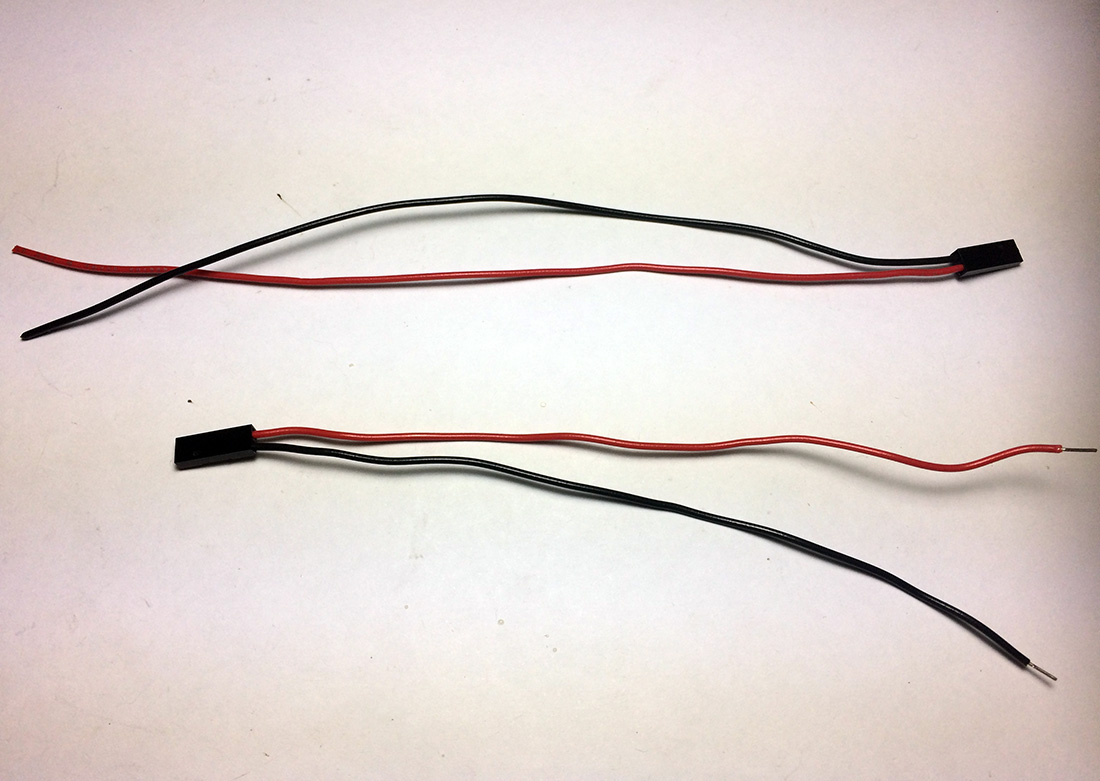
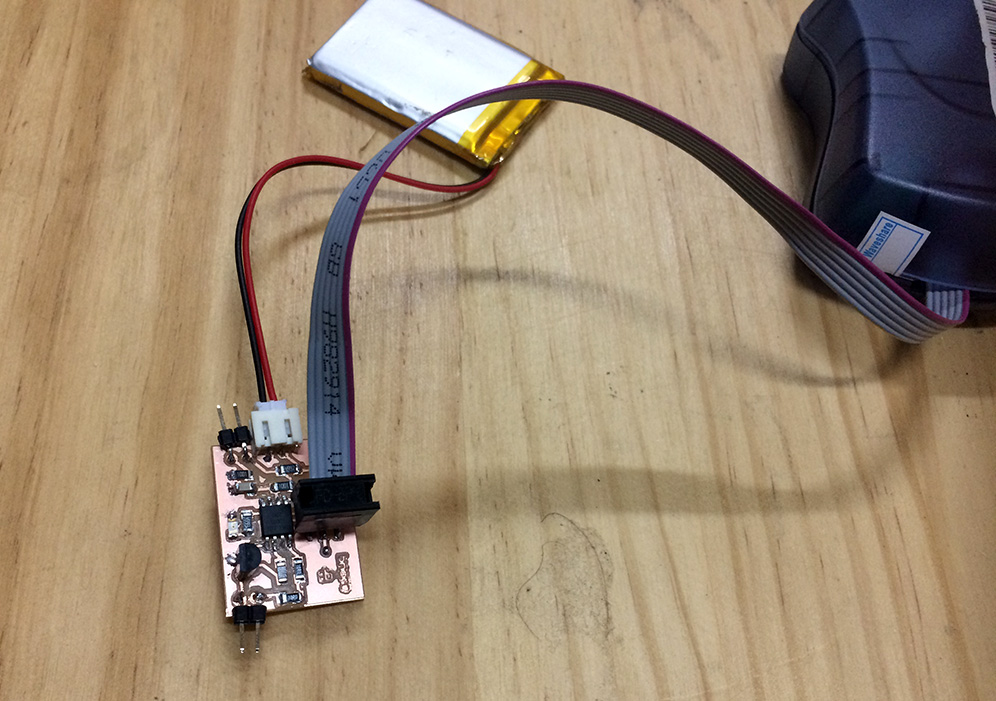
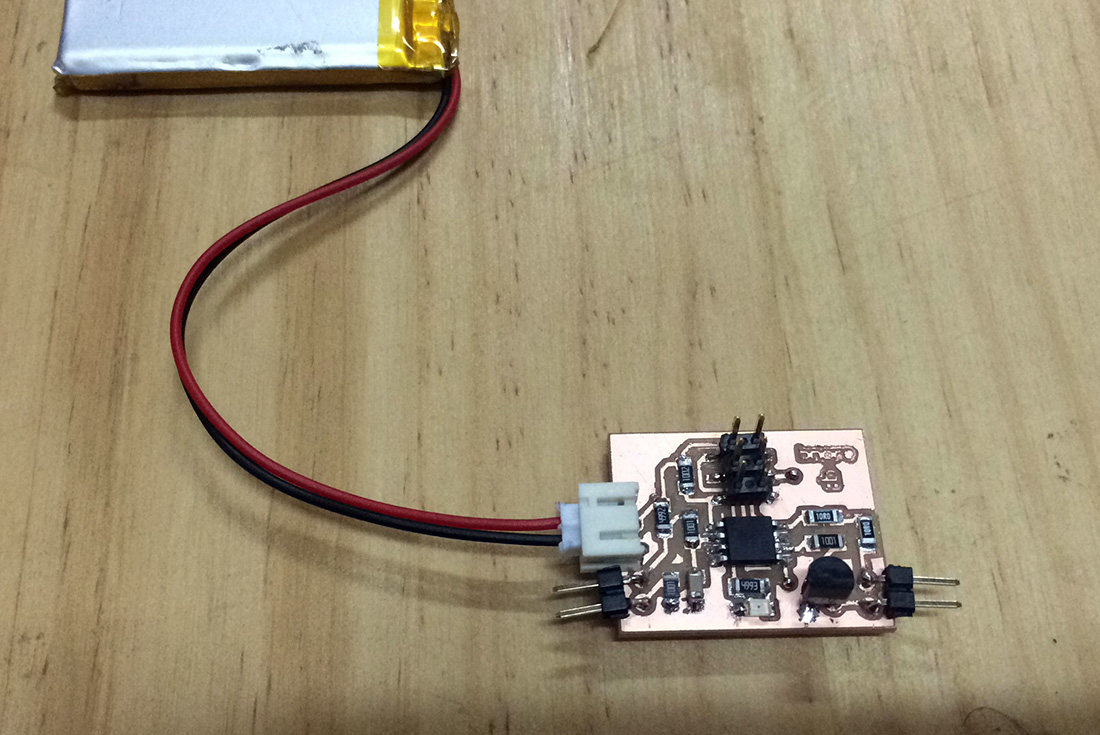
To make it more functional for what I wanted to do, we created an extension with wire to make the contact points longer. As you can see on the images above.
Some changes in programming based on what we did on the Output Devices Assignment 10
Bnore Board in Action from Norella Coronell on Vimeo.
Towards the final project
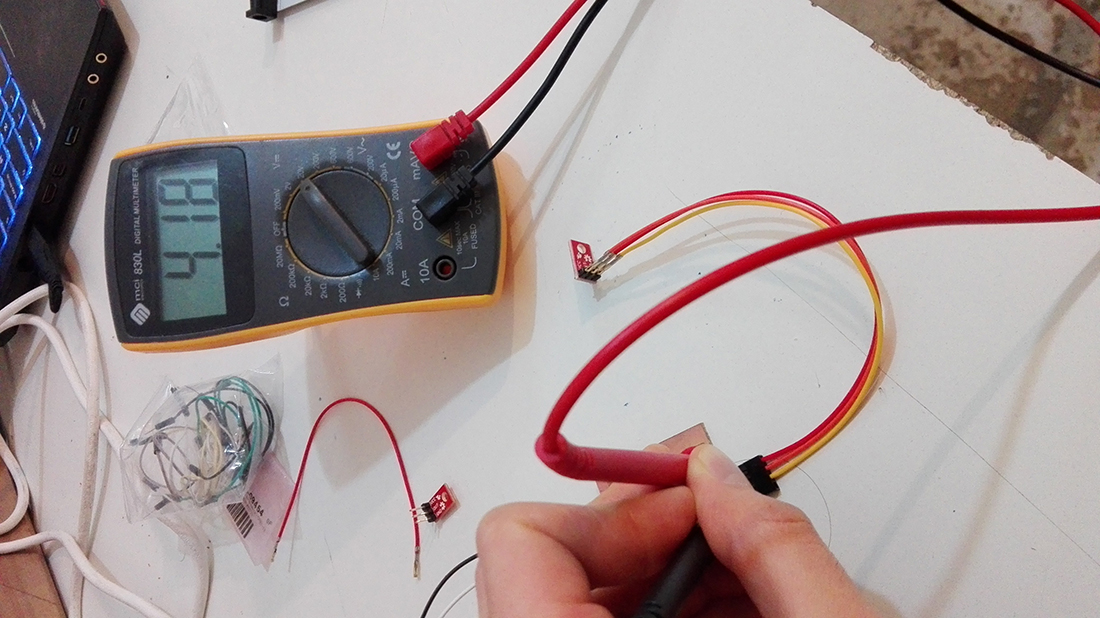
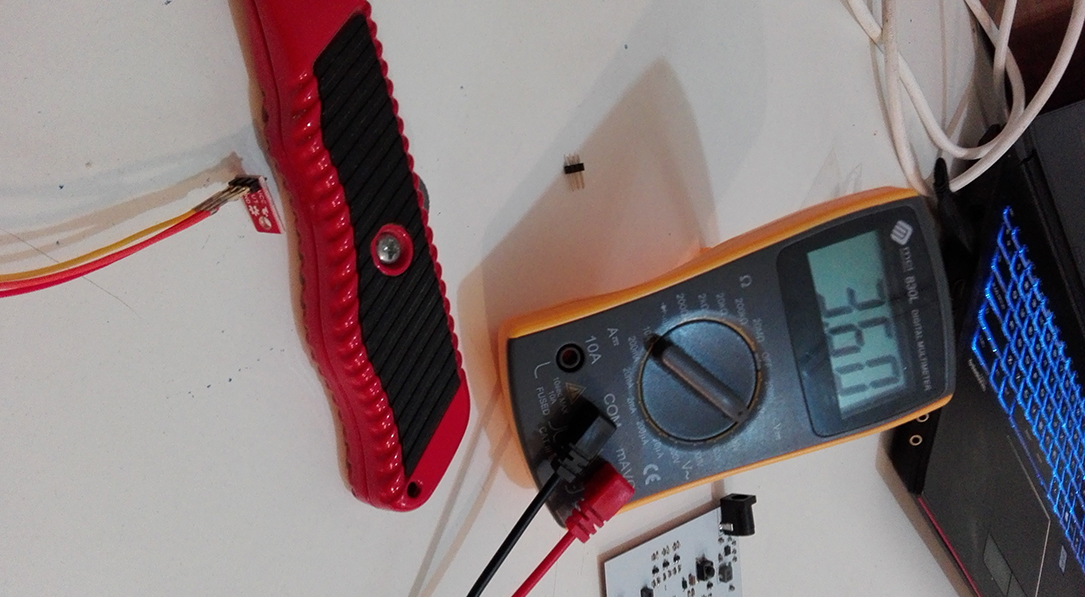
The sensor used for input is a reflective sensor which voltage output changes depending on the amount of reflected light of the object present on it. Above is a measure with no object (image at the left). If an object is near enough the output voltage will change due to the reflection of the light. A test using plastic show the voltage change (image at the right)
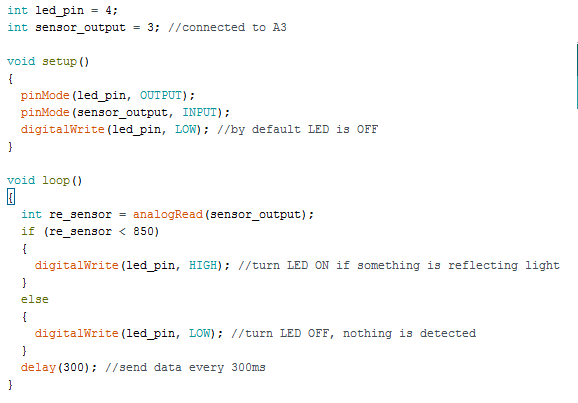
The sensor has 3 pins, Voltage power, Output and GND. It uses 5V for supply and the range of the output goes up to 5V. When reading an analog voltage in a micro-controller, in this case an ATTiny45, the range goes from 0 to 1023 where 1023 is 5V. If we have 4.18V (one of the measures we got from the sensor) it should be around 855. The code is done in arduino using the ATTinyCore library that allows to use arduino functions with the ATTiny as we did on Assignment 8 - Embedded Programing. The code reads an analog as done before. The code reads an analog voltage from the sensor and compares if the value is lower than 850 (4.18V normal output measured see reference images above) then it turns on an LED showing that something is detected due to reflection.
The code use for this to happed was (video below shows the process):

Input in Final Project - Fab Academy from Norella Coronell on Vimeo.
Download Files here:
Input Test and Input Final Project