Embedded Programming. Let the programming begin!
Assignment
Read a micro controller data sheet program your board to do something, with as many different programming languages and programming environments as possible
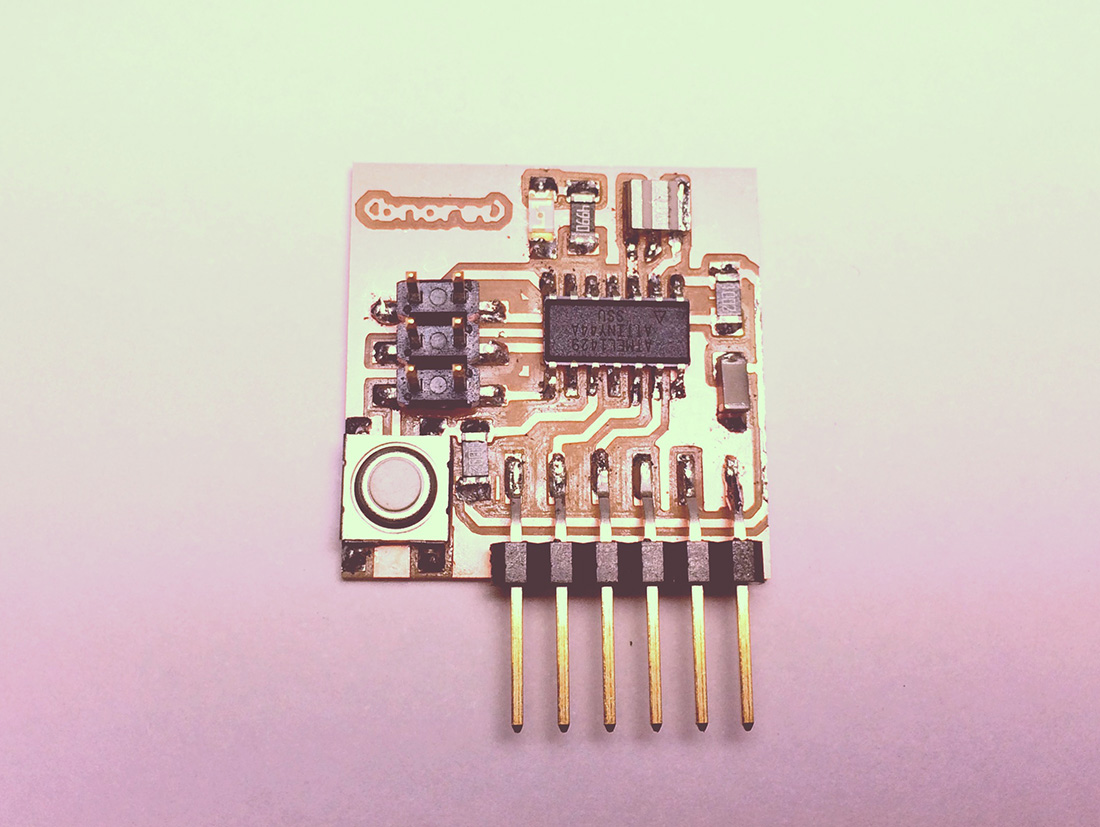
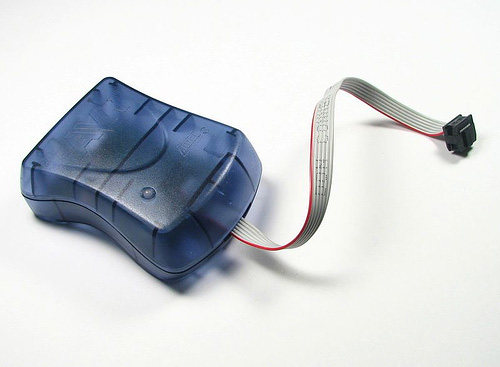
The assignment for this week was to read a micro controller data sheet and to program the Hello Button + LED board from Assignment 6(Electronic Design) (image at the left)to do something. So we started the process of learning how to program electronic components. For this we had 2 options using the USBtiny we did for Assignment 4 or use a AVR Programmer (image at the right)
I followed these simple steps to try out:
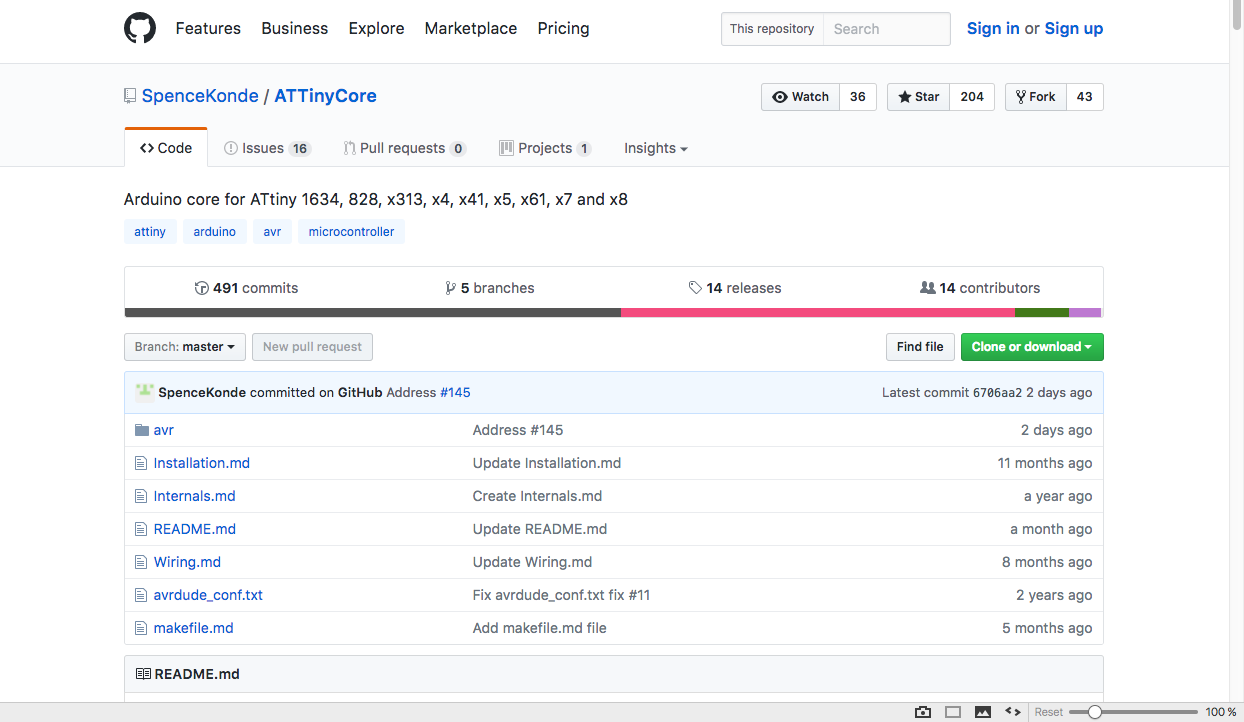
- 01 We are going to use the ATTiny Core library to program the attiny44 using Arduino and the functions of Arduino via the programmer. (image at the left)
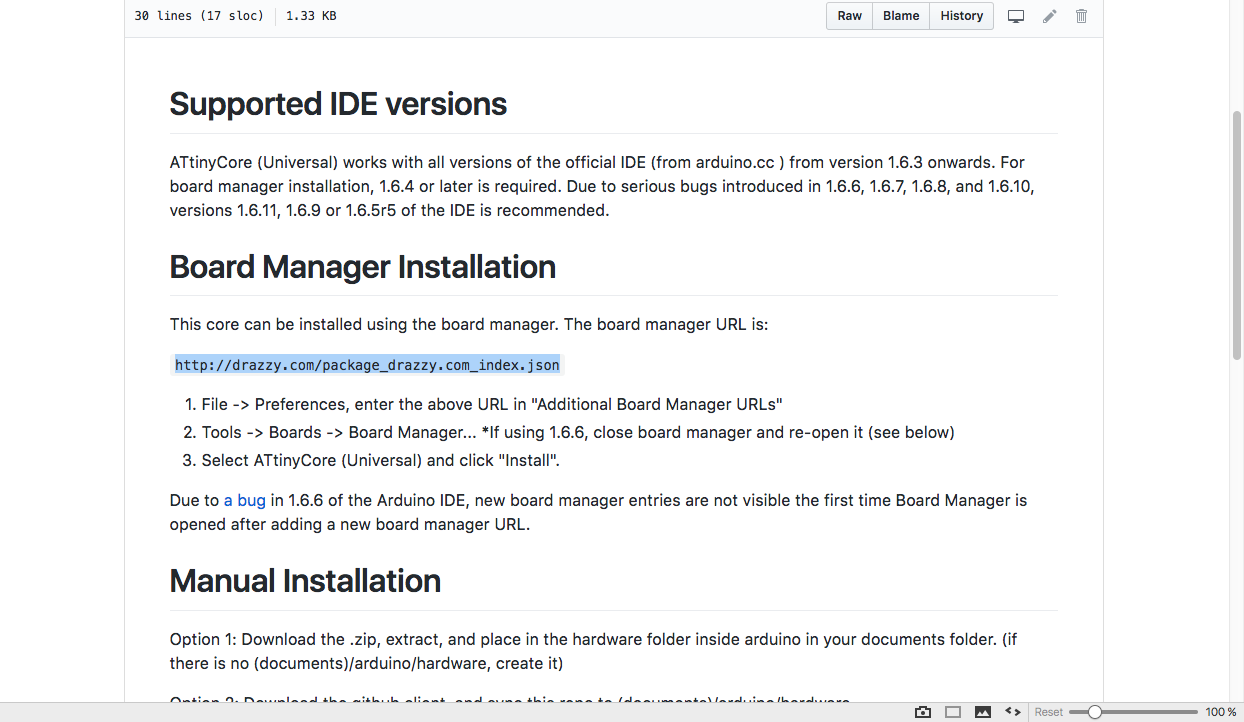
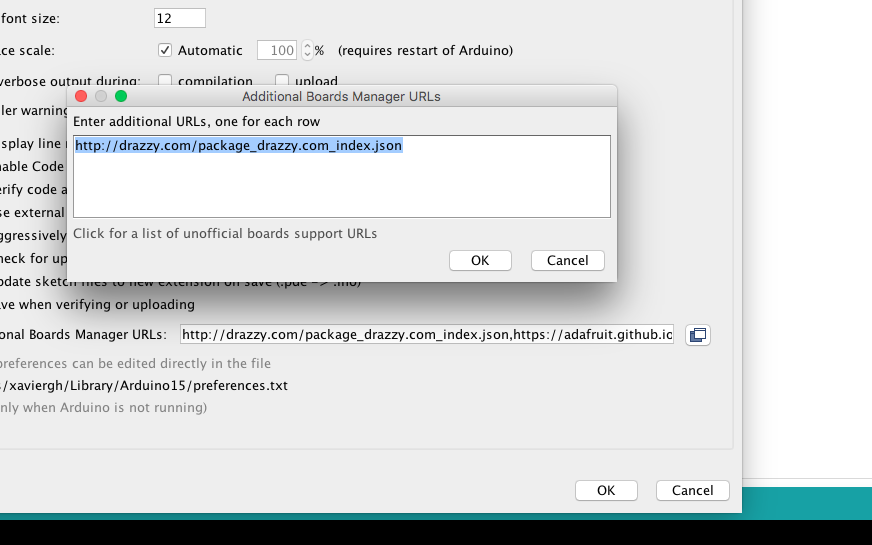
- 02 For installation we compile the link that is displayed and paste it into the Arduino configuration as Shown above (image #2)
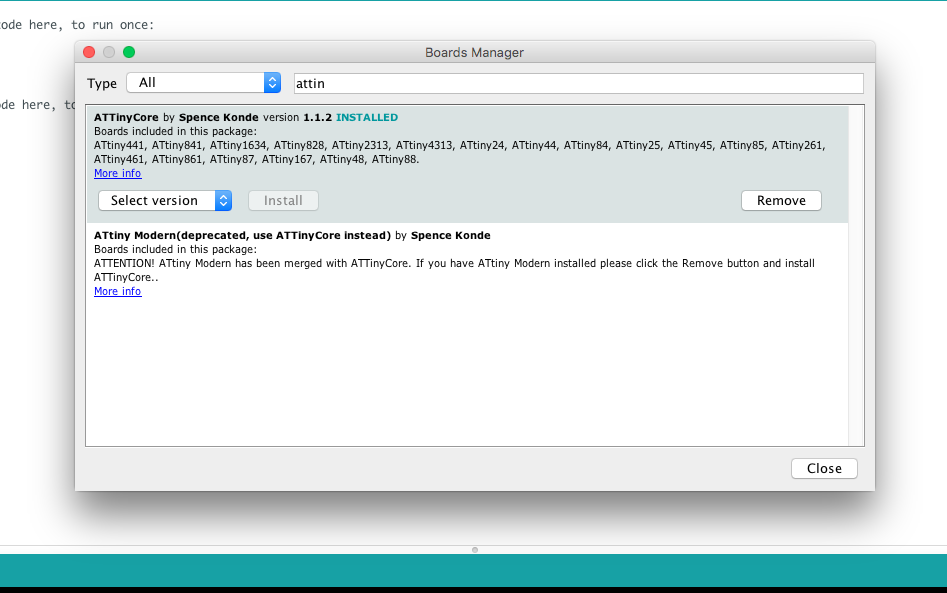
- 03 Once the library containing the settings for the ATTiny chips is entered, we proceed to install components (image #3)
- 04 Once the ATTiny Core is installed we can start programming the board using the functions of Arduino. For this we need to know the correspondence between the physical pins of the chip and the library as shown above (image at the right)
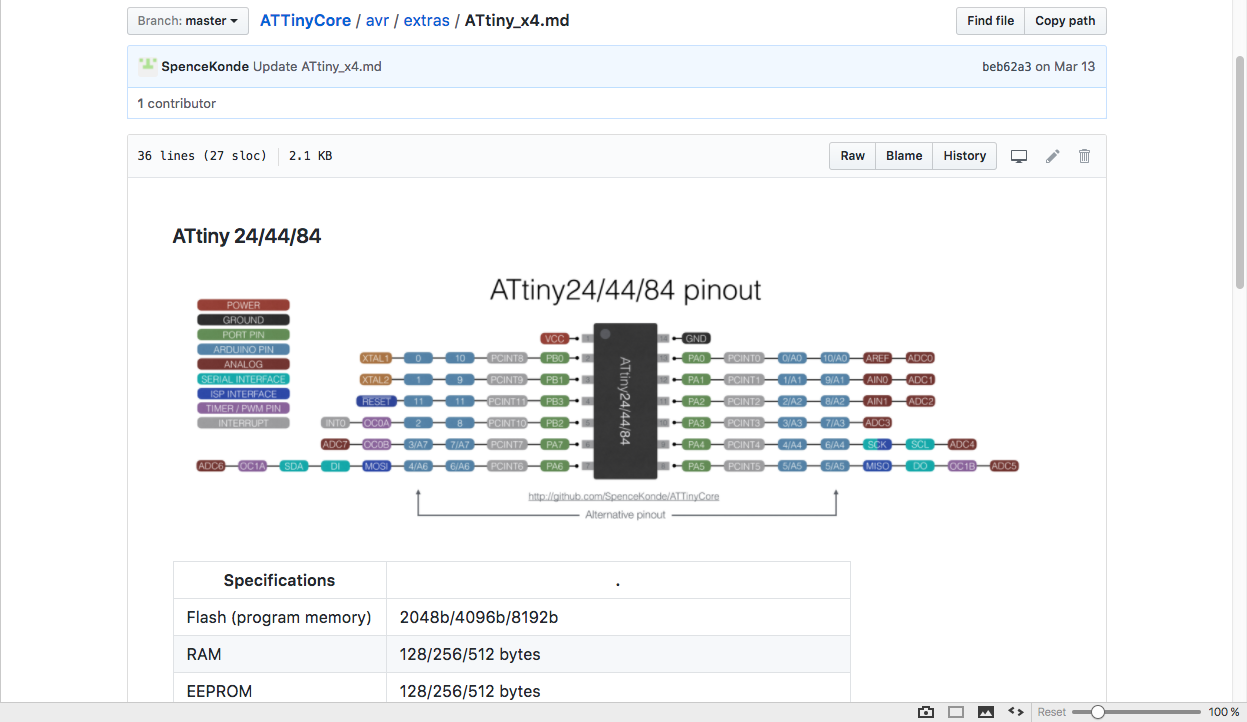
In our case we are using pin 5 (PB2) of the ATTiny44 as can be seen in the description of Pin data sheet. In the case of ATTinyCore pin 5 corresponds to pin 2 therefore our LED pin In Arduino would be (image at the right):
- Int led_pin = 2;
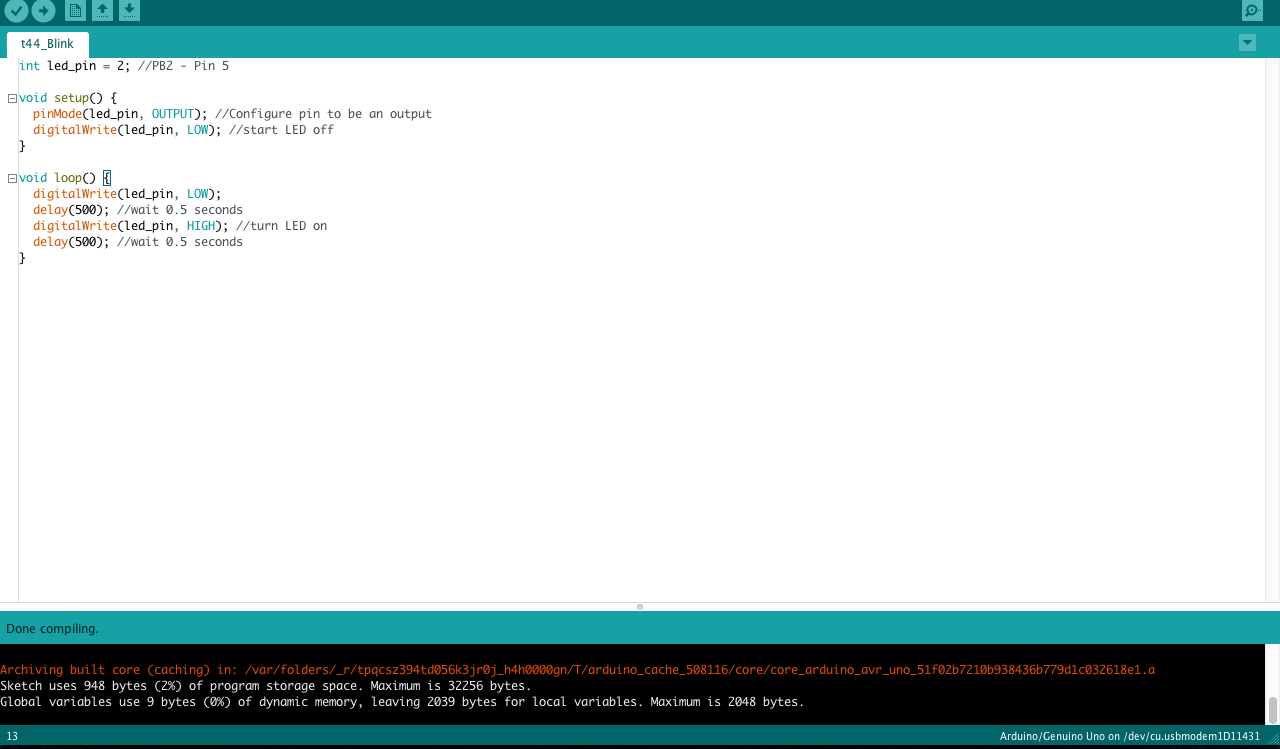
We proceed to write the program that the pin will use (as above), then configure the pin as Input or output, in our case is an output as it will energize the LED and finally the program will turn the LED on and off (image at the left)
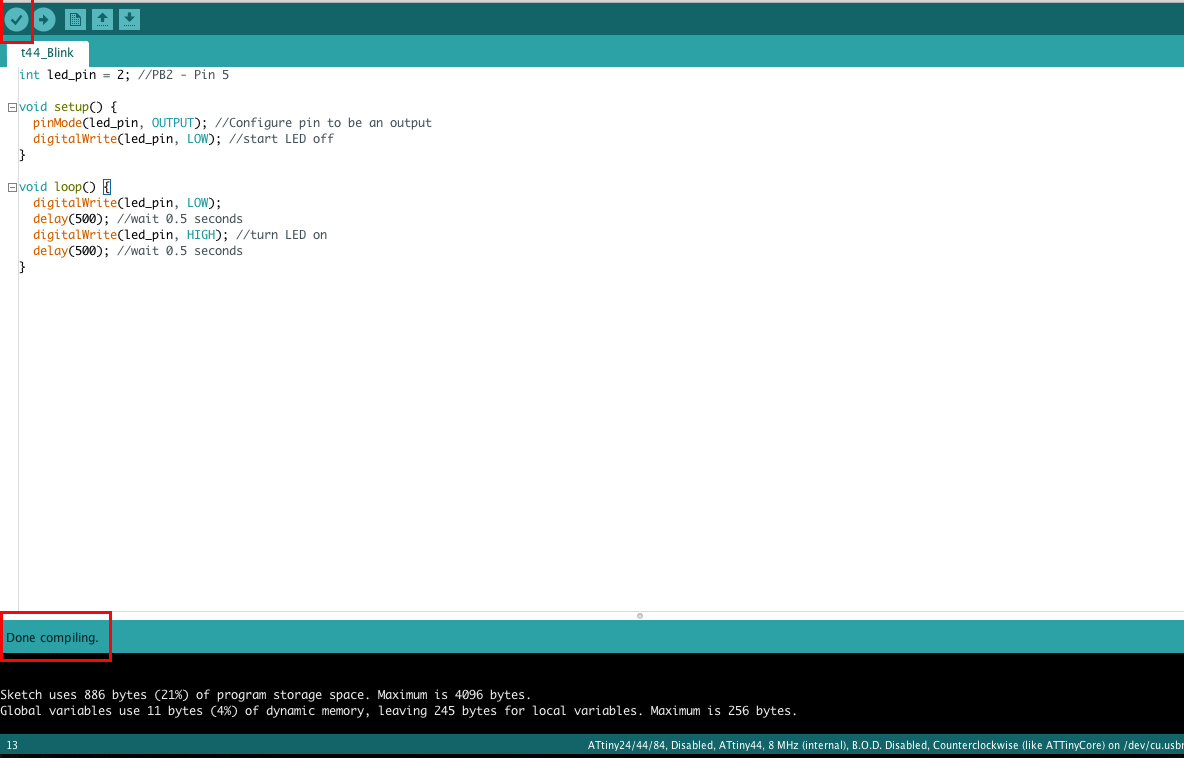
Once the code is written, we must verify that it is written correctly, for that we pressed the check and it should come out that everything is OK (image above)


Follow image order for explanation and instructions:
- 01 When performing the previous operation we can also see in the lower part how much space and memory the Written code Once the code has been verified we can program the chip.
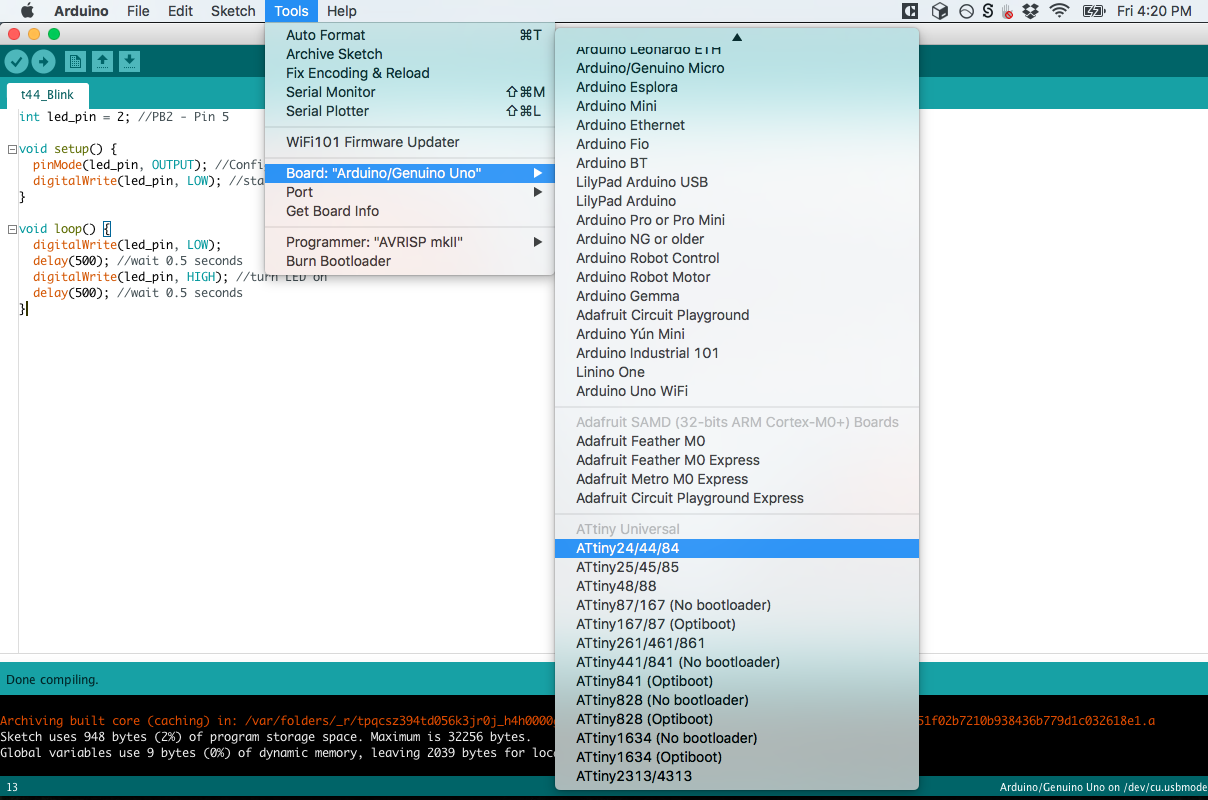
- 02 We select the attiny44
- 03 Before programming the code you have to configure the ATTiny FUSES to configure the Micro-controller:
- 04 After this we can program the chip using the button next to the check (arrow in white)
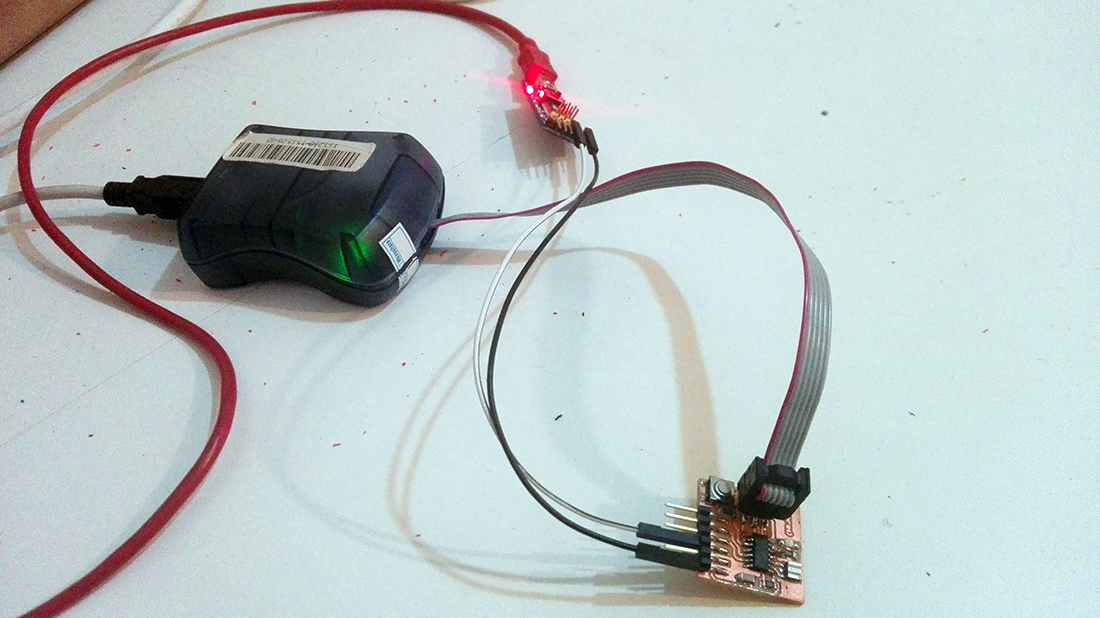
If everything goes well, the message "Upload uploading" will appear and we can verify the operation in the board (image above)
Download Files here:
Programming Files