Assignment 1. Principles and practices
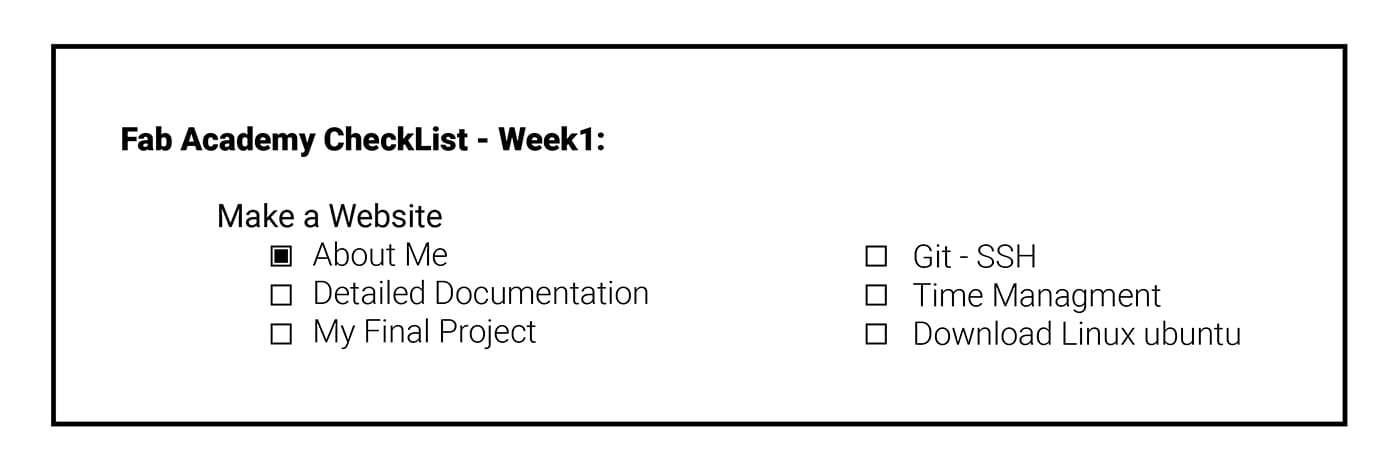
Starting Our Fab Academy Journey .. Week 1 ,,here is my checklist:
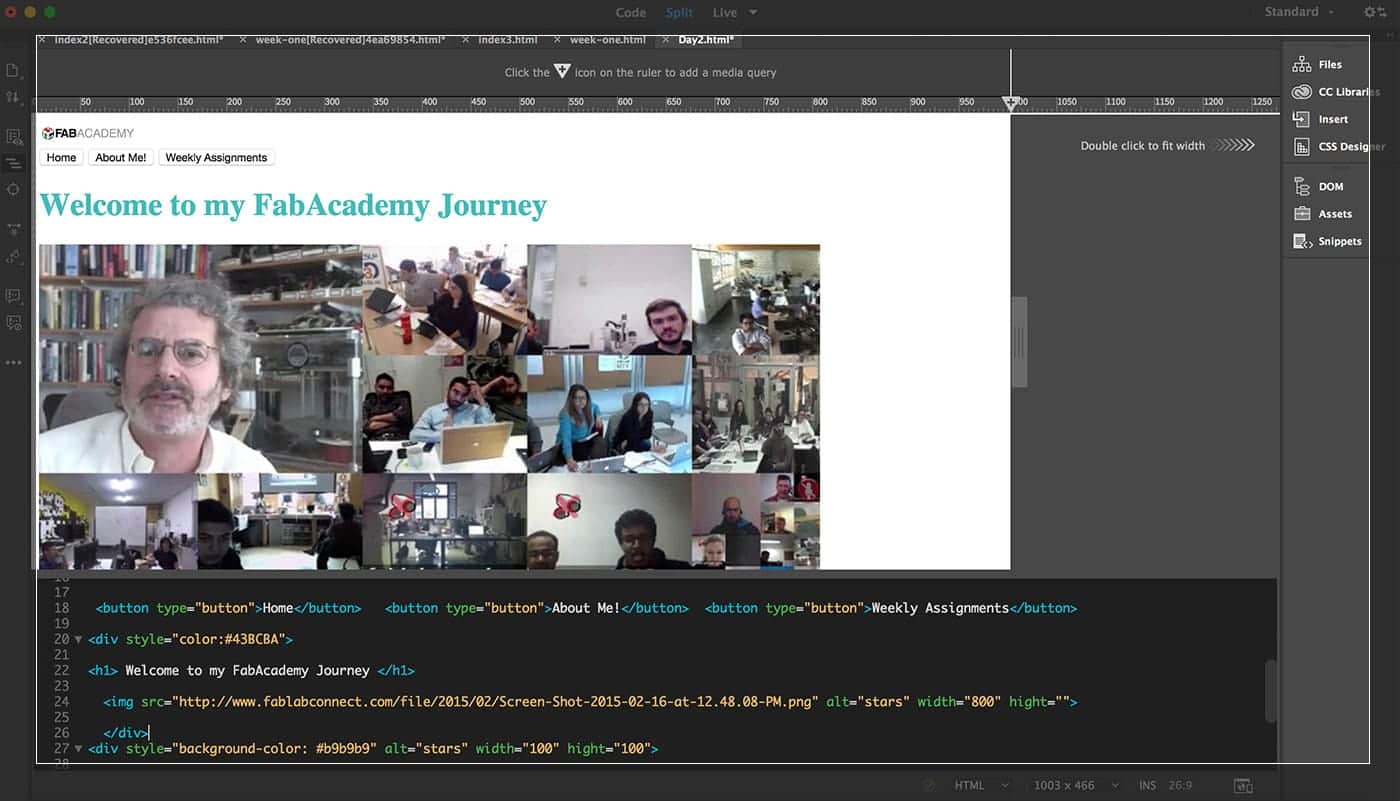
Creating a personal website was the first project that we were asked to do in FabAcademy 2017.. having basic knowledge in HTML & CSS helped me a lot in making the first project,, Our local instructor suggested that we use Sublimetext editor to make our websites,, But I prefer to use Adobe Dreamweaver, Because I already have it with my creative cloud subscription, and it has very nice and simple interface that combines both CODE and VISUAL interfaces, so I can see the modifications I make instantly .. I haven’t used Dreamweaver for a long time,, so I am learning as I go..
I have started my project by practicing couple of codes to re-fresh my memory and using W3Schools website was a great help!.
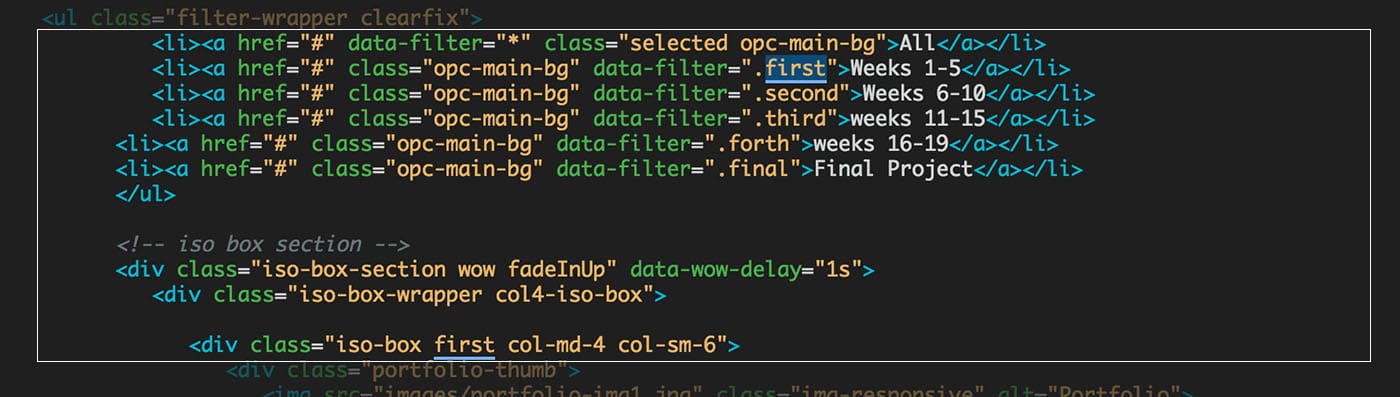
In-order to save some time I have chosen to download a free template and modify it to suit my own needs .. it was pretty easy to change everything except the data-filter I have tried to modify the filters so that it would show each 5 weeks together, but I could not find a way to change the filters names! I have tried couple of things that did not work like:
• Changing the ".fliter" word ( did not work).
• Searching for this code inside the document (could not find it).
• I have searched online ( did not find useful information).
I was going to leave the filter names unchanged as it will not affect the visual side of the website -its a code thing- but when our local instructors were asking about difficulties we are facing, I addressed this problem, and they have tried solving it, and surprisingly the answer was to change the ".fliter" word !!! I have tried to change it before but it did not respond at that time! maybe the software was having some issues back then !!.. anyways, Thanks to Yousif for solving this problem ..
Moving on to the next requirement ..
Final Project idea ..
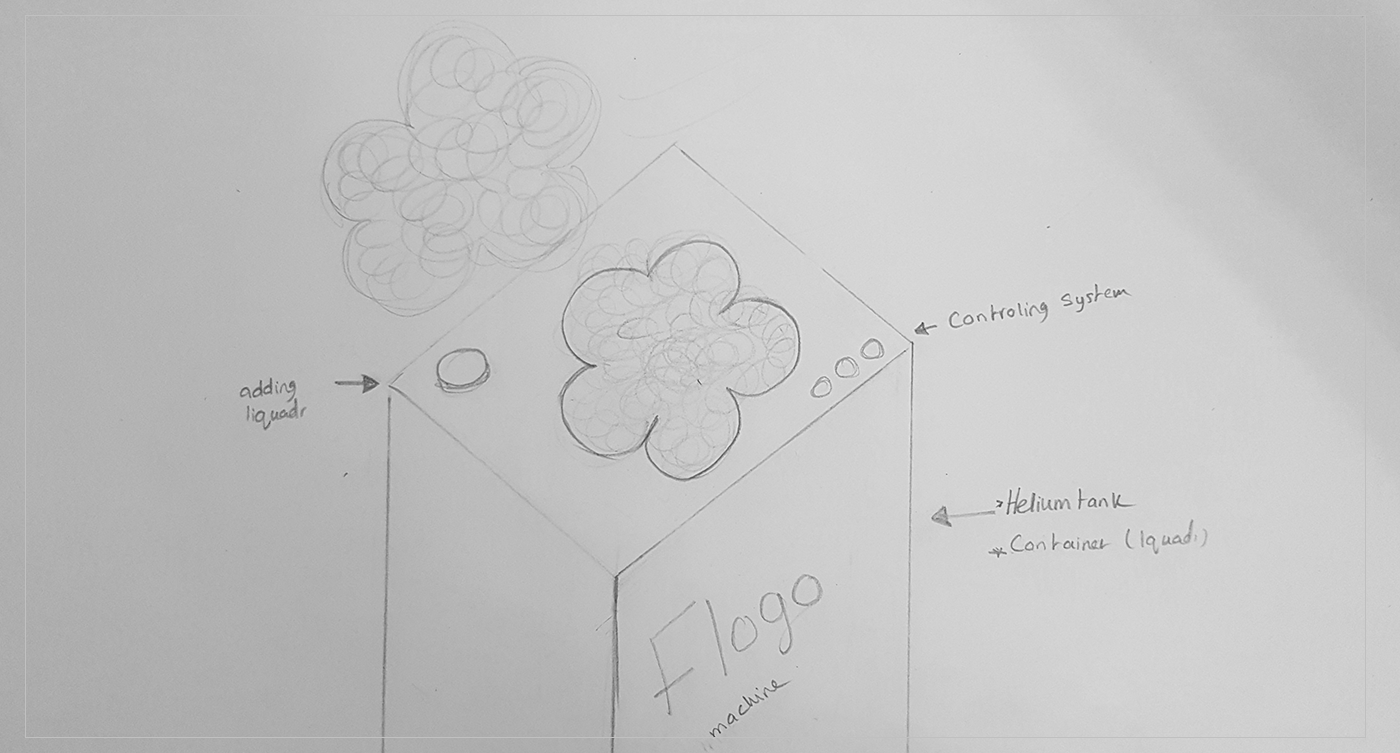
I have many different ideas, and I am not sure which idea to choose.. The final idea I have settle with is a Floating Foam Machine.. This machine will be producing bubble foam filled with Helium Gas, when that piece of foam released in the air it would FLOAT : ) ..
See Final project page for progress and details
Next ..
Learning about git ..
I have used GitHub couple of times before to get the code for programming my Arduino projects, but I never knew what it was!
After research I have learned that:
Version control systems are a category of software tools that help a software team manage changes to source code over time. Version control software keeps track of every modification to the code in a special kind of database. If a mistake is made, developers can turn back the clock and compare earlier versions of the code to help fix the mistake while minimizing disruption to all team members [Atlassian]
The setup steps involved were:
• Create account in Gitlab "http://git.fabacademy.org", then join "fablabkuwait".
• Double click the Git CMD icon to launch Git CMD to generate SSH key. An SSH key allows you to establish a secure connection between your computer and GitLab.
• Type the following command in Git CMD shell.
type ~\ssh\id_rsa.pub
• Generate a separate key-pair using the flowing command:
ssh-keygen -t rsa -C “$your_email".
• Show the public Key by writing thr follwoing command:
cat ~/.ssh/id_rsa.pub.
• Copy the public key using this code:
clip ~\ssh\id_rsa.pub
• Go to your Gitlab account → Profile Settings → SSH Keys and paste the Key data under "KEY" to ADD a Key.
• Finally, Clone the repository from your Fablab account to your laptop by using this command:
git clone git@git.fabacademy.org:fabacademy2017/fablabkuwait.git.
Typical workflow:
• Open Terminal write cd fablabkuwait. We will be using SSH (secure shell-UNIX-based command interface) connection and FTP (File Transfer Protocol) to access our remote server and update our websites.
I choose to use Trello Project Management as it seems to be easy to use and it can be synchronized between Computer and mobile,, and the best thing is the its FREE : ) I will be the only one on our lab that does not use Ubuntu, and will use my Mac laptop,, I am expecting to face many difficulties, but I will find my way out : )
• git pull Fetch the specified remote’s copy of current branch and immediately merge it into the local copy.
• git add --all Stage all changes in (directory) for the next commit.
• git commit -m "msg" Commit the staged snapshot, but instead of launching a text editor, use
• git push Push the branch to (remote), along with necessary commits and objects. Creates named branch in the remote repo if it doesn’t exist.
SSH ..
Time Management ..
Lunix / Mac..
Home Next Week