3D Scanning and Printing
Week 5
Assignment :
-
Test the design rules for your printer (group project)
-
Design and 3D print an object (small, few cm) that could not be made subtractively
-
3D scan an object (and optionally print it)
Advantages of 3D printing and scanning technology
3D printing and scanning has many advantages which is that it’s a very accurate way of manufacturing almost anything that comes to mind in a pretty fast way and the ability to actually print a whole building or house. Also daily life needed things like smart-phone covers , cup holders or any other designable gadget object.
Limitations of 3D printing and scanning technology
Limitations of 3D printing and scanning technology is that its expensive in general and it doesn't print hanging objects that are not attached to the ground floor (x-axis) , also a disadvantage of the 3D printing and scanning technology is that it enables any person to print harmful and dangerous gadgets.
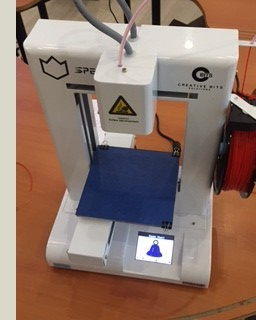
Printer Used :
-
Material : PLA (Plastic)
-
Temperature : 240 degrees
-
Temperature of build plate : 50 degrees
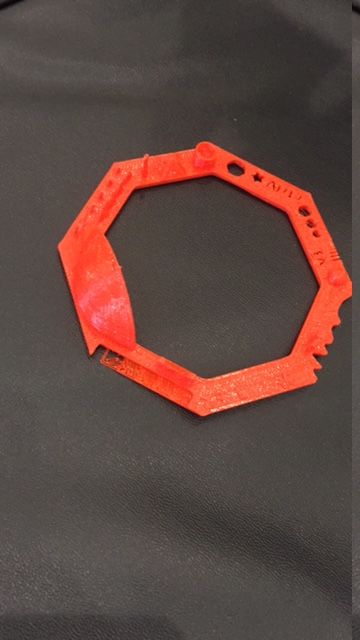
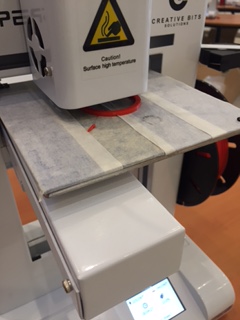
Testing :
As a group we started by testing the printer to check the accuracy by printing this shape shown below. We noticed that the printer does not print very small cuts or shapes , probably due to the plastic we use to print , maybe there is another material that would 3d print more accurate to the smallest detail.
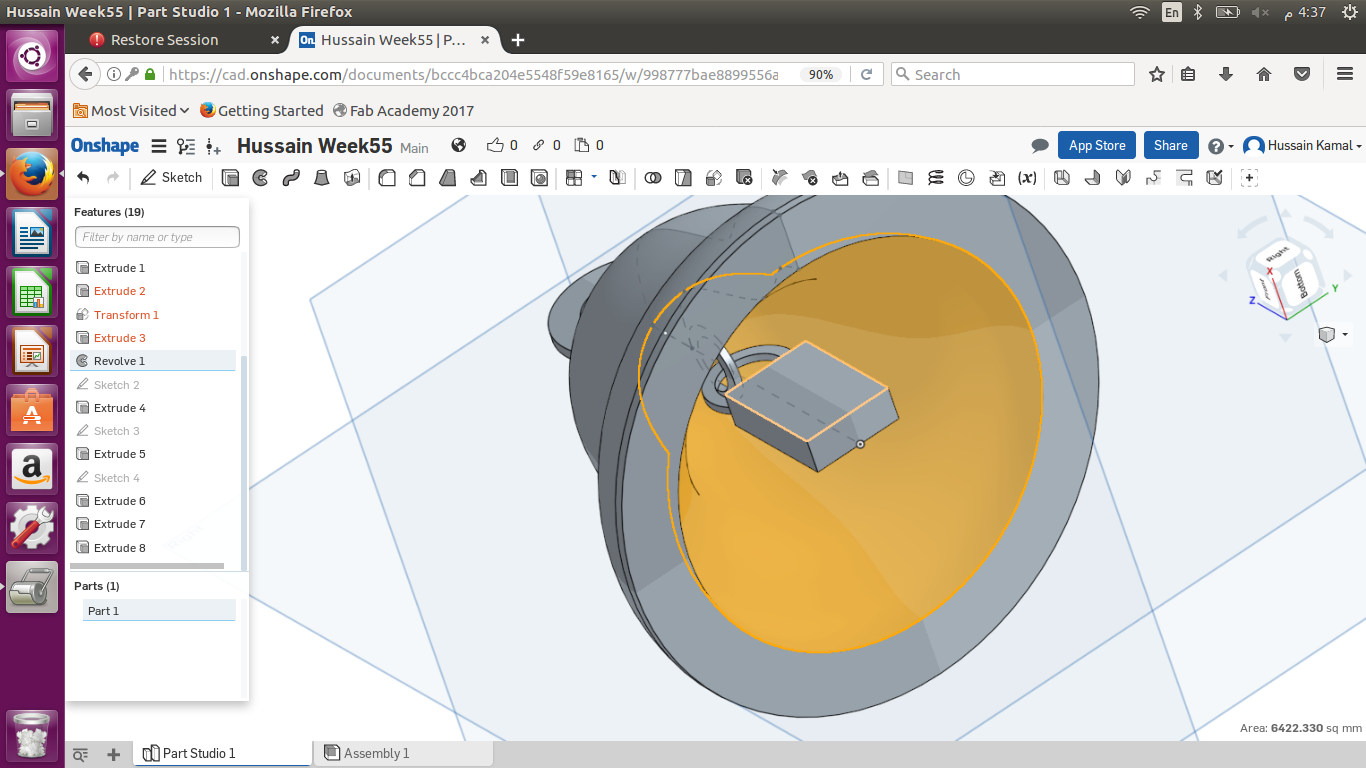
Design :
I used Onshape to 3D design. My design was a bell , I wanted it to be like a bell shaped helmet with two rings inside hanging. The two rings are connected together similar to a chain connection and thats whats subtractive about the object I have designed and printed. As shown below.
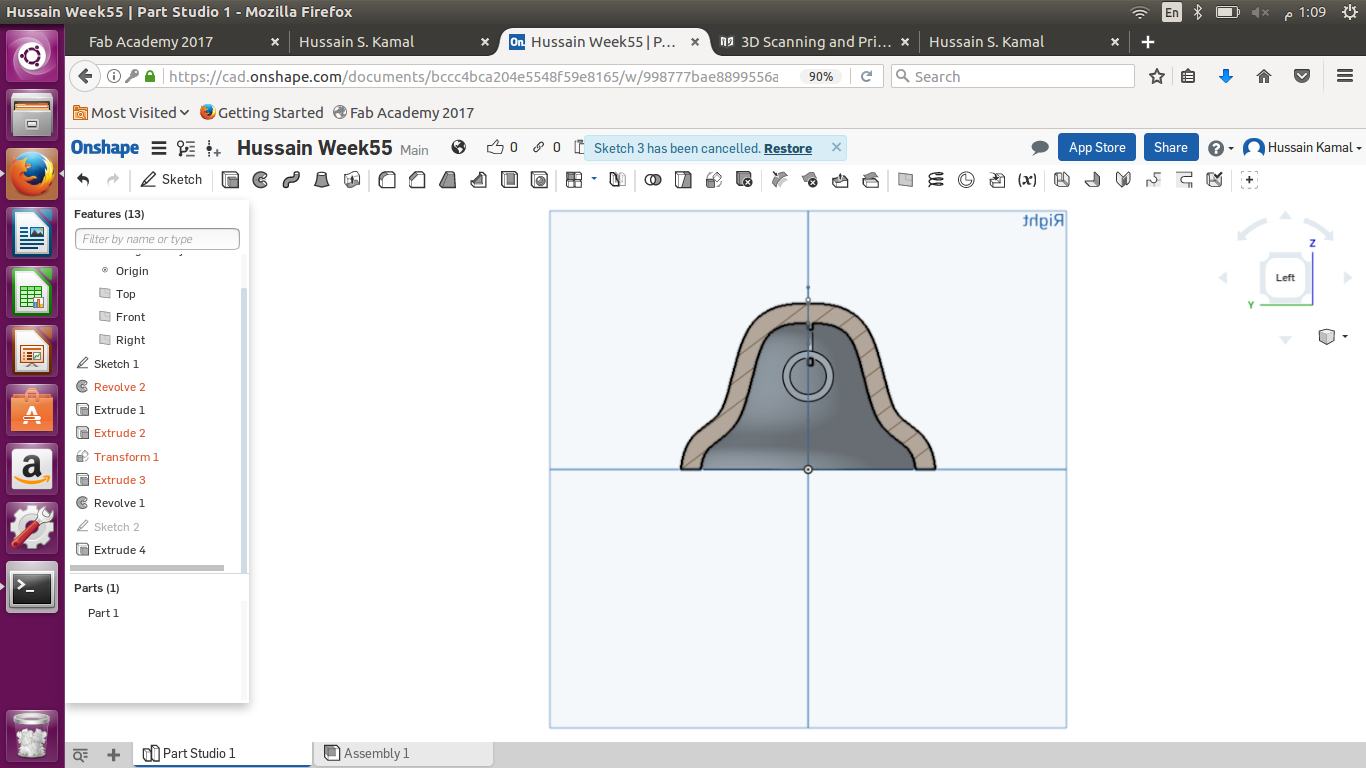
I used the revolve tool after I design the outer line of the bell shape and extruded it using the extrude tool , and I revolved it 360 degrees to get a shape like the above
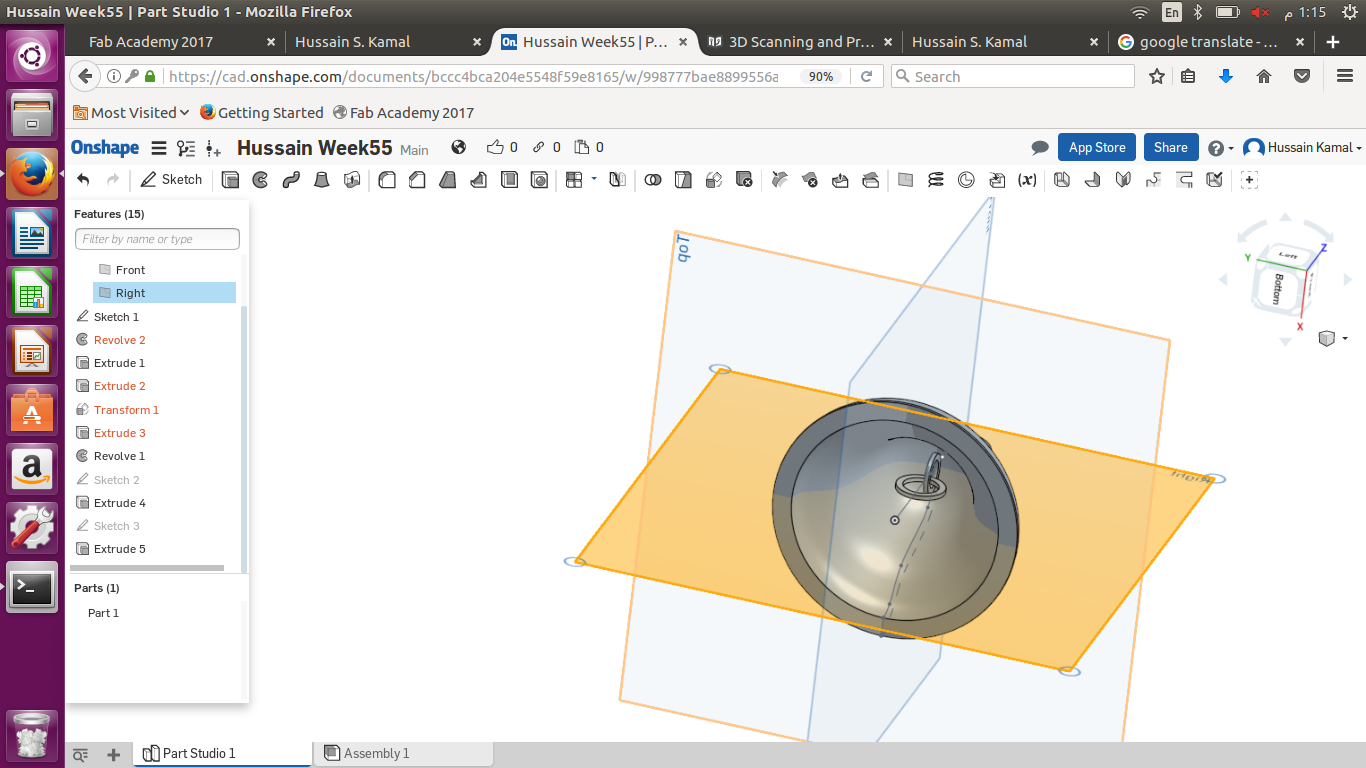
As shown above , I simply design two more sketches with a circle shape and another circle a bit smaller inside it and extruded it then added the to my bell shape , to have a real bell shape with two rings chained together when 3d printed.
Printing :
I exported the file as STL and then converted it to F Code using realvision (software of 3D printer) and then saved it to a flash memory which I inserted in the USB port on the printer. And printed it at 240 degrees.
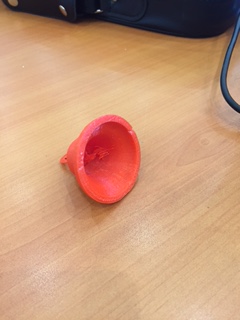
Failure
After printing I realized that it did not print the two rings chained together like I designed because they were hanging n thin air and the printer prints from down to up, so there is no solid base for the rings to be printed on, as shown below.
Succeed
Design :
I decided to connect the two rings chained together , to the x-axis (ground level) so the printer that prints from down to up would would start printing the hanging bell along with the main shape by adding a long rectangular shape attached two the two chained rings, as shown below.
Printing :
As shown below, I printed it again and successfully printed my design with no failures.

This is while printing my 3d object again after setting the temperature 240 degrees.
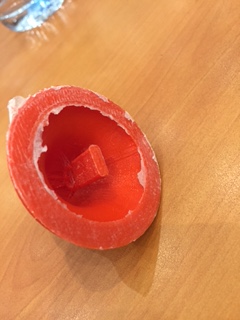
Problem Overcome :
I overcame my problem by attached the two rings with a rectangular cube shape attached to the ground level.
3D Scanning
For 3D scanning I scanned my self using "Sense" scanning device and software. It was so easy to use just connect the wire to the computer and your ready to scan. It was a little bit hard having to keep your hand so still and move slowly to have an accurate scan, I sat on a rotating chair and turned very slowly. Later I printed it to know how accurate the scanning process is which was pretty accurate , but still not 100%. It’s probably from the printer.