Electronics Production
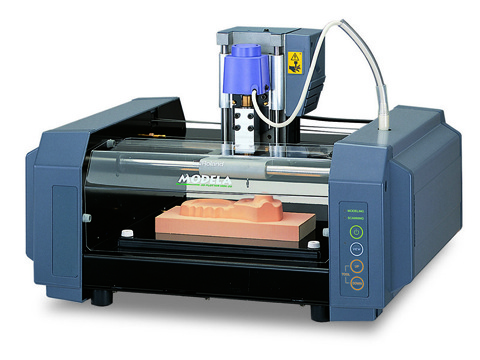
The fourth assignment that we had to do is this week is to make fabisp board using the milling machine. So i started to work on this asssignment with my mate Asem Shabayek to learn how to use the milling machine (Roland Modela MDX-20) and how it works.
At first i downloaded the pcb design of the board form here. i used the one with the resenator. from here.
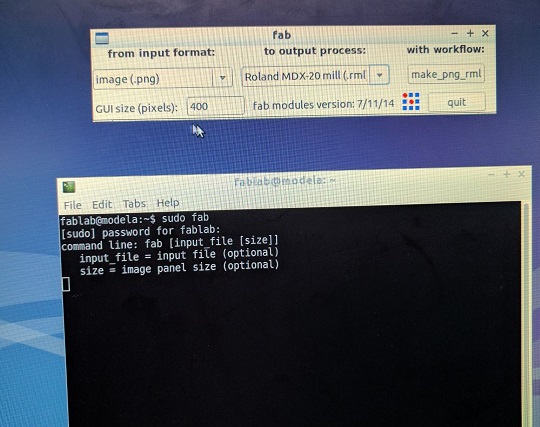
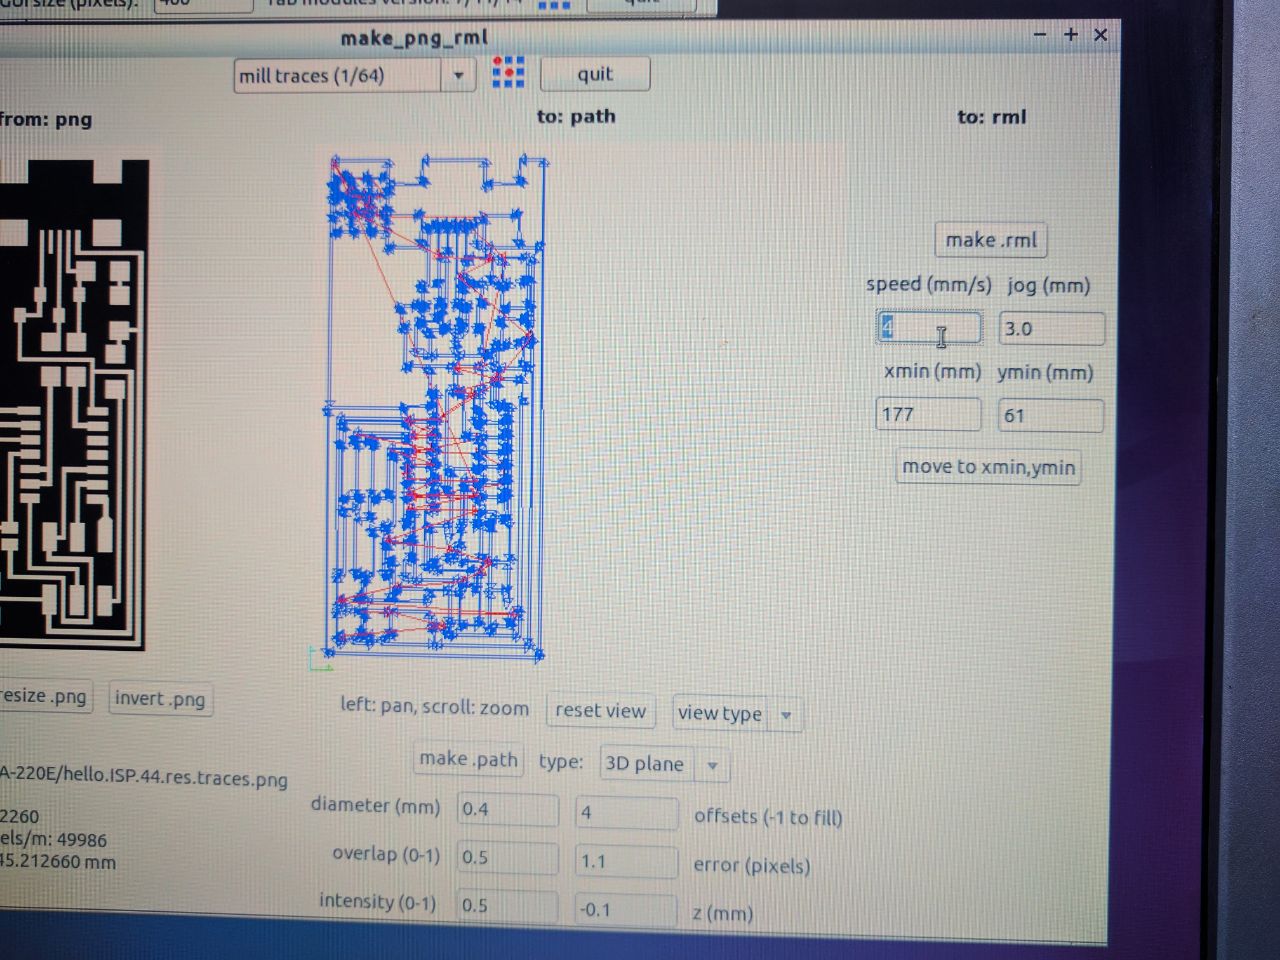
i opened the linux terminal and typed " sudo fab " to open the fabmodules. then i selected the input format " png " and the output process to " Roland MDX-20 mill " the clicked the " make_png_rml " button, Then i attached 1/64 milling bit to the milling chuck.
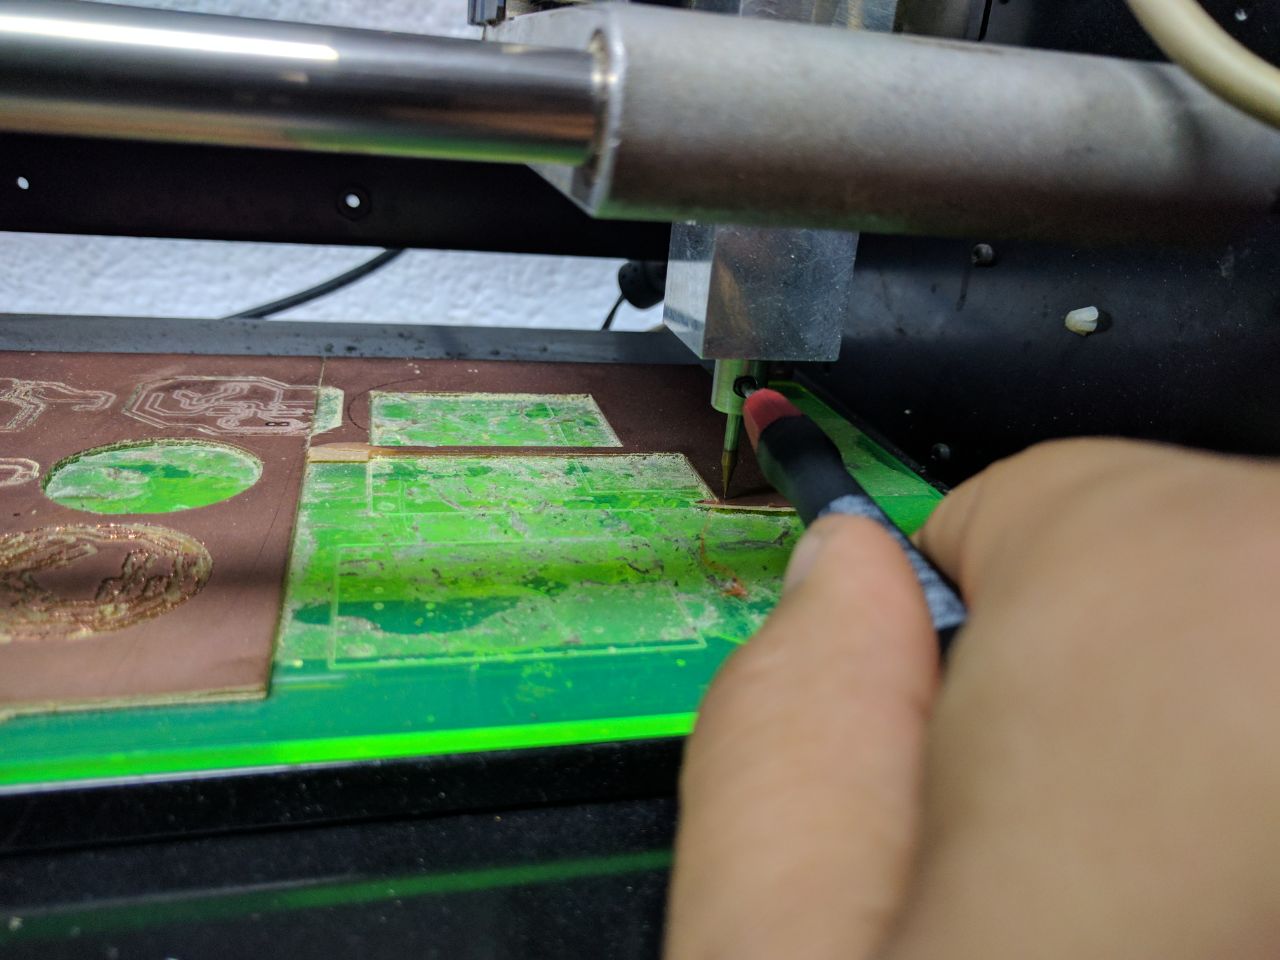
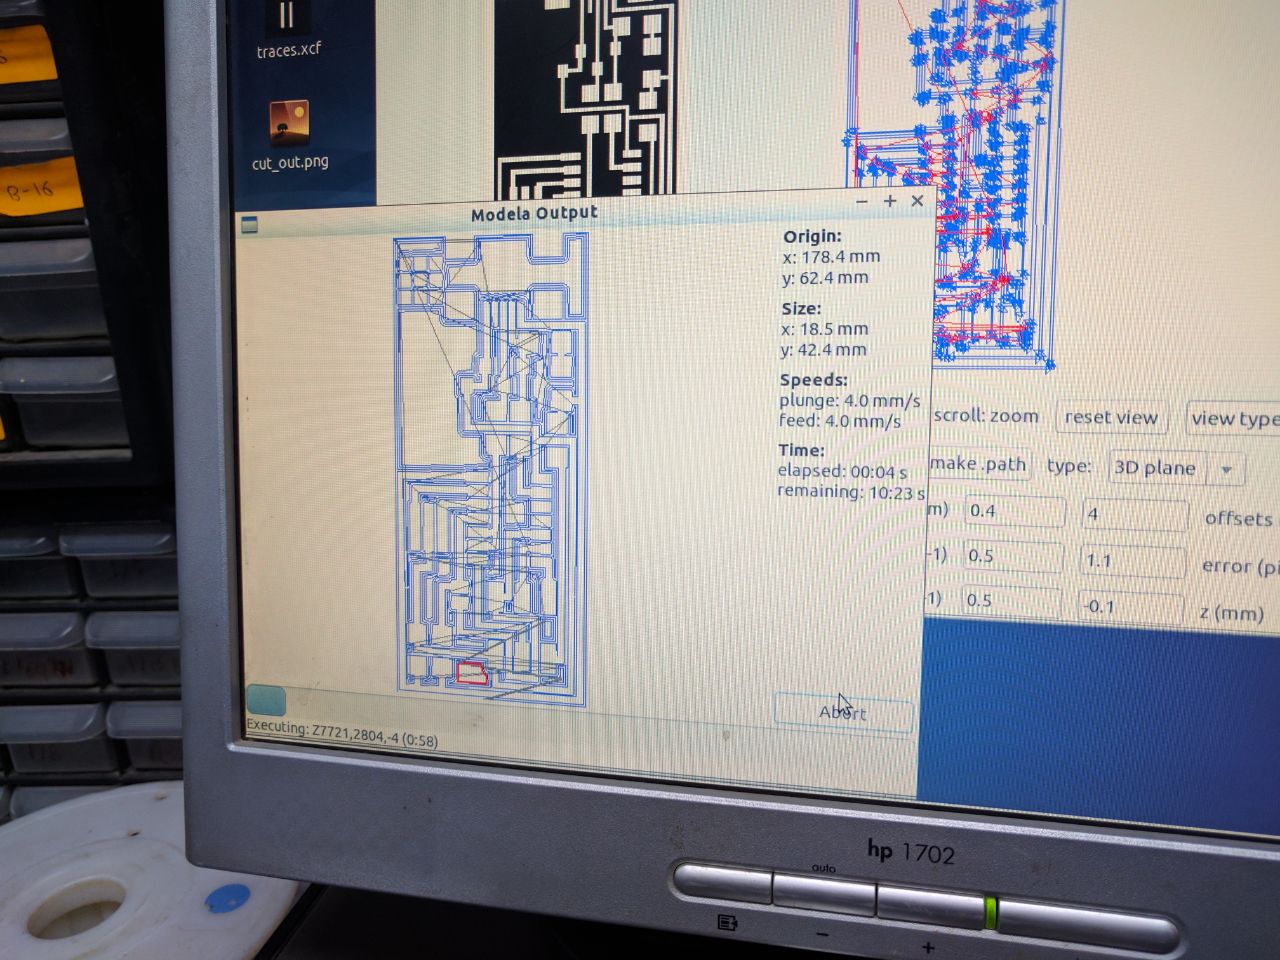
Next, i Selected traces png that i've downloaded earlier and selected the option " mill traces 1/64 ", used default values for the milling, changed the xmin, ymin values and pressed "move xmin, ymin" to postion the milling tip in the origin point on the pcb, at last i pressed "Make Path" Then "Make rml" Then "Send it". Then started milling
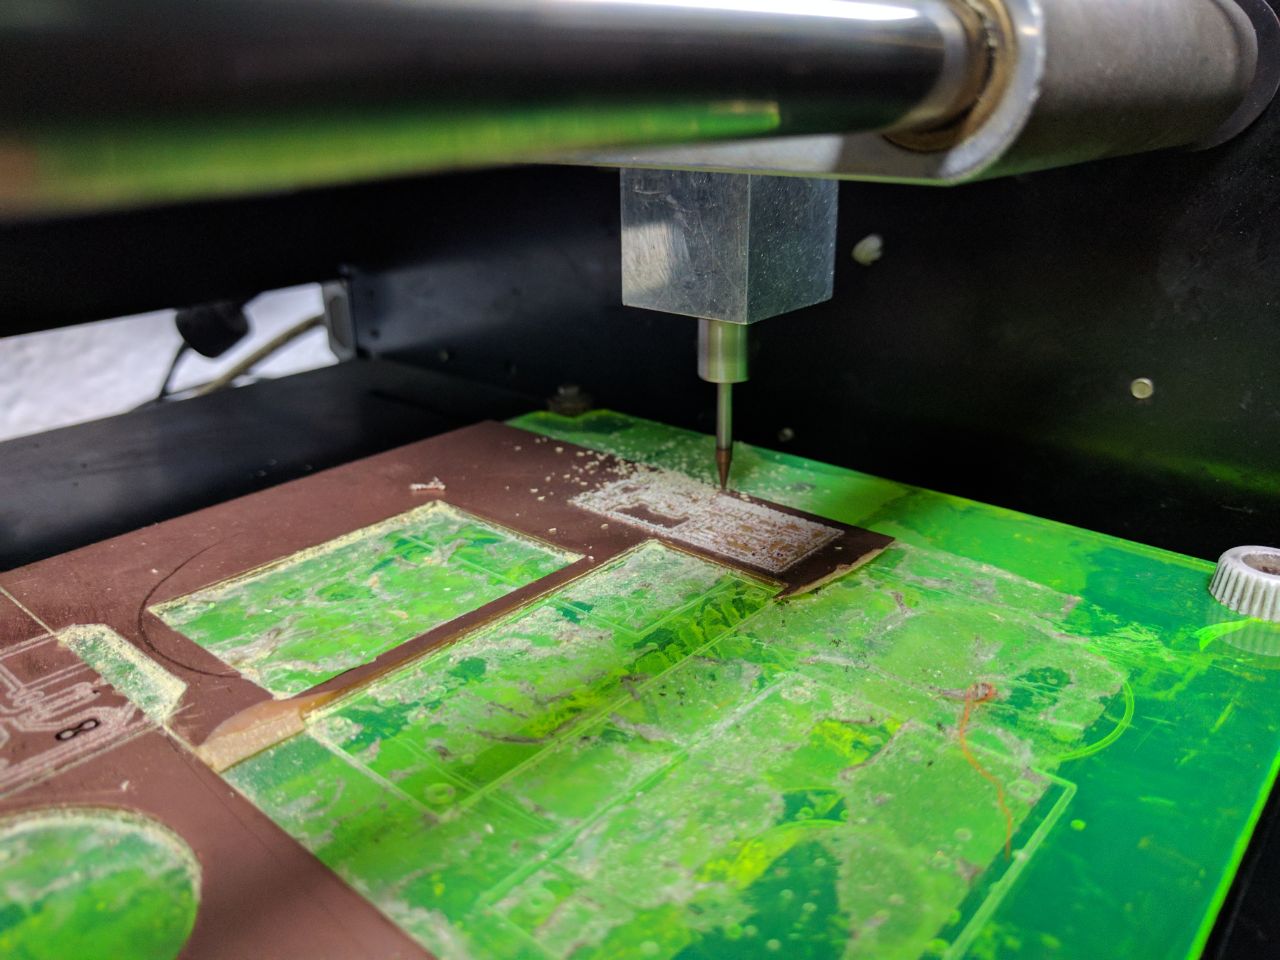
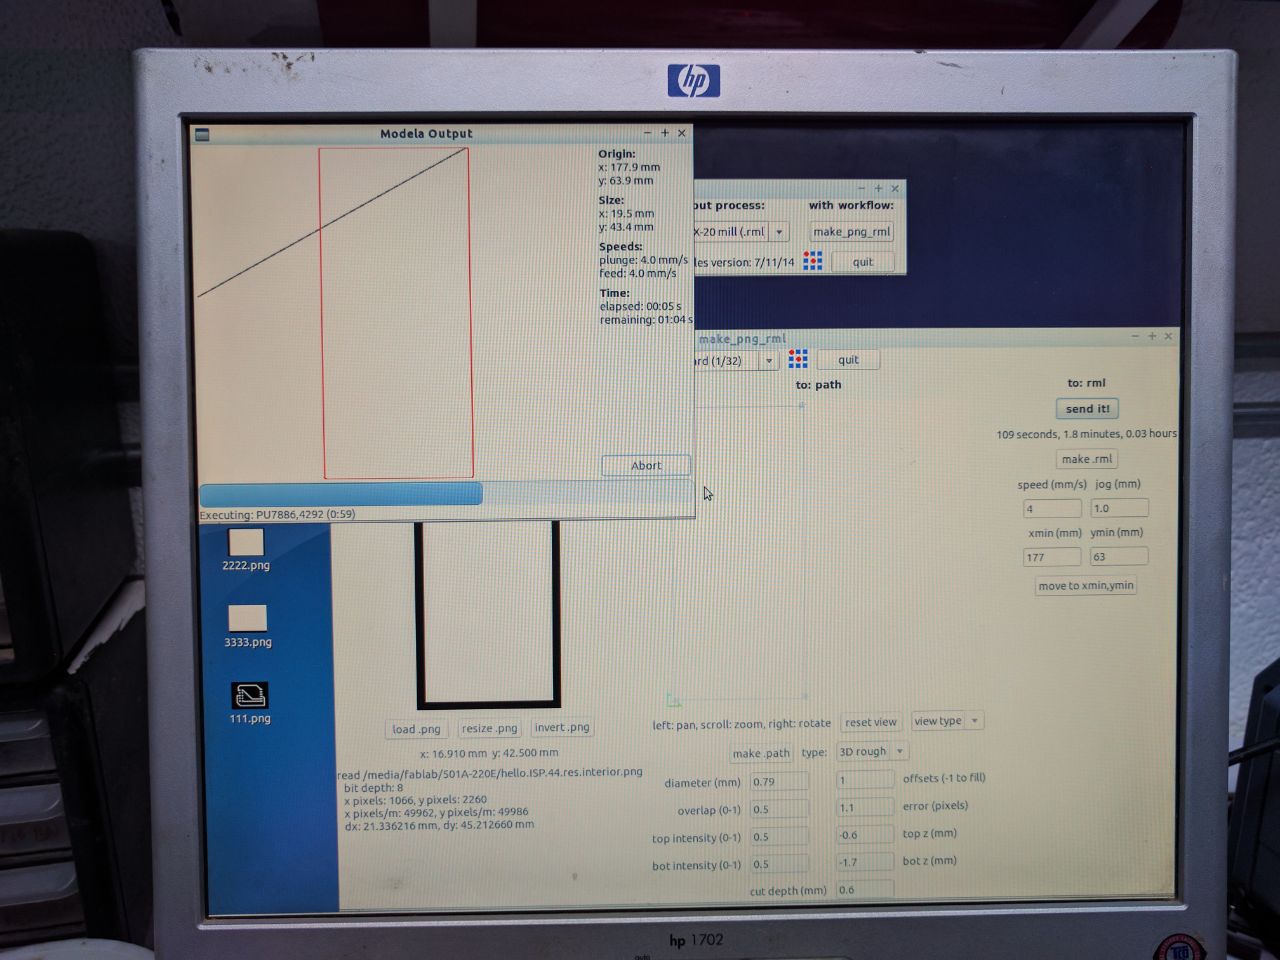
And i repeatd the same steps for cutting out the pcb but i've changed some settings. i selected the option " cut out board 1/32 " instead of the option " mill traces 1/64 " and changed the milling bit to 1/32 instead of 1/64.

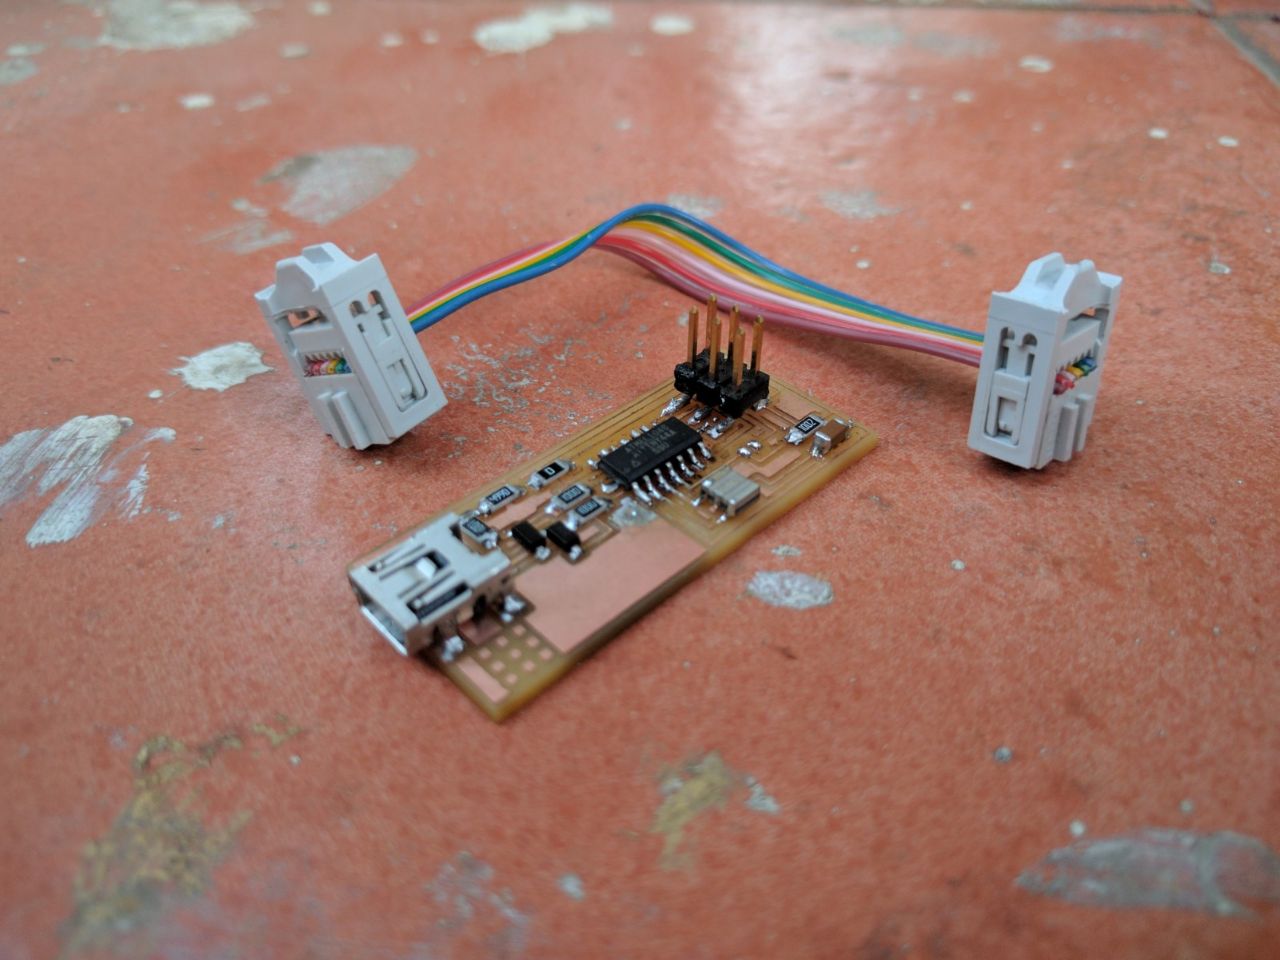
And here is the final result
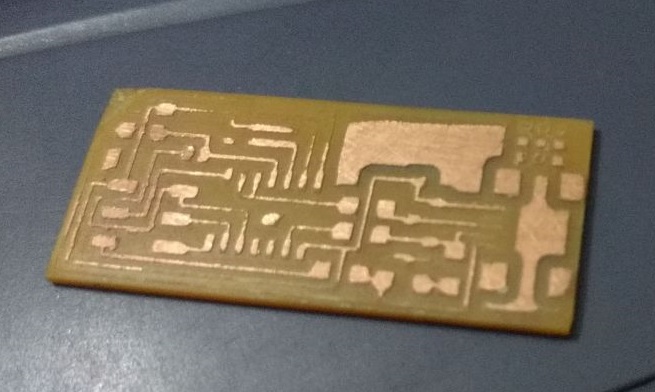
Unfortunately the result is very very bad because the 1/64 milling bit was already broken and it ruined alot of other traces. also the metallic bed was missing and a sheet of Acrylic was used as a bed and sacrificial layer so it was so bendy and it distracted the z axis force. and the collet caused alot of vibrations. And i think it didn't turn out great because i used FR2 board at first.
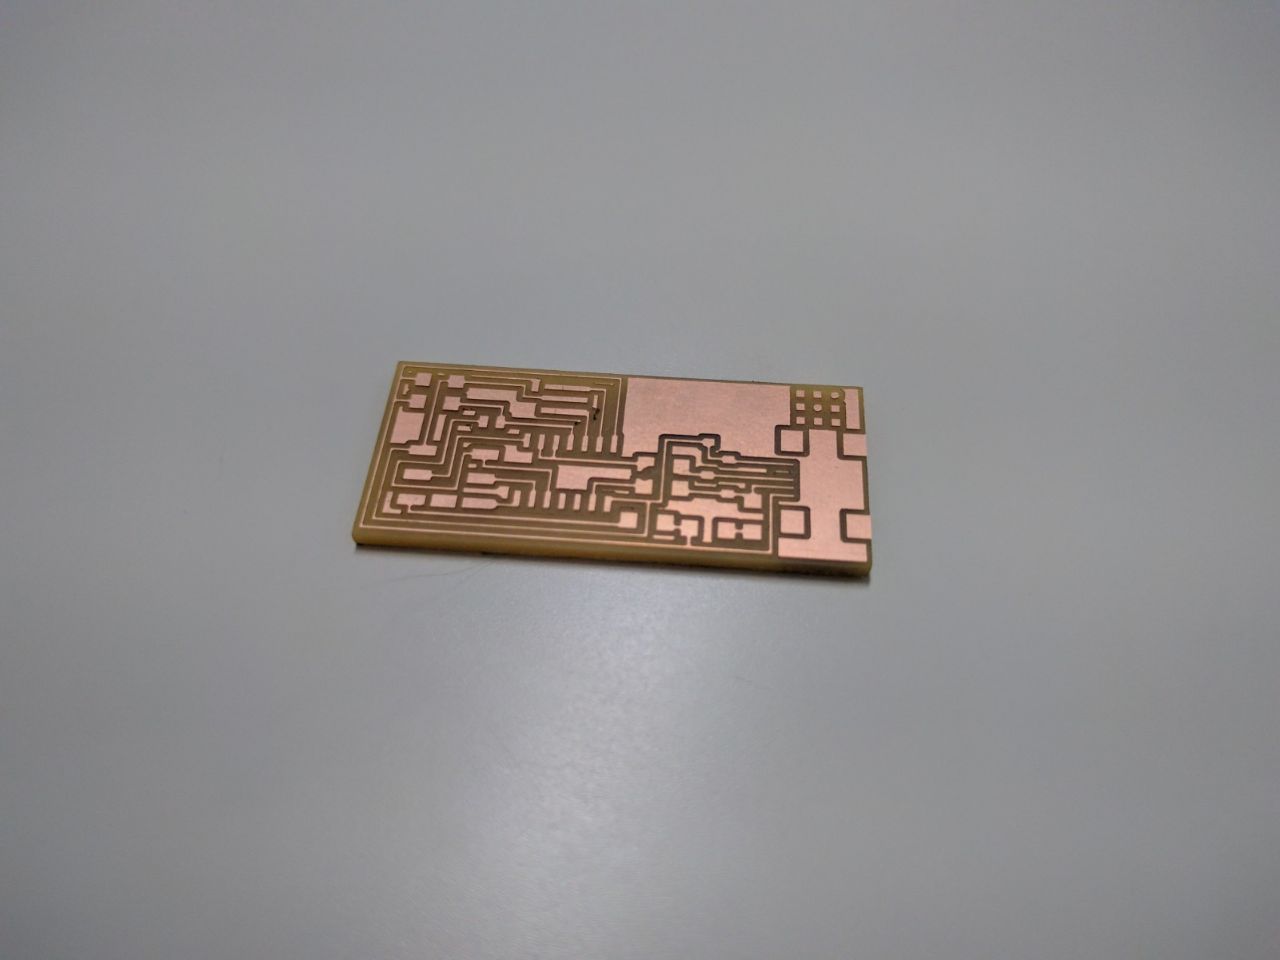
So I repeated the whole process again with the new milling bit, new collet, FR1 Board and i cut new metallic bed with my colleague Mohammad Abu El-Haggag and eventually the final result was very good
After cleaning the board, I started to solder the SMD parts, i faced alot of problems with soldering the resenator and the attiny because ther are tricky but after using some flux and hotair station soldering became alot easier.
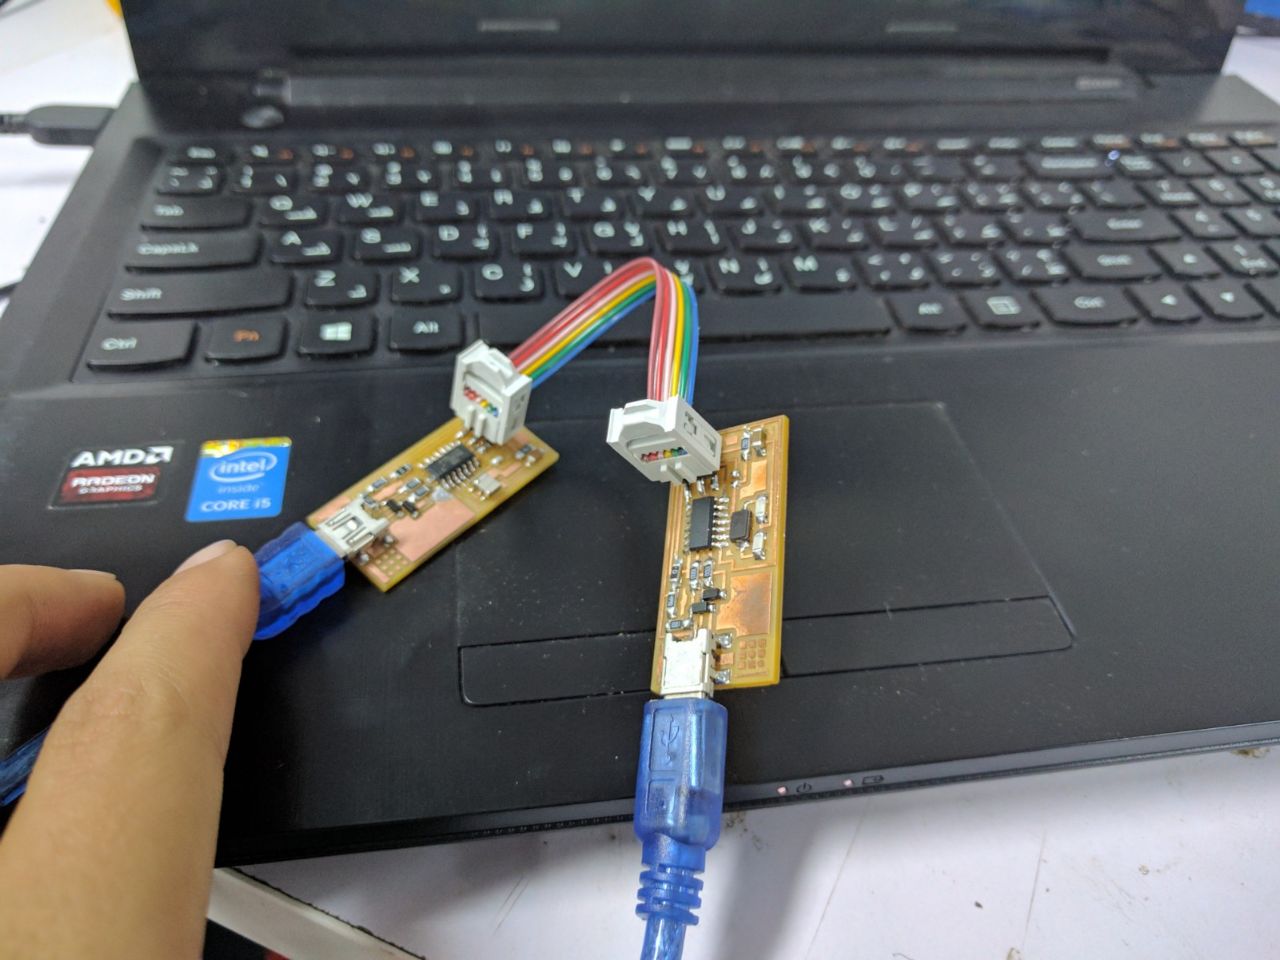
After soldering i followed this tutorial's instructions to program the board. I used another FabISP to program my FabISP
- First of all i installed
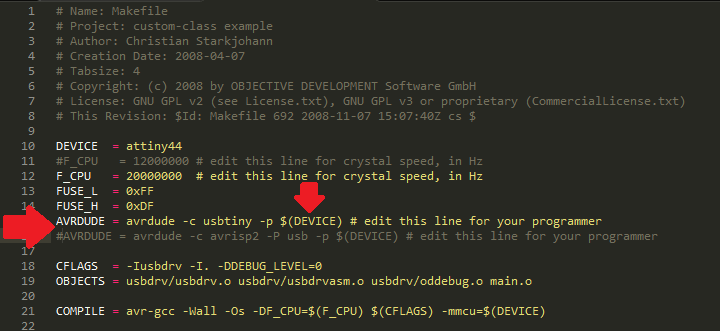
- Edit the Makefile, because i am using another FabISP as a programmer so i uncommented the line with "usbtiny" and commented the "avrisp2" line. then saved the Makefile and replaced &(DEVICE) with the FabISP COM port number.
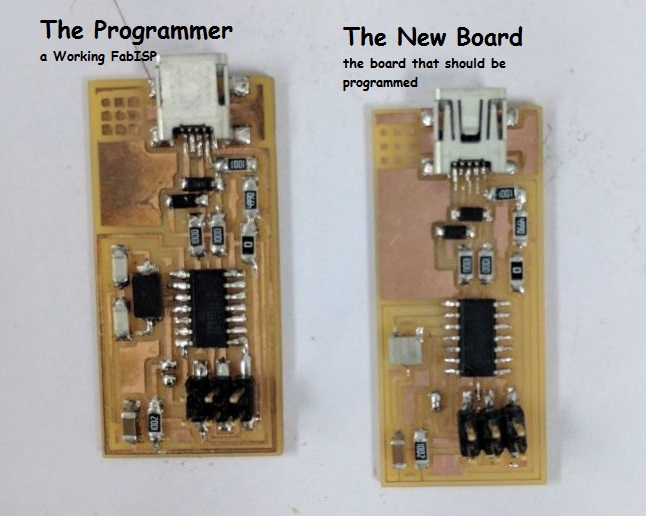
- Connect a working FabISP to the new FabISP to program it. Connect the Programmer to the usb port and connect the other one being programmed to another usb to provide power to the board and then program it
- then i opened cmd and started programing by typing
- cd Desktop/firmware
- make clean
- make hex
- make fuse
- make program
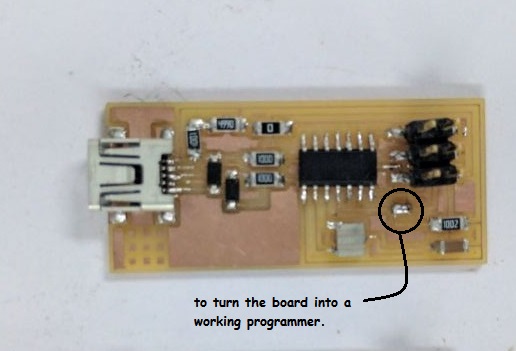
- After a successfuly programing the board i removed the solder bridge to turn the board into a working programmer.