

Week 12 - Molding and Casting
![]()
![]()
![]()
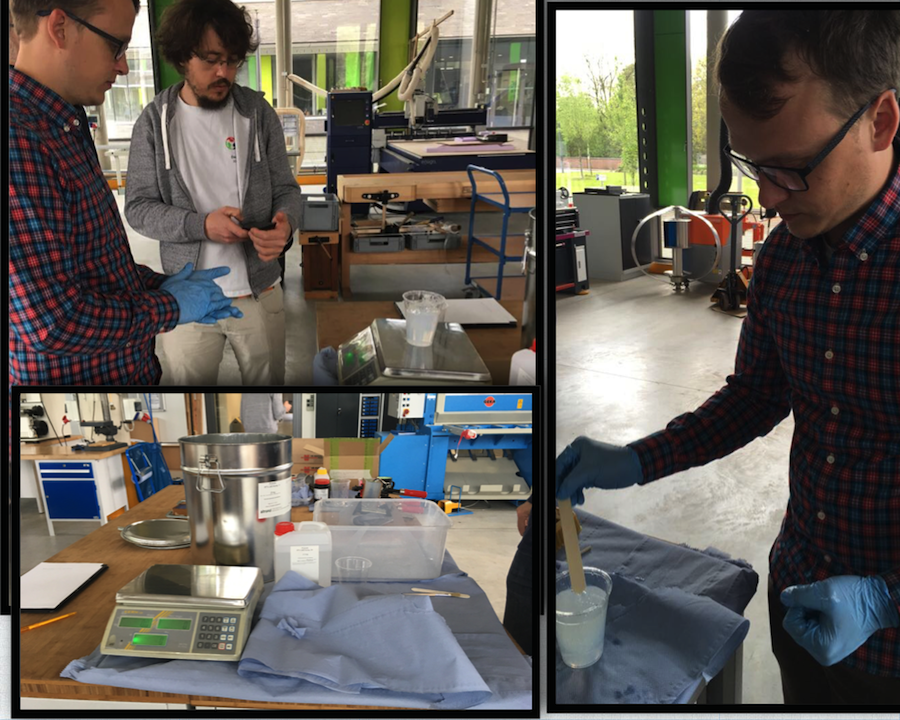
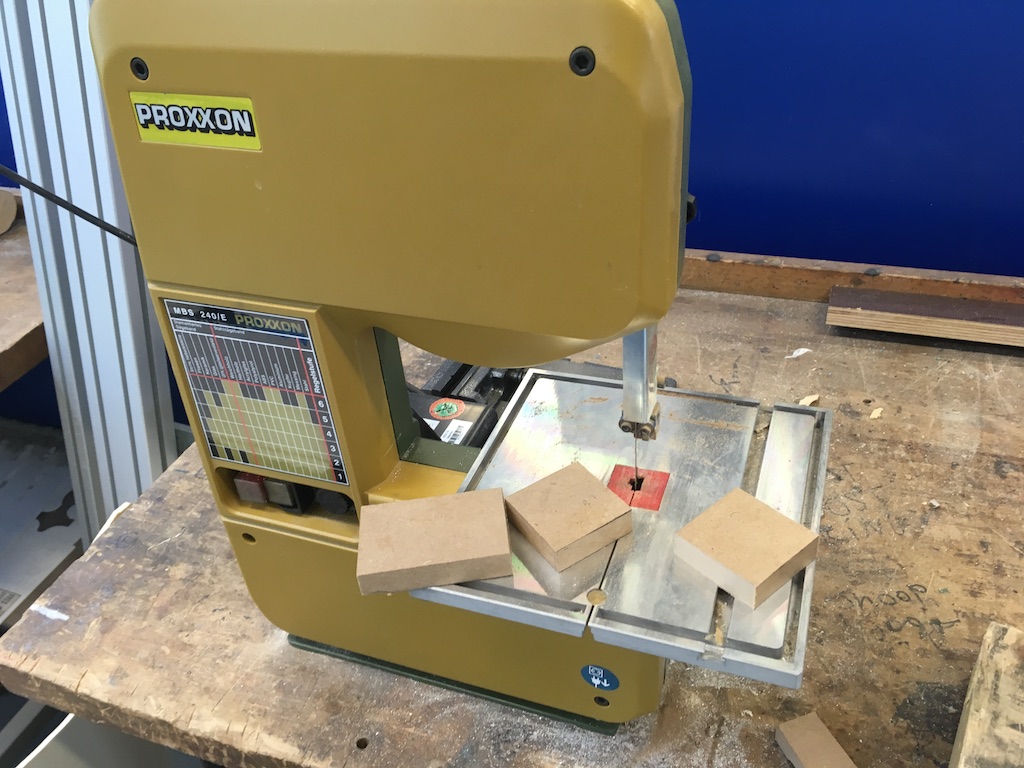
Our FabLab has a small cnc-mill but the problem is, that the machine is out
of order at the time. For the milling work Aleksandra and I had to arrange an appointment with Daniele at FabLab Kamp Lintfort.
At this point a big thank you to Daniele, because he took the time for
helping us and explained everything very well. We also enjoyed working with
the other students of the Fabacdemy from the FabLab Kamp Lintfort.
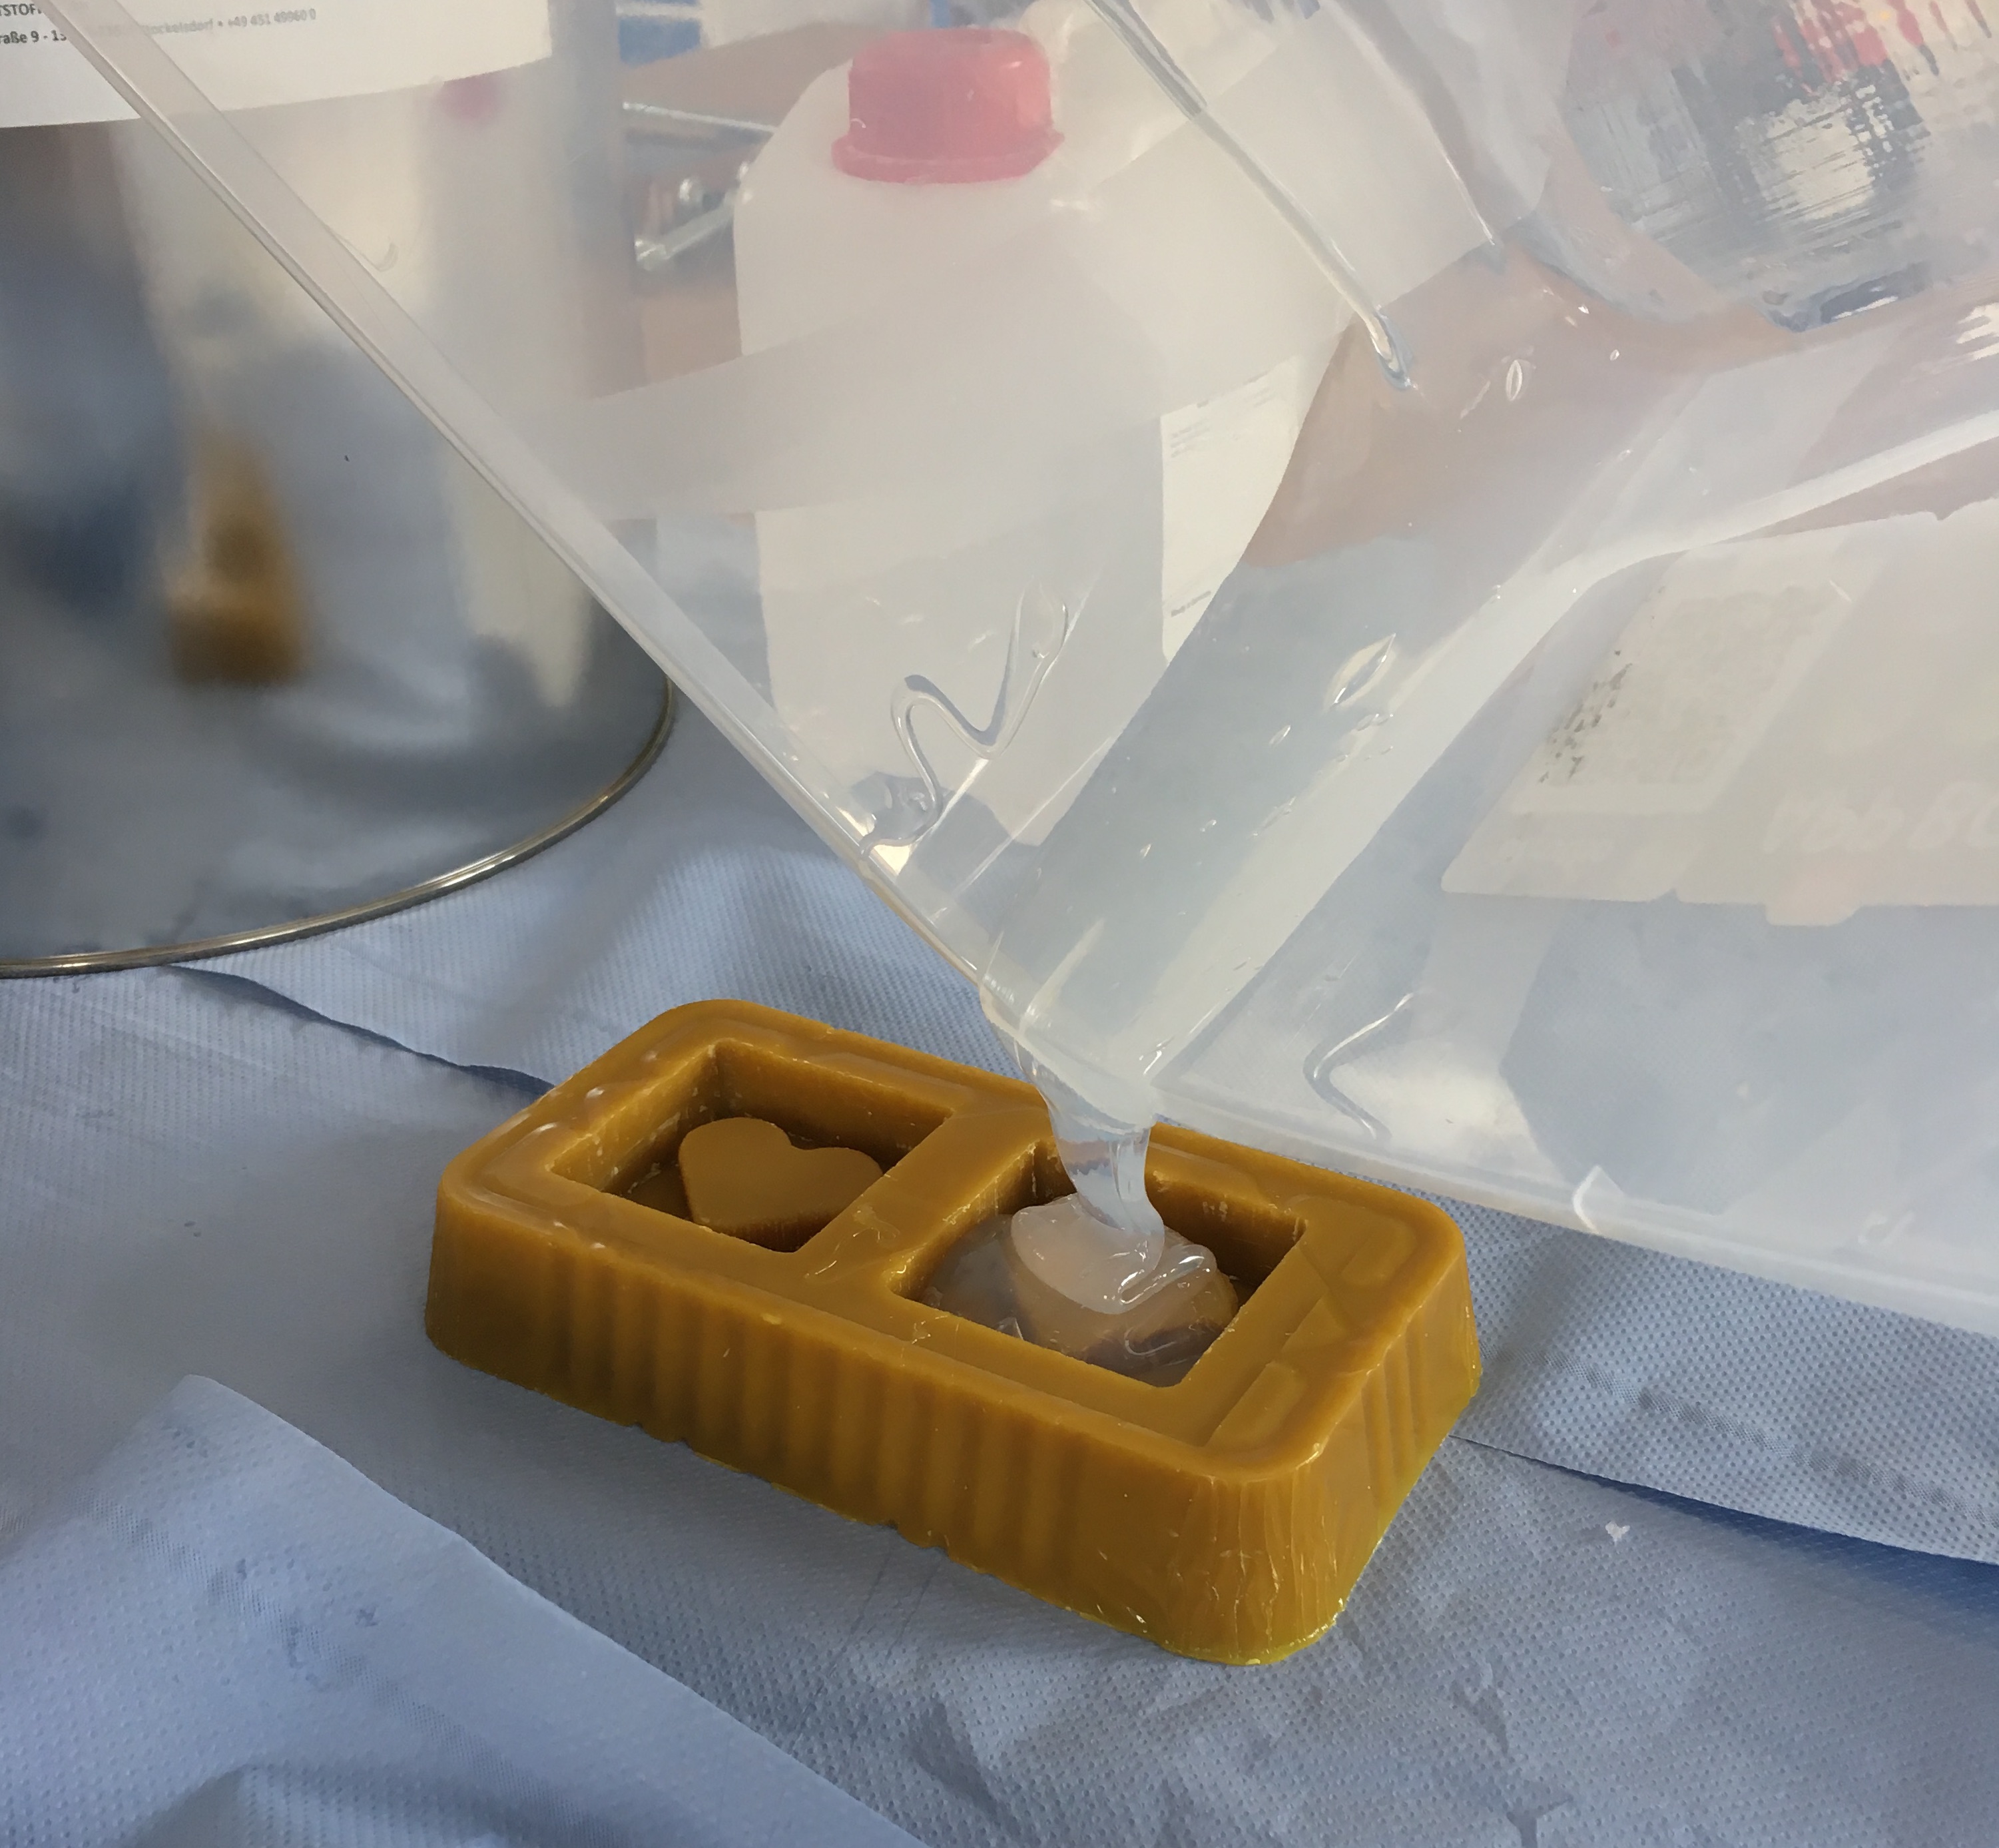
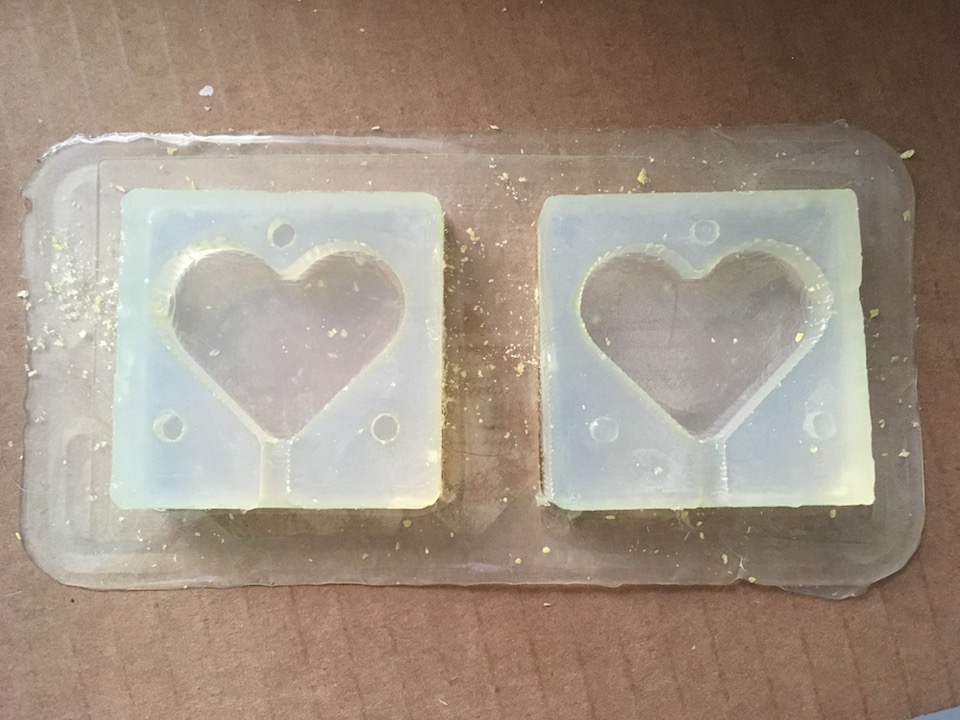
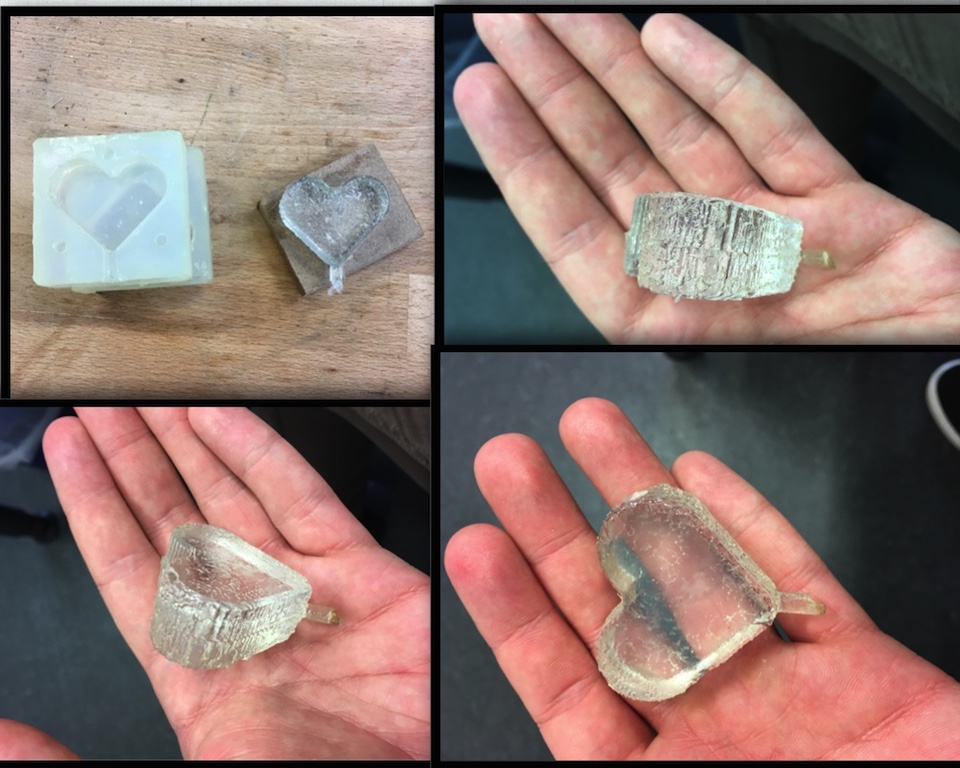
We should do it in 3 steps: first pour out this mold with silicon.
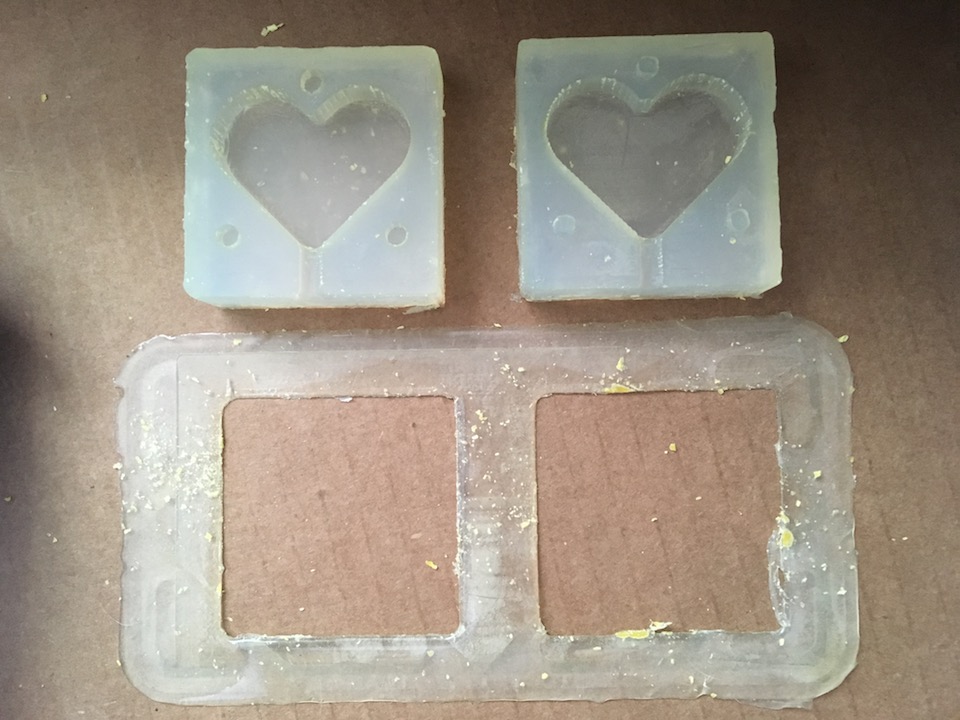
Then use the silicone mold for casting.
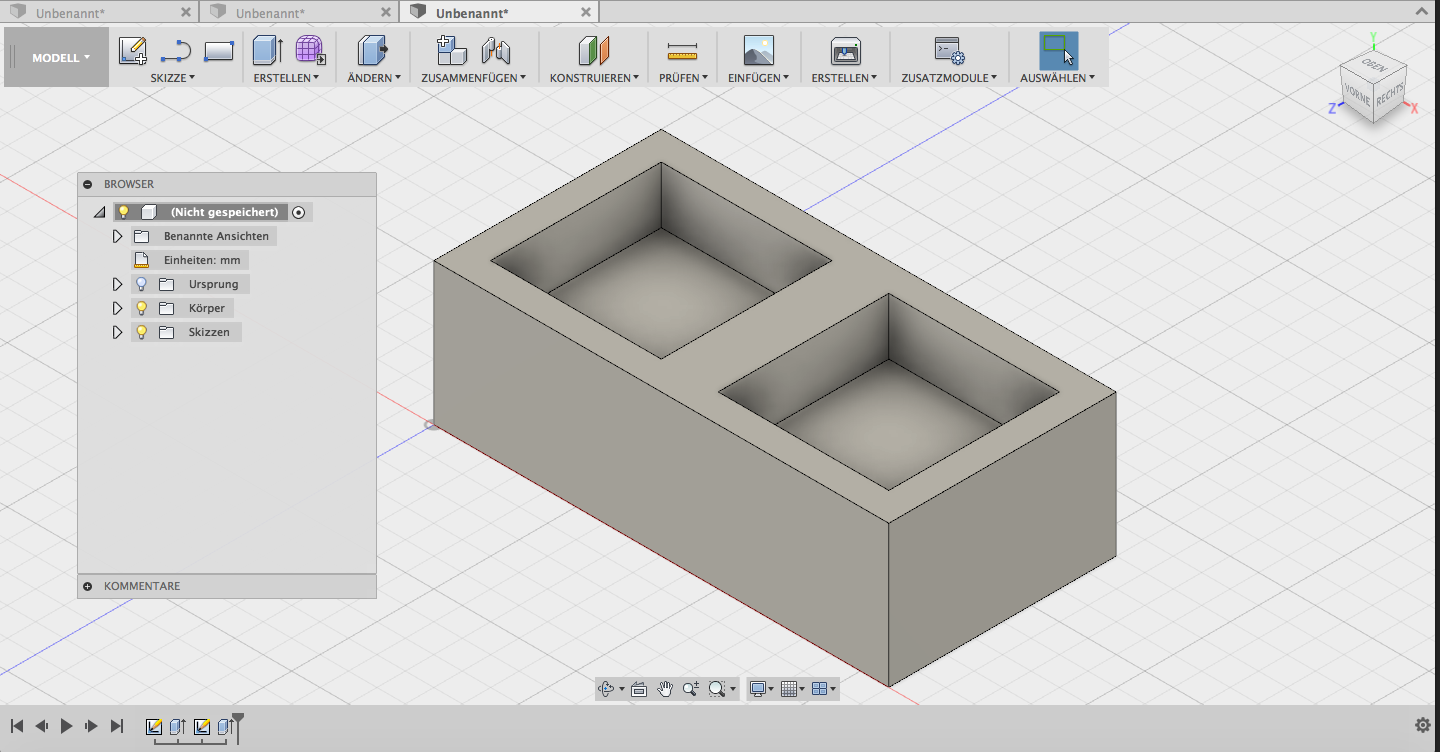
For this assignment I have decided to design a heart in Fusion 360. I have
chosen this heart to give it to my mother on mothers day on May 14th ;-)
![]()
1. Design in Fusion 360
![]()
assignment a heart), in order it can be positioned correctly:
![]()
![]()
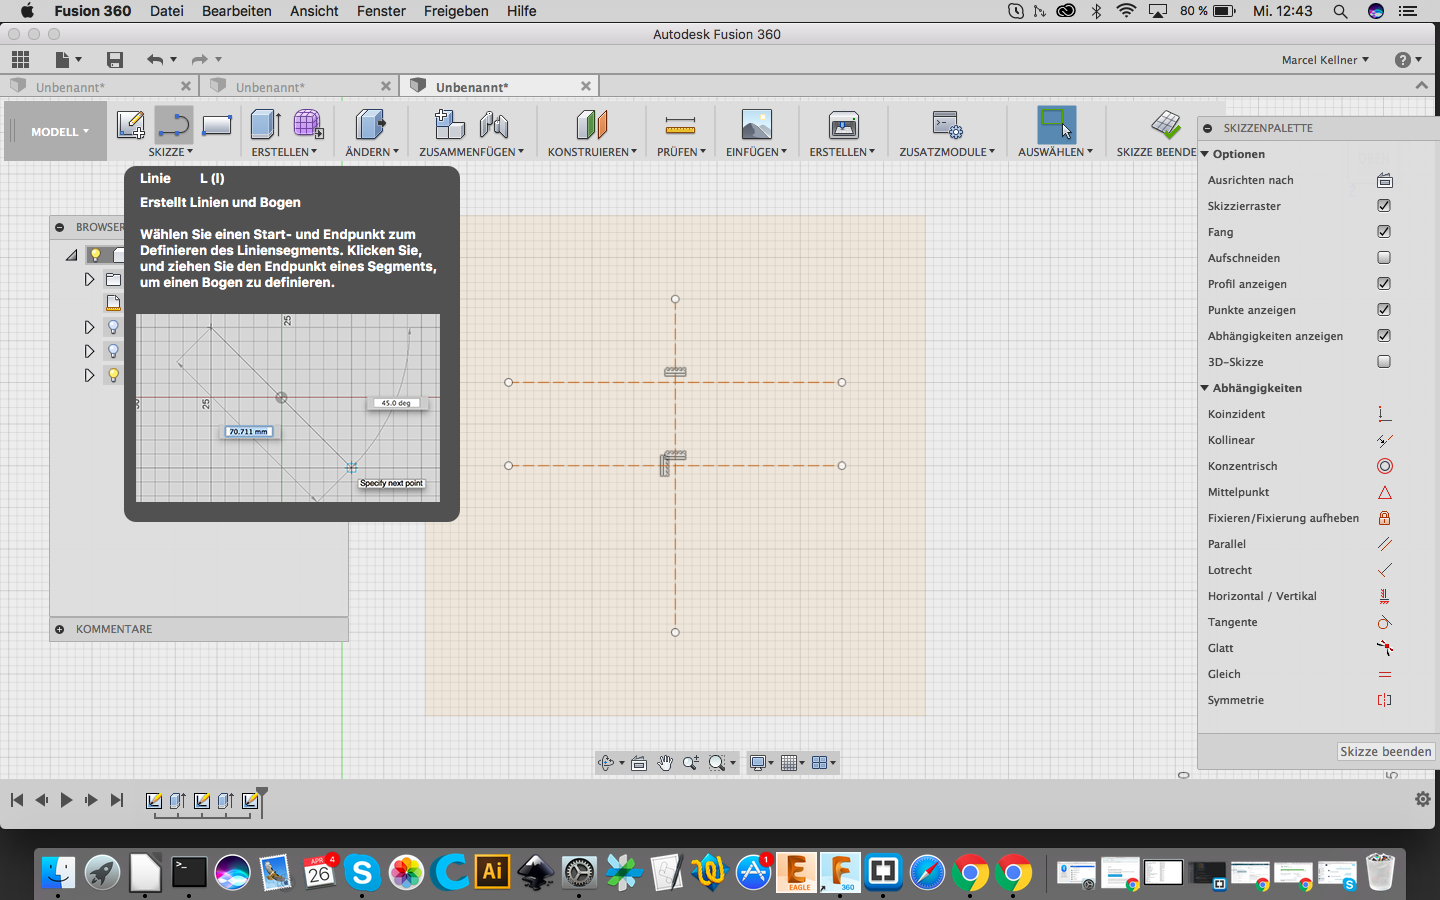
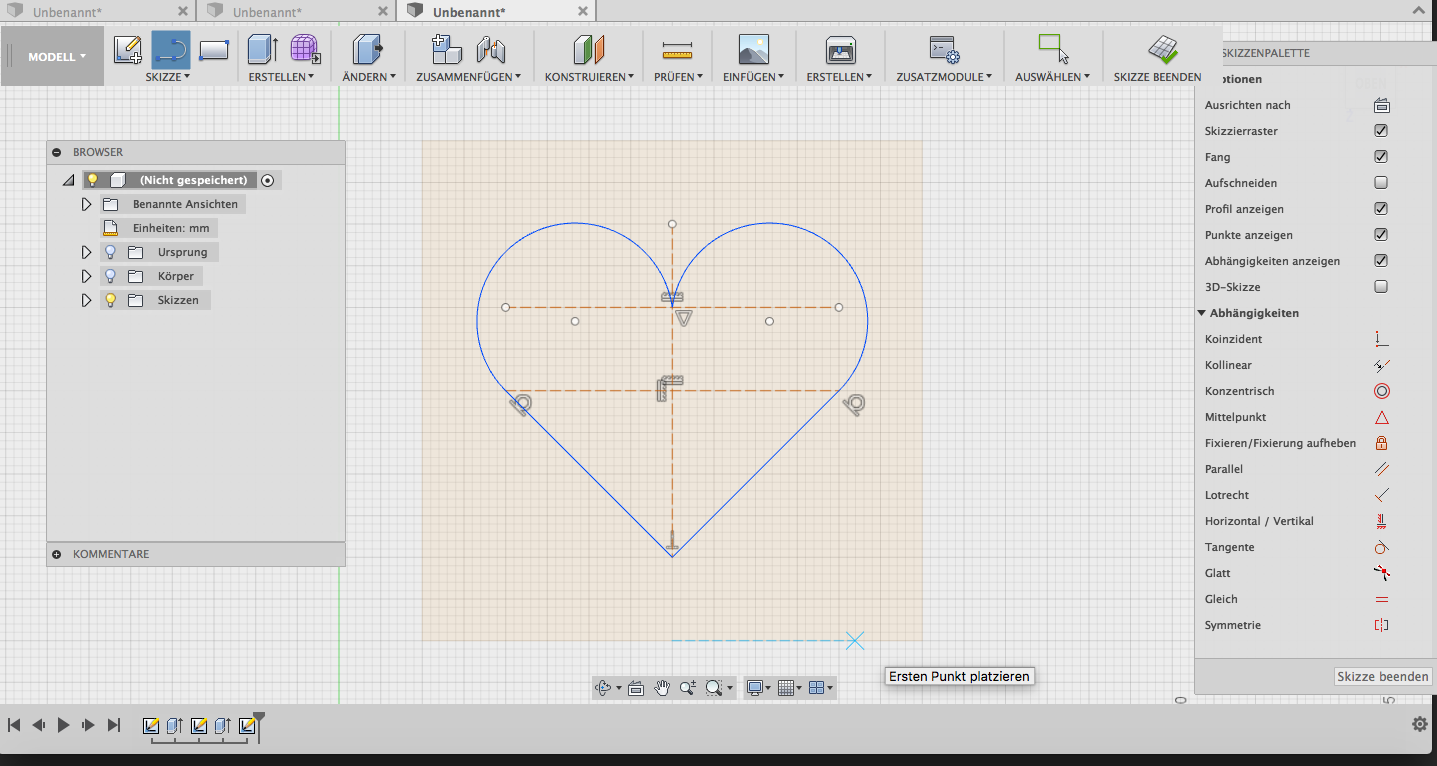
I created the lines and arcs for the heart-shaped design. For this I used the tool "line" in the sketch. Hold the left mouse button pressed for the arcs:
![]()

![]()
![]()
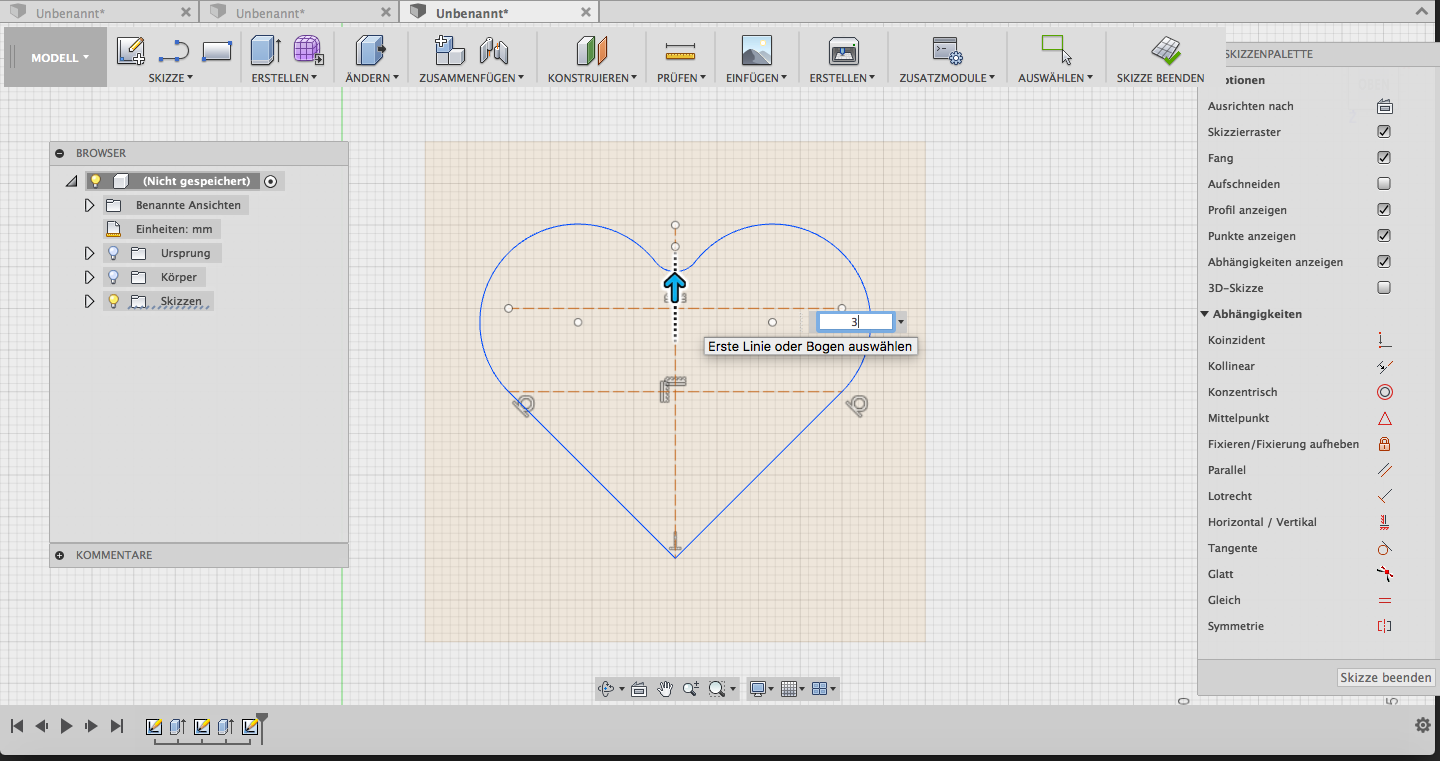
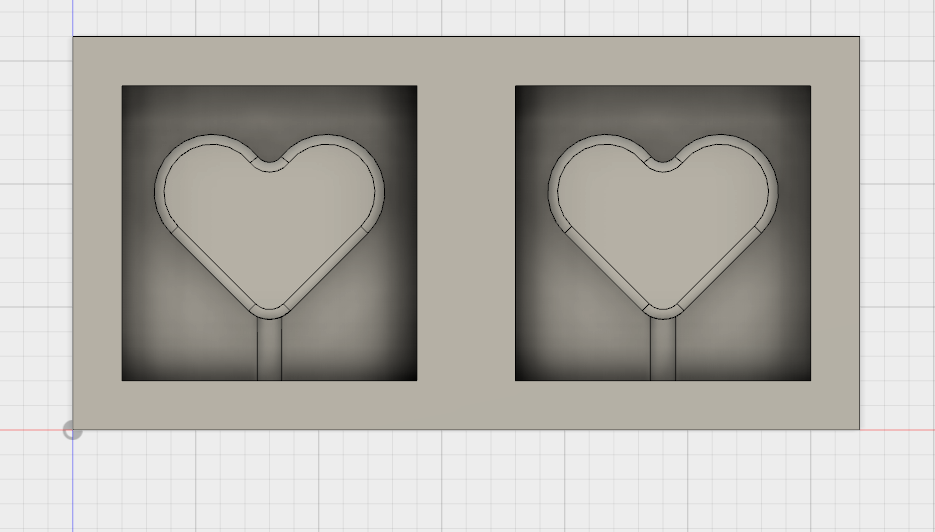
I also made the same step on the other side, and finally the sketched hearts were extruded to obtain a three-dimensional body. So that the mill can also mill the heart correctly, I have rounded the upper corner with a radius of 3mm:
![]()
![]()

![]()
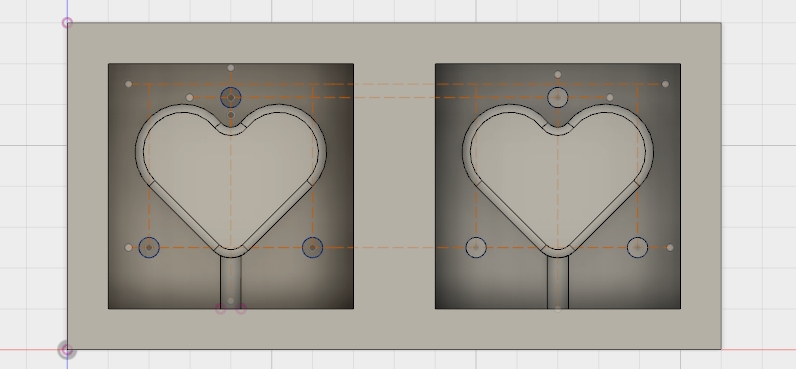
On this picture you can see the designed form in which there are 2 separate chambers to create a 2-piece cast:
![]()
![]()
![]()
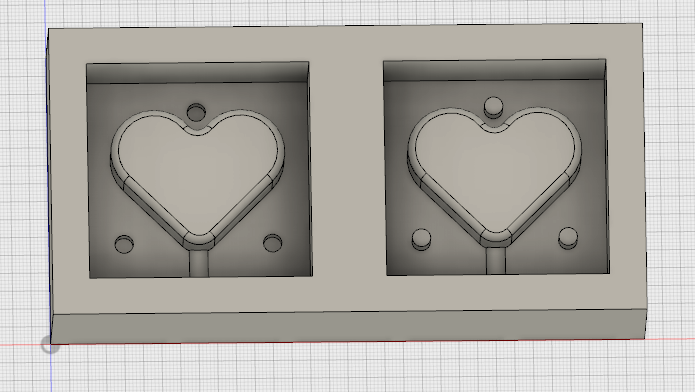
The most important fact is, that the positioning of the objects in the form is the same, so that the two halves can be placed correctly. For this reason I have also 3 holes lined up to snap the pieces together:
![]()
![]()
![]()
2. CAM-process in Fusion 360:
![]()
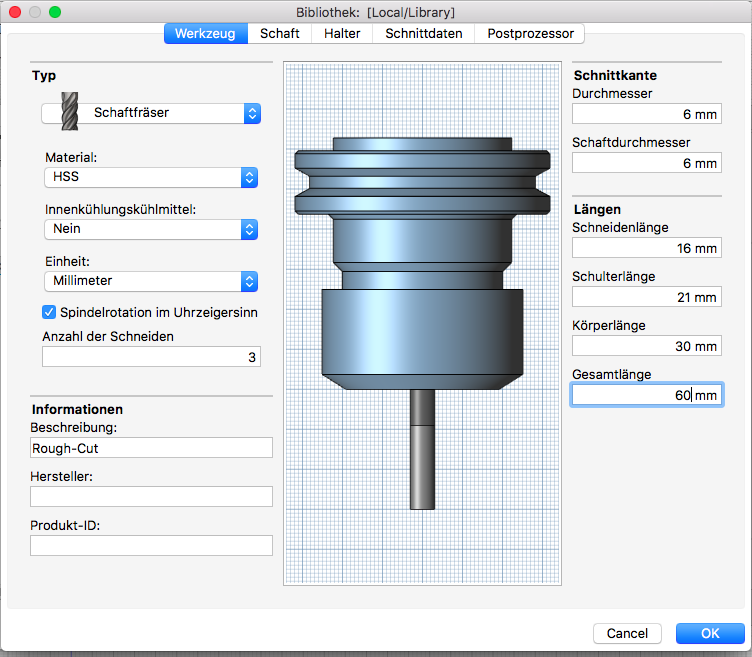
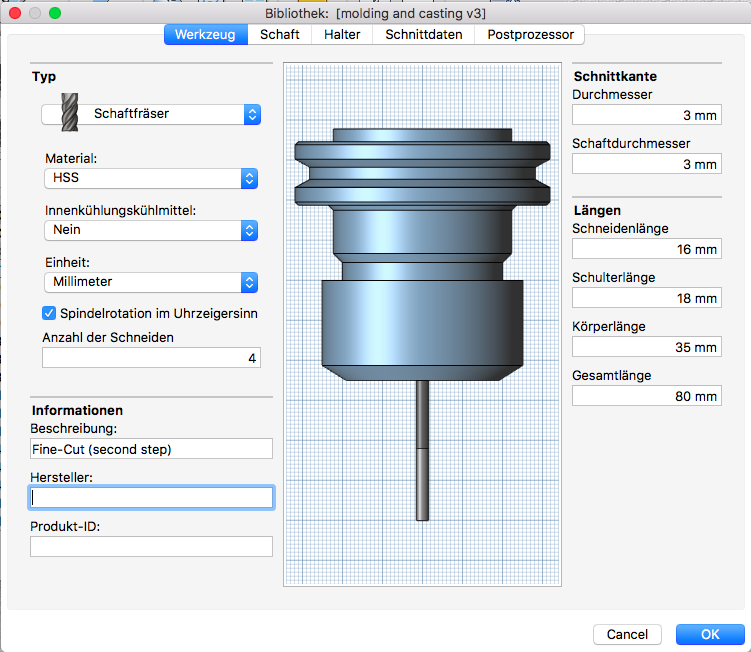
Next I had to think about a strategy, how I can mill my model. I used the CAM process in Fusion 360 and created 2 new tools in the library. A 6mm end-mill for the rough cut and a 3mm end-mill for the fine cut. Also Set coordinate system in the CAM. Step down, max 1/2 diameter of the tool. It is important that the diameters and the different lengths (cutting length, shoulder length, body length and total length) are precisely defined:
![]()
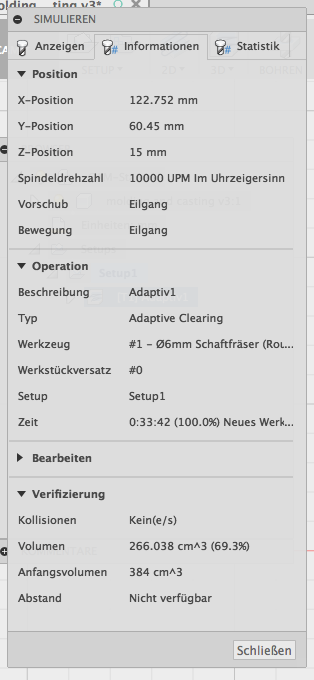
Defining the tool and simulate for the rough-cut:
![]()
![]()

![]()
In the simulation is very interesting to see the software calculates the volume (volume and initial volume), which is milled out. With this information you can estimate how much material is needed to fill the form.
![]()
![]()
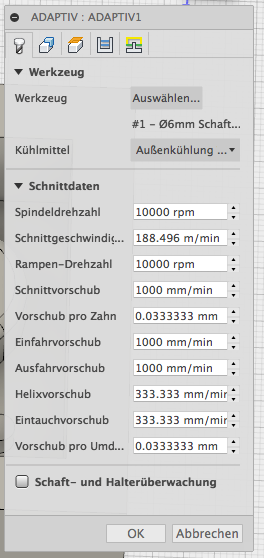
Adaptive-clearing-setup:
![]()
![]()
Defining the tool and simulate for the fine-cut:
![]()
![]()
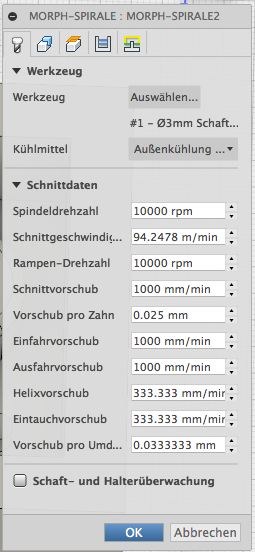
Morph-spirale-setup:
![]()
![]()
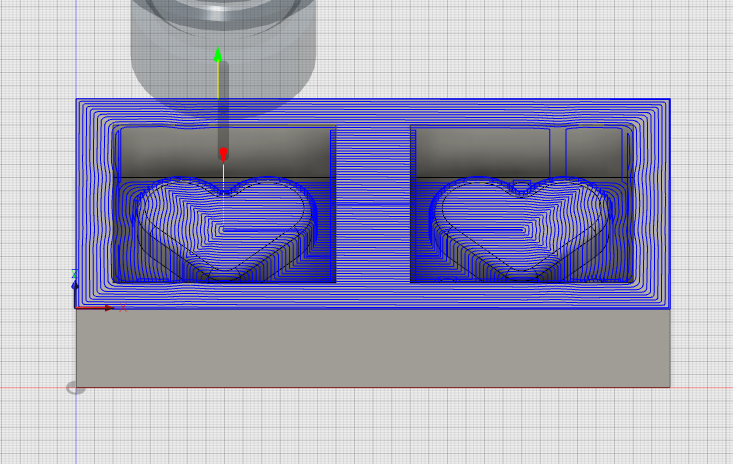
![]()
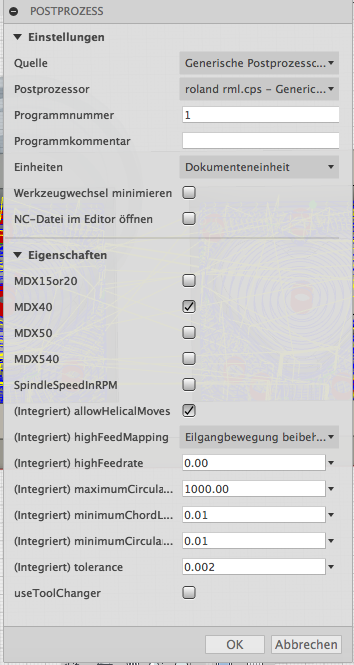
Post-process to Export the milling-job:
Use roland rms.cps Generic Roland RML; Properties: MDX40:
![]()
![]()
![]()
![]()
3. Milling process
![]()
![]()
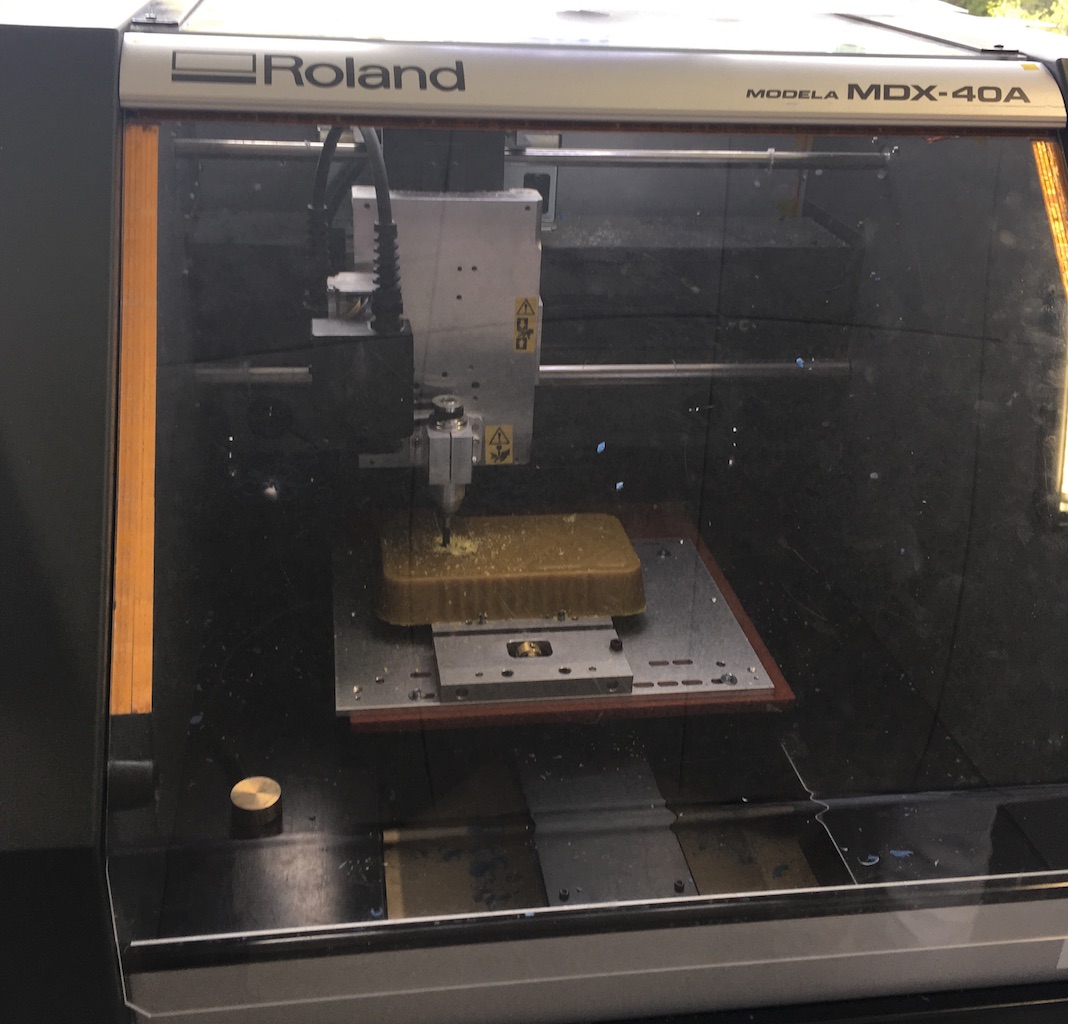
![]()
![]()
![]()
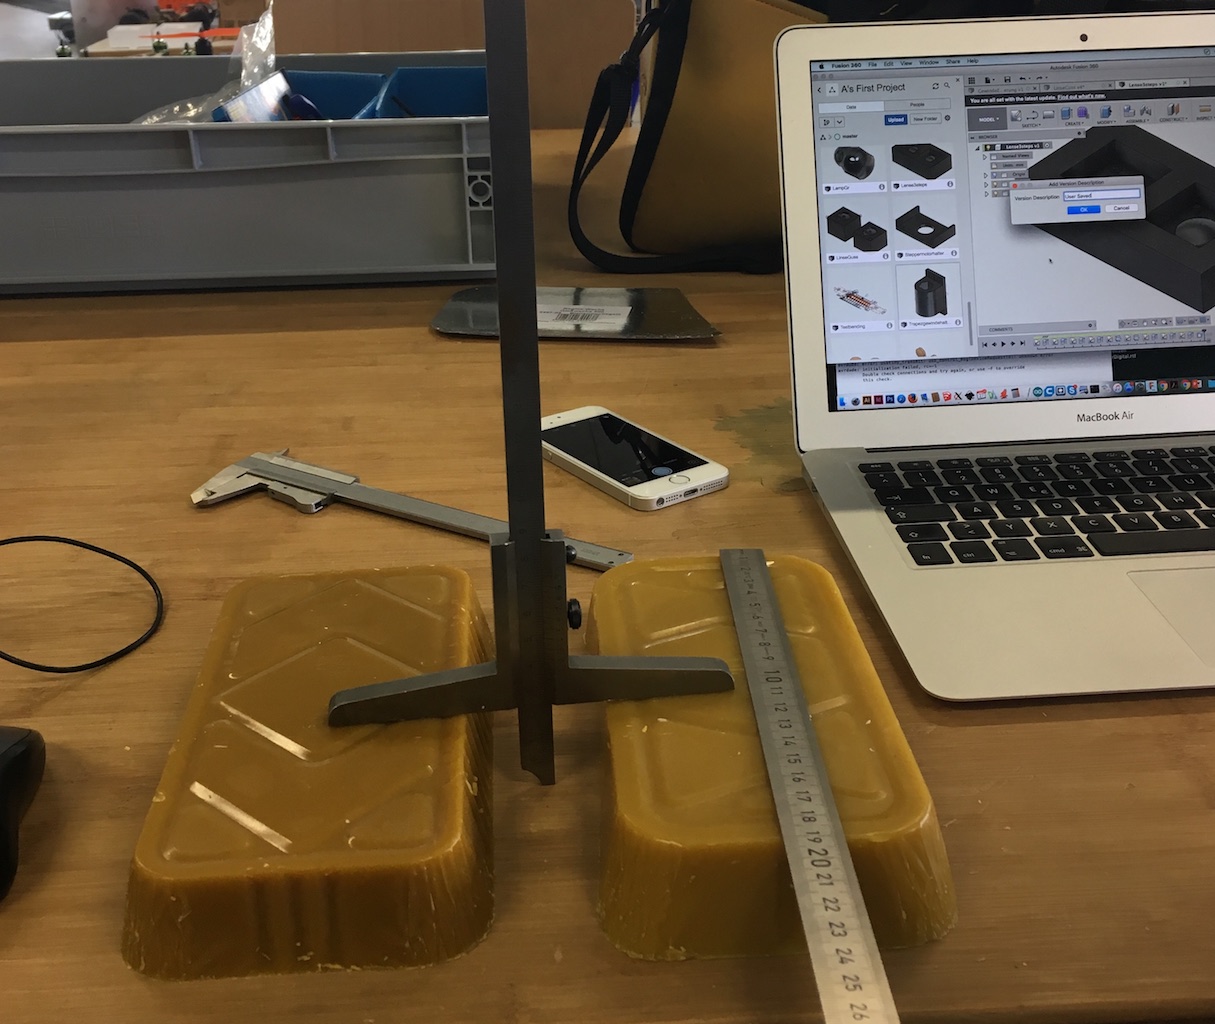
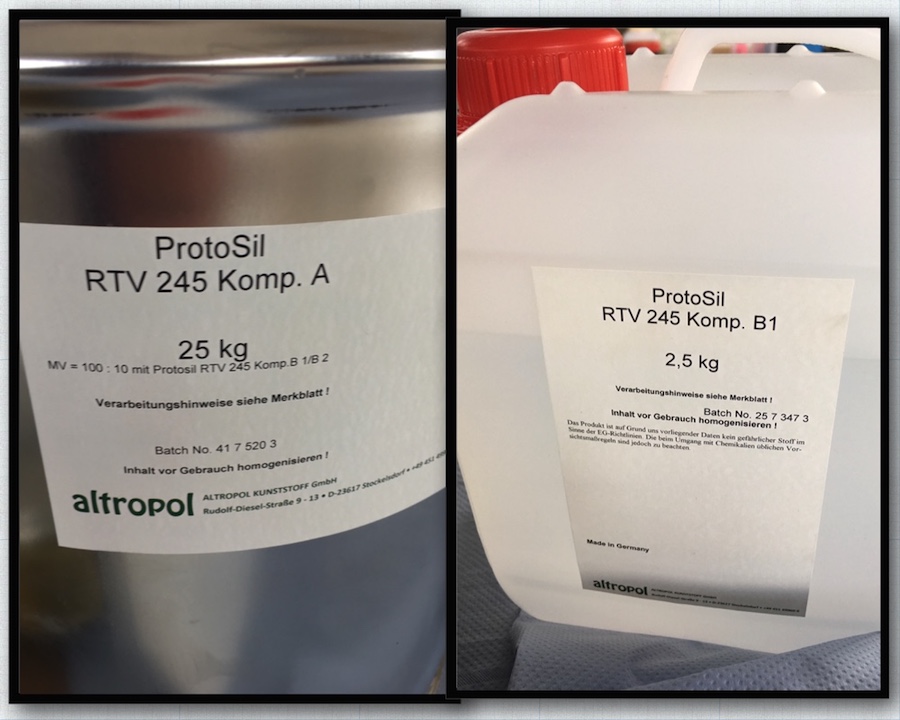
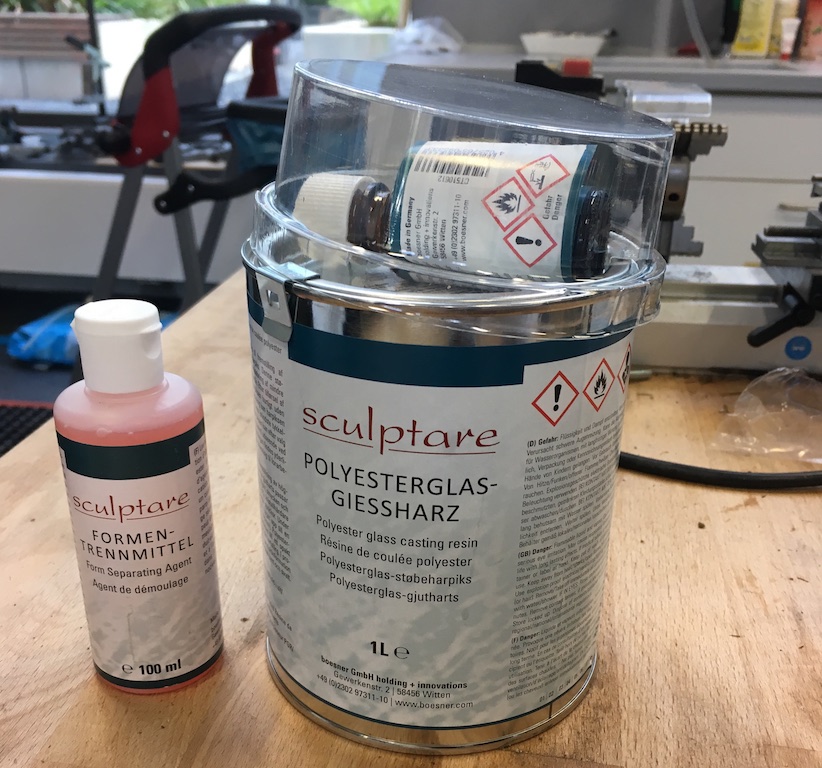
For sculptures, model and castings with high heat resistance. Suitable to produce models with extremely smooth surface texture for silicone rubber mold.
![]()
Roland MDX40 milling videos:
Rough-cut (6mm tool-diameter):
Fine-cut (3mm tool-diameter):
![]()
![]()
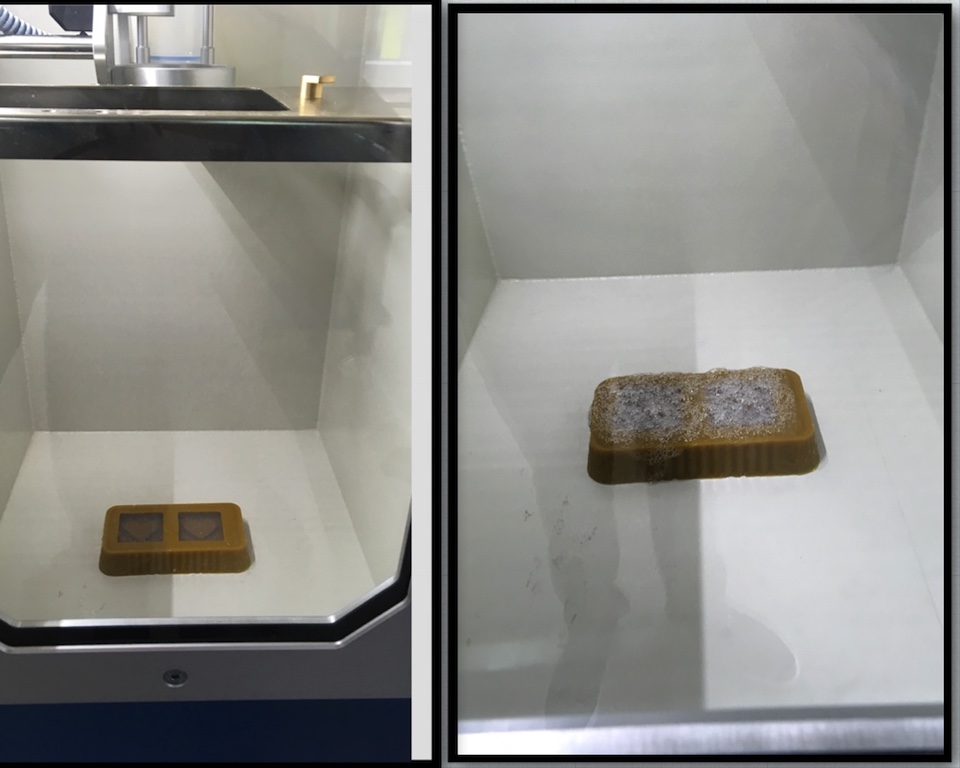
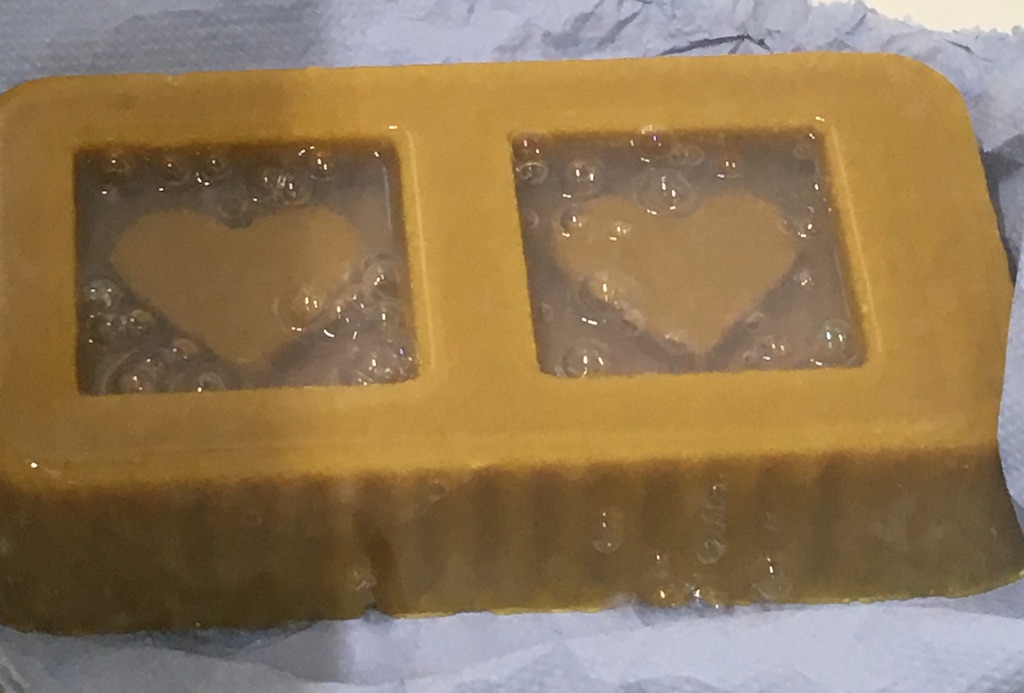
4. Casting process 1
![]()
![]()
![]()
![]()
![]()
![]()
![]()
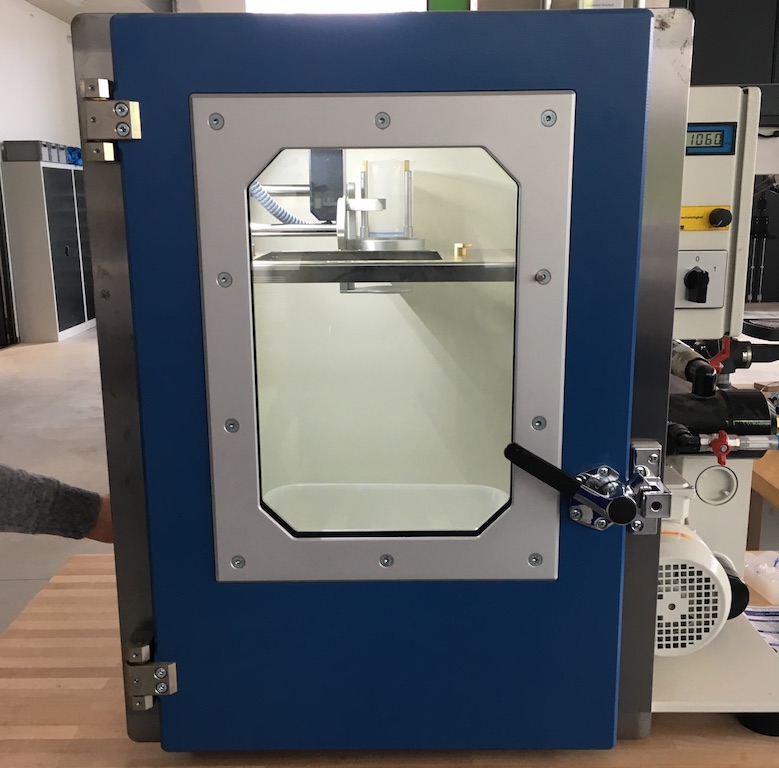
After the pressure in the vacuum oven had decreased to 1 hPa = 0.001 bar, the machine was switched off and waited for 5 minutes before the pressure was balanced again.
![]()
![]()
![]()
![]()
![]()
![]()
![]()
![]()
![]()
12 hours of waiting ...
![]()
![]()

![]()
![]()
![]()
![]()
![]()
![]()
![]()
![]()
![]()
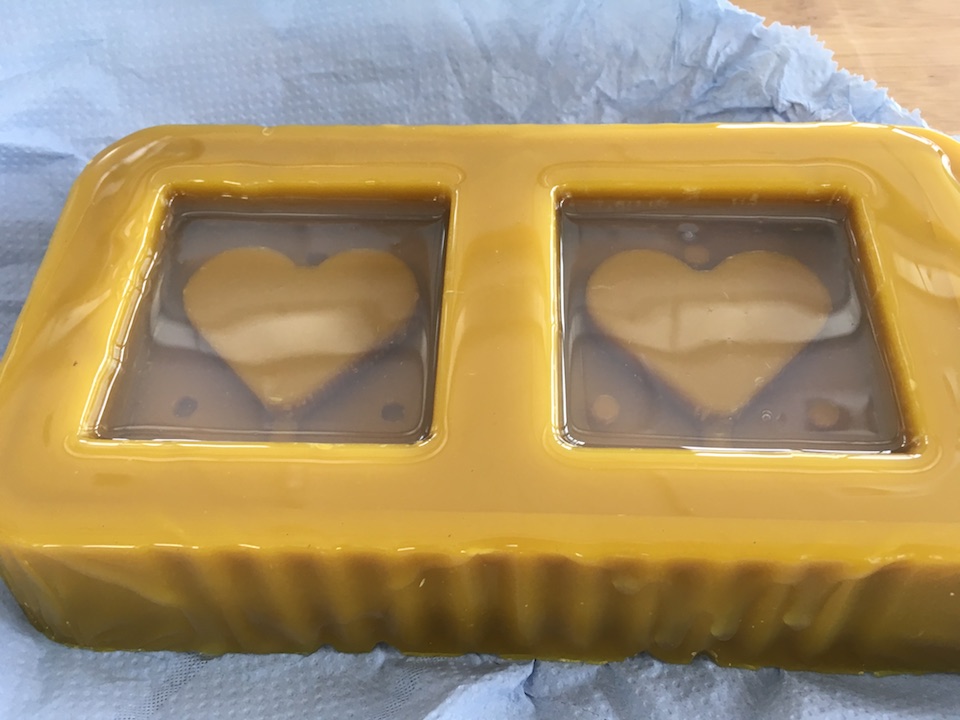
5. Casting process 2
![]()
![]()
![]()
![]()
![]()
![]()
![]()
![]()
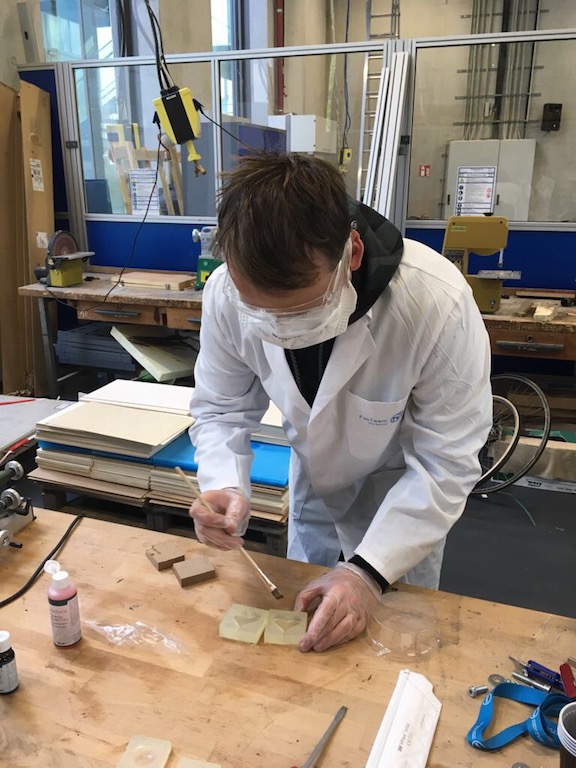
As described in the instructions, this is the recommended quantity.
Another note from the manual was that we should not mix the mass with a round, but with a flat wooden stick.
![]()
![]()
In order to vent the form, I additionally inserted a cannula laterally into the form.
![]()

![]()
![]()
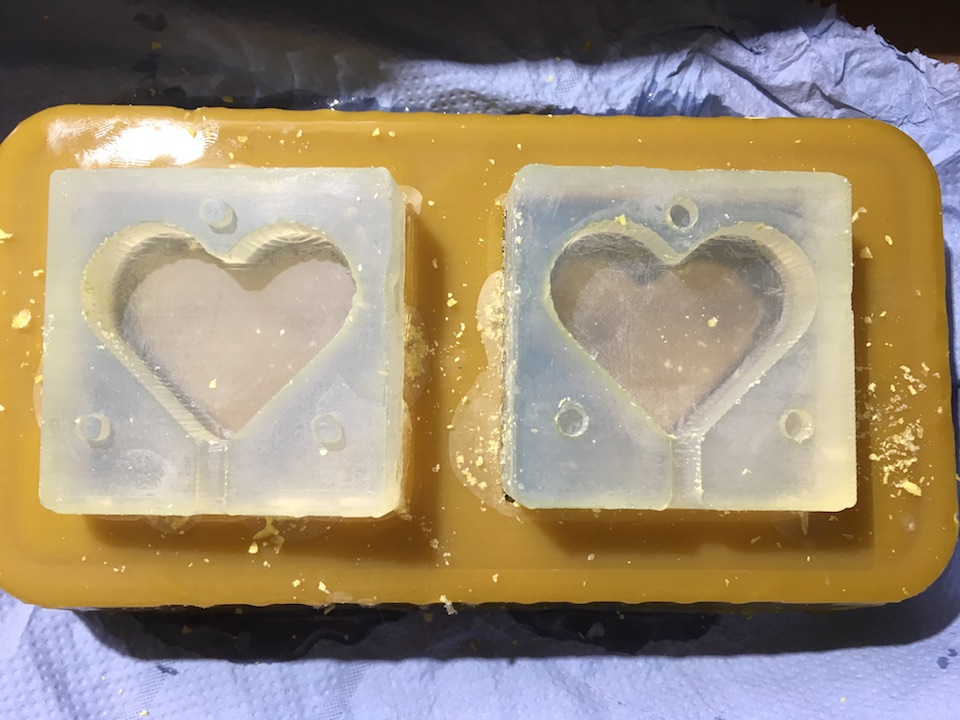
2 days later:
![]()
![]()
![]()
![]()
![]()
![]()
![]()
![]()
![]()
Download-Section:
Mold Fusion-file
![]()
![]()