Make an in-circuit programmer.
Getting The Milling Machine Ready
This weeks assignment was to make an in-circuit programmer. We could choose between a few designs of in-circuit programmers, like: David, Andy, Valentin and Zaerc, i chose to start this week of by making the david board first and then, if i had time, make some of the other boards.
After deciding what board to start with me and Aron went to the machining room to get the milling machine ready. First we changed the pcb plate, when we did that we had to put a double sided tape on the pcb plate to keep it in place while we mill it, and when the tape is ready we slowly put the plate where it belongs on the machine. The next thing we had to do was changing the end mill on the milling machine. When cutting out the traces for the programmer we have to use a 1/64 end mill but when we cut out the outlines we use a 1/32 end mill.
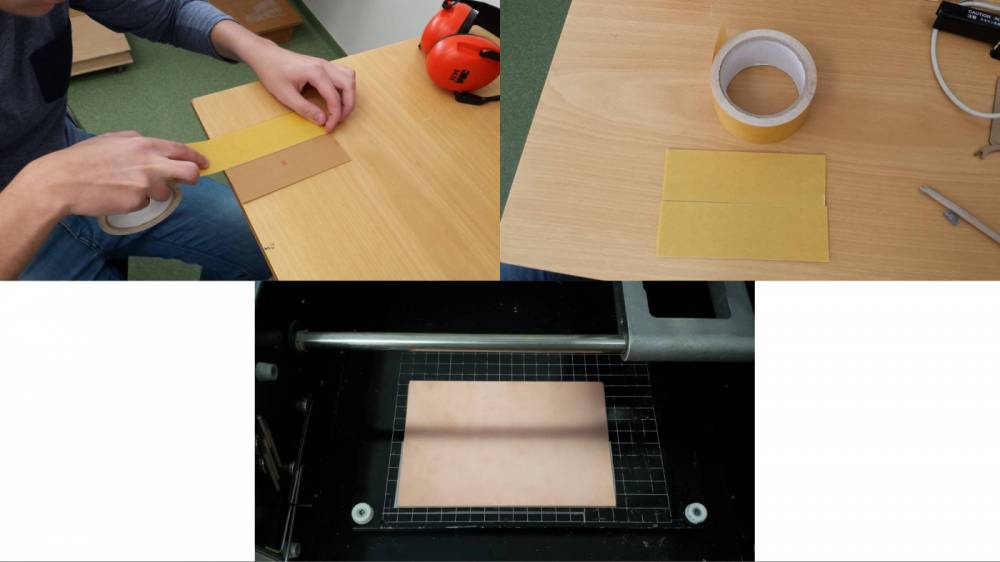
After changing the end mill the milling machine was ready to go and Aron got the first go at the machine.
Getting the Fabmodules ready and milling out the board
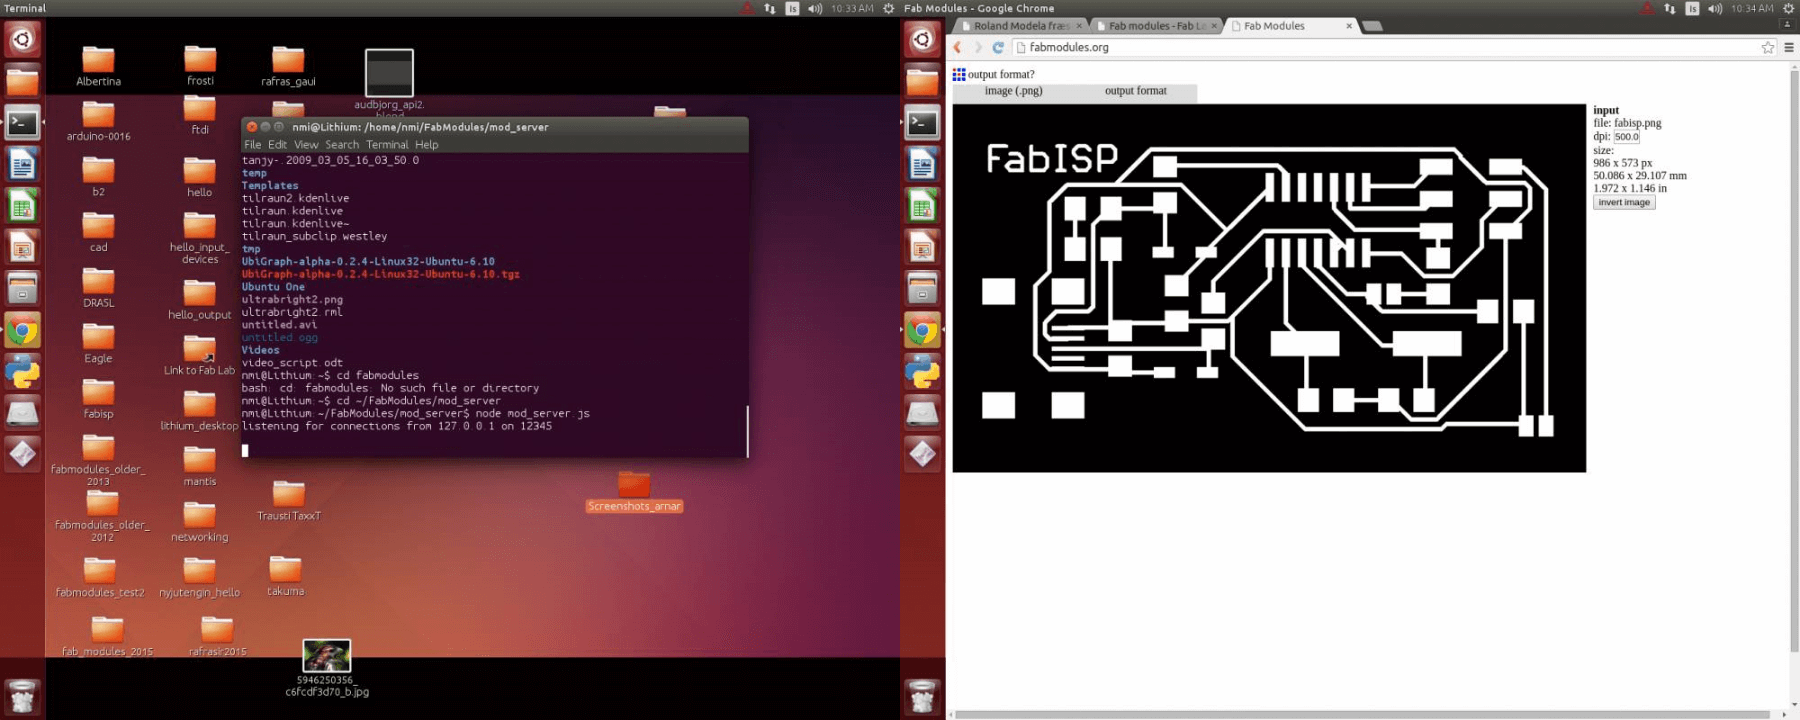
When using the fabmodules to control the milling machine i had to start of by giving the machine permission to take orders from an online software, and to give the machine permission i had to go to the terminal and type:
nmi@Lithium:~/FabModules/mod_server$ node mod_server.js
and now the machine was ready to take orders from fabmodules. The next step was to select the trace image in the input format option and in the output option i selected roland mill (.rml) and for this process i selected PCB traces (1/64) (when we cut the outline we select the outline image and PCB outline (1/32) in the process).
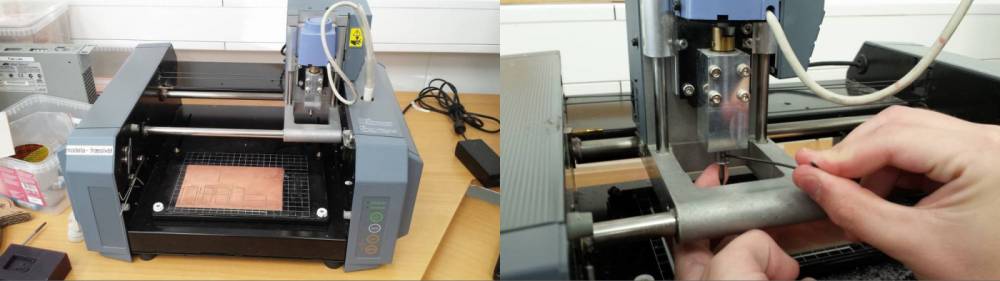
Now it was time to set the starting point on the plate and when doing that you just have to take put in the x and y values in the fabmodules for the starting point you want and when zeroing the z axis you just have to carefully loosen the screw ,which holds the end mill in place, and lower it down until it touches the PCB plate . Next i selected MDX-20 in the machine option and changed the send command from:
mod_serial.py /dev/ttyUSB0 9600 dsrdtr
to
mod_serial.py /dev/ttyS0 9600 dsrdtr
I did this to get a connection to the right port on the computer
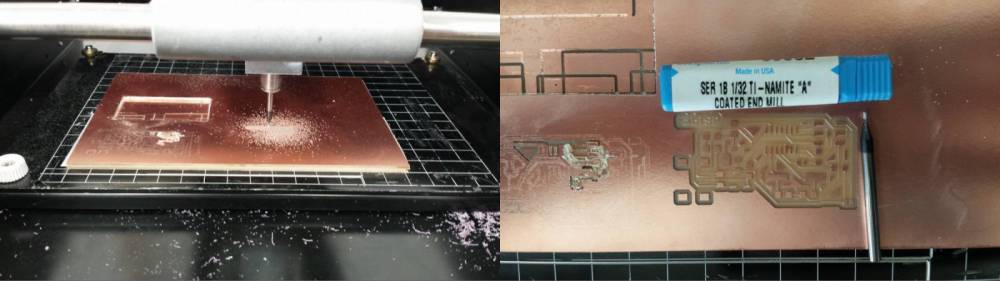
The only other thing i changed in the process was cut depth to 0,2 because when Aron was cutting the traces for his board the 0,1 did not do the trick. Now everything was ready and it was time to start milling out the board and here below you can see the result from the milling machine.

Soldering
After cutting the board out on the milling machine it was time to wash it with water and soap and after giving the board a good nice bath the next step was to solder the components to the PCB board. I printed out a schematic of the boards layout to have by my side while soldering the components to the board so i would know where the components should go. I set the temperature on the soldering iron to 315°C after seeing that a few sites i read recommended it.
Now it was time to start soldering. The soldering process went pretty well except for maybe the ATTINY and the USB, but after a little time i got the hang of it and i got through the rest of soldering unharmed :). I got some good information on the fab wiki site about soldering and i also took Neils advice to start in the middle and work my way to the edges of the board.
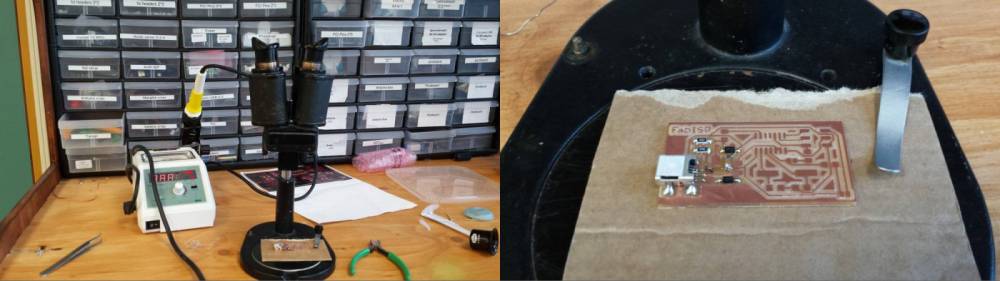
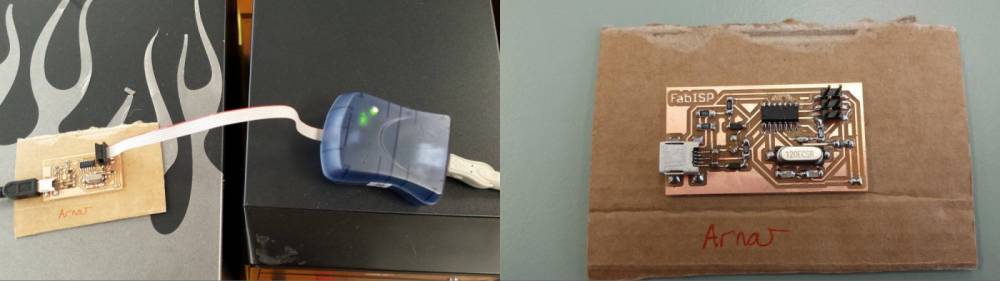
After the soldering was over it was time to make sure the programmer would work. So now i connected the fab-ISP to an AVR-ISP 2 and to my relief the light turned green.
Problems I Ran Into
I had a few problems during this week which were, however, pretty easy to solve. The first one was getting the machine to listen too fabmodules, but Frosti told me to go to the fab wiki site about Fab Modules and from there it was quite easy. During the fabmodules process i forgot to press view before trying to move the end mill to the starting point on the plate and i could not understand why it didn’t move until Frosti pointed it out. Then i forgot to change the end mill from the 1/32 to the 1/64 before i started milling the traces out.
Files
FabISP TracesFapISP Outline
Firmware