This week's assignment
- Measure something
- Add a input device
Test
This week, I made several sensors and played with it for future project
Step response
Firstly, I tried to make touch pad.
As we can see from the schematic, there are port for 1 sense,2 schield and 1 ground. Therefore I assume we can sense thought sense port and the others are just numb. I have to check the datasheet for further details.
Synchronous light detection
Second, I made a light sensor. I tried synchronous one.
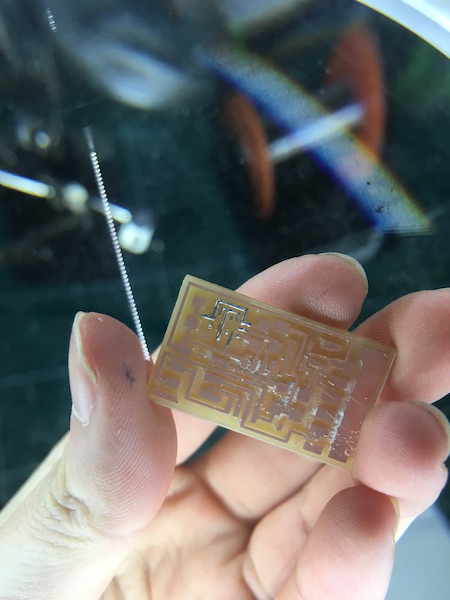
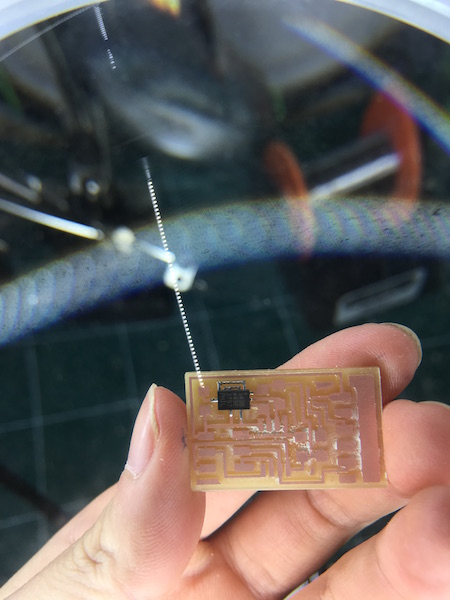
3-Axis Accelrometer
Last one is accelometer. ADXL343 chio is super small, so keep in mind if you gonna solder it with normal iron. Thankfully, we have a hot air iron in Seoul Fablab. It is easy like 1-2-3. Just put copper on a board and place chip on the board. And hot air!
 TA DA!
The thing is that the sensor seems fluctuated so much. If I want to sense more precisely and make some meaningful data from sensing result, I have to go deep. I'll keep this part for furture.
Desinging input device
Touch sensor
For my final project, I decided to make a touch pad as a input device. I found that step response is more intuitive and interactive than syncronised light detection.
My possible final project will be covered several different skills including mutiple input ad ouput. Personally I prefer a one microcontroller with several sensors ot actuators than several microcontrollers connected(communicating) each other. Therefore, I made my own touch pad instead of using Neil's hello touch pad; because it already has a ATtiny within and I feel like it's not nesserarry for simple touch pad.
I found this for making a simple capacitive sensor.
As you can see in the picture, capacitive sensor is basically a resistor connected to 2 pins; send and receive pin. Capacitors between touch pad(foil) is for stabilising because it reduce the noise.
First, I did a test with 1M ohm between send and receive pin. It works pretty well but the problem is that it is working when the touch pad is physically pressed. For my final project, I need a sensitive touch sensor below some material. And I didn't decide which material I should use, so it has to be sensitive enough. Because I can programme and set the high threshold afterward, if it's sensitive enough. But if it's not sensitive enough, it will not work as a sensor.
Finally, I made a board which can be easily added to fabduino ot arduino later. Basically it's just a 10M ohm resistant connected to foil.

Results
Design & Code Files
downloadConclusion
What I made
- Touch pad
- Light sensor
- Rough 3-axis accelrometer
- My own designed touch sensor
| ← week10&11 | mechanical design & machine design | week13 | molding and casting → |
|---|