FAB LAB
Puebla

composites
WEEK ASSIGNMENT:
- Design and fabricate a 3D mold (~ft2), and produce a fiber composite part in it
I started this week's asssignment making a mold of a basin i wanted, for my PCB shop, however I encountered problems with the sapes as it wasn't comign out just how I wanted and it wouldn't be able to withstand the chemicals I was gonna pour onto it.
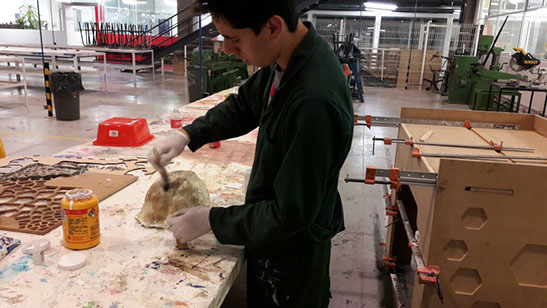
So i decided to make a shield mold and then reproduce it but first as I hadn't worked with fiber glass before I decided to test it first with a helmet. I decided that i wanted a comfortable interior and an ugly outside because I was going to use it with some students I have as the helmet of shame something that looks embarrassing yet doesn't hurt them. If they decide to misbehave they would be wearing the helmet of shame for the rest of the class.
I started by applying a layer of gel coat on the helmet so that the lower layer would smooth out nicely.
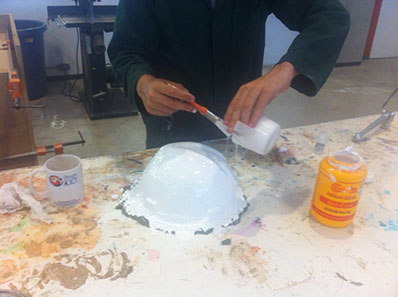
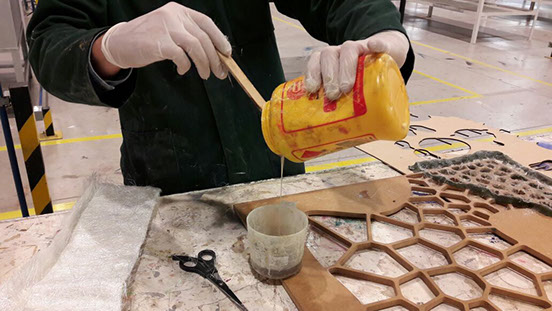
After that it was time to apply the composite, in this case i opted for fiberglass. To add the fiberglass I used a mixture of a PP resin with K2000 catalyzer to get it to stick. Kind of like when doing paper mache
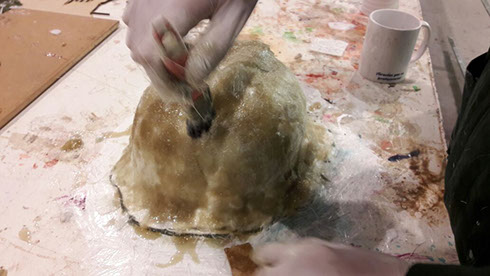
Finally I used one last coat of gelcoat to make a little more easy on the eyes. And easier to paint.


Now with my test done I started working withNow with my test done I started working with
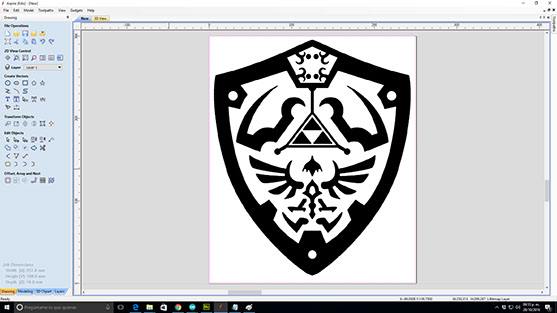
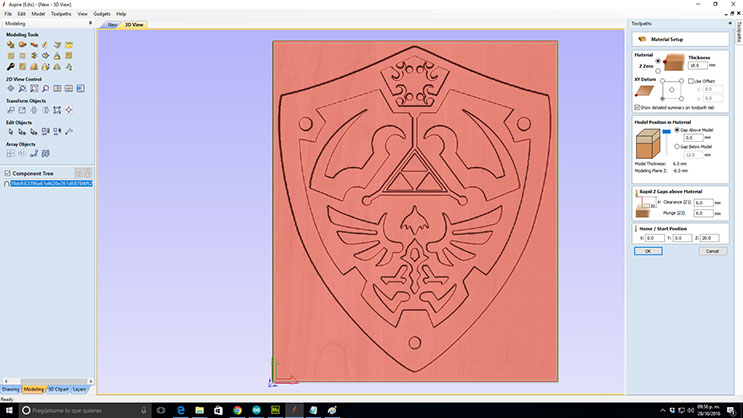
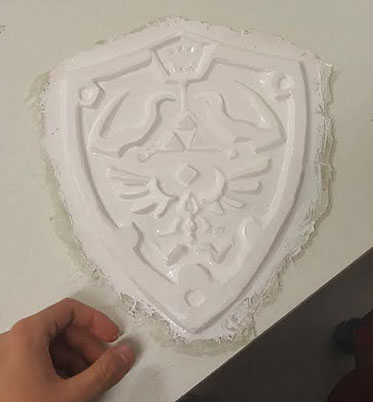
First I get my vectorized shield (From the legend of Zelda) into the program I'm using which is Aspire as a bitmap
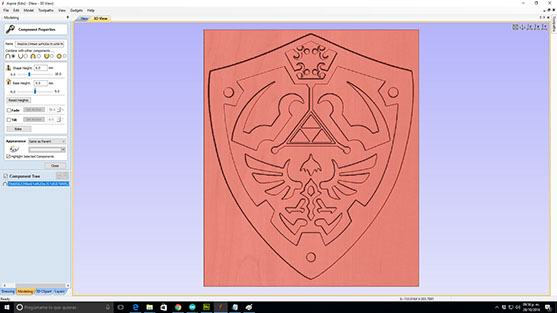
Then I create a component from this with smooth edges so it can unmold easier
After that I created the material Setup.
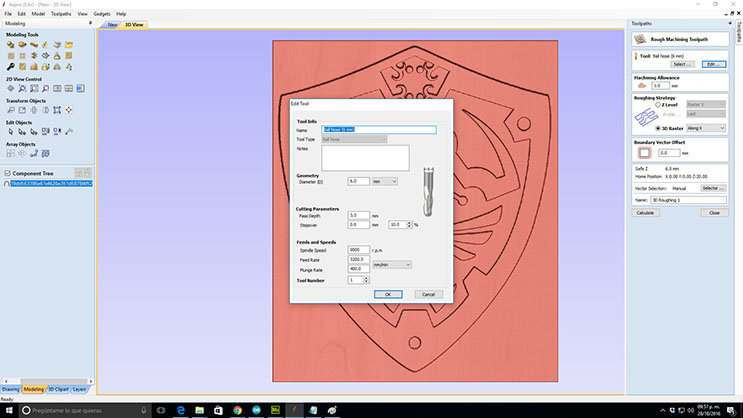
And finally I programmed the tools.
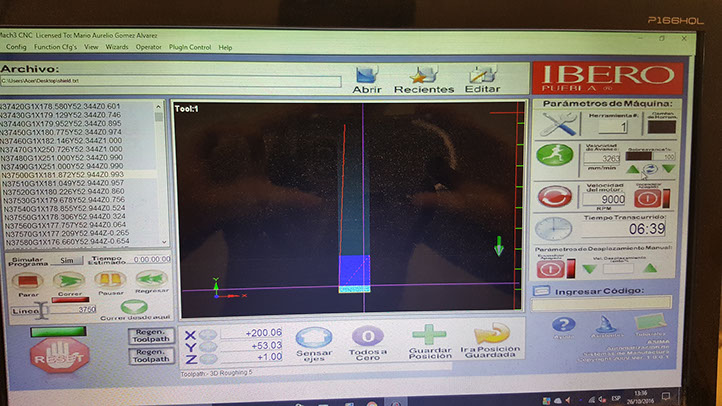
I passed the Gcode generated by aspire into the machine and set the zeros por all axis.
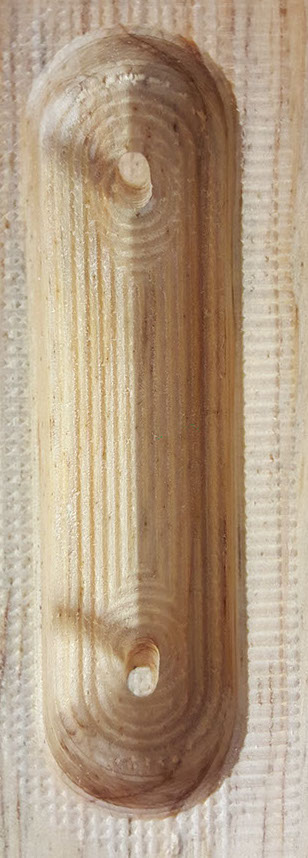
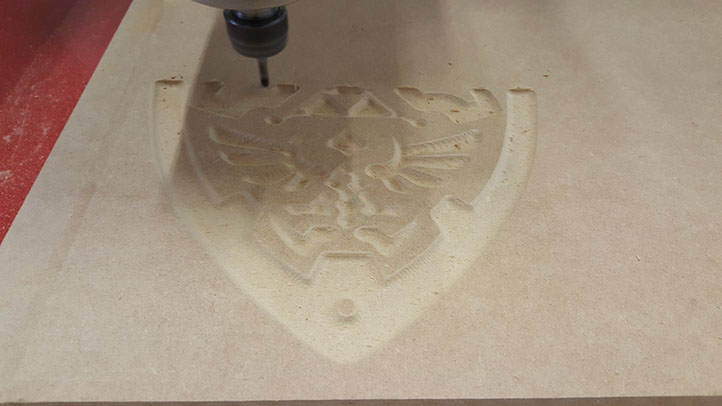
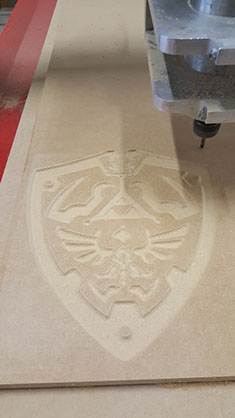
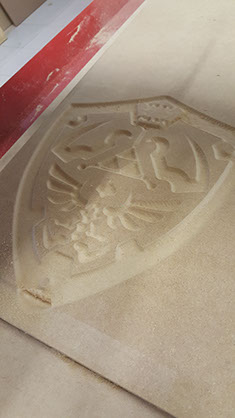
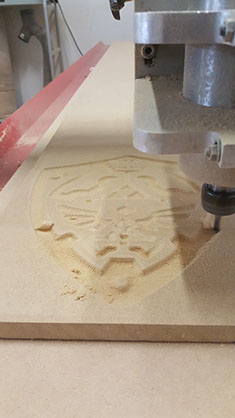
Milling 1
Milling 2
Milling 3
Milling 4
<
>
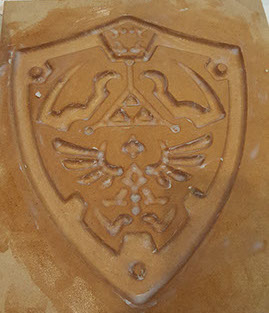
Using the same process I used to create the helmet I did my composites for the shield. applying wax so that it didn't stick, then I added Gel coat and then using fiber and resin I finished

HERO SHOT