WEEK 4
ELECTRONICS PRODUCTION
ELECTRONICS PRODUCTION
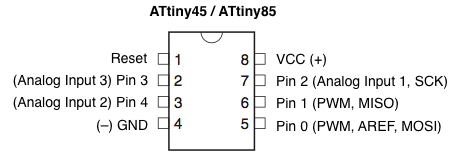
This week we had to make the FabISP (in-system programmer for AVR microcontrollers). This board allows you to program the microcontrollers on other boards you make and are possible to make in a FABlab. I have NO experience in any electronics whatsoever, so this is going to be interesting!
The first thing we needed to do was get the components from Jean-Luc. We are still awaiting there arrival but luckily we managed to get everything we needed from neighbouring South Africa whilst on a trip to the Cape.
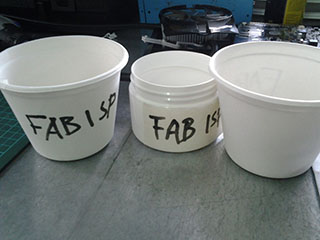
I opened the FABisp terminal on the designated laptop and got that running. We had already prepared all the elements needed into three boxes, one for each student here at the lab. The components needed are seen below.
I used Anna's page for reference and it was really helpful! Now it was on to gathering the necessary components in between making the board. So here is the basic list:
Obviously, the copper board and ...
1. J2 USB socket (power!)
2. D1 3.3v Diode
3. D2 3.3v Diode
4. R1 1k Resistor
5. R2 4990 Resistor
6. R3 100 Resistor
7. R4 100 Resistor
8. R5 10k Resistor
9. IC1 t44 MicroControler
10. 20MHz Resonator
11. J1 ISP 6 point socket
12. C1 1uf Capacitor
13. SJ1 Jumper 1 (to be removed after programming!)
14. SJ2 Jumper 2
MAJOR PROBLEM!~! We do not have 20MHZ Resonator / CRYSTAL! Luckily Bjorn harvested a crystal from the Hello World we made a few years ago in FABlab Soshanguve.

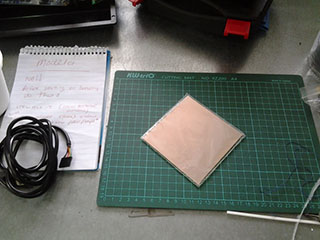
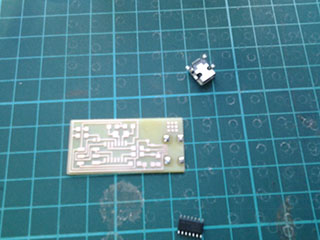
So above you will see the ATTINY (it is really REALLY tiny!) and a note book page after a mentoring session with Ohad. It is a seriously confusing business to begin with but with practice hopefully we will get the hang of it all! The Crystal/Resonator/20MHZ/Ceramic etc elements of which we did not have are a continuous mind boggle!You will also see our group of three boxes into which we placed the components we needed.
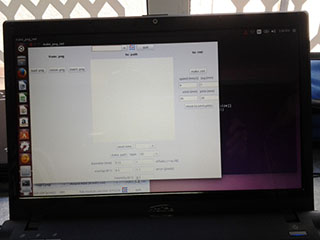
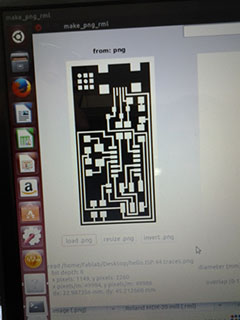
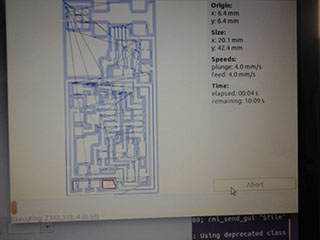
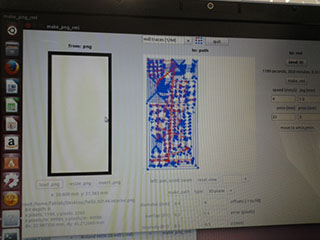
To mill the board we needed to have FABmodules installed.This was a group decision to install the normal modles onto a designated laptop rather than use the inline version. We looked at many different options but decided to use this one here as it was the most straight forward.
We also used the KOKOMPE site for reference purposes and to ensure that we installed all of the extra packages needed for the modules to run correctly! FABmodules was installed on an UBUNTU computer, which runs on linux, which was actually far more user-friendy to complete vs windows because you see everything being pulled and installing in comparison to Windows where everything is hidden.
To mill the board I checked out this great tutorial here
and because we did not have all the parts yet we were encouraged by our mentor to do a group project in ensuring to create at least one board in order to programme our HELLOWORLD boards.
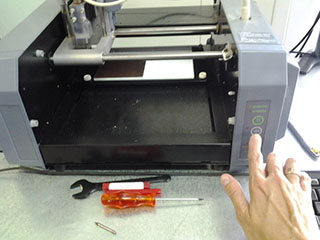
First I set the machine to zero by using the VIEW function and then sending it to position 5/5 in the x and y axis. Once in position I used a screwdriver to unscrew the bit and changed between 1/32inch for cutting and 1/64inch for the routing. YOU MUST BE VERY CAREFUL TO LET THE BIT DROP OUT WHILST CHANGING, USE YOUR FINGER TO HOLD ONTO IT DURING THE UNSCREWING PROCESS BECAUSE IF IT DROPS THEN THE TIP CAN BREAK OFF. Double sided tape is then attached to the back and once peeled, then it is stuck as evenly as possible to the edge of the sacrificial board on the milling machine.

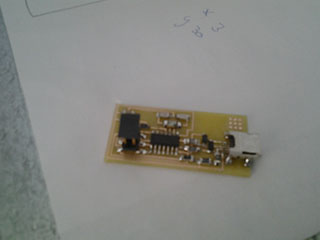
I love soldering!! IT is really intense when you start on the ATTINY because the bits are soooooo small. But it is a very ZEN business to solder and hone in on the microscopic parts.

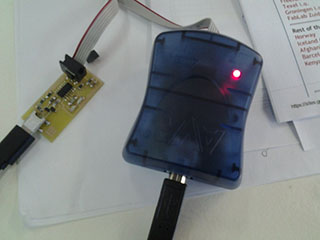
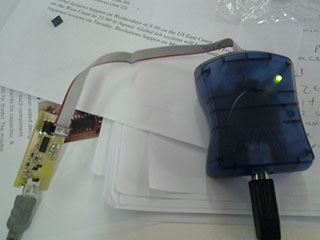
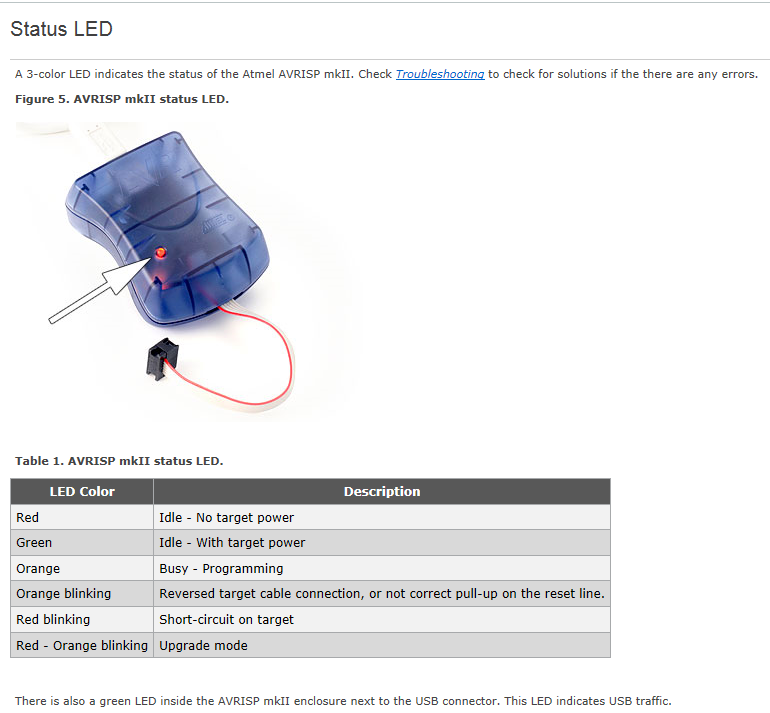
So much for ZEN! Once the soldering was done it was time to get the AVR going and the first plug in showed RED which means that there is NO POWER, but luckily it was only the fact that the plug was in the wrong way around. A quick switch-a-roo and the AVR showed GREEN for go! That was short lived because when we tried to programme it nothing worked and our mentor, Ohad, relayed that from what he could see, the crystal/resonator was wrong so we had to redo a new FABisp board and use Bjorn's newly found part and try again!
So, now we have milled and soldered a NEW FABisp board using the "found" crystal we begin the programming trial by following the tutorial of the AVRdude setup. We were assigned this as GROUP WORK (check the link) because of the timelines and ensuring that at least ONE FABisp works! Here is how we did the group work together, as documented by Monica.
One of the MOST important things I have learnt is that if you get errors then try a SUDO in front of every sentence the tutorial gives you eg. SUDO MAKE FUSE! Also, of all the tutorials we checked out only this one gave us the HINT to desolder and then plug in the FABisp before it will show up as the USB device we want! SO THAT IS CRUCIAL!!
It only worked / became visible as a device once we had done the desoldering.
THE FABISP WORKS! THANKS TEAM FABLAB NAMIBIA and OHAD!