
Week 14: Doing Composite-Stuff
This weeks task was to build something in 3D out off some kind of composite.
To say it directly on the beginning: i HATE epoxy-honey-fiber-stuff!
The fibers are messy, the resin is sticky, it smells...
Okay, let´s tell what i´ve made this week:
My first idea was to build a prop for a mini-balcony-windmill.
For the fibers i´ve choosen the jute-stuff that is used to wrap around trees in winter.
Problem: it is may. No store has this things, and for amazon the time was to short. So i´ve used
old potato-bags. These bags are out of the same material.
As resin i wanted the Bio-resin from Neal, but i found no reseller here in germany. Again, for amazon
the time was to short.
So i choosed some epoxy out of the next DIY-Market.
Next step was to sketch the prop in SolidWorks.

No problems about that,
the problems came out when i tried to get a negative out of SolidWorks. Normaly
this is very easy with the SolidWorks-tools, but in this case it just didn´t worked.
I tried it 3 days without luck :(
Maybe you have a idea how to solve this? Here is my SolidWorks file, feel free to try!
ZIP-File
(In week 12 i already milled a true 3D-File on my selfmade Poor-Mans-Mill (my MTM-Project), so i hope this will be okay:)
Ok, new idea:
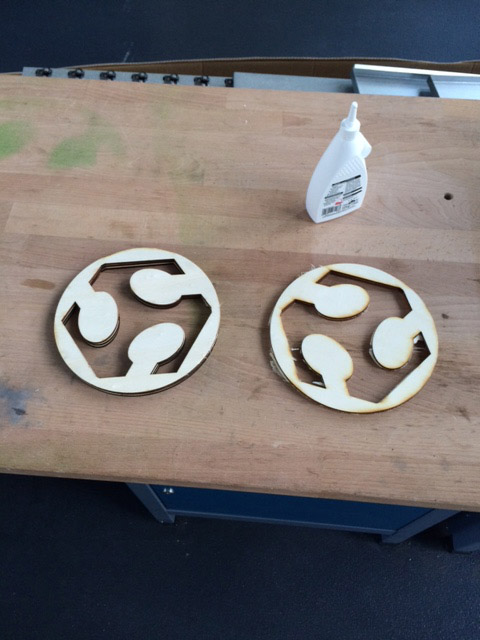
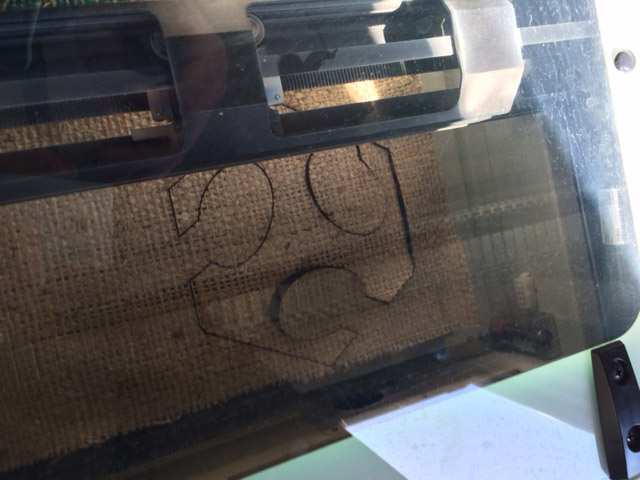
I´ve cutted the FabLabLogo into wood on the lasercutter six times.
But as it should be in 3D, this time i didn´t used Inkscape as usual, but SolidWorks
and exported the files to VisiCut.
Here is the 3D (okay, it is not realy 3D) SolidWorks-File:
ZIP-File

Then i glued them together to get my core:
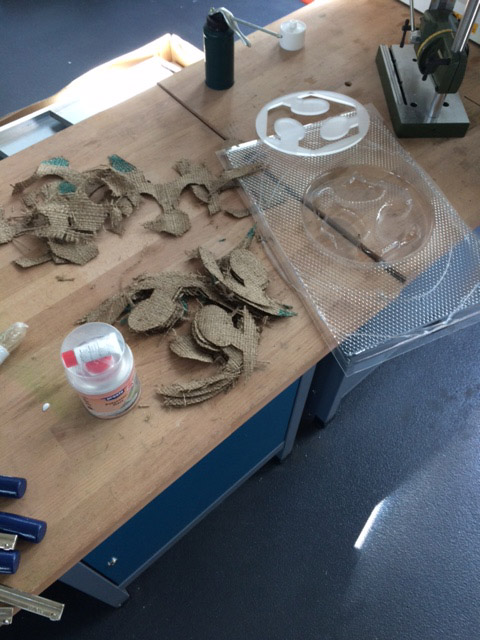
Next i cutted the potato-bags in the laser to get the filling material.
This was not so easy as i thougt. The Laser cut thrues like a hot knife in butter,
but some fibers wasn´t cut. And when i tried to cut it with a knife the hole woven falls
apart. Uh...
As soon as the glue on the wood was cured, i used the vacuum-forming-machine to make a nice negativ
of my core. Here the idea was to use some transparend foil to get a nice finish for the logo.

After this i filled the negativ layer by layer with the potato-bag-fibers and the epoxy...
Very sticky, smelling, unclean...
I used 6 layers of potato-bag,
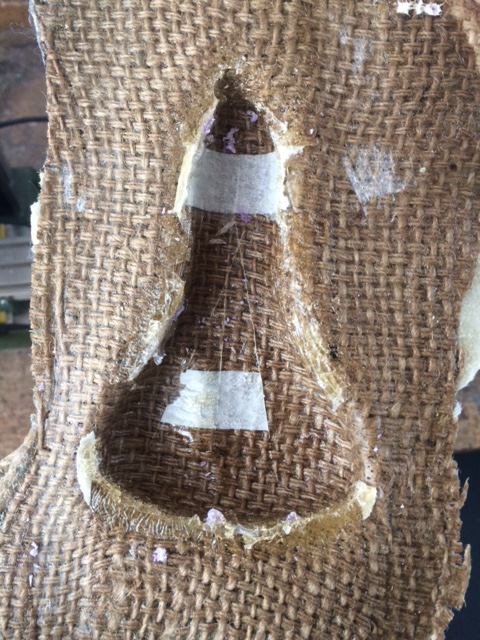
as top layer i cutted the logo into acryl-glas for a nice transparten finish and
clamped the whole thing together till the epoxy is cured:

In the moment it is still curing, so i will update the page with the finished part
in the next hours...
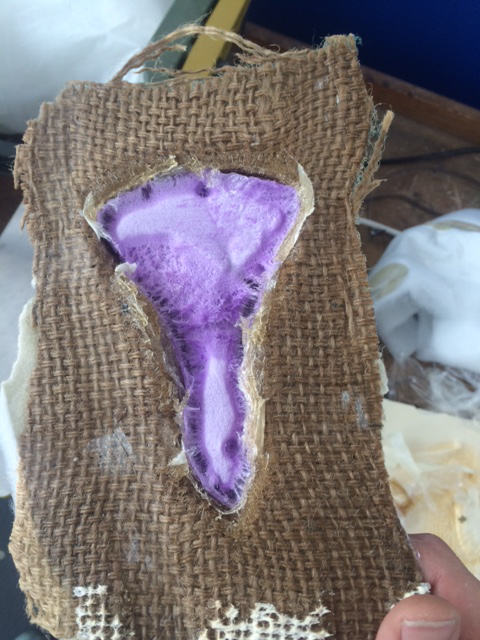
UPDATE: The resin isn´t cured to 100%, but i´ve made a first picture of the top-finish,
looks very well:

UPDATE:
I´ve tried to get the prop out of SolidWorks, but maybe this was a little bit to ambitiuos...
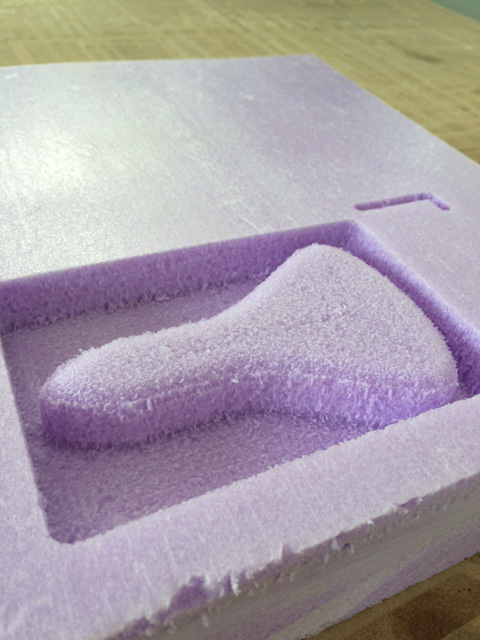
So i´ve made a new sketch, this time a little bicycle saddle:
At FabLab Kamp-Lintfort i could use the CNC again, this time in the 3D-Mode :)
Therefore i exported the SolidWorks-model as STL and used CondaCam for the Cam-processing. Pretty straight-forward,
like in ESTLCam before. Thanks at this point to Daniele who helped me a lot!

The finished NC-Program was worked by the cnc in about a hour:
 For the composite i used the same mix like before: Epoxy-resin and potato-bag. First i wanted to try the vacuum-bag method, but why not use the
vacuum-pump of our thermoforming unit? If you don´t use the heaters it is a perfect vacuum-machine...
For the composite i used the same mix like before: Epoxy-resin and potato-bag. First i wanted to try the vacuum-bag method, but why not use the
vacuum-pump of our thermoforming unit? If you don´t use the heaters it is a perfect vacuum-machine...
So first i fixed the milled foam covered with foil on the machine:

Then i laminated 4 layers of potatobag and covered it again with foil:
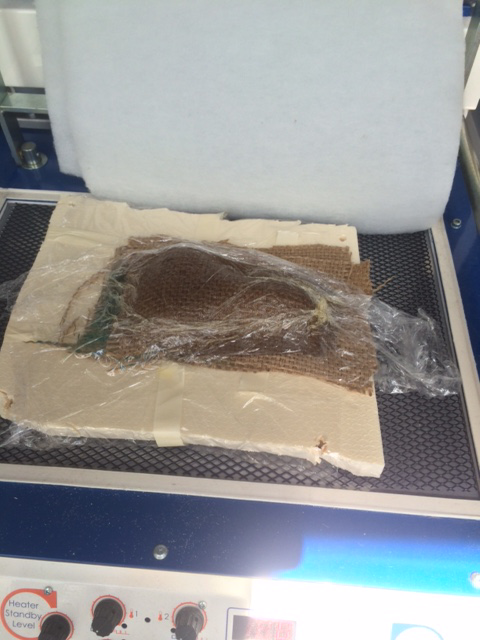
For the breather i took some filler out of the sewing box at home:

And the last layer: a garbage bag to seal the vacuum-chamber:

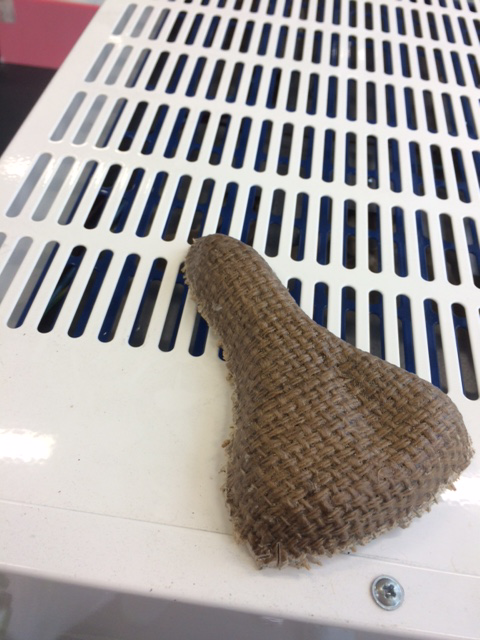
After about a hour again the Epoxy was cured. Maybe i took a little bit to much curing agent...
The foam i used for the milling-form was melted a little bit :O
But in the end i get a wonderful, selfmade saddle:
All in all i learned, that resin is not and never will be my friend.
But in the end the finish look good, and that is the main-thing.
And if you use the thermoforming-unit it is much more easier than without!
If you want to download the modelfiles of the saddle, here they are:
ZIP-File
So long,
have fun! (Without resin!!)