
Week 10: Make the Poor-Mans-Mill smoooothie
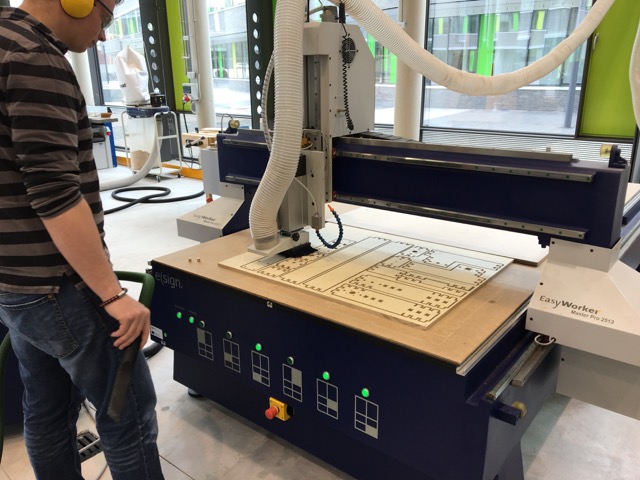
Ok, so after the problems with the CNC in Kamp-Lintfort last week i found a way to export
my sketches to the CNC:
After found this workflow it was very easy to mill the parts for my mill.
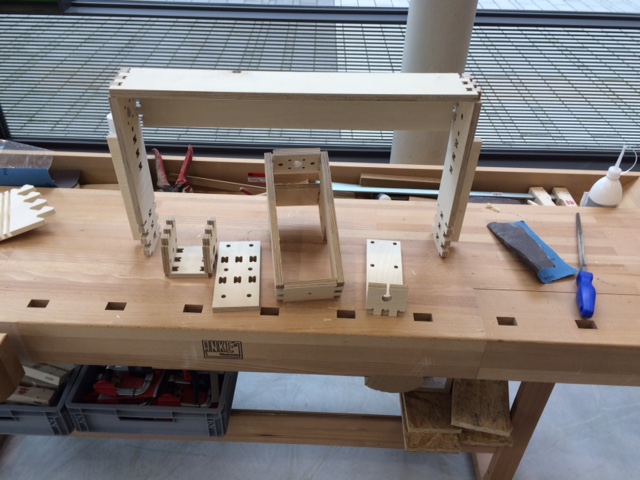
Used about 1.5m^2 of 15mm multiplex:


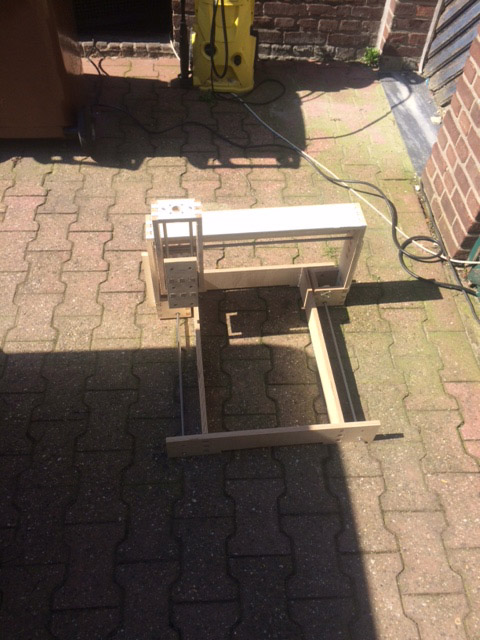
The joints works just fine, so the first assemble of the y-axis worked very good:
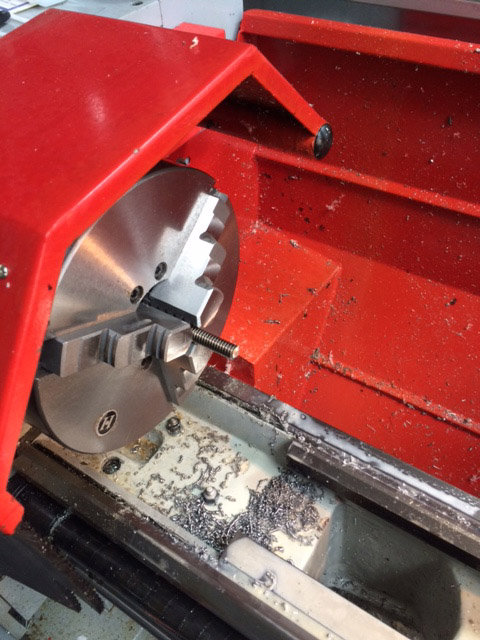
Finaly the trapeziodal-screws and the 10mm rods arrived, but my colleague who is a pro on the lathe was in holiday.
uh...
Ok, lets get fit on the lathe again. I learnd this 10 years ago, so it was not such a big problem:
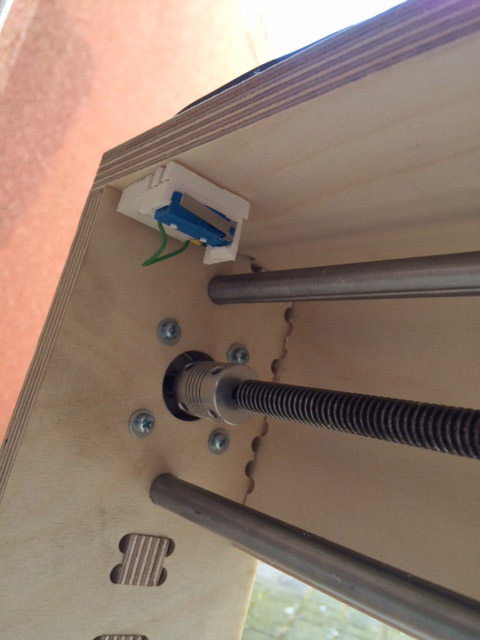
The last mechanical thing to do was to find a way to mount the endswitches for min and max to the axis.
I get a bunch of these:
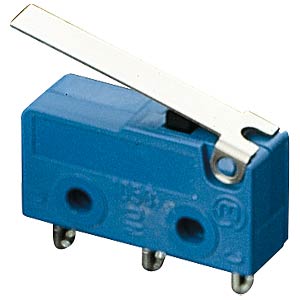
For the mount i desigend some angles in solidworks and printed them out on an ultimaker (Quick and dirty ;))

With all parts ready i started the assembling. I forgot to make some fotos. but here is the complete finished mill:
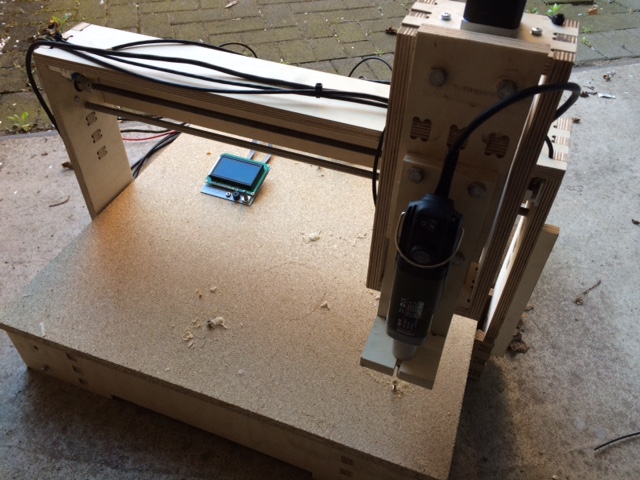
Mechanics: accomplished!
I planed to use a smoothieboard for the electronics. Not much to say here, i just followed the very good documentation on the smoothie-website.
I connected the motors to the board, using the output of extruder1 for the second X-Axis-Motor.
The endswitches are connected like explained in the docu. The max-endswitches aren´t connected at this time...
What i need to buy are some cable-chains. Till now the cables are just secured by some zip tie...


The setup for the smoothieboard was a kind out-of-the-box, just made some fine-justage. For a first test i zipped a pencil on the z-axis:

Finaly, all works very good. The only negative point is, that the 10mm rods are not stiff enough, so the z-axis goes about 3mm.
In the molding and casting week i used the mill to mill some foam (see Week 12).
Next task for the mill will be the composites-week, stay tuned :)
Till then, have fun!