Welcome to week 5:
Now we start funny things, learn to scan physical objects and put then into the computer, then we learn how to use the 3D printer to came to reallity our designs.
The assigment for this week is i) design and 3D print an object (small, few cm) that could not be made subtractively, and ii) 3D scan an object.
Lets start...
3D Scanning is a technollogy which use imagenes from videos or
photos to create a cloud of point to represent the object, several
years ago you will need a special buil device to made a 3D scan,
however how you can use even your smarthphone for 3D scanning. In order
to make a 3D scan of a object you have several options:
-
Special purpose devices: for year professional 3D scanner was in the
market but was very expensive, but now you can purchase or build your
own 3D scanner for a few hundrend dollars: For example you can buy a
Microsoft Kinnect Camera and do 3D scanner, or even build a raspberry
3D scanner
- Special Software: you can use sofware and put a lot
of photos into the software a get a decent 3D scan, one of thos
software is http://reconstructme.net/
- Cloud based: the
software run in servers and you send the photos over internet from your
smartphone, actually for me look like the best option. I will show you
how use 123 Catch from Autodesk to scan a face. This face will se use
with some editions in my robot.
123 Catch
You can find the software in this link, it is very simple, you install it into your Iphone or Android Phone and then take a lot of photos (around 40) and then send the info to the cloud. The quality of the scan depend of several factor, but in general you need a strong contrast between the object and the background, the object material should be mate and have colors and marks to help the software recognize the different points.
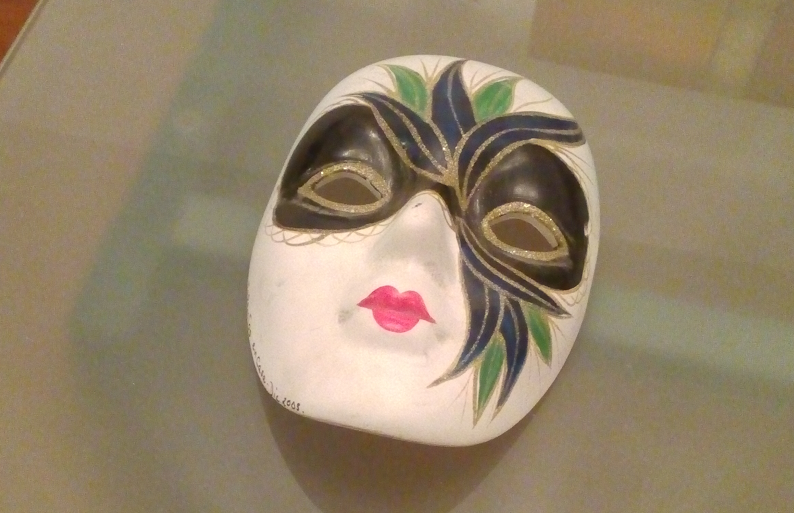
I decide scan a mask from the Venetian Festival which I find in house.
In order to do it I installed the program in my Android tablet and start the take the pictures. You need to take around 40 photos from different angles, please take note that you need a space with good light and take the pictures of the whole object, more or less to the same distance.
After the pictures, the program ask to you to validate the photos, you can delete some of them if are bad quality, and then click in bottom scan in the app. You need to wait several minutes to upload the photos and get the results. I waited for almost 30 minutes but the result was great.
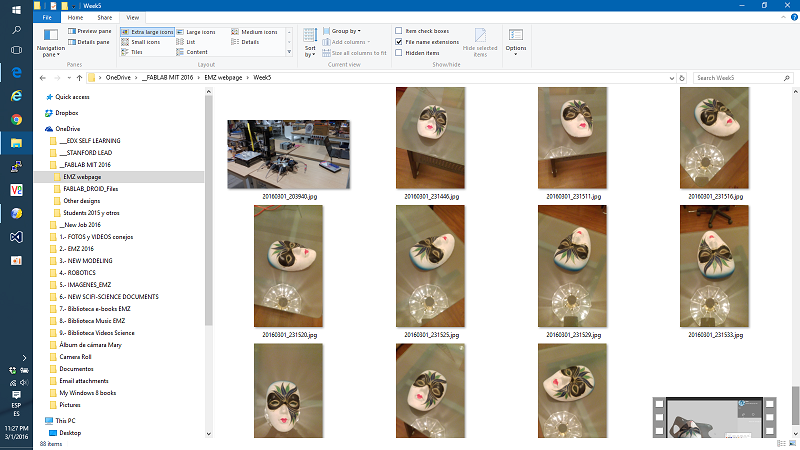
To keep a record of my job, I transfer the photos to my laptop, some of the photos with was the raw material for the scan you can see in the next pictures.
Then, the program the 3D imagen, you can see a video here (VIDEO),
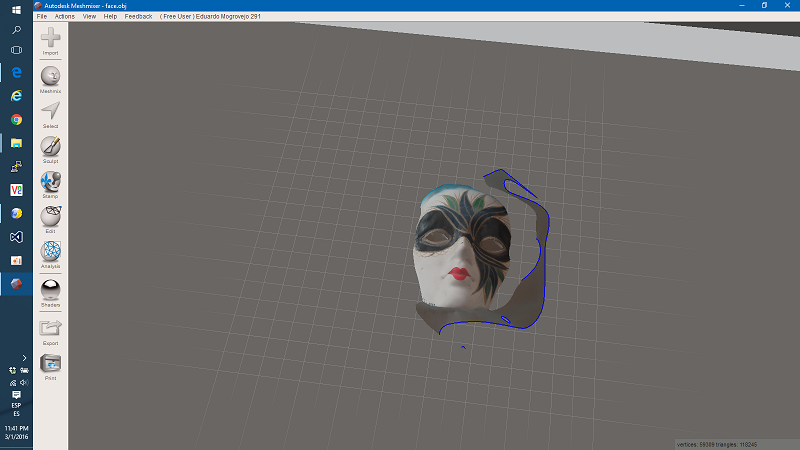
As you see, now we have a digital version of the mask, but with imperfections, to improve the model, we need to edit it, in another program call 123 MeshMixer in order to left the file ready to print in the 3d printer. This last step I will do in the week devoted to casting and molding because this face will be the face of my robot.
3D Printing
This is by far my favorite job in the fablab, at the end to build my robot I will create the chassis, frame, mechanical parts and cover mostly using 3D printing technology. The assigment this week is create a 3D object which cannot be build in another way, that mean a piece which can not be build with a CNC milling machine or other techniques, in addition to print this piece, I will print an small model of my robot.
My idea is print the complex piece in ABS with a fused filament printer from the FabLab and in addition, print in resine a small sculture of my robot.
3D Printing with a Filament Deposition printer
This machines are the more common 3D printer, and we have several model in the lab, I choose a FELIX 3D printer
First I design the object in a 3D aid-design program, I choose 123D to create this object (please review week 2 if you want how install and use the 123D program)
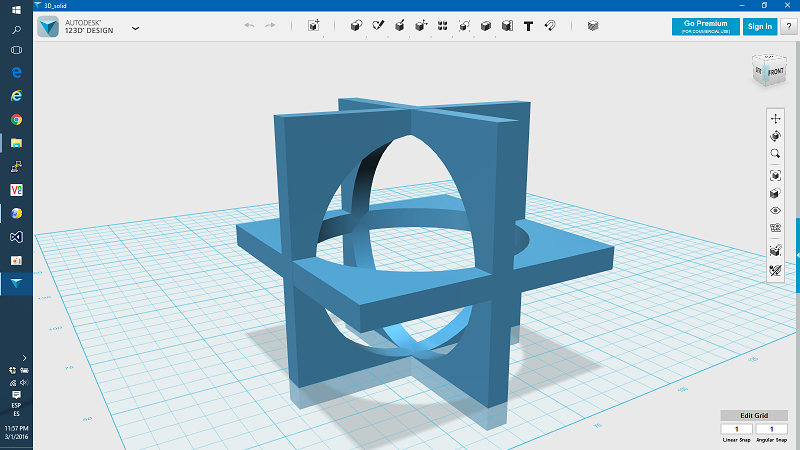
Please take note that a CNC milling machine can not make this piece because cant access the interior and have two levels, you cant do it with laser cutter because you will need to break the object in several parts. So, this object can only be build with a 3D printer.
In order to print the object, we need to export the file from the 123D format to a STL format which is the lingua franca of 3D printing. you can download the file here, this is very easy, you onky need to select Import to STL in the 123D program and you get your STL file.
Next step, is open the STL file into a program call REPETIER, this program is by far one of the most used to control the 3D printer, normally the laptop with this program is connected by USB to the printer. It is important to mention that the program must be feeded with the specification of your specific printer, like the size of the printer space or volume, the size of the bed, etc. Because this setting is very specific for every 3D printer when you try to replicate this work, you will need to configurate REPETIER with your 3D printer specific parameters. The good news if that you only need to do it the first time.
Then you open your STL file
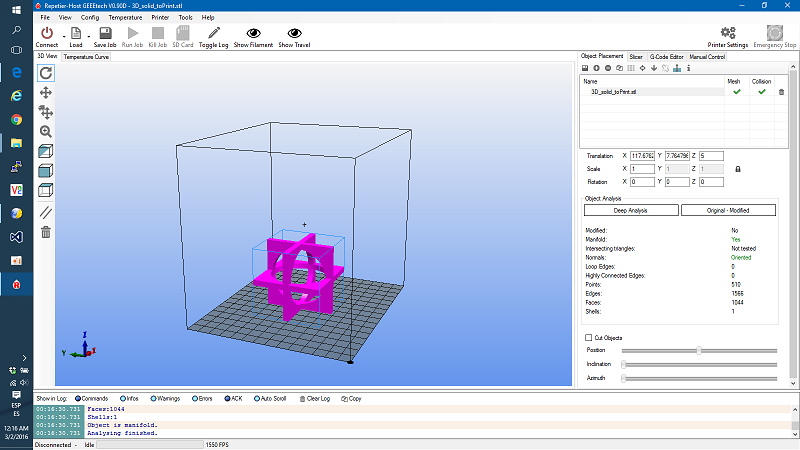
Then you SLICE the object, that mean that the software will calculate the whole path of the extruder (the extruder is the part of the printer which every simple plastic dot in place to do the object) in your printer. After the SLICING is finished you get a G-Code file which is used to said to the printer the path that need to use the extruder in order to create the object. This file is send to your printer and start the fun.
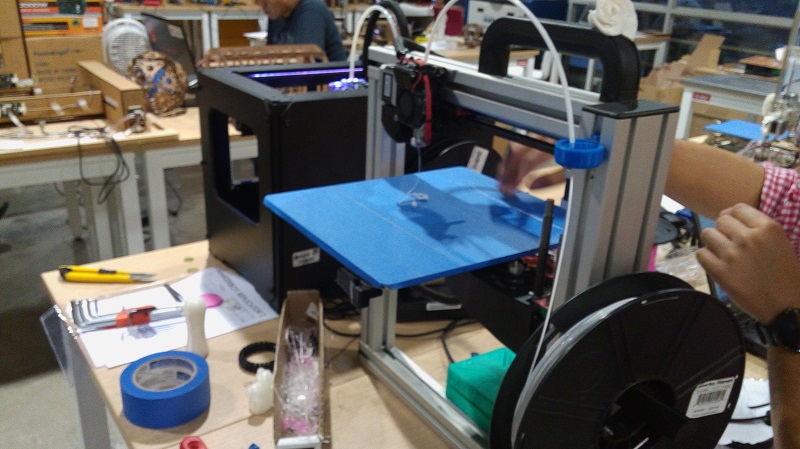
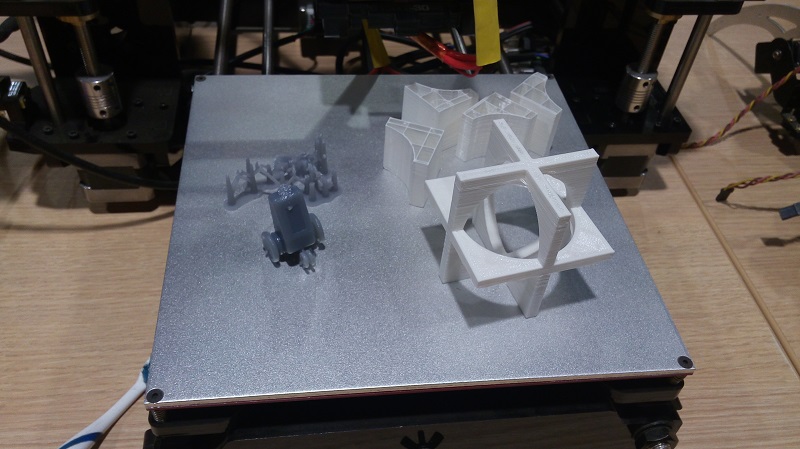
I printing job take a time, my object take almost 70 minutes, look the pictures below
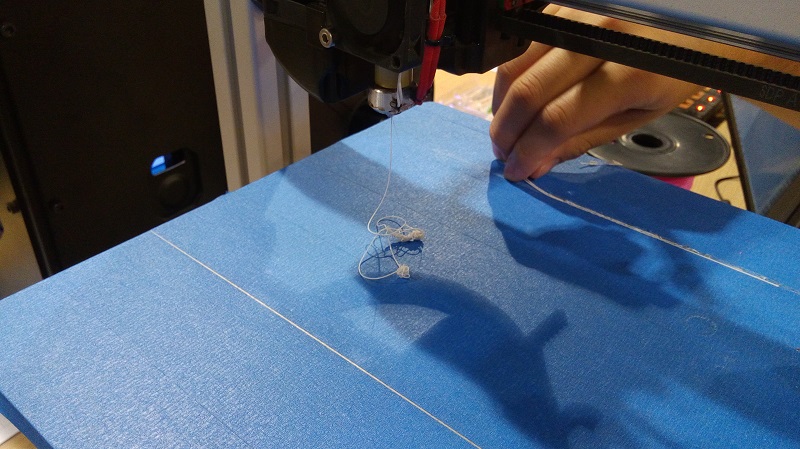
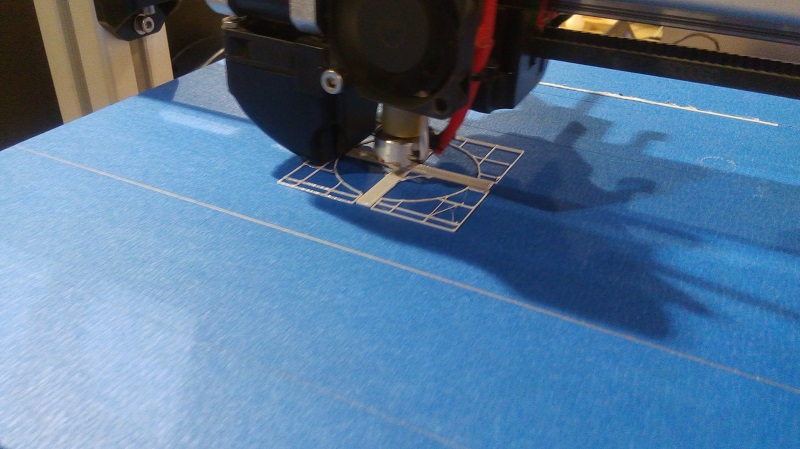
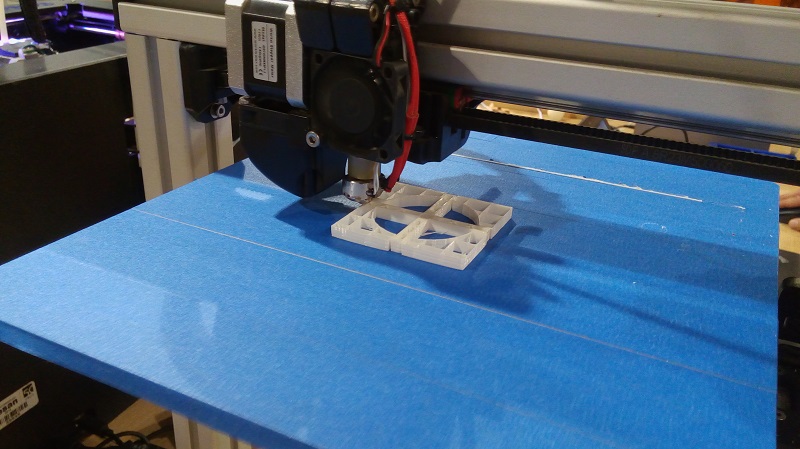
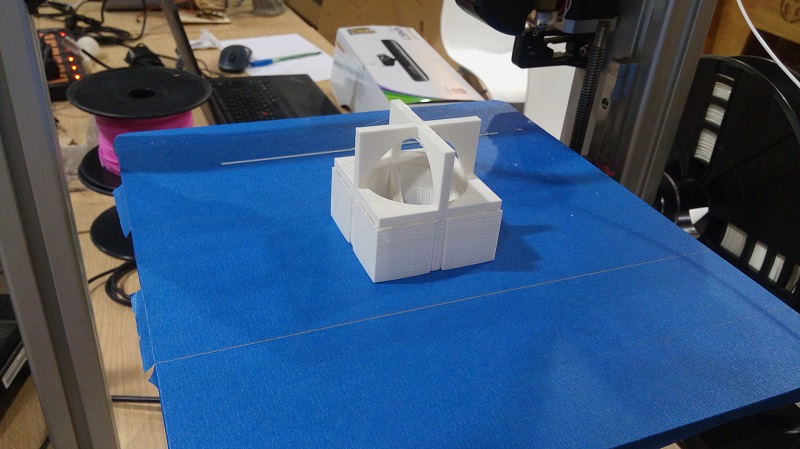
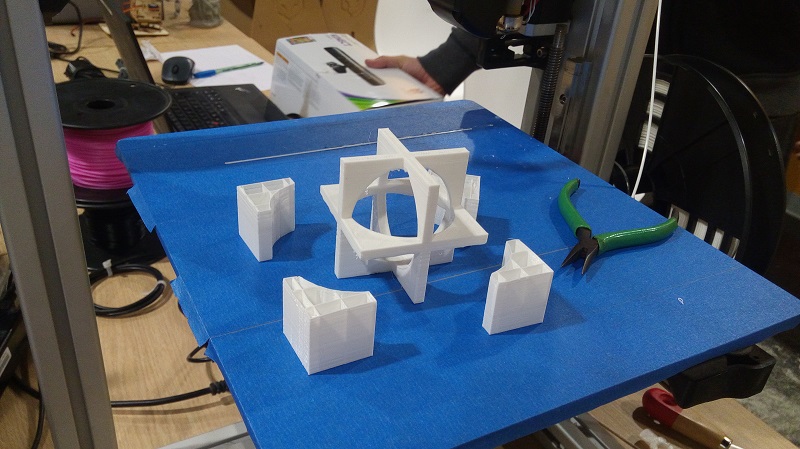
Here is important an observation: because the geometry is a little complex the REPETIER program automatically put additional material to support the object. This material later must be cut, the final piece is like this
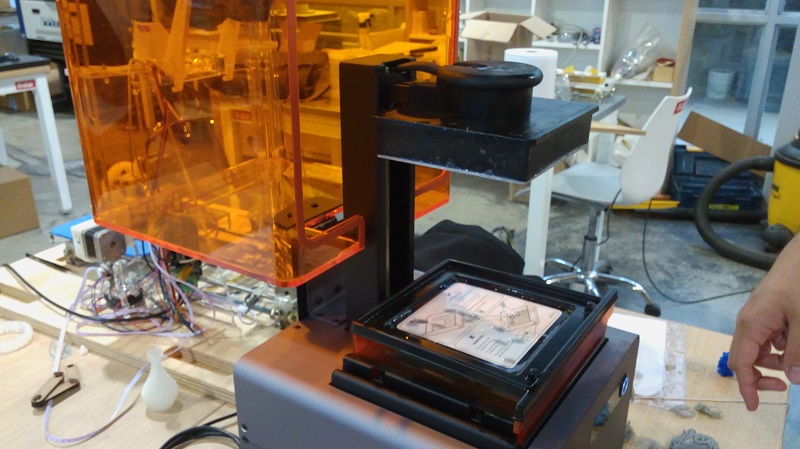
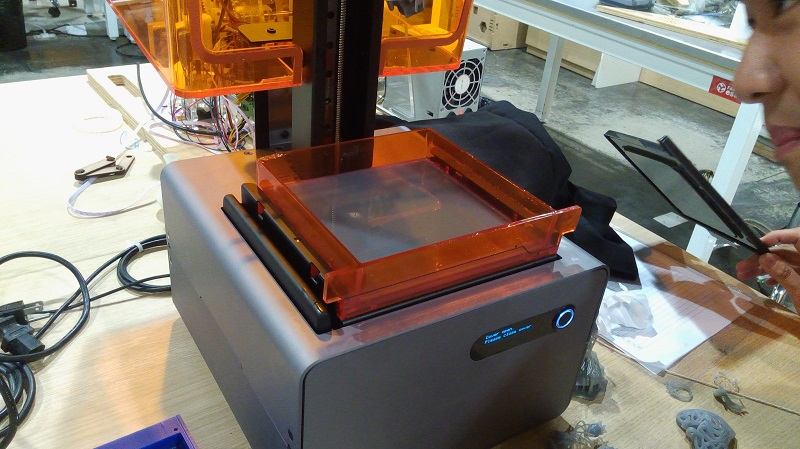
3D Printing with a StereoLithographic printer
This machines are the more new technology and deliver a far greater quality, but still a expensive, this machine use a laser to solidify a liquid resin, however despite the different technology, the process is the same. That means, you need a STL File and then open the file in the Printer Software (Repetier maybe, or another specific to the model) and send to printing. This is the model that we have in the lab.
And this is the object I want to print
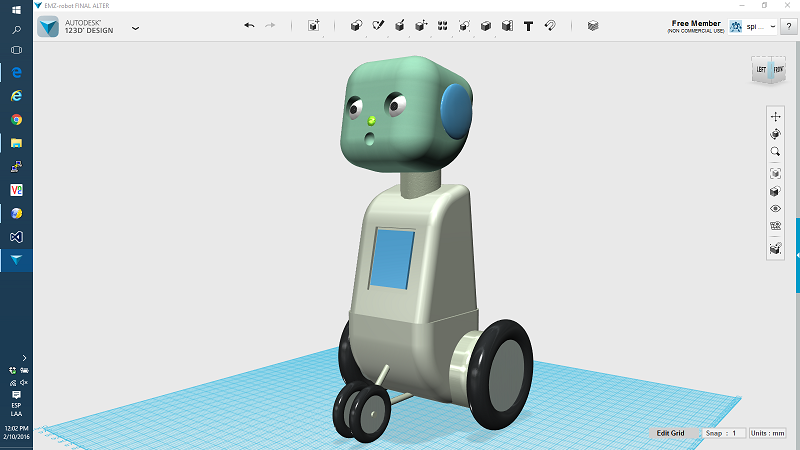
The image behind is from the 123D program, I exported it to STL file, and then I opened in the specific program of this 3D printer model

Then, I do the SLICING, you can see here, how the software put a lot of support structures
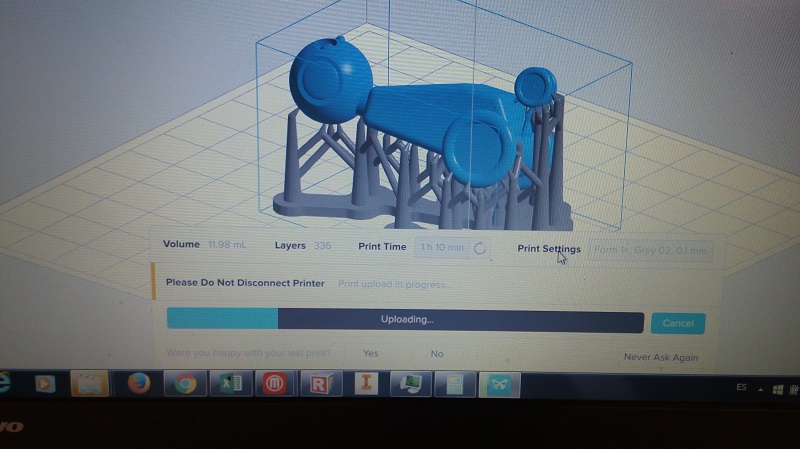
Then, you send to the printer, it take 50 minutes for a 5 cm figure. You can not see the figure because in inside the tank with resine, only at the end you can open the printer and extract your job.
You can see a video of the printer working. Opening the printer after finish
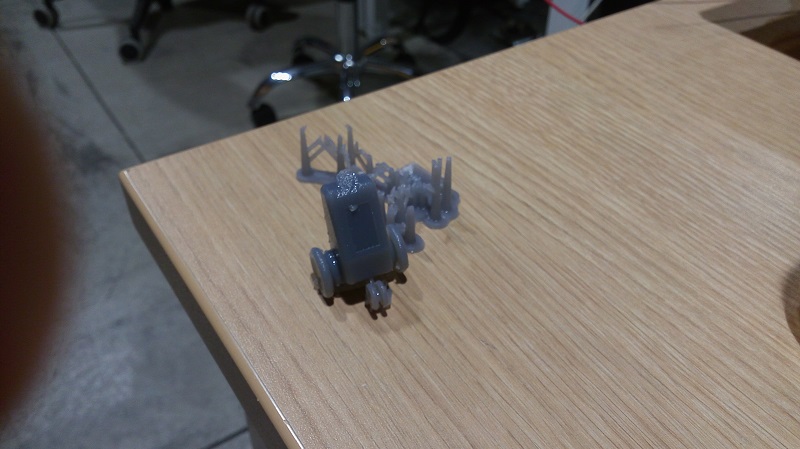
After working in the piece, I get this, for accident I broke the head, but is a good reproduction of the body.
My final printings here
We will see next week electronic design... see you