Welcome to week 3:
This week we start to play with the Fab Lab machines, with the vinyl cutter and the laser cutter, both machines use a kind of drawing call "Vector Files", this files store the information of images and object not with pixels, but with mathematical relationships. For example, to draw a sphere or cube, the file store the center position and the radius or side, so the program can draw the object from any positions, the most used format files for Vector graphics are SVG and DXF (and the related DWG)
I will test a open source program call InkScape which use the SVG format, but if can be work with dxf files in you import them. I will use it to create and manipulate the files for:
- The vinyl cutter to made the sticker, and- The laser cutter, to made the cardboard model of my robot
In the process I will use an program call 123 Make which help me importing the 3D model we did last week, and with it create the drawing for the cardboard model, them I will import the file to Inkscape to additional manipulations and send to the laser cutter.
Lets start...
The Sticker in Vinyl Cutter with InkScape
InksScape (https://inkscape.org/en/) is a professional vector graphics editor wich is open source and can be installed in Linux, Windows and Mac computers. I decide use InkScape after googleing about software of vector graphics, it have more than 5 years in the market and have a great tutorial page (https://inkscape.org/es/aprende/tutoriales/).The first thing was play with the command when a read the turorial, this is the first object I did.
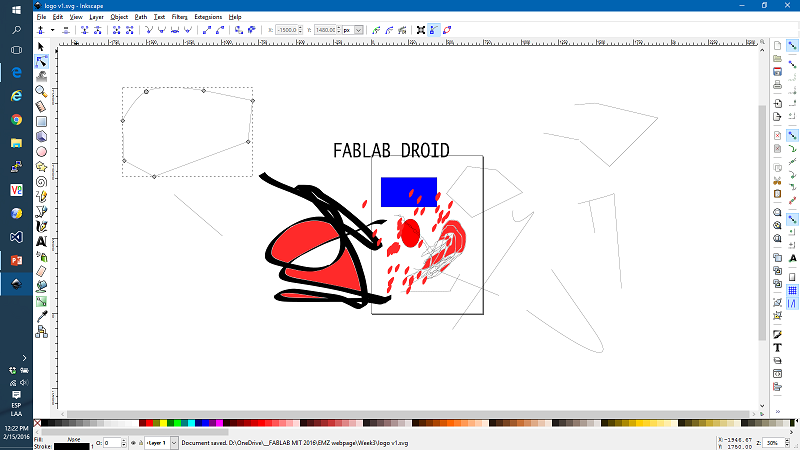
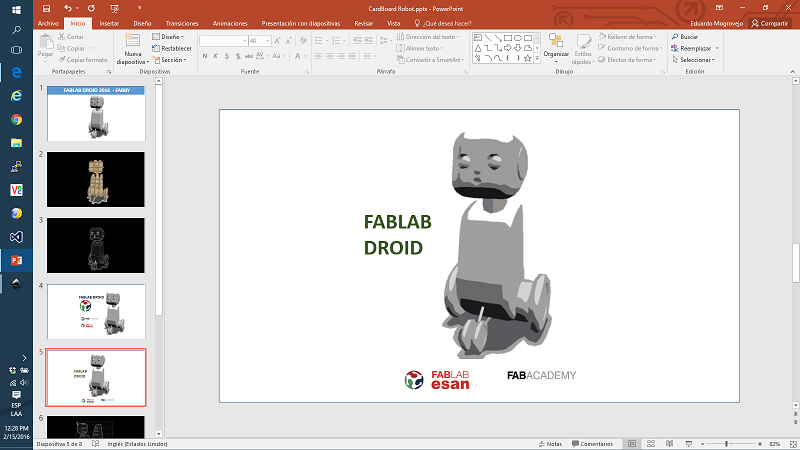
With this I had a very clear view of how the major command work, and start to work in the sticker. First I made a draft of what I want in power point
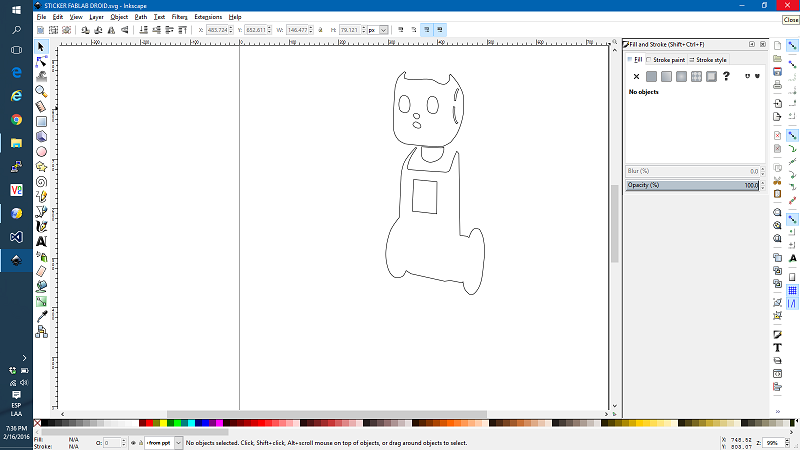
Next I import the drawing imagen in InkScape and start to draw lines over the imagen, first the body
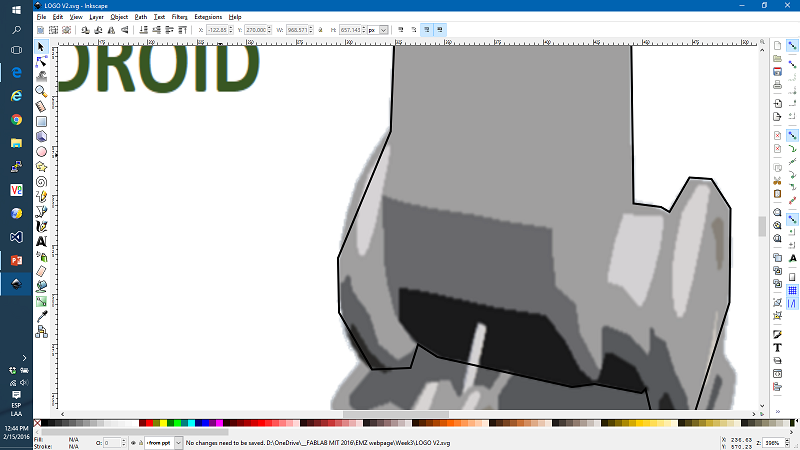
Then the head
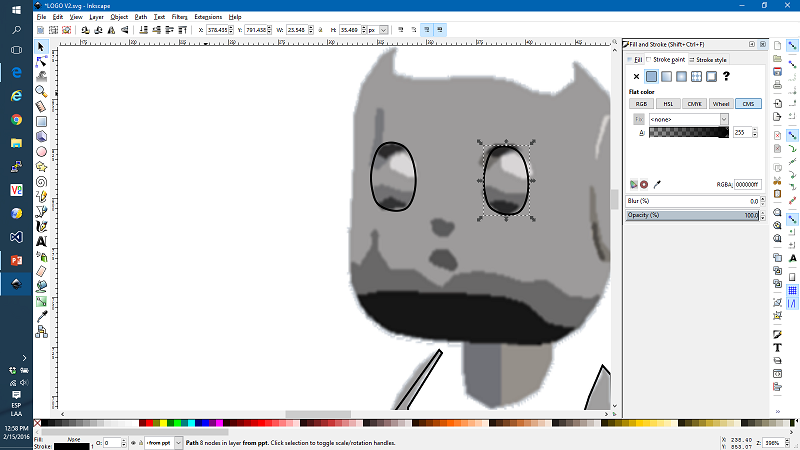
Finallly, after a while we get the profile of the sticker. The file is here
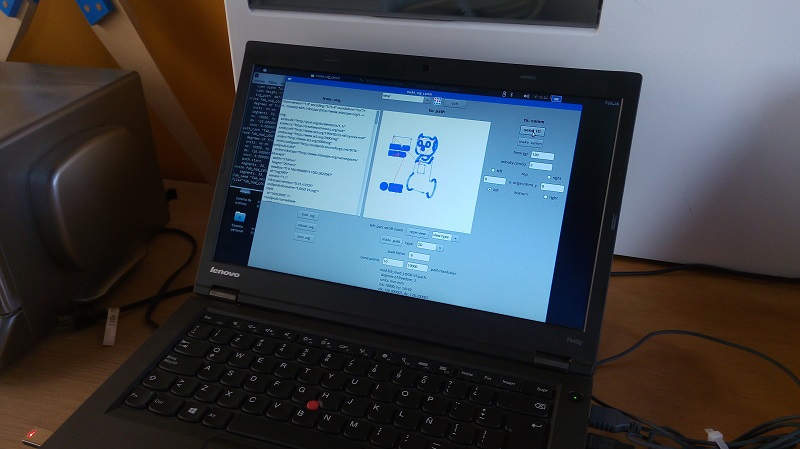
Then we need to put the imagen into the vinyl cutter
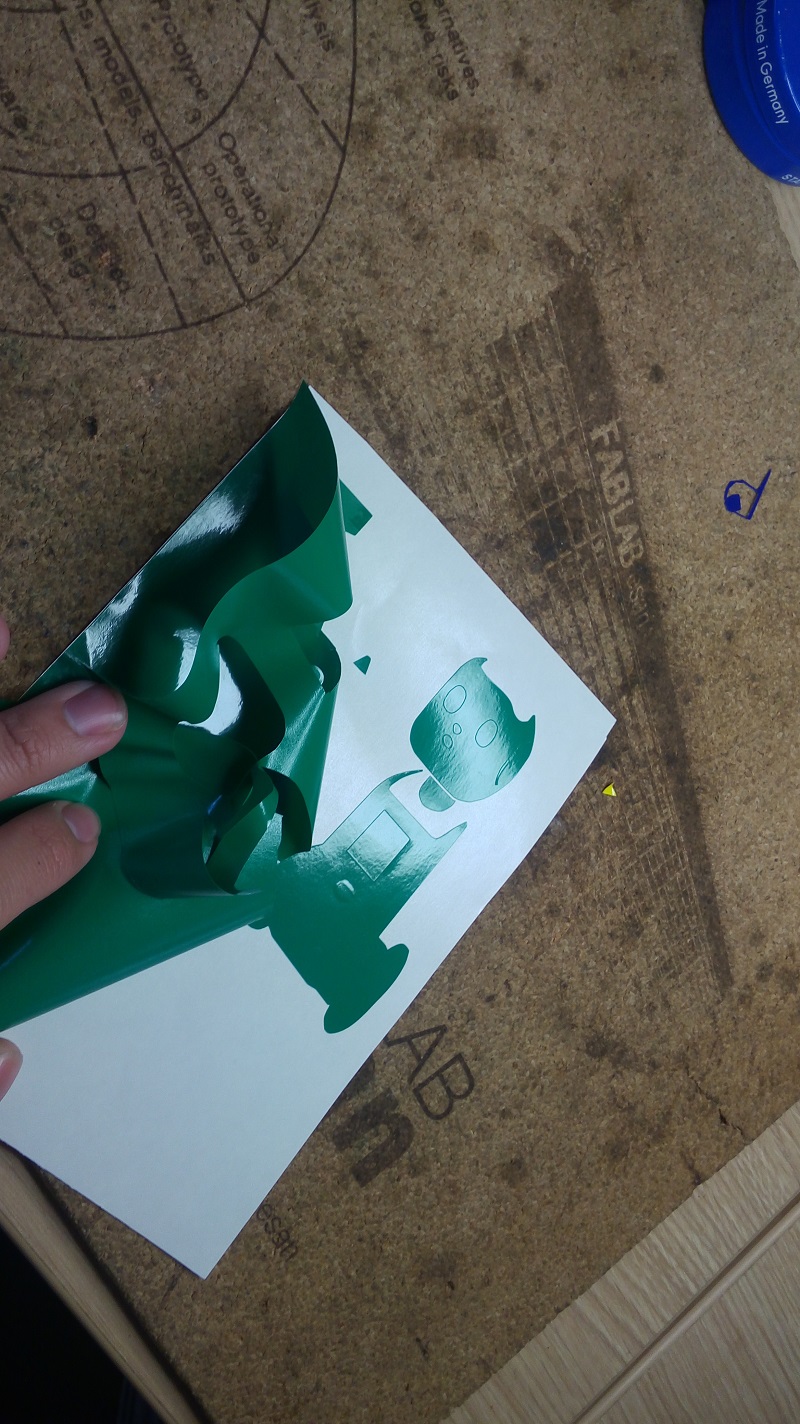
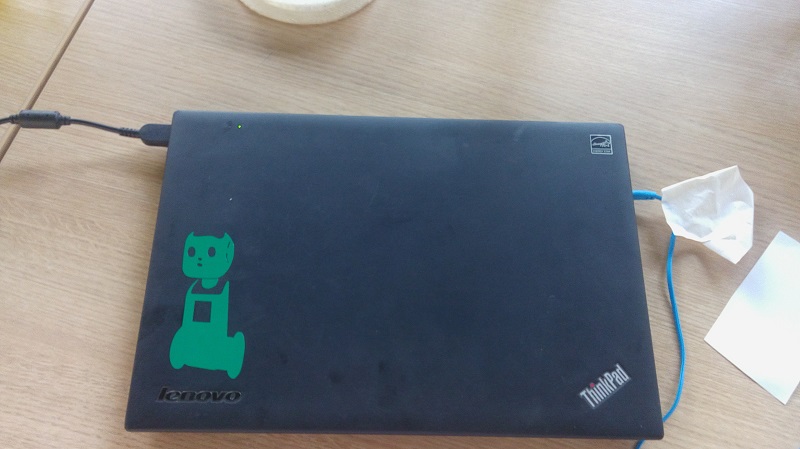
After the cutting
The CardBoard Model with InkScape and 123 Make
Now is turn of the cardboard model in thenEpilog laser cutting machine, it is a great machine with a workbench of 600mm x 300mm and can cut 3mm wood, 6mm acrylic, and of course paper and similar materials. To operate the cutter we need to install a driver in the laptop and then the cutter appear alongside of the others printers. It is really easy to setup, in the FabLab we have a laptop already configurated to send printing jobs to the laser cutter, so the only thing we need is the DXF o SVG files.
To generate the SVG o DXF the normal way is start again to draw what I need, but in my case, because I already did a 3D model of my robot with 123D program, this program give me the option to export the 3D file to STL. STL format is the lingua franca in 3D printing The advantage of have the 3D model in STL format is that there is a lot of program to edit and work with STL files, one of them call 123 Make could help me doing a design for the cardboard model.
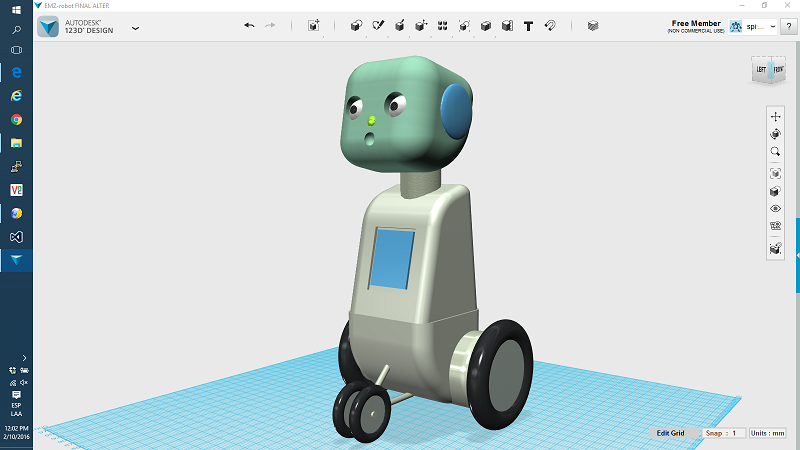
First, we need to open the 3D model and export to STL
Then I exported the 123D file to and opened it in 123 Make, the resulting file like this.
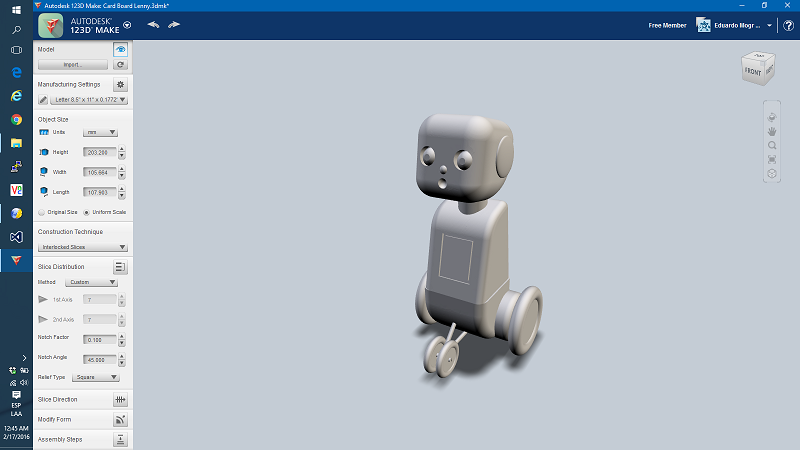
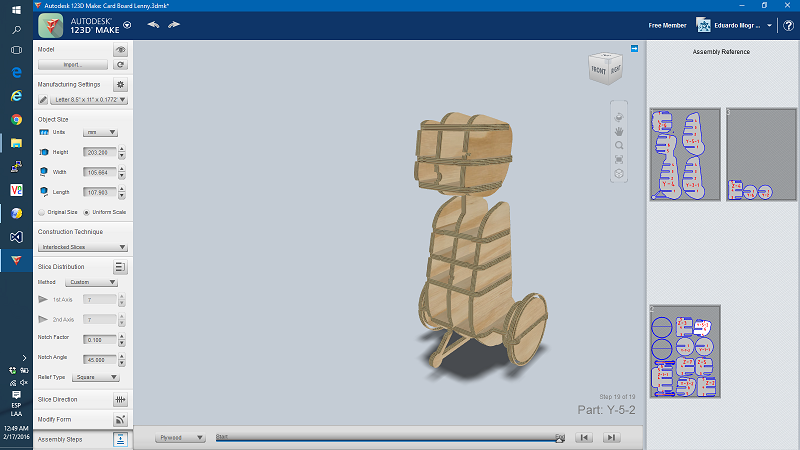
The software can create the drawing for a cardboard model, you need to go to "Construction technique" I play with the options, after a while I get this model
Then I expoted the files to PDF, and later import the PDF file into InkScape to additional editions; I put more wheels, delete some planes.
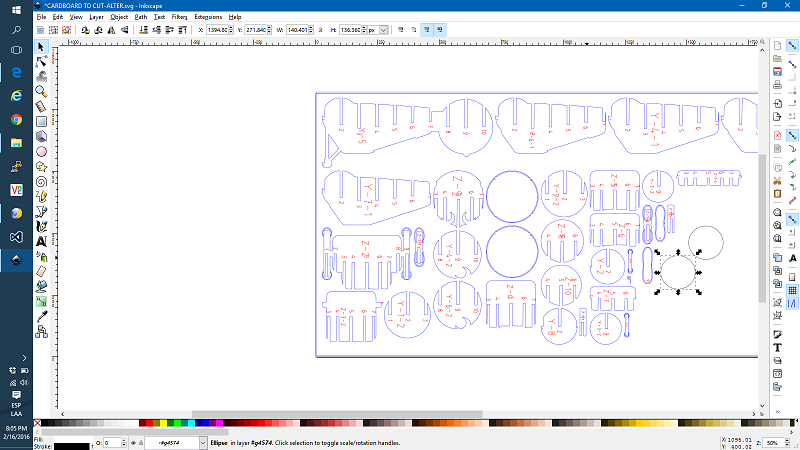
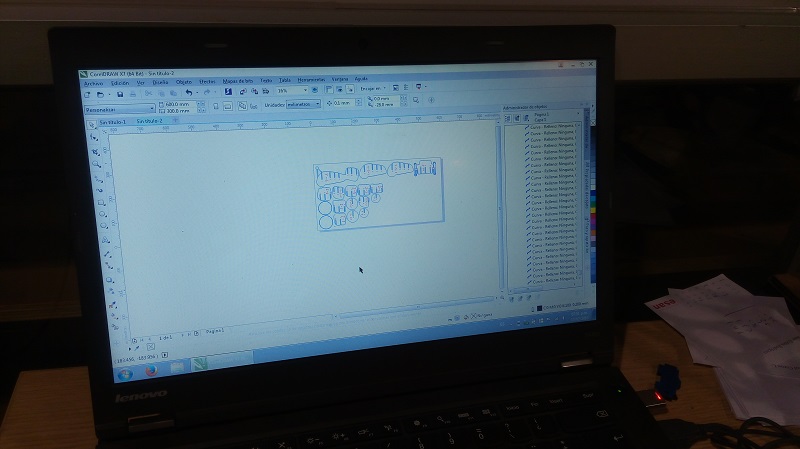
After this I have a file ready to send to the laser cutter, the cutter in the FabLab have a laptop ready to print to the cutter, so I only need open the file in the cutter laptop and send to print
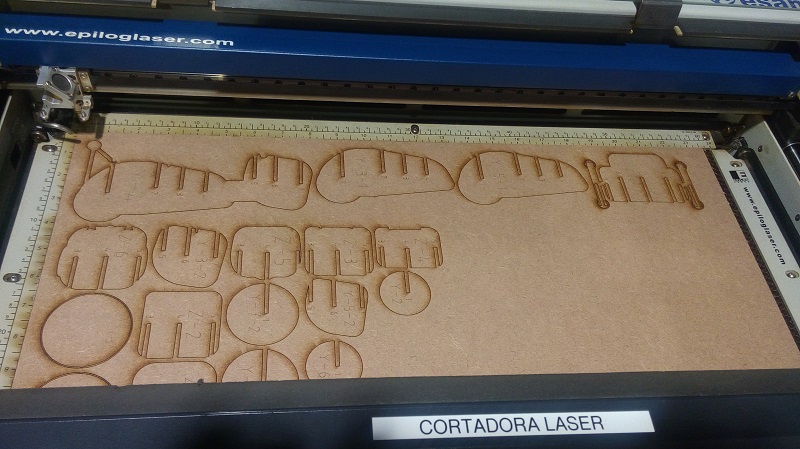
After a while we get the laser cutter ready to work
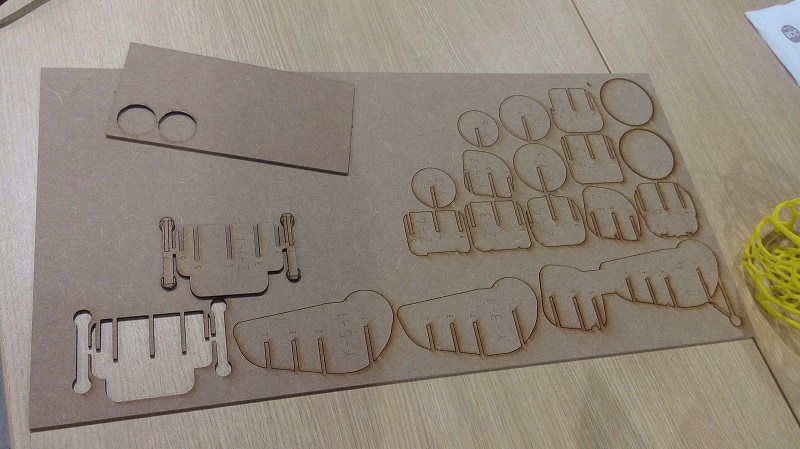
Finally, we start to assemble the model
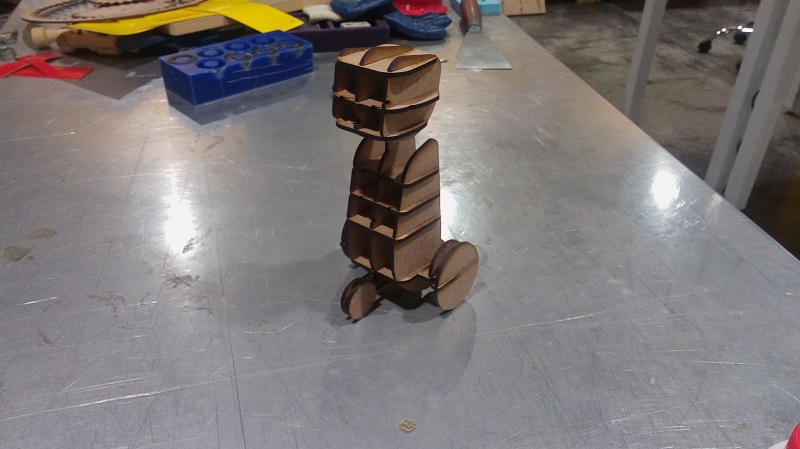
This model is 20cm tall, 1/3 scale of the final robot, this cardboard frame will use a first draft for the chassis of the robot