Welcome to week 2:
This week we start working with computer aid design tools, I will give you a review of several of them and later you will find my first sketch in 2D and 3D of the robot.
Lets start...
Auto CAD 360
The first thing I think about drawing was autocad, I know it is a old and very famous vectory program and it is my first parade in this revision; I look for a recent and simple version and fond Autocad 360. It is a 2D tool for drawing from your laptop, desktop and mobile phone.It is look very friendly, the best part of it is that look like very easy and very powerfull to work, my golden rule to review software is that if I need to spend more thatn 15 minutes try to figurate how work with it, then I leave it.
In this case I open and example and start to play with it the House 3D example, in a great change from the old days with a hundrends manus and tool bars.. Just a few options very easy to understand, so I started a design.

The plot was easy to do, but there is a lot of features I dont find (at least easily), and just is 2D with some features of 3D, actually I need something to create a object in 3D and then the software made the blueprints. For a architect I guest it is great, but for my is not enougn, because I not only need drawing, I need something to help me to design the objetc and then do the blueprints for me.
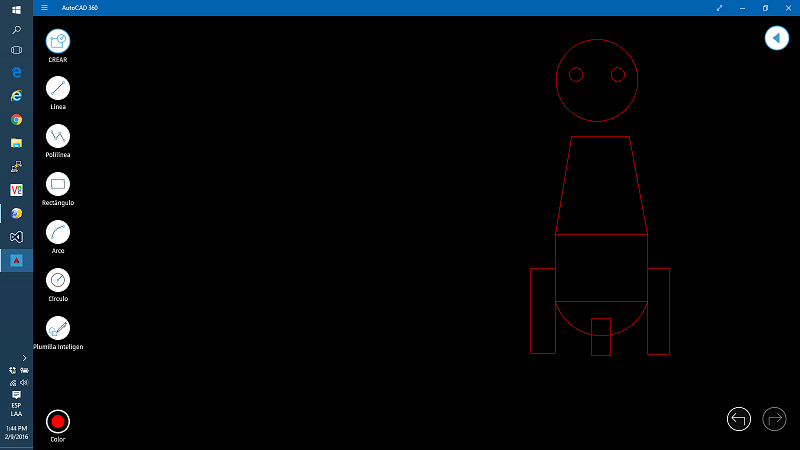
My very simple drawing you can find here.
This software is front AutoDesk too, look far more what I like, something which help me to made the object and the software do the blueprints for me. The first time to opened start a tutorial, which I will follow now...
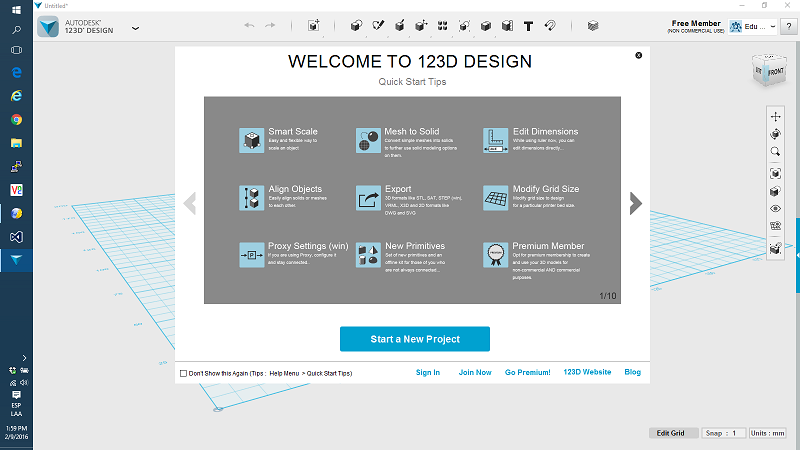
The tutorial is clear, but always is better find a video tutorial, which some google I found a 4 parts tutorial in this link, it is a great tutorial, only an hour to view, after a while playing with the tools I get this.

Well, now I´m ready to made my 3D robot design, it is the first version wich I will improve in the coming weeks.
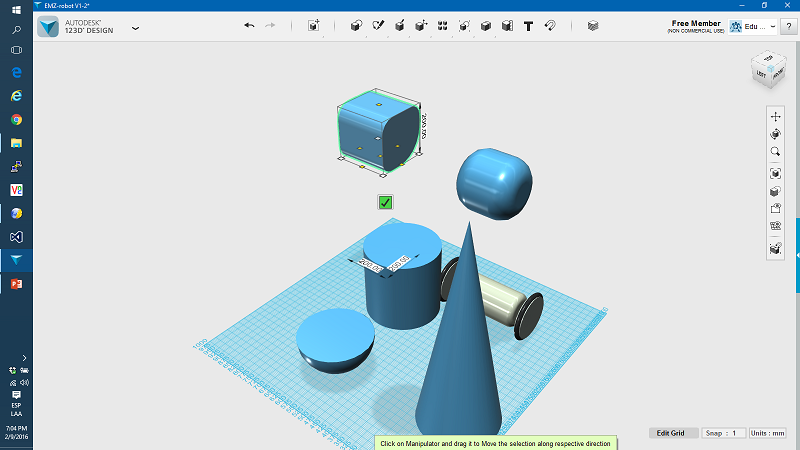
First I need some way to measure my first sketch, so put my first design into a grip to stimate the size of every parts, each square is around 50 mm aprox, so with this I can start to see the size of every part, the critical part is that the head should have around 20cm high, if the head is smallers could be difficult to acomoodate the Intel NUC or Raspberry plus the other mechanics, in addition, a 20cm head is simmilar in size to a child.
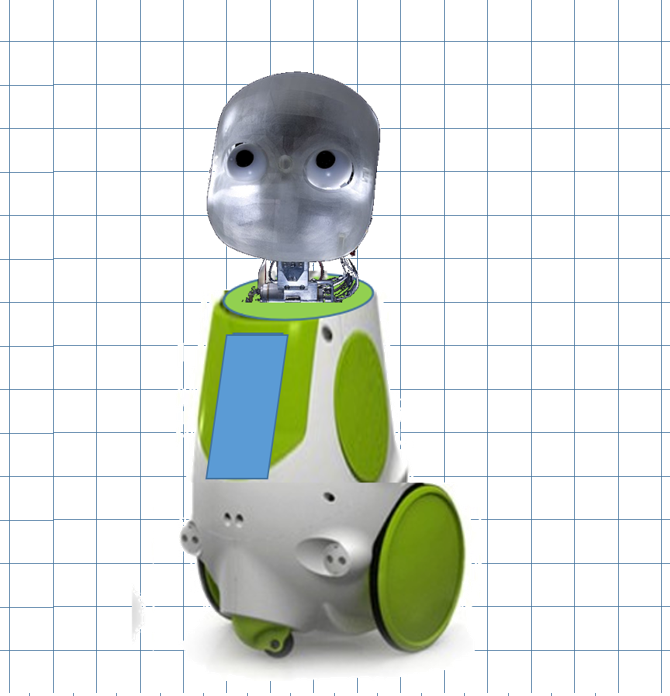
.
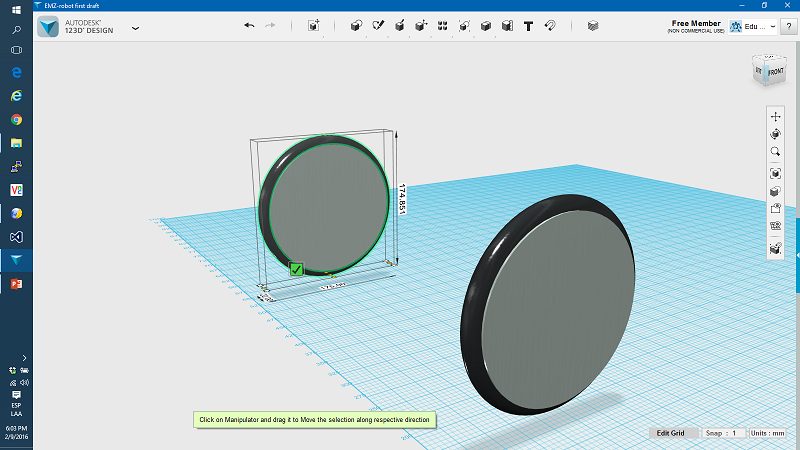
The next steps are diagram in the program the differents parts, I divide the job in five: wheels, Motor house, Chassis, loose wheel, and Head. Starting for the more easy, this is the wheel, very easy, just a toroide plus a cilinder: 175mm hight and 22 mm wide.
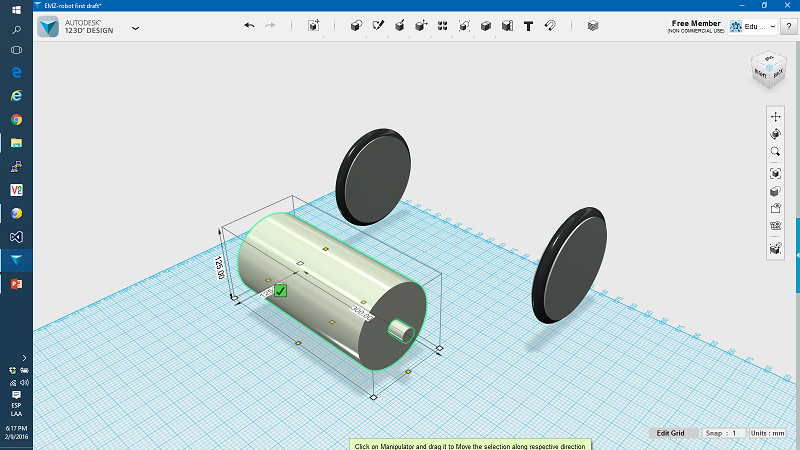
Next, I start working in the motor house, the diameter is a little smaller than the wheels with 125 mm diameter and 250mm wide
Now is time to work in the chassis, from the drawing look like 400 mm high from the floor, so leaving 25mm clearance from the floor, we get 375 mm high, same wide as motor house 250 mm. The chassis is just a semi sphere plus a trunk cone.
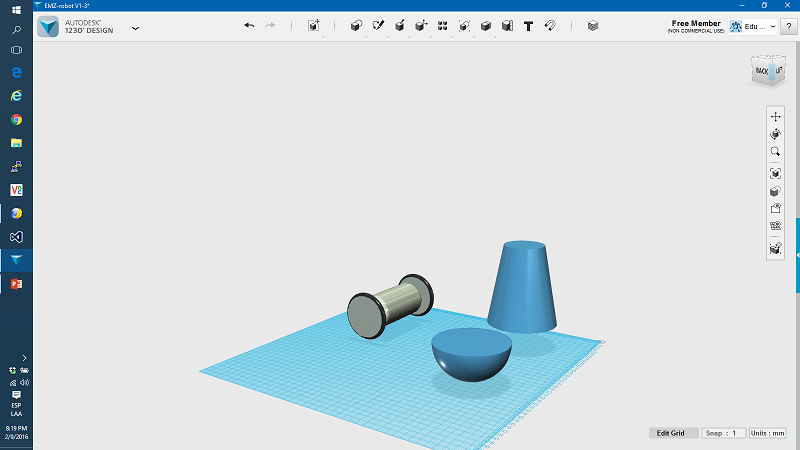
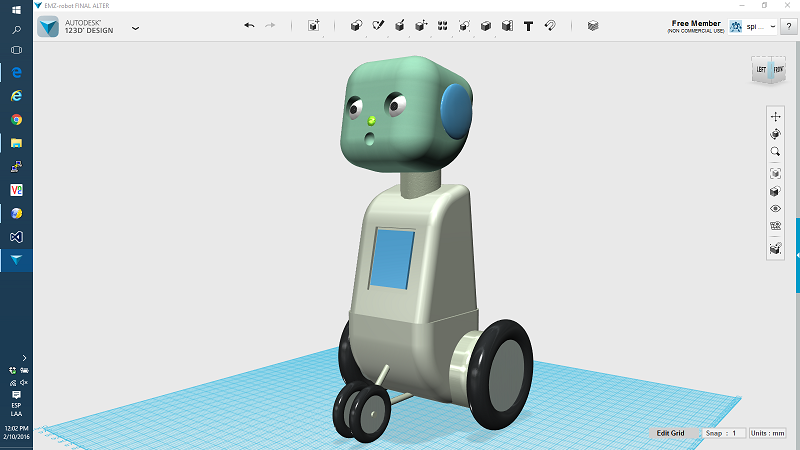
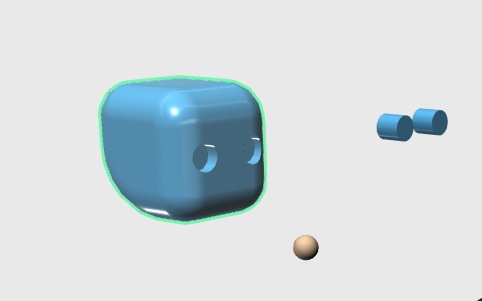
Then, is time to the head, I experimented with different options, spheres, cubes, rounded cilinders and rounded cubes, many options to try to identify the best options, it take a while, a little more tedious to explore the options:
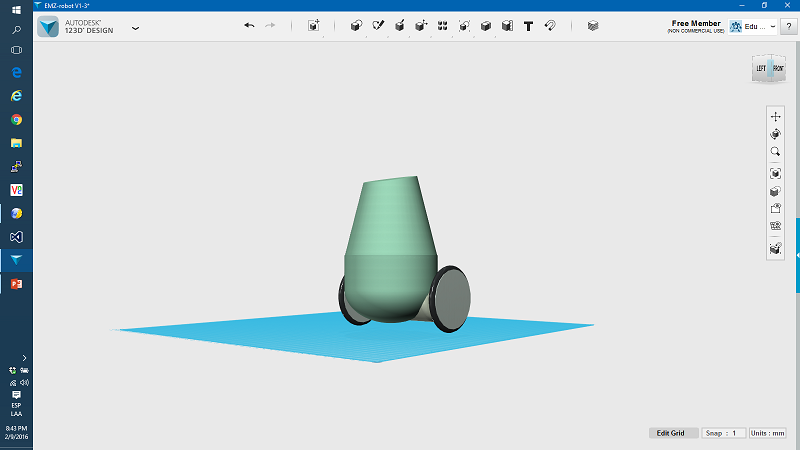
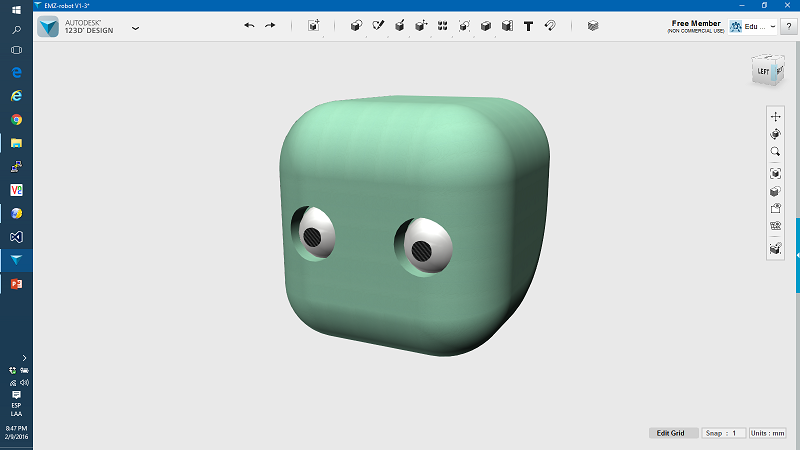
After a while we finaly have a head more or less funtional, maybe I will improve it in the future, but as first draft look great for me
Here a close up of the final version
Now assembling all together
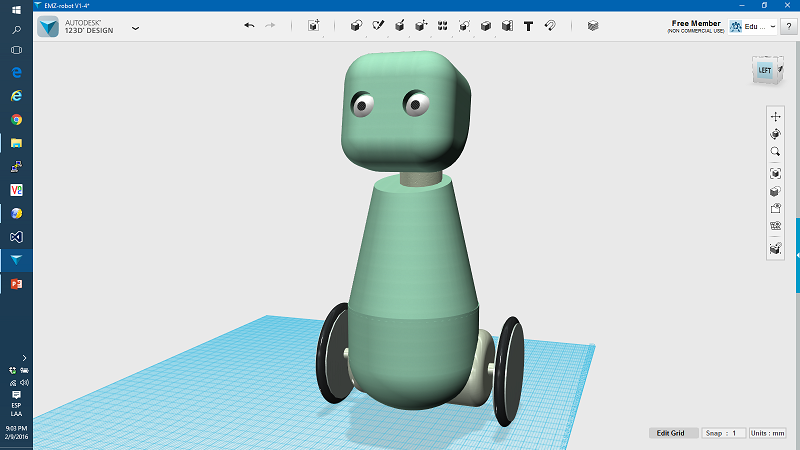
After several hours of emprovements, the file of the project is here.