Week 3 - Computer-controlled cutting
Assignment
Make lasercutter test part(s), varying cutting settings and slot dimensions
Cut something on the vinylcutter
Design, make, and document a parametric press-fit construction kit,accounting for the lasercutter kerf, which can be assembled in multiple ways
Laser Cutting
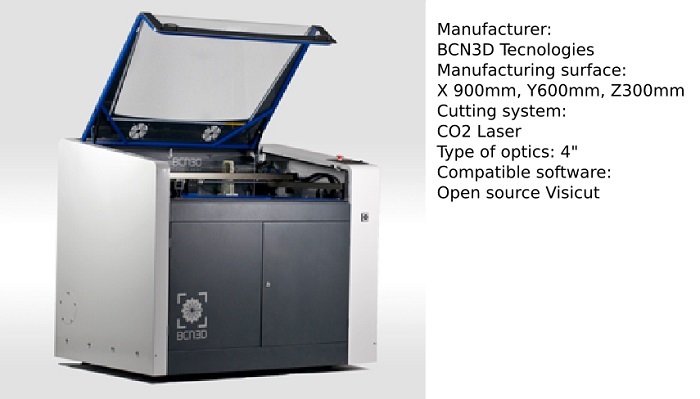
For exercise of the third week I used the laser cutter IGNIS that I have in my Lab. This laser cutter is a mid-range machine with a good quality / price ratio. This machine came to the workshop four weeks ago and we are still settingup the different configurations for different materials.
Designing and testing a Laser cutting workshop
For the Computer-controlled cutting exercise I have designed a workshop to be done in four hours. The central idea is that participants design a lamp using inkscape as a drawing tool, and then cut it with the laser cutter and finally assemble the different parts. For this exercise I used recycled cardboard, cable xx mm, a switch, a socket and a 40W bulb. Material cost is 10 euros.
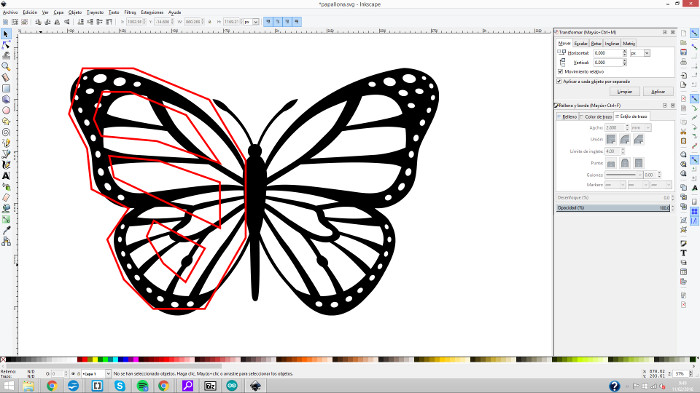
I copied a picture from the internet to use it as a guide for drawing (the theme could be anyone) I have the option to vectorize the image but I prefer to redraw to go faster also to show to the participant they can make their own version of an existing drawing.
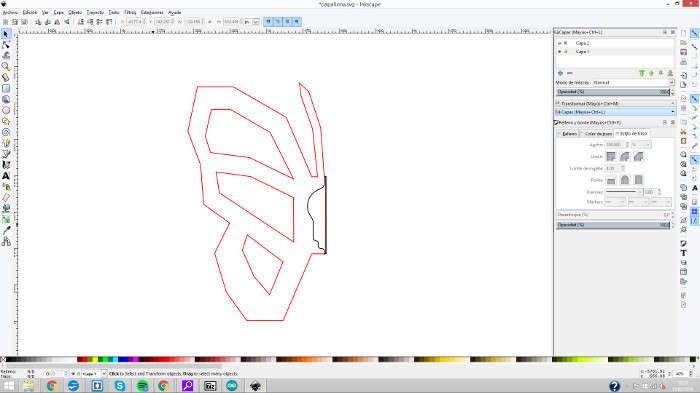
I've done the drawing with the Bezier curves and straigh lines tool choosing de secuence of straight lines segments mode , this part was easy. Then I marked the contour of the bulb, here I use the same tool and then edit nodes, adding, subtracting and editing curves. Finally joined the two drawings to make them one. For the workshop will be better if the participants starts the drawing with the bulb contour already made.
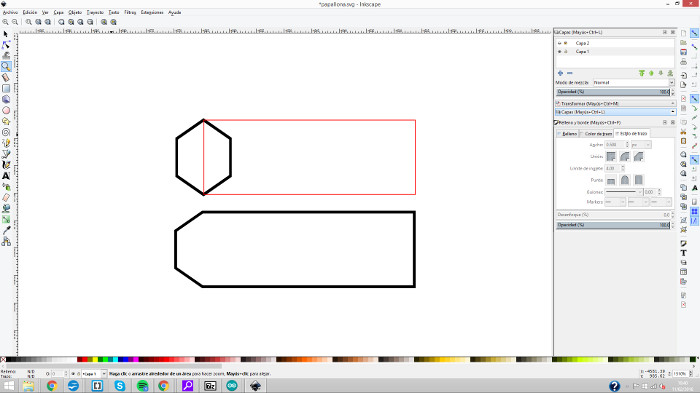
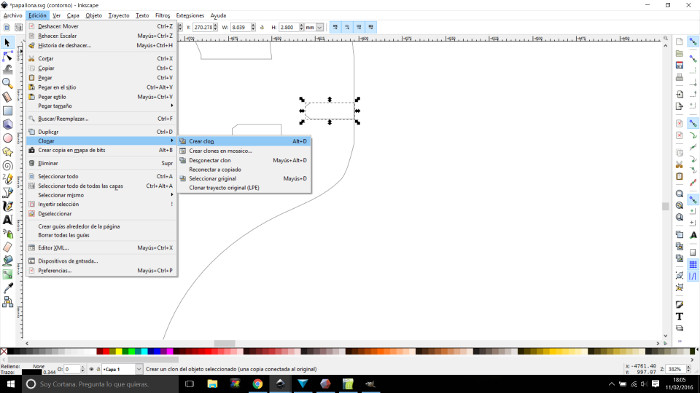
I draw what will be the slot for the fitting of the different pieces. The size of this slot depends on the results of the tests with the laser cutter. I cloned this item to modify it later.
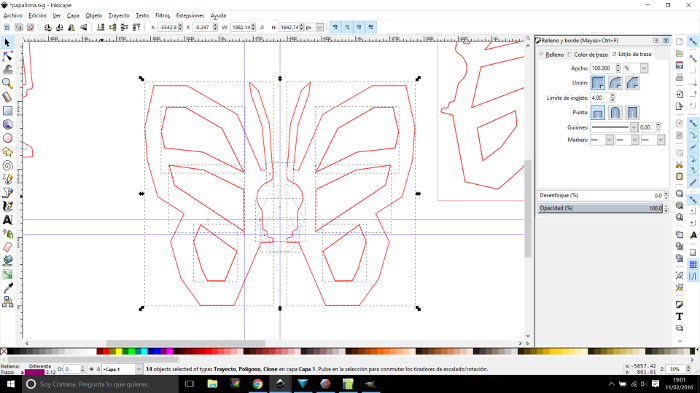
Continuing with the aesthetics of straight lines I've drawn some hexagons to design the joints between the wings of the butterfly. I will make the slot after the tests with the laser cutter machine, so here a made clons too to modify them later.
Using the Laser cutting Machine
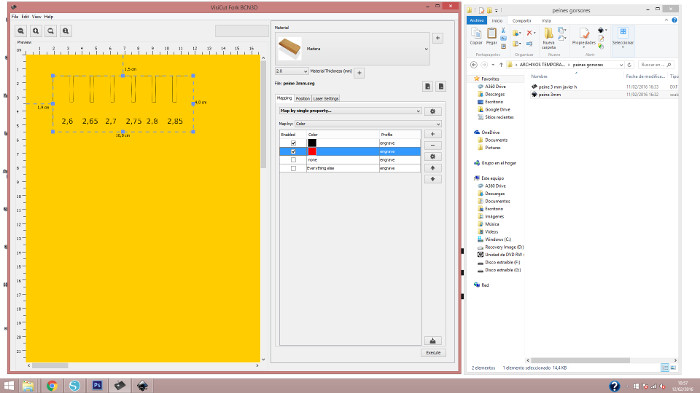
I used the drawing we made in class for the fitting test modifying the different parameters of the machine. The first goal was to find the correct power and speed for the chosen material.
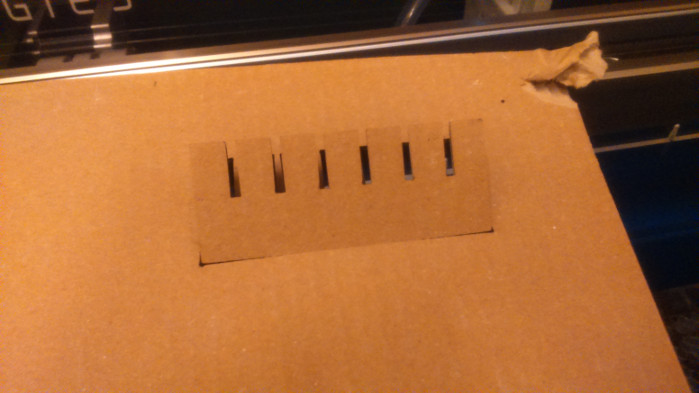
Once I found the correct settings for cutting i made a final cut whith the fitting piece to select the best fitting setup.
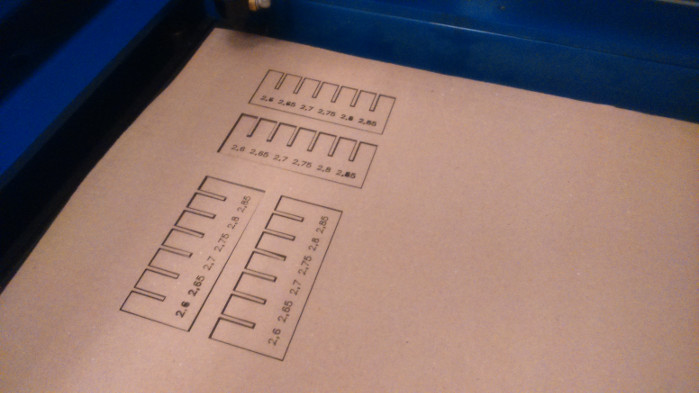
I cut both ways to see the difference. Cut the cardboard nerve perpendicular to the insertion is better
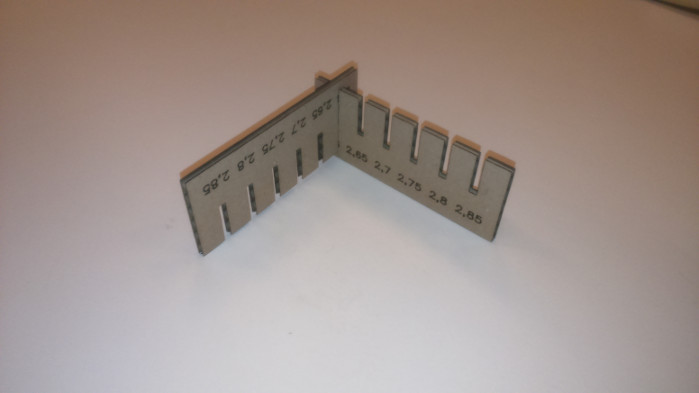
2,6 milimeters is the number! Back to the design drawing!
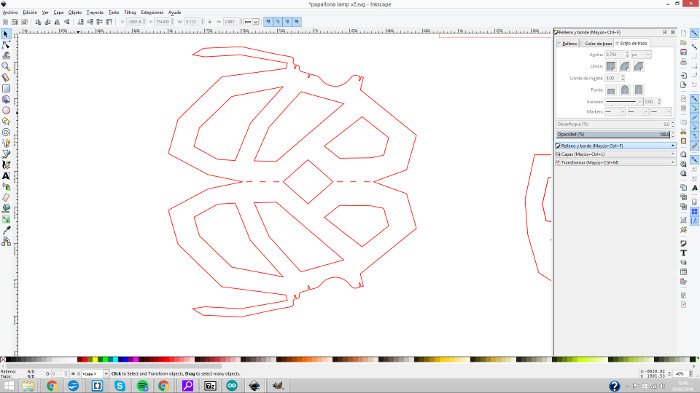
After adjusting the size of the fitting slots I have realized that the lamp is too big. Initially the lamp should be a table lamp, now it will be a ceiling lamp! To do this I had to change the orientation of the profile of the bulb. Another important change is that I decided to make each wing with double leaf to put a diffuser inside. This change also makes me enlarge the fitting slot of pieces that connect the wings of the butterfly.
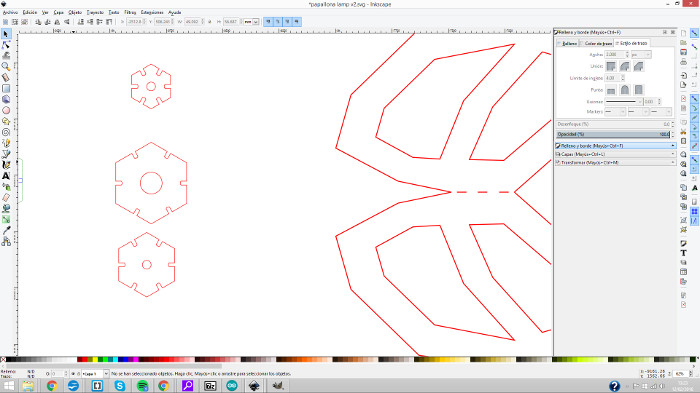
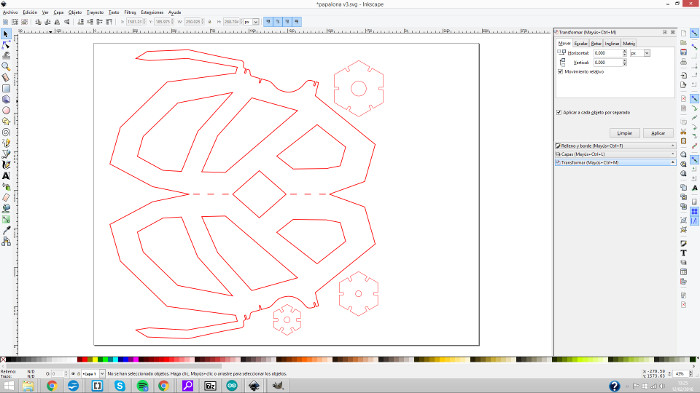
This is the final file for the lasser cutting machine
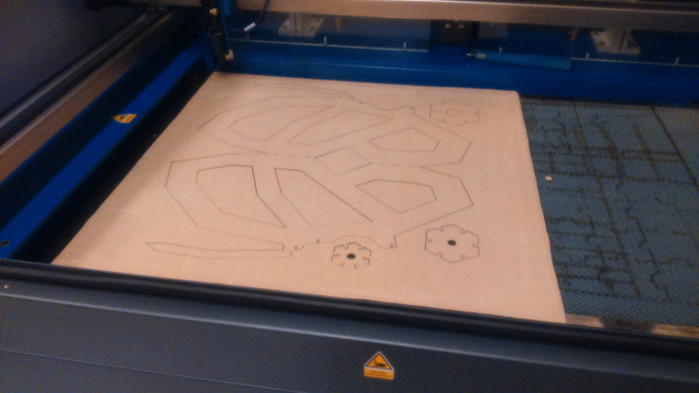
First cut
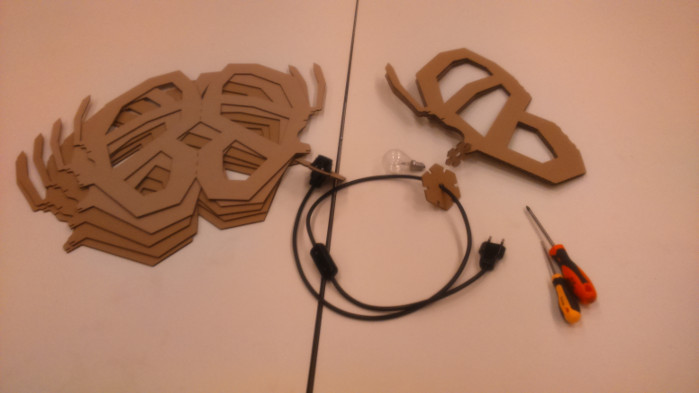
Almost ready for the assembly work
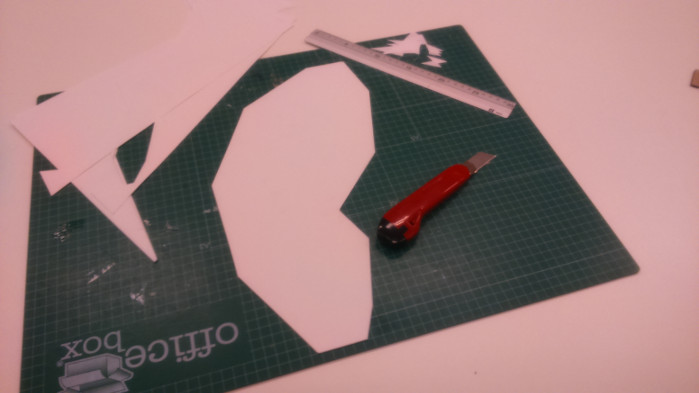
I used paper for the diffusers
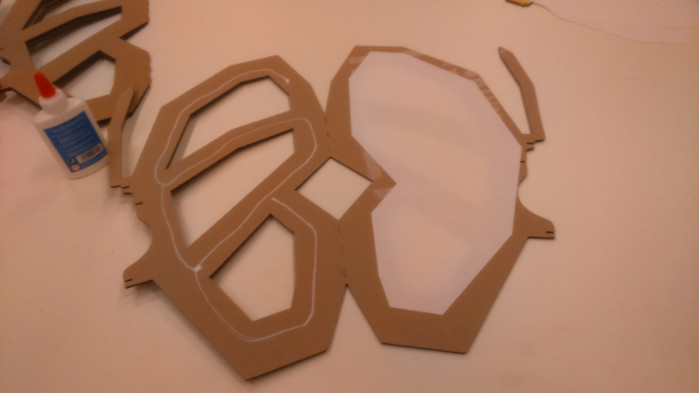
A little bit of glue for the paper and Ready for assembly, I hope that the material resist the folded and helps to a better fit
Ready for assembly, I hope that the material restance to folded helps to a better fit
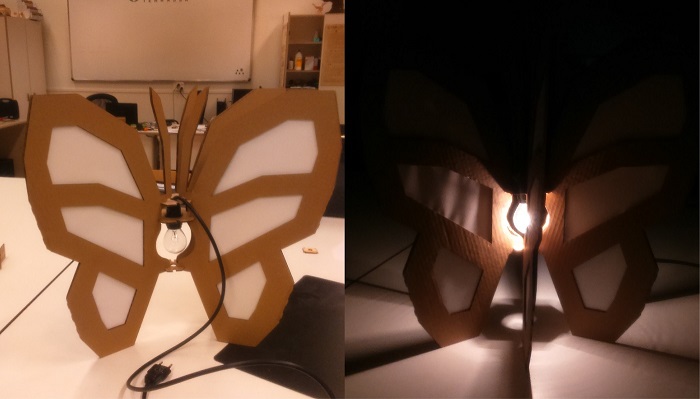
finishing assembling and testing the light
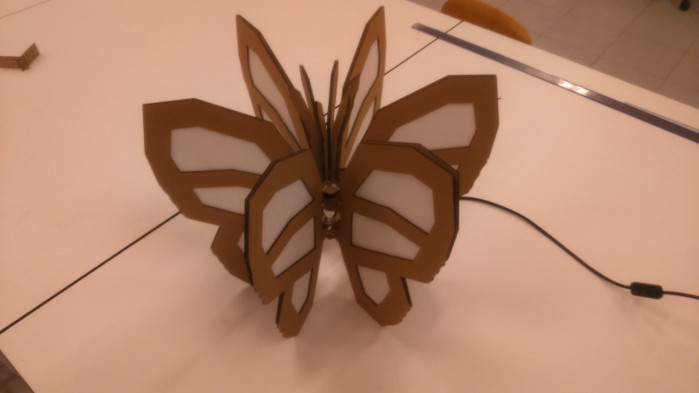
The lamp is ready to be hang!
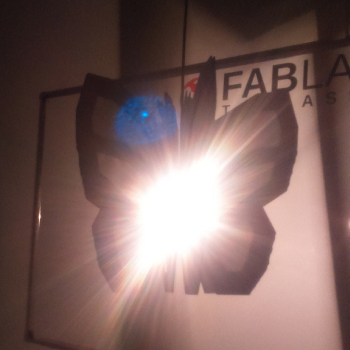
next time I'll have to use a thinner electric cable!

Another exercise! I'm going to make a box with press fit unions. I have done a design but before I do some tests and see if the parts fits correctly.
This is a simple but interesting design to work with children who are learning to design in 2d, they can make designs to apply to the faces of the box, cutting, recording or marking.
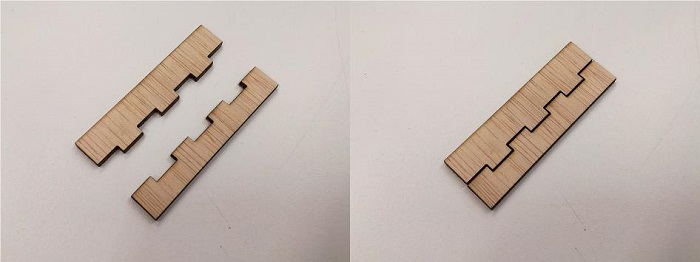
After several tests with decimals of millimeters of difference I have found the correct measurement. This fit will not be the same for all laser cutting machines, each machine cuts differently.
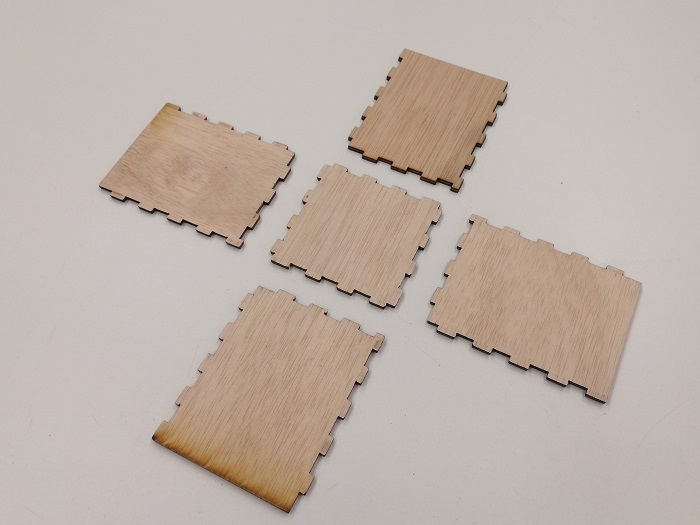
it looks good!
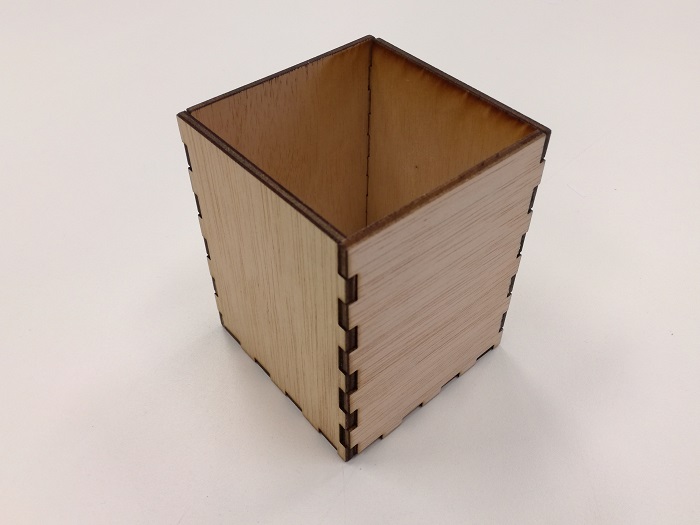
If we flip the pieces the fit will be different
Vinyl Cutting
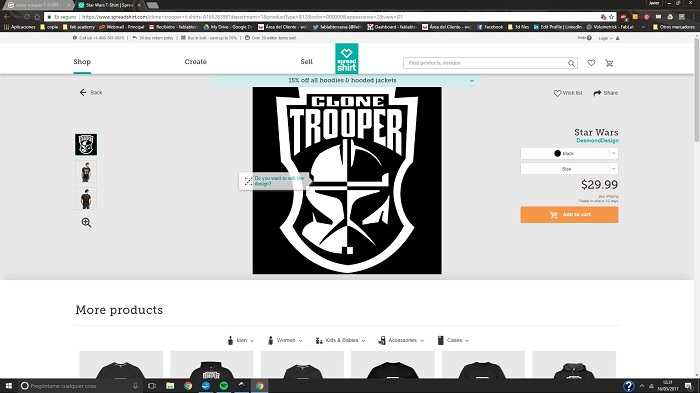
Searching an image from internet. Copy image
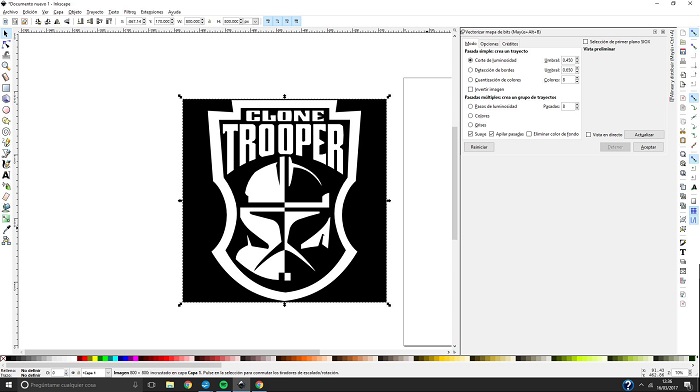
Paste image in Inkscape
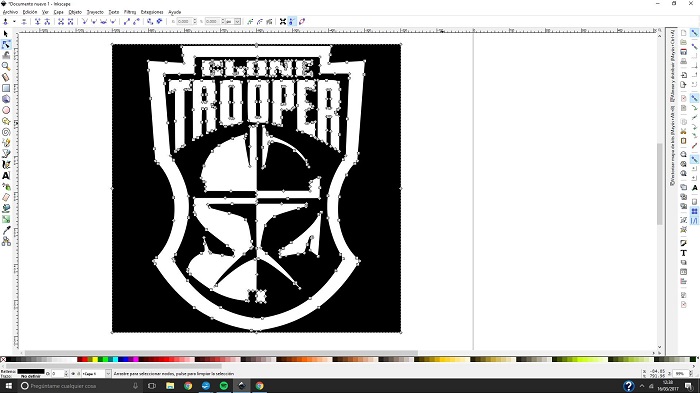
Vectorize the image for editing.
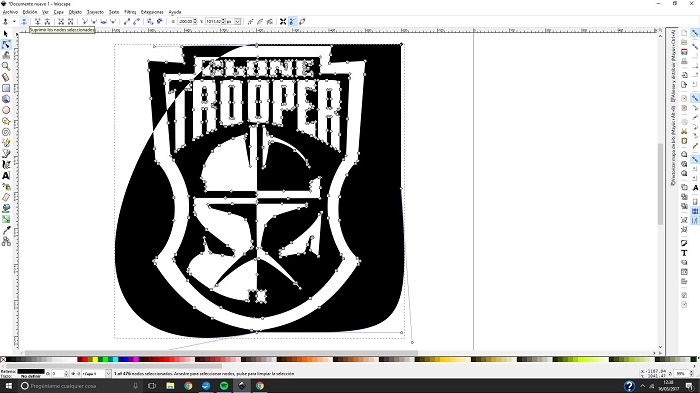
I don't want the black background.
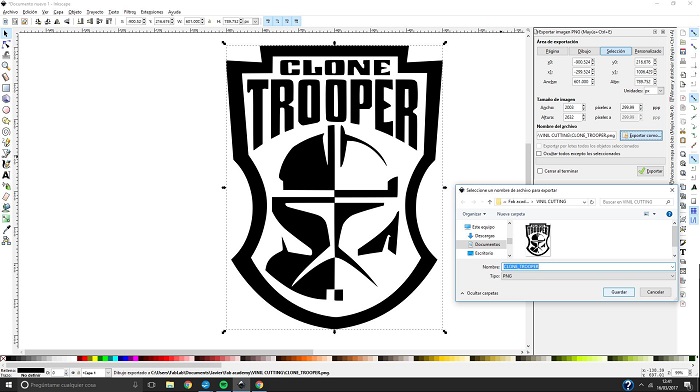
Edition final result, ready to export as image
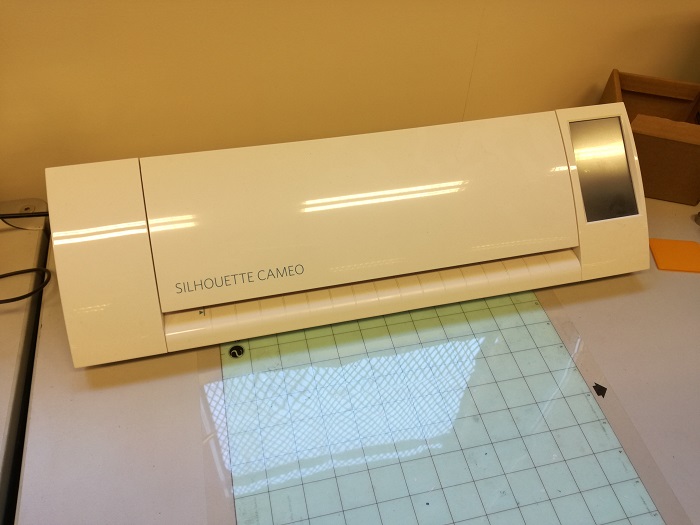
I'm going to use ther Silhoutte for the vinil cutting
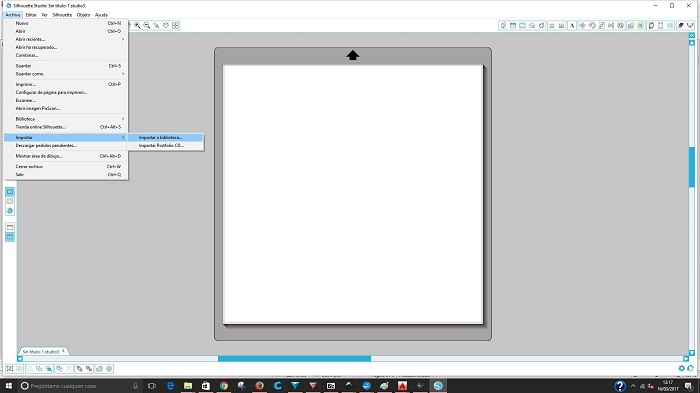
Silhoutte has it's own software and it's very easy to use
First we have to add the image to the silhoutte library and the make double clik to insert the image in the work space.
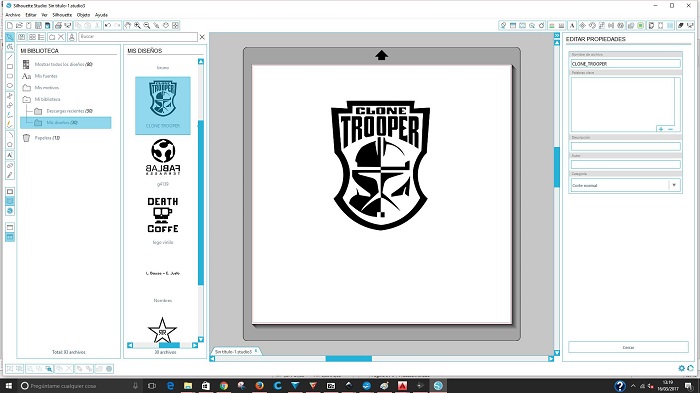
We can modify the size of the image draging from one of the image corner
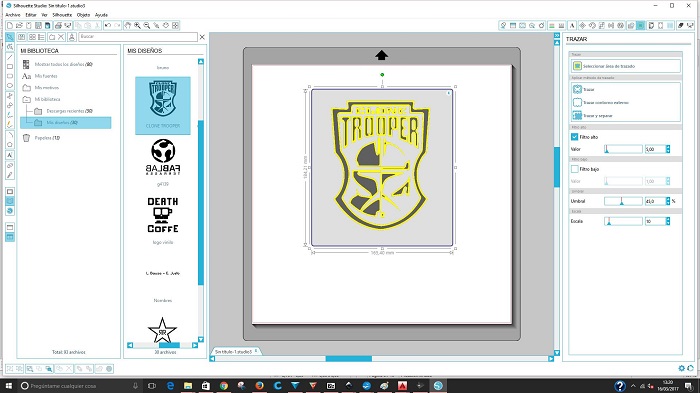
Next step is to "Trace" the image by selecting the trace tool button, we must define a "Trace Area" and then set the different filters until the image turns tottaly yellow, then click on the "Trace" button
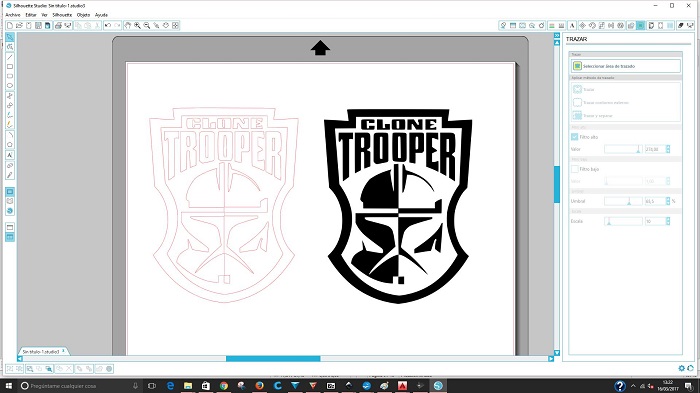
Image is already traced and we have the image and the trace result in the work area. Errase the image and keep the trace result
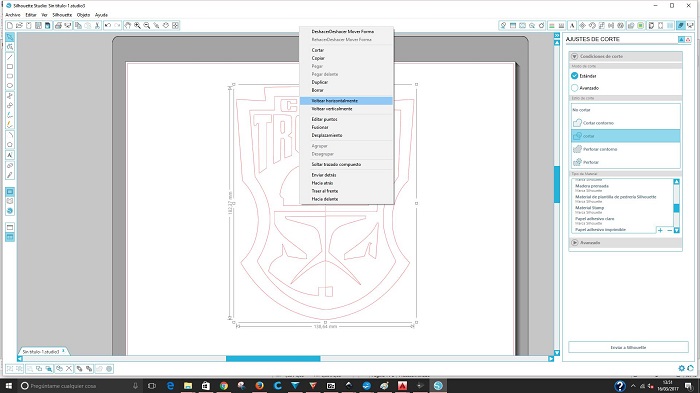
I'm goin to use heat press vinyl to make a t-shirt. in this case is necessary to flip the image. Selecting the trace click right button an then "Flip horizontally".
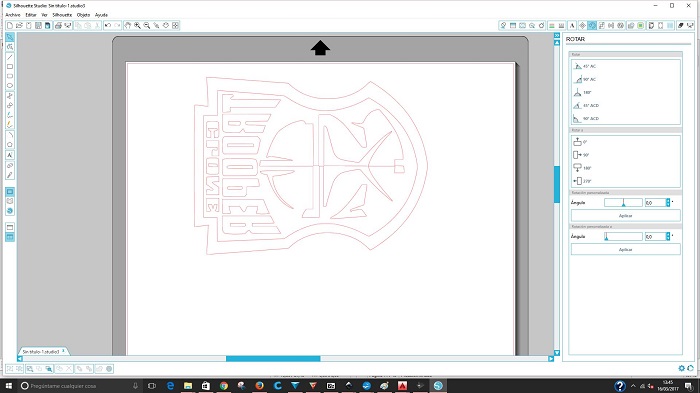
I will rotate it to make a better use of the material.
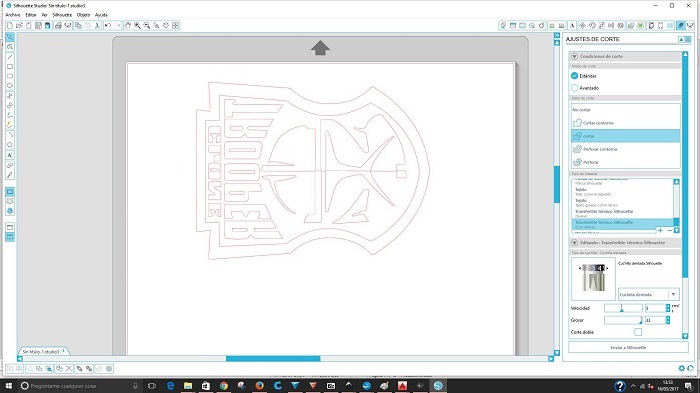
It`s time to Cut, Select the tool for cutting on superior righ corner to set the material we are going to use. When you set the material the softwares indicate us the position of the cutting blade. The position indicates how deep it cuts depending on the material thickness
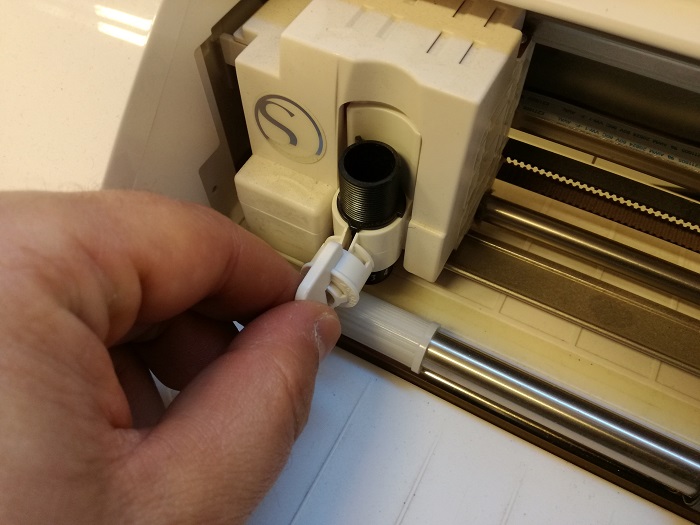
Remove the blade
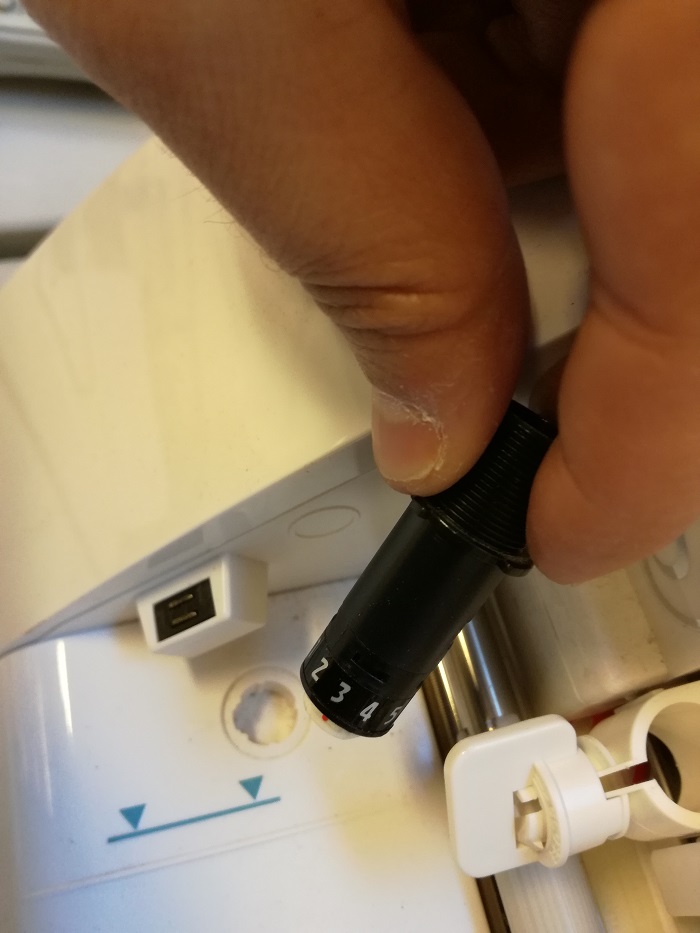
Set the blade position and inser it.
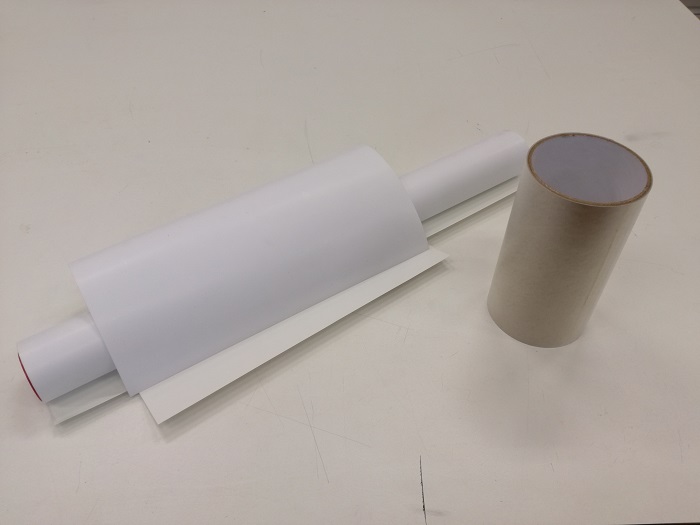
Here the vinyl and transfer that in this case we don't need to use because the heat press vinyl material has it's own transfer.
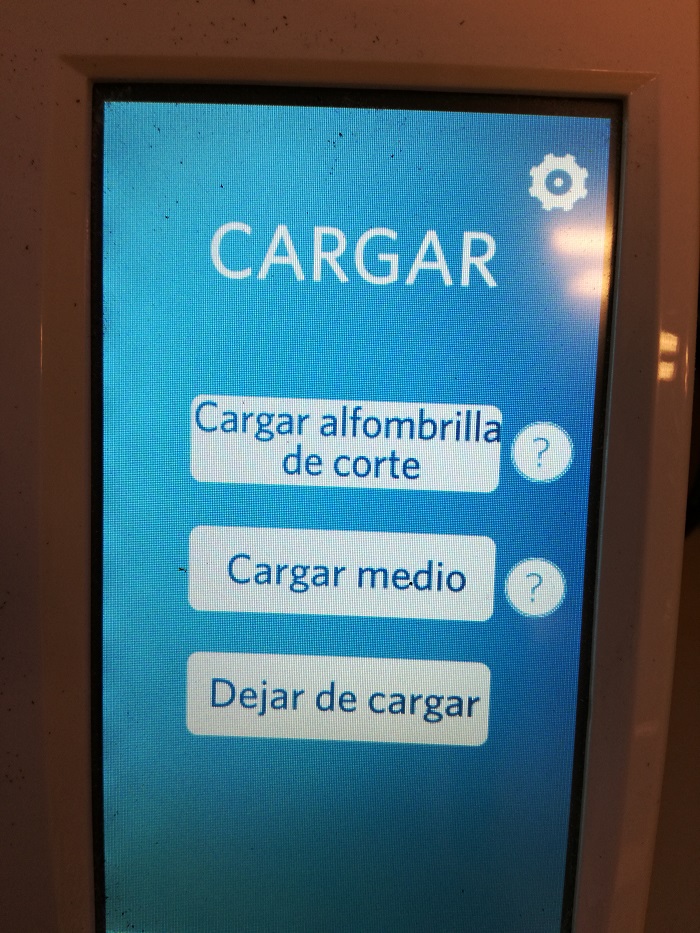
Load the material and "Send to silhoutte" to star cutting
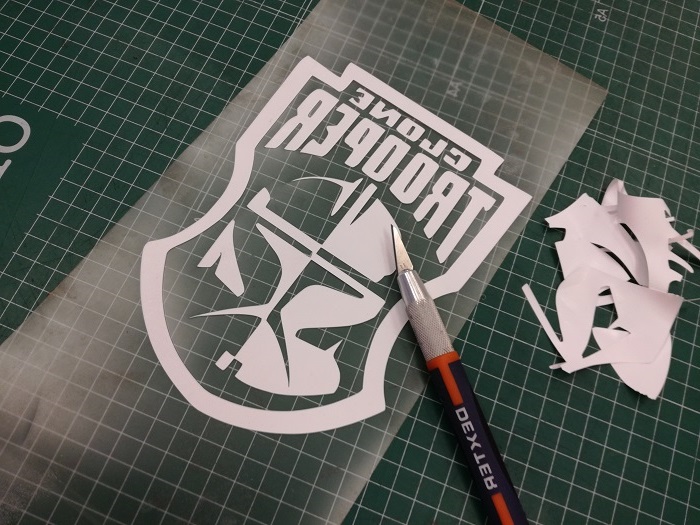
Remove the vinyl that is no parrt of the design
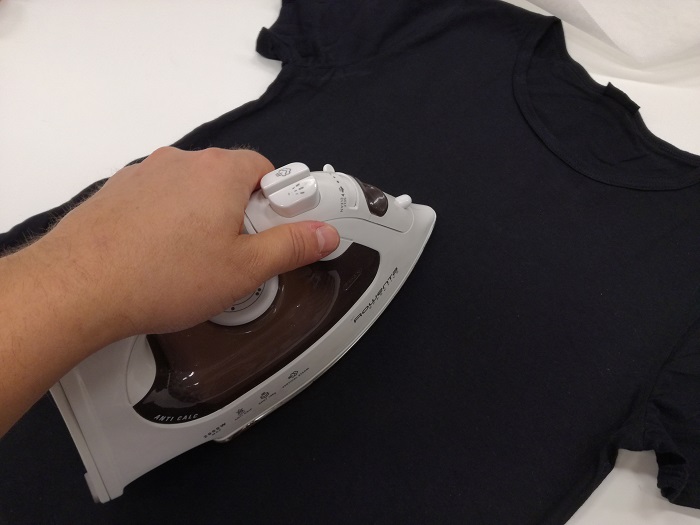
Iron the T-Shirt before to get a flat suface
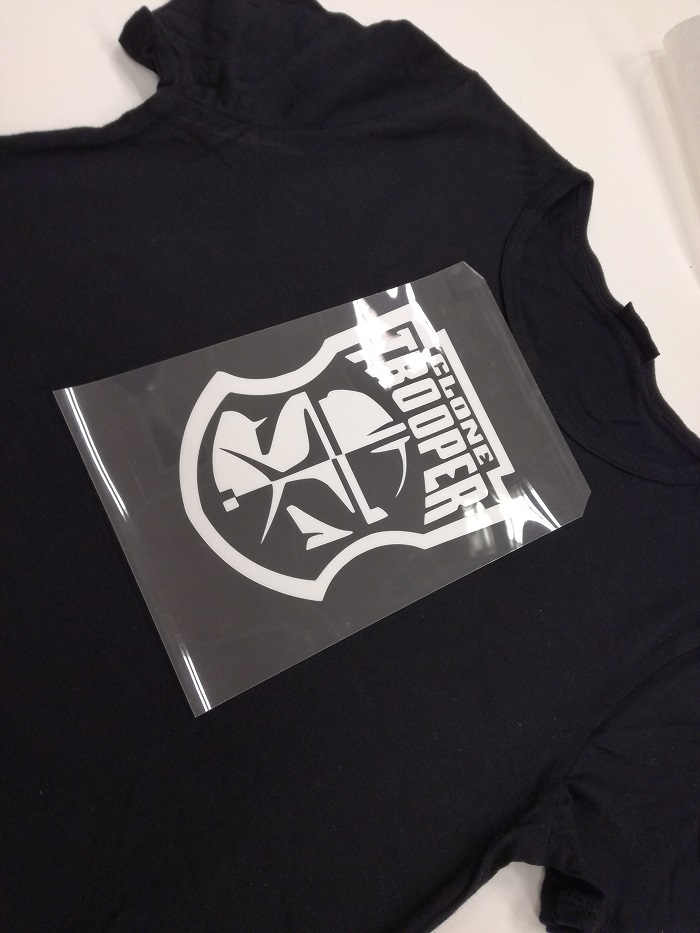
Place the vinyl
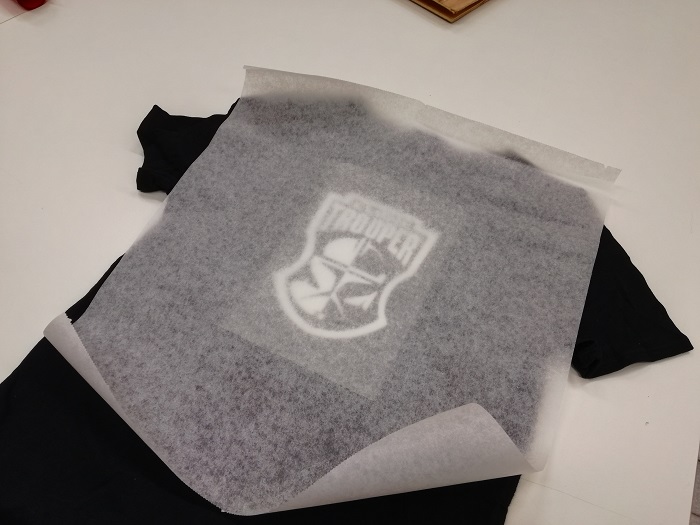
Use waxed paper, the same we uso in the kitchen oven
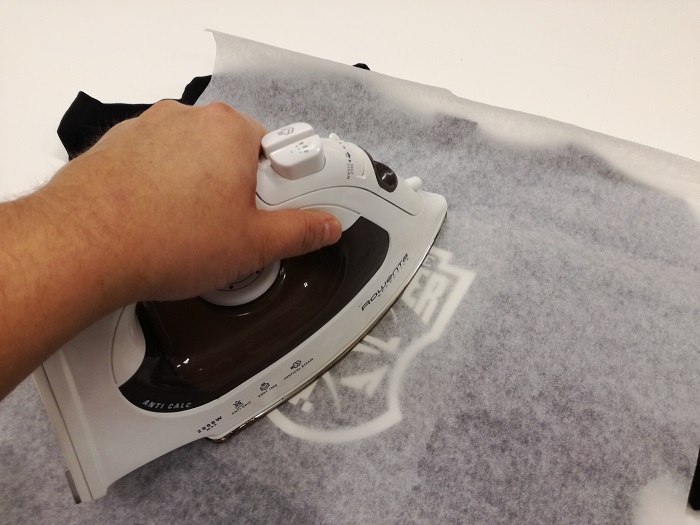
Press during the iron until the transfer starts to wrinkle
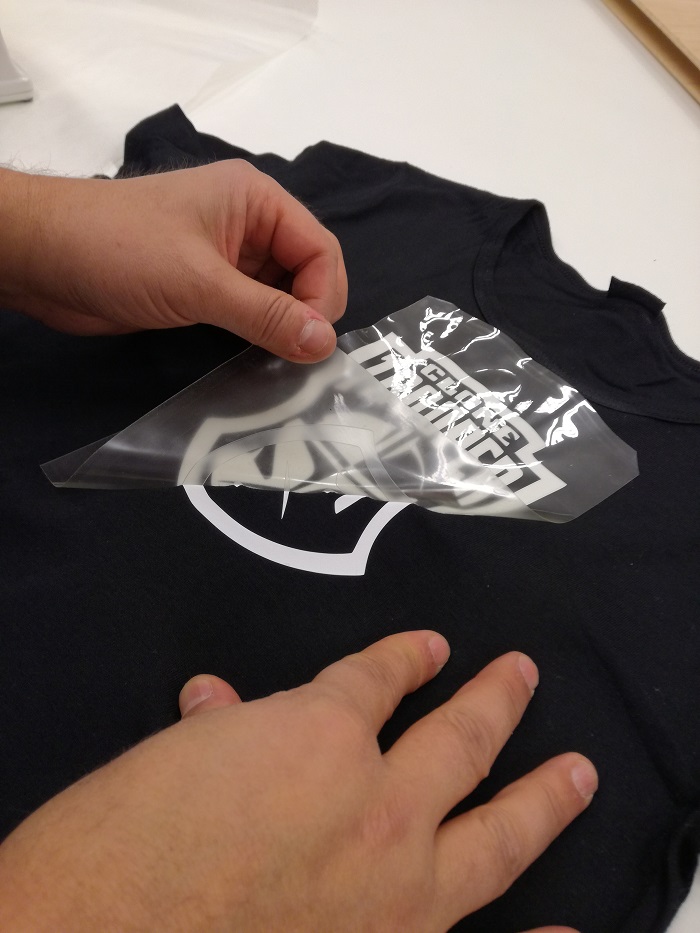
Remove the transfer carefully
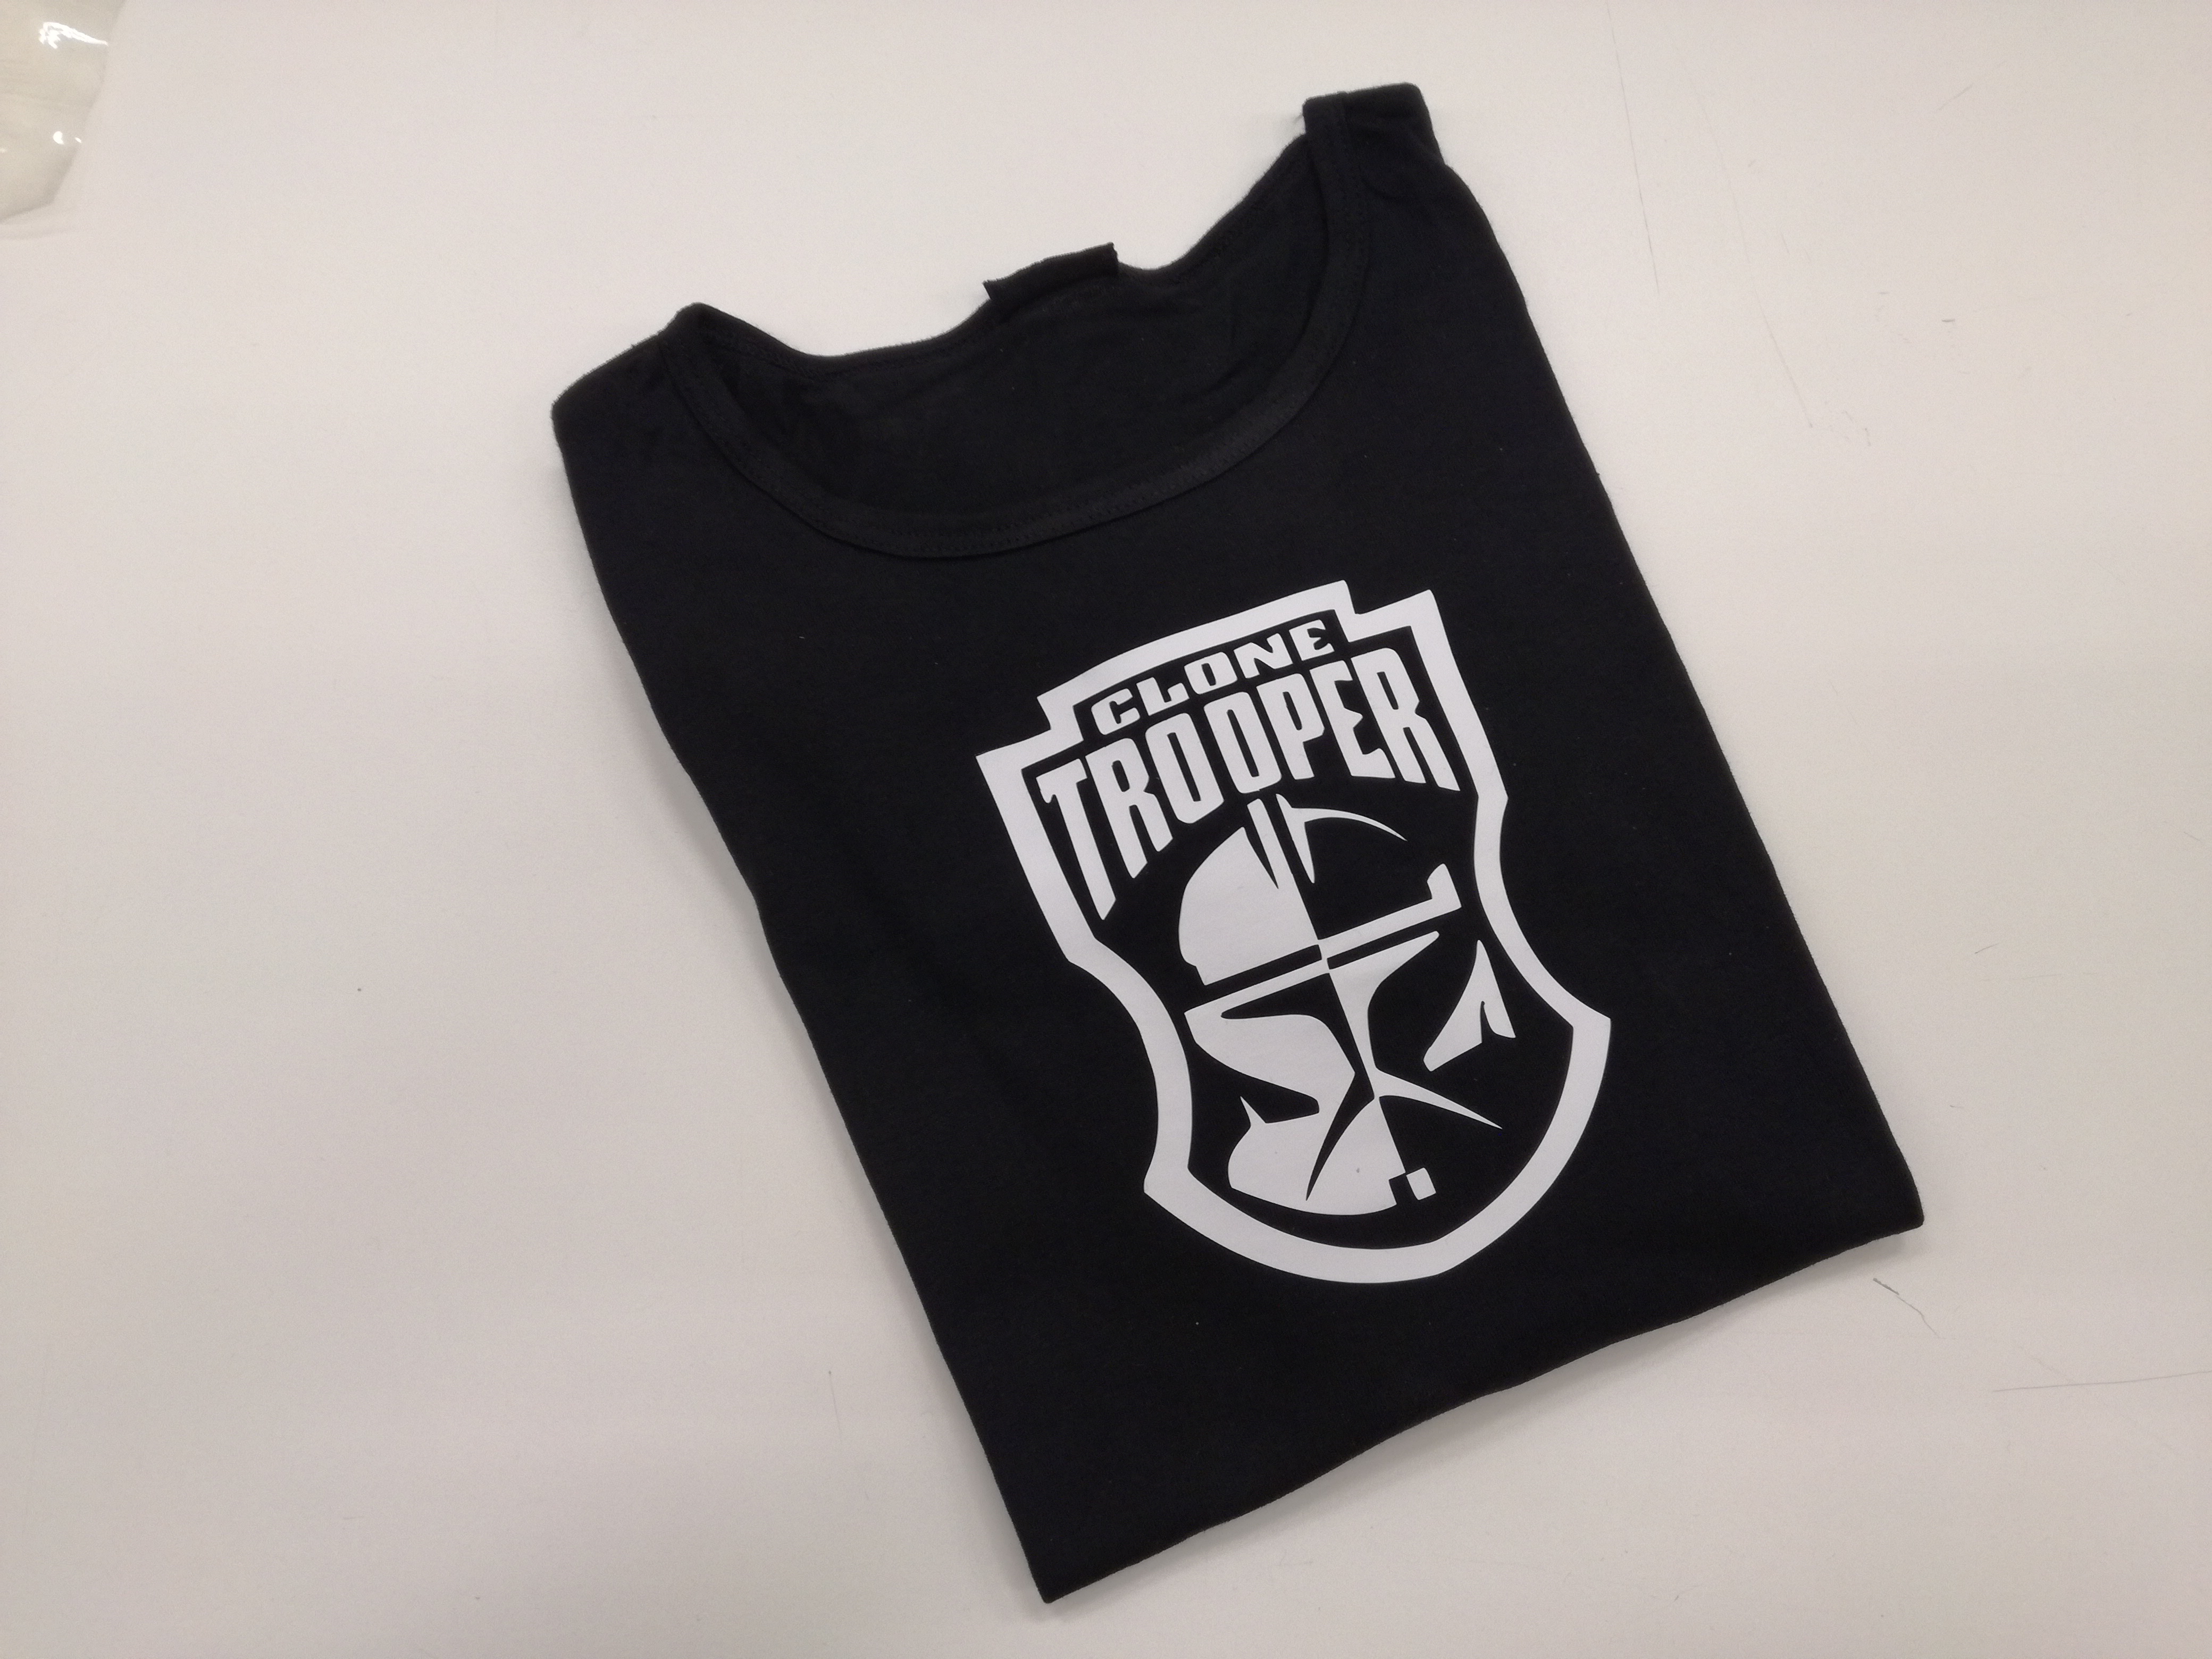
Final resul