
WEEK 13 (26 April 2017)
[Input Devices]
In this assignment I chose the hello.button45.c, also used FabModules for milling the boards, then I soldered and finally I tried to program the board.
STEP 1: PREPARING THE BOARDS
First of all, I want to make the input devices. The task is: "Making and using a button".
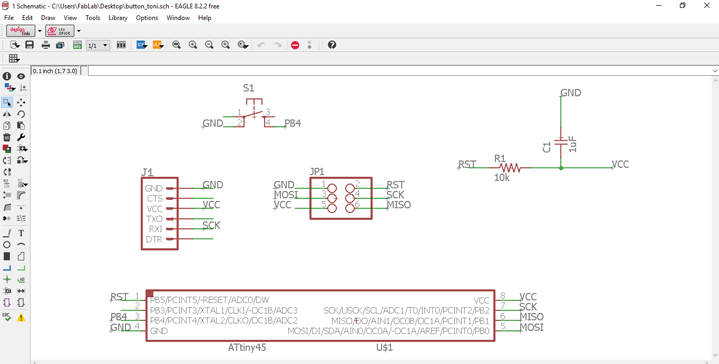
My Schematic (TB 2017):
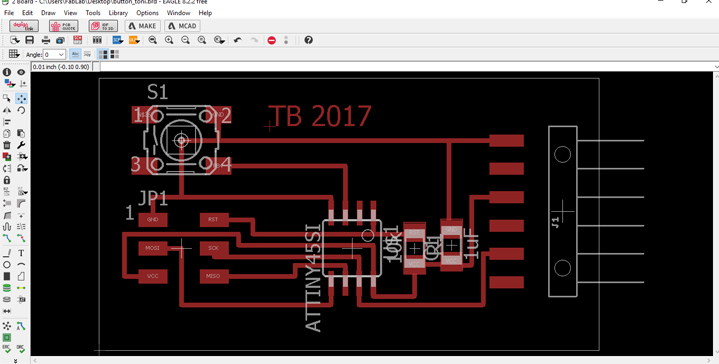
Once the design was finished and checked I exported PNG files of my board design:
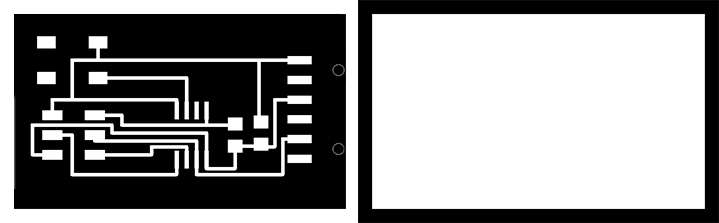
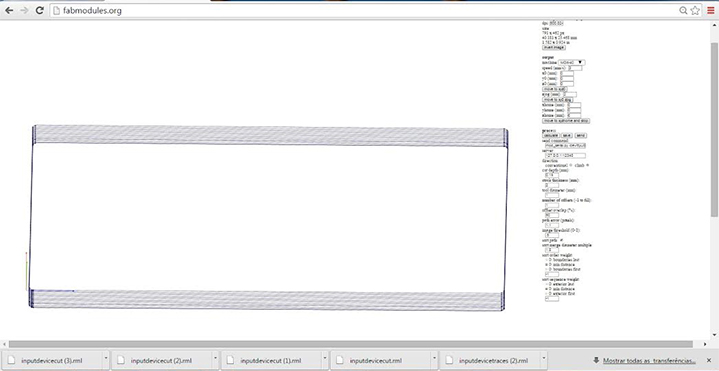
Now it's time to generate the gcode. Using fabmodules website upload the .png files, select the process 1/64 for milling the traces and 1/32 to cut the outline. The steps are the same of WEEK 4 [Electronics Production]:
Note: I had some problems with my button board, and so I made a new one repeating the whole process.
STEP 2: MILLING THE BOARD
Milling the board in the Modella MDX40 machine:
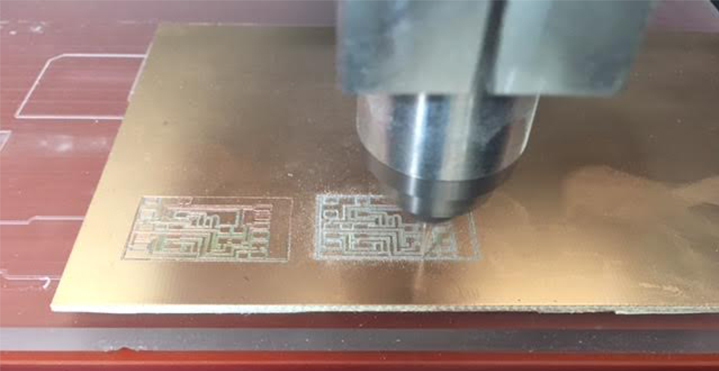
Watch the VIDEO - Modela cutting de hello.button45 board:
Note: To do the machining I also had some problems with the copper plate because of not being well leveled.
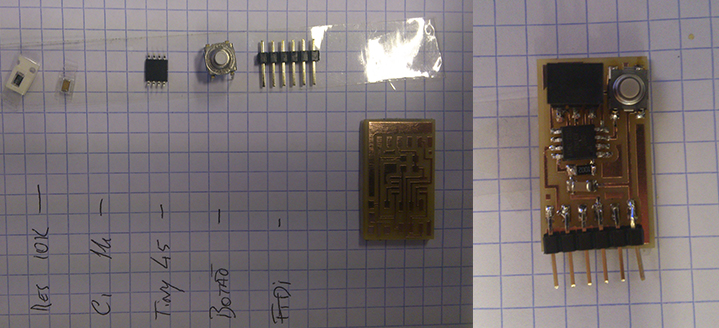
STEP 3: SODERING
Soldering the components:
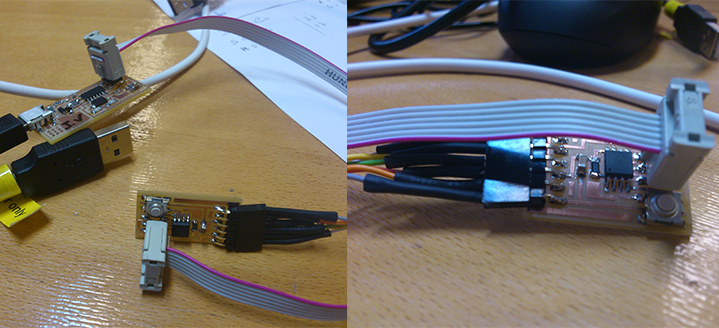
STEP 4: PROGRAMMING
Programming the Board:
Finally I used python for graphic interface, in this part I downloaded the serial.py. I used Windows, and I had some problems with the programming, and I am trying to understand what is happening.
To solve the problem I went to the Arduino IDE and I opened the serial monitor, and this time the board worked properly, I've edited the program hello button, where the implementation of "DU" starts executing my name "Barreiros Toni".
Watch the VIDEO: