Mechanical & machine design

Two weeks to come up with a great machine!
Assignment: Make an automated machine (including its end effector) as a group
Learning outcomes
- Work and communicate effectively in a team and independently
- Design, plan and build a system
- Analyse and solve technical problems
- Recognise opportunities for improvements in the design
Important links
- Global lecture: Mechanical design
- Global Lecture: Machine design
- Information on Gestalt and Modular machines that make
- Our group documentation
Our machine
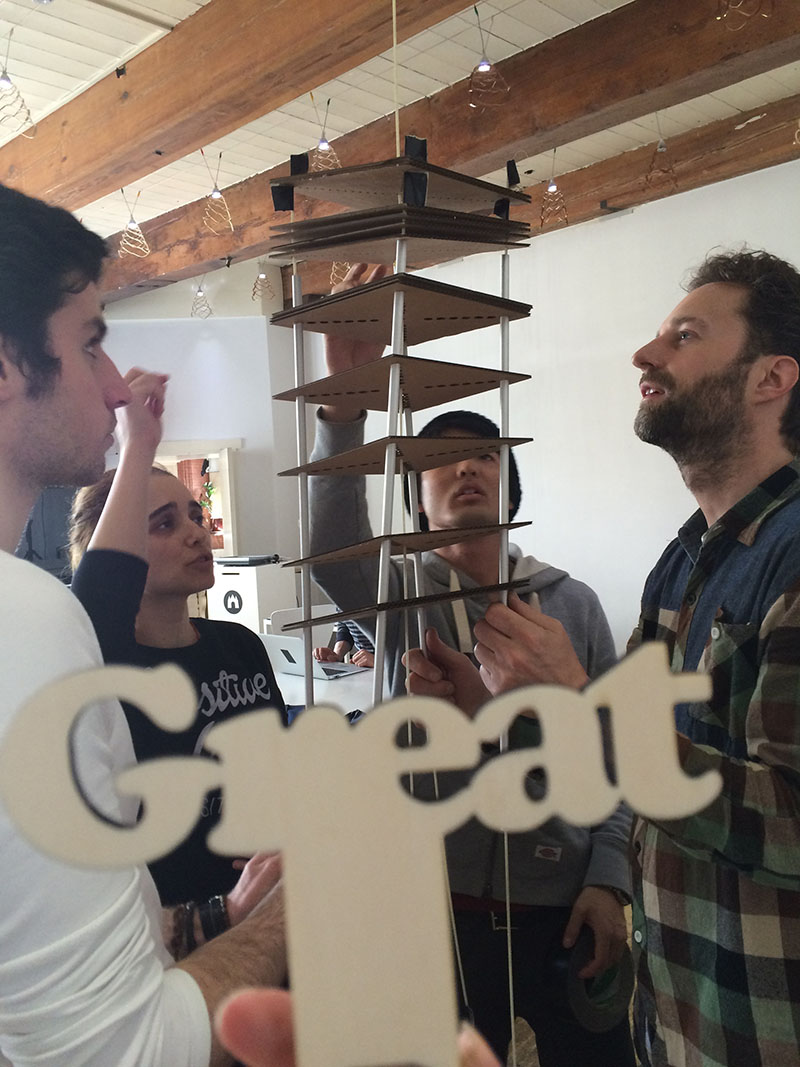
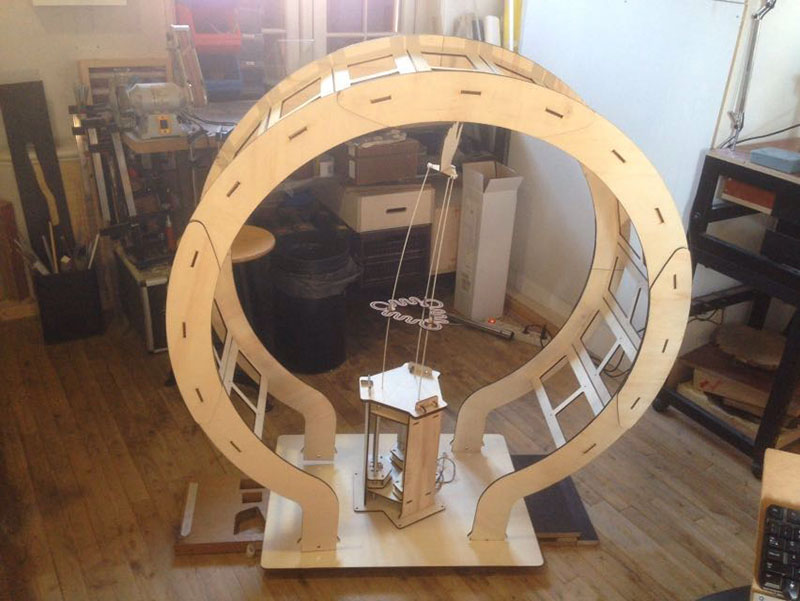
As a group we worked on a machine that is literally producing greatness. It is a happy answering machine that (mostly) encourages you in a positive way (yay!) while using a dynamic upwards moving structure (using glass fibre, Gestalt software and lead screw motors).

Concept creation
For the creation of the group concept we generated and discussed several ideas. One of my ideas was to create a Great machine (and/or a Shitty machine), described as follows:
The GREAT (greater, greatest) Machine
Machine that produces “great”ness (possibly in different languages)
This machine literally produces greatness by stamping / drawing / (air) painting / outputting / milling / showing.. (whatever mechanism you like) the text(shape) “great” (Geweldig, Fantastico, Benissimo, ultimo, grande, ótimo, すばらしいです, εξαιρετική, this is great…)
It could also wave “yay!” flags, include cheering arms, happy puppets with, text balloons showing “great” text, happy faces and/ or a Facebook “like” thumbs up (down). The likable machine could possibly be triggered by “great” text or speech input (e.g. from the Fab academy site/review, Fab academy Facebook likes…).
The Shit Machine
Machine that produces (and/or picks up) “shit".
This machine can work similarly to the great machine and take on opposite, different forms (such as a dog, sad puppet with “shit” text balloon, thumb down). Also, it is inspired by our group 3D print initial output and other mechanisms proposed by the group, such as picking up leaves.
My inspiration
Simone Giertz and her shitty robots
- Applause machine (great explanation on how she produced it using arduino)
Wintergatan - marble machine (took ±18 months to built…)
Group idea
As none of the group could meet at the same time, we had different discussions at different locations (a session at the EYE filmmuseum was refreshingly inspiring, but working with people not on-site was quite challenging). Eventually, the idea of the group turned out to be a Random answer machine for which the robotic arm was inspired by the Festo BionicTripod.
My contribution
The different parts of the proposed idea were divided in different group tasks. As most of the group focused on constructing the robotic arm base, I mostly focused on the upper parts; the hand interaction, particularly with different -flexible- positive messages. For this purpose I came up with 'great' messages such as 'I like' visuals and yay flags.
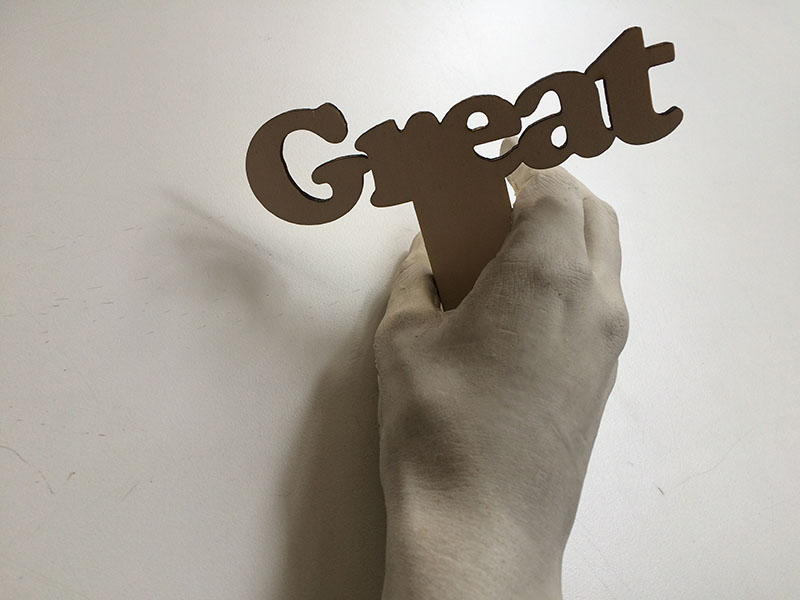
 Together with Eva, I laser cut different flexure samples for dynamic movement of the 'answers'. Without having the mechanical base, it was pretty difficult to predict and design a construction that would work. For this purpose, I came up with different creative props (such as my hand made out of silicon rubber, originally created at MIT's MLE workshop for my iBand project-a device for exchanging info when shaking hands, and books on pop-out paper constructions) and random handy material (e.g. 'saté prikker' sticks, pegs, big needles, tranparent colored sheets...) to enable iterative physical prototyping.
Tip
- The direction that the wood is put in the laser cutter can effect its sturdiness and flexibility
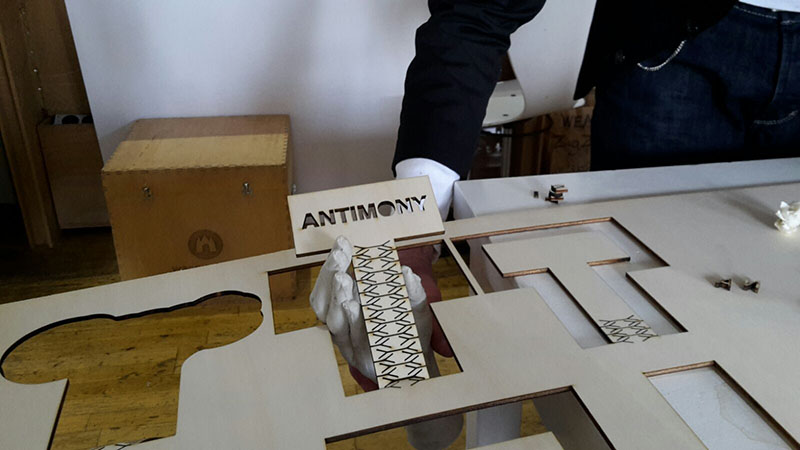
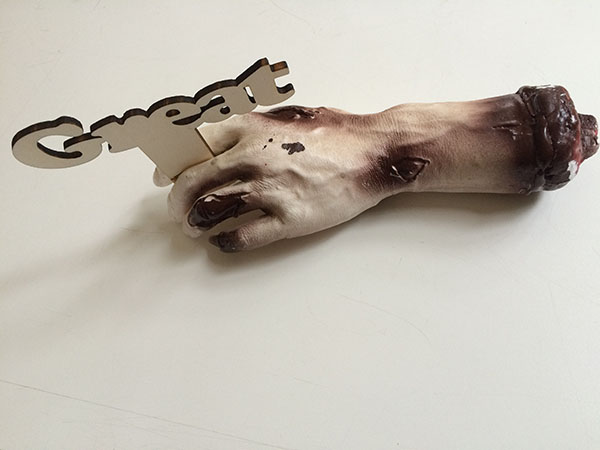
 My silicon rubber hand (with metal screw slot) was heavy for the base construction, so I also found a lighter 'horror' hand, gloves and casting material to potentially create a new one. I had this painted with Auro, one of the few found paints not containing the allergenic Isothiazolinone (kathon) substance. I also pushed in a more creative direction in terms of finding ways to show 'non-screen shape like' messages.
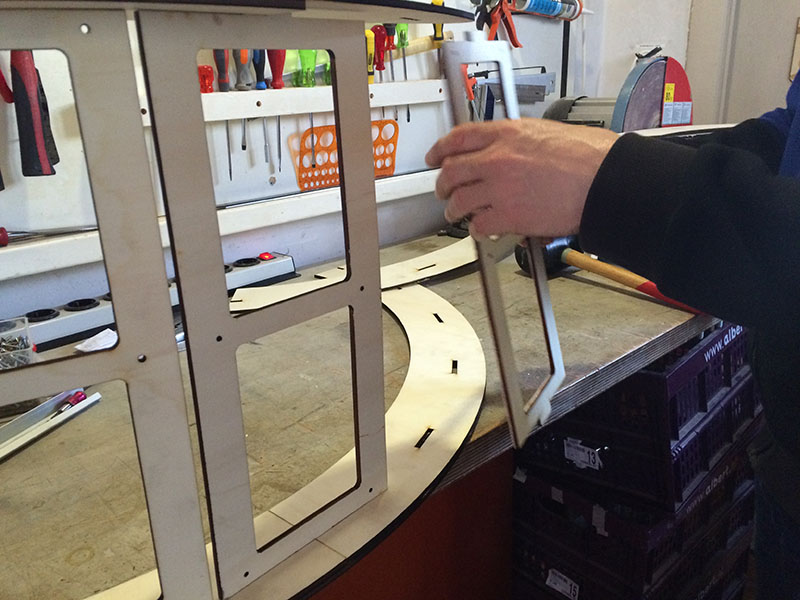
 Although I initially worked more on the front-end part, Gestalt (which software we used to communicate with the motors of our machine) teaches us that the sum is more than the whole of its parts. So I also worked on the different in-between parts and jobs of our machine making process, such as (de)constructing the base for the motor and making sure to reserve the machines for the group, as I initially missed out a couple of times. For the final arcade construction used to display our random answer messages, I also did *a lot* of laser cutting, giving me more experience and know-how about this machine (particularly as the drawn sheets for laser cutting were really big, I had to come up with creative ways to find space to put the heavy-weight metal on, such as initial light engraving to still be able and know where to fixate the wood). When late-eve cutting the final sheet, there was a power failure at the Waag, so I unfortunately had to wait to complete the construction as a whole.
 Windows 2.0
Eventually all the parts got cut, leaving an interesting puzzle for construction, particularly in terms of the sheet display interaction. Exchanging visuals and movie helped to get a common clear idea of how this should work.
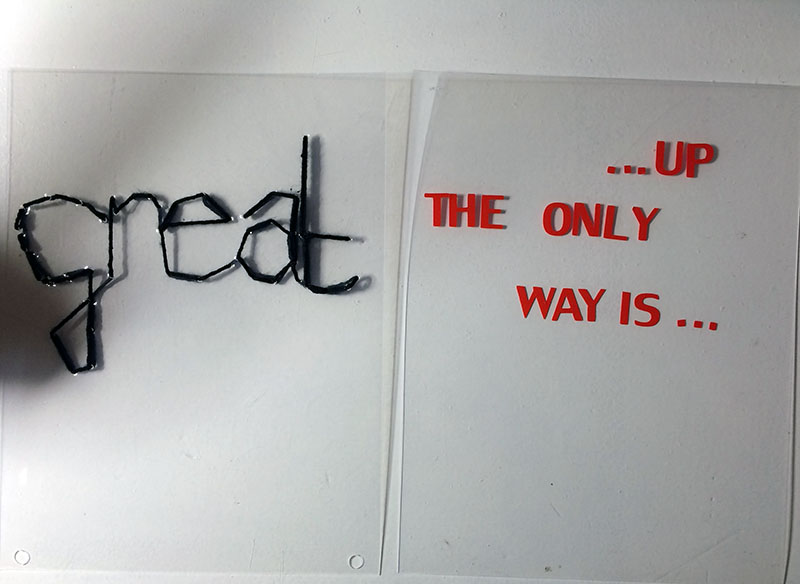
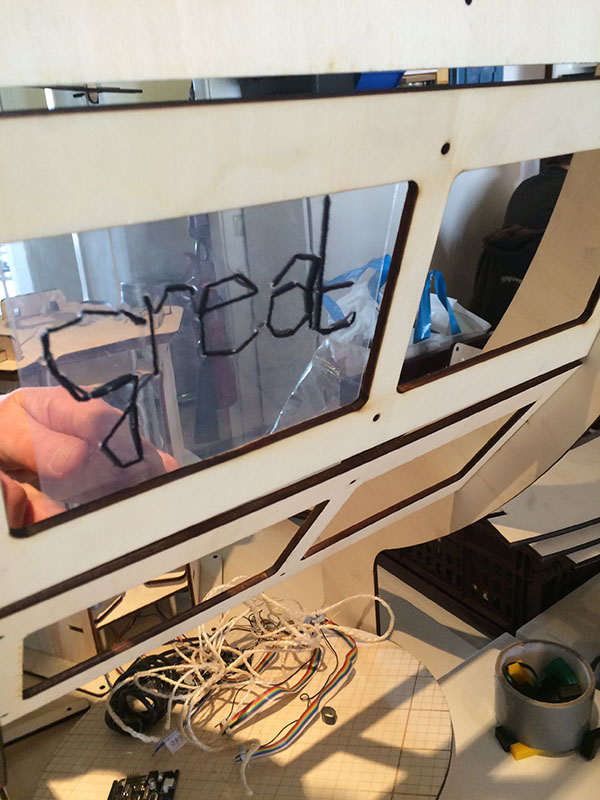 My initial idea had been to first create a (simple) machine with a three dimensional hand, grasping and flexure moving 3D props (e.g. yay flag). However, others in the group went for a large arcade construction with *many* windows (for showing *lots* of answers on transparent sheets) and 2D laser cut hand. Although I am a Mac user..., this version is interesting in terms of basically being a physical click and point 'Windows 2.0 machine'. As this machine also has lots of window 'screen' slots for displaying different answers, we eventually had to create a wide variety of creative messages for display (and not a lot of time left). I used my previous flexure Ilustrator drawings (originally for the laser cutter), a big needle for embroidery and the vinyl cutter to create some 'great' messages.
All in all, putting everything together, we produced a great (random answering) machine.
 Future opportunities
The machine is in a rather finished state, yet, I see plenty of future opportunities for this project:
- Further explore the shape and form of the hand interaction, such as making the hand more visible, use a 3D physical hand shape (such as also iterated throughout), have multiple hands (that could be pointing to more complete messages), use different hand motions (such as grasping or holding objects)…
- With some adjustments, it could be pointing tourists in the right direction or tempt them to explore and go to less busy areas (so to tackle the problem that in Amsterdam the centre is getting overcrowded)
- Make it into a different version of “spinning the bottle” and randomly point and select people
- Change the design of the ‘cards’. In the current construction the answer sheets can be easily changed and so designed for very specific purposes. One idea that coincidental audience of the machine seemed to like was to make it a random answer machine for whether a (Horizon 2020) project should be funded or not.
- The ‘answer cards’ could also be transformed into more physical 3D objects or take on other forms. For example, work as pop-ut cards or the machine could give flowers or wave ‘yay!' flags. Also, the transparent sheets could contain hidden messages with different layers (e.g. with colored, pink, red, green transparent sheets) that e.g. could only be viewed when wearing pink glasses…
- Use it as a playful machine which could be placed in hospitals where it could amuse kids and (older) patients
- In its current state and made weatherproof, it could also be a nice machine to entertain people at festivals and events.
These are just some of the many options for future usage and design. Our installation is basically a (fun) physical Windows machine, in which the answer sheets are different screens, and the hand the mouse pointer. Seen in this way, the possibilities of our machine are almost as endless as one of a (physical) computer.
Checklist: Done
- On my website:
- Explained individual contribution to this project
- On the group page:
- Shown how the team planned and executed the project
- Described problems and how the team solved them
- Listed future development opportunities for this project
- Included the design files, ‘hero shot’ photos of the machine and a short video of it operating
Files
- Group files: Link to our Group documentation
- Personal contribution
- Illustrator images and text messages for random answers (for laser cutter (experiments) | vinyl cutter
- The slide I made for our final group project


 liking the flexure pop-out")


 horror hand")


")


 window frame")


 message")


")


")

