#week 13
input devices
This weeks assignment
Measure something: add a sensor to a microcontroller board that you have designed and read it.
designing a circuitboard in eagle

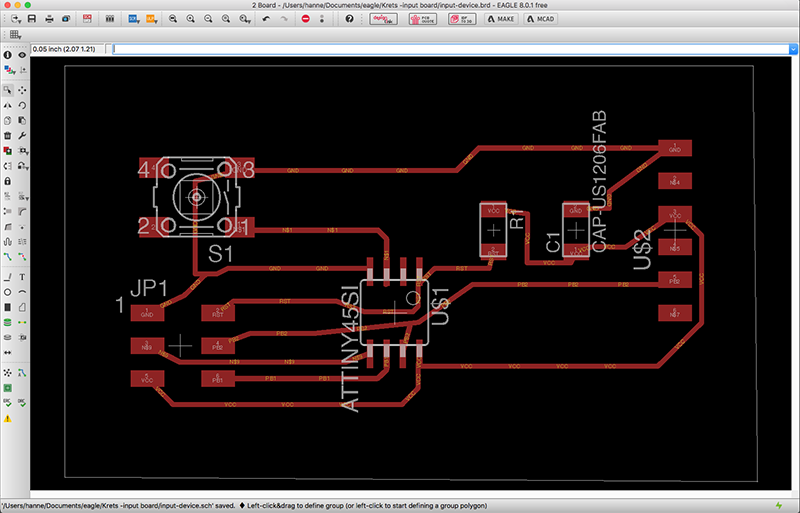
Schematics
Board
Milling the PCB
Jakob came across a genious plugin for generating G-code for PCB milling, called "PCB-G-Code 3"
Here is a quick manual for how to install it:
Installing EAGLE Plugin for generating gcode for PCB milling
Go to https://www.dropbox.com/s/zorvmb1os9x3r2w/pcb-gcode-3.6.2.4.zip to download the plugin.
Move the plugin folder to the "ulp" folder in EAGLE application folder.
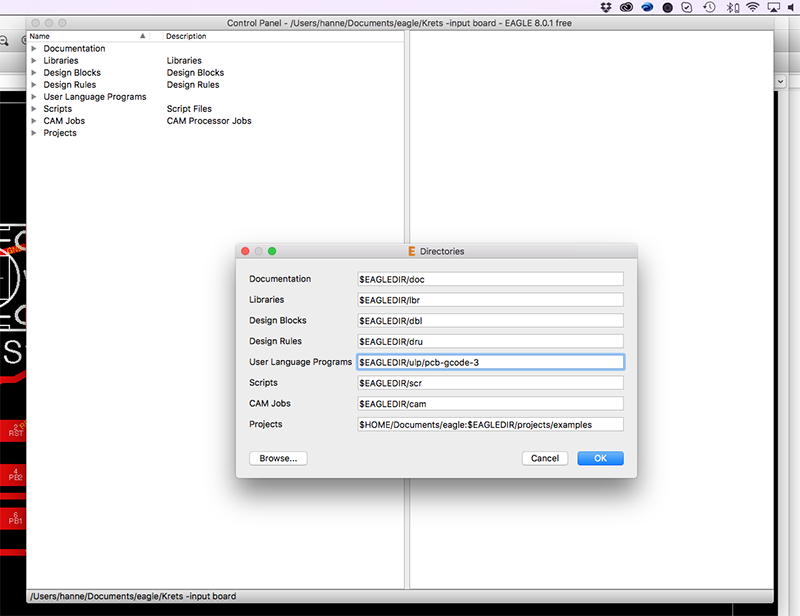
Go back to EAGLE and navigate to open "Control panel window".
Go to "Options" in the top menu and select "Directory".
Make sure to update the "User Language Folder path" to correspond with the path where you put the plugin folder.
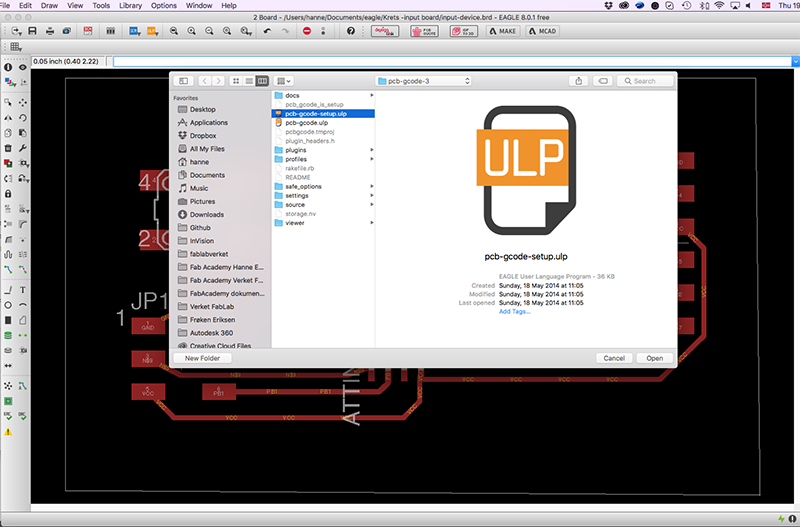
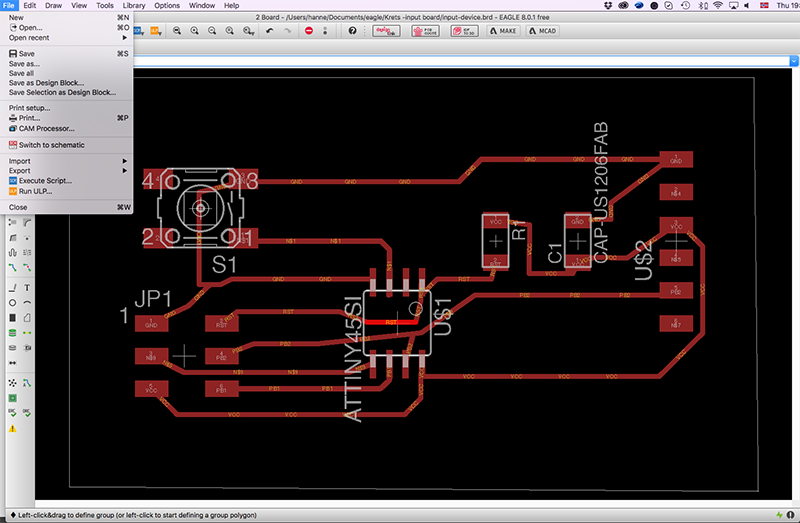
Go to back to the "Board" window and select "File" + " Run ulp". Navigate to the pluing folder and select the "pcb-gcode-setup.ulp" file. This will start the plugin.
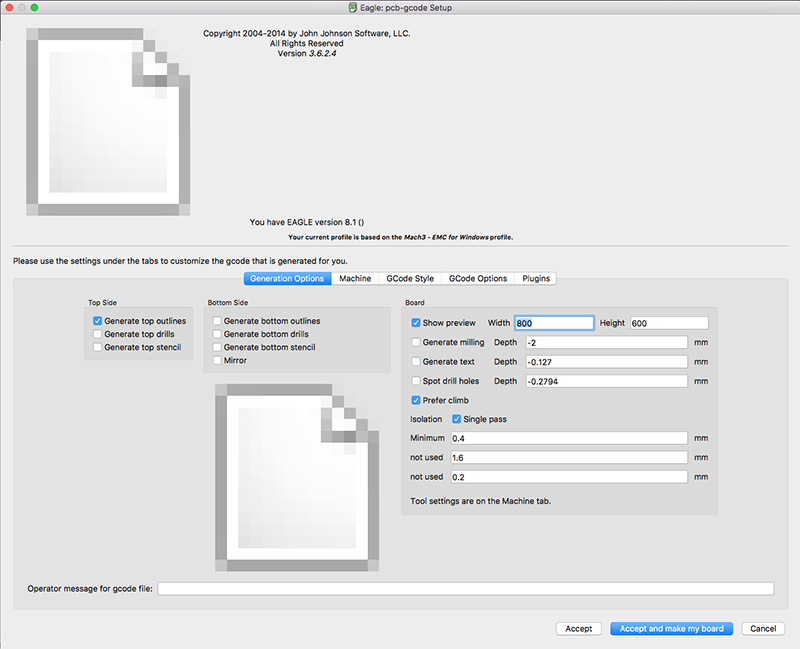
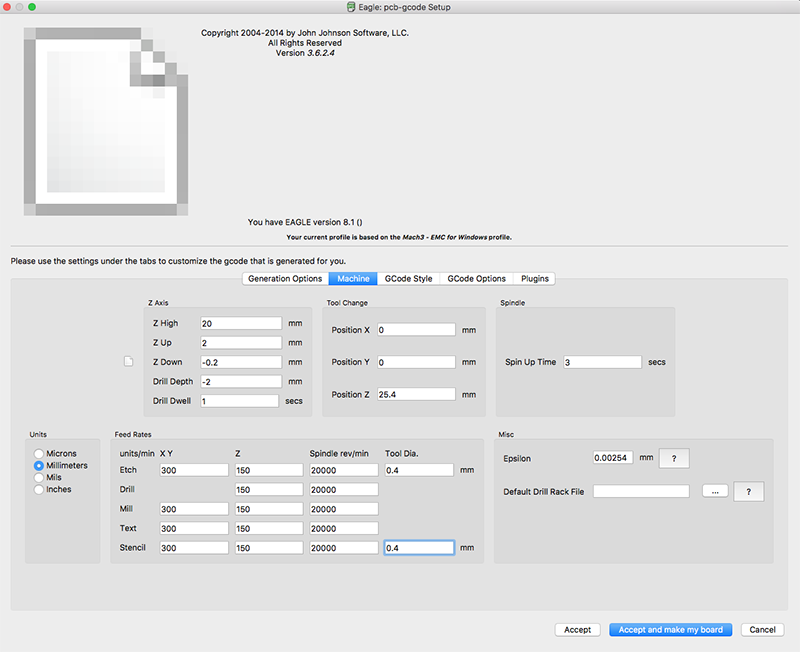
Generating the milling paths in the plugin
Generating the milling paths in the plugin
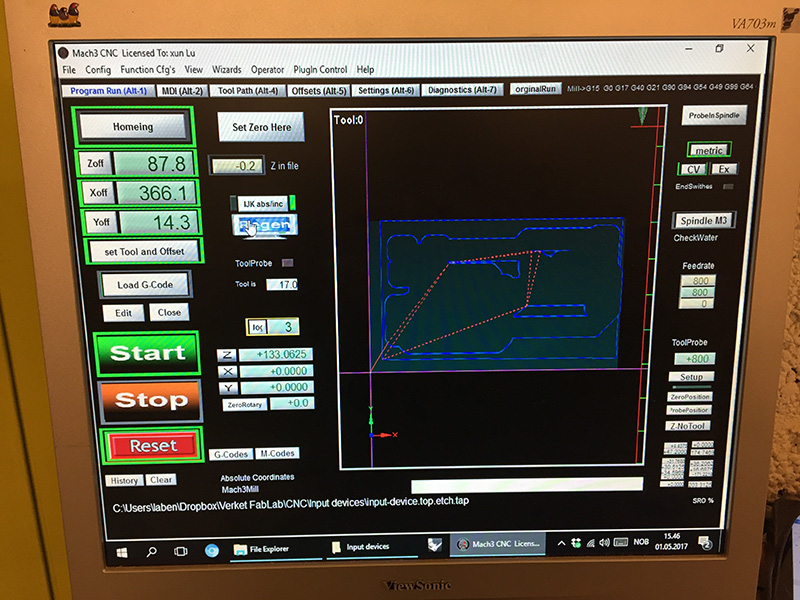

Using Mach3
CNC milling

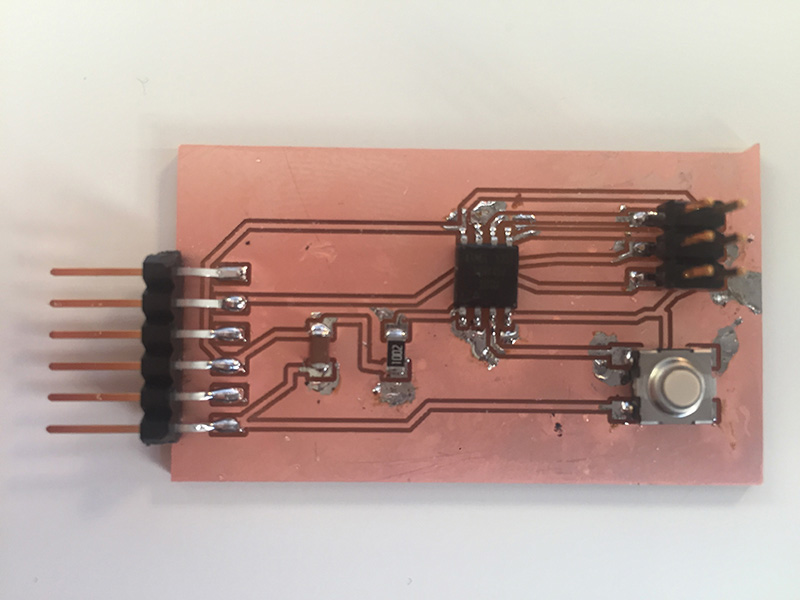
Soldering the components
Soldering the components
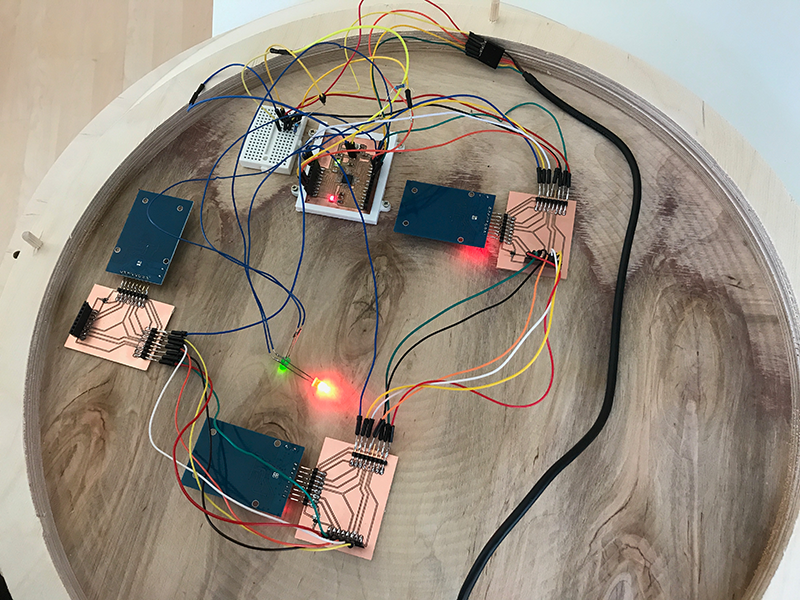
Input device for Final Project
For Final project, I fabricated 2 SatschaKit boards that I connected to 3 RFID readers by designing and fabricating 3 connectionboards.
You can find the whole documentation here