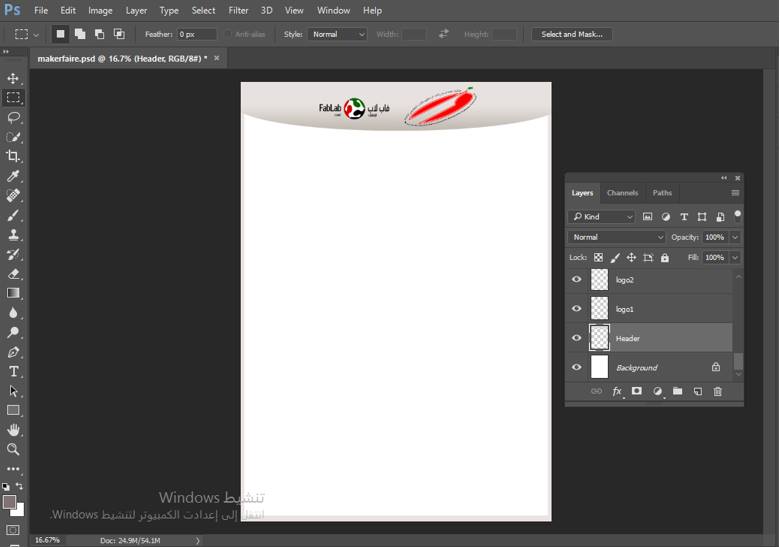
I have learned the basics of Photoshop back in secondary school. And It’s been a while since I last used it. Using Photoshop, I made a flyer for a children’s workshop that was designed by my friend Hashim Al Sakkaf. I was going to conduct this workshop in Kuwait’s MakerFaire. Because the flyer is meant to help kids make their own flash light, I tried to keep it simple, clear and colorful. I avoided explaining the steps in words and relied on a sequence of pictures that I took to show the kids how the flash light is made. First, I created a new file, set the size to be the same as an A4 Paper.
I chose white as the flyer’s background color to consume less colors when printed. Plus, white is not a distracting color. Then I made the header using the elliptical marquee to make the roundish shape, and the Gradient tool to have shades of grey as the header’s background color. After that, I placed Fablab UAE’s logo and the logo of the foundation I work for. Then I started to edit the pictures that I took of the steps as shown below.
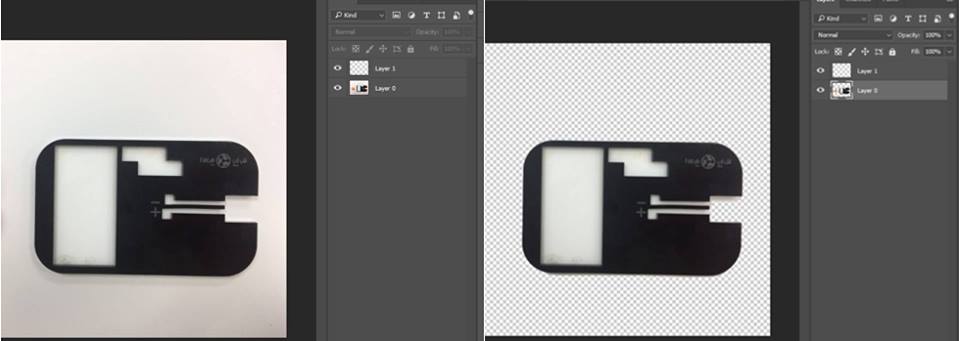
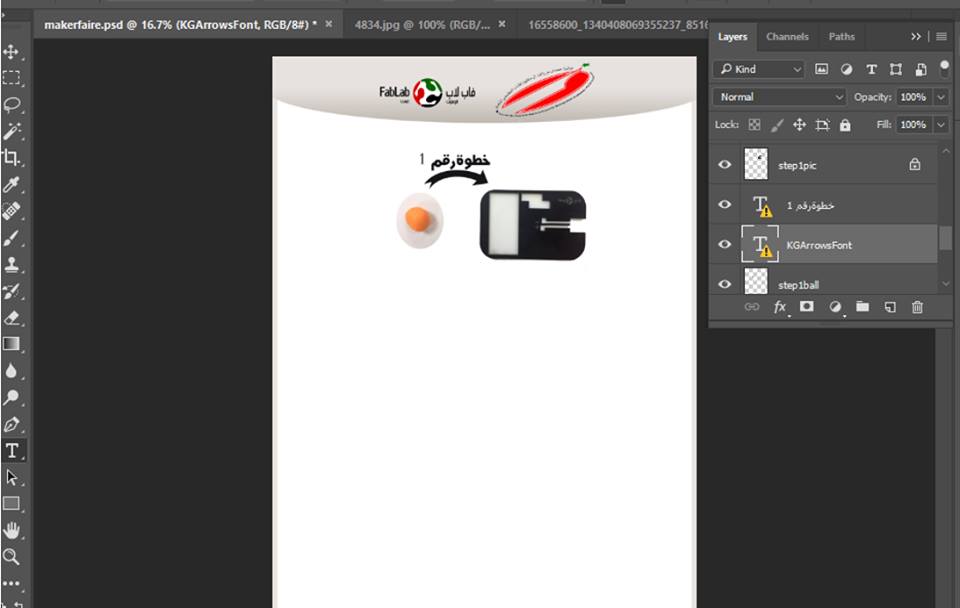
Using the magic wand tool, I erased the background of the picture so that I can copy/paste it into the flyer’s file, and have it look integrated with the flyer’s white background. In the flyer’s design, I used a font that I installed from the internet called KG Arrows to place arrows between steps. And I wrote the step’s number on top of each arrow.
I repeated the abovementioned steps until I covered all steps, and here is the final design.
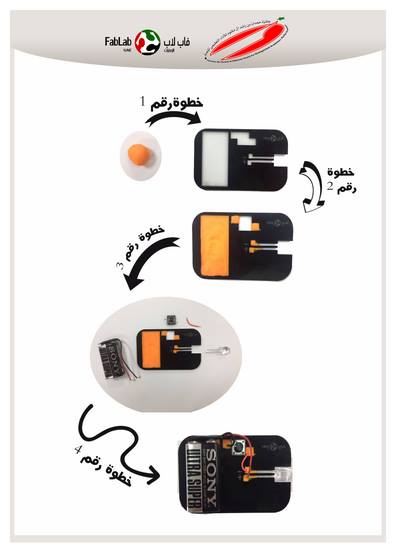
Finally, I saved the design in a pdf format to be printed and handed during the workshop.
For vector design, I used the program that I really like, CorelDraw. I'm really surprised that the program is not in the list of Vector 2D design programs eventhough it is one of the most famous programs in this area. During Neil's class I recommended that he adds the program to the list.
For the assigment, I wanted to learn something new. So, I looked for a tutorial that would teach me how to make an artistic colored vector design using CorelDraw. This was very different that anything I made with this application.
I found a tutorial in Youtube that was quite intresting. The picture of the final design catched my eyes because I really had no idea how to make such design using CorelDraw.
I started following the tutorial and realized that I am very familiar with most of the tools used to make the design, but actually I've never thought of using them to make artistic designs.
I started the design by making a Bezier Curve and then I edited it using Shape Tool, and adding nodes.
The tool the tutorial introduced me to, was Fountain Fill. This tool is used to apply a gradient of colors or shades.

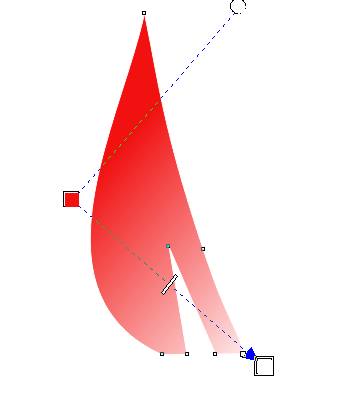
After making the first petal, I was able to continue the design without following the tutorial. And here is the final result.

For 3D design, I wanted to try programs that I'm not familiar with. I usually work with Solidworks, but since the program is not Open Sourse or Free. It is not favorable to teach it to students who are comming to the lab, as they will not be able to practice what they learned at home.
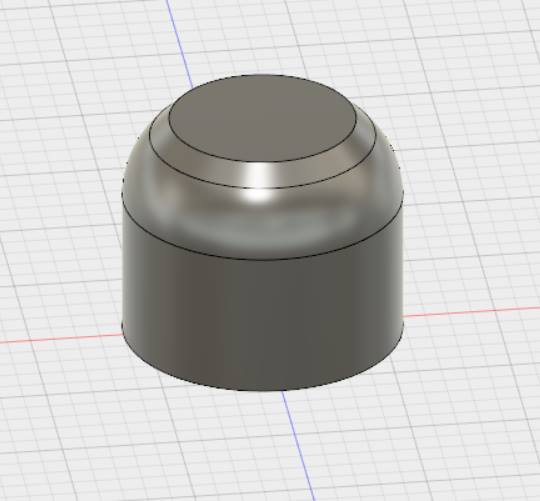
Firstly, I wanted to work with Fusion 360 because it is free, and my colleagues in the lab love it! So, I made a simple design for a pen holder.
To make the pen holder, I started with a cylinder, and then modify it with a chamfer and then a fillet.
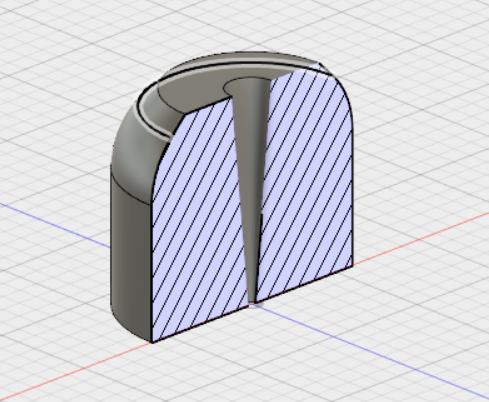
Then, to make the pen hole I used Loft. And here is a sectional view of the final design.

I tried FreeCad when Marwa was working on carrom men for her final project. We did the same steps to make the object. Click here to to see her documentation.
I liked the program, it is similar to Solidworks. But I prefer to work more with Fusion 360.