Computer-Controlled Cutting
Goals
- Make lasercutter test part(s), varying slot dimensions using parametric functions, testing your laser kerf & cutting settings (group project)
- Design, make, and document a parametric press-fit construction kit, accounting for the lasercutter kerf, which can be assembled in multiple ways
- Cut something on the vinylcutter
Press-fit kit
My local instructor dared me to build some kind of marble machine, a time-honoured tradition for week03 whose origins can be traced back to our lab birth (the fact that Fab Lab Siena is only one year old should not concern us now).
After a bit of googling and brainstorming, he came out with this video; the idea of marble machine/xylophone seemed funny enough and I got down to work.
Xylophone 101
According to Wikipedia a xylophone "consists of wooden bars struck by mallets", but I needed more detailed informations, first of all if the sound pitch was determined by a key's lenght or by the position of the two nodes.
It turned out all 3 thing are linked: the pitch is determined by the key's lenght and, for the key to vibrate in the right fashion the 2 nodes have to be placed at .224L and .776L, where L is the length of the key. For more informations about the math behind a xylophone you can read this pdf or this article.
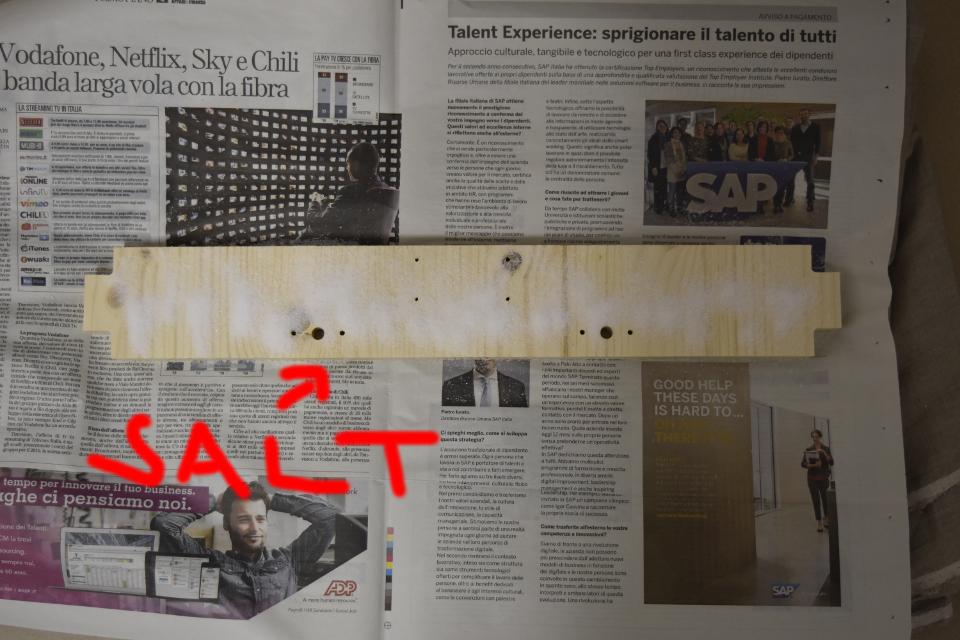
A more makeshift technique to find your nodes is described here, it consists in sprinkling some salt on a key and hitting it until the salt collects at the nodes; I tried it but found it lacking in precision and reliability.

Designing the model
After some pen and paper mockups I fired up FreeCAD and started working on my model. The software has a spreadsheet module (or workbench, in FreeCAD jargon) that allows me to set the key parameters for my work and, from there, to calculate the others with simple math operations and built-in expressions (a full list of supported functions can be found here).
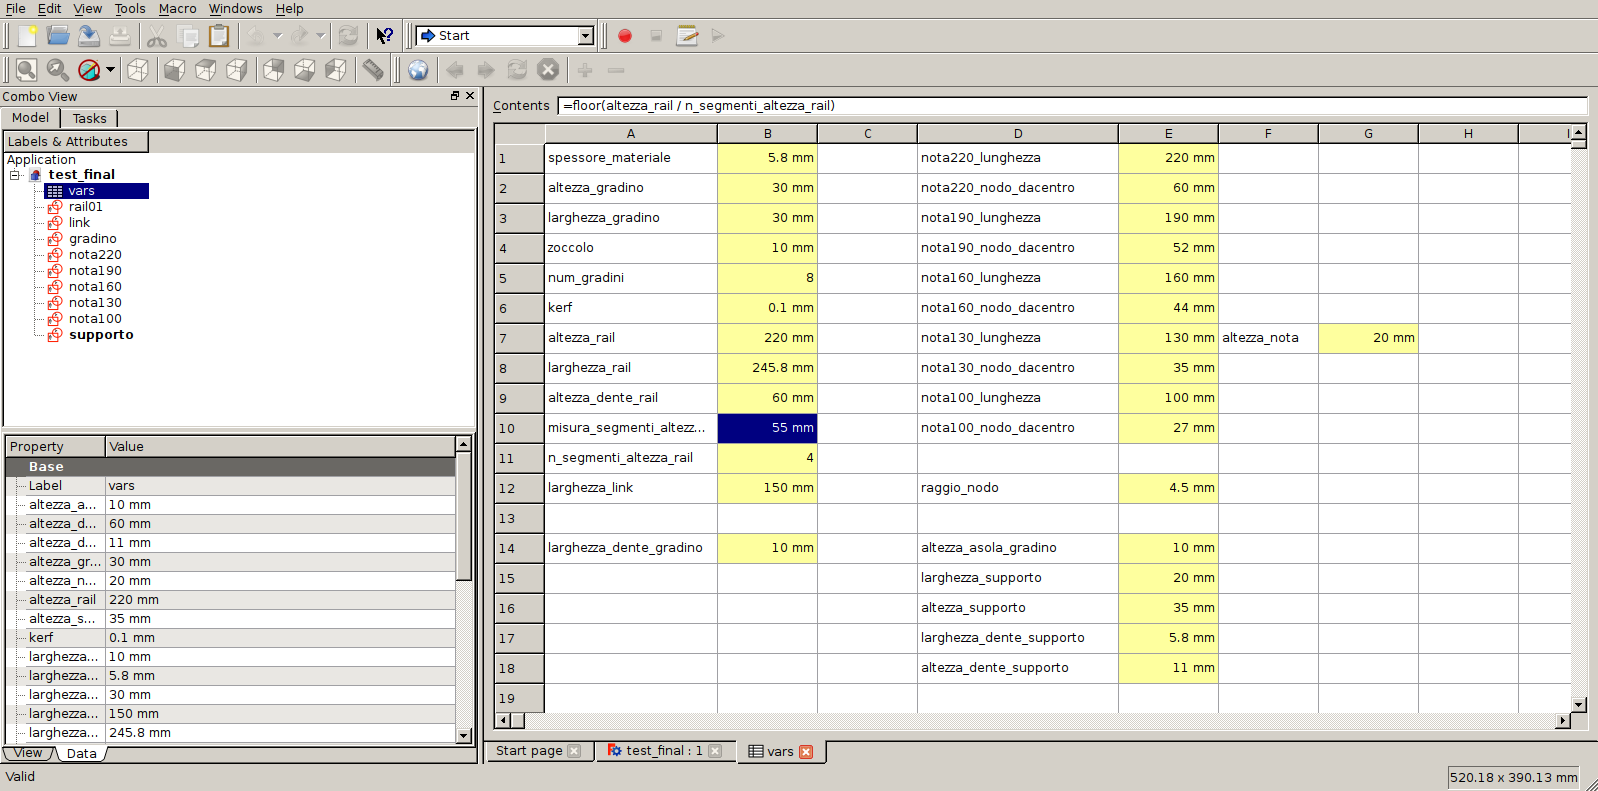
A parametric model has proven to be very handy, allowing me to effortlessly modify my work in subtle (the kerf width) and more drastic ways (w and h of steps, supports and keys); it goes without saying that some parameters can manage only a limited range of changes: a variation of even 1mm in kerf width is ok, but more than that and my model goes bonkers.
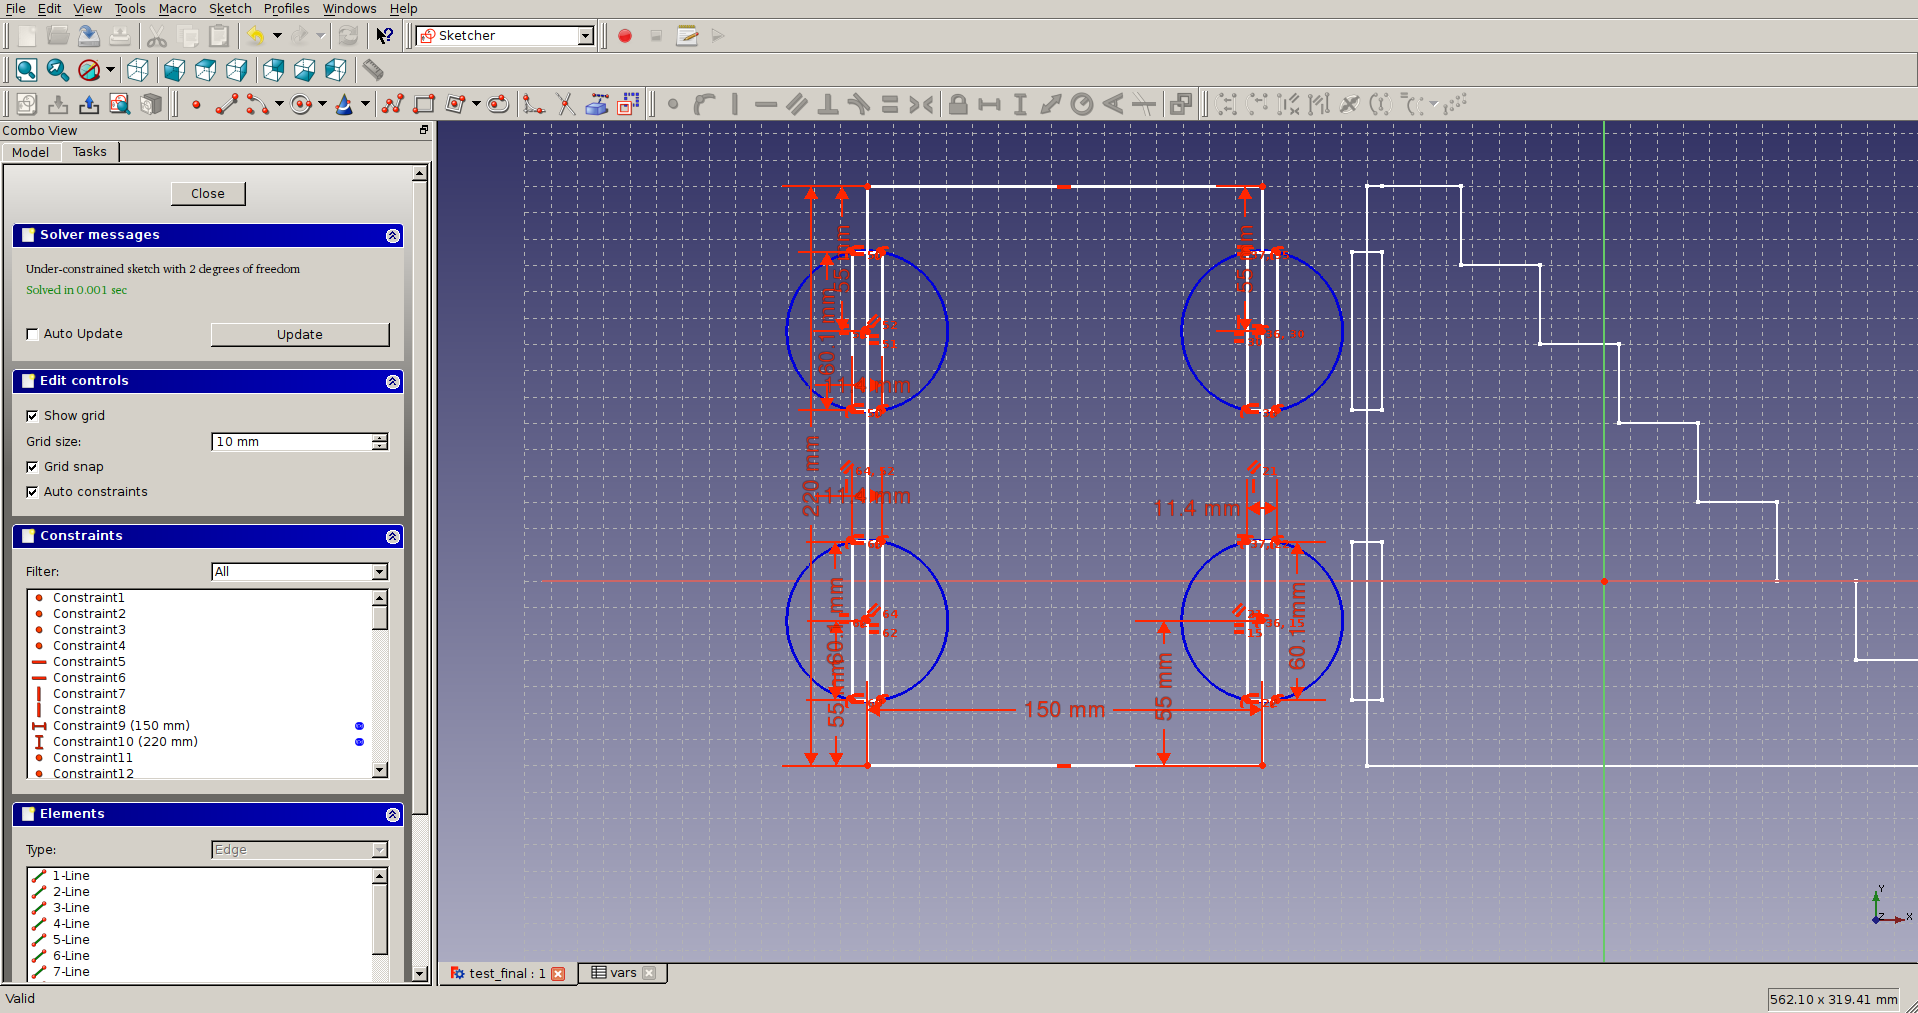
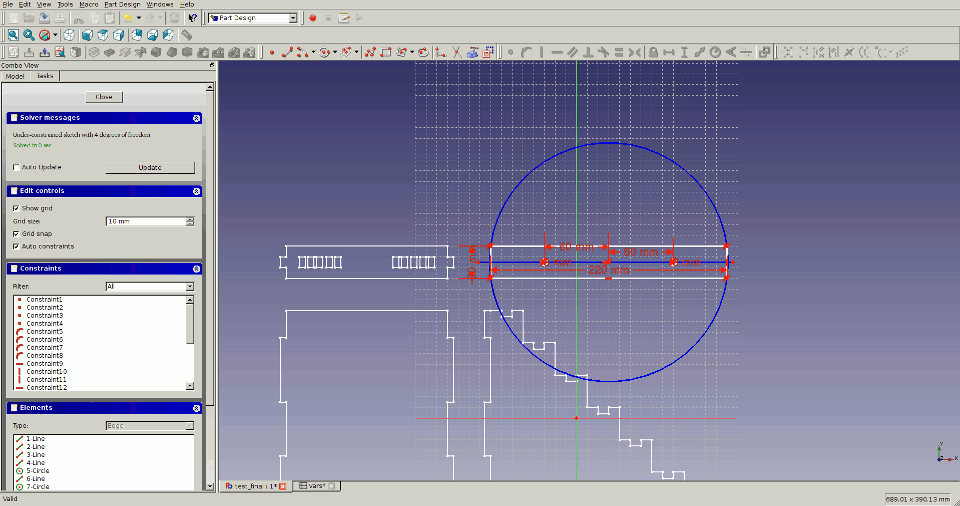
Done with the parameters I started sketching my model:
When I was done I tried to assemble it, in order to check for any glaring mistake; here is the resulting .stl
Working with FreeCAD proved to be quite vexing, in part because of my inexperience (several times I complained about the lack of a certain tool, only to discover it few hours later) but mainly on account of the numerous crashes I had to witness.
With my model finished I exported the sketches as .svg (I first tried to export a face of my 3d model, but this led to an erratic behaviour when cutting: the laser tried to cut every line twice, even if a check with Inkscape and Adobe Illustrator didn't highlight anything wrong in the svg file) and moved to the laser cutter.
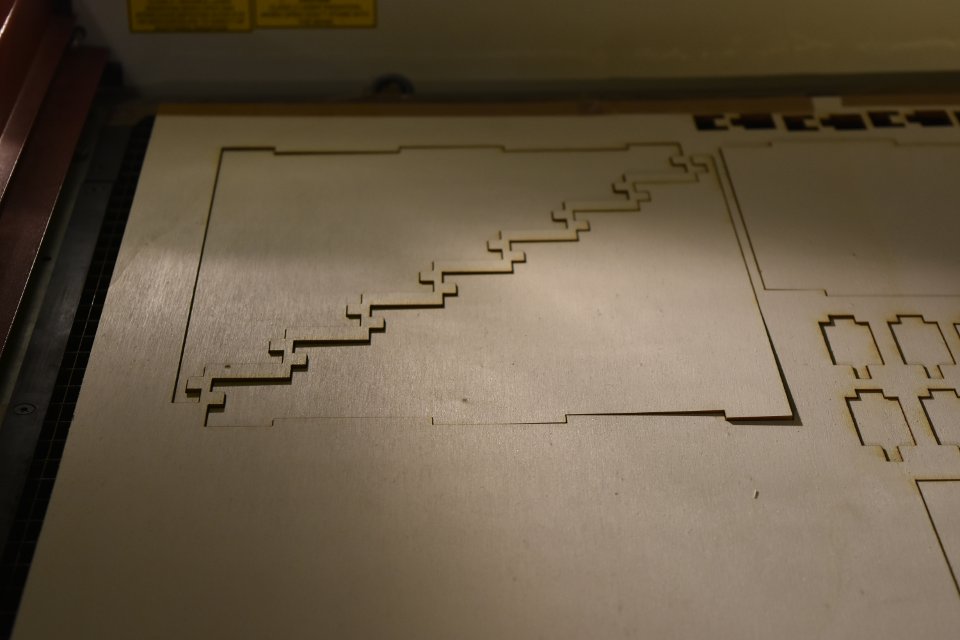
The cutting
I already had the right cutting settings (as per group assignment: full documentation here - I am much obliged to Chiara Corbo and Silvia Palazzi for their efforts to systematize and publish our tests). The only thing left to do was to double check the kerf on my plywood panel; after a couple of tries I got the right settings for a tight press-fit joint and proceded to change the kerf variable on my model accordingly.
My panel was very warped, so I tried to tape it to the cutting plane
Time to assemble it!
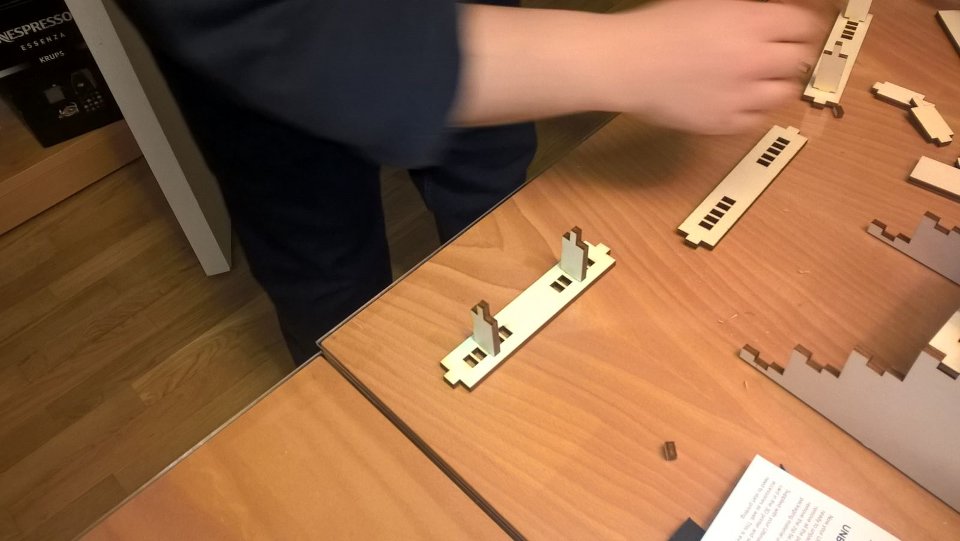
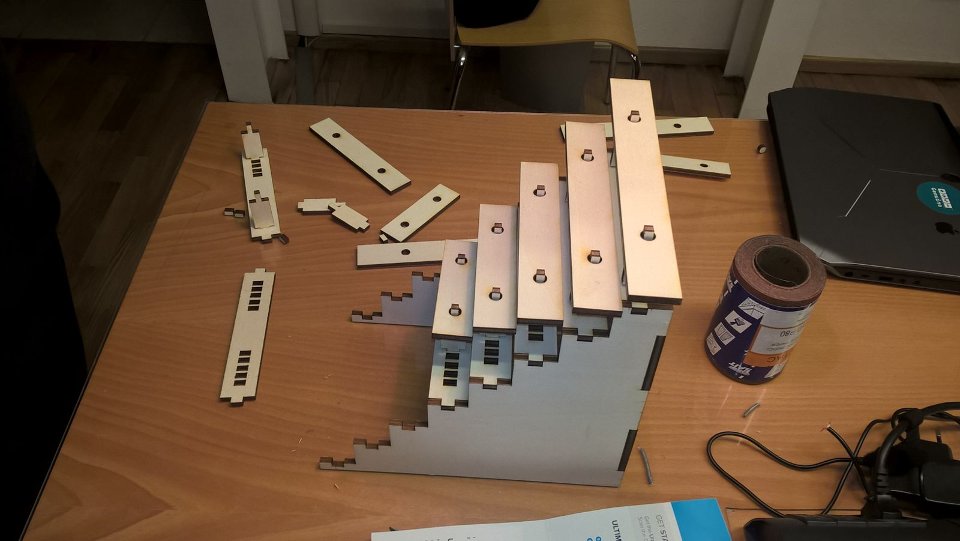

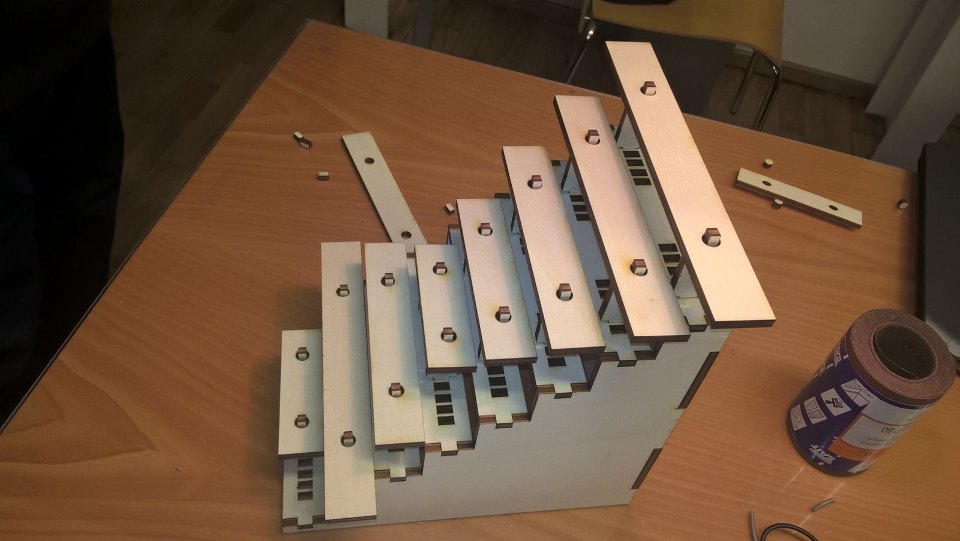
I am pleased enough with the outcome, the parts sit together nicely (even if some supports need a little to much force to fit into the step slots - I blame the deformed plywood for this).
Acoustically speaking my work is, unsurprisingly enough, a debacle: the keys sound dull and hollow, with only the slightest variation between them. I'll test it with a wooden ball as soon as possible, but I won't hold my breath...
Here you can find my FreeCAD model
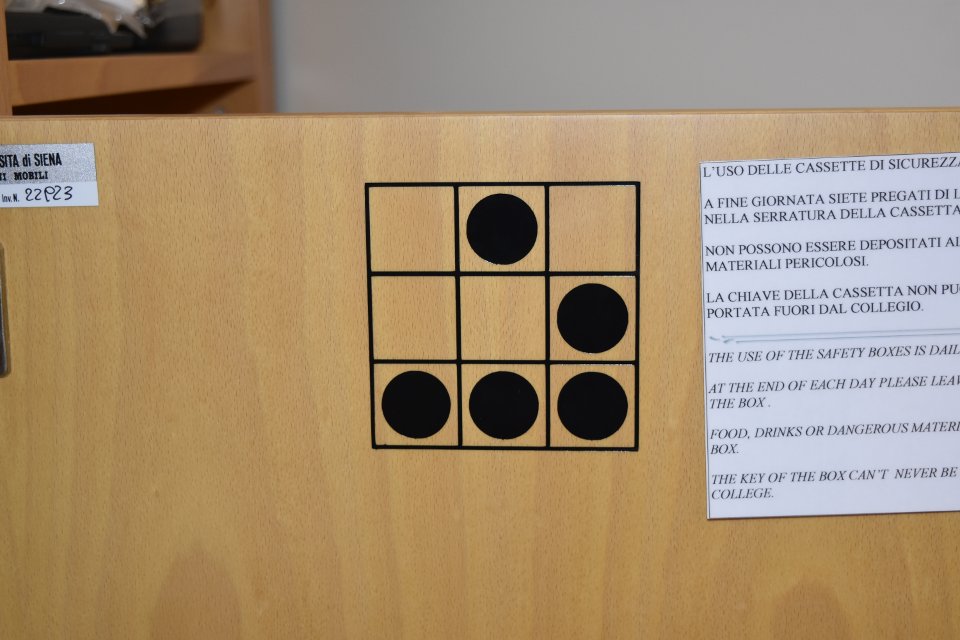
Vinyl cutter
I would have liked to experiment a little more with the vinyl cutter, but the struggle with FreeCAD took almost all my time; in the end I had to settle with a couple of stickers.
I used the new fab modules to obtain a .camm file and later send it to the vinyl cutter via terminal with a
# cat file.camm > /dev/usb/lp2
where lp2 is the name of our printing/cutting device, found with a dmesg
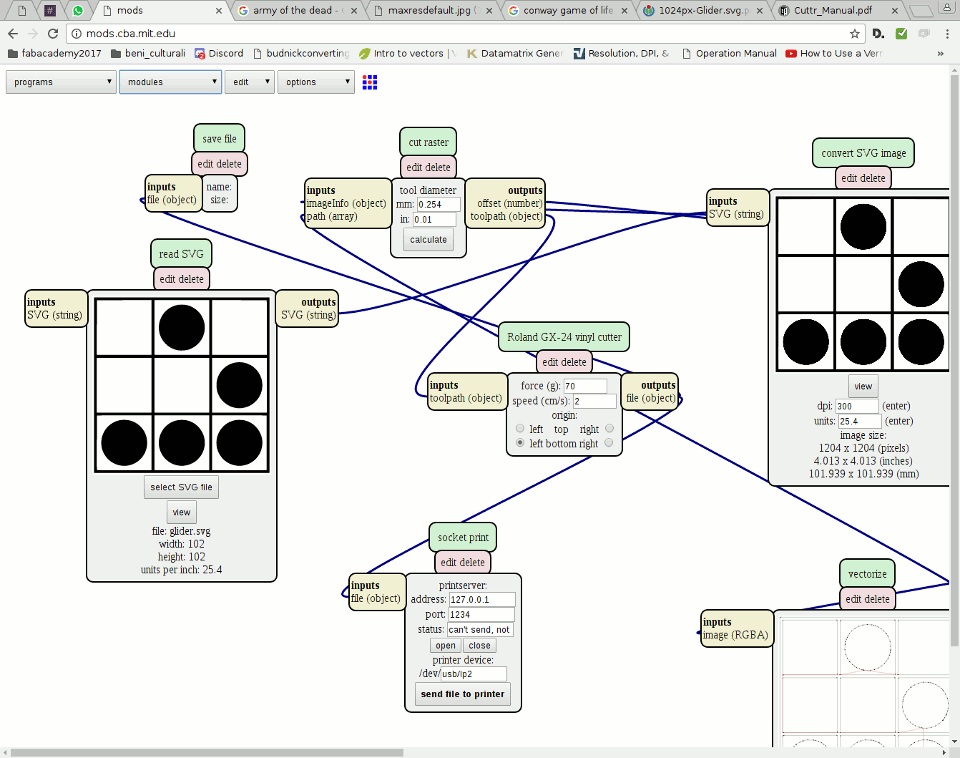
Out of curiosity I also tried the "Gcodetools" plugin in Inkscape to generate the camm, but even a cursory glance at the generated code was enouth to understand that that file was useless. My local guru Fiore Basile later pointed out my mistake: the vinyl cutter uses hpgl and not gcode; he also suggested a plugin called Inkcut which, at the time of writing, I haven't tested.
Links and files
- Bach played by a wooden ball
- Xylophone math
- More xylophone math
- FreeCAD documentation - list of supported functions
- STL file
- FreeCAD working file