Assignments:
- Test the design rules for the printers.

- Design and 3D print an object that couldn't be made subtractively.

- 3D scan an object.
Tolerance test
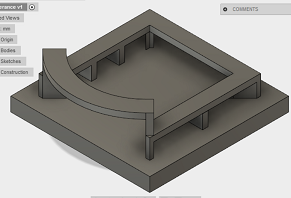
We worked as a group: - My part was to make a bridge, and what I made was: - I used Fusion 360, and like the previous try, it kept giving some error, but finally I succeeded in getting proper stl file to print out.
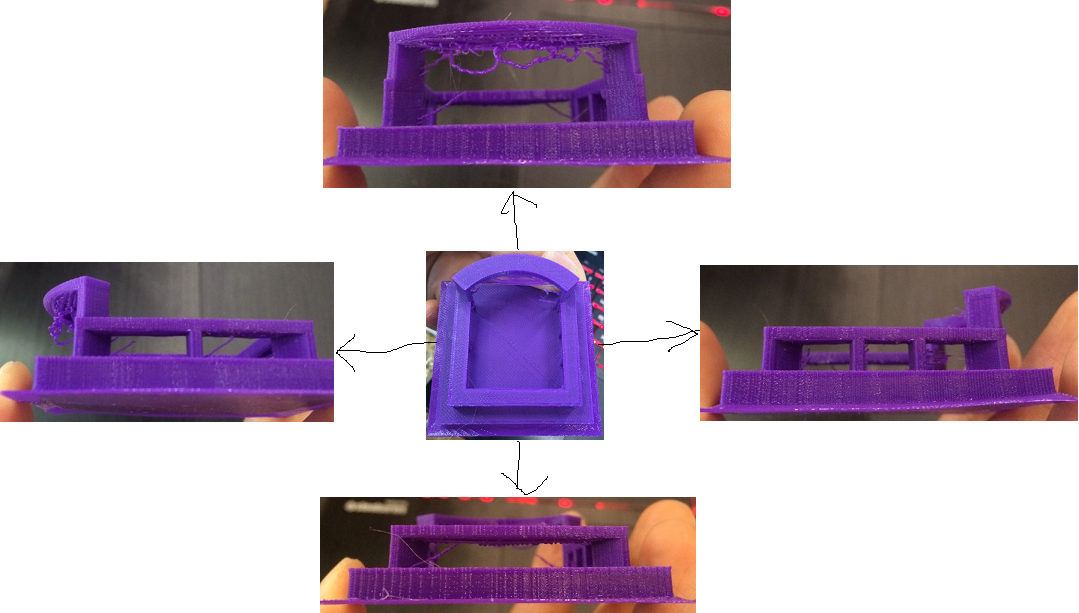
- I put a round bridge just from curiosity (not expecting too much). The setting was the same as: except one change: I used brim. With high speed even at the bottome layer, it didn't take long time, less than 2 hours. And the outcome was:
Each straight bridge is 4cm long, and with no support in the middle, there are some strands underneath, but the other two straight bridges are okay. (For the round one, as expected, it has quite ugly overhangs. I think it is inevitable to use any sort of support.)
We have to share the result later.(Today, it is holiday in Korea, so Fablab is closed.)
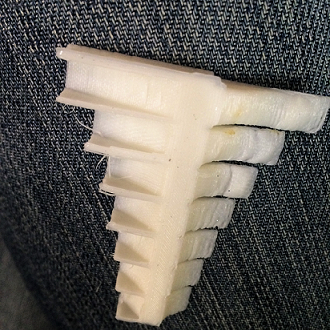
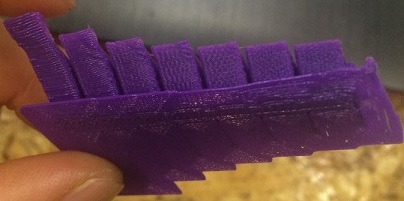
By the way, we forgot to include the angle tolerance test, so I printed out this file from Thingiverse, and the result was: without modifying any setting, but after modifying the speed (50-->30) and the retraction speed (100-->150), (and with brim) it bacame much better even for sharp angles like 25 degree.
3D modelling and printing
- Used: Fusion360
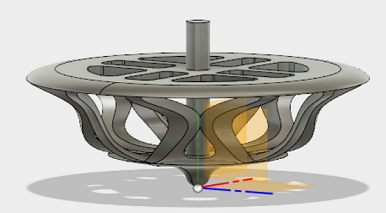
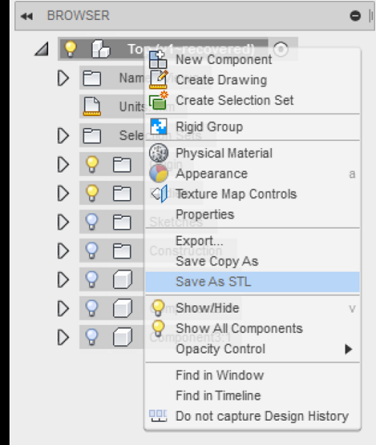
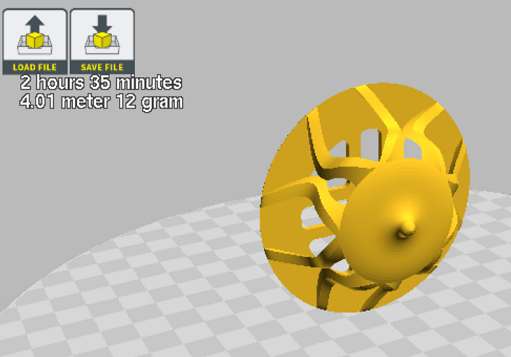
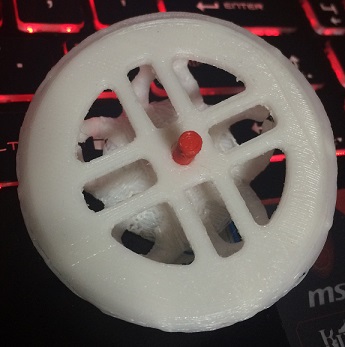
I wanted to make a ring at first since it can be complicated and also small, but it turned out hard to make such a small and thin thing with this resolution. (But I tried, anyway. Just for fun. It wasn't that bad.) Instead, I made a spinning top: I made a hole through which I can put the handle(?), and made this handle as a separate part. In fusion 360, I can send this to cura by choosing one body to print at a time, and then click: and It was a bit big (which means, long, long time to print), so, after rotating it so that the top of the top goes down, I rescaled it (80%) in cura.
(Actually, I just realized that cura is saying that the top can be printed even faster when it is not rotated (2h35min < 3h27min). It is a bit weird since it looks quite bad that way. I will try that direction later.---Update!! Edu explained why. It was because of the difference of the speeds for the bottom layers and the rest. I will play more with cura expert setting later.) Anyway, I chose the following status: (I chose only support function, not brim, but it worked fine), saved this as a .gcode file in SD card of the printer, and then set the printer to print that file. It was very easy.
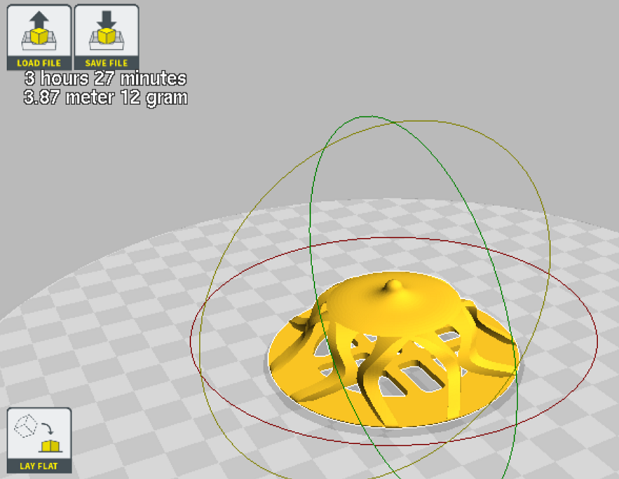
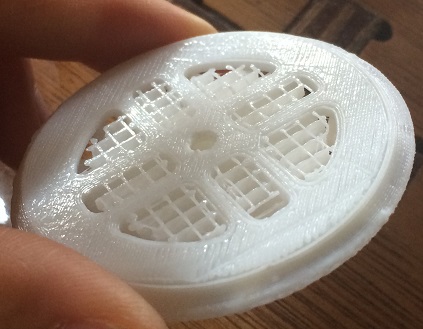
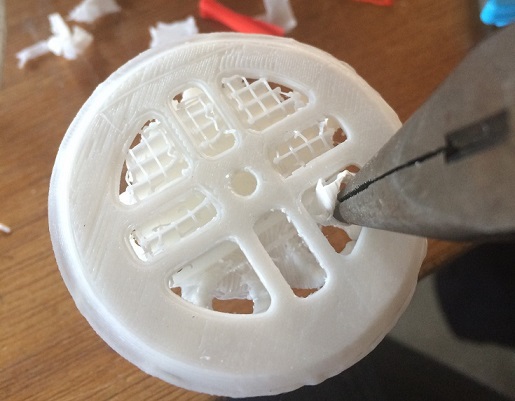
As expected, it took hours, and with all that support, the result was quite scary:
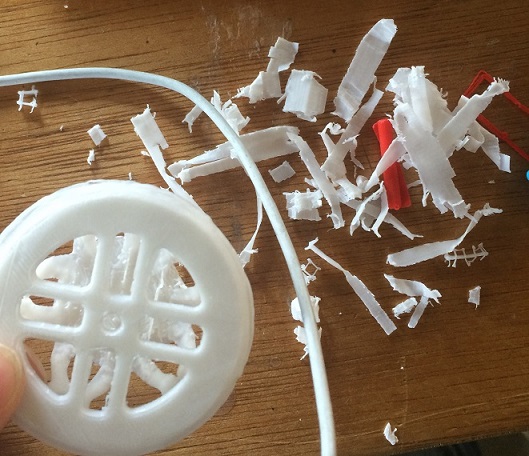
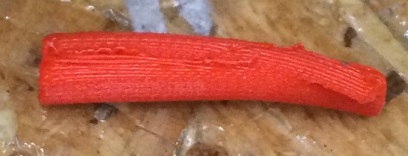
But I found an easy method: After detaching the support from the upper face using box cutter, I grabbed and simply twisted all the support with this long nose plier, and it worked like a magic! It looks okay to me, so I didn't polish it any further. I printed out the stick(?handle?grip?), too. At first I printed it horizontally, but it moved a bit during the printing process, so was twisted, This time, I tried to print it vertically, and it worked fine: I couldn't remove the support from the deepest part, so I used a little bit of glue to stick the handle there.
Now My first 3D printed top can spin!! Quite well!!
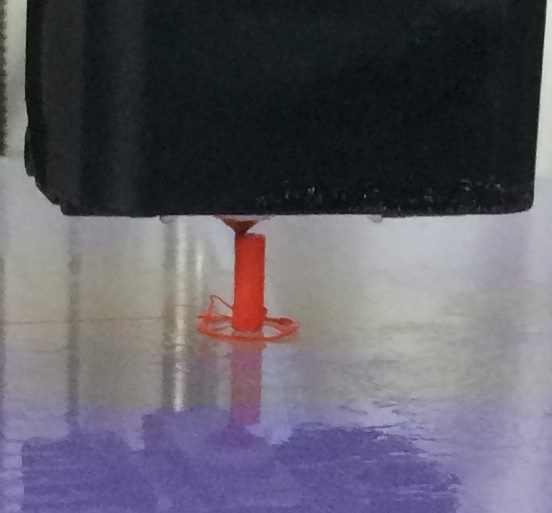
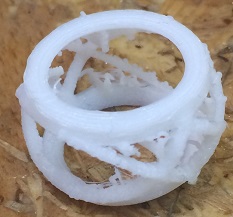
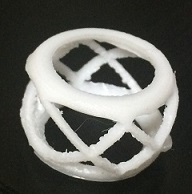
By the way, here is 3D printed ring, before and after (hmm..maybe not exactly "after"..):
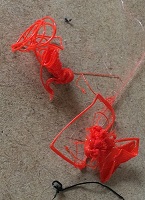
The diameter of the inner circle is about 1cm, which means, everything is quite thin here. So when I didn't use brim function, it was like these: But once it was printed out successfully, the outcome is impressively sturdy. I will try with different setting.
3D scanning
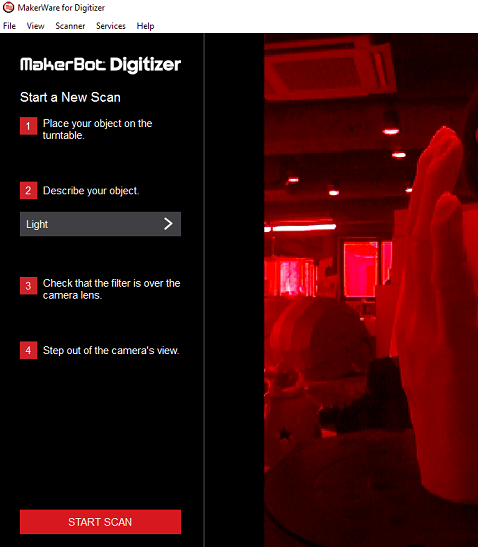
- Used: MakerBot Digitizer
1. Make the light dim. (Dim light makes better scanning)
2. Open MakerBot Digitizer.
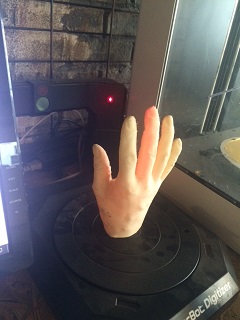
3. Place the object on the plate, choose the right description, and then start scan.
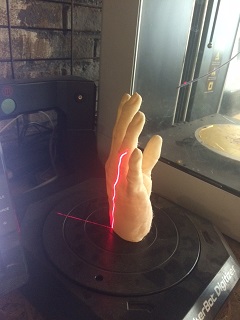
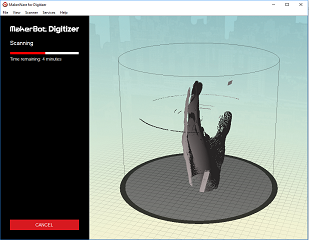
4. Then the scanner rotates the plate and scan the object using laser.(it takes about 10 min)
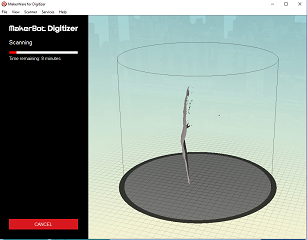
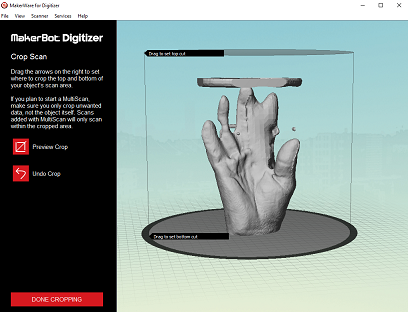
5. After finishing scanning, scanner will generate the mesh, and before saving it as a file, I can use crop function to make it cleaner (but not that much).
Before cropping.
After cropping upper layer.
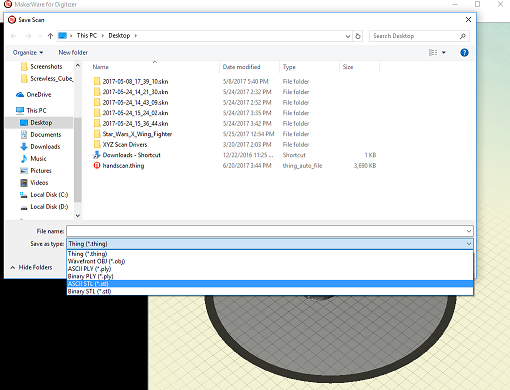
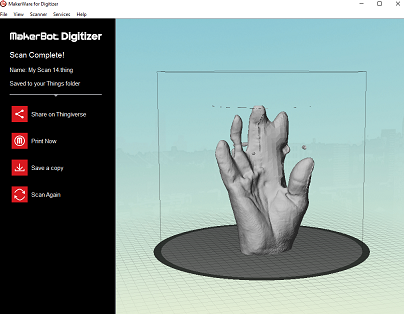
6. Save those files into files (.thing, .stl, .obj, etc.).
Download file here
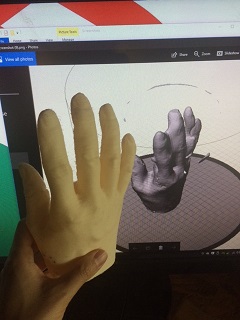
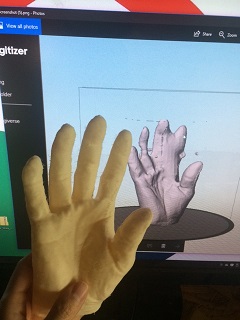
Note: I think I will use scanner only when the detail doesn't matter. See my second and third fingers.


 and
and 

 Before cropping.
 After cropping upper layer.