
Assignment objectives
* Make something big.
Neil's class Summary
Design
After some basic learning of machine and tool rules followed by some file handling provided by Duncan Casal, our local guide for using the ShopBot router at
Sinergia Tech
i got the first glimpse of the real capabilities of bigger scale digital fabrication.
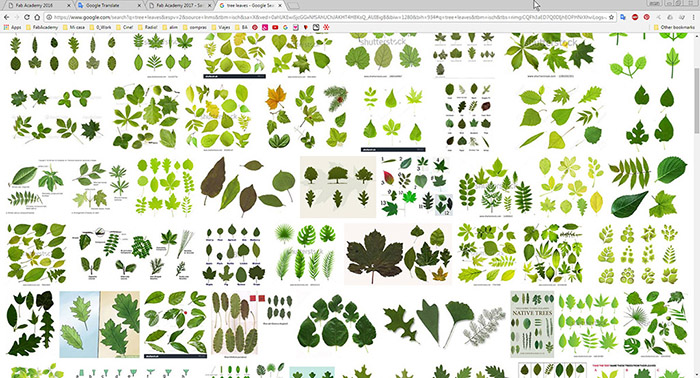
 I did not have the initial design for this assignment so I thought about the idea of building a new easel for my desk and using it as a shelf as well. I felt that something with the inspiration of nature could work well for space, so I looked for some designs of tree leaves to fill my eye.
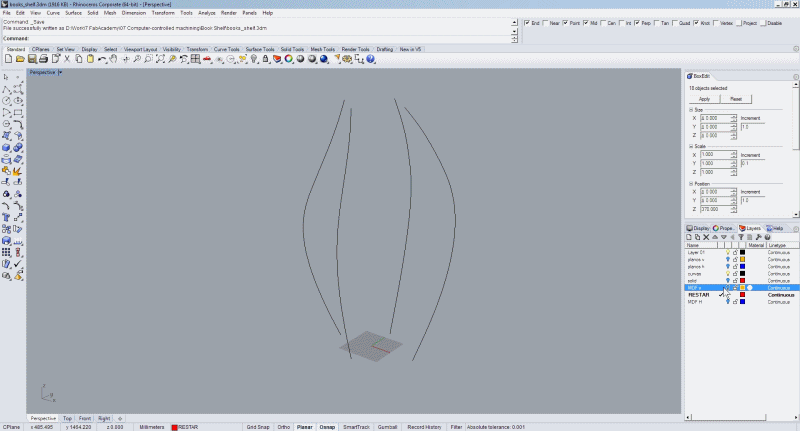
 Some Rhino modeling ..
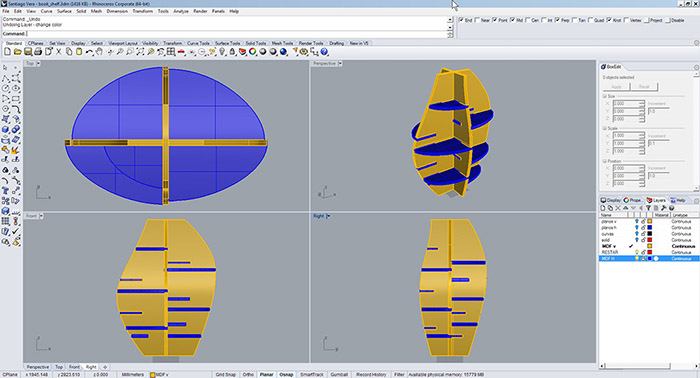
 This is the final design.
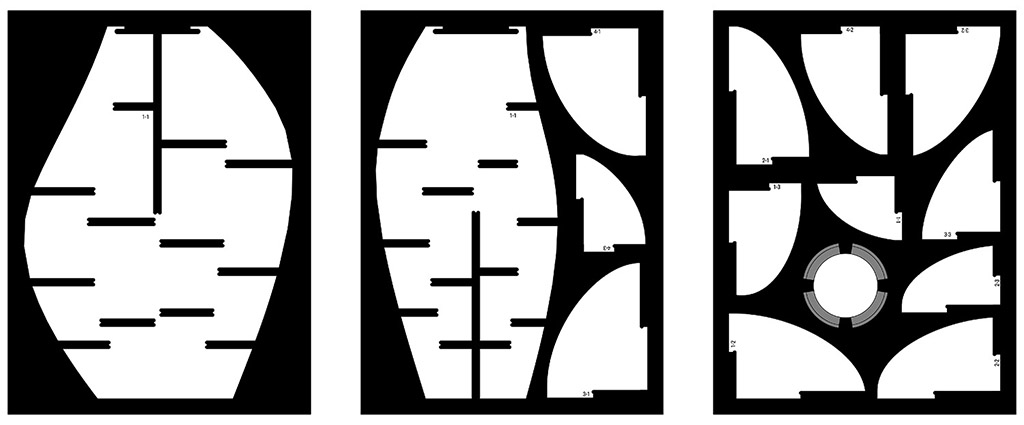
 After performed the 3D to 2D operations, added the t-bones and nested parts for file printing in Autocad, i got a final usage of three boards of 740mm x 540mm.
 Download
the 3d model files.
Download
the 3d model files.
Programming with Vectric Aspire
To program the cuts in the ShopBot router we use Vectric Aspire 8.0. Here are the basic notes on how to use the program and some tutorials with a bit of extra help.
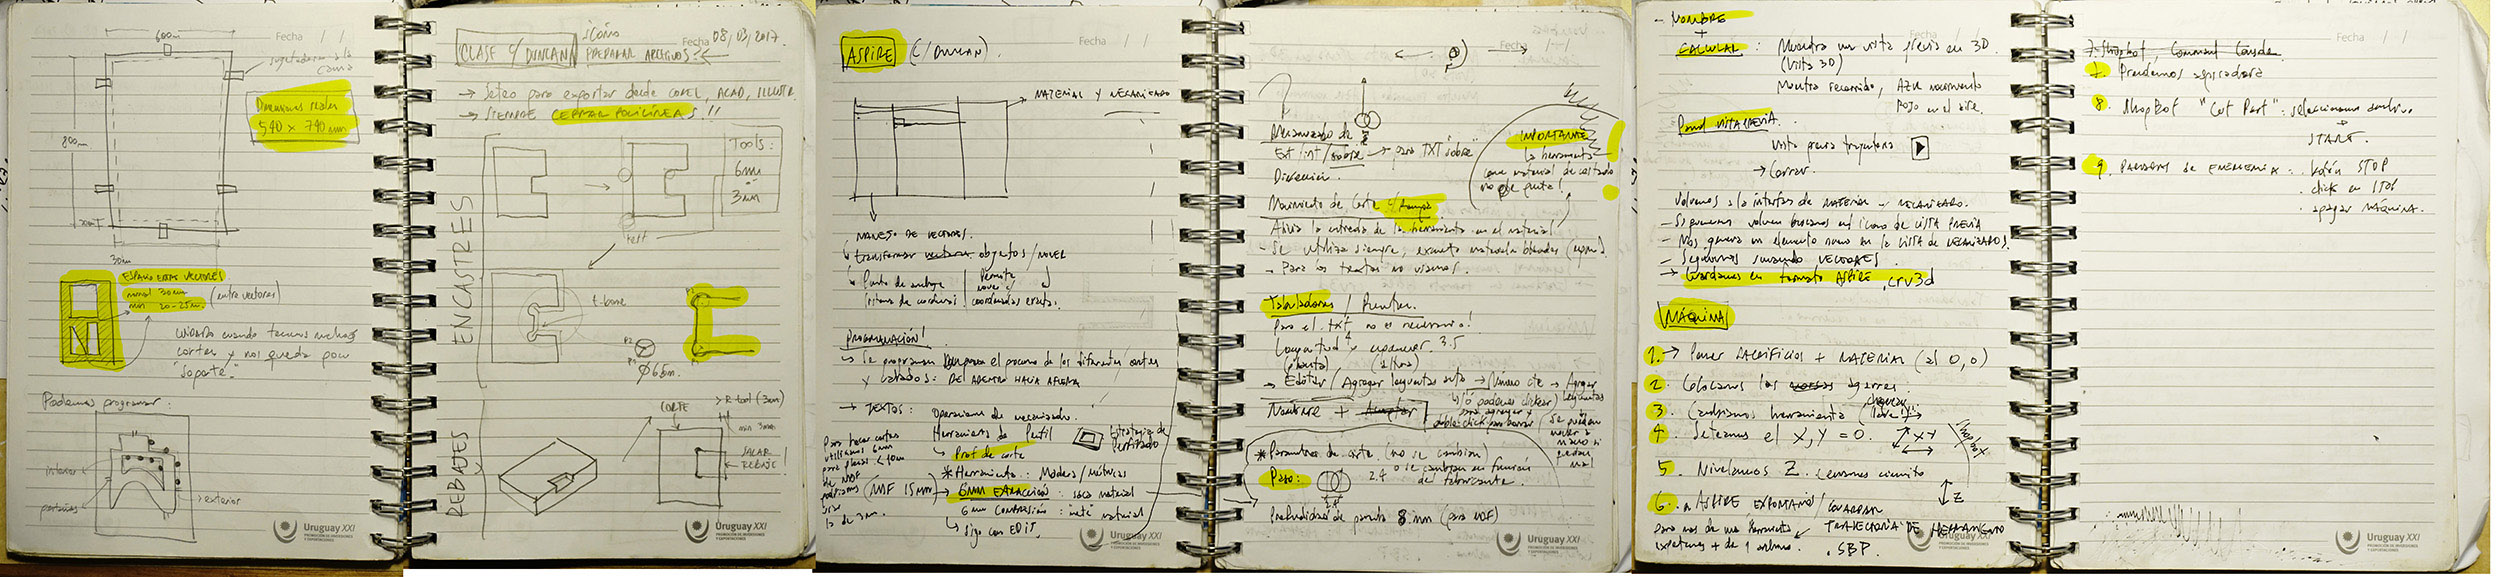 And here is the respective programming for each of the sheets.
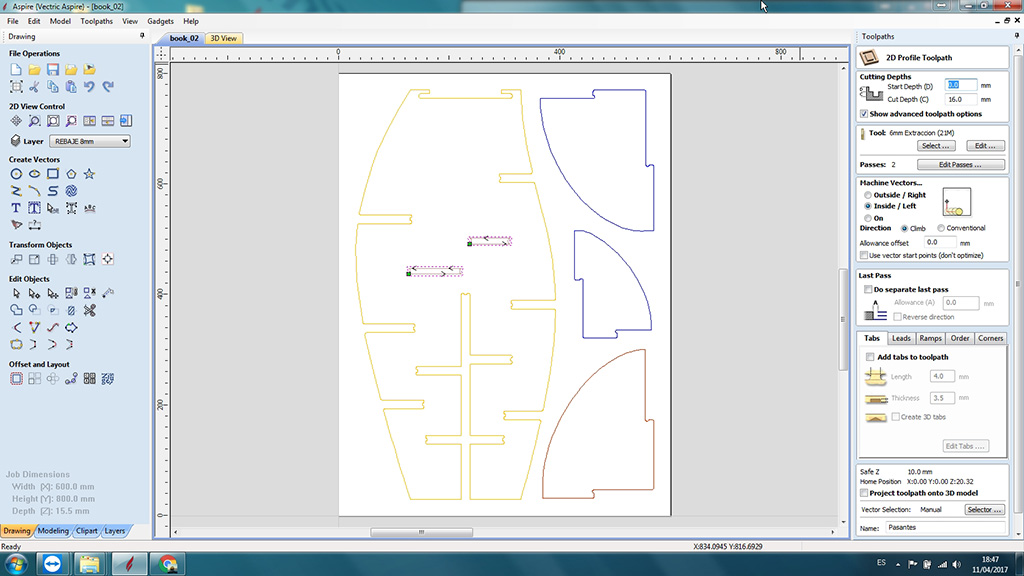
Sheet 1. Inside.
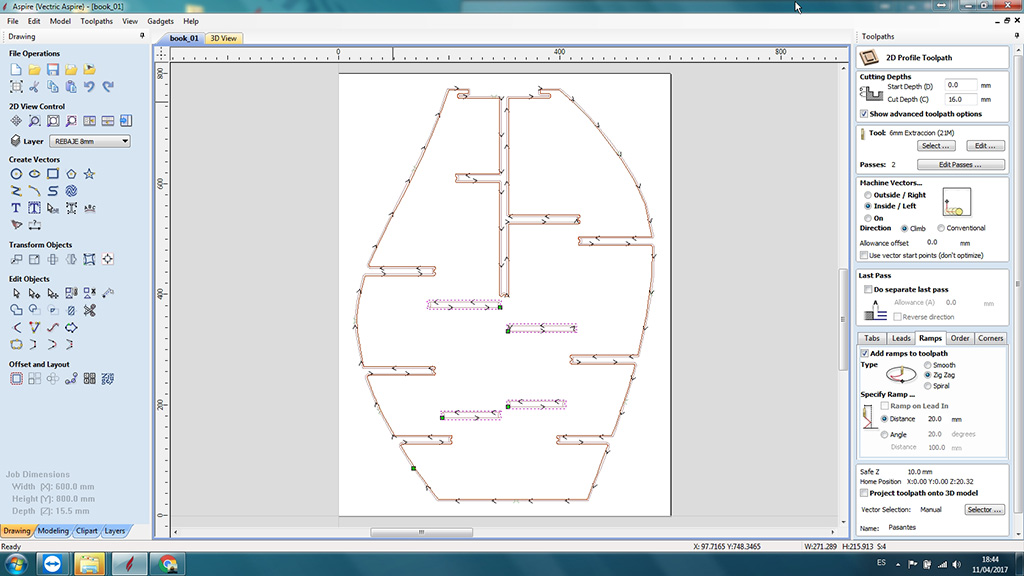 Sheet 1. Outside.
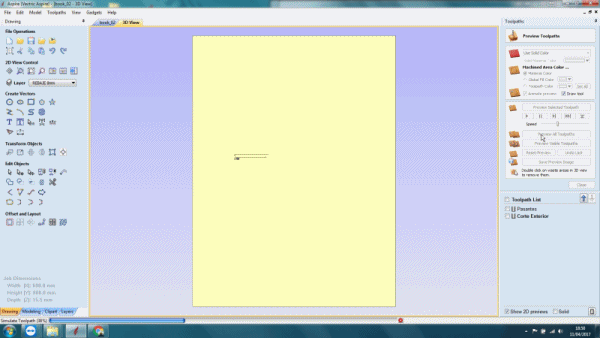
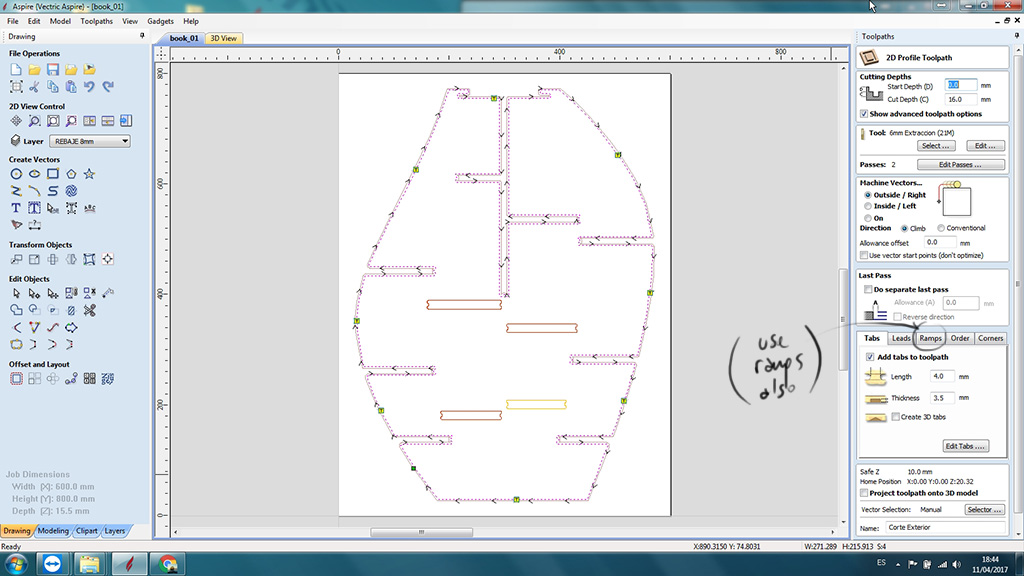 Sheet 1. Preview toolpath.
 Sheet 2. Inside.
 Sheet 2. Outside.
 Sheet 2. Preview toolpath.
 Sheet 3. Pocket.
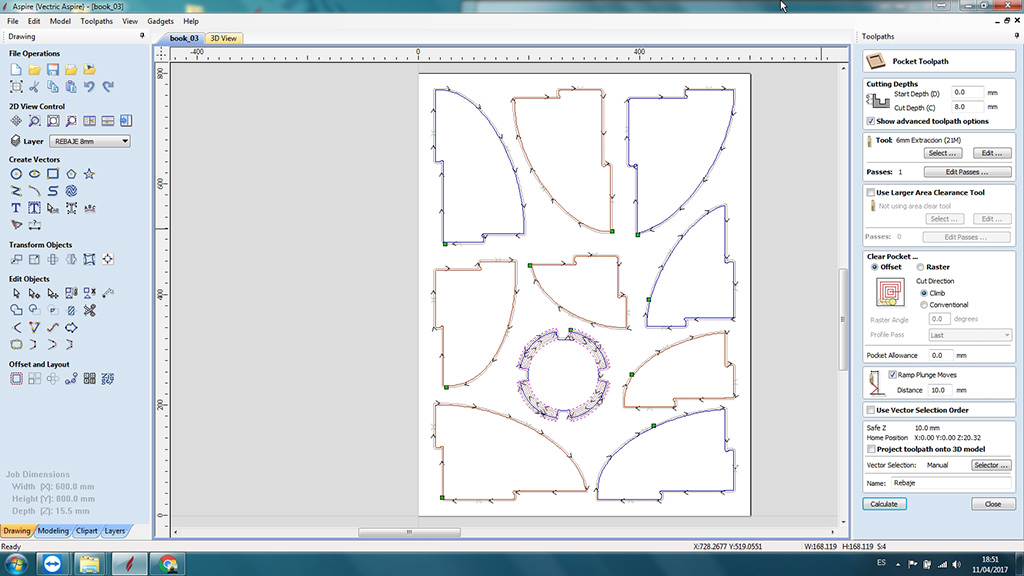 Sheet 3. Outside.
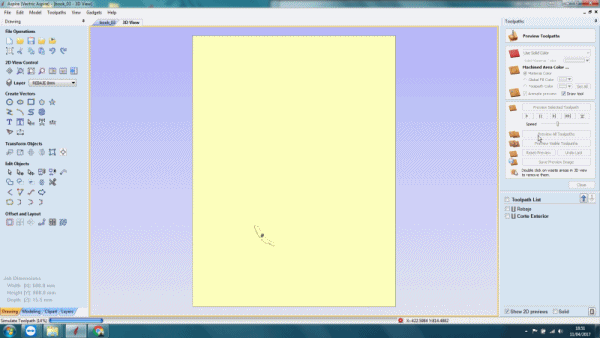
 Sheet 3. Preview toolpath.
 Finally i exported the files as .sbp format. Download
the Vectric Aspire programming files.
Finally i exported the files as .sbp format. Download
the Vectric Aspire programming files.
Machining
The first thing to know is the complete procedure to use the ShopBot router.
1.Turn on the machine.
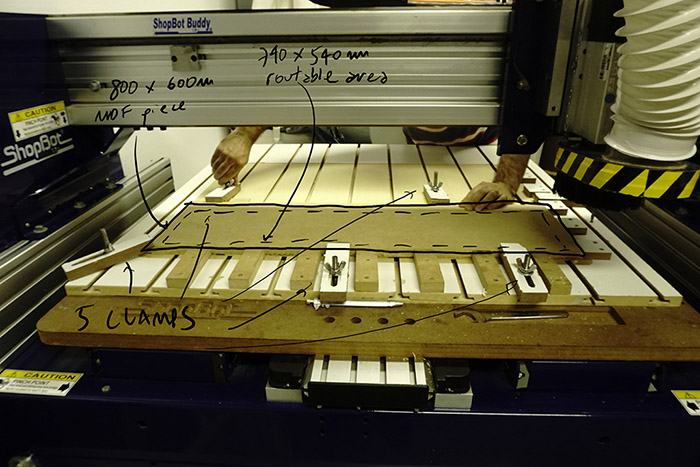
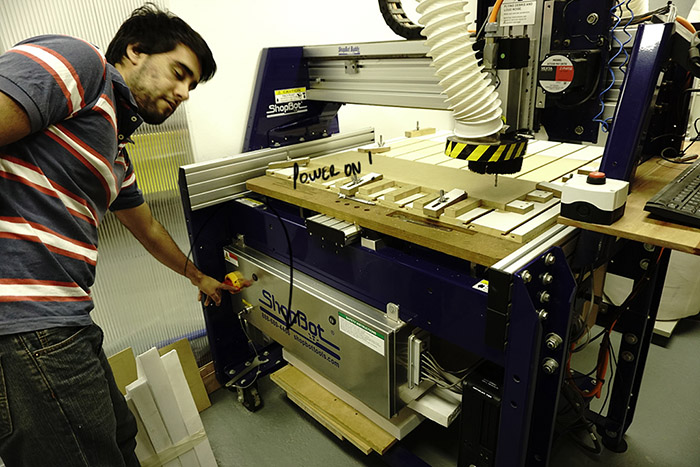 2. Put the sacrificial layers and place the piece at x0 and y0.
 3. Place the clamps.
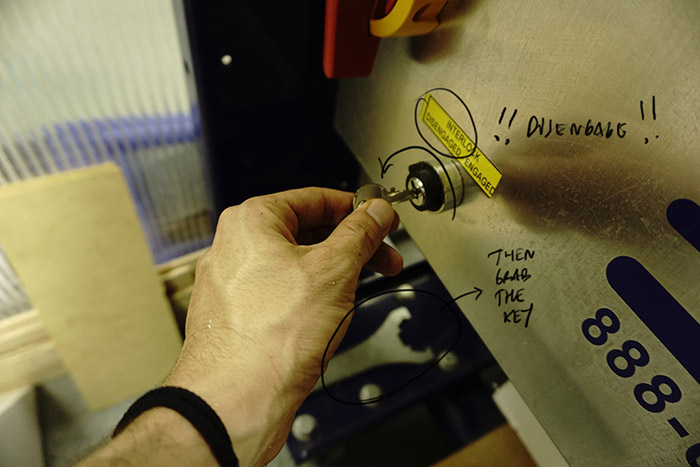
 4. To change the end mill, first disengage the spindle by switching the interlock and removing the key.
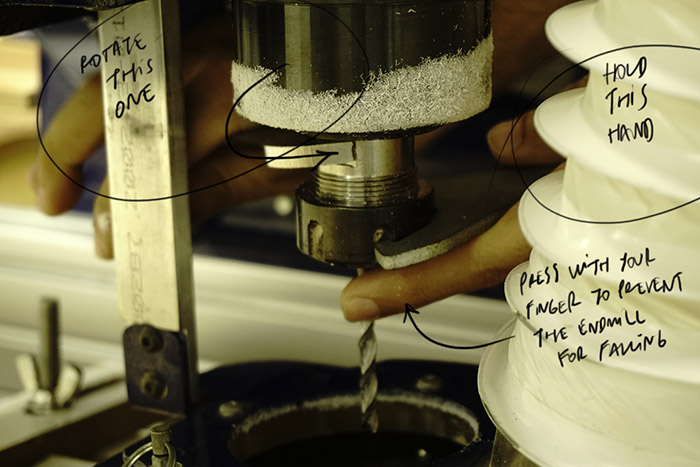
 Then select the respective endmill and place it in the spindle by using the two keys.
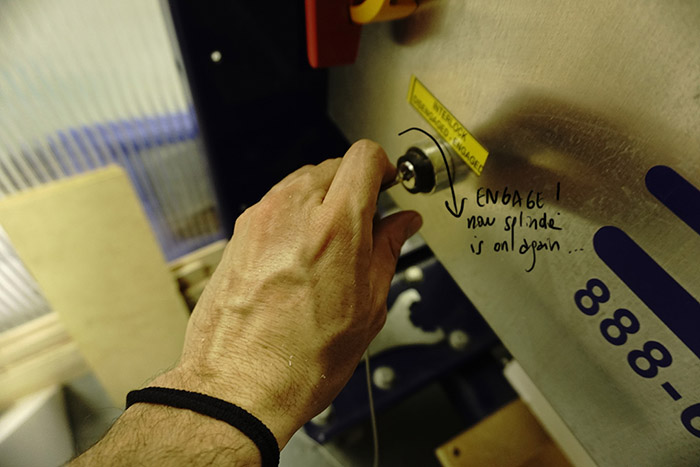
 Finally, re-engage the splindle again.
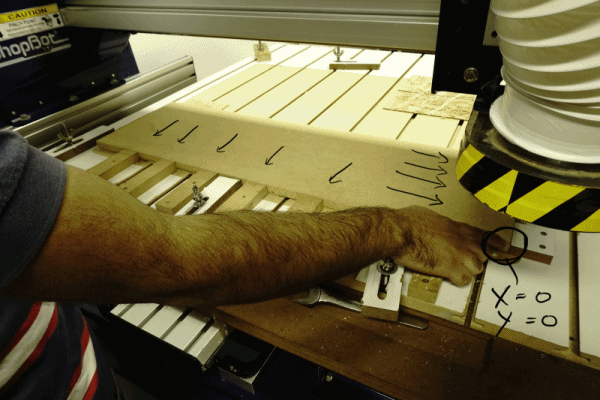
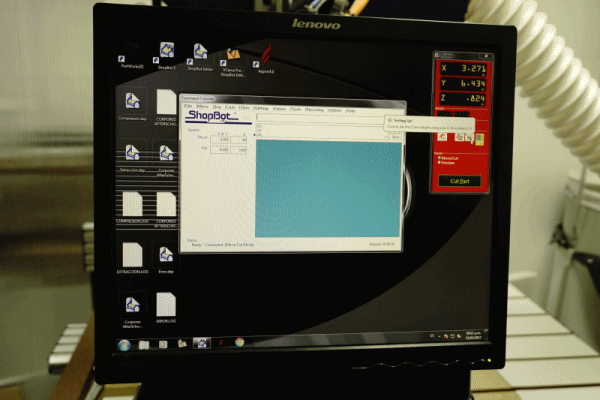
 5. Now in ShopBot Control Software let´s set X,Y to zero position.
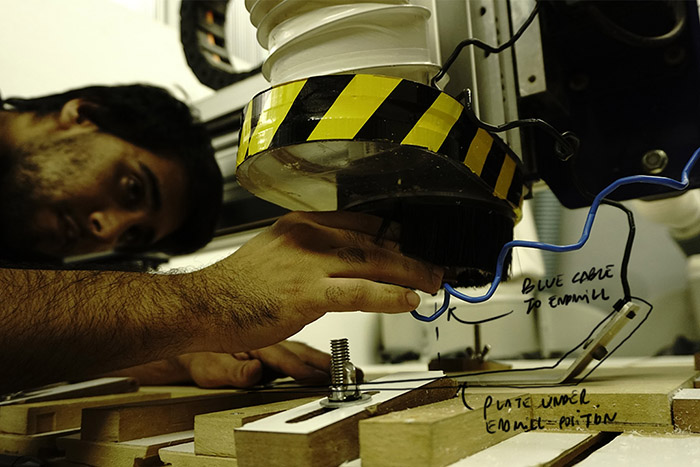
 6. Then set Z to zero by placing the plate under the endmill, attaching the blue cable to the tool
 then run the Zero Z axis w/ ZZero Plate
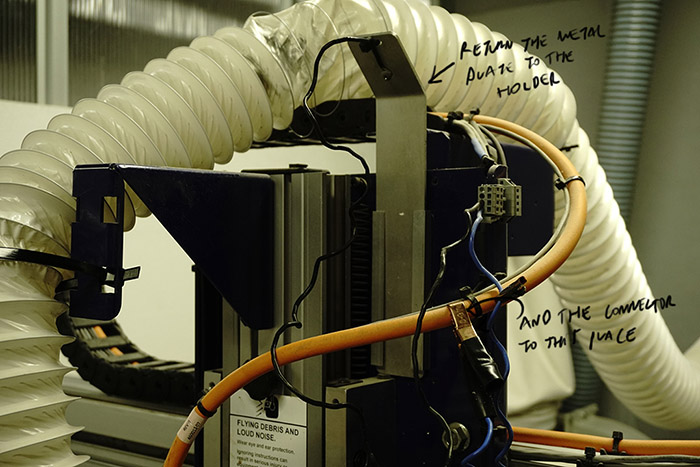
 and finally return the metal plate to its holder and the connector to its place.
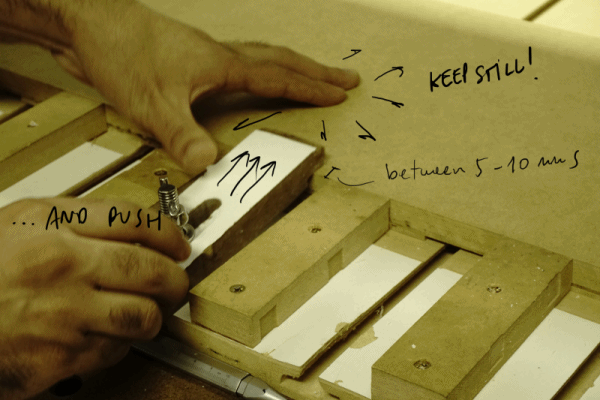
 7. Adjust the level of the air extraction hose and turn on the dust collector.
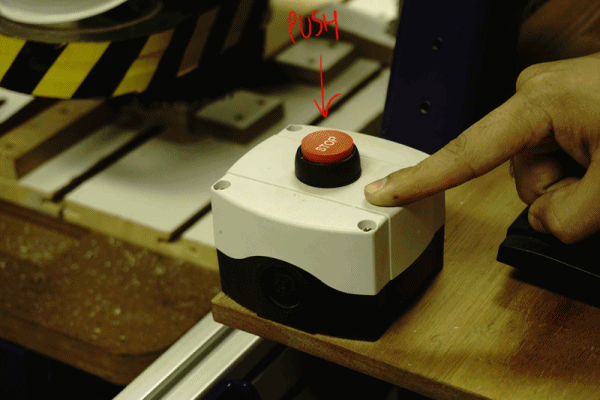
 IMPORTANT! Before starting the work it essential to know the ways of stopping the machine in the event of any emergency or error.
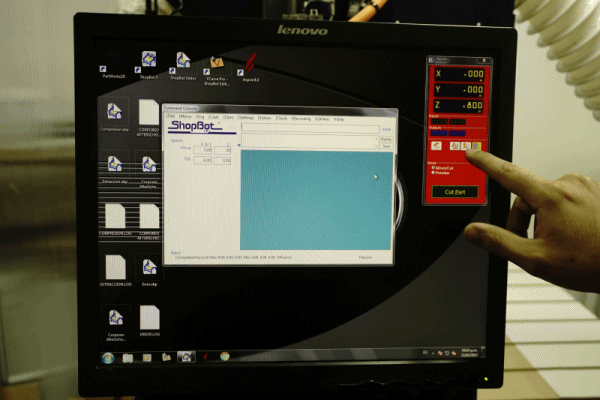
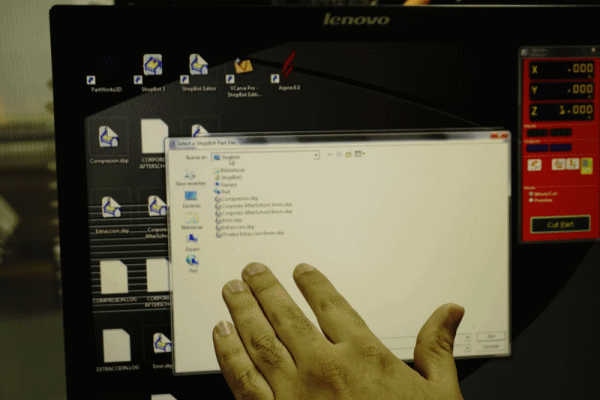
 8. Now again in ShopBot Control Software, click on Cut Part, select your .sbp file and then click on Start button. The software will ask you if Z is set to zero, if the selected endmill is actually placed in the splindle and finally will ask you to confirm if start the job.
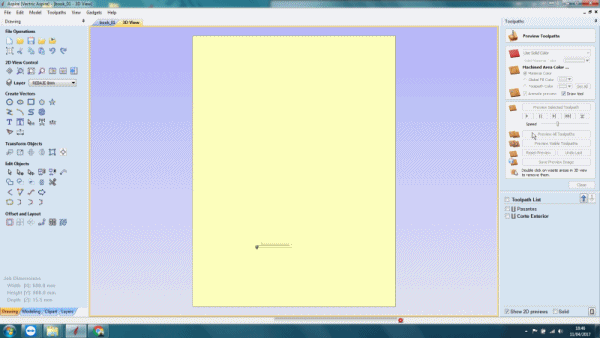
 Machining process ..
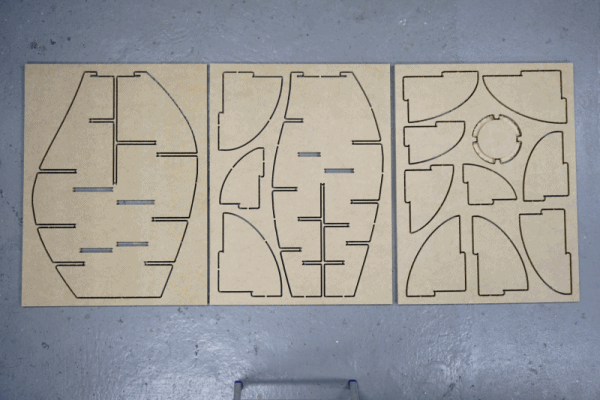
Result.
Machining process ..
Result.
 Final assembly.