
Assignment objectives:
* Build a personal site in the class archive describing you and your final project.
* Work through a git tutorial.
Neil's class Summary
About me
To know more about me please follow this link and to know more about my final project this other.
Drawing my website
My previous experience in building and managing websites is very poor, actually, my general knowledge about programing is very low. So, as many as us, i'm starting almost from the scratch.
In our first week of class, Carolina, our instructor, introduced us to the basic concepts, hints and tips for writing simple and clean HTML/CSS codes. We talked about the importance of having a strong folder structure, not to only for our project repository but for daily working tasks in Fab Academy.

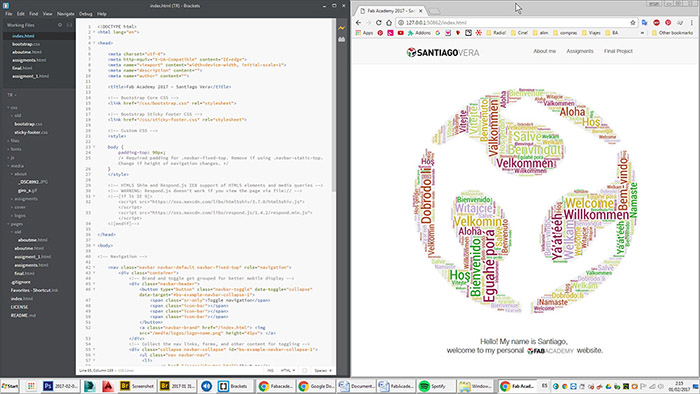
Basically, i will work with Brackets, an easy-to-use open source web development program and also some examples, style sheets and Bootstrap templates to design a nice and responsive website.
After learning a basic code for placing and arranging objects, texts, linking HTML with CSS style sheets, linking web fonts and an overview of templates, I decided to start the project with an initial Bootstrap template called "Bare".
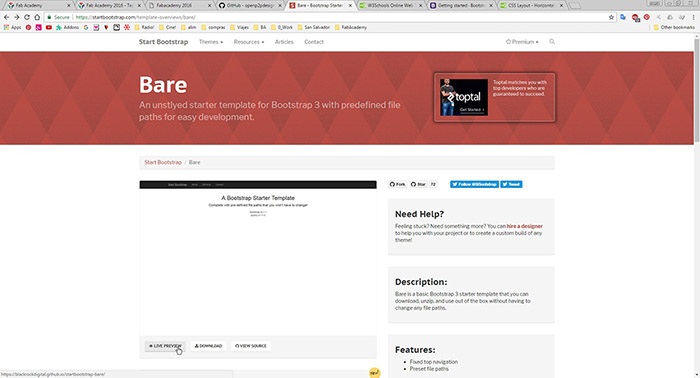
It seems to be a pretty, simple and basic template, proposes a nice navegation and also adaptable to smaller devices like tablets and smartphones. The big deal with rewriting code in templates is to keep the control of what are you writing, what exactly are you changing and how to find it again. I hope this template helps me in that purpose from now on.
Here are some of the "Favorites" websites i checked during my web design development:
W3chools,
Bootstrap examples,
Fab Academy 2016 class,
Edgar R. Aguilar Arenales website,
Guillaume Teyssié website,
Carolina Vignoli website.
Git usage
To host the websites Fab Academy uses
Git, a free and open source distributed version control system. It is not an easy program to operate and we must be very careful when dealing with it. It runs under the command line dialog -Linux enviroment- so it's kind of difficult to use.
We follow step-by-step the instructions to install Git and upload our website under Windows 7.
- Download Git
- Install Git
-
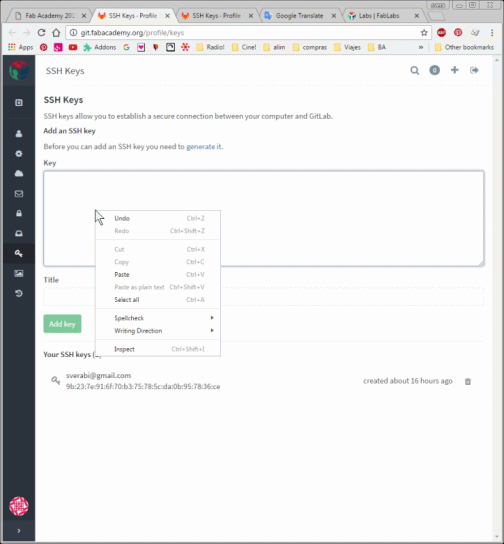
Now let's get access with SSH Keys.
Go to fablabs.io page and signup.
Go to GitLab and sign in with your previous log information.
In GitLab navigate to Help and then to SSH. Please use it as support of this tutorial.
Open Git Bash.
Before generating an SSH key, check if your system already has one by running the following command under Git Bash (copy/paste operatios always with mouse right-click):type %userprofile%/.ssh/id_rsa.pub
Or simply navigate to c:/Users/%userprofile%/.ssh/ in a Explorer window.
Now locate and copy to clipboard the following command from GitLab SSH Help Page to Git Bash. (instead of "yourmail@yourhost.com" your personal information should appear)ssh-keygen -t rsa -C "yourmail@yourhost.com"
 Now we have to copy the generated key from Git Bash with the command:
cat ~/.ssh/id_rsa.pub | clip
And paste it in GitLab SSH Keys Manager empty field.
After that please click one once on "Title" field (autofill information with email adress will occur) and then "Add Key" button.
Done! -
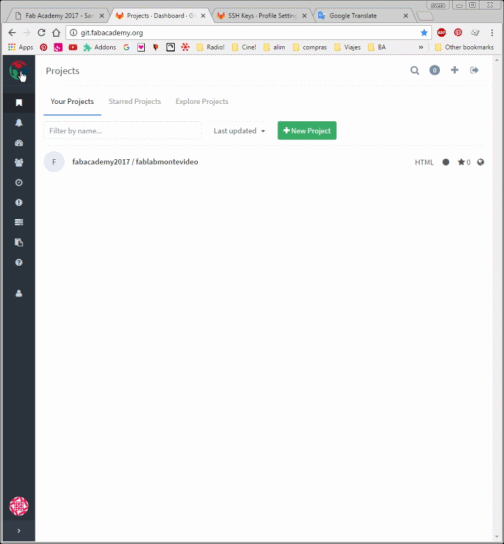
We will now clone the repository located remotely to our local computer.
Go back to GitLab and navigate to your group project. Once there, copy to clipboard the code given.
In Git Bash command line navigate to your local folder, where the repository will be cloned, and run the following command:git clone %Paste Here the code given previously%
Enter you password and "yes" if Git asks you for keep the connection.
Done!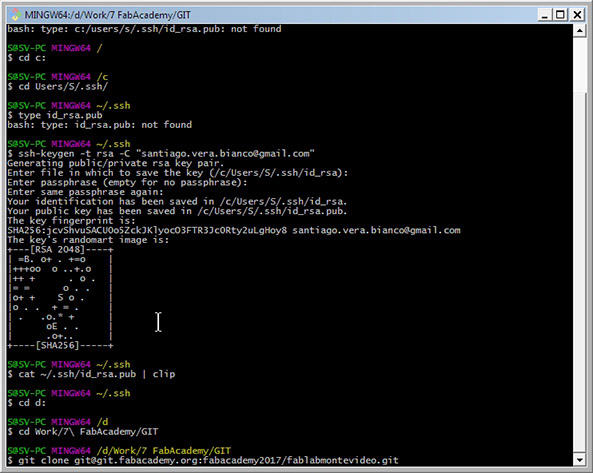
-
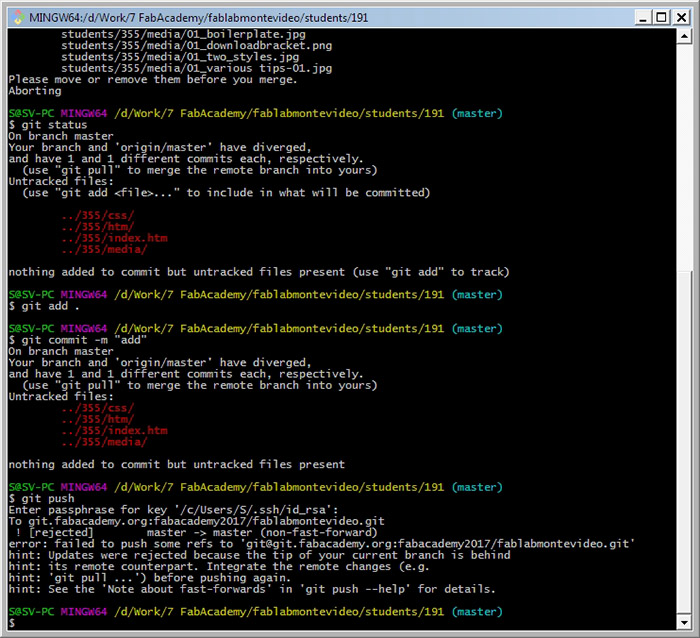
To correctly upload and download files from repository, this are the commands on Git Bash that you need to follow:
-
First navigate to your local personal folder (in my case):
cd fablabmontevideo/students/191/
-
For update your local files:
git pull
-
For checking the status of your files:
git status
-
For adding files to commit:
git add .
-
For registering you changes (for a future update):
git commit -m "Your comment"
-
For uploading your updated files (always double check if you are working on your personal folder before pushing):
git push
-
First navigate to your local personal folder (in my case):
My personal experience with Git was a little bit difficult, from the early stages of getting the keys and granting access to GitLab i've experienced many problems and errors in my sessions. We tried to solve the errors but the effort was in vain. We couldn't even get to the core of the problem, so practically i saw error messages on every step of the process.
Lastly, we decided to start from the scratch, reinstalling Git and getting a new GitLab user for the SSH keys and finally it worked out!