/*
Stepper Motor Control - one revolution
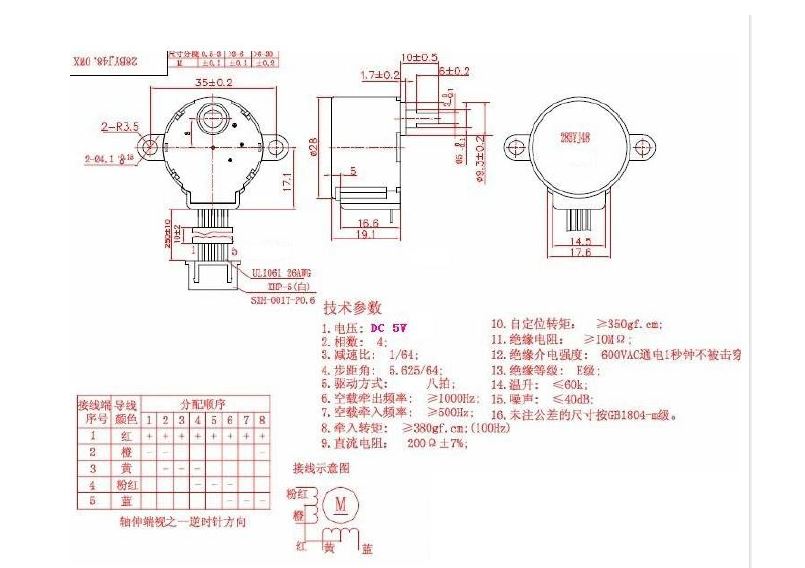
This program drives a unipolar or bipolar stepper motor.
The motor is attached to digital pins 8 - 11 of the Arduino.
The motor should revolve one revolution in one direction, then
one revolution in the other direction.
Created 11 Mar. 2007
Modified 30 Nov. 2009
by Tom Igoe
June 5th Modified By Juan GM
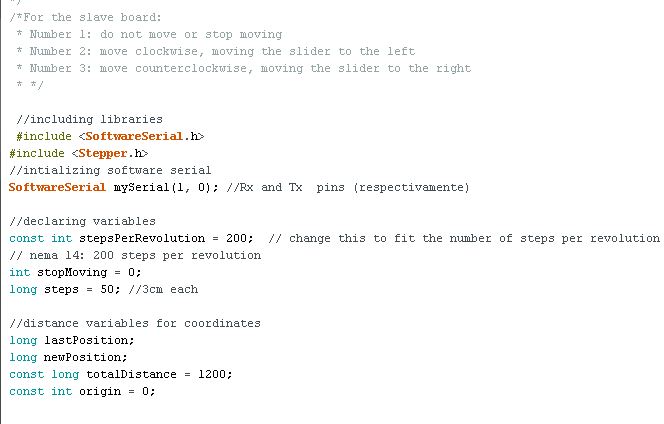
/*For the board:
* Number 1: do not move or stop moving
* Number 2: move clockwise, moving the slider to the left
* Number 3: move counterclockwise, moving the slider to the right
* */
#include <SoftwareSerial.h>
#include <Stepper.h>
//intializing software serial
SoftwareSerial mySerial(1, 0); //Rx and Tx pins (respectivamente)
//declaring variables
const int stepsPerRevolution = 200; // change this to fit the number of steps per revolution
// nema 14: 200 steps per revolution
int stopMoving = 0;
long steps = 50; //3cm each
//distance variables for coordinates
long lastPosition;
long newPosition;
const long totalDistance = 1200;
const int origin = 0;
//declaring led variable
int redPin = A4; // Red Led Pin
// initialize the stepper library on pins 5 through 8:
Stepper myStepper(stepsPerRevolution, 5, 6, 7, 8);
/*Function Stepper - 4 ways of doing it:
* Stepper (steps, pin1, pin2):
* steps: number of steps in ONE REVOLUTION.
*
* Stepper (steps, pin1, pin2, pin3, pin4)
*
* setSpeed (rpm): this function does not make the motor turn, it just sets the speed
* at which it will turn when called a step
*
* step(steps)
*/
void setup() {
// set the speed at 60 rpm:
myStepper.setSpeed(60);
// initialize the serial port:
mySerial.begin(9600);
pinMode(redPin, OUTPUT);
digitalWrite(redPin, LOW);
lastPosition = 0;
}
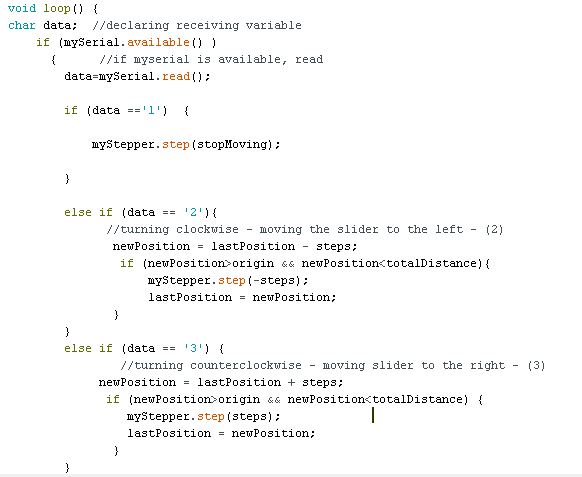
void loop() {
char data; //declaring receiving variable
if (mySerial.available() )
{ //if myserial is available, read
data=mySerial.read();
if (data =='1') {
/*digitalWrite(redPin, HIGH);
delay(2000);
digitalWrite(redPin, LOW);
delay(2000);*/
myStepper.step(stopMoving);
/* analogWrite(redPin, LOW);//rhythm to tell the one doing it to stop it.
delay(500);
analogWrite(redPin, HIGH);
delay(500);*/
}
else if (data == '2'){
/*turning clockwise - moving the slider to the left - (2)
*/
newPosition = lastPosition - steps;
if (newPosition>origin && newPositionorigin && newPosition
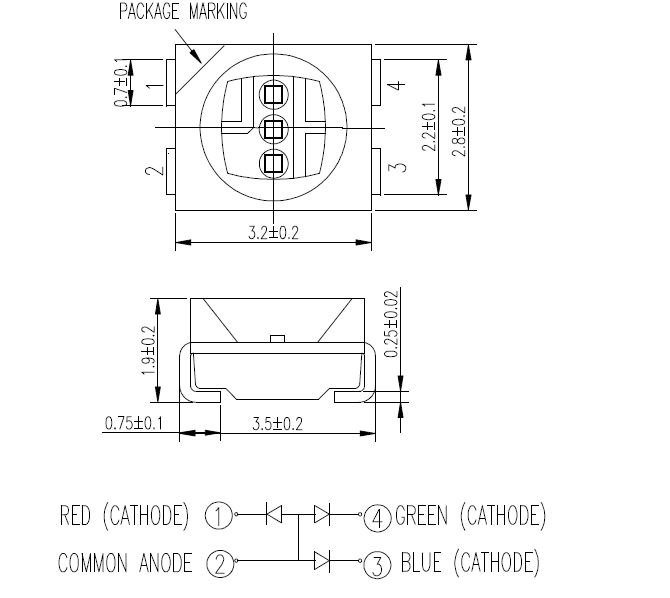
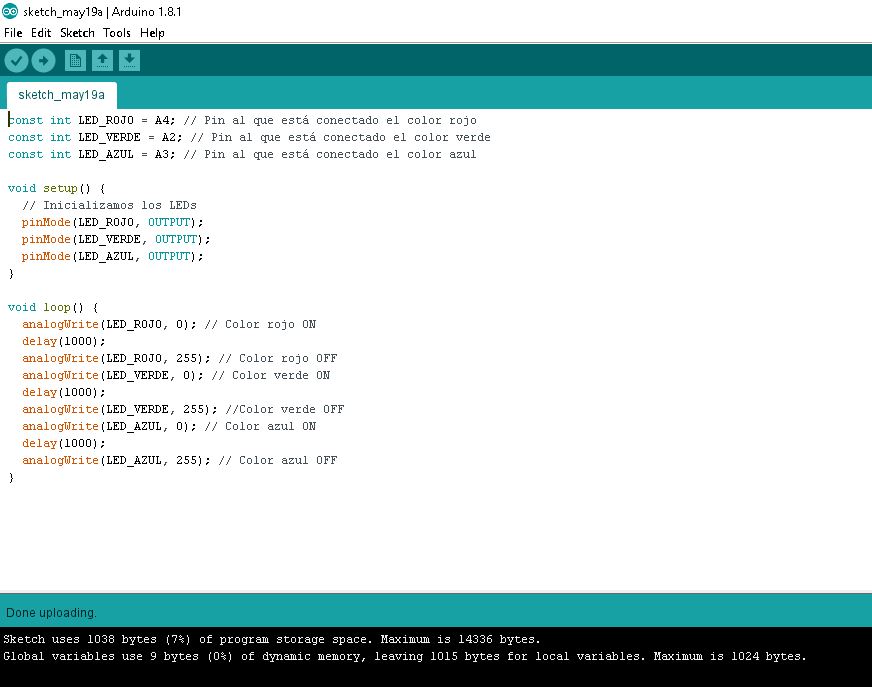
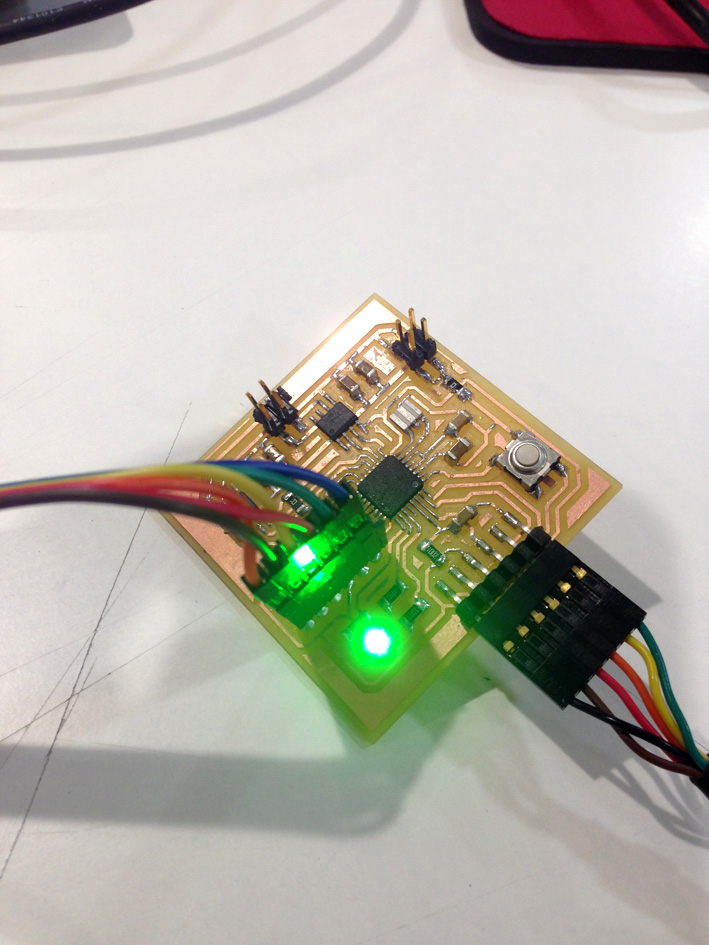
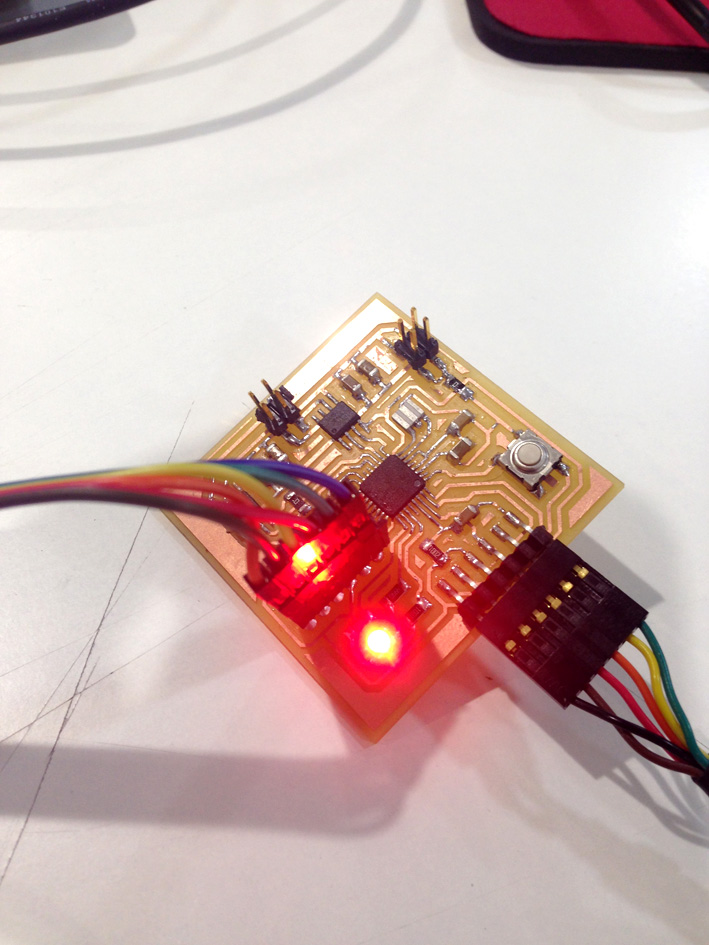
const int LED_ROJO = A4; //Pin connected to red led
const int LED_VERDE = A2; //Pin connected to green led
const int LED_AZUL = A3; //Pin connected to blue led
void setup() {
// led's initialitation
pinMode(LED_ROJO, OUTPUT);
pinMode(LED_VERDE, OUTPUT);
}
void loop() {
analogWrite(LED_ROJO, 0); //Red Colour ON
delay(1000);
analogWrite(LED_ROJO, 255); //Red Colour OFF
analogWrite(LED_VERDE, 0); //Green Colour ON
delay(1000);
analogWrite(LED_VERDE, 255); //Green Colour OFF
analogWrite(LED_AZUL, 0); //Blue Colour ON
delay(1000);
analogWrite(LED_AZUL, 255); //Blue Colour OFF
delay(1000);
}
/*
-Stepper Motor Control - one revolution
- This program drives a unipolar or bipolar stepper motor.
The motor is attached to digital pins 8 - 11 of the Arduino.
-The motor should revolve one revolution in one direction, then
one revolution in the other direction.
-Created 11 Mar. 2007
-Modified 30 Nov. 2009
by Tom Igoe
- June 5th Modified By Juan
*/
#include <Stepper.h>
const int stepsPerRevolution = 200; // change this to fit the number of steps per revolution
// for your motor
long steps=200;
const int buttonPin = 3;
int buttonState = 0;
// initialize the stepper library on pins 5 through 8:
Stepper myStepper(stepsPerRevolution, 5, 6, 7, 8);
/*Function Stepper - 4 ways of doing it:
* Stepper (steps, pin1, pin2):
* steps: number of steps in ONE REVOLUTION.
* Stepper (steps, pin1, pin2, pin3, pin4)
* -setSpeed (rpm): this function does not make the motor turn, it just sets the speed
* at which it will turn when called a step
* -step(steps)
*/
void setup() {
// set the speed at 60 rpm:
myStepper.setSpeed(60);
// initialize the serial port:
Serial.begin(9600);
pinMode(buttonPin, INPUT_PULLUP);
}
void loop() {
buttonState = digitalRead(buttonPin);
if (buttonState == LOW) {
// step one revolution in one direction:
Serial.println("clockwise");
myStepper.step(steps);
delay(500);
// step one revolution in the other direction:
Serial.println("counterclockwise");
myStepper.step(-steps);
delay(500);
}
}
/*
Stepper Motor Control - one step at a time
This program drives a unipolar or bipolar stepper motor.
The motor is attached to digital pins 8 - 11 of the Arduino.
The motor will step one step at a time, very slowly. You can use this to
test that you've got the four wires of your stepper wired to the correct
pins. If wired correctly, all steps should be in the same direction.
Use this also to count the number of steps per revolution of your motor,
if you don't know it. Then plug that number into the oneRevolution
example to see if you got it right.
Created 30 Nov. 2009
by Tom Igoe
*/
#include <Stepper.h>
const int stepsPerRevolution = 200; // change this to fit the number of steps per revolution
// for your motor
// initialize the stepper library on pins 8 through 11:
Stepper myStepper(stepsPerRevolution, 5, 6, 7, 8);
int stepCount = 0; // number of steps the motor has taken
void setup() {
// initialize the serial port:
Serial.begin(9600);
}
void loop() {
// step one step:
myStepper.step(1);
Serial.print("steps:");
Serial.println(stepCount);
stepCount++;
delay(500);
}