Procedure:
0. Assignment
1. Getting used to Notepad++ and html commands.
2. HTML Tutorial + Analysing Fablab's web template.
3. New Challenge: looking for new templates + understanding.
4. Using Git - Main commands.
5. Gantt Calendar
6. Git Tutorial
7. Possible Final Project
0. Assignment
Build a personal site describing you and your final project
Plan and sketch a potential semester project and add it to your website.
Upload it to the class archive. Work through a git tutorial.
LEARNING OUTCOMES
Explore and use website development tools
Formulate a final project proposal
Identify version control protocols
HAVE YOU...?
...made a website and described how you did it
...introduced yourself
...described and made a sketch of your final project
...documented steps for uploading files to archive
...pushed to the class archive
1. Principles and Practices, Project Management
When the lecture finished with Neil Gershenfeld
and our guru taught us in more detail the topics spoken on air,
I was collapsed with so much code in my head.
My knowledge in web development is very small and, although
I had searched for tutorials these past months, it was
getting really confusing.
As I had my Notepad++ program already installed in my computer,
I decided to use it instead of Sublime.
The next day, all the fablab team got together and started
to play around with the website template of fabacademy.
There were so many commands that I became even more confused
than the day before. What I did was to play around with basic
HTML commands to play with the template:
-changing the menu, giving priority to
the "Final Project" menu, "Exercises" menu rather
than "About" and "Contact" links.
Using different basic formatting tags such us: bold,
italic, subscripted text, superscripted text and more
basic commands.
-re-organising the years schedule, adding the date to
each week lecture.
This 2-3hour work was orientated to introduce myself deep inside
the HTML document and see what were my lacking skills.
As I was startled of the many commands, so I decided to take a
tutorial in HTML5 tags and print them all together.
Later on I will continue learning CSS3.
The tutorial I used is an application for Iphone and Androir
from the company "Solo Learn" (website:
) and the website
2. Tutorial Finished!
Once I finished, I came back to the HTML template:
easier to read, easier to understand although there are
still commands and tags that I do not know (especially those
ones referred to JavaScript). I continued changing the content
of the webpage. While I was adapting the content to my needs,
I thought about searching for a new template on the Internet
that had more complex structures. The one from the fab academy
is too rigid for me, and I wanted a more interactive and visual
website for the presentation of my final project
What I did was, open the browser and type in: "free html templates"
and selected
After searching for a while, I found the one that fitted with
the design I wanted: "Arcadia Free Website Template".
Having a reference has taught me the way HTML and CSS work,
this new website template will make me learn even more in this area.
What I really liked from this new website design is the
introduction image: "How To Built Almost Anything". The essence
of the program is what I wanted to state at the first user's look.
3. NEW CHALLENGE
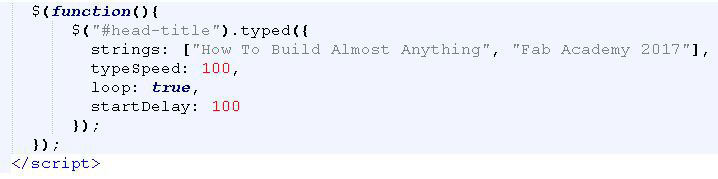
Understanding the new HTML document was more difficult than I
expected. The introductory typed-in text at the beginning gave me a headache.
Until I found and understood the new function element:
Then I continued to organise the website.
Is the typical long website where everything is on the
same page and the only thing the user has to do is scroll down.
As mentioned above, I wanted something more visual and more
interactive with the user, without being too long.
The strategy I used is to first create the index page based on
the template, having a side-menu that appears if need to
(also in case the user's browser doesn't support the interactive
responsive buttons). Then, have a big screen introducing the fab
academy and the program + button the scrolls your down to the main
4 parts of the website:
-Final Project
-Weekly Exercises
-About Me
-Contact
Once I understood the code, I just copied down the
same code four times (one for each topic), re-arranging
the tags and id used.
Just to finish the index page, I wanted a shortcut to
my "Final Video Project" (although is not done yet),
but to leave it ready for June.
As the original template had a similar button, I searched
for it. Again, it was not that easy for me as I am new
to this world. This is the code for the "scroll-down"
button:
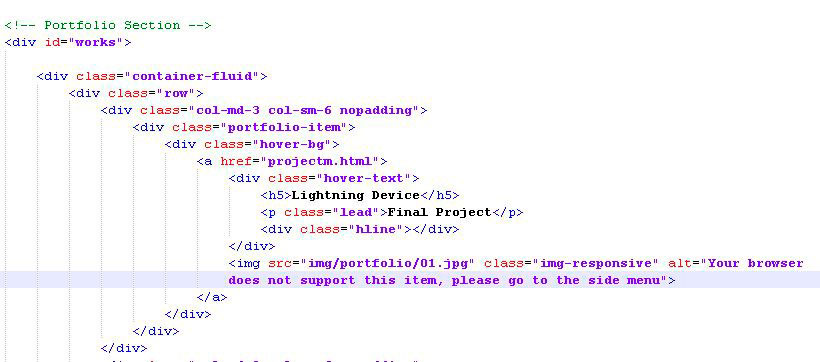
Re-arranging this button was kind of problematic
until I understood that "#works" stands for an id mentioned in the
division elemtent part that you want to go on the same page. The links to each topic
have an id="works", so for future changes in the button, the
only thing I need to add is a new id and match with the button of
the page. Here the example with the id:
"div id="works"
YES! Home page finished! Now what I need to do is change the images
with the suitable ones for my program.
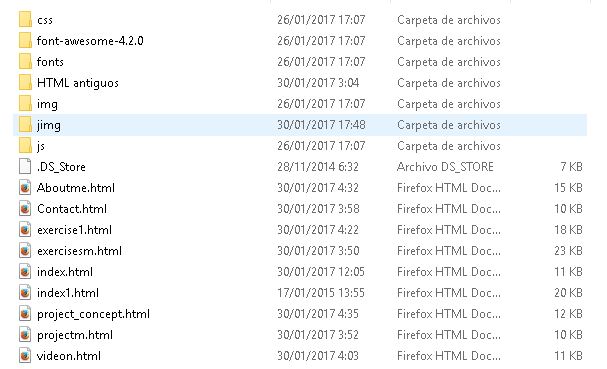
Now, I continue with the creation of the new html pages: Final Project, Exercises,
About Me, Contact.
One of the biggest problems I had was to link every website with
one another. Although is simple with the command:
(a href="example.html">Example Page /a), it did not work out as expected.
There are certain rules that you need to know when linking from one html page
to another:
-Empty spaces are not valid
-You may have problems with capital letter, so do not use them
-Please, finish the documents with ".html" (this one is VERY important)
So, the problem was not finishing with the proper document extension...problem SOLVED.
Once the links between pages have been successfully done, I started manipulating each one of them.
I did not really have any problems while doing it, it was really copying and pasting
commands and tags already done in the home page.
IMAGES
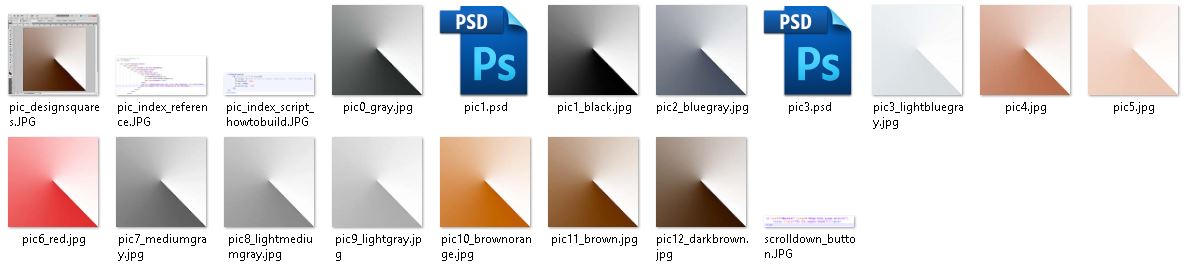
Once finished structuring all the page, I focused on the imagery design. I erased all the
pictures that came with the original template except for two of them (the ones with the apple
computer). As the FabAcademy program is based on digital design, a computer was ideal in the
design of the webpage.
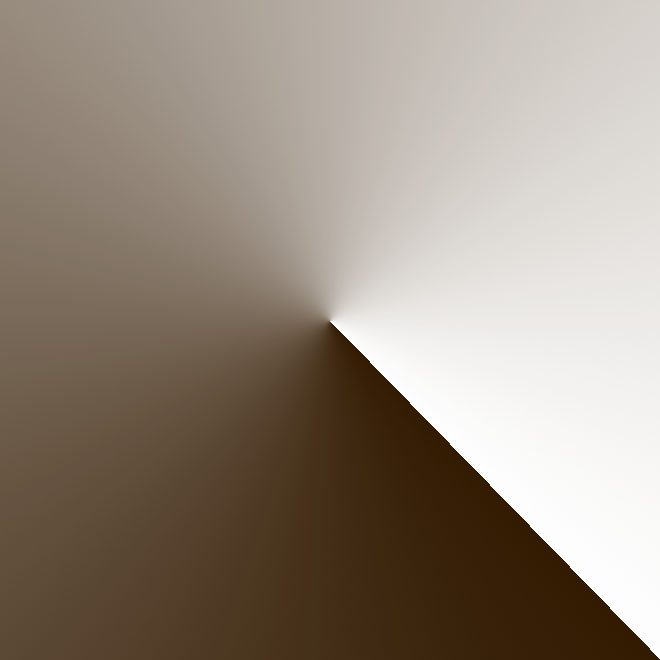
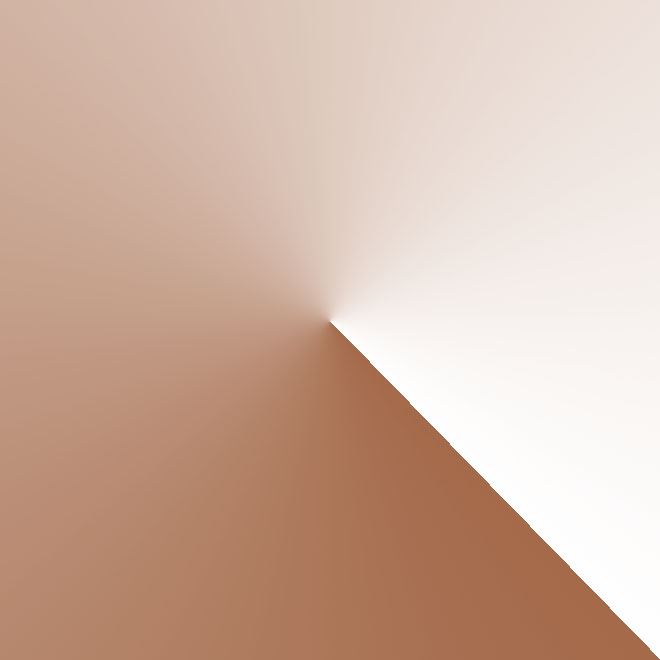
Then, I started creating my own images. I was looking for really simple and straightforward design
that could let me to different expressions. This is the design I did in Photoshop:
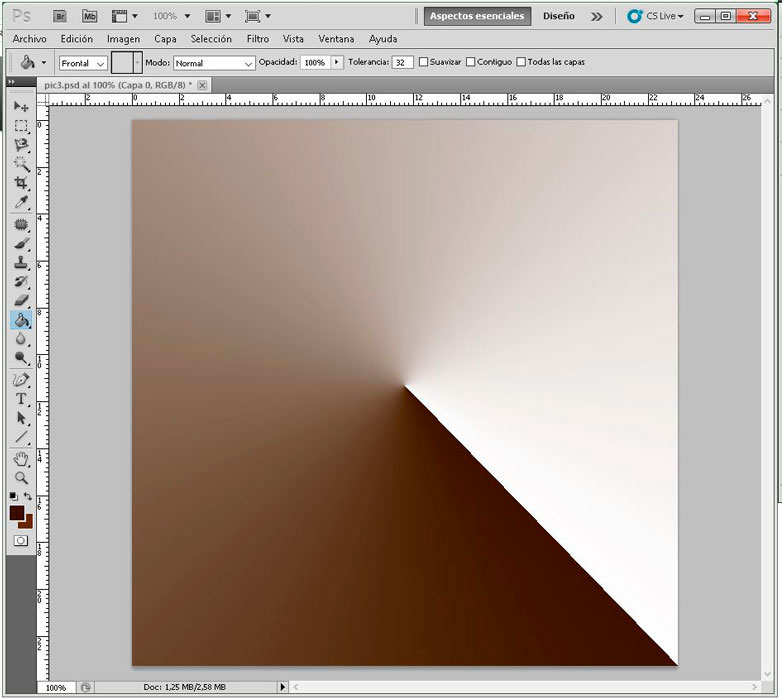
Nice, simple, a geometrical game were a group of them together could let me to a cool web visualisation.
Now, it was easy to link them to the page and upload them.
4. Git time!
Git installed and ready to be used on my computer. No problem accounted.
SYNC PROBLEMS WITH GIT
My first synchronization with GIT:
git pull (to refresh any modified documents in git)
git status (verify if any files have been uploaded in our lab)
git add --all (add documents, both new and modified)
git status (verify the documents than need to be updated)
git commit -m 'message' (are you sure? please leave a message describing the reason for your update)
git push (complete upload to git)
Everything perfect.
I opened my browser to have a look to my new designed webpage and verify if it had any problems,
and guess what, there were.
Problems accounted: images did not appear where they should appear and contact.html page and aboutme.html
page did not work.
After searching for the reason why this was happening, I realised Windows is not as good as I thought.
The main problems why the images and the html pages did not upload were because of the capital
letters.
Plus, the program I have used to save the pictures did it with a .JPG extension instead of .jpg.
So, during the weekend, while designing the website, Windows read the html links without differentiating
the capital letters from the smaller ones. Therefore, these small details are not crucial while using windows,
but once you upload it to GIT, it is completely different.
synchronising with git
Once I had changed all the files involved, I synchronized it to Git.
No changes.
WHY?
Although I went to each file changing its name and extension, that was not enough. Windows interprets the same name
no matter if you have changed the capital to small letters.
So, when uploading it to Git, the files are recognised as files that
have not been changed.
In the end, what I did was erase the files involved, sync with Git. Make sure that the files involved are
erased in Git, and then, copy the same files with small letters back to the folder. Sync again. DONE.
This is how things should have been done from the beginning:
Everything CORRECT
DONE!
Now continue with Git Tutorial
5. Gantt Calendar Organisation
Right now I am working on my Final Thesis Architectural Project (PFC in Spanish),
and not having time to the things I have proposed to do is not new. As Neil told us
last Wednesday, there are different programs to help us organising our work.
The program selected to start with is 'Gantt Project'. In these 25 minutes I managed
to visualize the principal dates of my calendar.
In one hand, all my Final Thesis Project dates are organised at the half-top of the
document, being the green bar the process from today until the final date
(May 10th). In red, special dates I cannot miss. In yellow, recommendations I have
done myself and in blue different appointments I have with my tutors (these last
ones will update as soon I have more meetings with them).
On the other hand, in black I have the FabLab calendar. Placed at the bottom,
the whole process (until June 31st).
The small bars represented in black are those weeks
that I will need to spend more time as each one of them are topics that I have not
done before such as 'Electronic Production', 'Embedded Programming', or the ones that
will take me more time like 'Machine Design'.
All together helps me to set up a 'demand vs supply' rule each week so I can optimise
my time as much as I can.
6. Git Tutorial
Git Tutorial's Website:
Important Commands that I will need to use:
'git help' - appears help menu
'git pull' - fetch and merge changes done on repository
'git push' - push changes
'git status' - report the repository status
In this case, as I have modified and added new files, it appears in red the ones that will be added/modified on the repository.
'git add' - stage all changes files to commit
'git commit -m 'commit message'' -
'git revert' - undo a commit
'git reset --hard' - undo uncommitted changes
The online tutorial shows you what is Git, how to create new branches, view project history and using Git for collaboration.
It shows the example of Alice and Bob, where they use the same branch while they work. In this case,
Bob clones Alice's repository and makes changes. Finally he pushes back with the edited files, but the
problems come when Alice wants to upload her edited files as well. She arrives to the situation where
she cannot do it, as her 'push' will lead to erasing Bob's files. The execution of which files have been
changed, and fetching and merging them successfully is what it is fully explained.
Other interesting commands that I may need:
'git log': shows history
'git log --name -status': shows names and status of changed files
'git log --graph --online --stat' -compact history view with graph and changes
'git push --mirror': mirrors a repository
'git init' - initialize a repository
'git config --system'
'git config --global user.name "Firstname Lastname"': sets name for commits
'git config --global "address@site": sets emails for commits
'git config --global': user's configuration
Git Tutorial Finished!
7. Concept
As I come from an architectural background, drawing and building 3d models is something that I usually do every year. Projects are born from time to time and, especially those nights where I am really inspired is when the projects come out smoothly.
One of the main disadvantages of working at night is the way artificial lamps handle how we work. Most of the time, our hands project on the paper (or on the 3d model) our own shadow, disrupting the works fluency having unnecessary interruptions during worktime.
In addition to this, if we want to prevent this from happening, we are forced to move the light from one place to another, being partially injured by the lamps high temperature. Plus, if we have dirty hands at any given time, we would mess up the lamp's grip and handle.
Where?
The idea is to have a workspace where I can modify position, quantity and temperature of the different light sources I will have: atmospheric light, direct light, indirect light; with both warm and cold temperatures.
The best part comes when I will be able to do all of these things without touching the device!
Whether I have my hands full of dust or I don't want to be burnt by the lamp, I just need to activate the different inputs to make the device move!