Assignments:
- Learning new design and open source programs. (My own decision)
- Plan and sketch a potential final project.
- Learning new design and open source programs. -
I'm an architect and therefore I had to try to create 3D models of houses, buildings, and even terrains from contour lines.
I think that the computer-aided design its get over, but there is always a part that I have wanted to learn and that I have never seen because in architecture it is not used although it seems important to me.
This part of the 3D world is free sculpting and modeling, in which it is modeled without measures to represent with complete freedom what the designer wants to show,
is used a lot in video games, characterization, animation and movies.
I'm going to design an irregular landscape right from the start using all the new programs I do not know.
1. From Photoshop+Illustrator+Rhinoceros TO Gimp+Inkscape+Blender
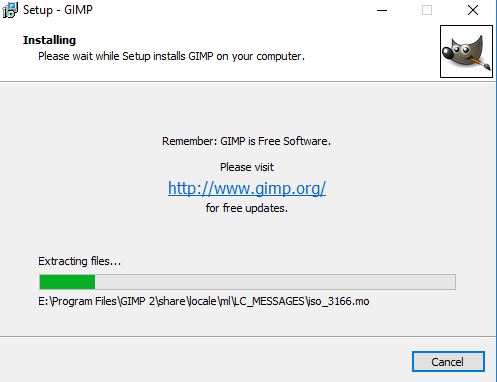
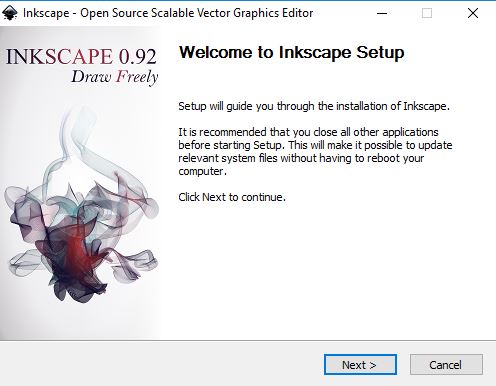
We install the new programs,
The GNU Image Manipulation Program - GIMP -
- Inkscape - the free and open-source software for professional quality vector graphics.

- Blender - is the free and open source 3D creation suite.

I recommend that you look at their web pages for tutorials and showreels.
References of I want to do:

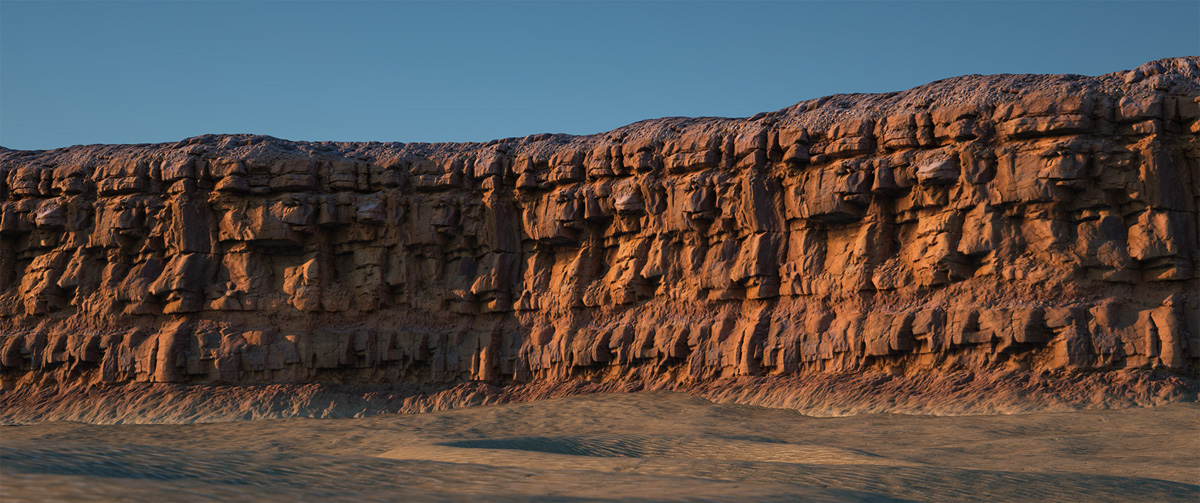 Image taken from Artstation "dessert" and "Cliffs" by Eli Gershenfeld using Blender and Cycles Render.
 What I want is to design a landscape using inkscape drawn with my Wacom Intuos tablet, then modify that drawing in Gimp to make a type of artwork.
And later to create with this sketch a desert with cliffs in 3D to use the sculpting and the free modeling with modifiers.
WORKFLOW:
1.Download and install programs
2.Read and see some tutorial of each of them.
3.Inkscape
4.Gimp
5.Blender
7.Final result.
2. Read and see some tutorial of each of them.
I did the Inkscape Basic tutorial to learn the basic commands and the main tools.
Gimp is really like photoshop and very intuitive way you could learn very easily.
It was enough with concrete problems that I had to look at in the tutorials section of the official gimp page
The part of Blender was much more complicated since usually 3d design programs are somewhat more complex than the other two, for this program I had to work harder and dedicate a lot more time in tutorials.
3.Inkscape:
I have knowledge in illustrator and autocad as vector reference programs, to begin I realized the basic tutorial.
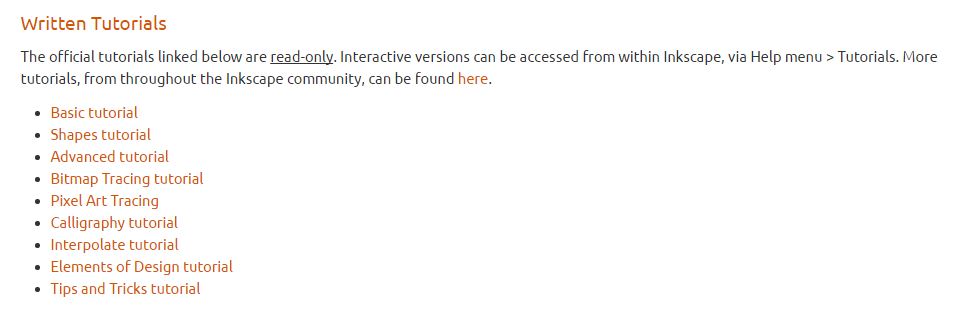 There are many tutorials in the website
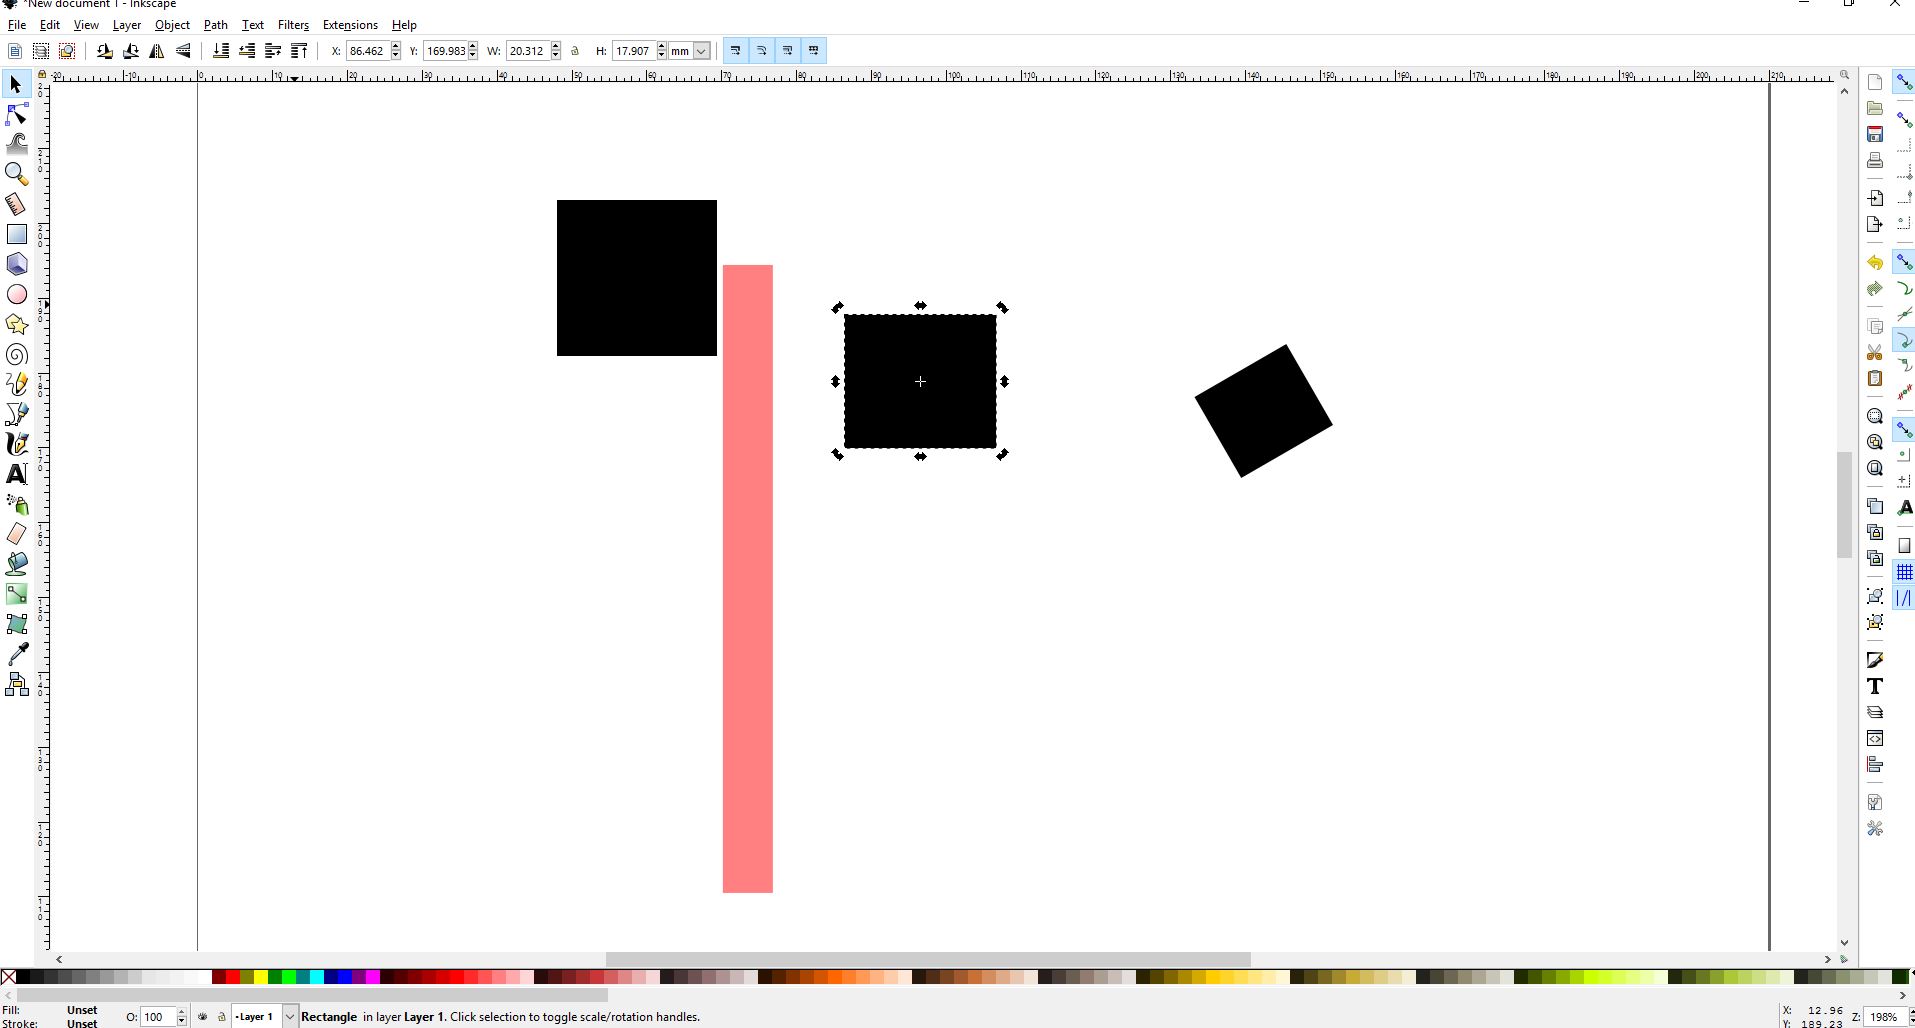 Doing the basic tutorial.
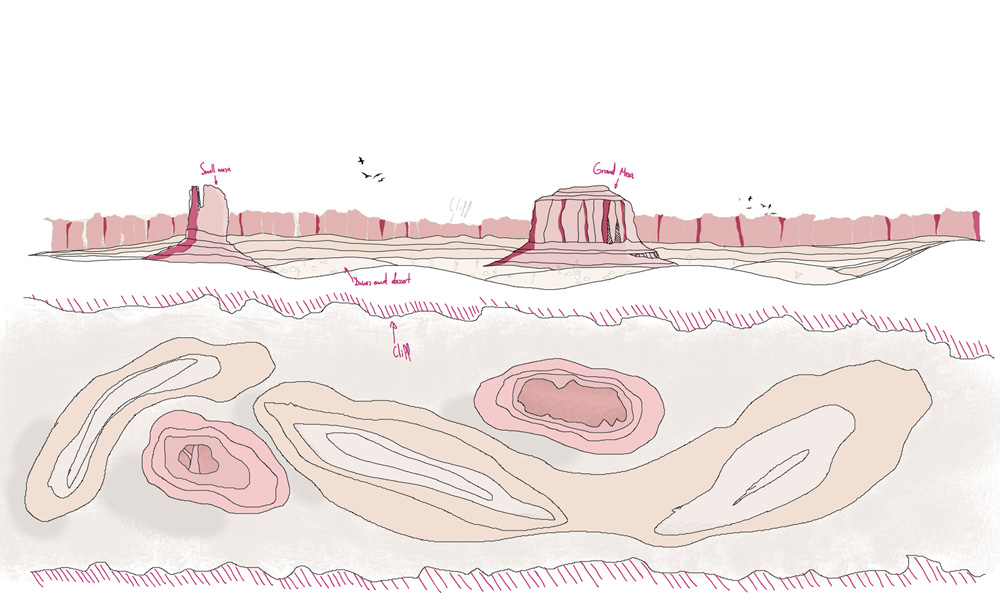
From this point I began to design my landscape,
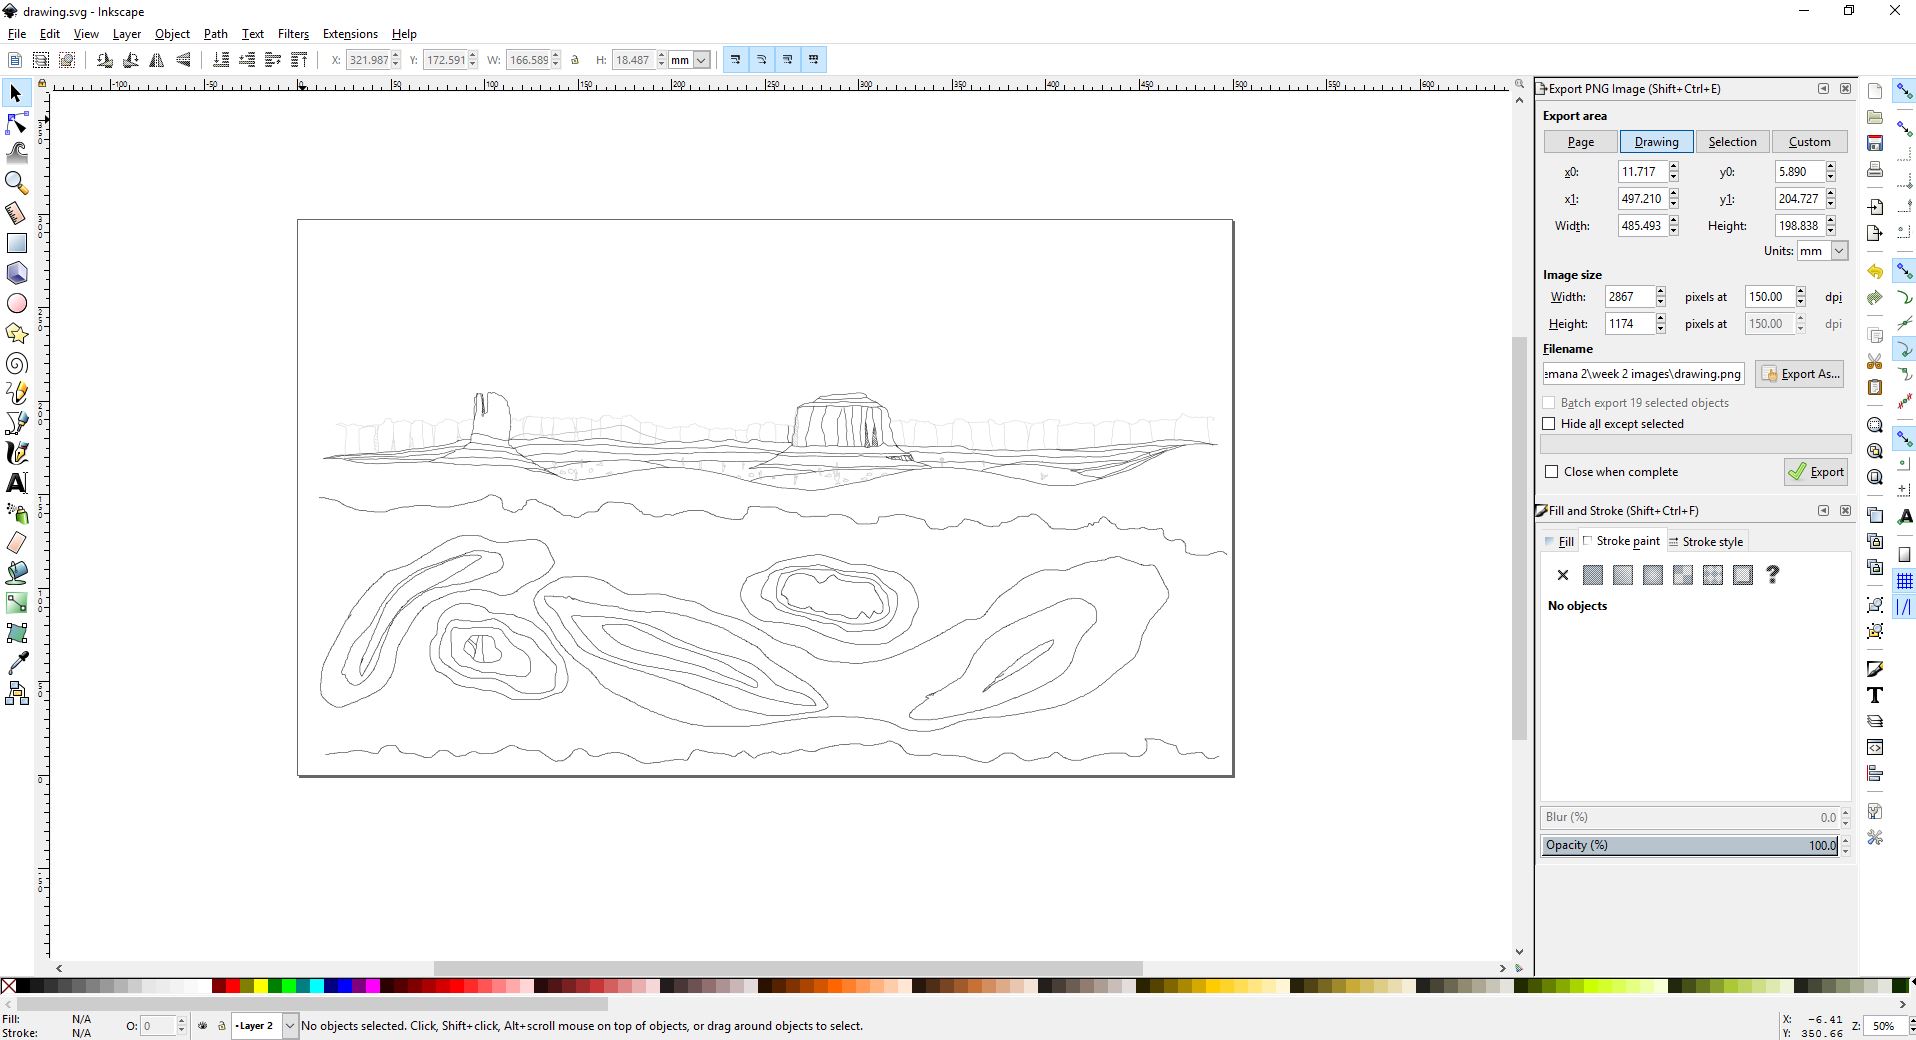 Draw a sketch of an approximation to the terrain I want
 This would be the plant and the elevation of the land that I want to realize.
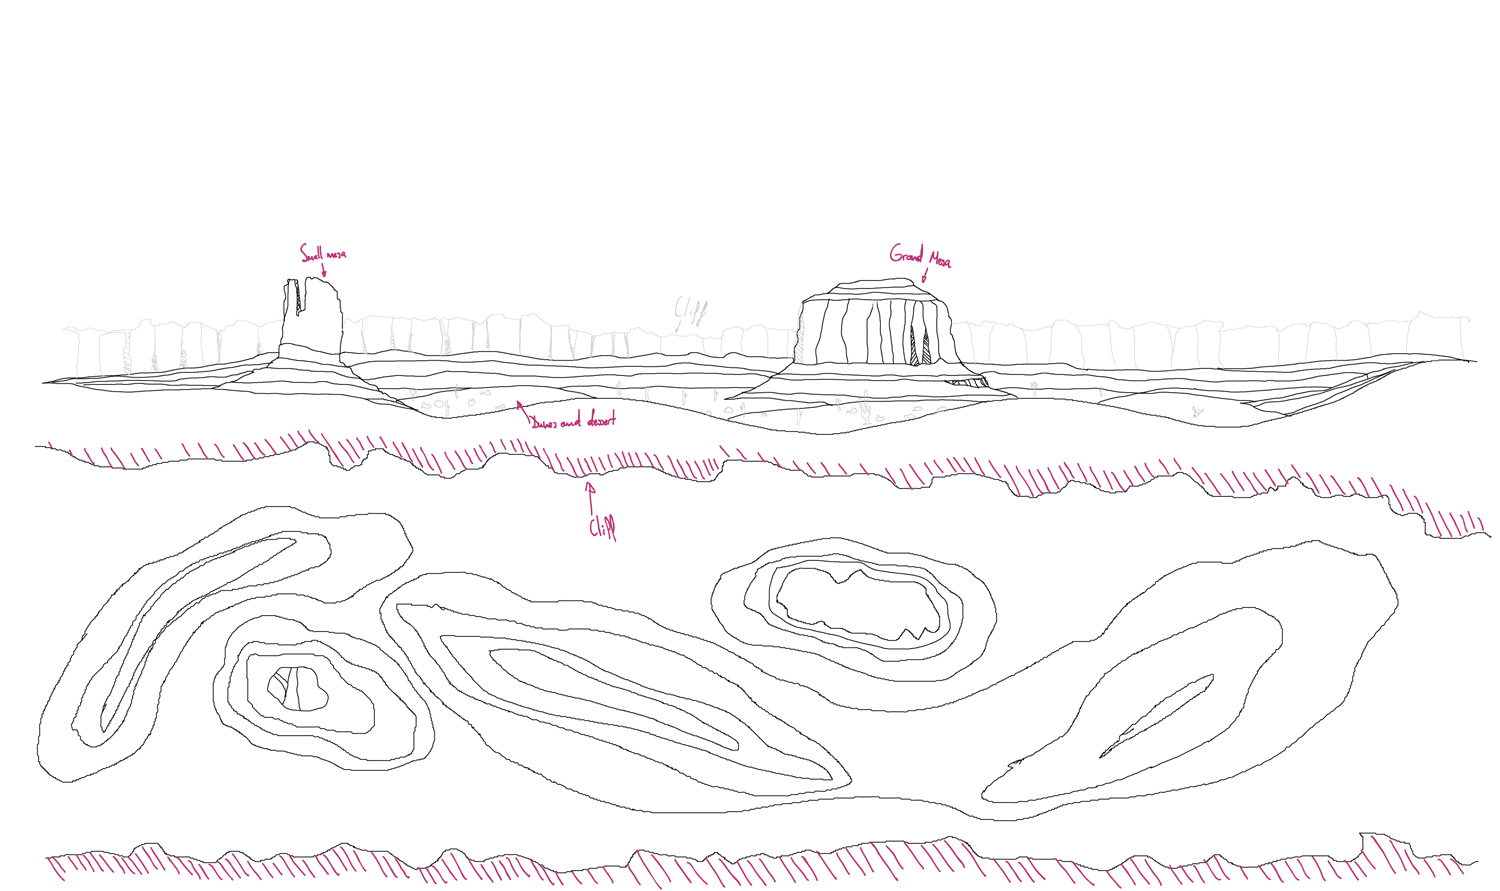 Final result.
4.Gimp:
I Found Gimp a very good tool in some aspects improving photoshop in others, however, it lacks a few more advanced options.
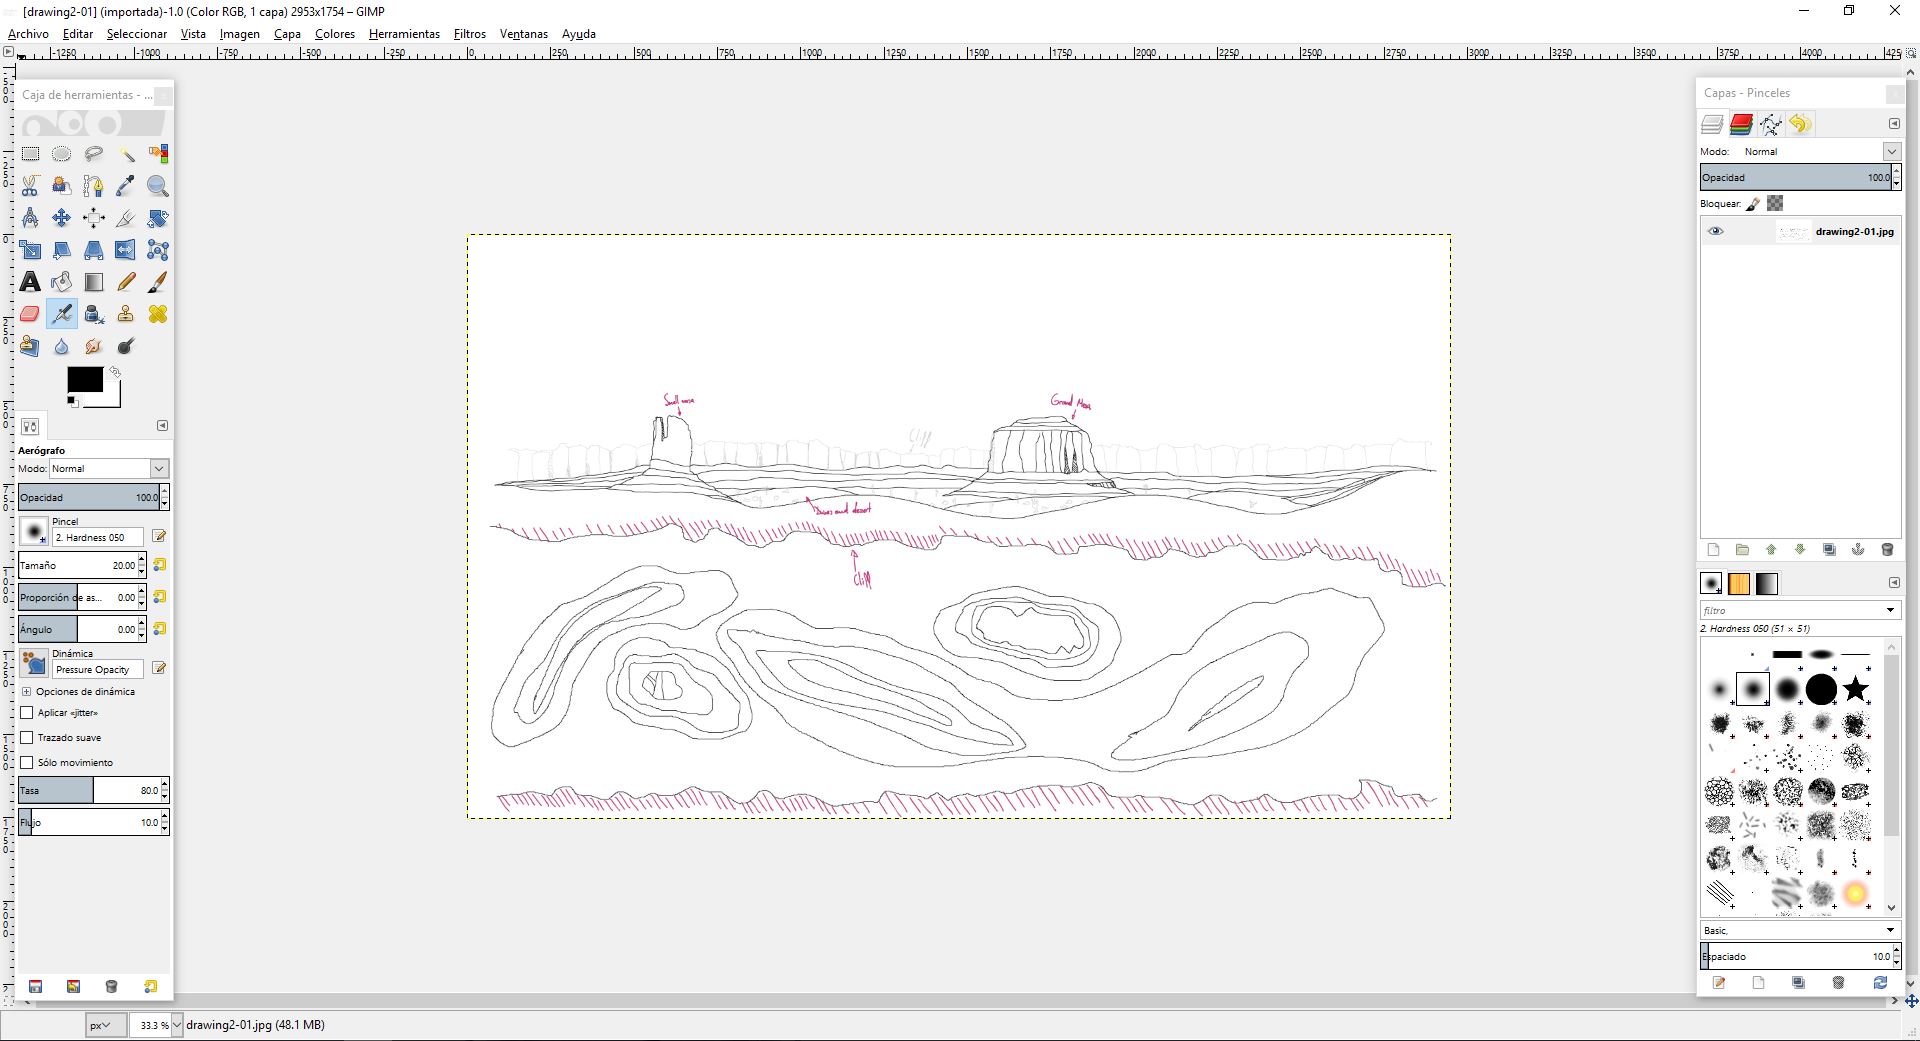 Inserting the image..
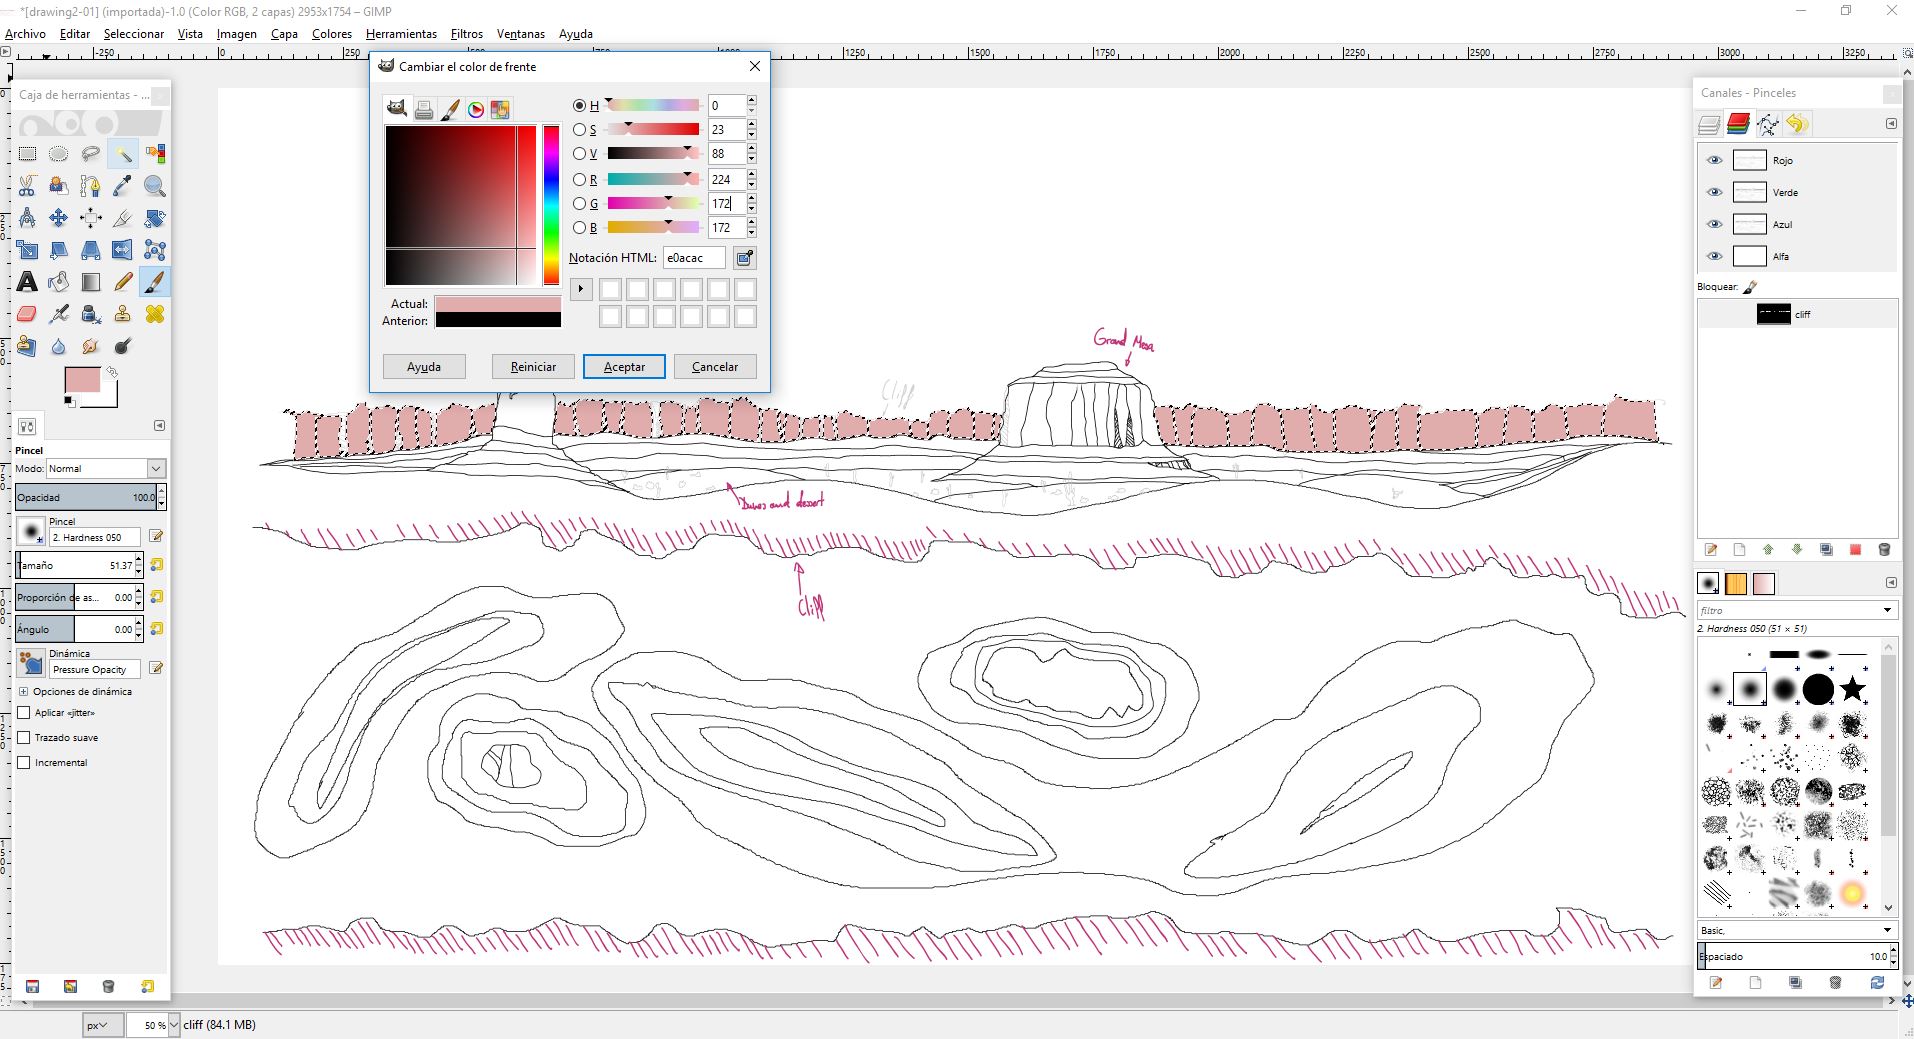 Selecting the background and painting.
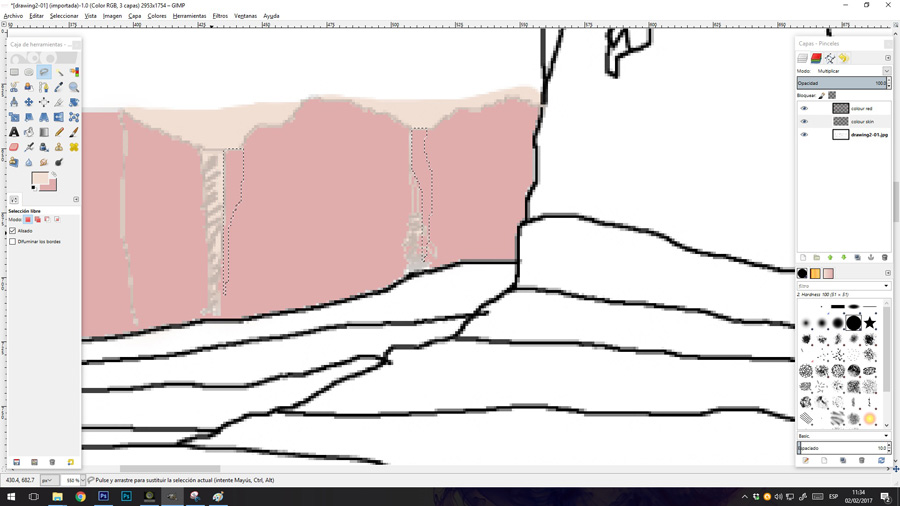 Adding the shadow.
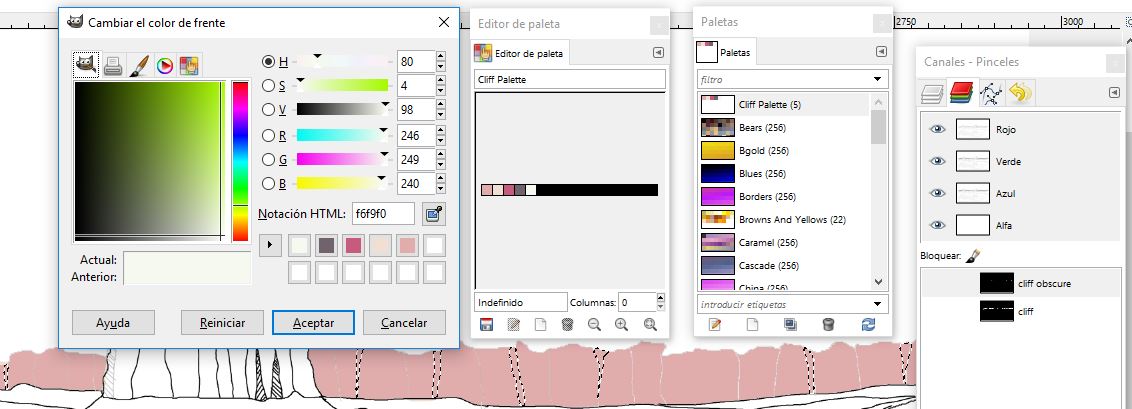 Creating a color palette.
 Adding birds.
 Final result.
5.Blender
The first thing I did was to learn how the Blender interface works, performing a simple tutorial where you have to model a cup and render it.
Also I looked for information in the tutorials of Render Basic in the official website of Blender/learn.
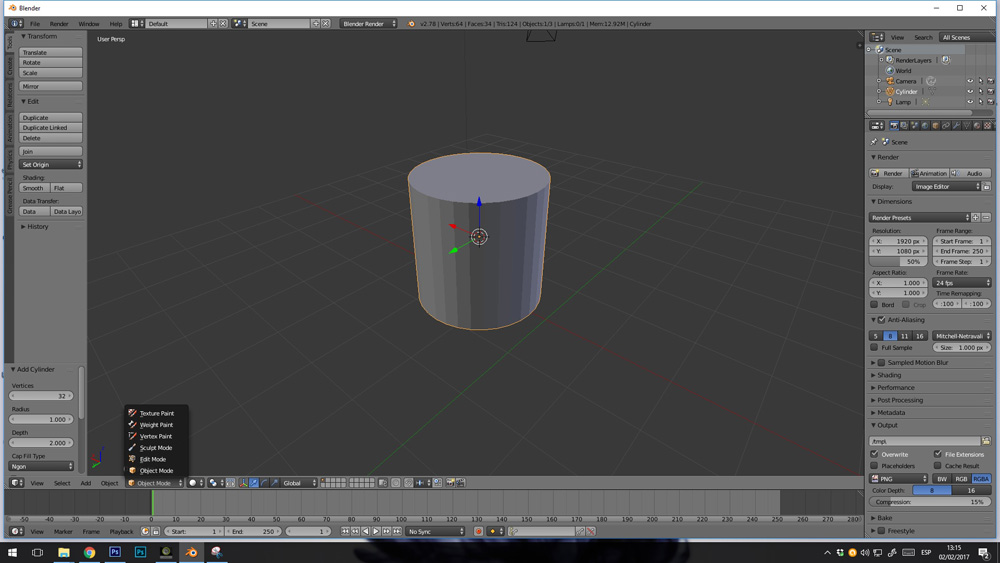 add/mesh/cylinder.
 Selecting faces and escaling vertex and edges to make the cup shape.
 Making the join with the handle.
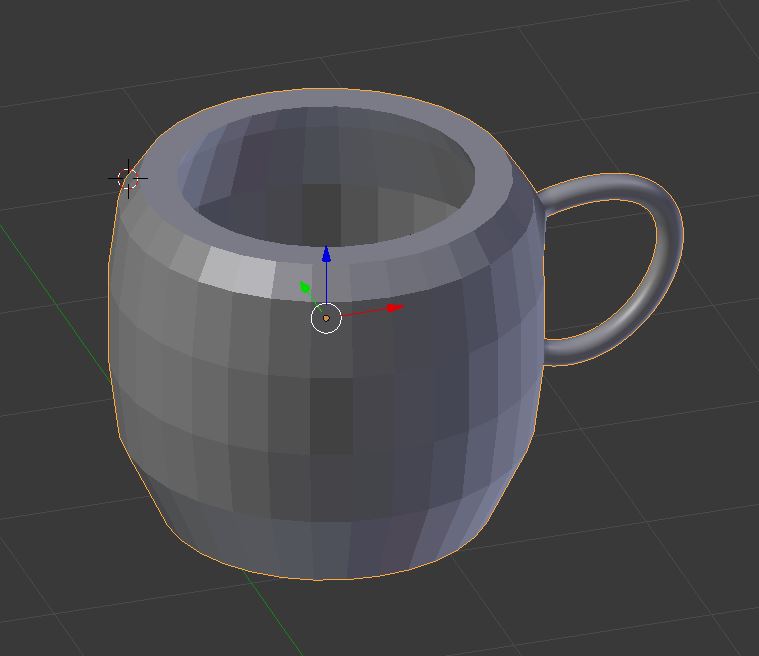 smoothing the volume.
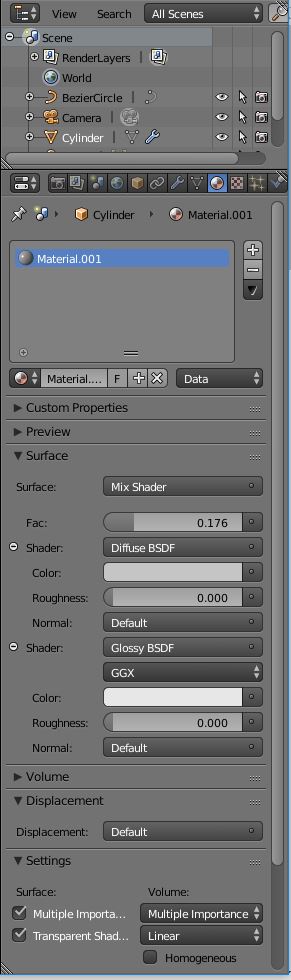 creating a ceramic material with a glossy channel.
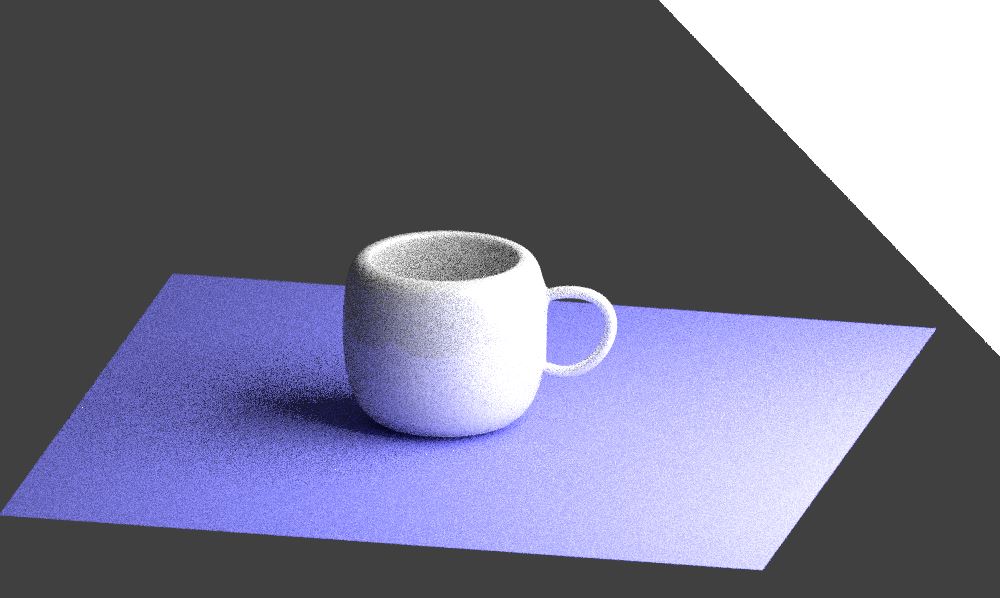 creating a background, a plane and Testing different lights.
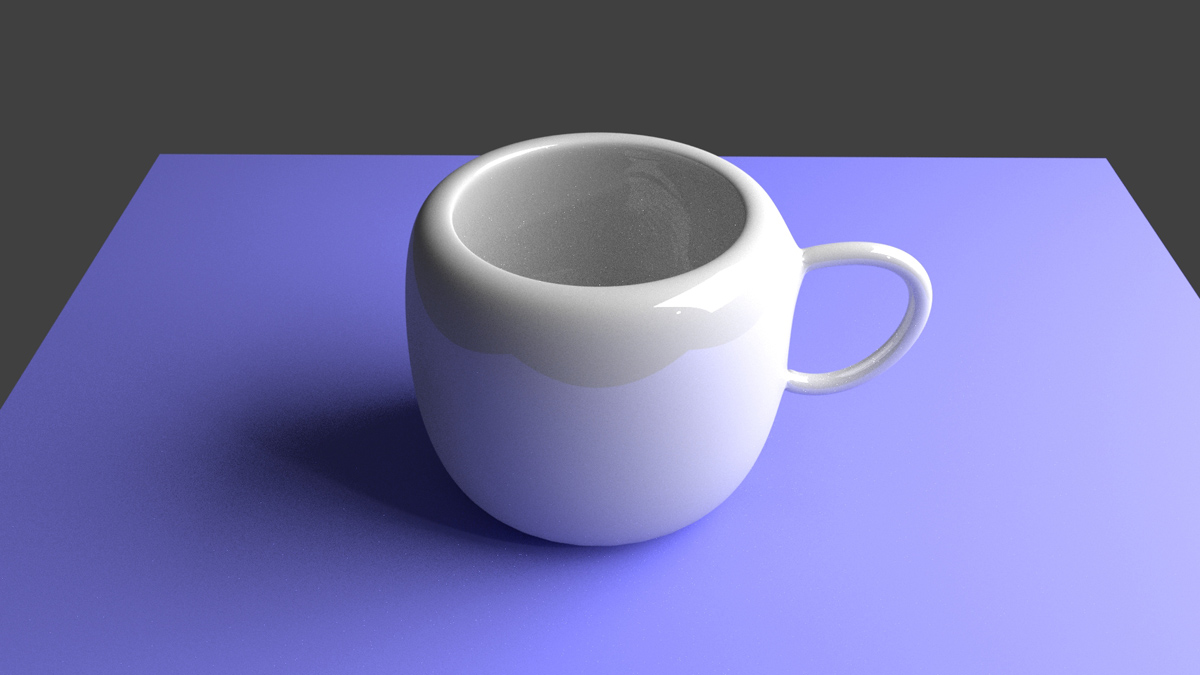 My first render.
Now I'm ready to start modeling my terrain in 3D
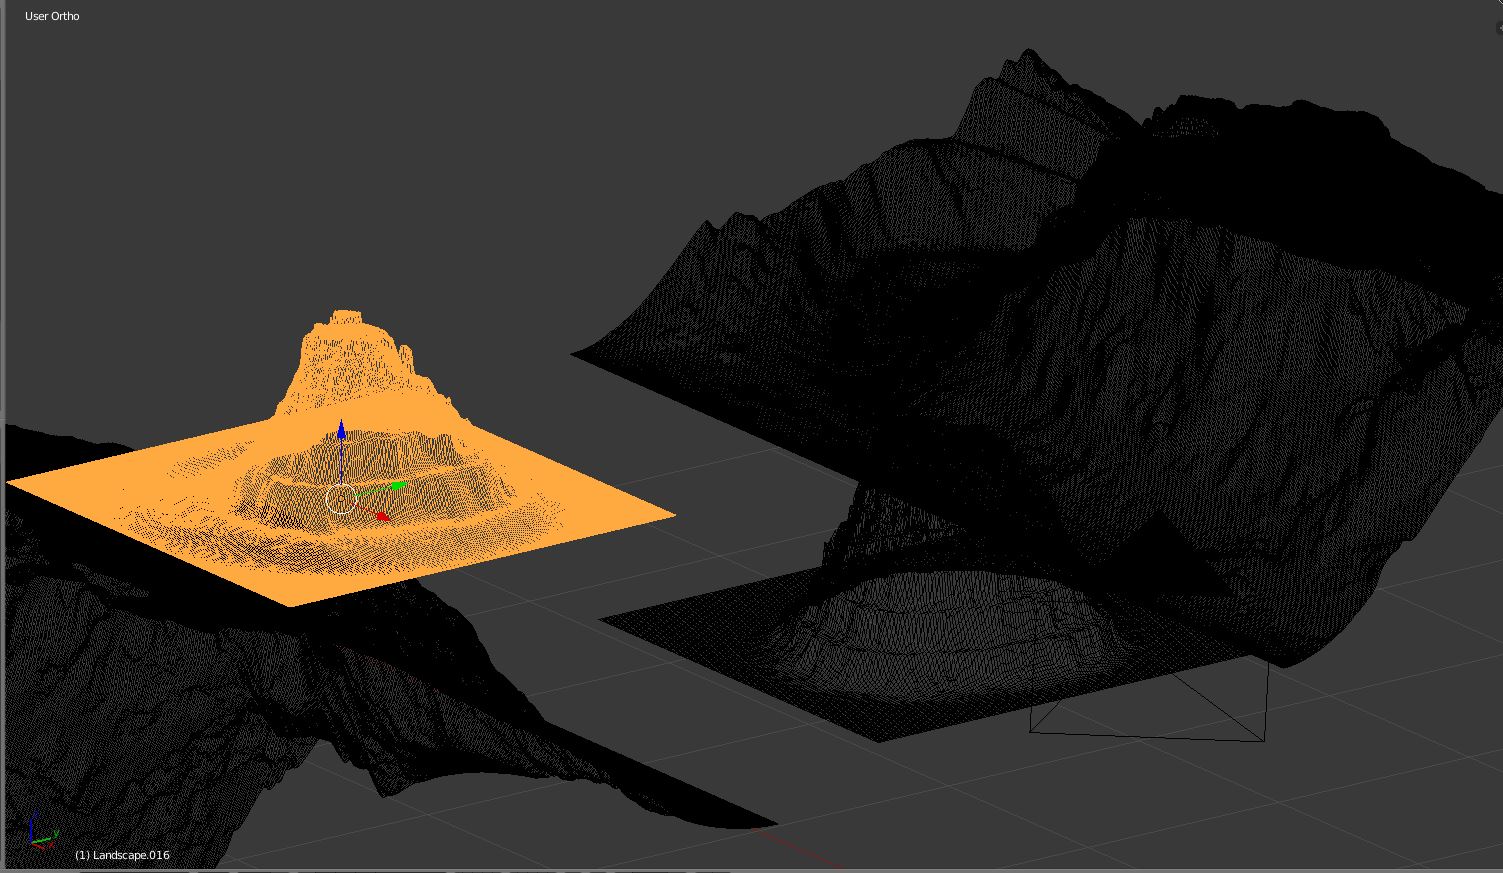
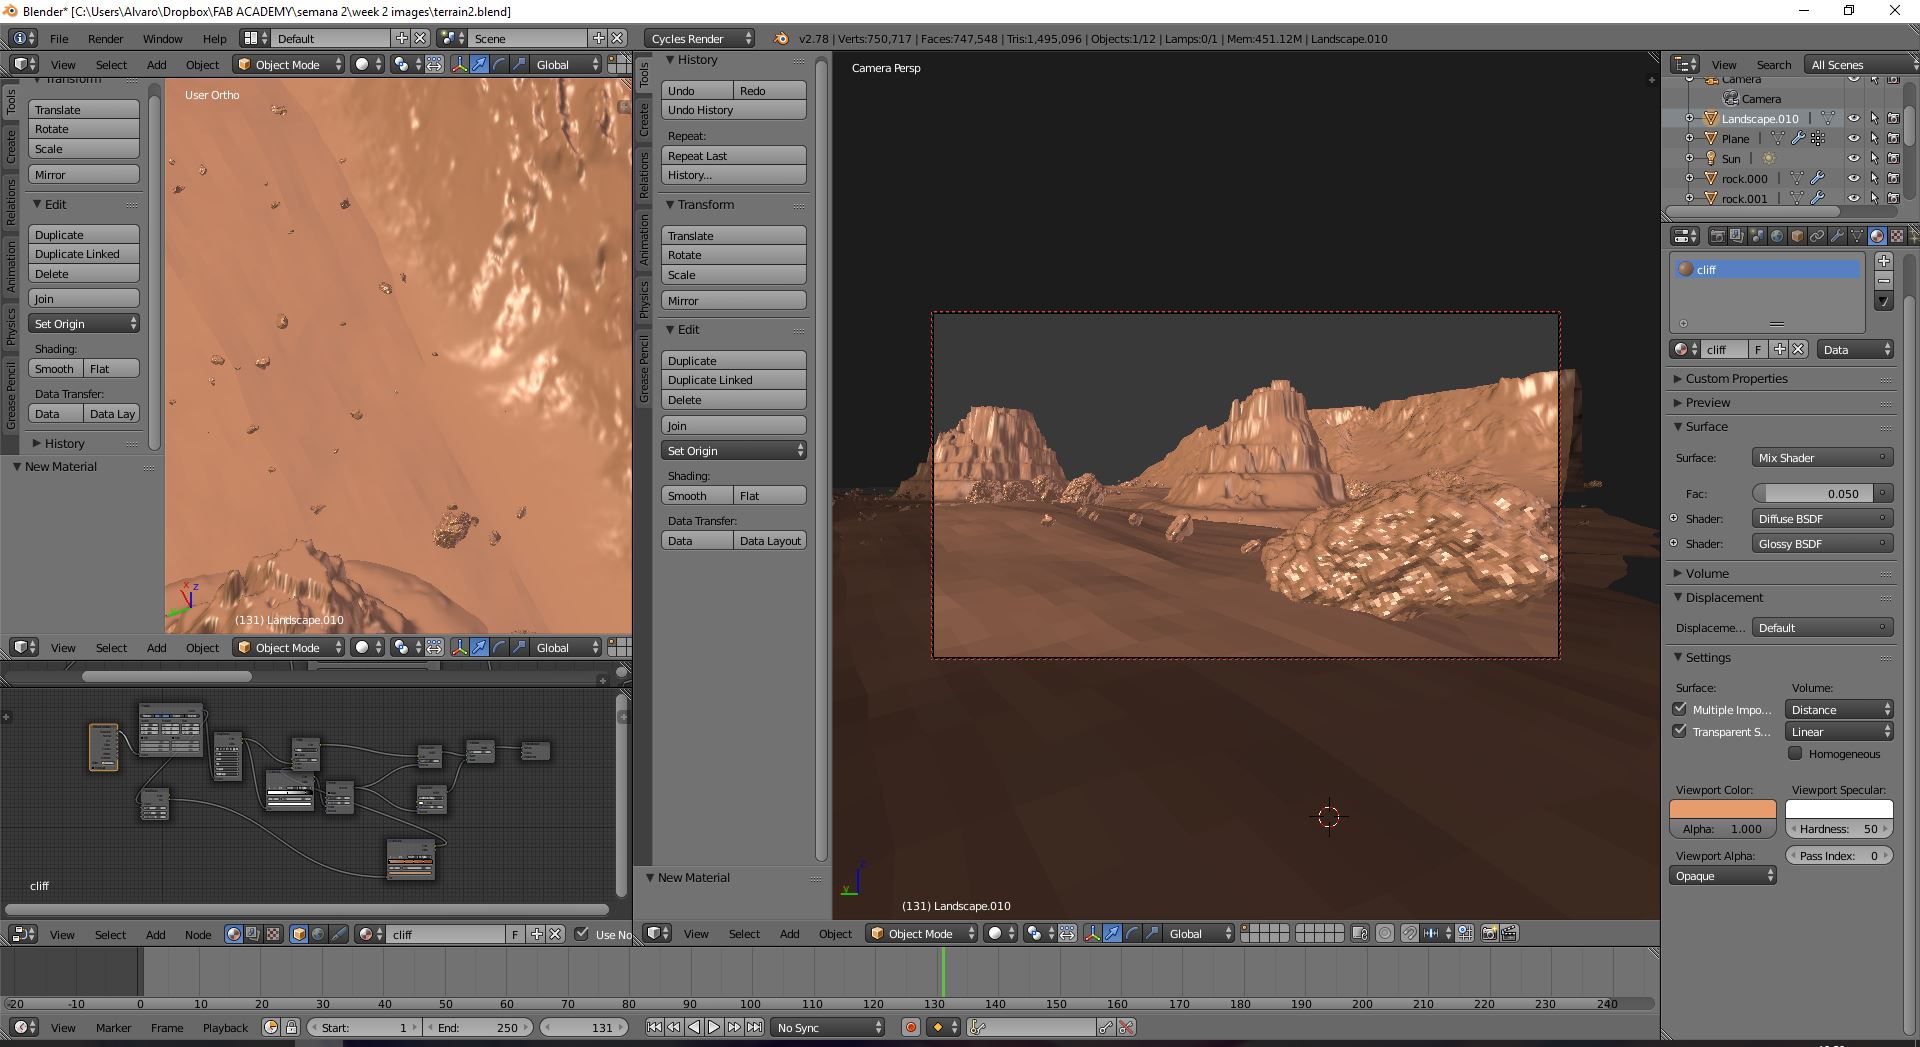
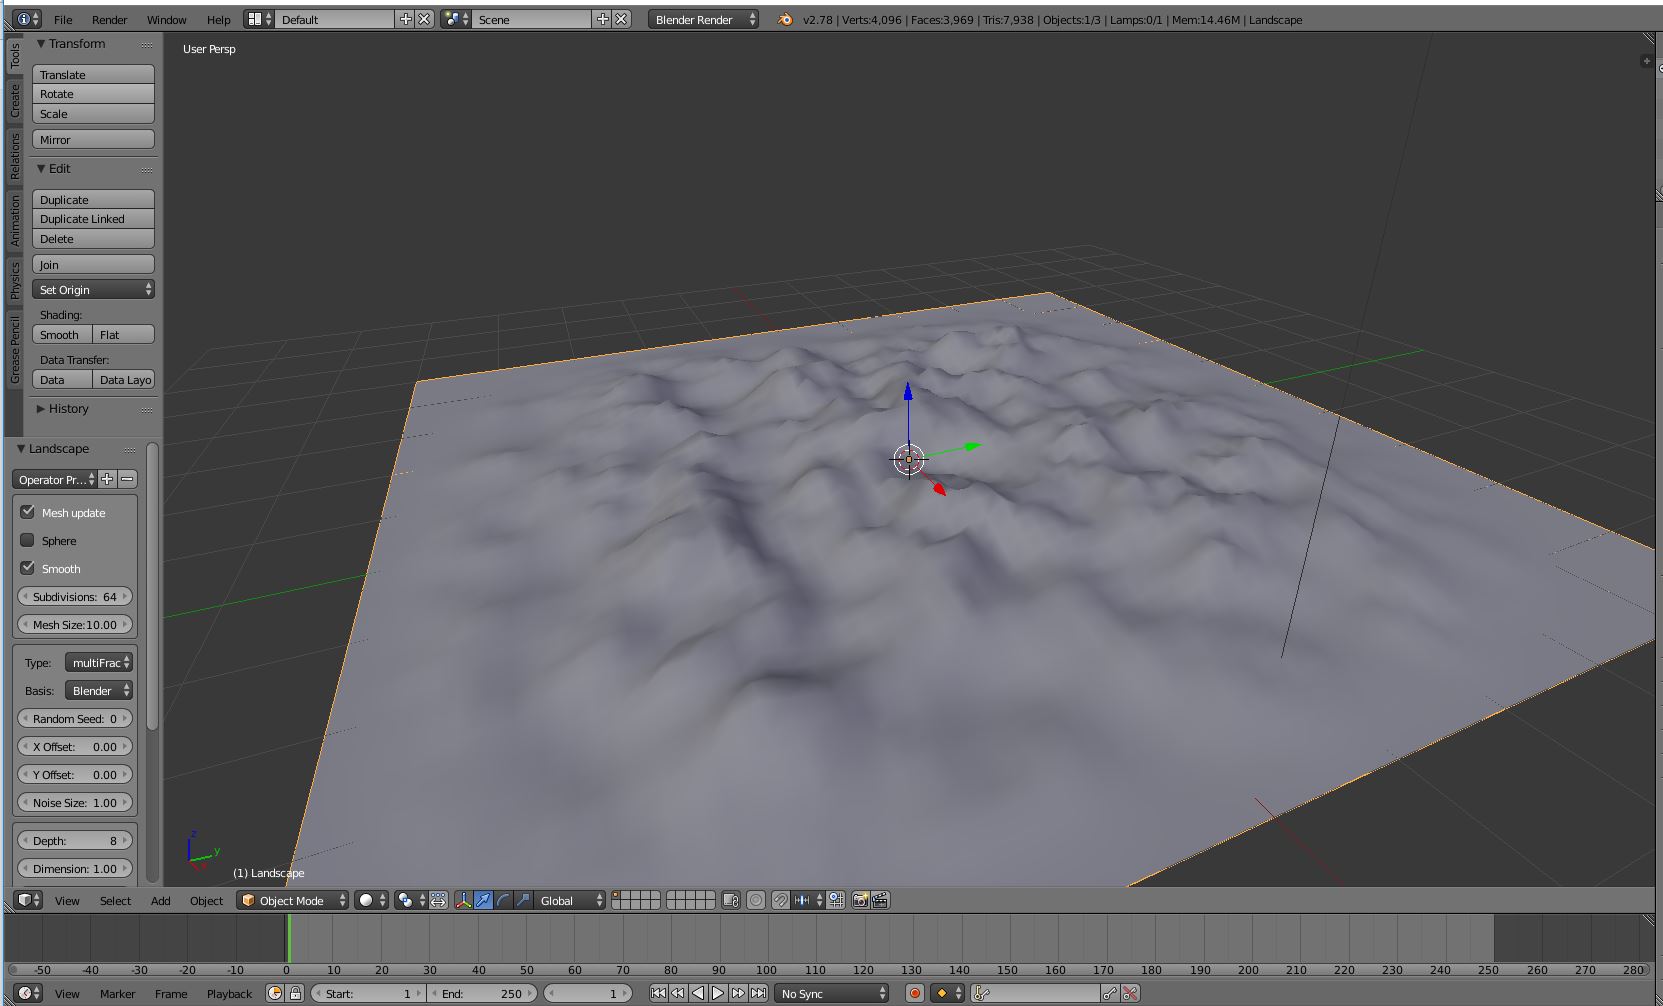 creating a terrain in blender with landscape tool.
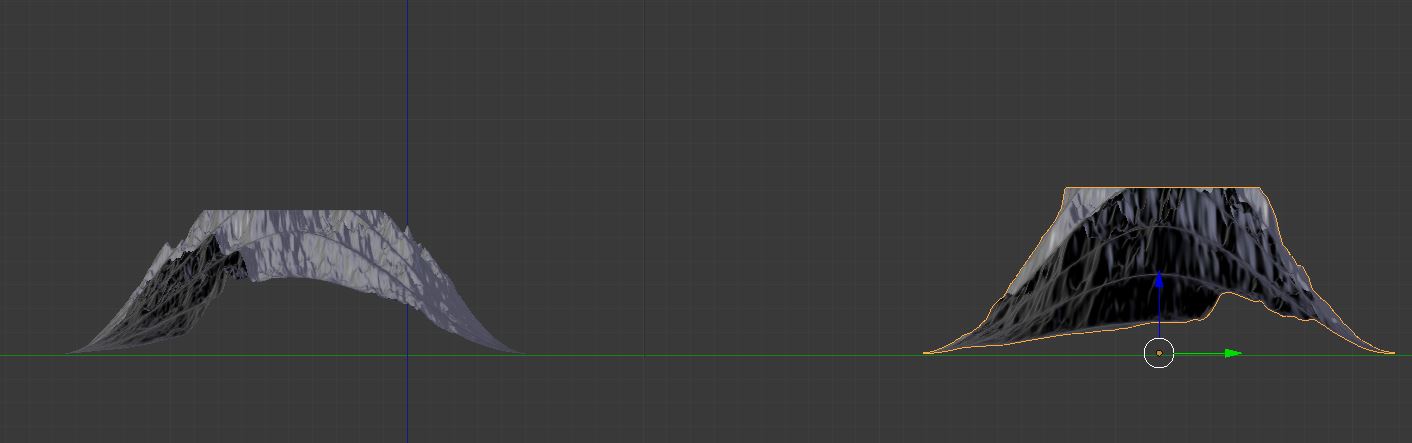 two models of landscape creating a cliff.
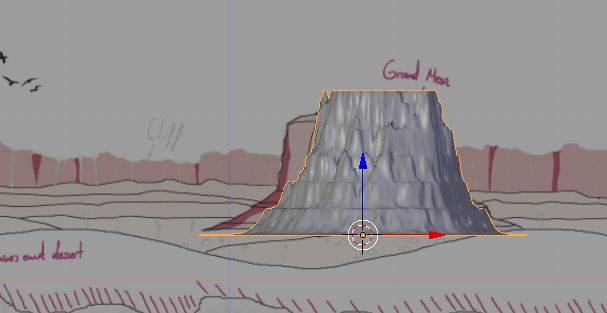 Resembling the terrain to the sketch.
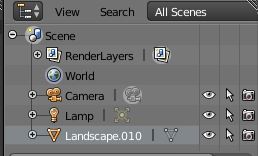
 Setting up the four objects.
 joining in one object.
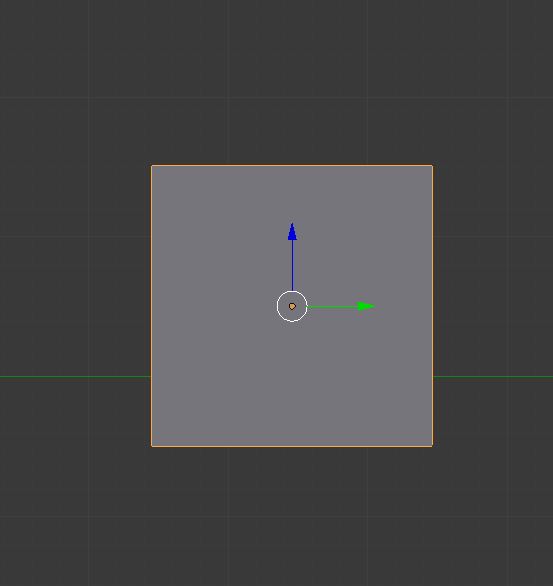
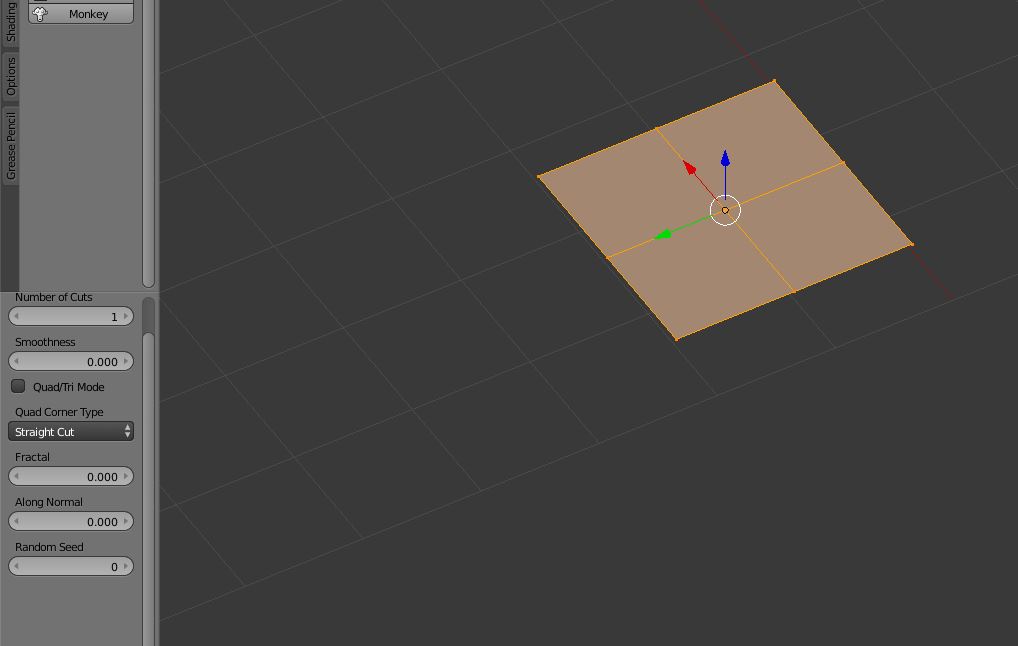 Creating a plane.
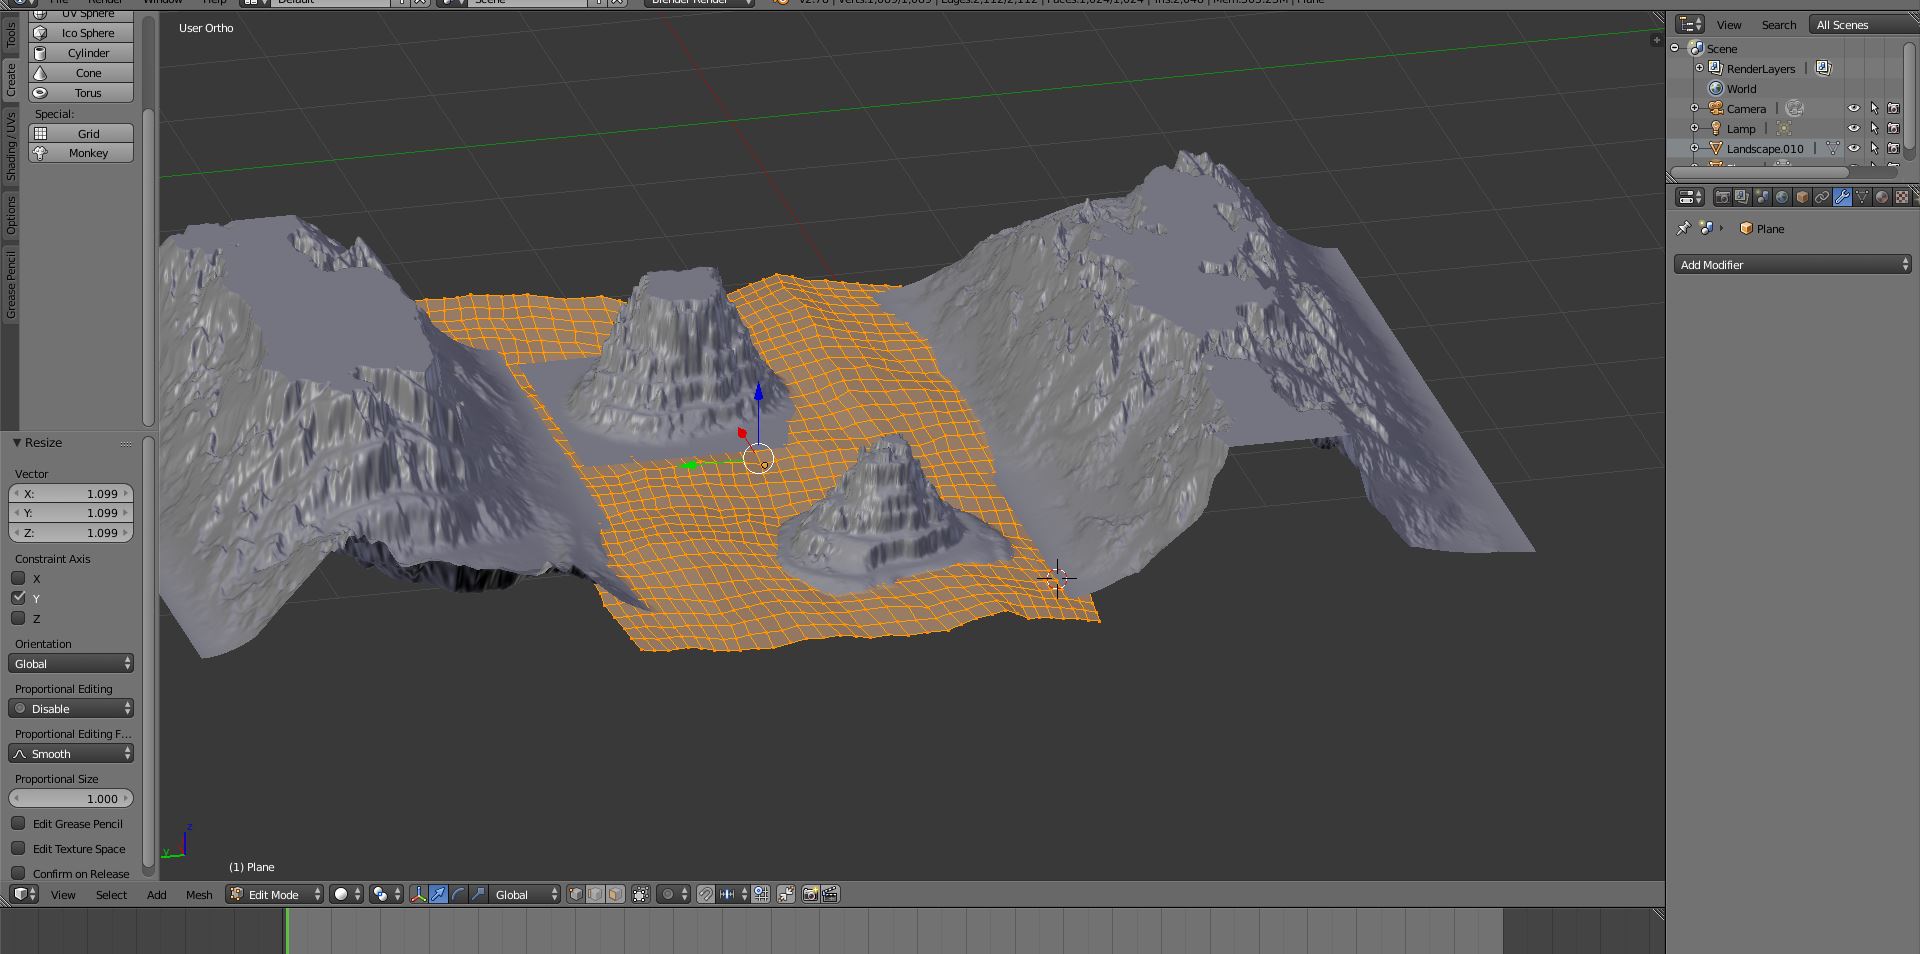 Scaling and making subdivisions.
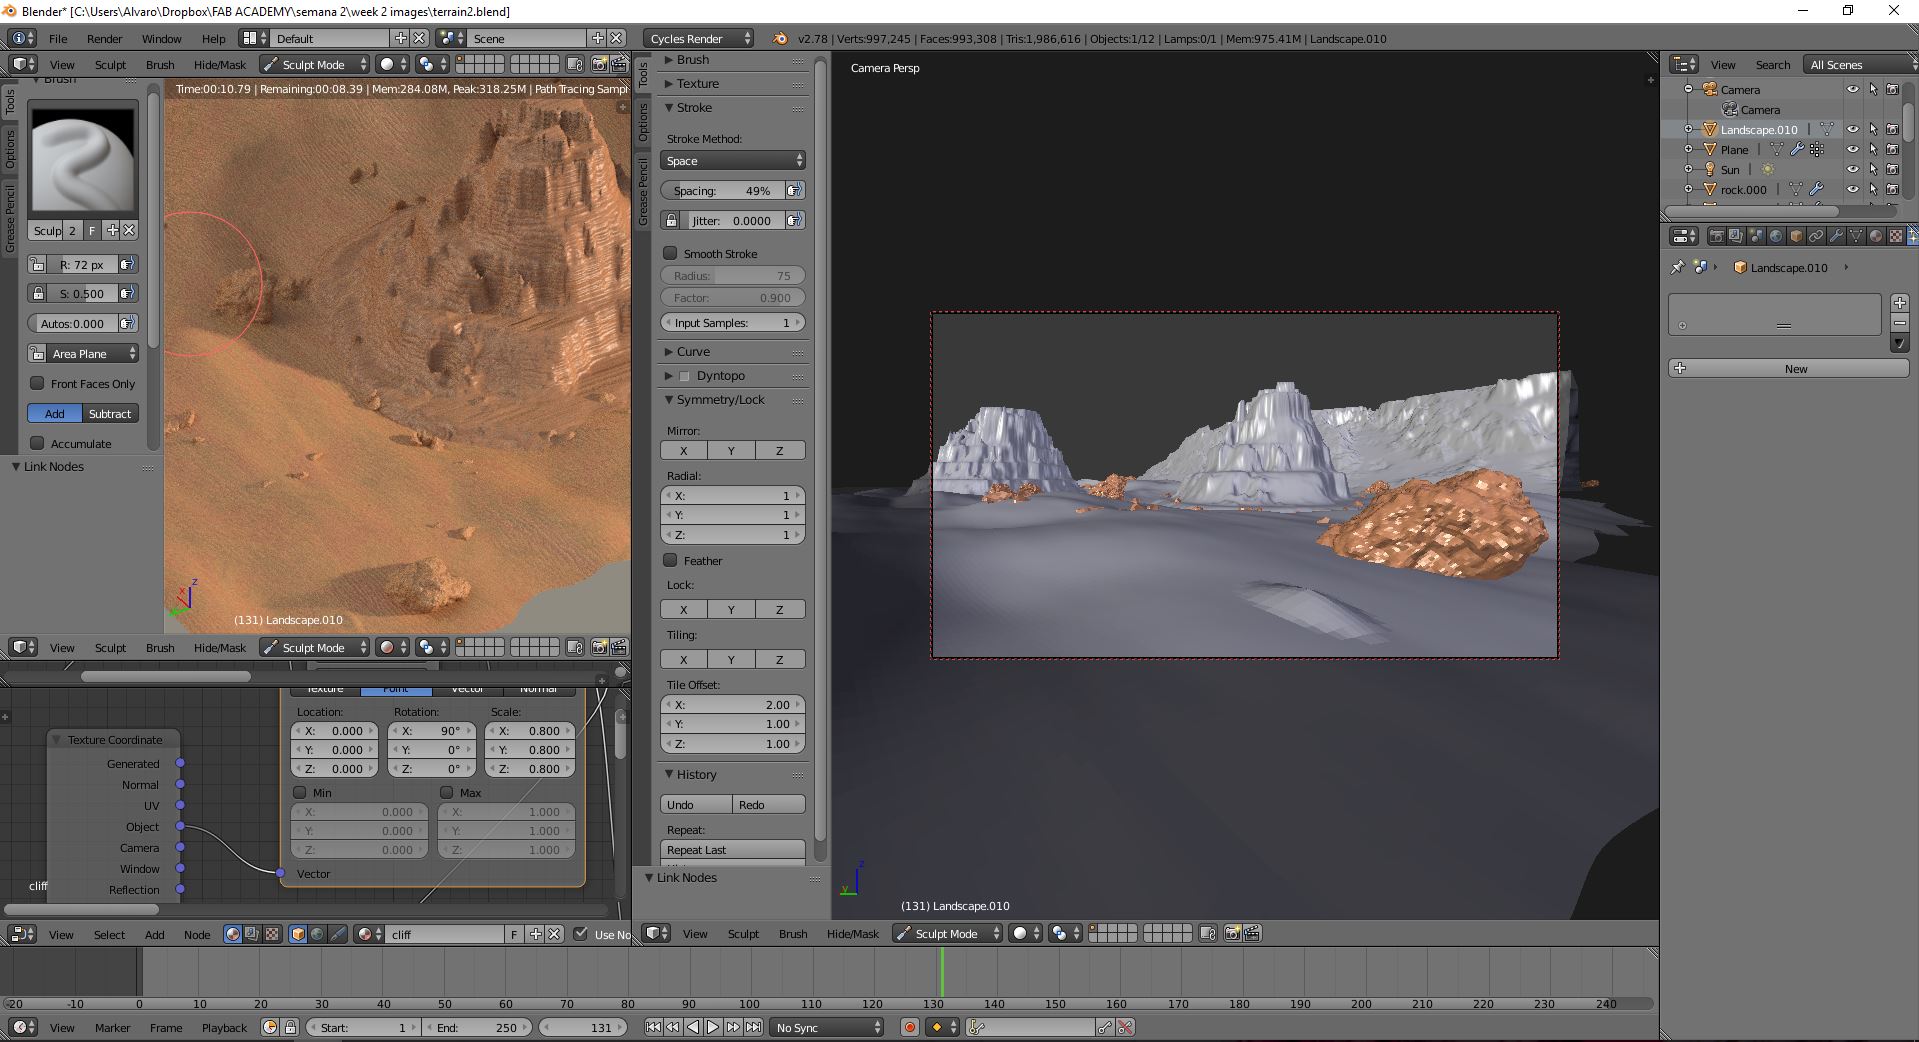
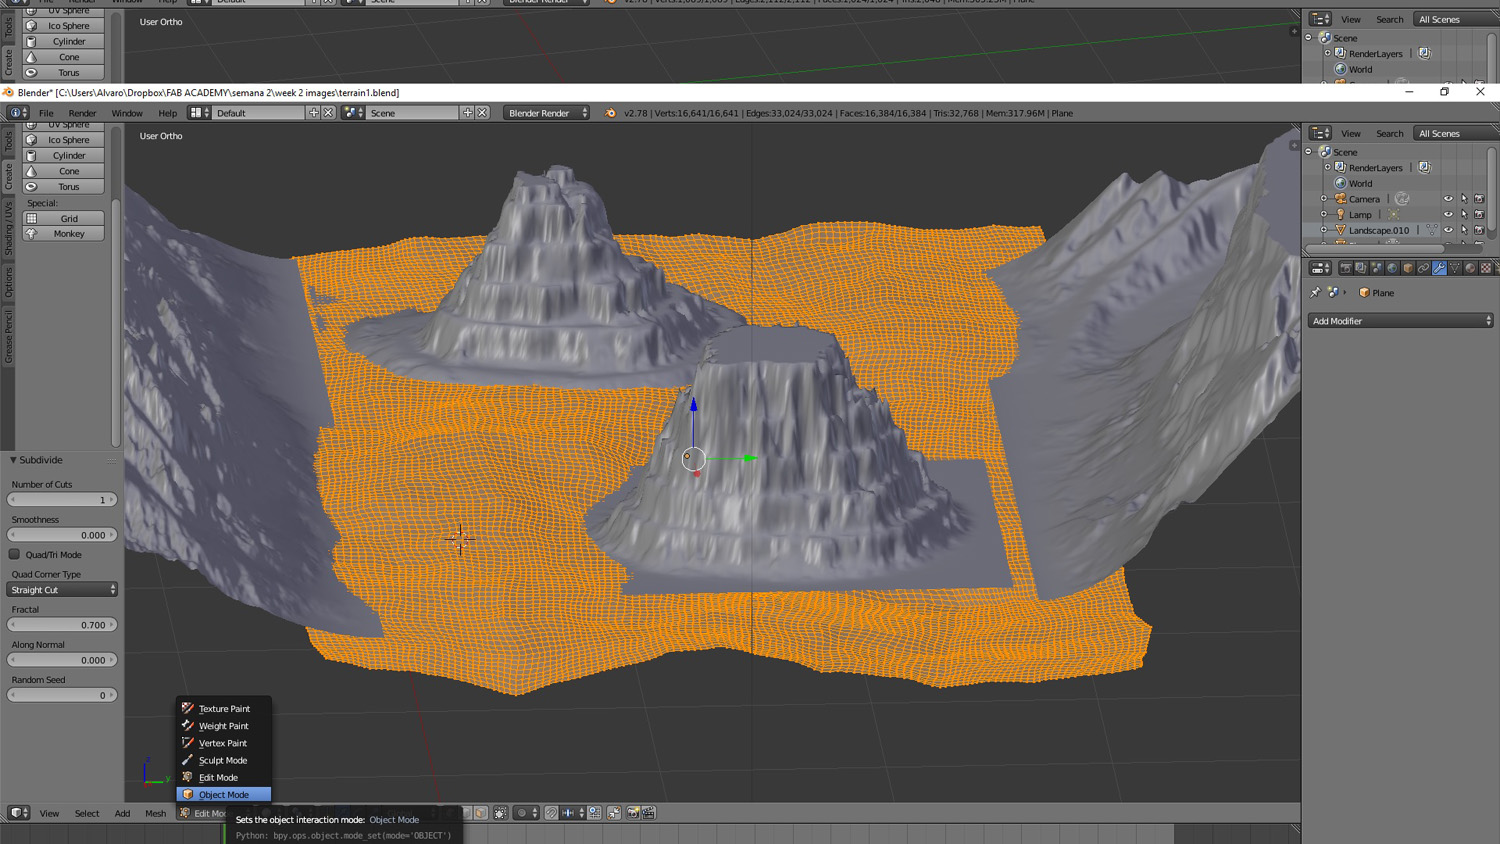 making more subdivision for creating dunes.
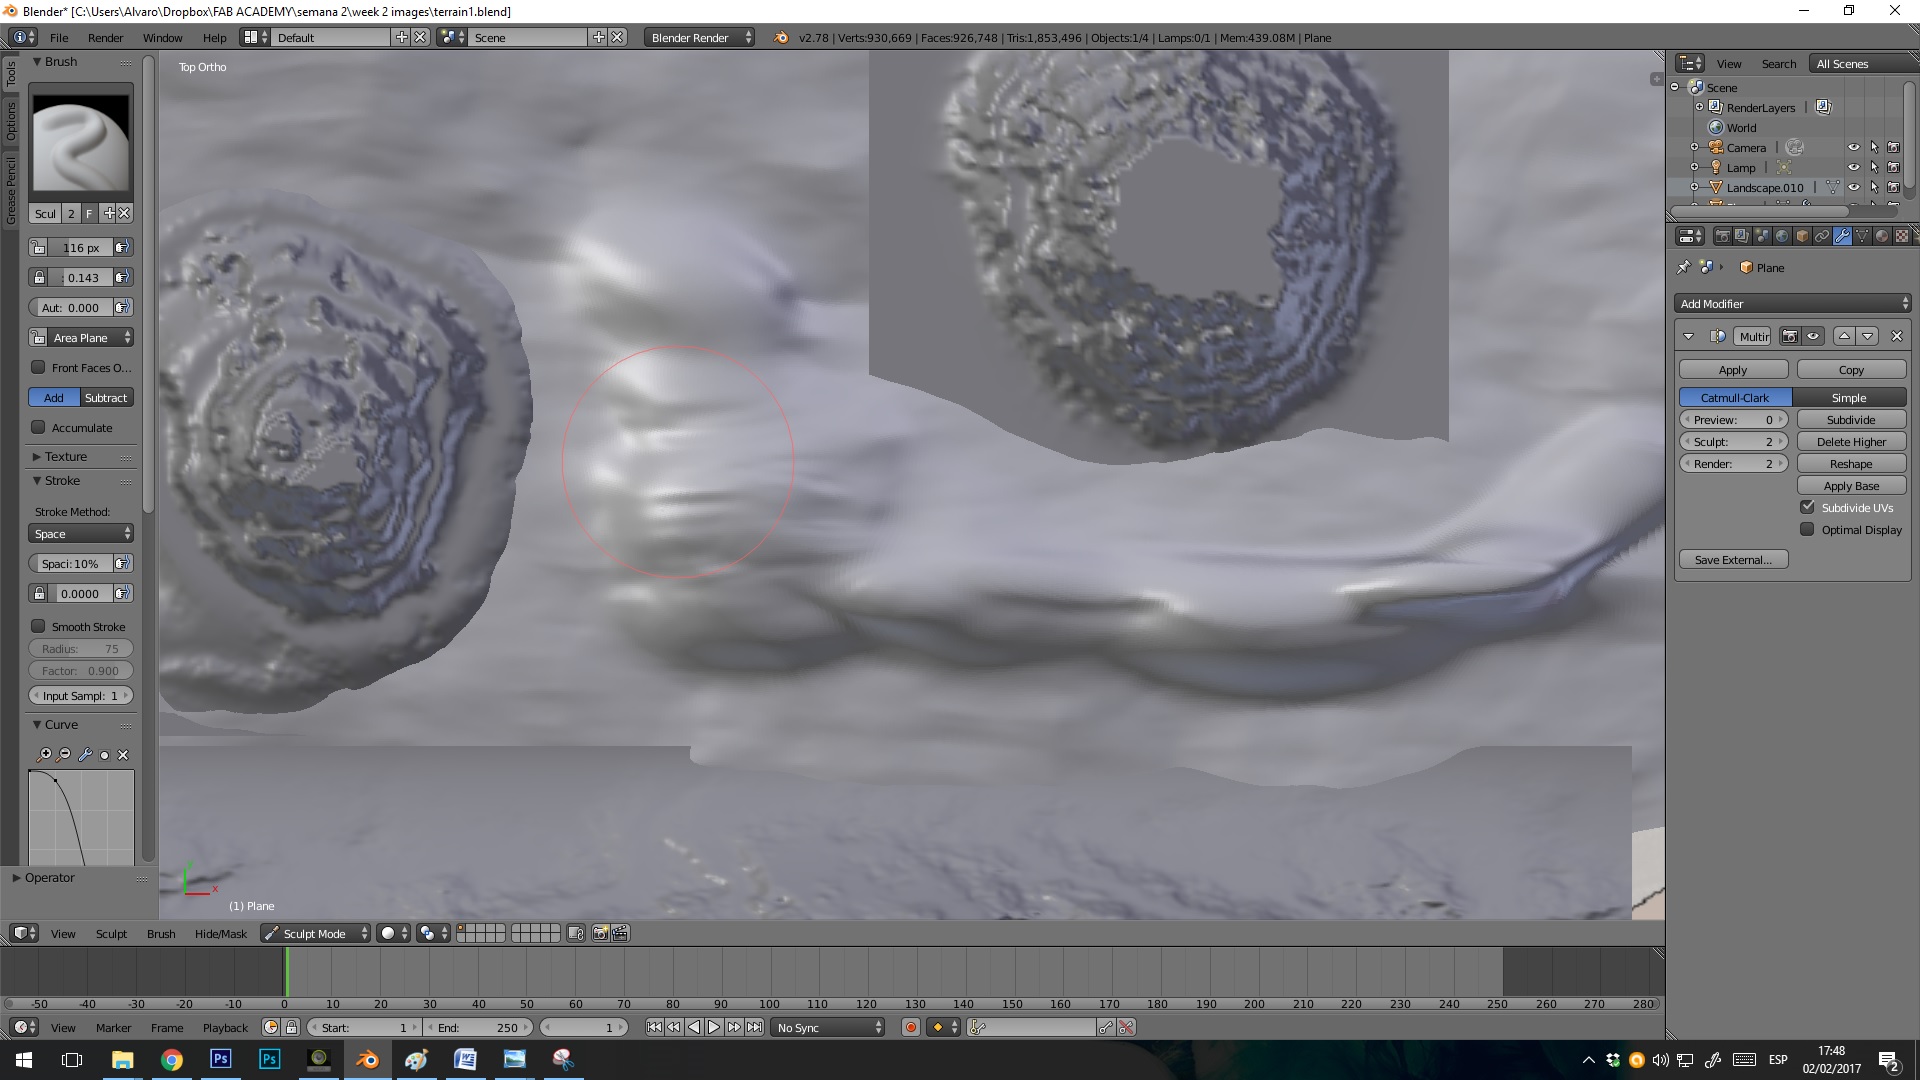 sculpting dunes in sculpting mode of blender.
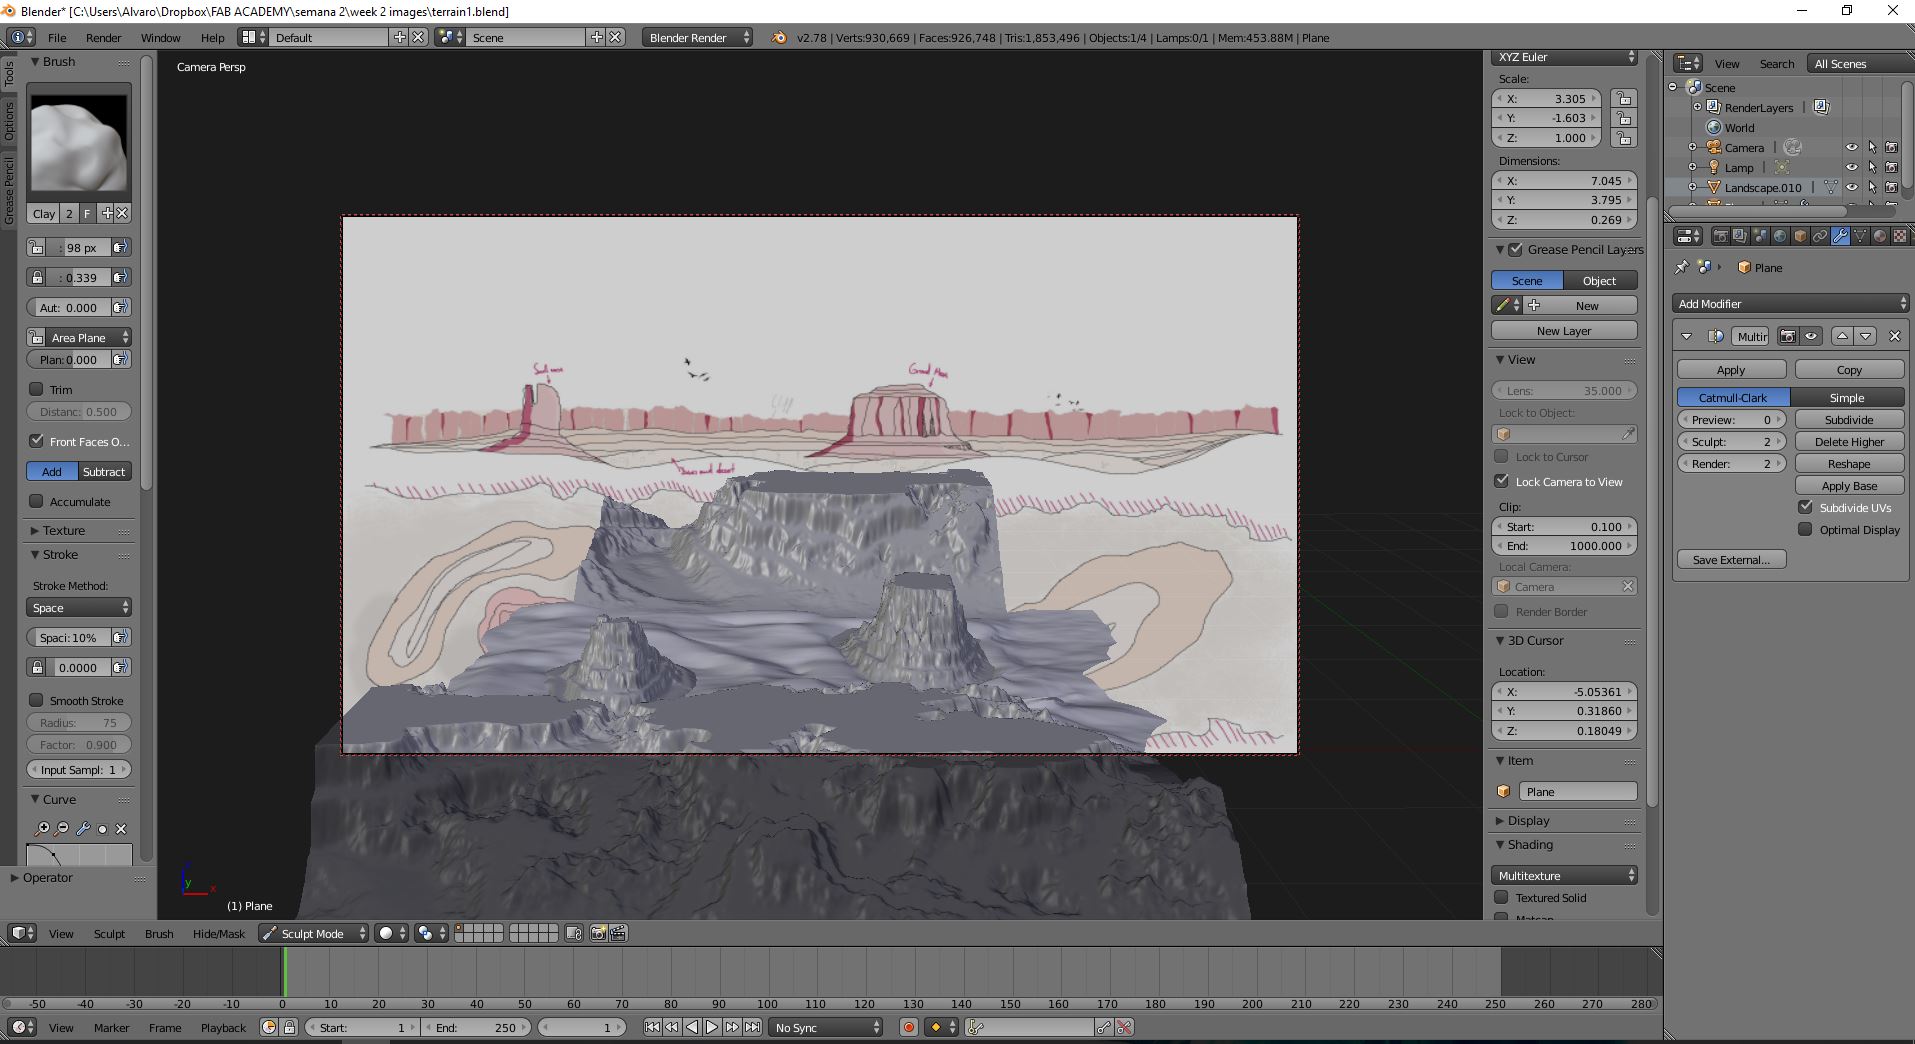 Comparison with Sketch.
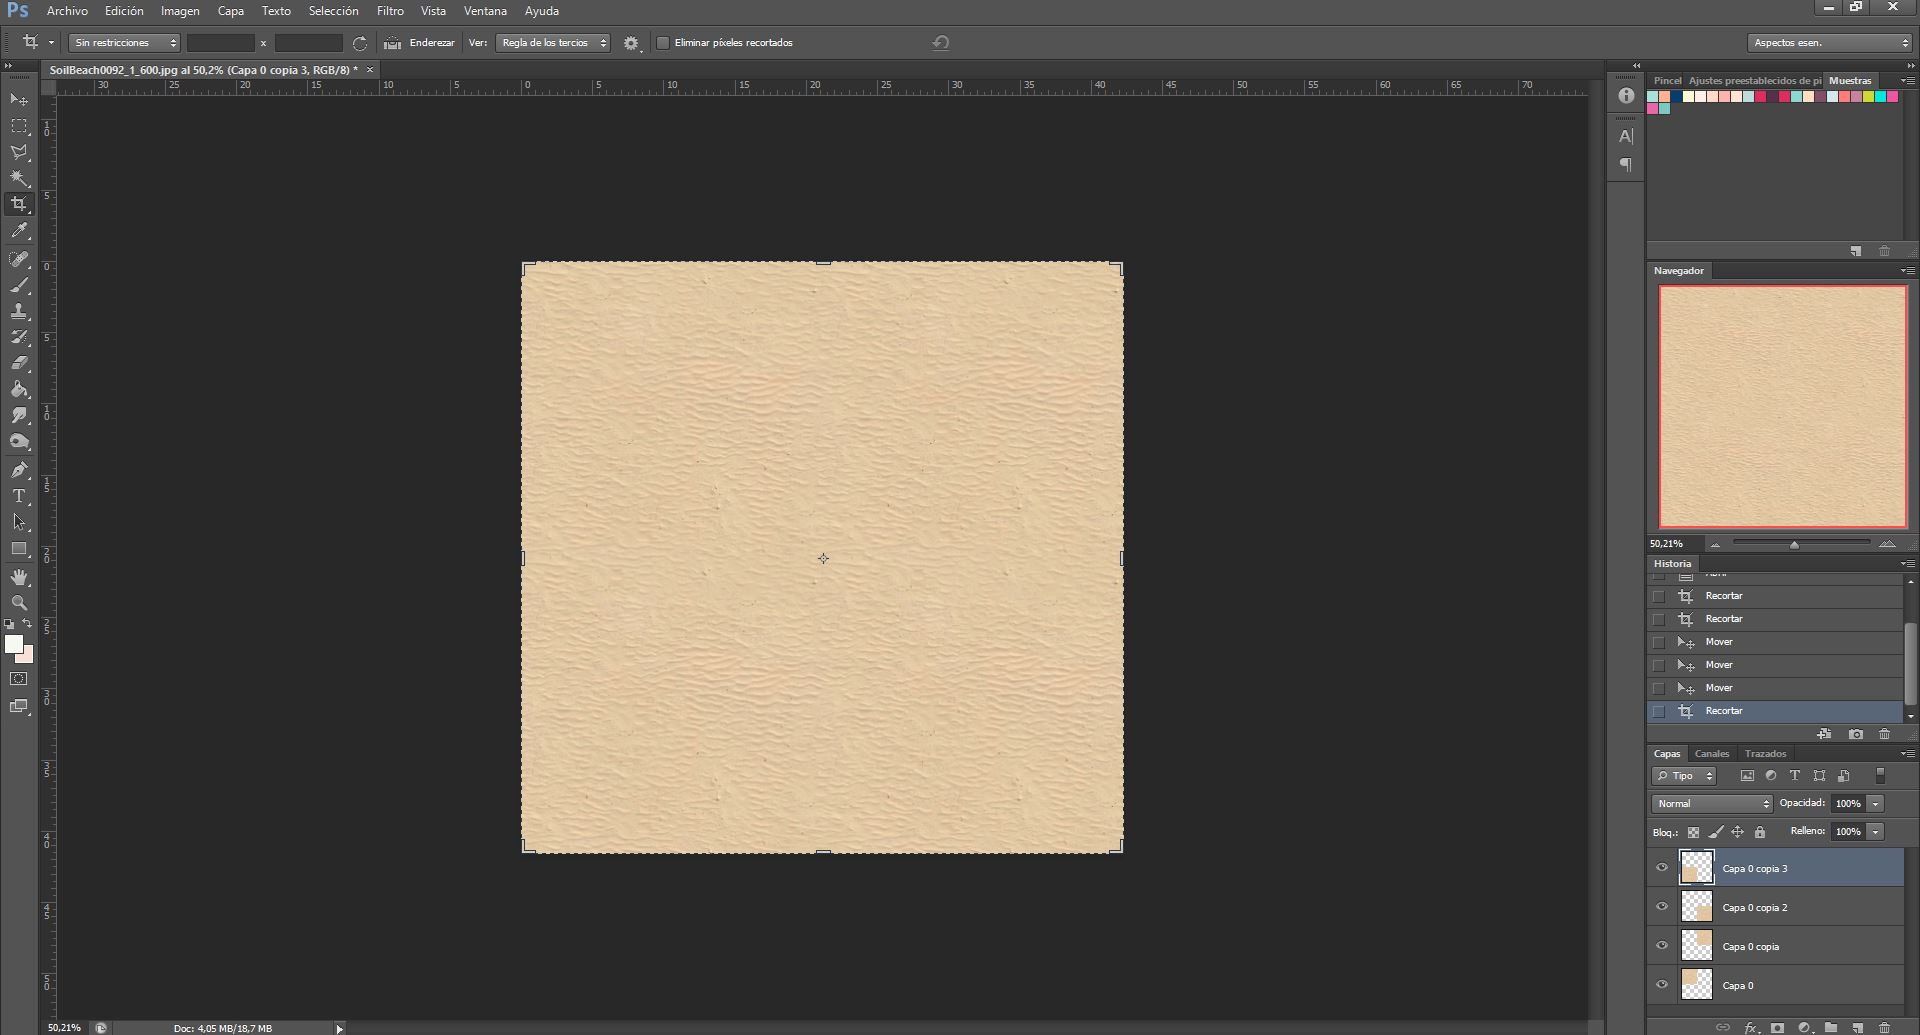 -TEXTURING- Download a image of a beach and make tileable with photoshop.
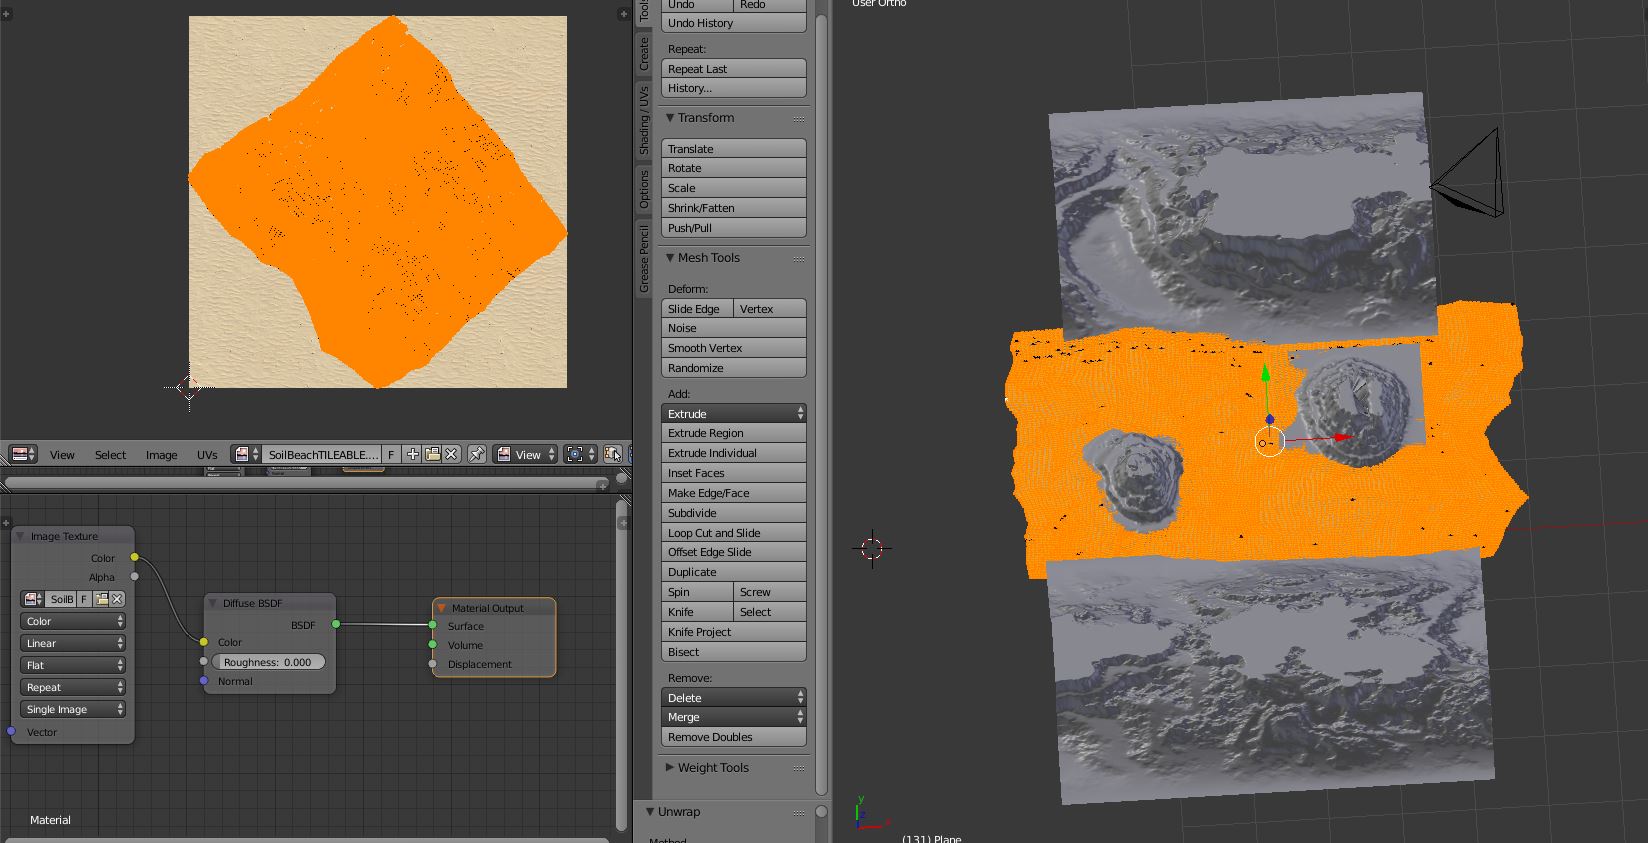 Adding texture at material, Unwraping faces into the image and setting up, the nodes tool its very usefull .
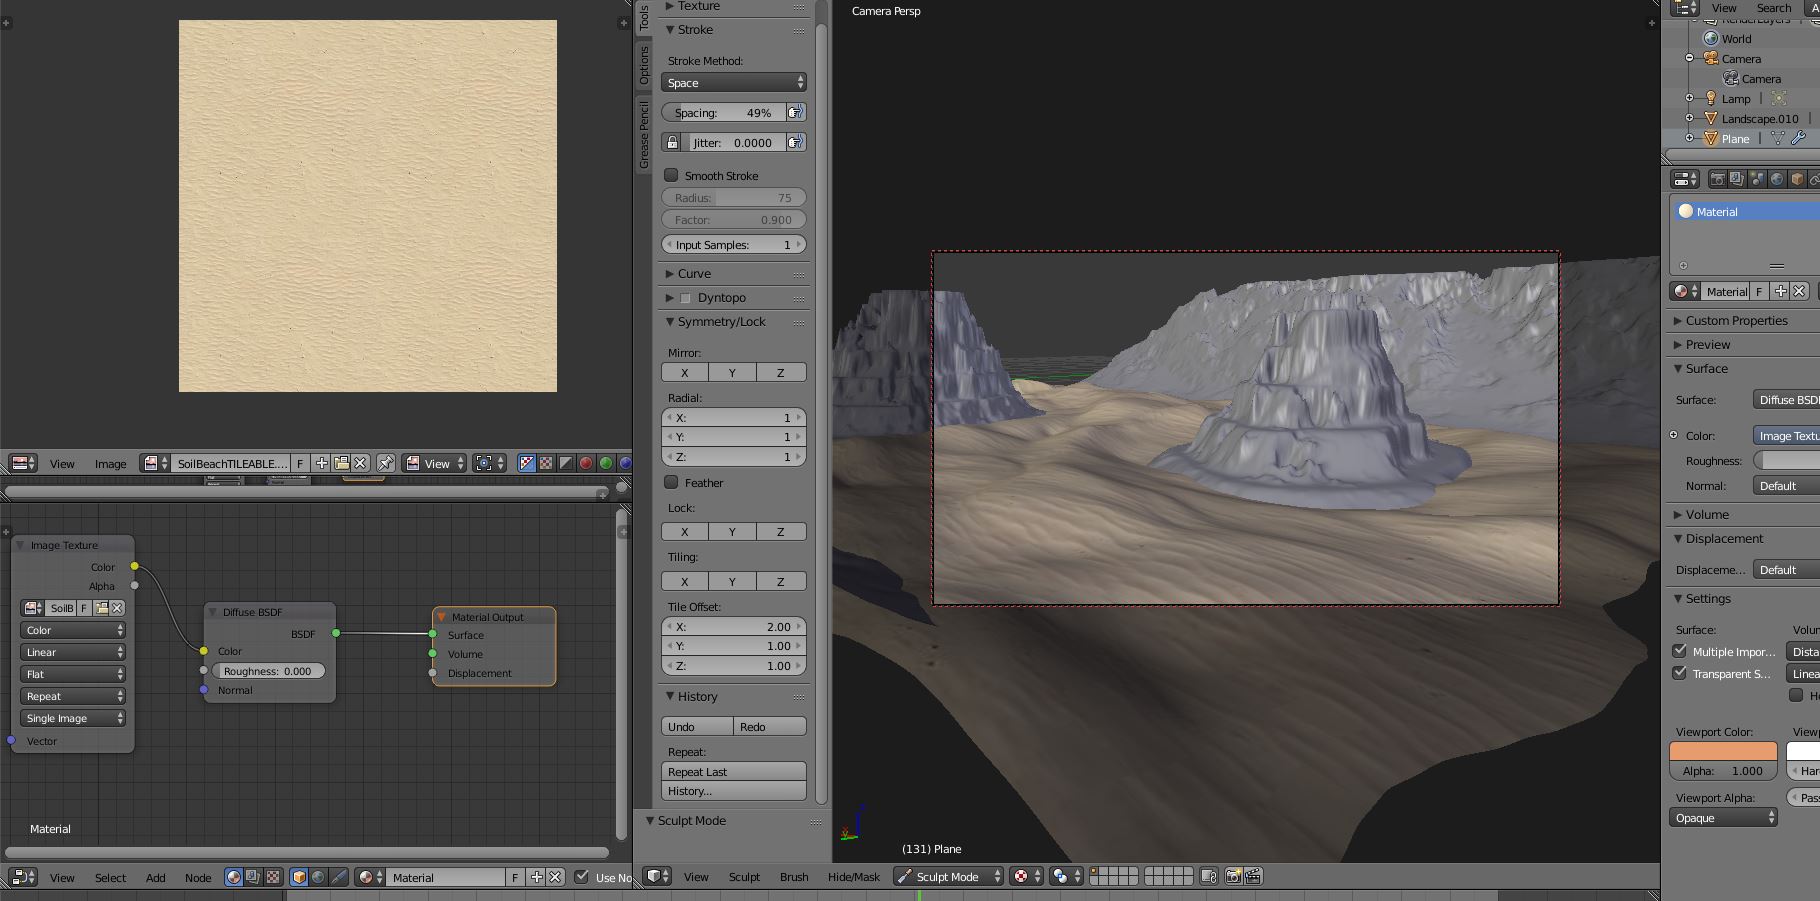 Playing with sand colour.
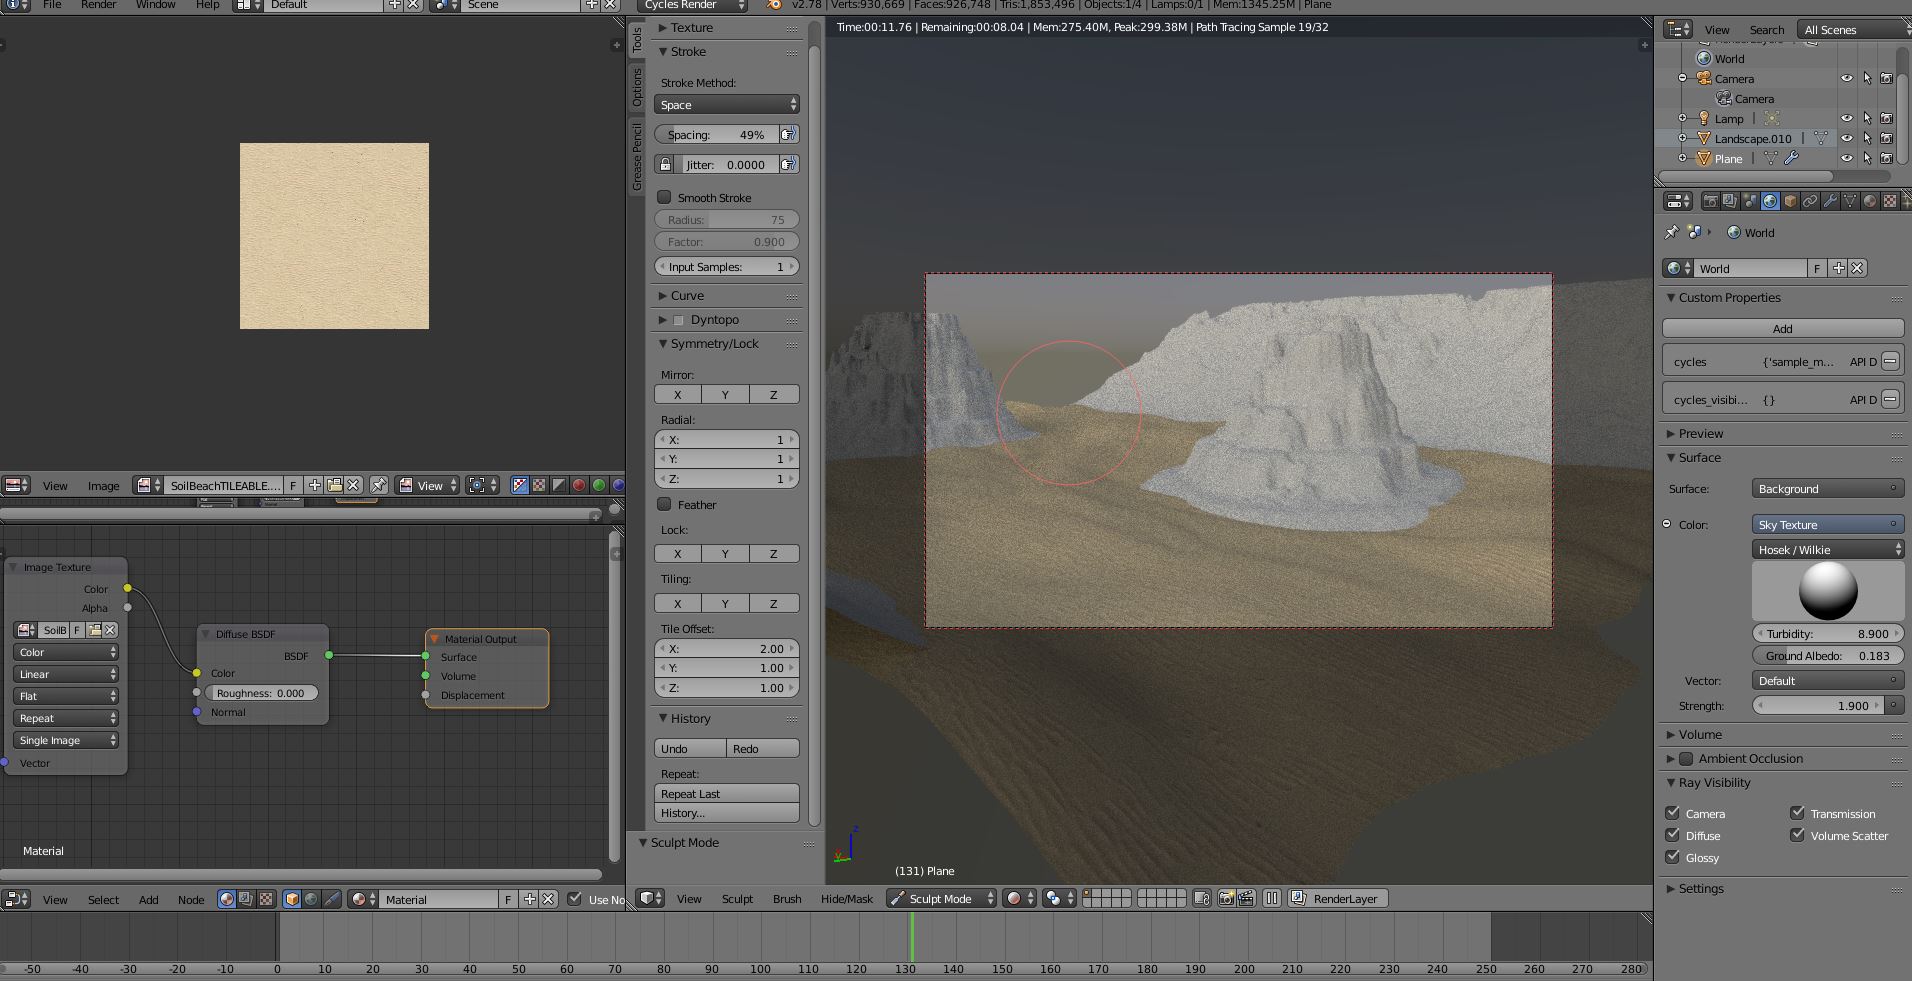 Adding world settings.
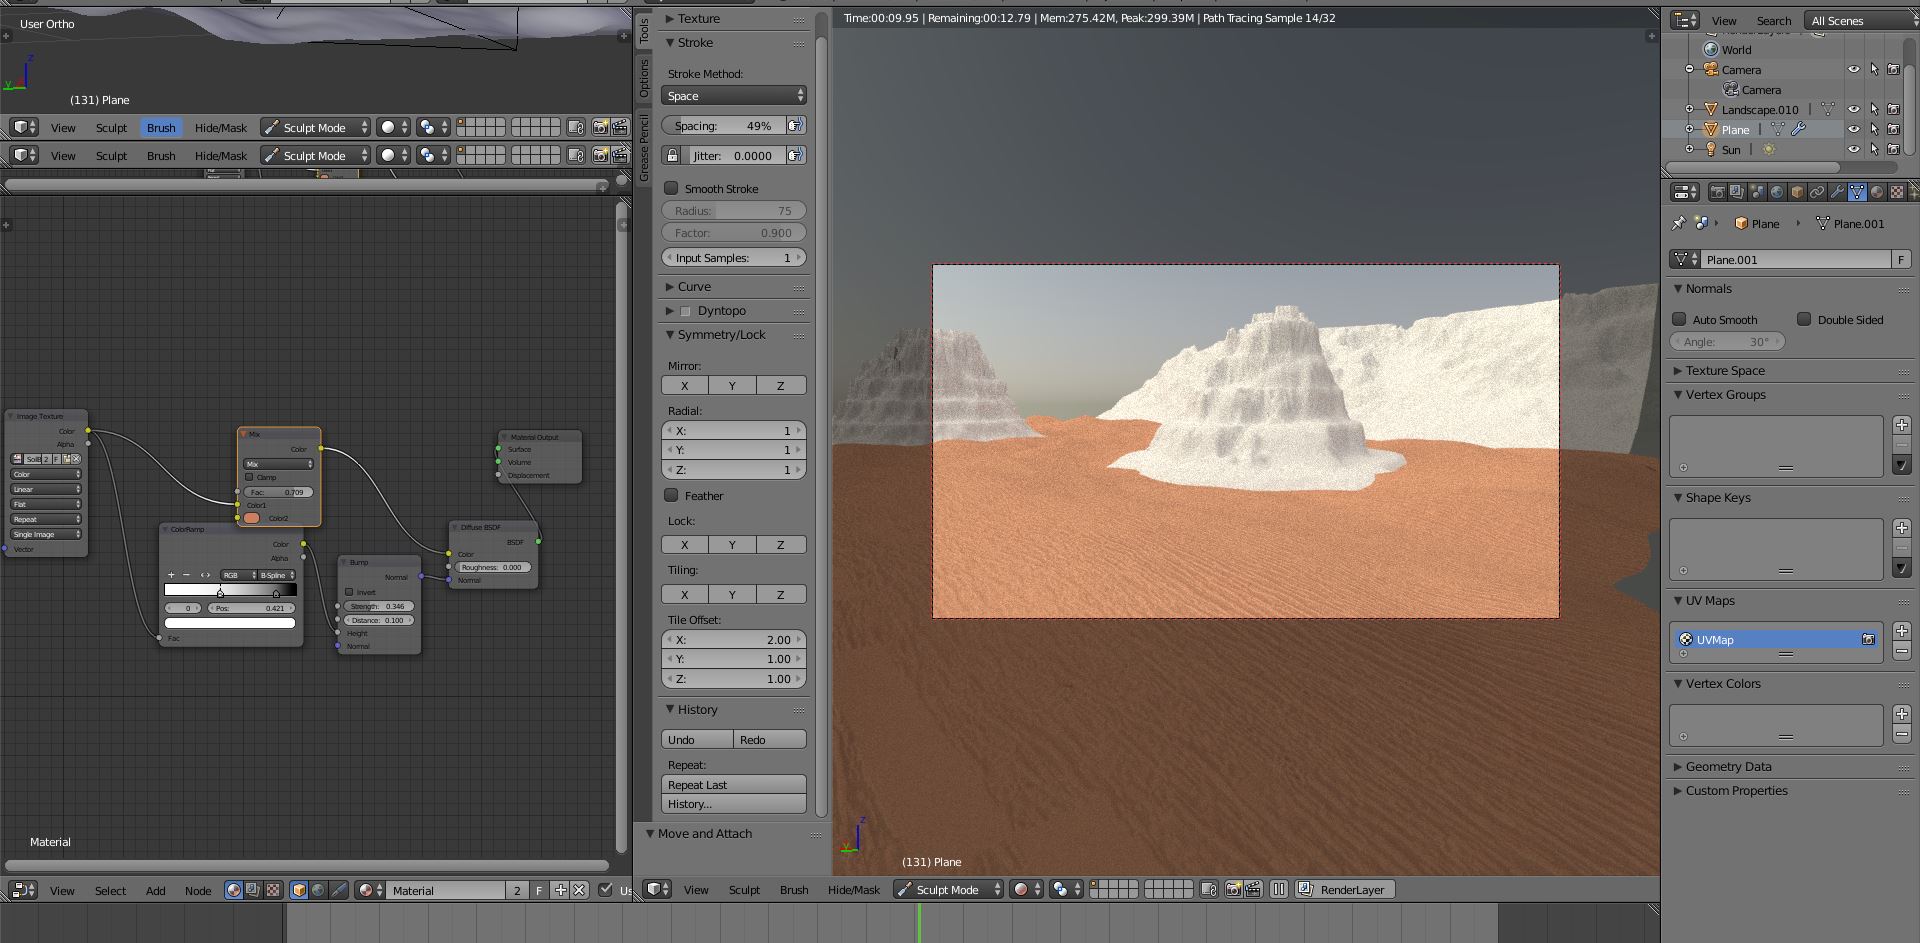 Adding ramp colour and scaling UV texture.
 Creating and sculping my first rock, we start with a cube.
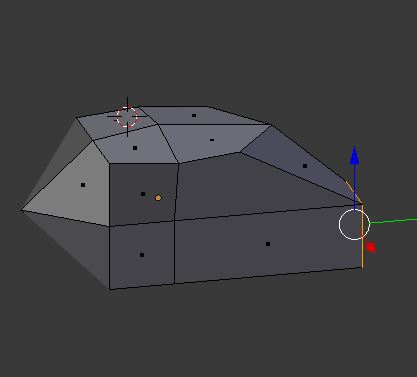 Subdivide and move faces irregularly.
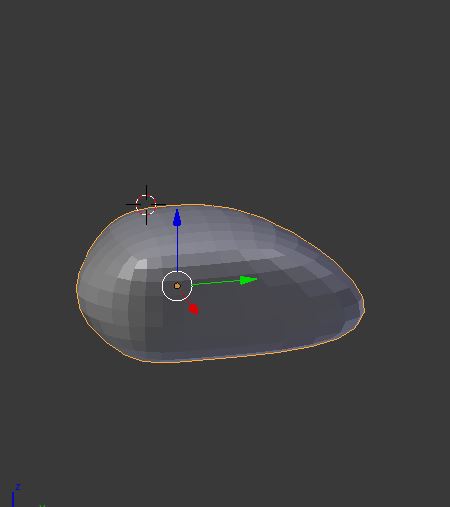 smooth.
 Add irregularities with the displace modifier and cloud maps.
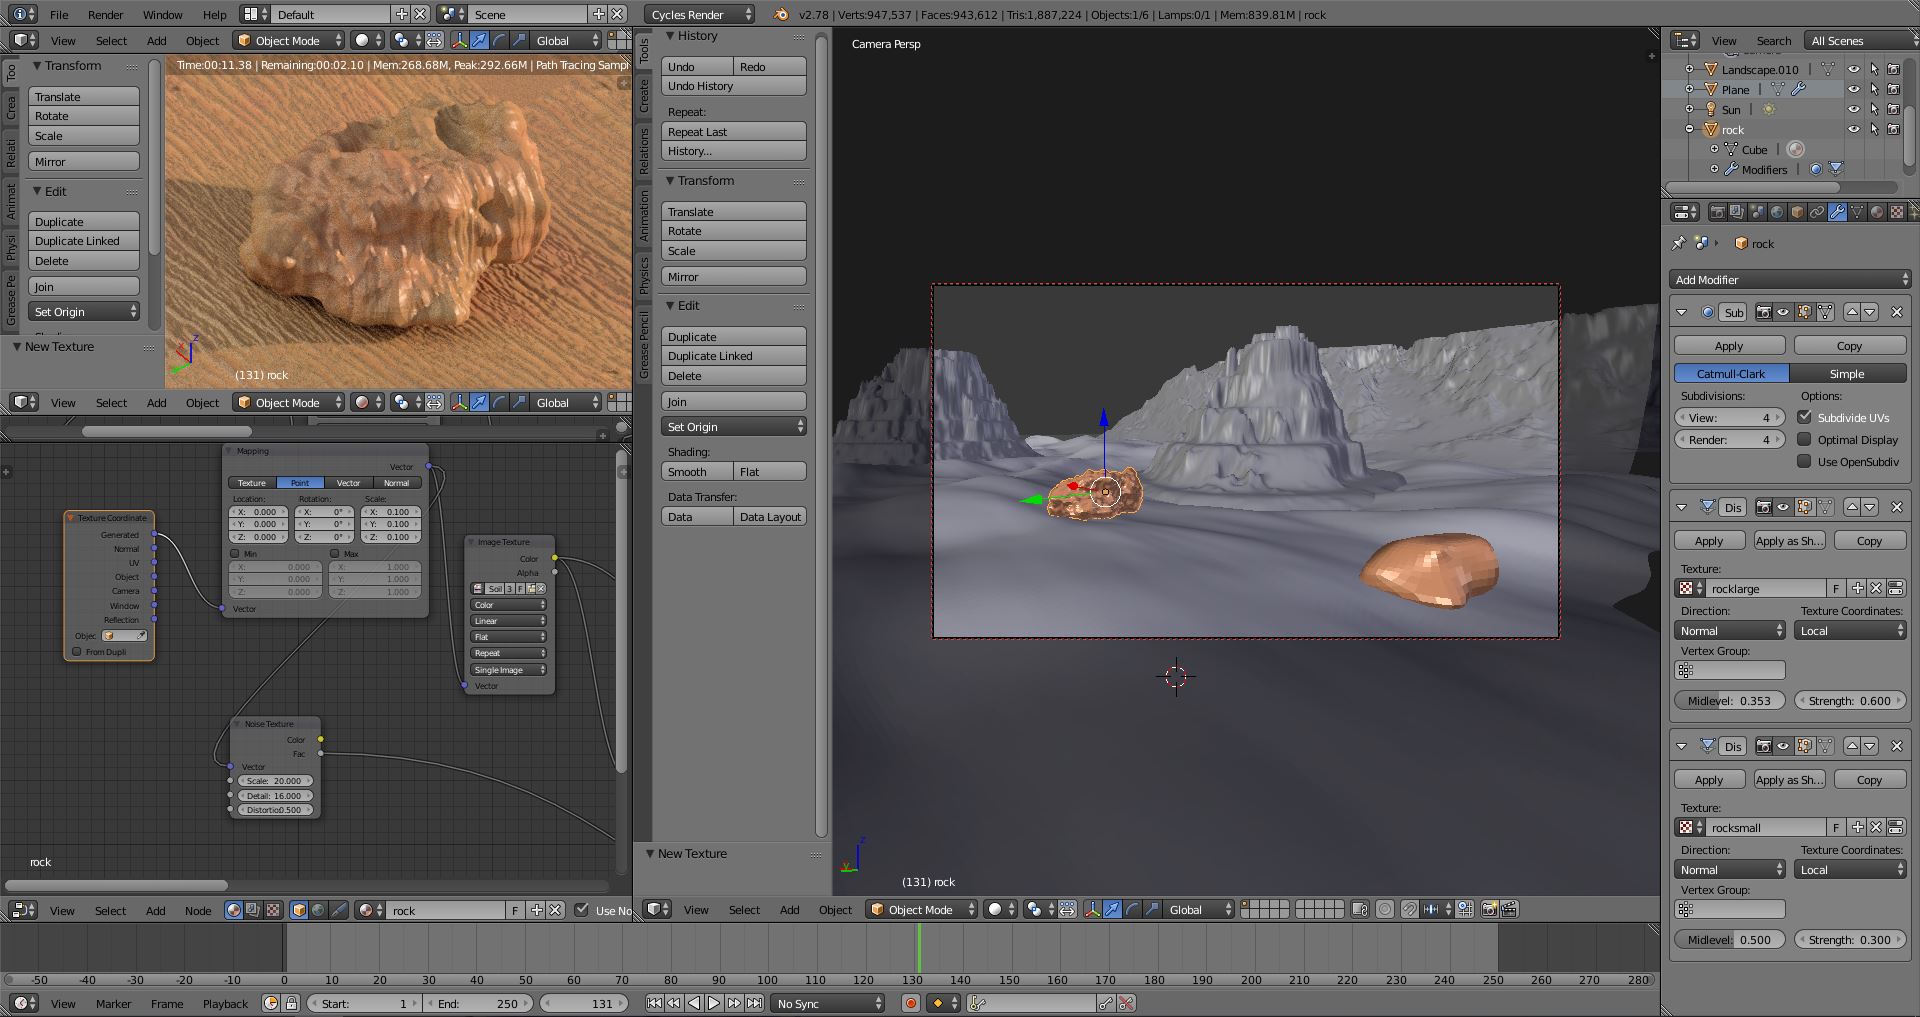 Defining the material of the rocks and making groups of rocks small and large.
 Randomly placing rocks with the hair modifier, and resizing rotate and number by groups.
 Final movements of world light and materials.
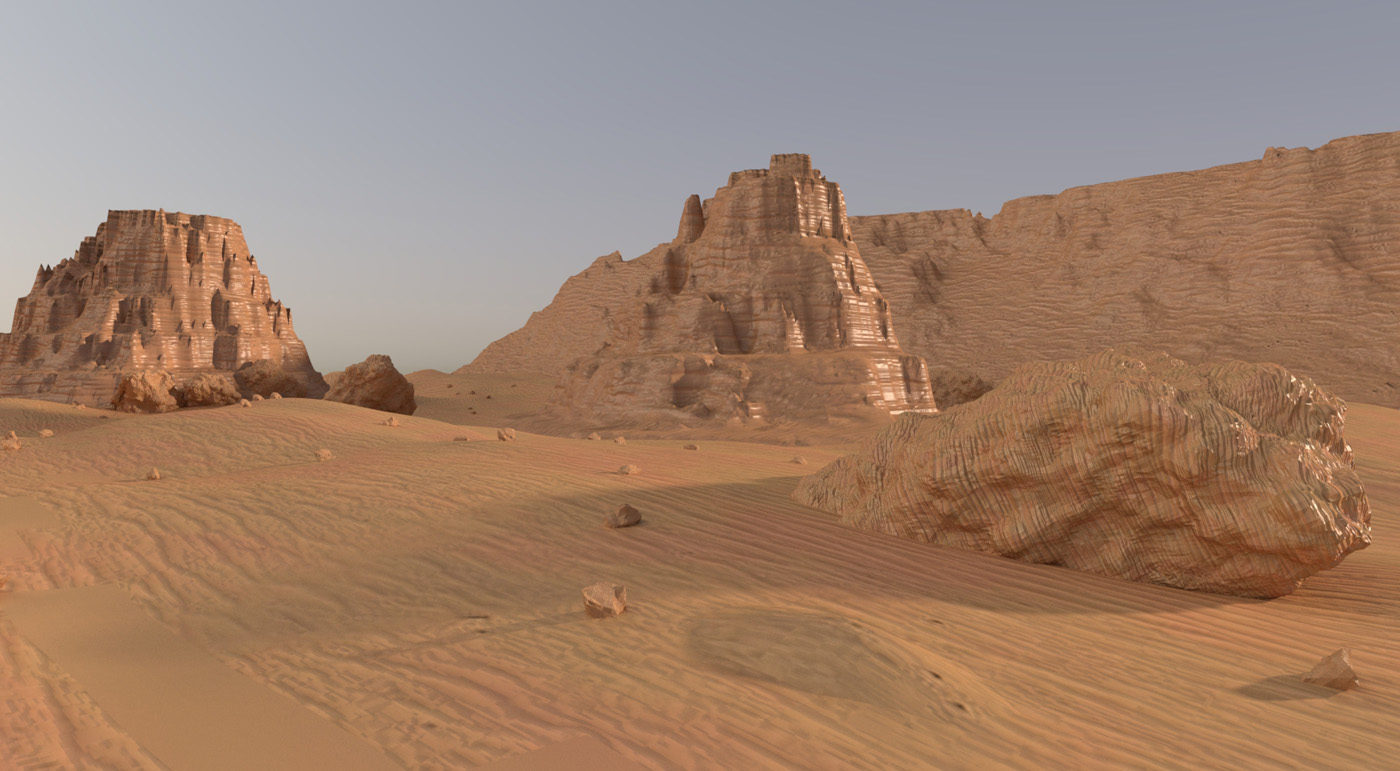 Final result
Model a possible Final Project:
Software used: Rhinoceros
To see all information click on this button.
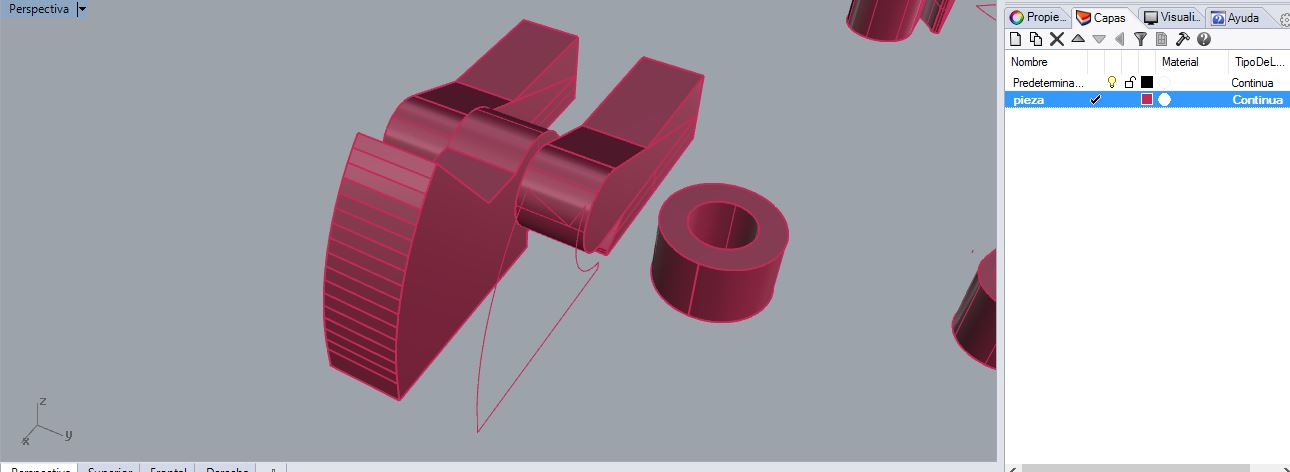
My final project will consist in a automatic barrier.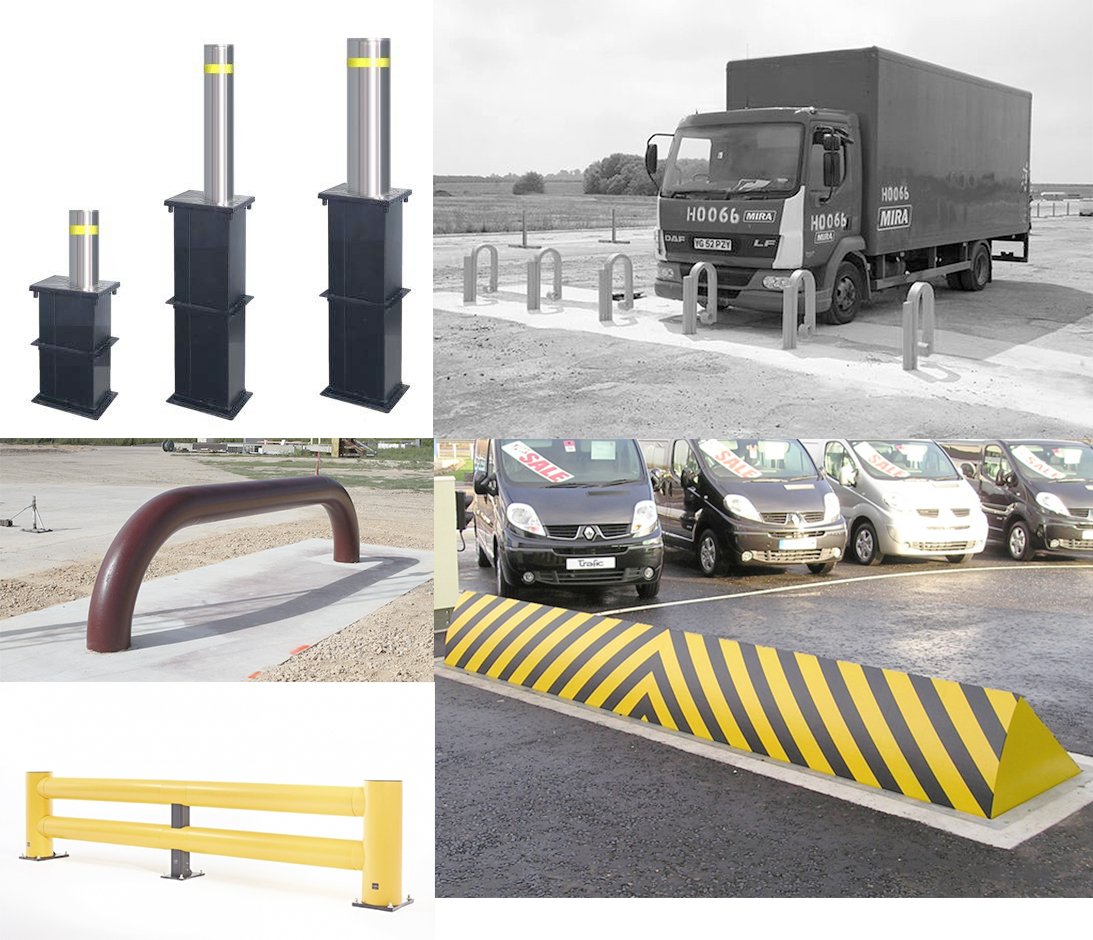 bollards, horns, and ramps.
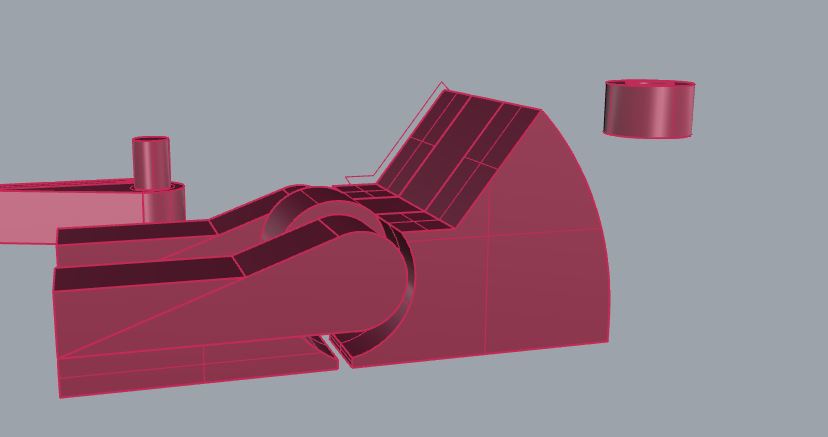
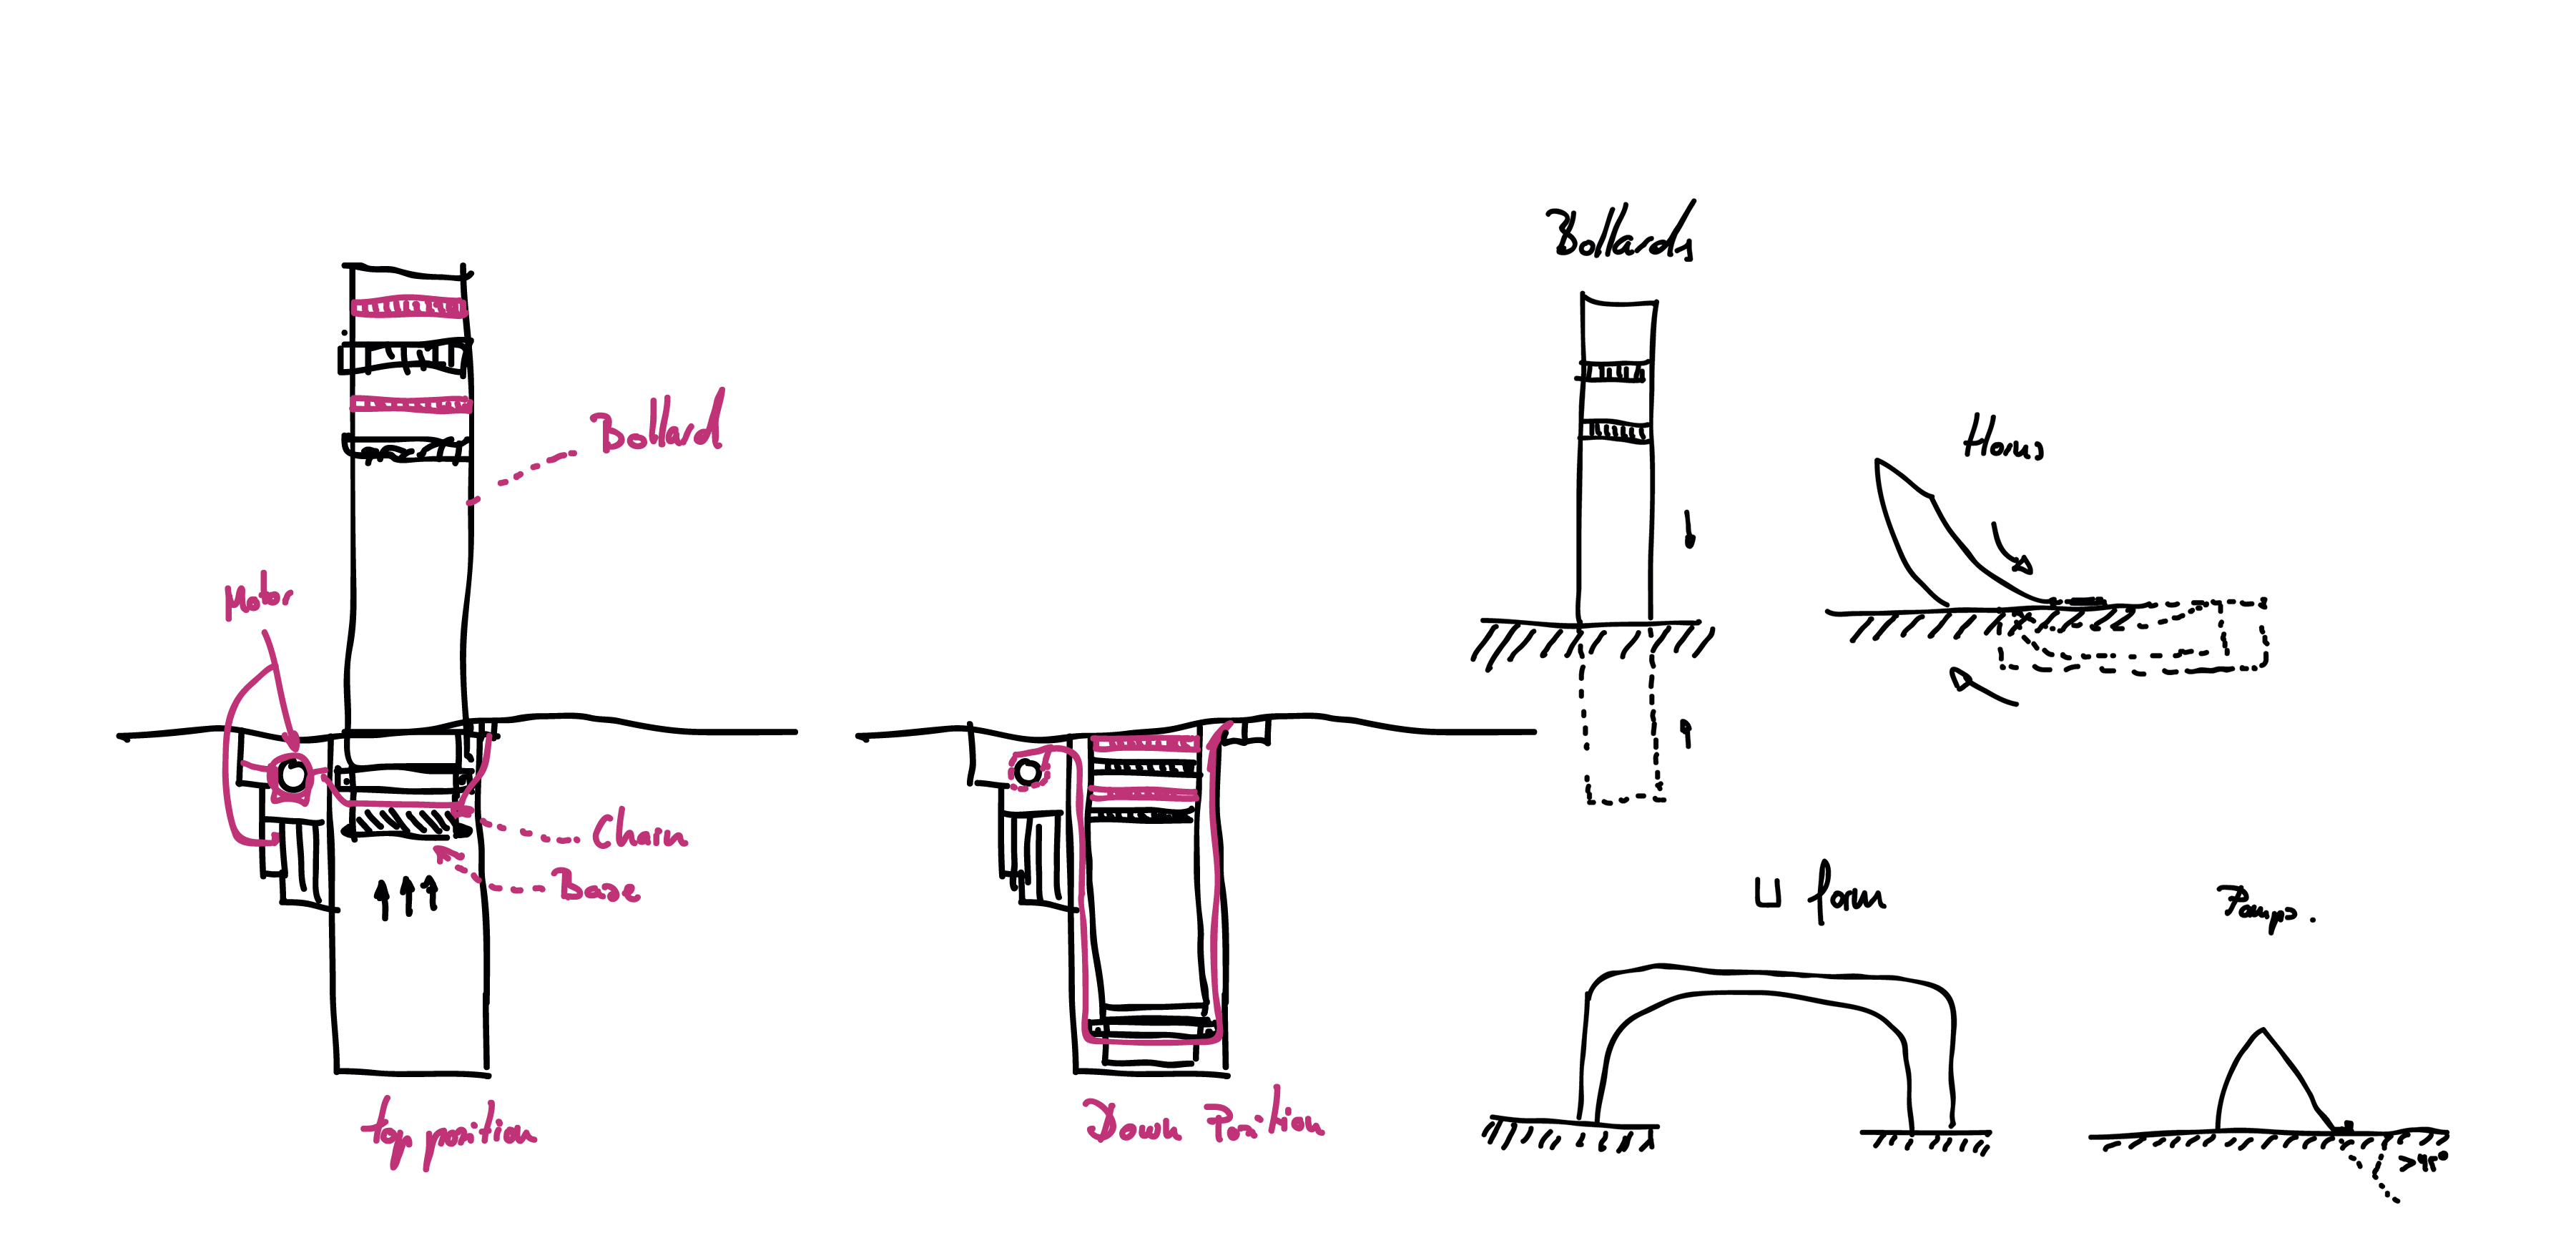 I have chosen the ramp model because it is more effective against trucks
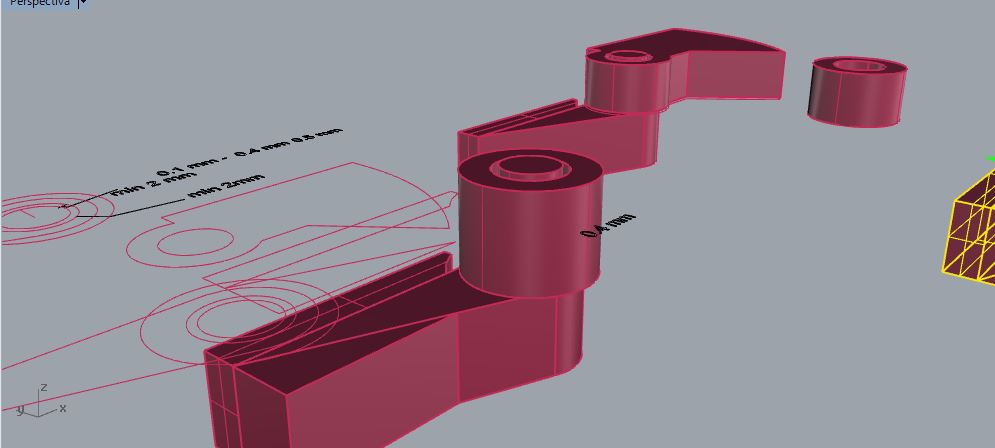
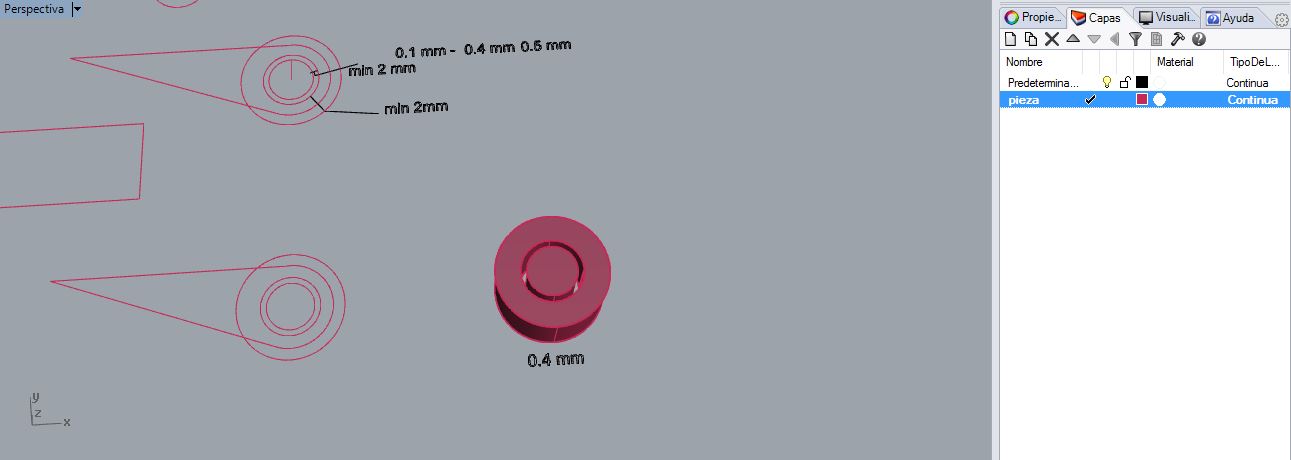 The first model worked as a hinge
 it was necessary to move it manually
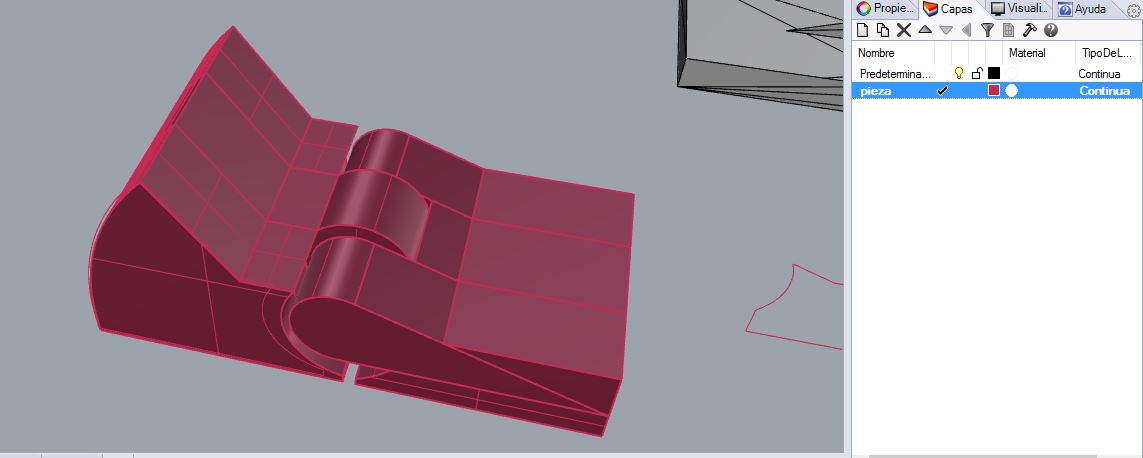
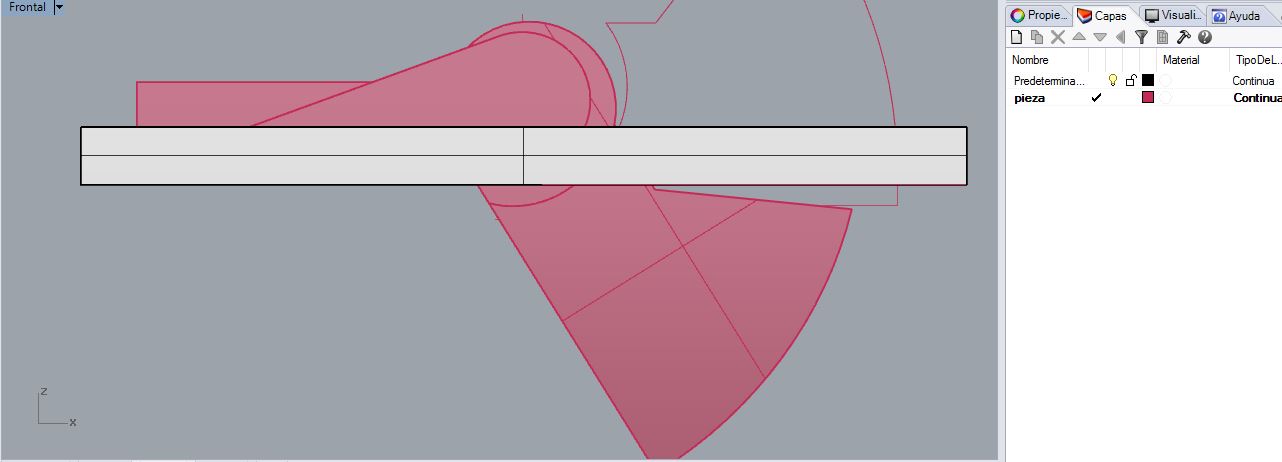
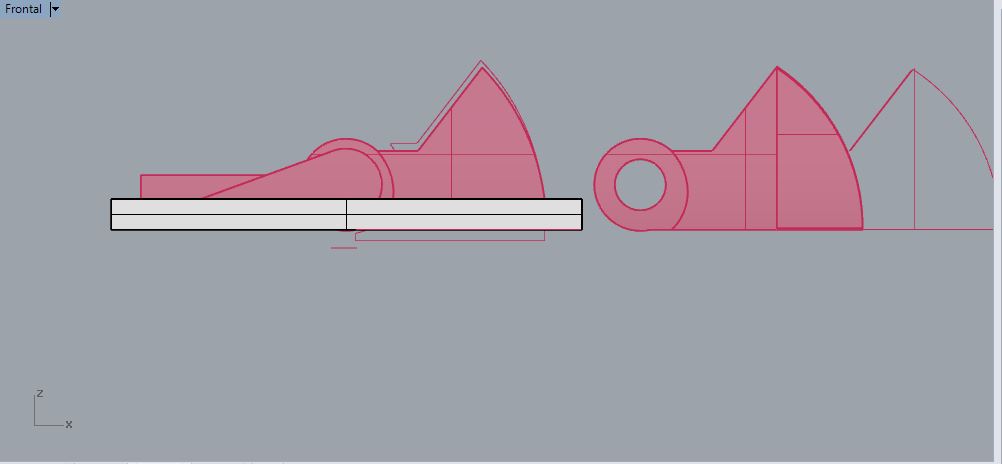 this is the design of model 1
Barrier Trap2
by alvarolaroja
on Sketchfab
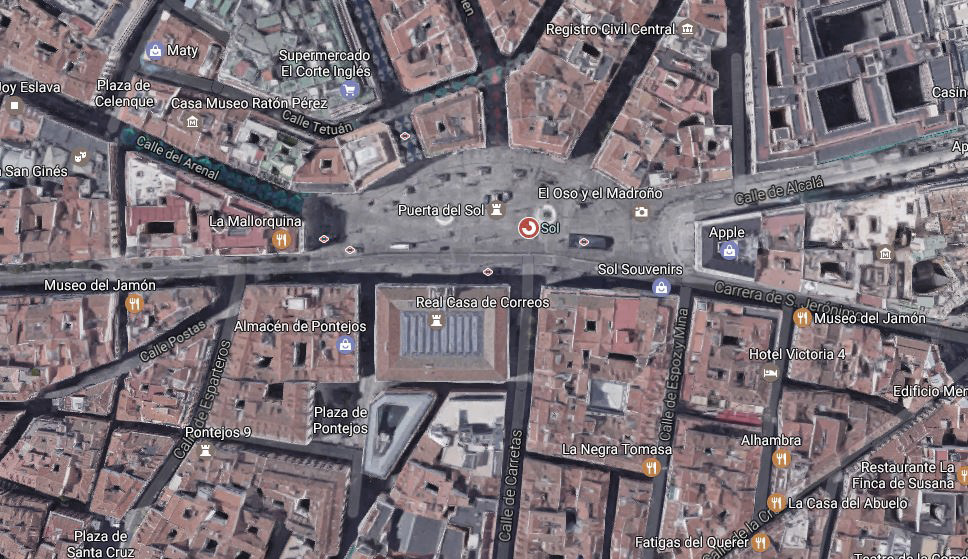
PUERTA DEL SOL, Madrid, With safe square.
And I will simulate the environment of my proposal.
The chosen place is the door of the sun, the most famous square in Madrid, where events take place and events are celebrated.
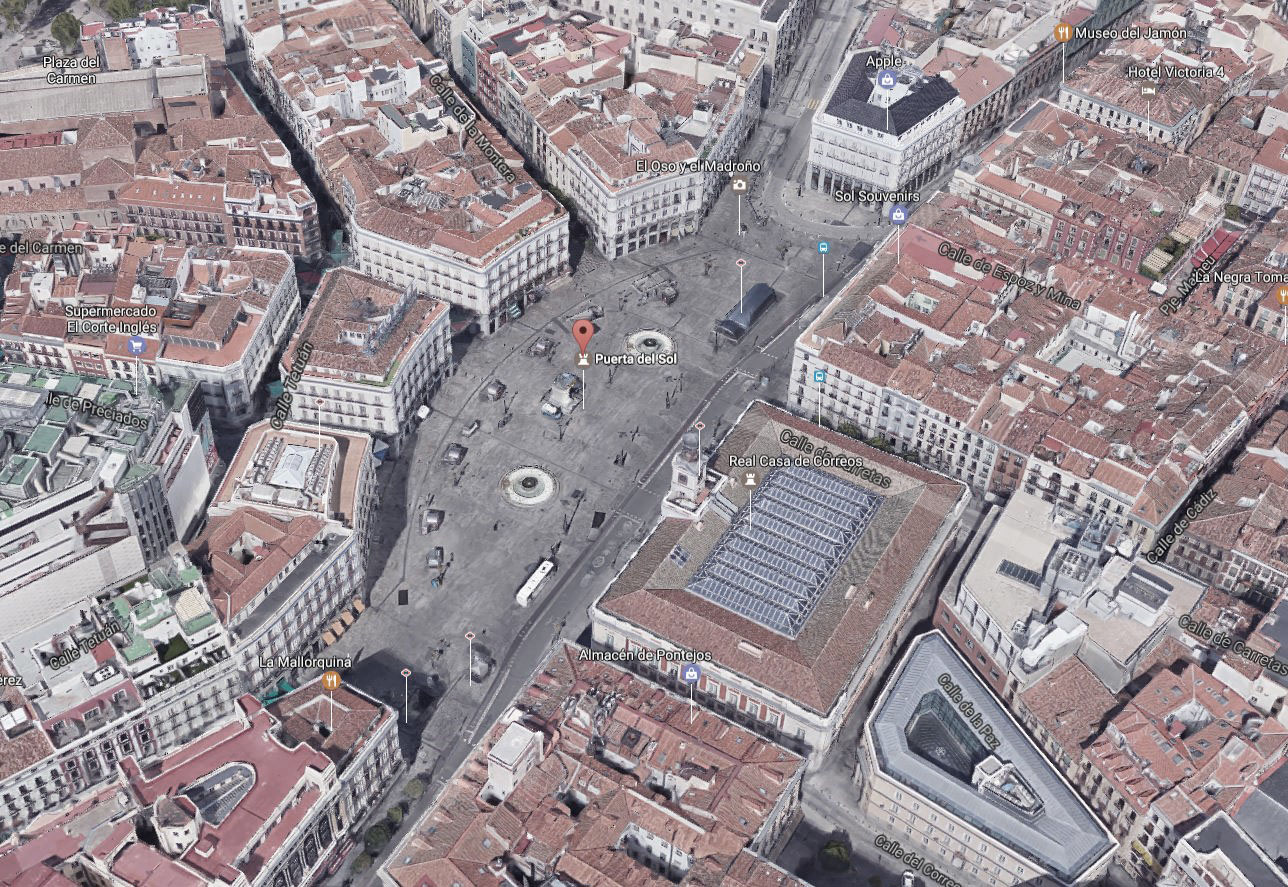 Puerta del sol
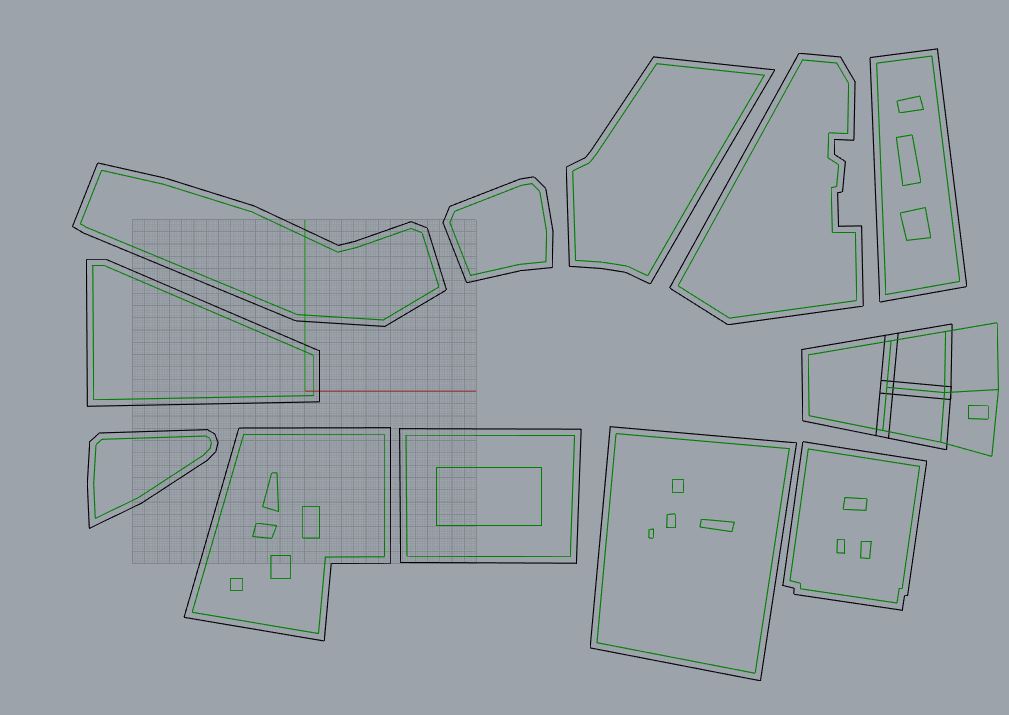
 modeling the square.
 .
.
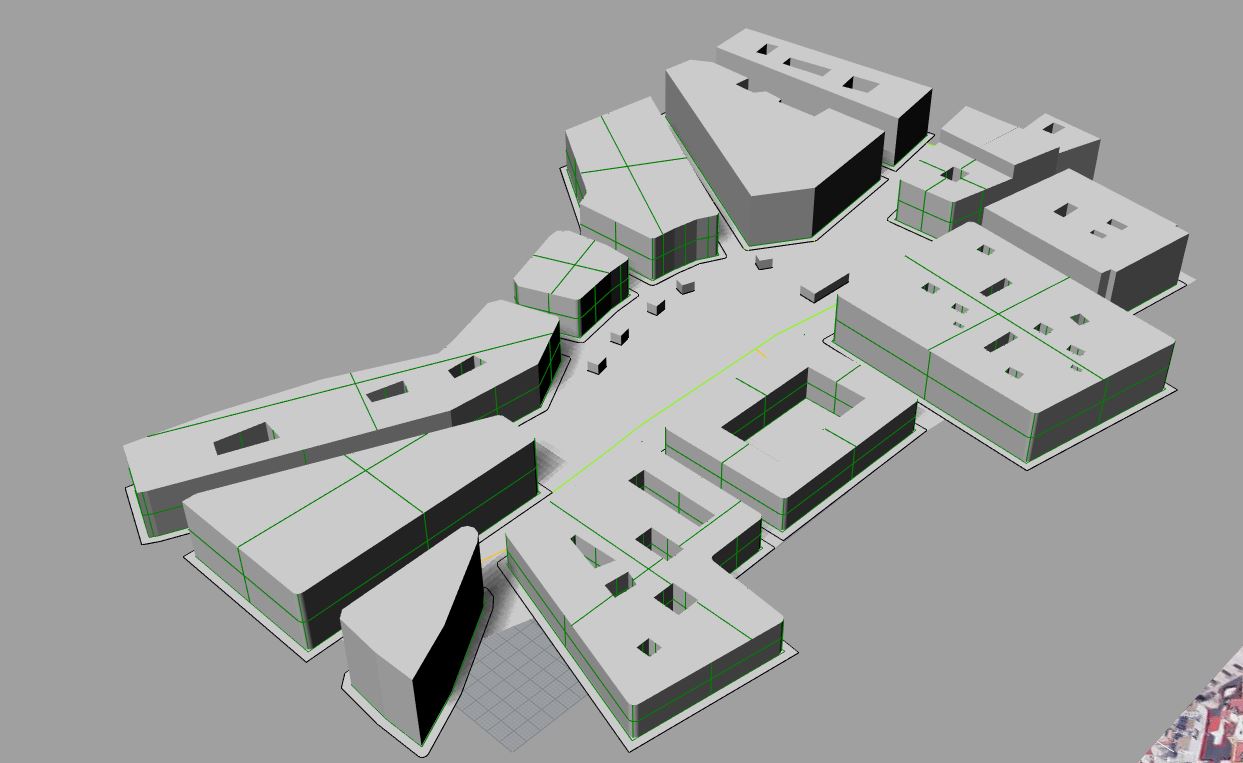 It has several entrances with semi-pedestrian streets.
I have quickly modeled the scenario,
And I have placed my barriers in the square.
That's how it works.
It has several entrances with semi-pedestrian streets.
I have quickly modeled the scenario,
And I have placed my barriers in the square.
That's how it works.
 Puerta del sol with safe square.
And so it rises when there is danger near:
Puerta del sol with safe square.
And so it rises when there is danger near:
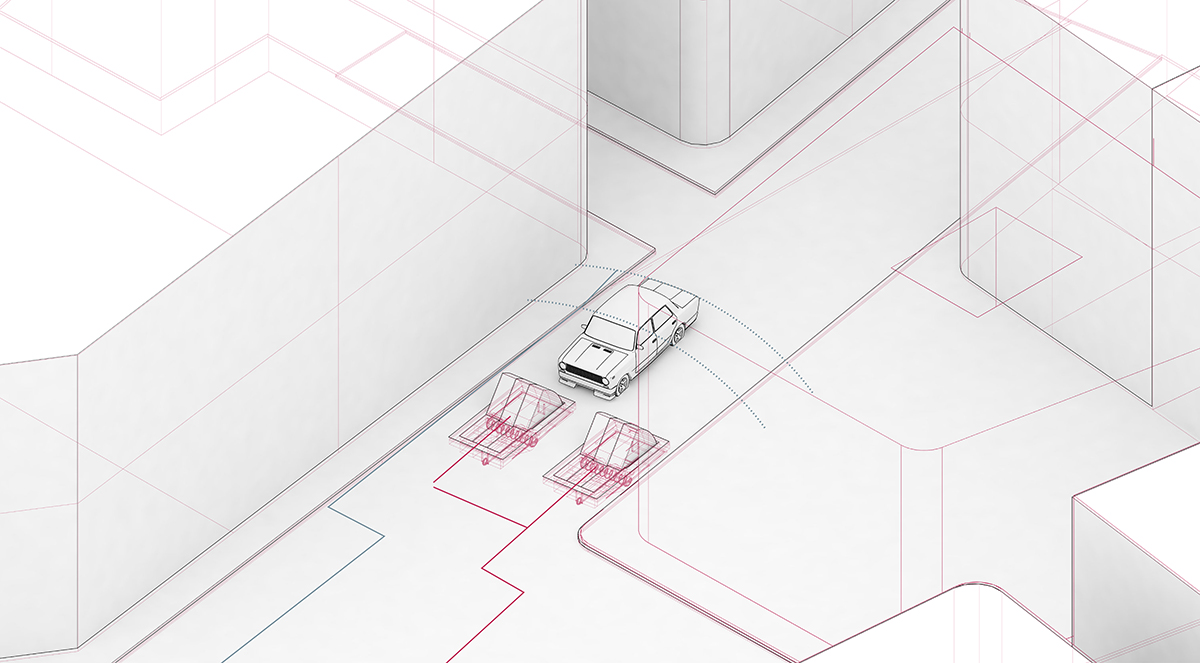 ramps up
Editing a video, With Imovie for my final project.
For the final project I made a video of a minute explaining the process and the meaning of my project.
The software used was Imovie, an IOS software that I use to edit video quickly.
The video is made from photos and short videos made with the phone.
The first thing I did was to order a folder with the information I want to add to the video, photos and videos.
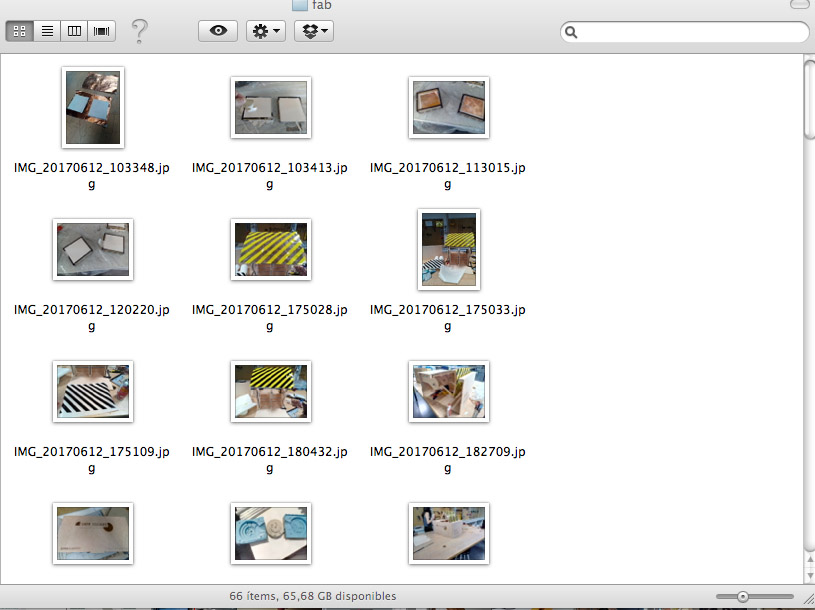 My folder with my photos and videos.
I put the photos and videos at the same time in the order I want, adjust the duration of the photos I cut or add other effects like Ken Burns.
If the photos are not well adjusted in proportions, I add photoshop edges of the background color, so that a photo with a white background does not come out and the background of the video is black.
I add subtitles and music that can be trimmed at any time with one click.
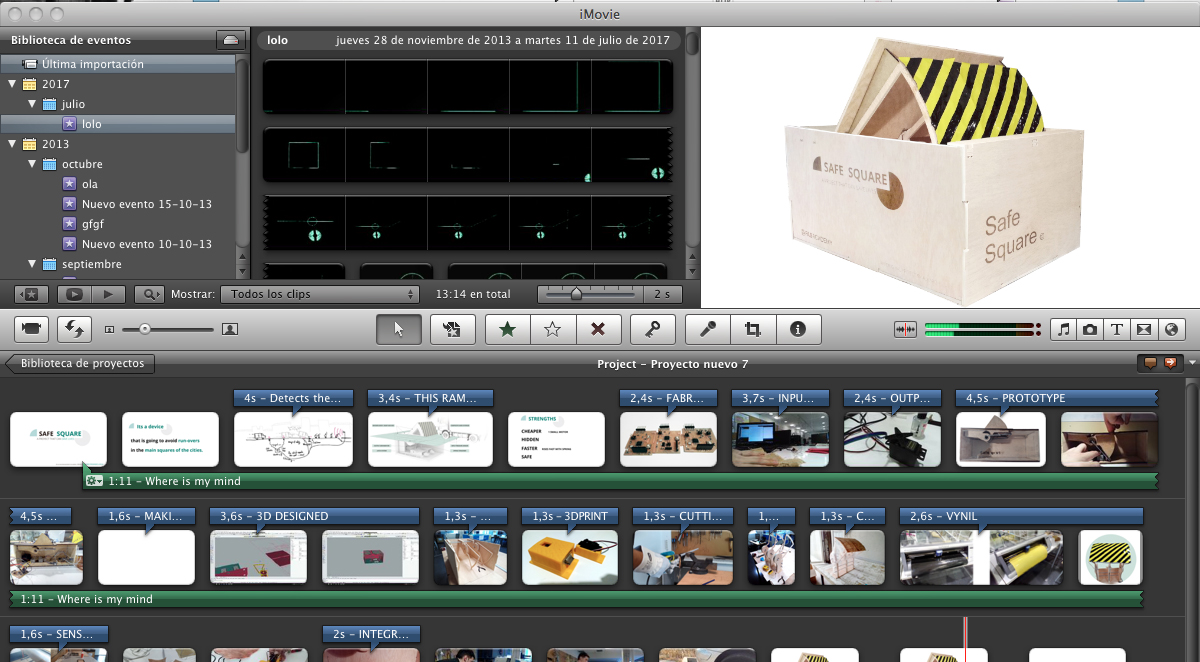 Editing process, duration, subtitling, transitions, speed, music ... etc..
when exporting I can choose the compression method and the final export file, by size of the result and quality I usually choose to export with quicktime to mp4.
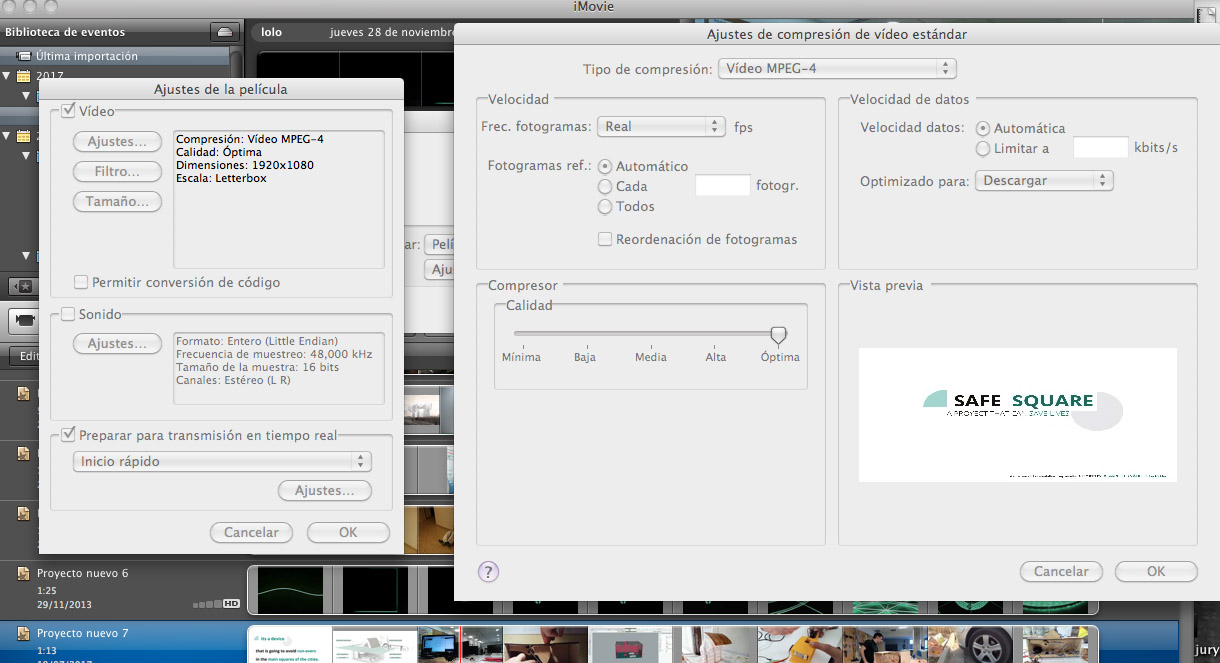 Exporting with Imovie - Quicktime to 1080 24fps.
When I uploaded it to the repository there was a problem with codecs and I could not convert it to html5 format, the solution I took was to upload my video to youtube and download it from an external webpage, that video was already converted and optimized for viewing from page Web.
Exporting with Imovie - Quicktime to 1080 24fps.
When I uploaded it to the repository there was a problem with codecs and I could not convert it to html5 format, the solution I took was to upload my video to youtube and download it from an external webpage, that video was already converted and optimized for viewing from page Web.FILES:
all files, terrain, drawings and project models in the following link:
copy this direction in your browser:
https://drive.google.com/drive/folders/0By3_rHfDHPzrWldkUWpHU3FfU2M?usp=sharing
Inkscape:
Sketch
Gimp file:
Terrain painting in gimp
Blender file:
Tutorial teepad