WEEK-3: Computer-Controlled Cutting
The 3rd assignment in the Fab Lab was to do the following and report every step taken during the process.
Vinyl Cutting
Learning outcome
1) Identify and explain processes involved in using this machine.
2) Design and create the final object
Have you:
1) Explained how you drew your files
2) Shown how you made your vinyl project
3) Included your design files and photos of your finished project
Laser Cutting
Learning outcome
1) Demonstrate and describe parametric 2D modeling processes
2) Identify and explain processes involved in using the laser cutter.
3) Develop, evaluate and construct the final prototype
Have you:
1) Explained how you parametrically designed your files
2) Shown how you made your press-fit kit
3) Included your design files and photos of your finished project
1) Vinyl Cutting
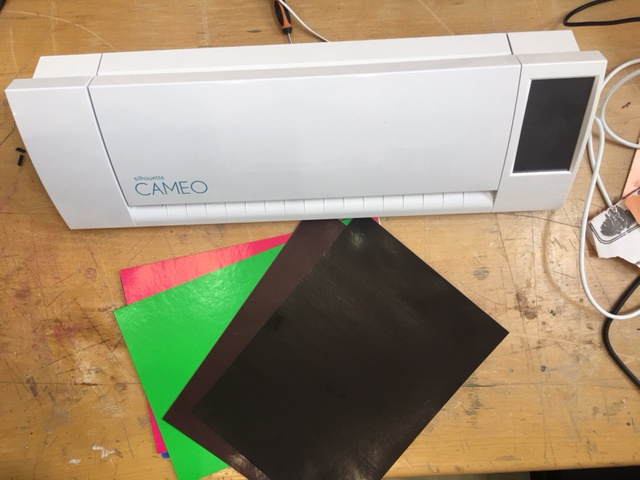
the machine used in this week is called CAMEO . here is a picture of it:
I started the week by downloading the Ink-scape vector graphics editor using the following code found in the net after few attempts to download the software directly from downloads.com :
1) spdu apt upate
2) sudo apt-ge install inkscape
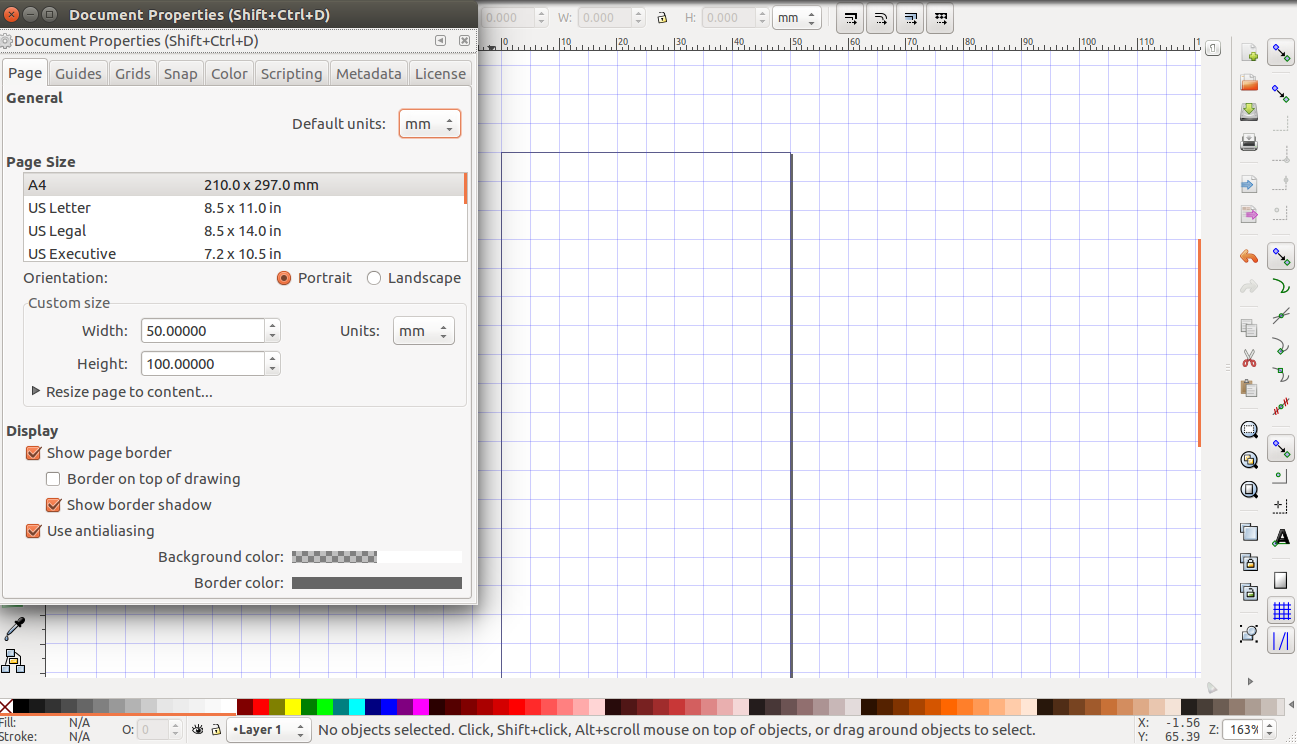
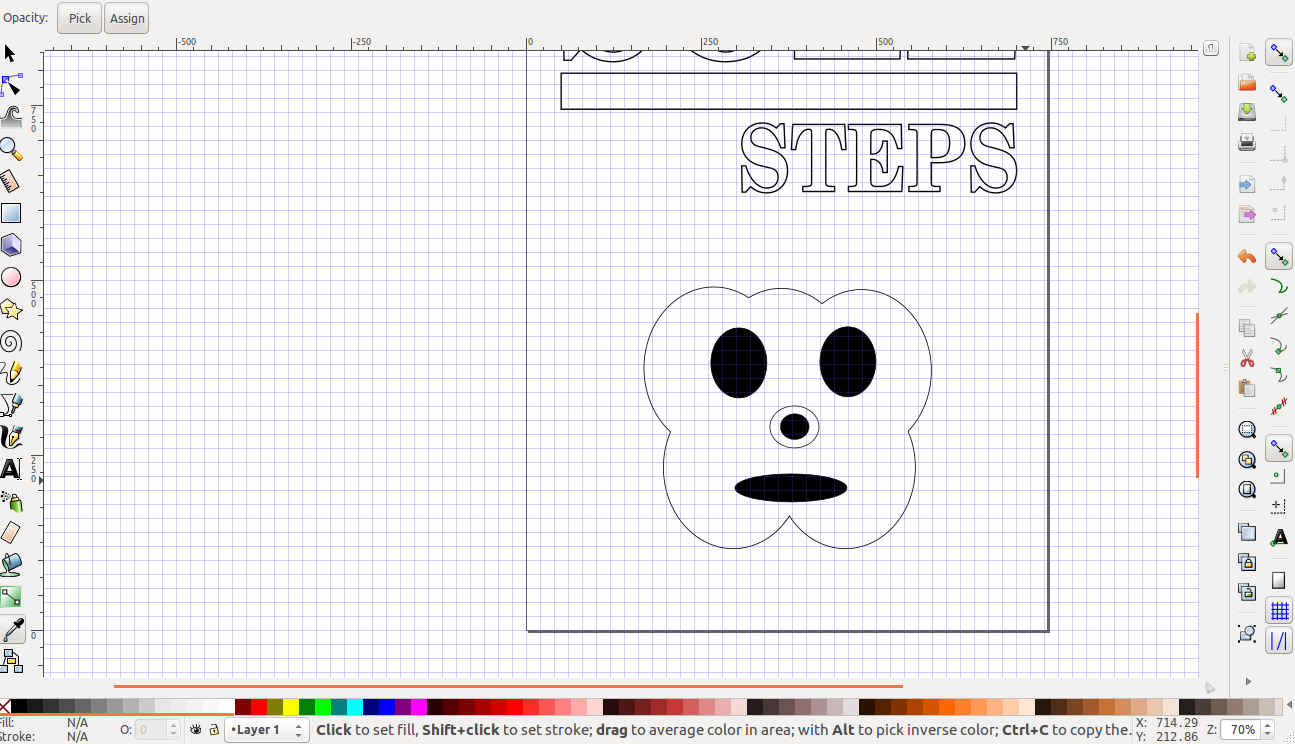
I have used the software INKscape to design the logo of the idea that I updated (SOLE-STEPS). I used the text option in the software and designed the font color and size through the text option. I find this software very applicable and user friendly to use.
Here is the file used My File
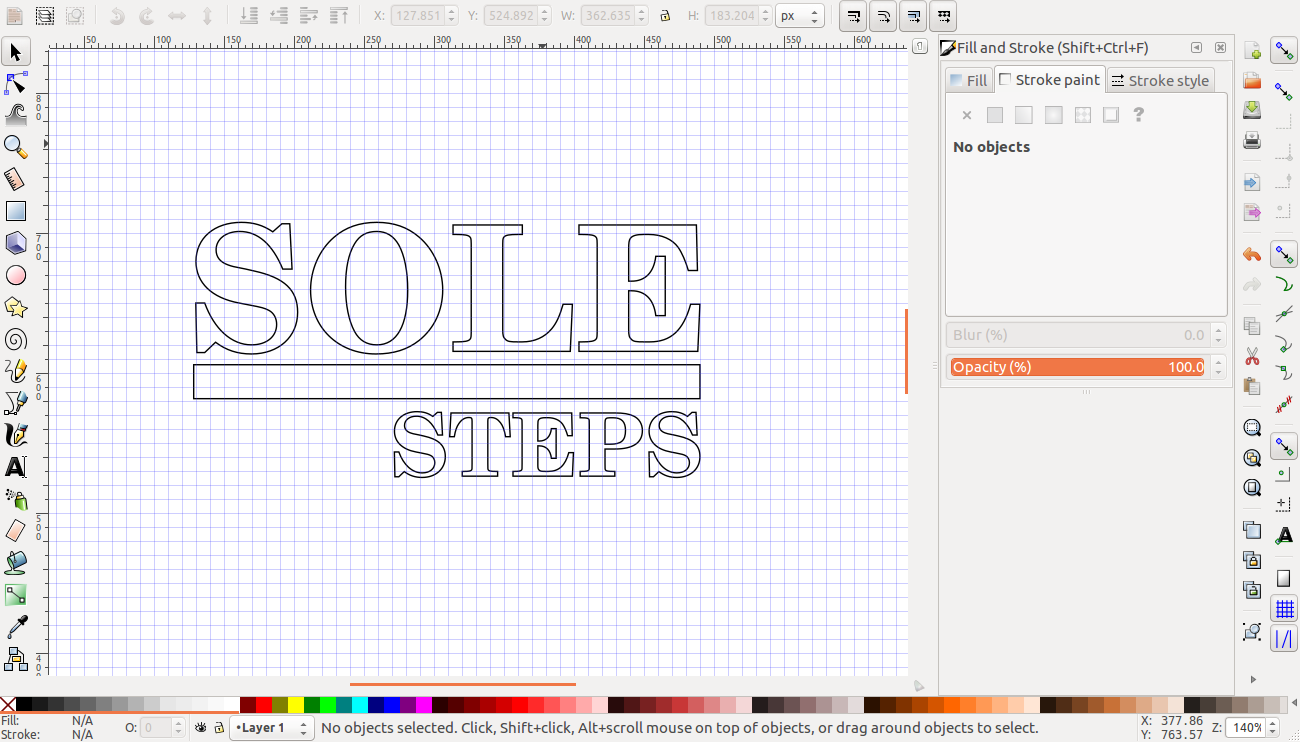
The local instructor have also helped us in using the software as a back up in some of the ins and outs of the software. I have selected the logo design and tried to stroke it in order to be able to print it in the sticker machine as shown in the picture below
here is a quick step by step on how I used the CAMEO Printer:
1) Turn the machine on by opening the side button in the CAMEO
2) Connect the cameo through the USB cable to your PC
3) Install the software on your PC to print from INK-scape to the printer
4) Load the blade inside the cameo printer and then make sure the printer is closed properly
5) Place the vinyl paper sticker inside the machine , for my case the orange A4 paper and make sure its placed tight within the cameo
6) make sure you press the load button
7) make sure your design borders or parameters are adjusted within the vinyl paper size
8) make sure the cut option is select in the setting and then send to print
9) after the printing is done, press the unload option in the cameo
10) remove your design from the vinyl by peeling it off carefully and then you cn use it as required.
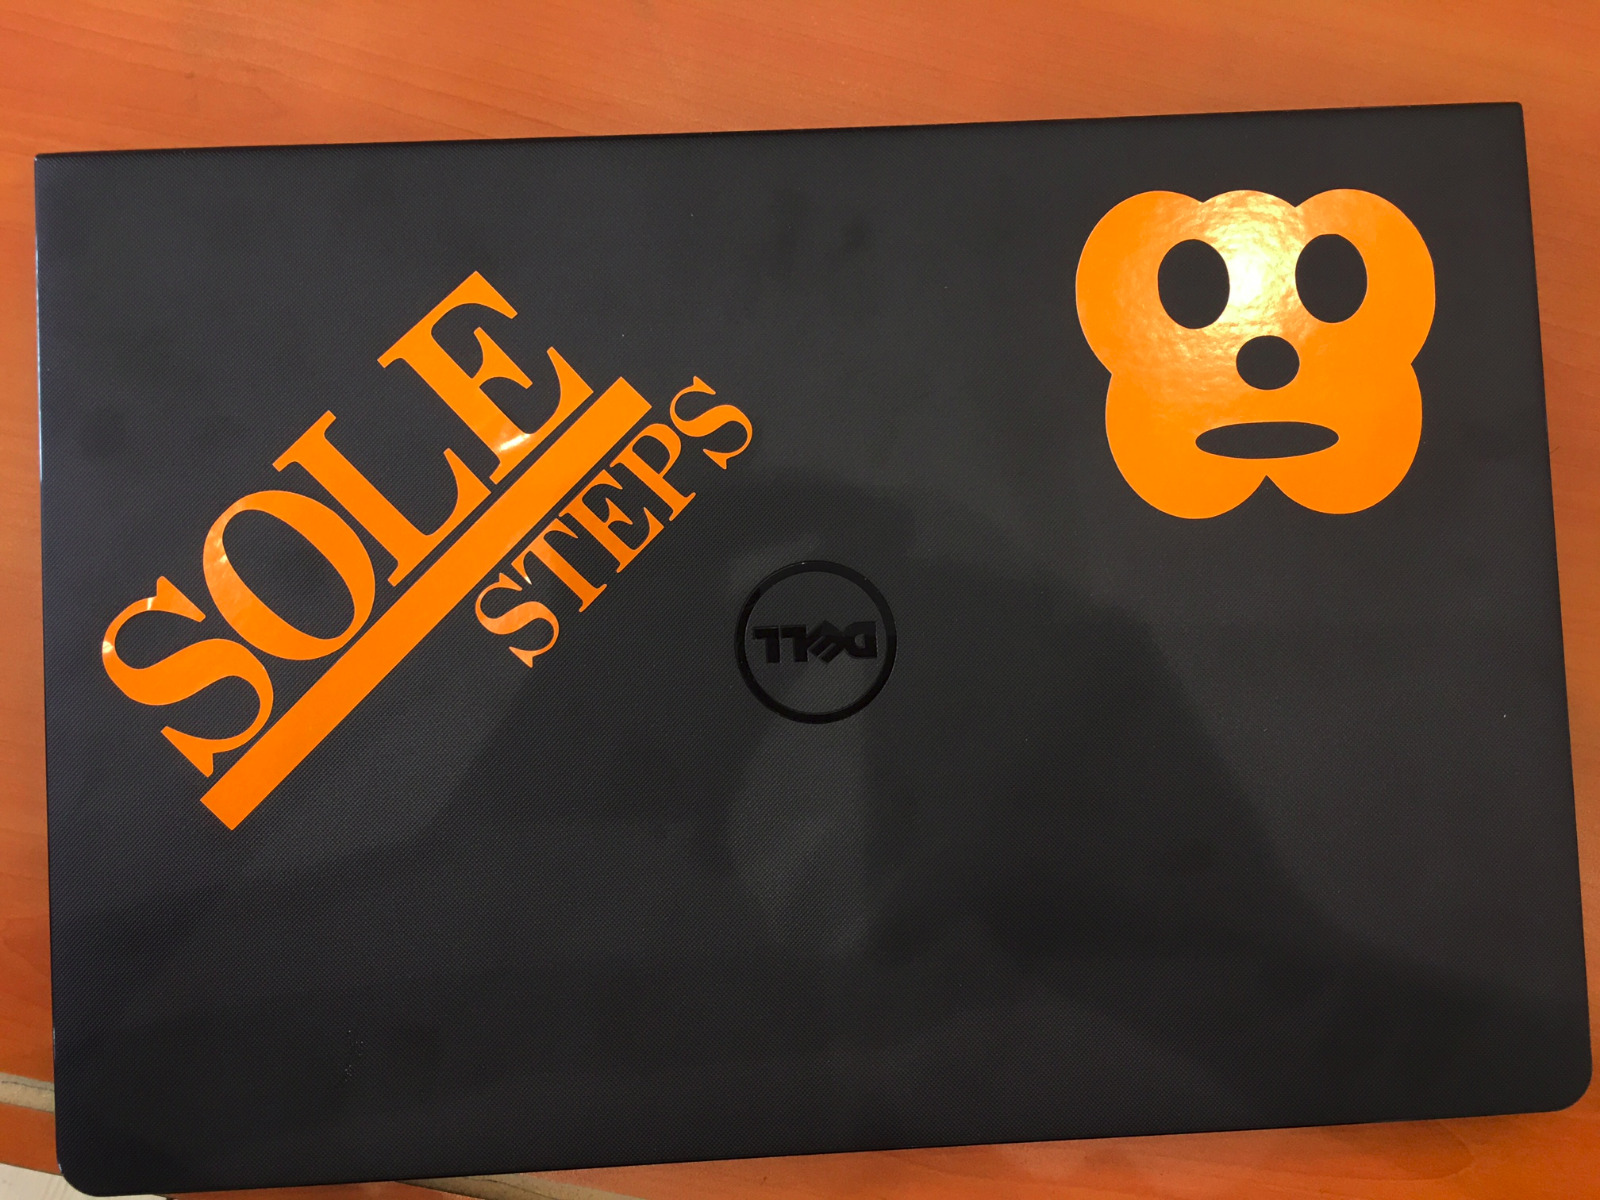
The final printing product looked like this after using separate software to print. Here is a picture of the themed logo I printed
the video in this link was taken using my personal iphone 6+ and "Video" application to edit and cut the videos . here is the link to view the video about the stickers printing process in week-3
my overall assessment of the process of printing was very simple and straight forward. the software inkScape used has helped alot in designing the 2D stickers. The software is very applicable and the printer used called (Silhouette Cameo) was also used to print out the logo and the rounded face as a sample to train toward the final product
2) Laser Cutting
ABout The Laser Cutting Machine
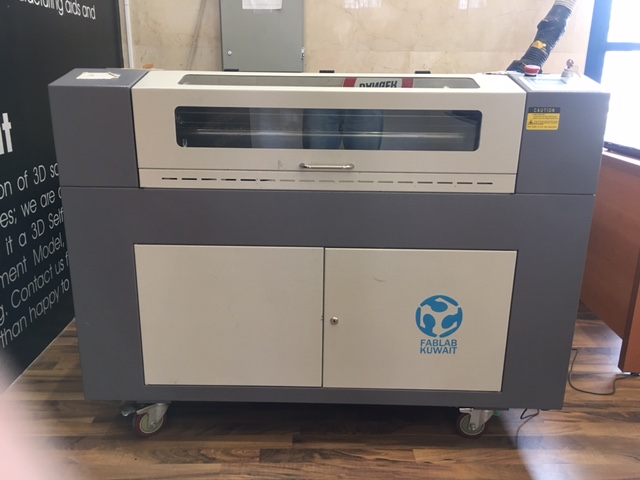
NOTE: below is the machine used in the laser cutting process in our lab is CO2 Laser cutter, and uses lasercut 5.3 software,,
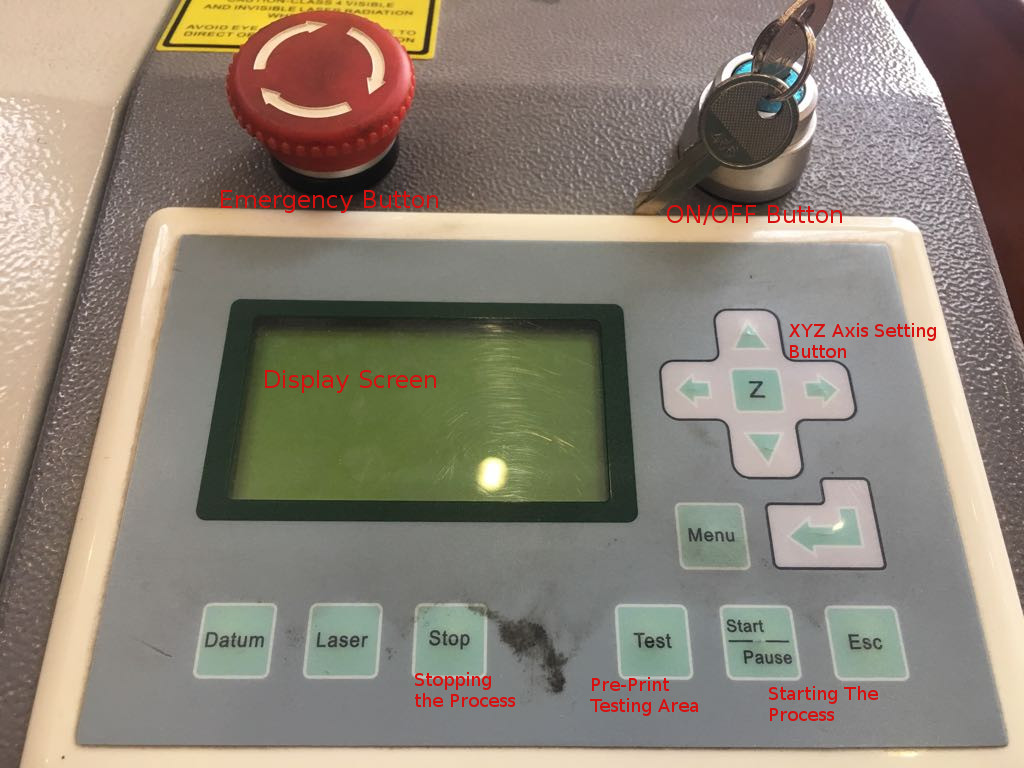
Below is an orientation of how to use the laser cutting machine control area.
in the laser cutting I used the same concept with ONShape on-line software as explained in the pictures below in a step by step. I opened the file and set the parameters to mm in order to print small pieces and not waist material for the other colleagues to use.
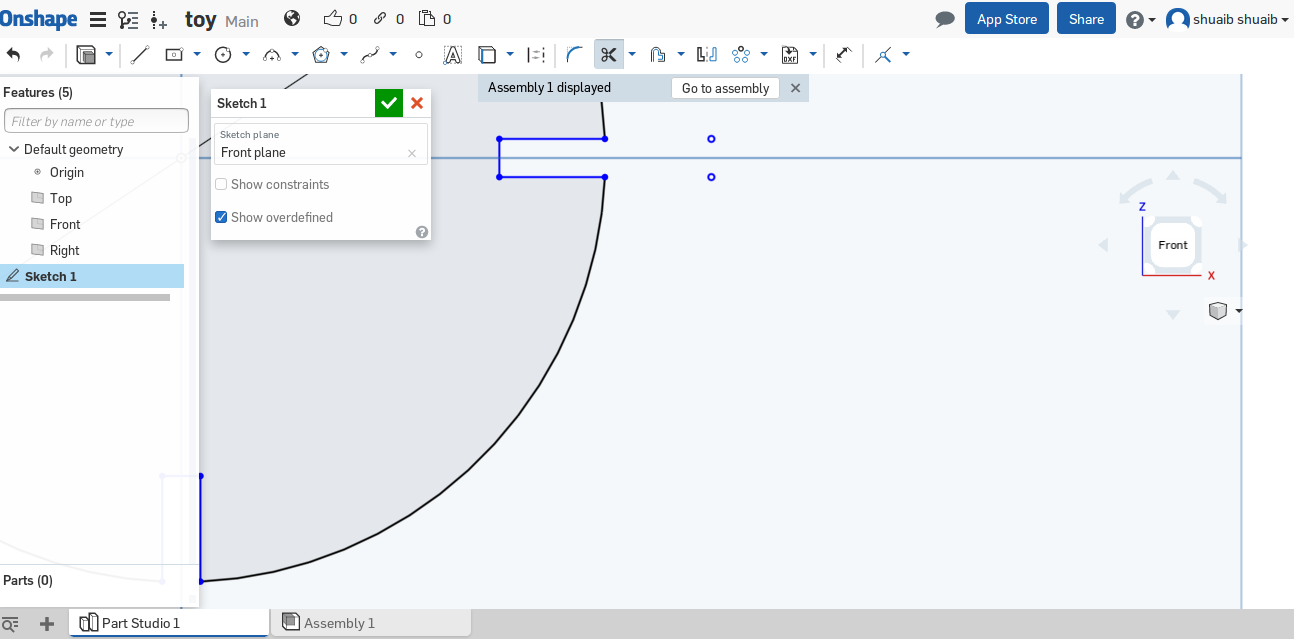
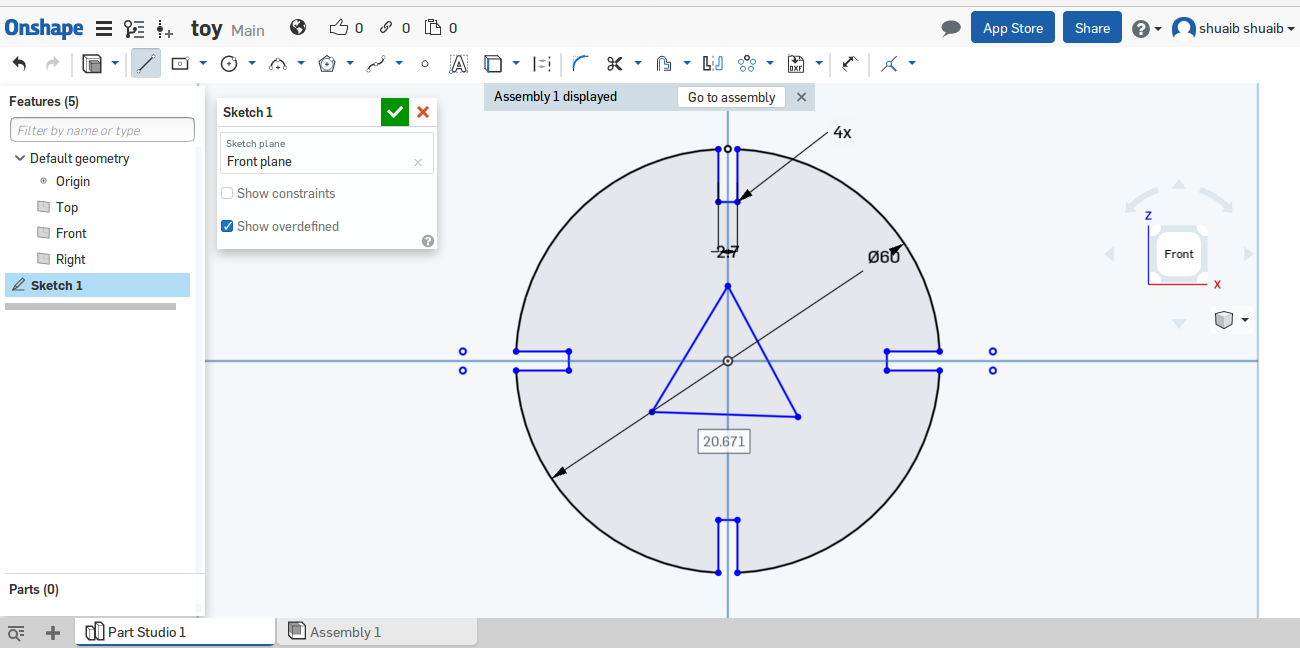
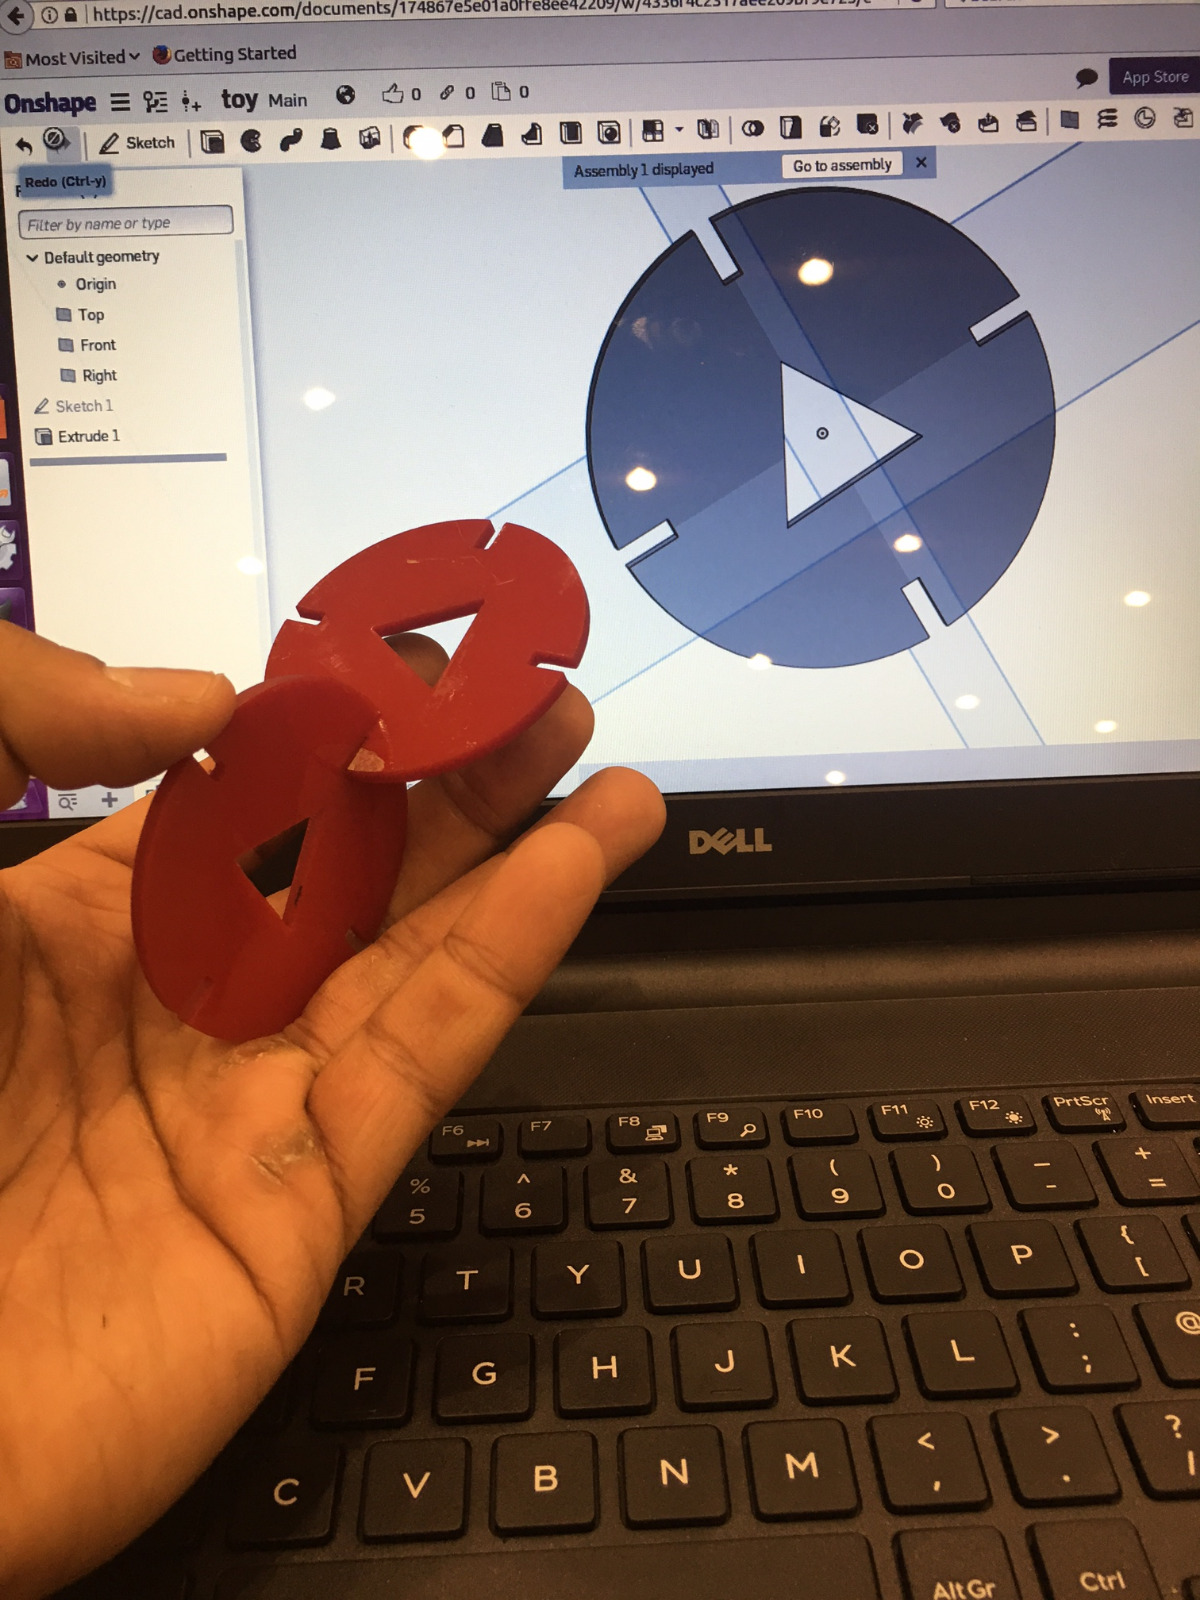
In the picture below, this was my first attempt in the design that failed due to the size of the printed object. I wanted to design a cube that interlocks in the top of the cube. The problem here was in setting the size of the mm and not cm and printed as 30mm width which came up to 3 cm in size and not very sufficient for such project. so i decided to avoid this problem in designing a different interlocking shape and considering the size factor. Here is the file used in the failed attempt My File Here is the Onshape file CLICK HERE. in this picture below, the Raduis was set to 60 mm and the interlocking opening was design as 7.5 mm with 2.7mm width.
here we can see how the inerlocking part was designed as a rectagular shape that was deleted in the external part of the circle.
the same concet of the interlocking art was repeated in the other 4 sides as shown in this picture.
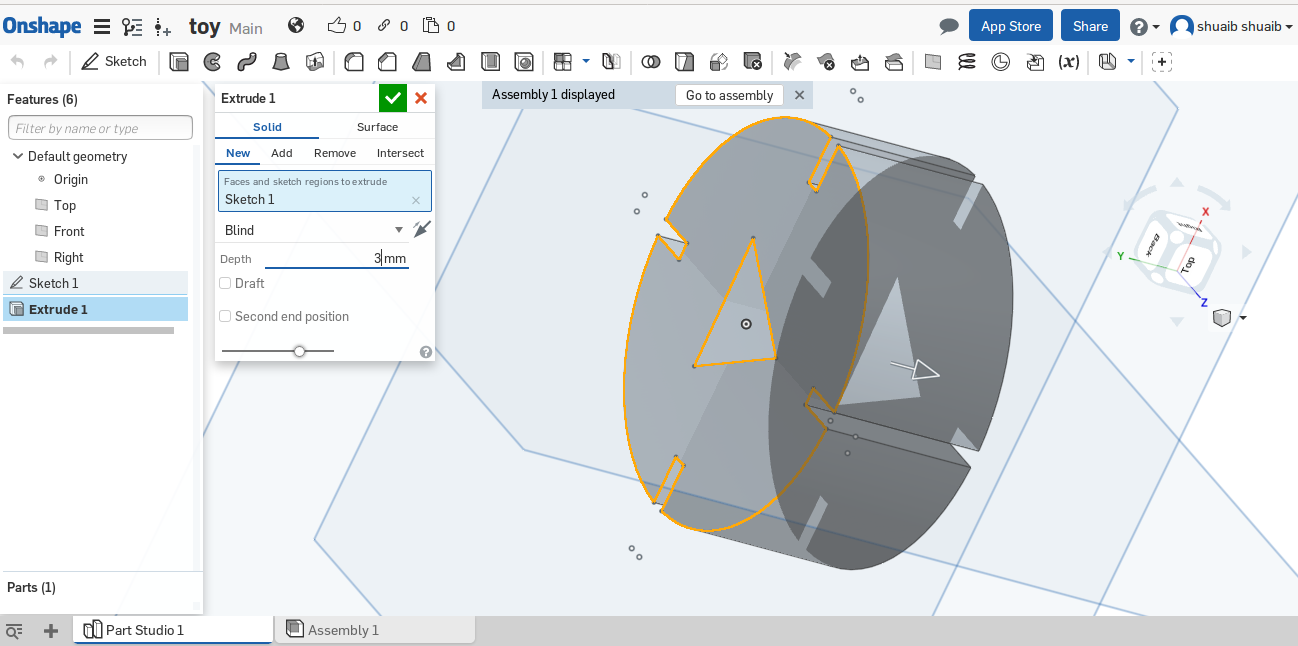
the object here is extruded just to show the whole parts of the design. the width is set to be the same width f the boards in the laser cutting machine which is 2.7mm . note that this width is also used as the width of the interlocking parts as well.
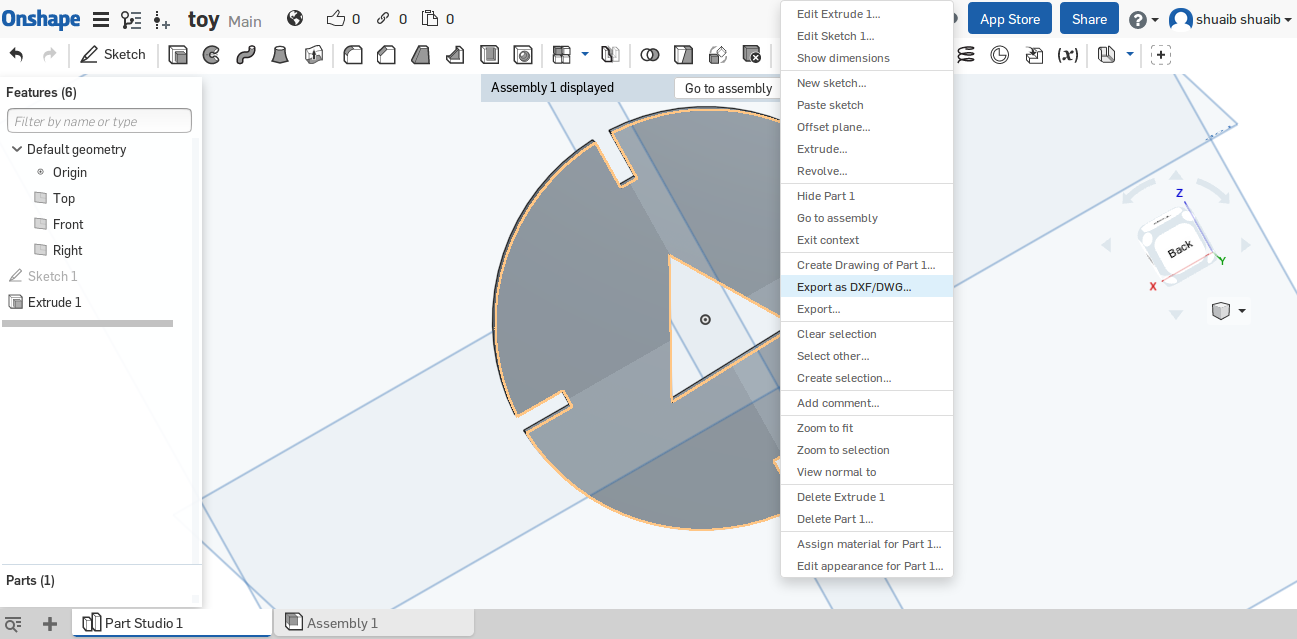
the final design was a rported in DXF format and sent to the laser cutting machine.
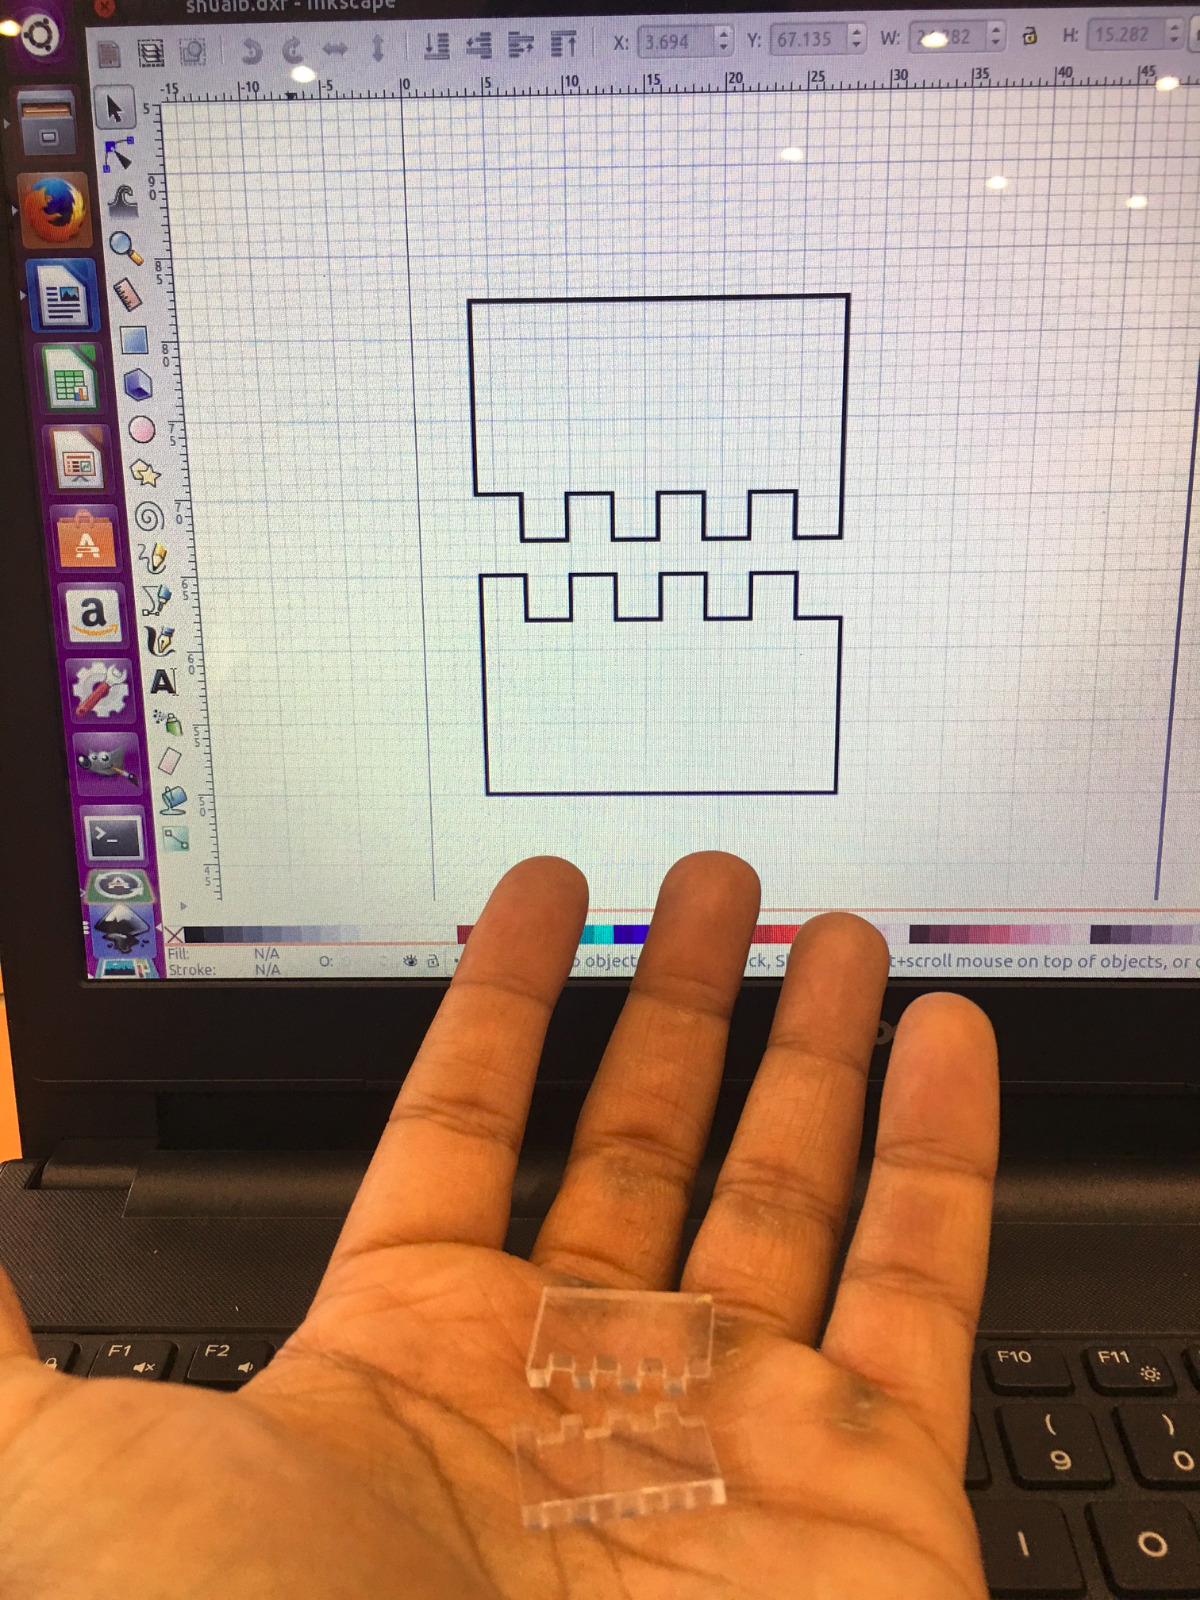
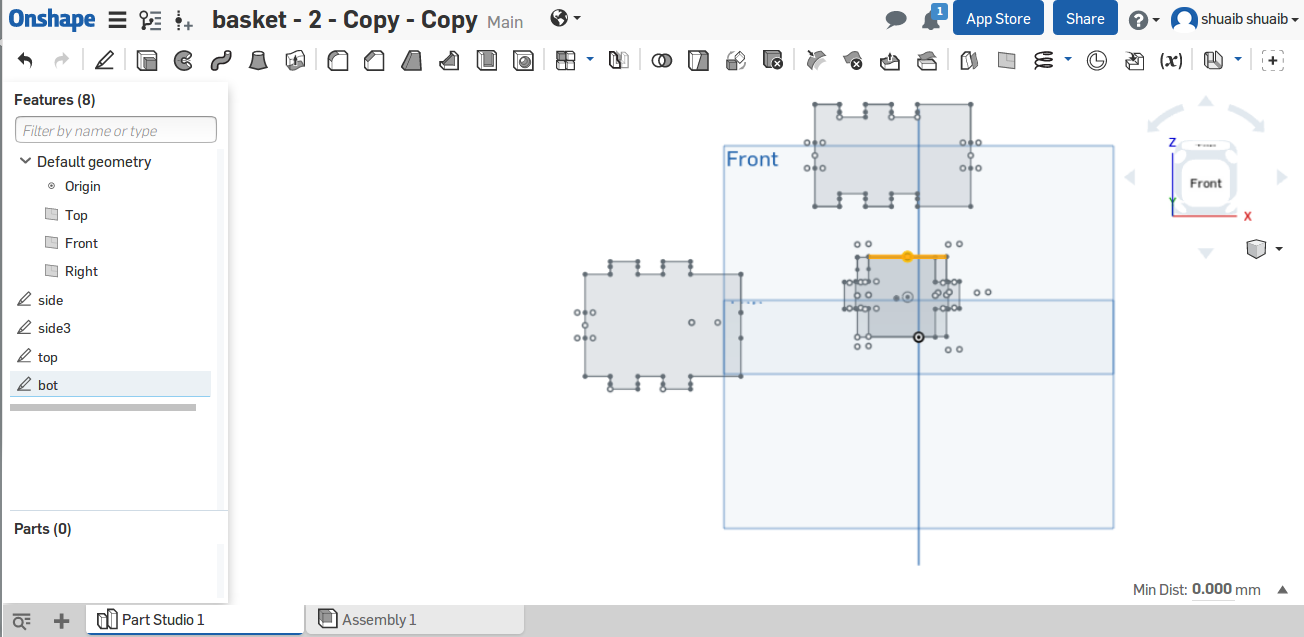
The sketch i did was close to some of the colleagues since we were teaching each other but we used different element in the mid of the object. in the Onshape design, I did the circle shape with cracked ends and a triangle in the middle and set the cracks to 2.7 mm in order to cut in the laser cutter as 3mm. Sent it to the cutter and the following was produced. Here is the file used in the succesfull attempt My File I have designed another box of 4 sides of top , bottom, and the sides as seen in the Onshape design pictures below. Just to give it another try, The design is based on pressed fit concet of a male/female. Since no glue is used to fit the box, the best fit was used for the 5mm sheets is to reduce the width of the female slots to 4.7mm so the diffrence in reduction was 0.3mm.
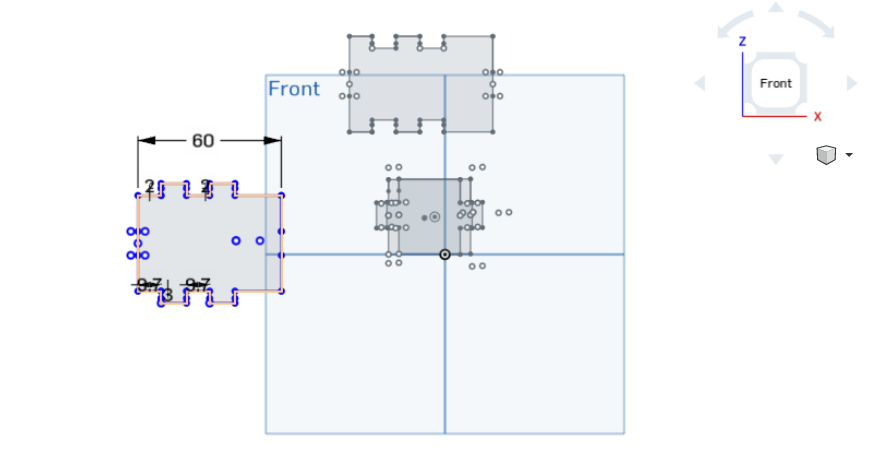
here are the dimensions used n the design process for this kit. I have designed the male slot in the box with the same concept of reucing a 0.3mm of its original width to make sure it fits perfectly. So the width as seen below is 9.7mm which should fit in a 10mm. Anothe point is that I have added 0.3mm to both female slots which resulted in an extra 0.15mm no each.
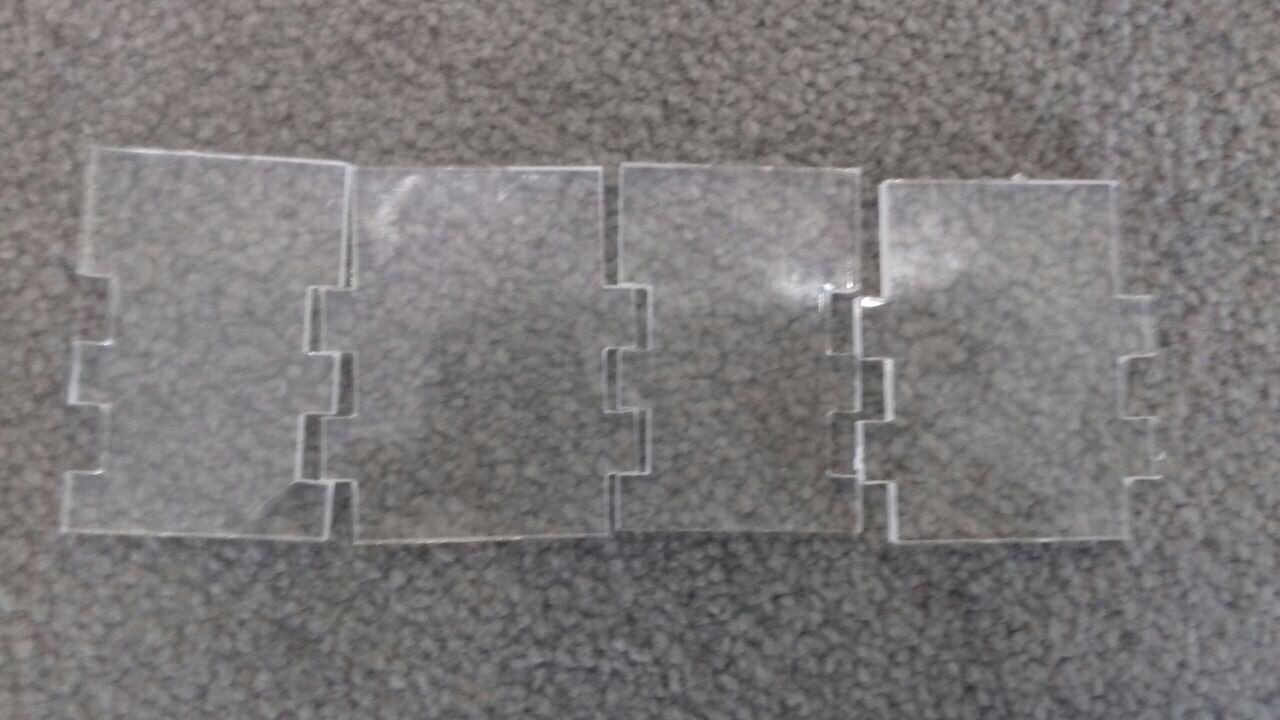
here are the four pieces Printed in the laser cutting machine
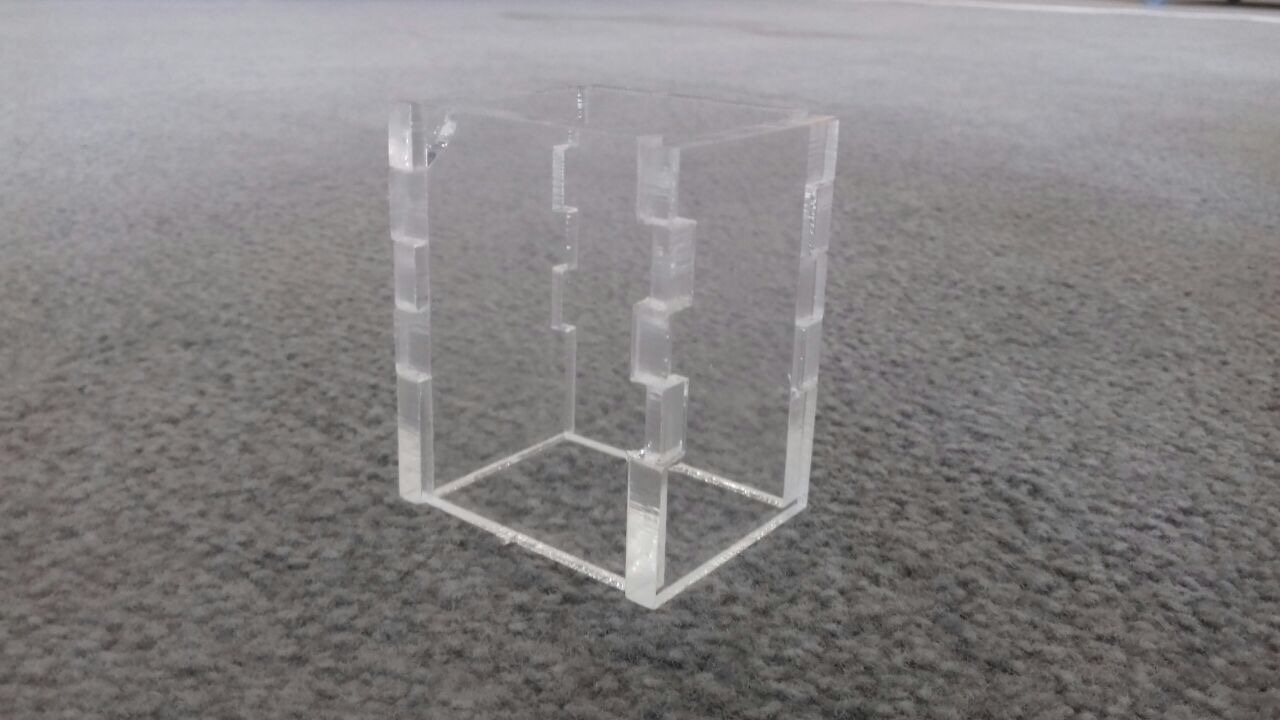
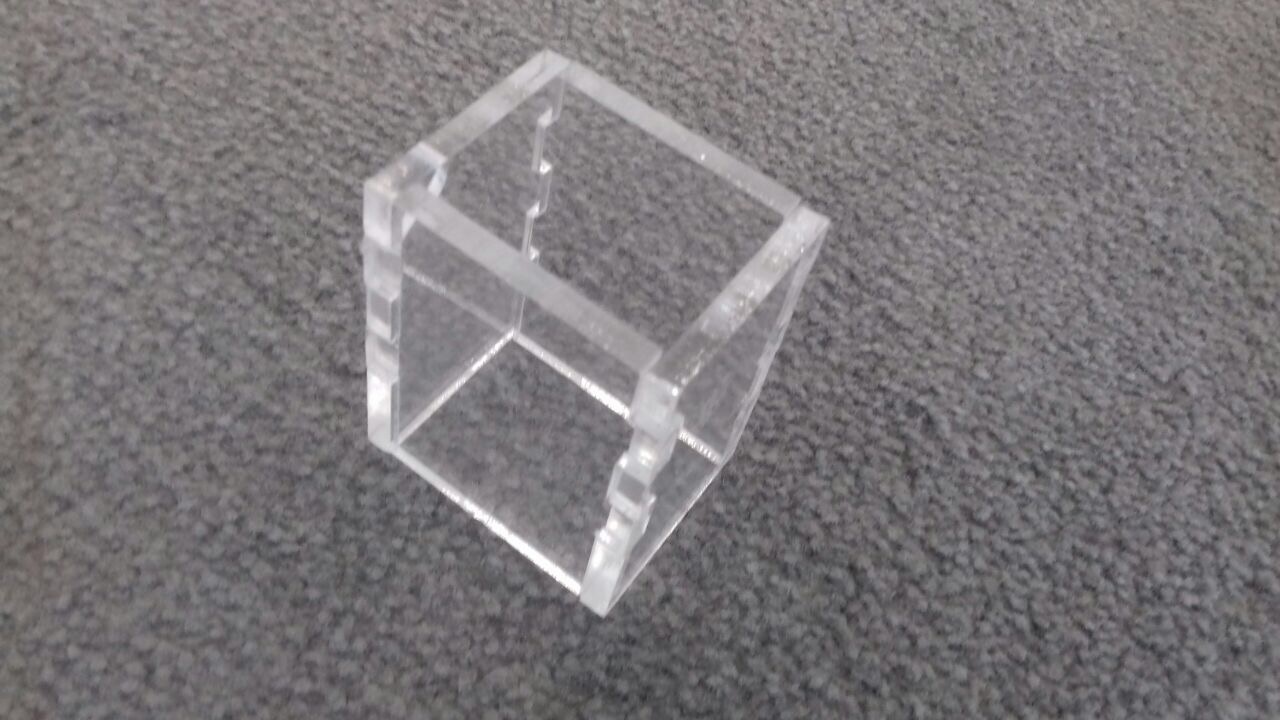
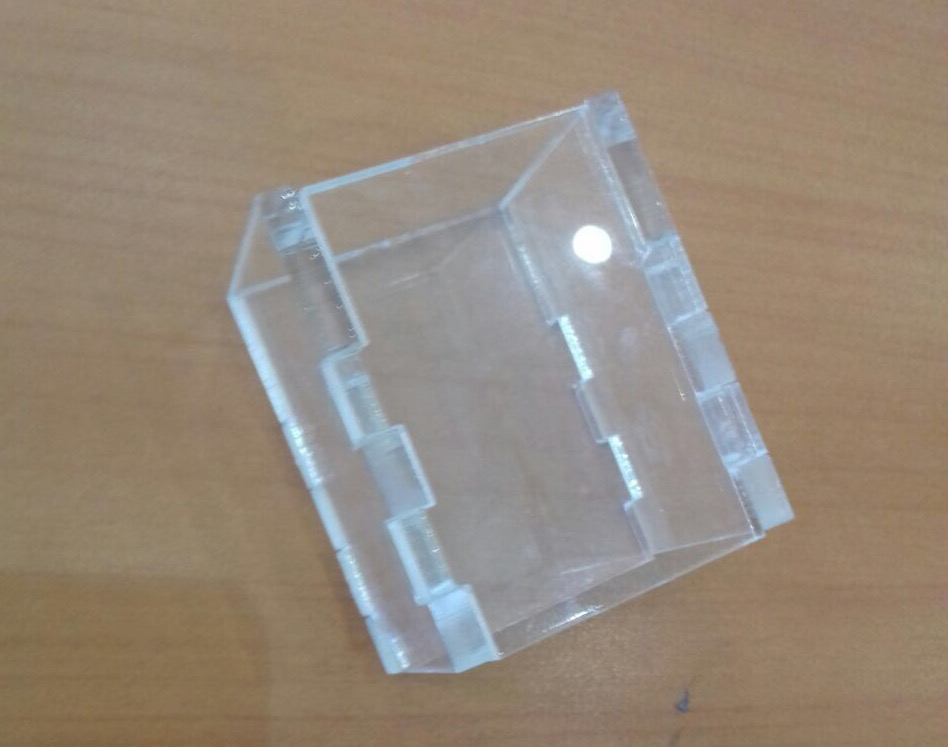
here is the final look of the pieces being fit into each other
First Attempt - Failed
Execution - Successful Attempt
Laser Cutting Design Process - Circle Shape

Execution - Another Successful Attempt- BOX FIT
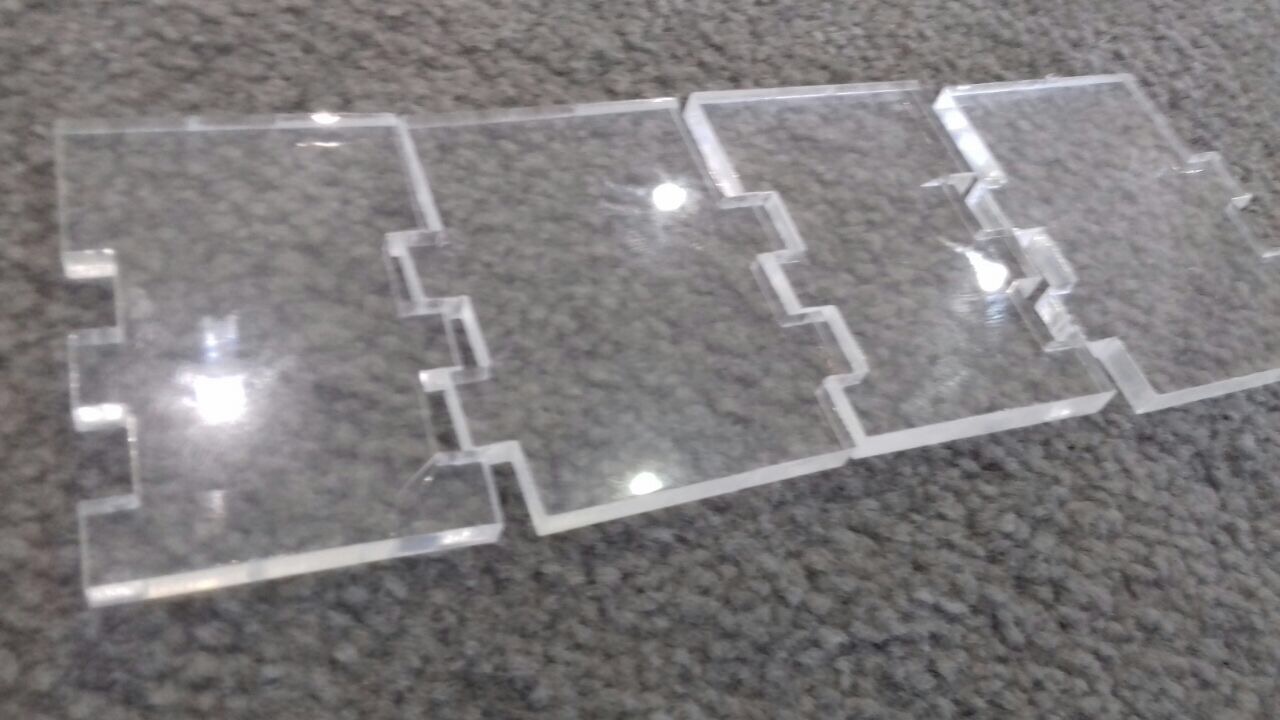
I have seperated the filesinto 4 diffrent pices as shown below to download
Part-1
Part-2
Bottom Part
Top Part
Here is the Onshape link Click Here.