WEEK-14: COMPOSITES
Have you:
Shown how you made your mould and created the composite
Described problems and how you fixed them
Included your design files and ‘hero shot’ photos of the mould and the final part
Read and linked to the material safety data sheet (MSDS) and technical data sheet (TDS) for the resins that you're using
About COMPOSITES
First of All , I had to research and read more about the composites material in the net and i came across lots of useful articles. "Composite material is made by combining two or more materials – often ones that have very different properties. The two materials work together to give the composite unique properties. However, within the composite you can easily tell the different materials apart as they do not dissolve or blend into each other"... to read more about composite, here is the link
First Attempt- Failure
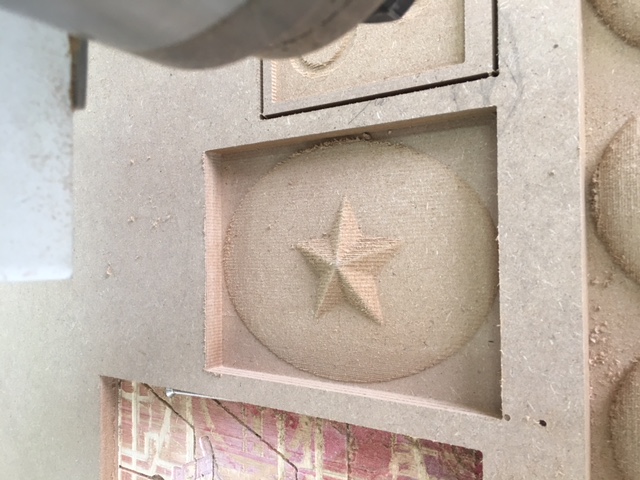
So here is the design I selected to work with for this project which was based on a 2 levels of a star and a circle. below is the design that was done in an onshape design and then converted for CNC use. The problem here was when I printed the design in the CNC, the thinness did not vary enough for the next step to be visible when the composites are mixed. so i decided to change the design according to the following steps.

Second Attempt - Success
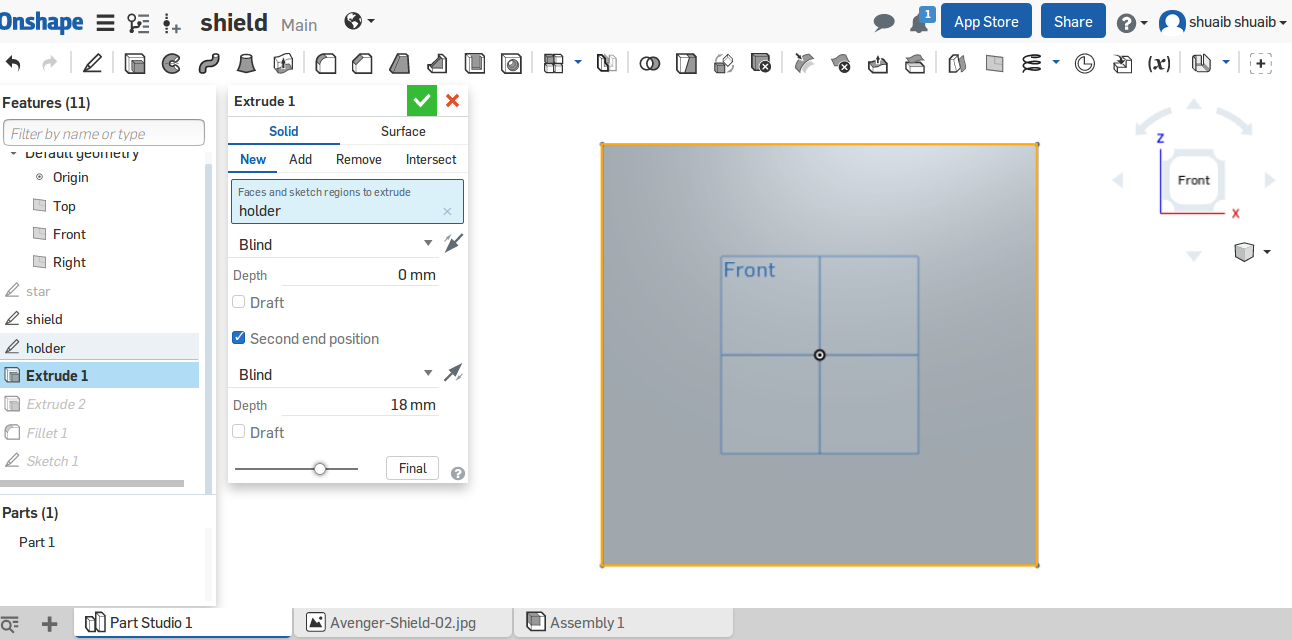
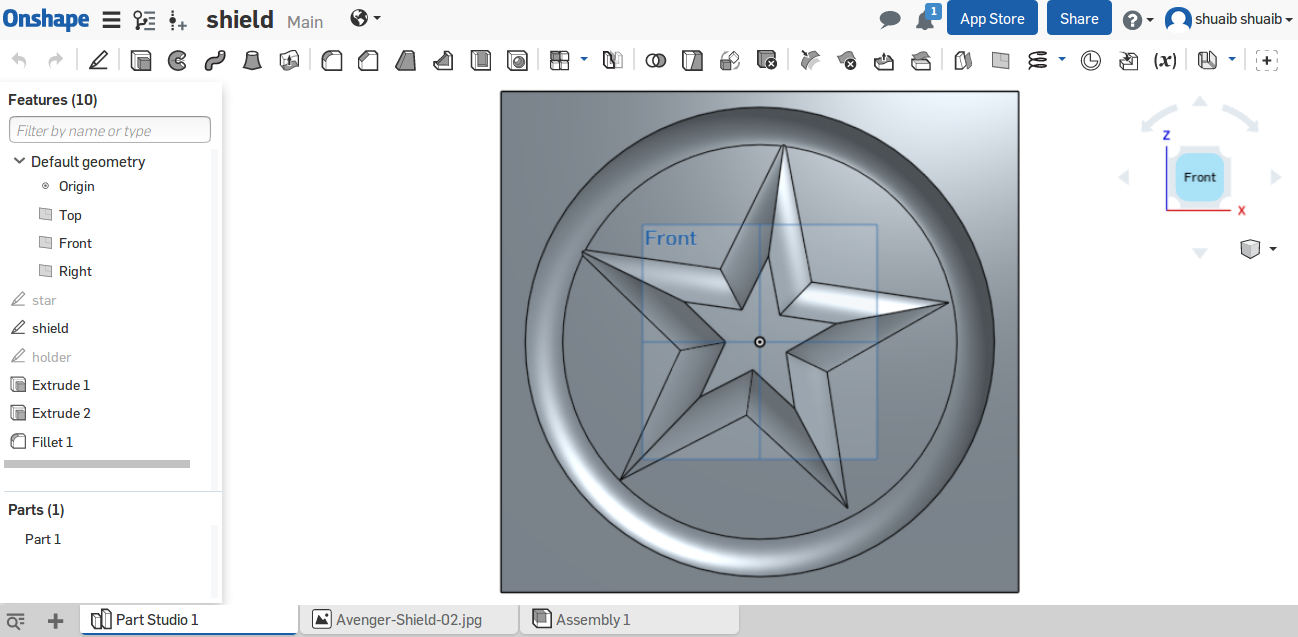
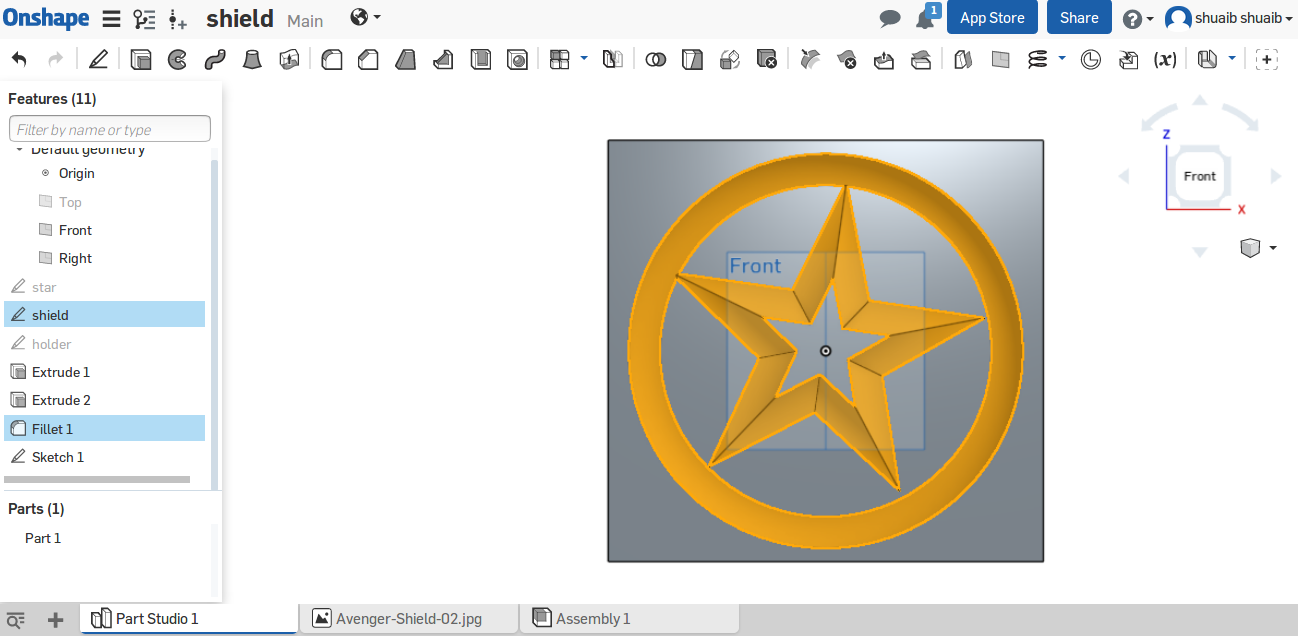
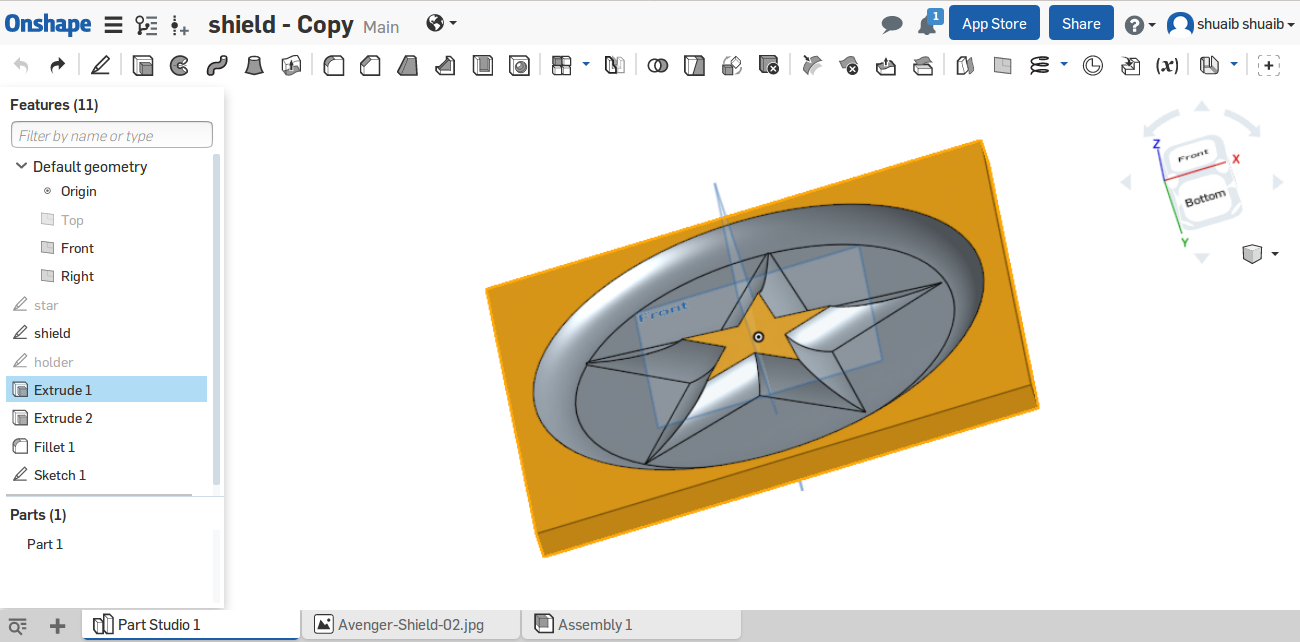
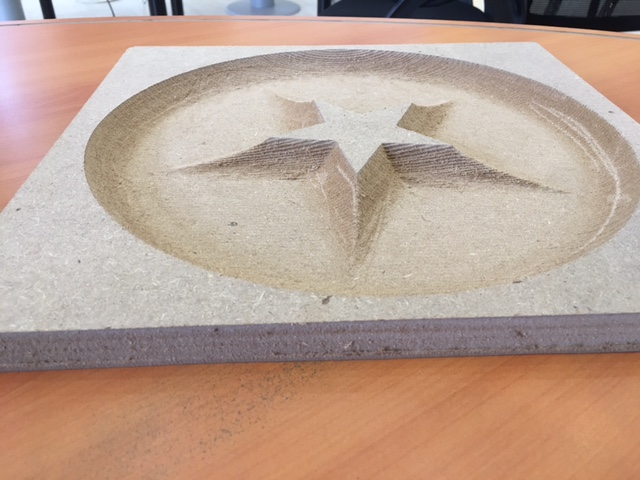
the final design here was inspired by the captain America's shield. here is the picture that was used from the Internet and the design shot and file is done separately. The design was based on designing 2 circles with a star inside of it. having different levels will get us the point we were looking for and learned from the first design failure. 3 different levels were approached in this design that varies at the 18mm wood thickness.

So here is the step by step design process using onshape:
1) open the online Onshape file
2) open new document
3) download the picture of the captin america shield
4) get the same dimensions of the circles
5) create a square (dimension below in the pictures)
6) make 2 circles inside each other with the dimension seen in the picture below
7) make 2 stars of 2 different dimensions and place them inside each other
8) connect the bigger star to the smaller star
9) make sure all thickness are up to 18 mm max
10) extrude all then convert the file for CNC use.
Design Process - Toolpath Art Cam Conversion
below are the steps of converting the file from STL format to make it CNC print ready for in Art Cam softwar
1) first i open my design in ART CAM software
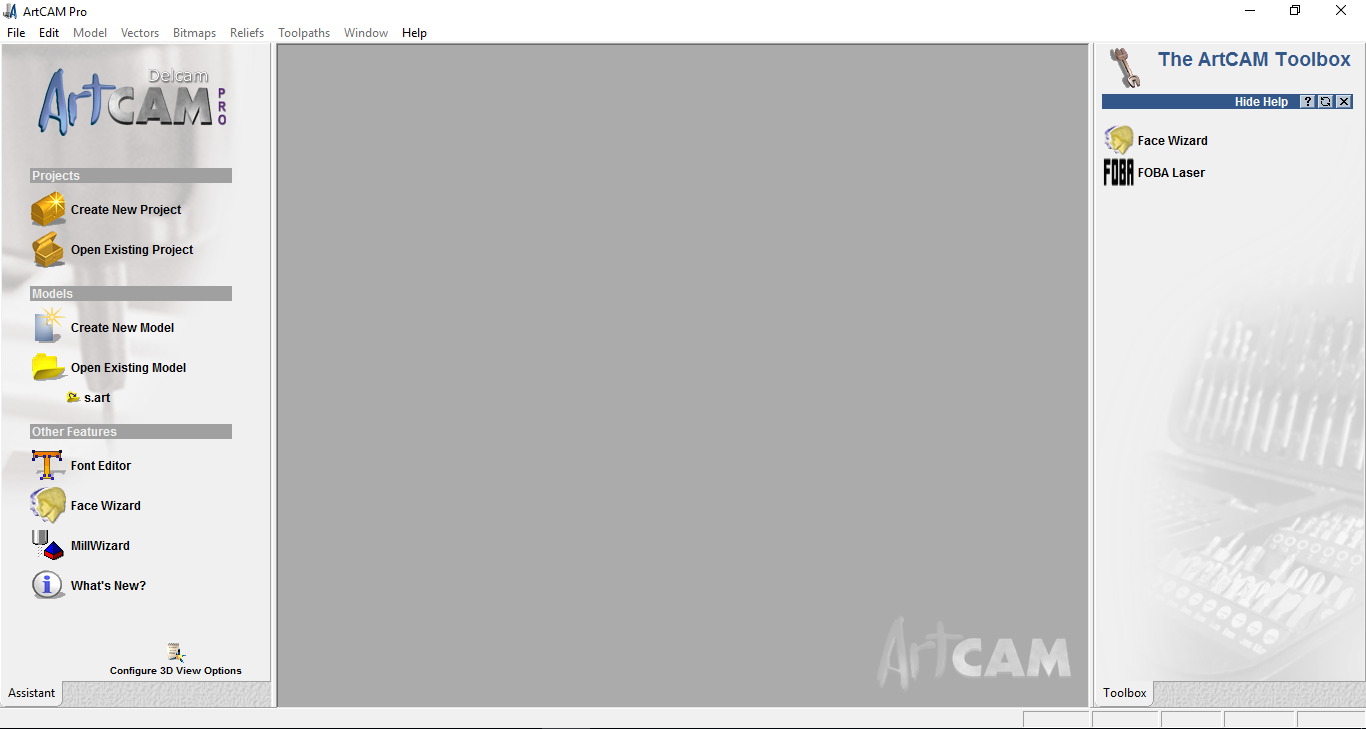
2) in the top left corner, click on the mill bowse to open the design
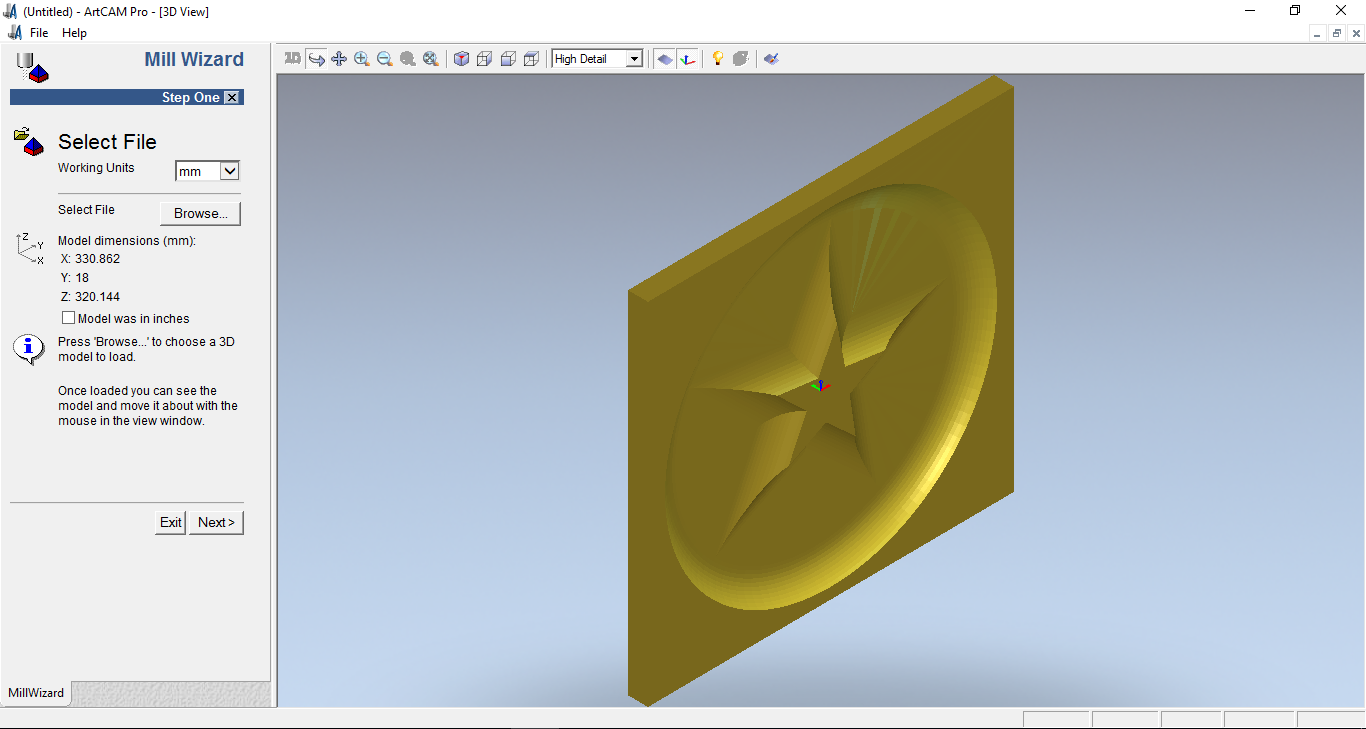
3) then you can see the cur direction. Then chose the starting point of the cut ad the end point of the cut as well
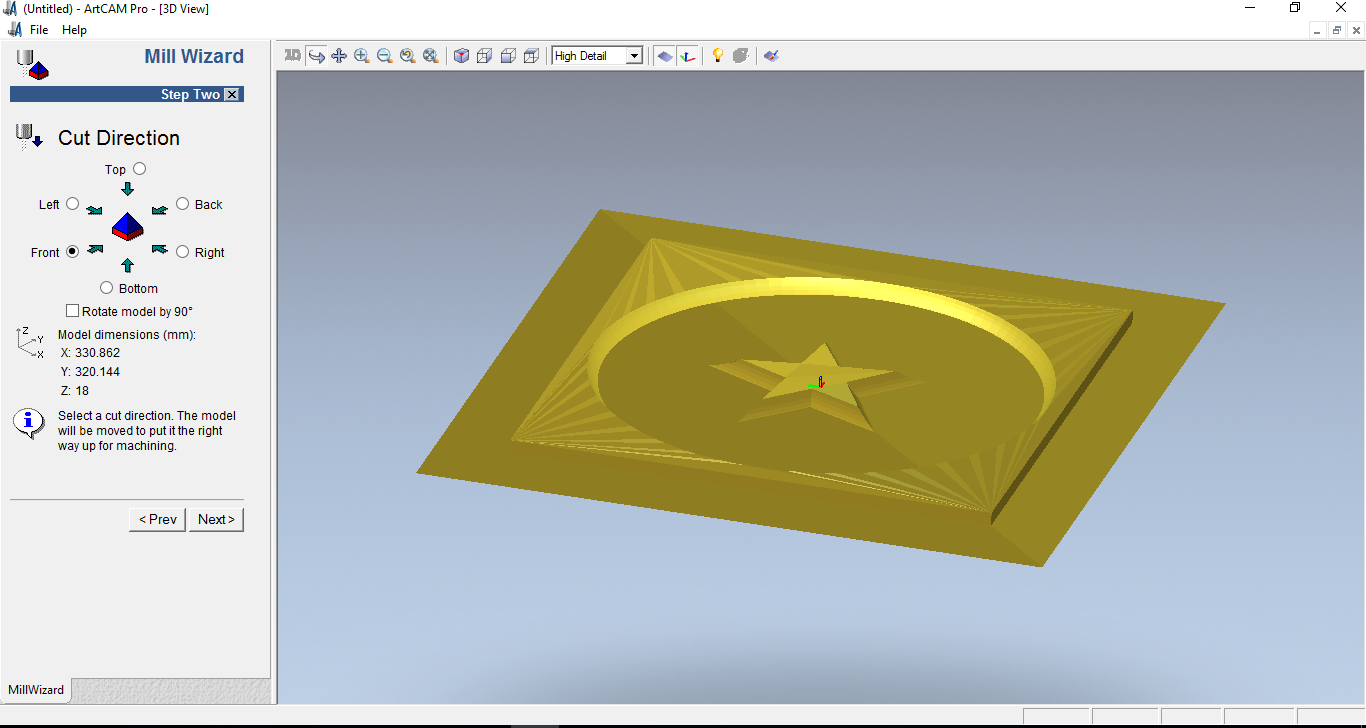
4) There are 2 options under the fourth step which is Cut-Plane. you have t select the bottom of the model which means that my design will be milled from the bottom designated not top of it.

5) for the milling, we are using 2 bits, a roughing tool and a finishing tool. in this option, we are using 3mm roughing tool and 3mm finishing tool as well. Thats why i selected a 3mm bit for both rough and finising bit election in the art cam.

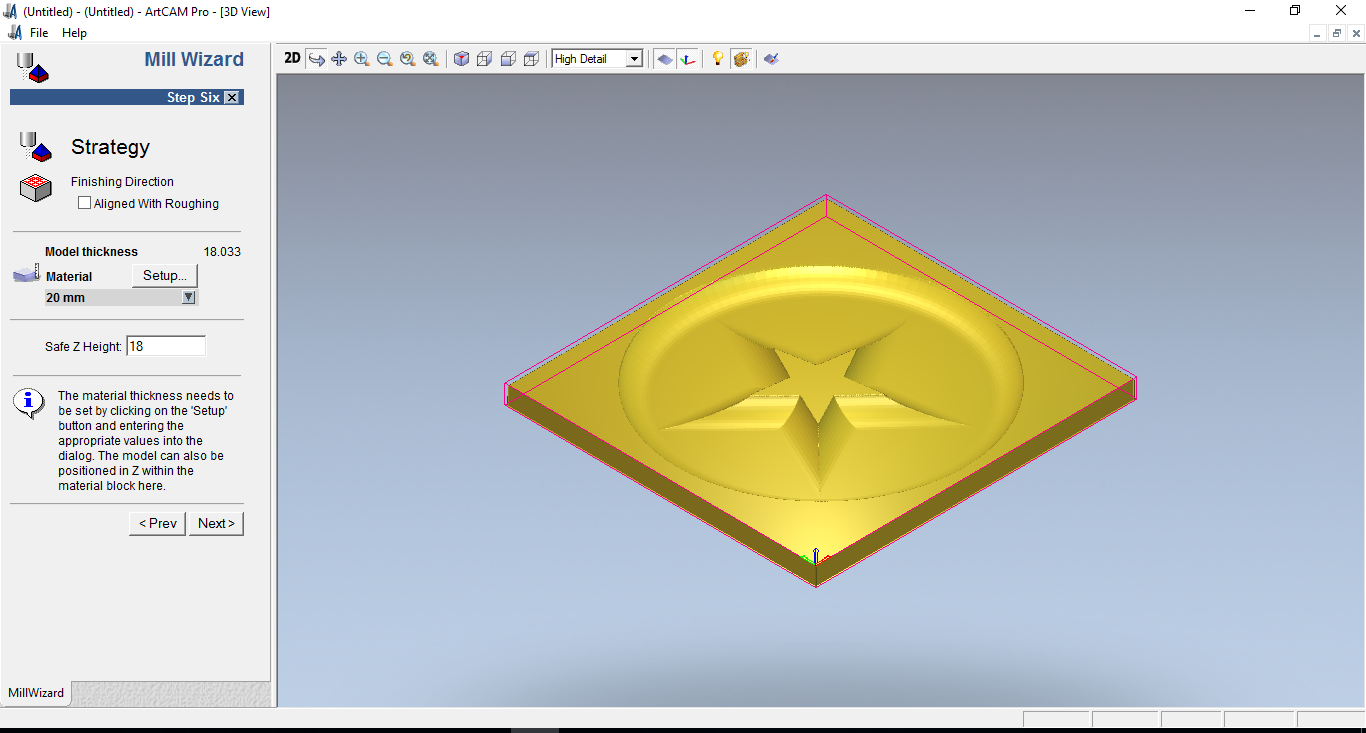
6) this ste is to choose the material thickness. In this window, select the material thickness of 20mm and a Safe Z Height of 18mm.
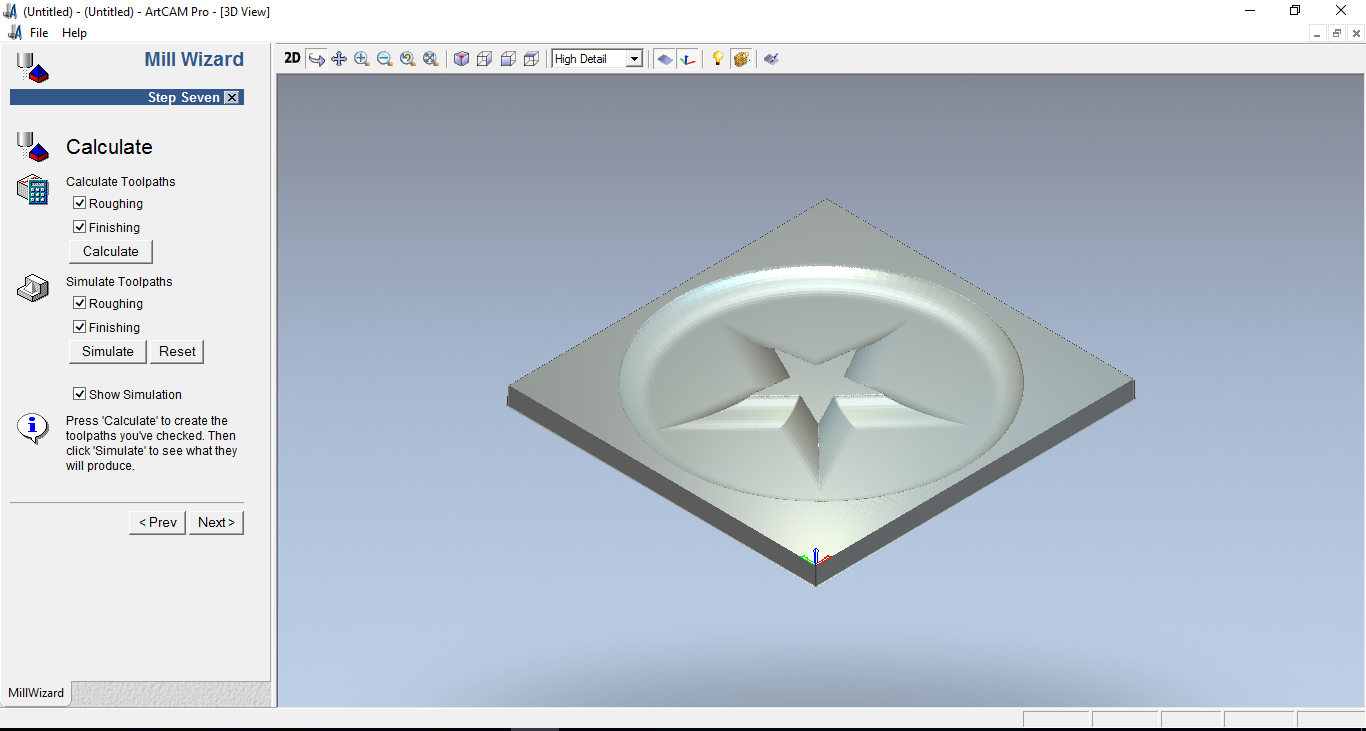
7) Here we will have to calculate then press simulate as seen below. then confirm the height and final look of the product as required
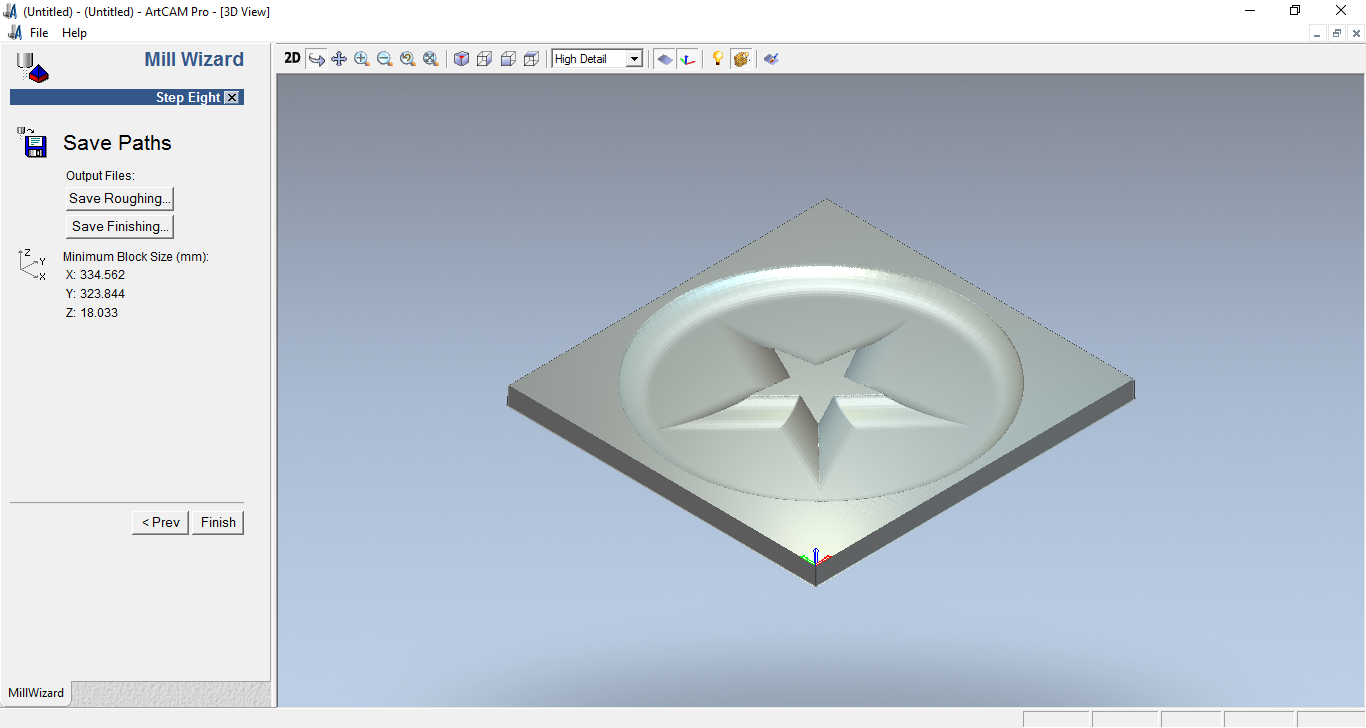
8) here is the last step which saving the file and converted it to be ready for cutting
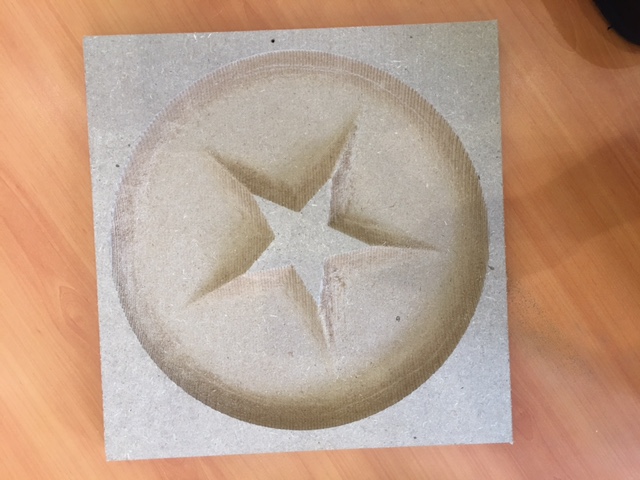
CNC Cutting and Execution
below is video including pictures of the CNC process. The final product was completed with good levels between the star and the circle that varies between 0.18mm the width of the wooden bord to 0.16mm the width of the star.
Files Used in the Process
Here is the Onshape Design Click HERE
here is the final design used in NC format . HERE
here is the design used in STL format . HERE
here is the shield design used in STL format . HERE
Composites Process
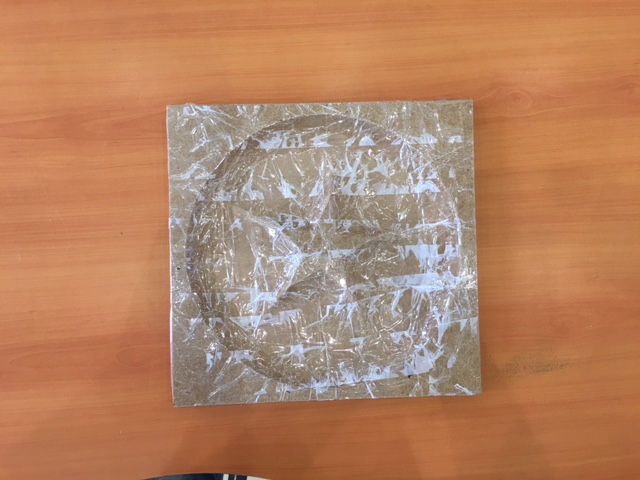
1) Tape the Wooden Object
the first step here is to tape the final product in plastic tape to seperate the wood from the epoxy to avoid any damages to the wood. the final product should look like this after taping
2) List the material
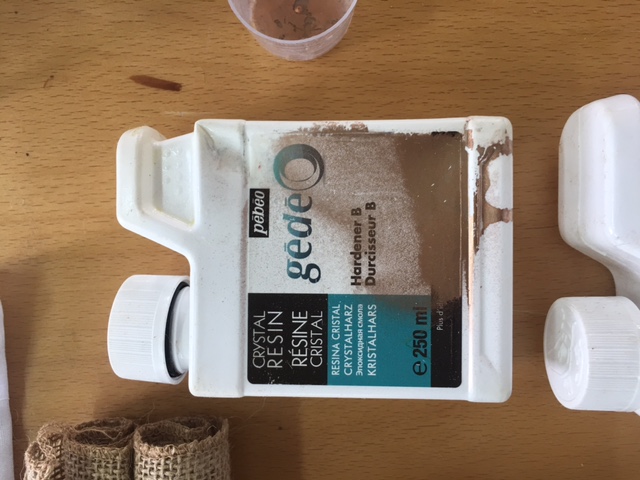
the 2nd step is to list the mixing agents required to do the composites. in this case, we have tried few material that did not work previously. so the mix of agents that worked is the following mix of 2 to 1 which applying 50% less of agent-B than agent-A:
- Resin Crystal Agent Resin-A

- Resin Crystal Agent Hardener-B
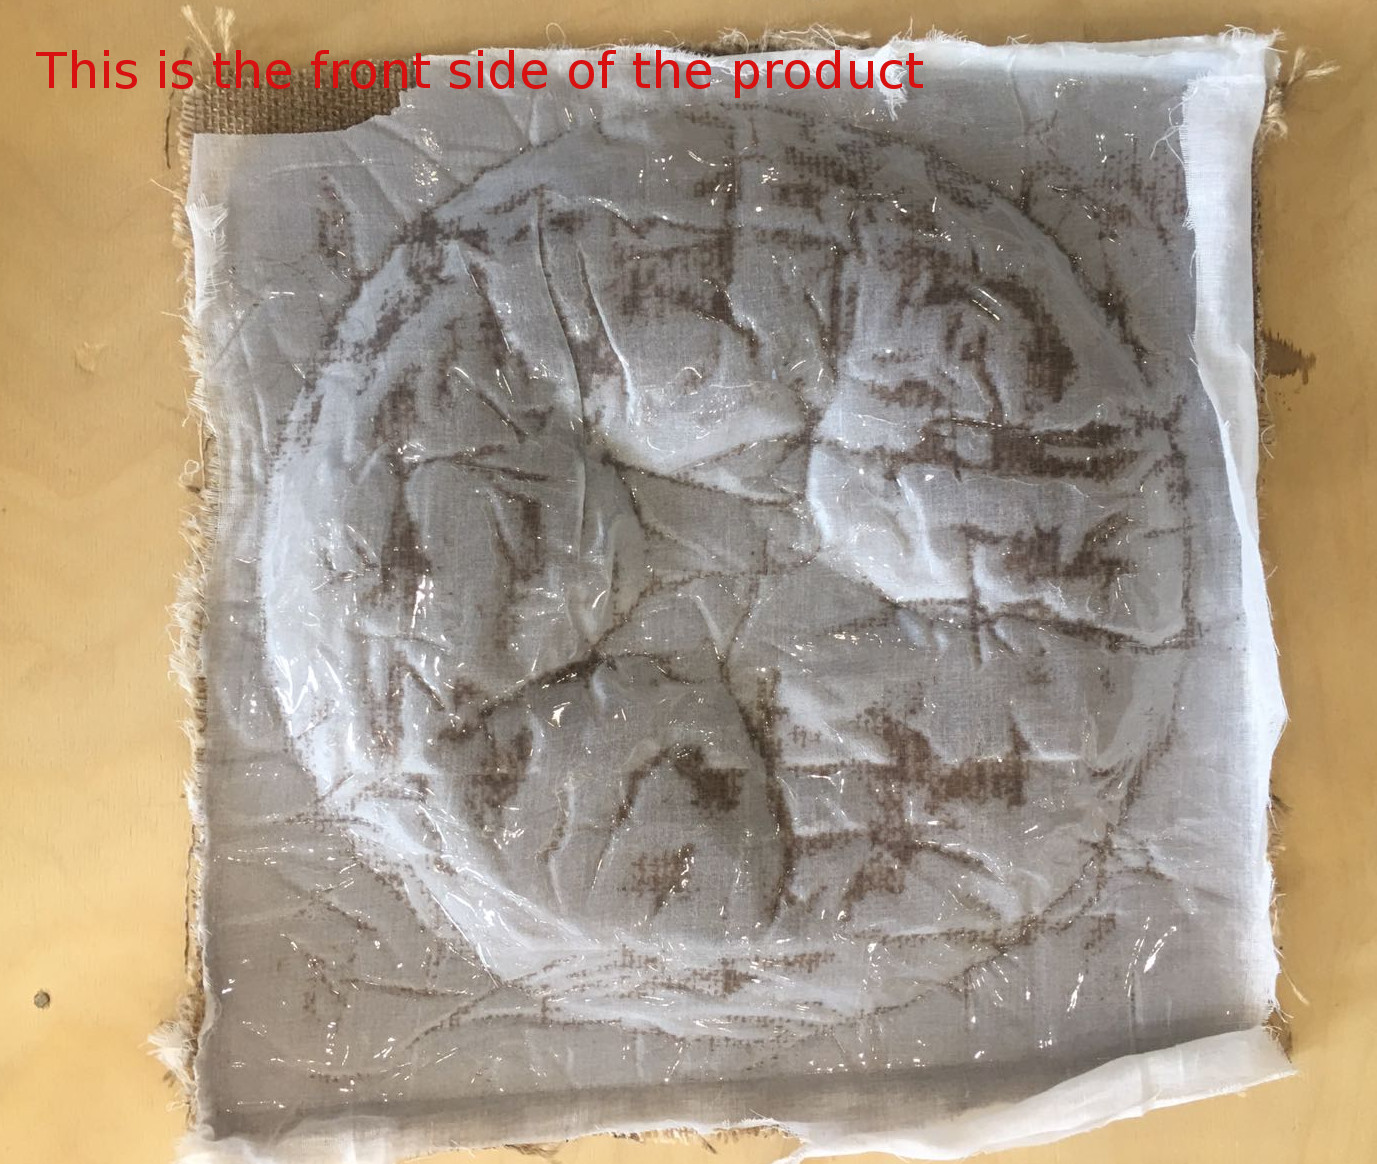
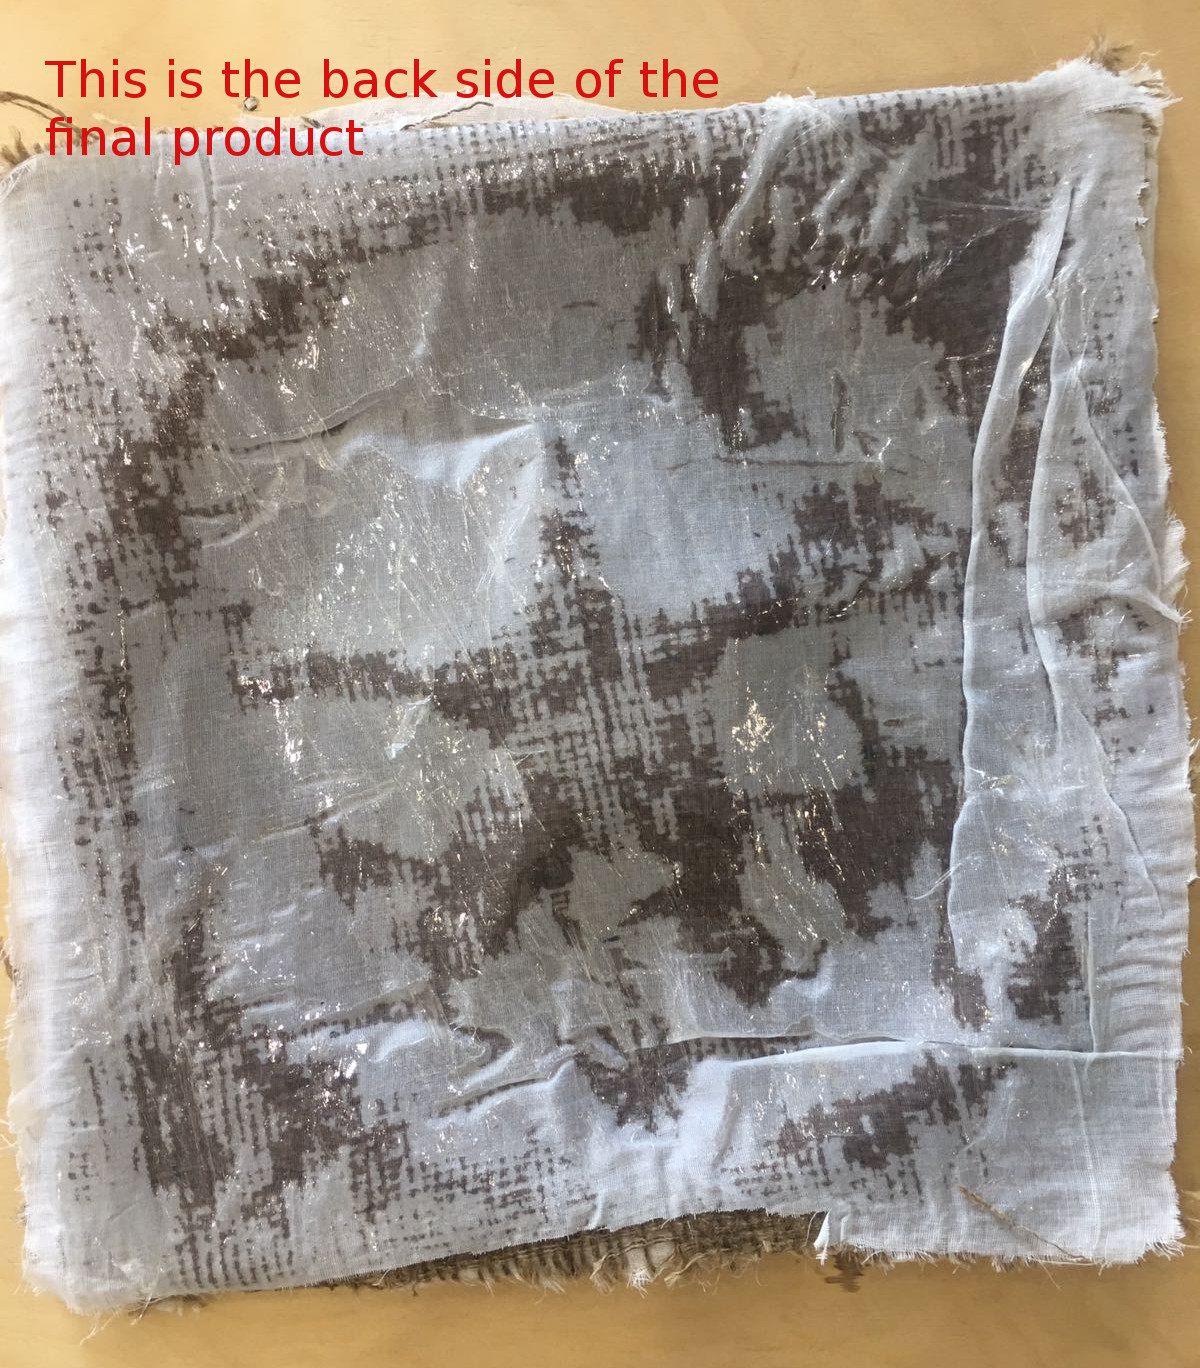
3) Layering and Application
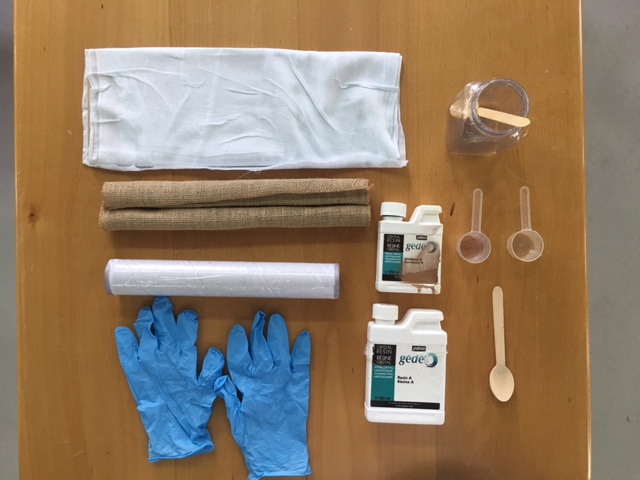
the picture below of all the material required to create each layer before coating it. according to the fab lab requirement, we followed 5 layers to sheets and alternating between the sheets of rough feels and soft feels and applied the ayers in between gently.
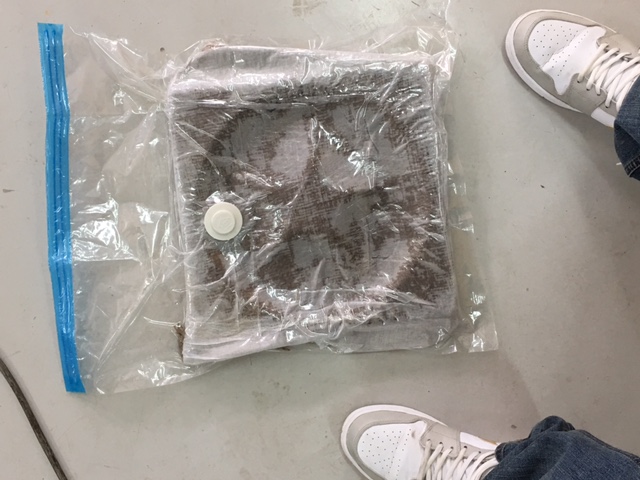
4) Air Pressure
below is a picture of the final coated layers laid on the wooden design, covered in plastic bag and all the air was Vacumed out of the bag to maintain the pressure at high level in order to mold the intended shape.
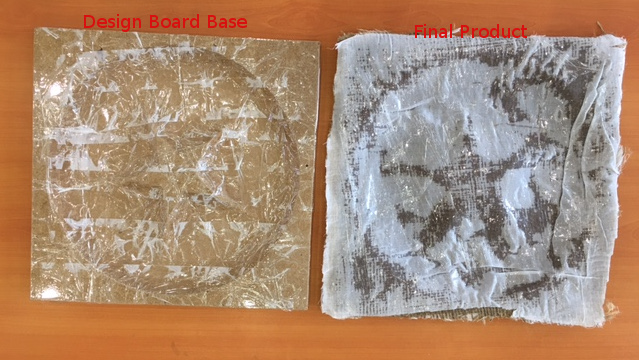
5) Final Design
after keeping the pressured plastic bag for 12 hours, the object was removed from the bag nd cut out of the original wooden design. below is the picture that shows the diffrance between the original wood and the composited material
Below is a video of the final product being rigid to proof the success of the composite week.