Week-12: Molding and Casting
Have you:
Explained how you made your files for machining
Shown how you made your mold and cast the parts
Described problems and how you fixed them
Included your design files and ‘hero shot’ photos of the mold and the final object
Mold Design using Onshpe
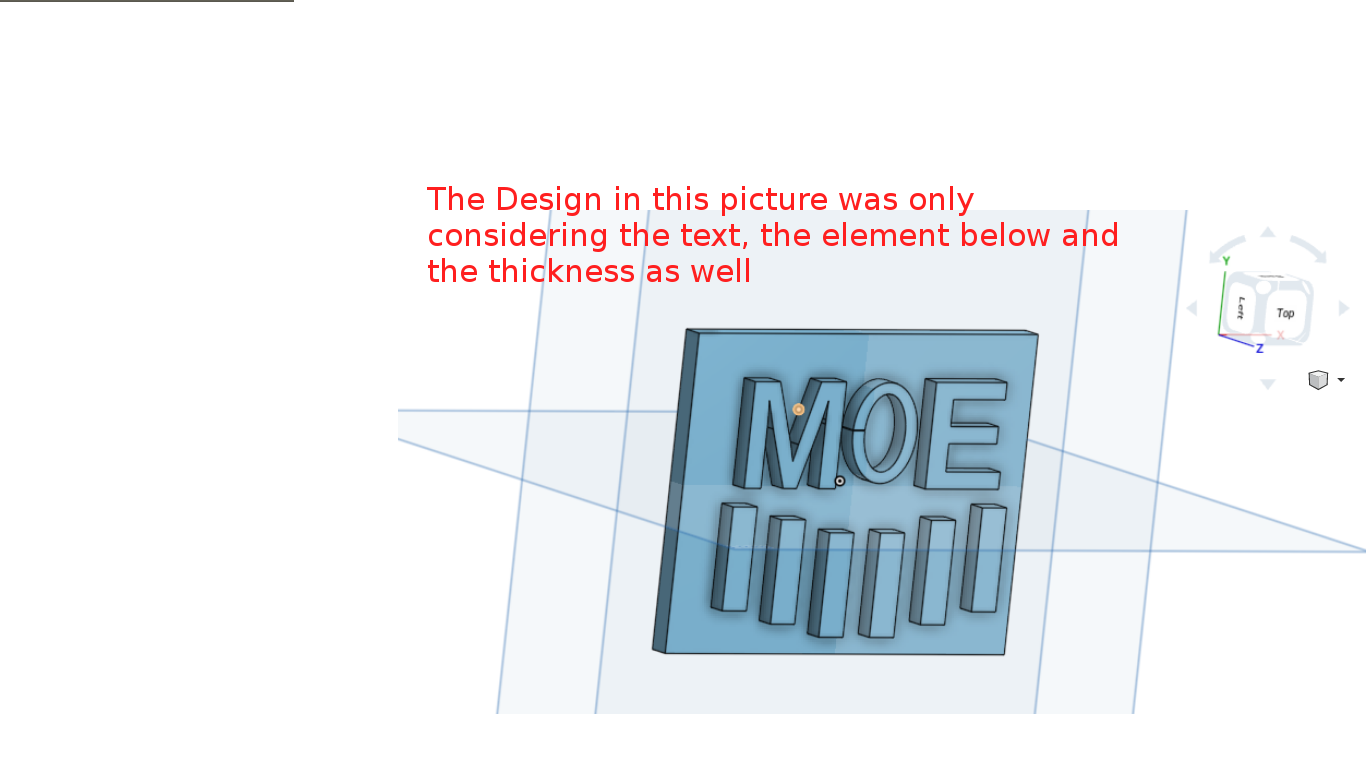
For this week, i have selected a design related to my previous CNC cutting week which was basic initials (MOE) and architectural elements for my molding and casting week. I used Onshape deign software creating a very simple square shape with the texts included in it as shown below in the picture.
Here is the 3D Design file used converted to STL format. My File
Here is the Onshape Design Used Click HERE
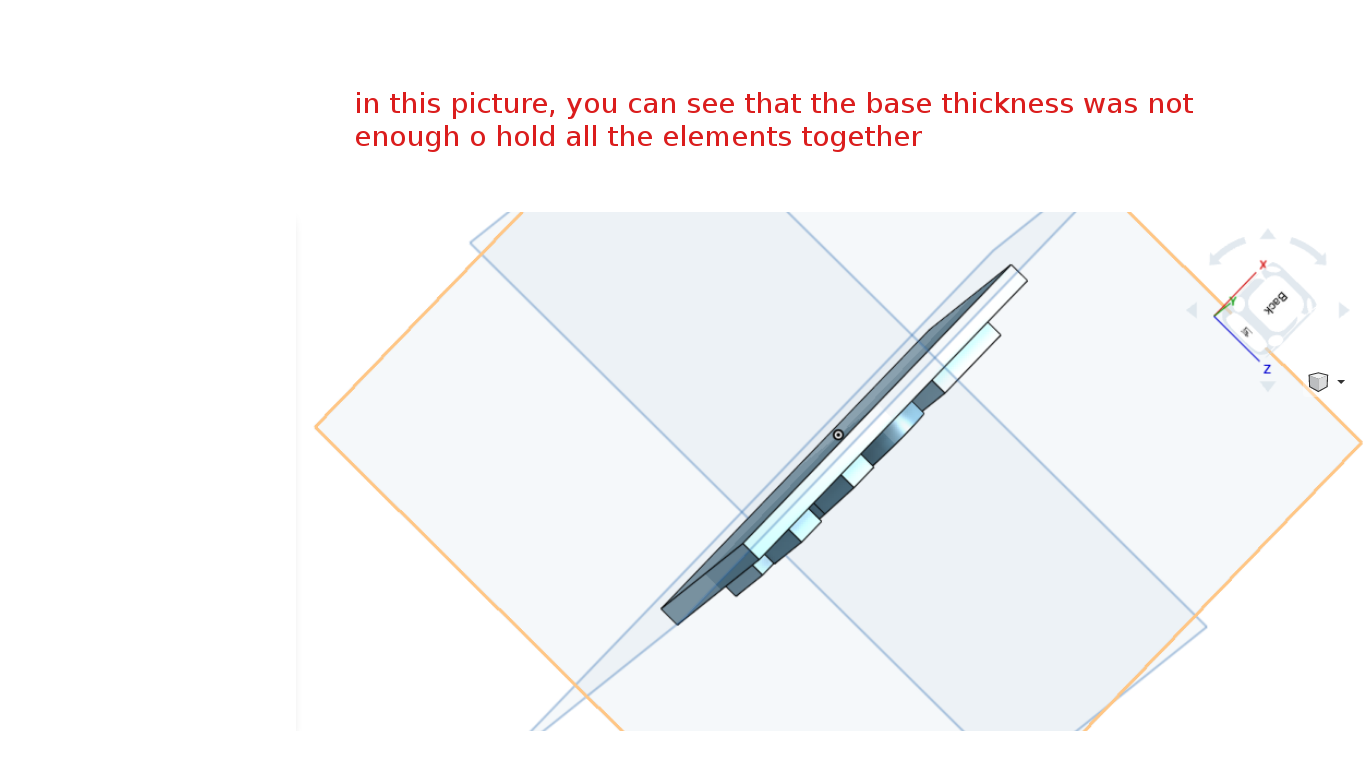
a small mistake was not considered during the design (occurred after molding) is that the casting was done without considering enough thickness for the base to hold all the elements together. The way to overcome this step is to increase the thickness of the mold as seen in the design below.
Mold Cutting using CNC Machine
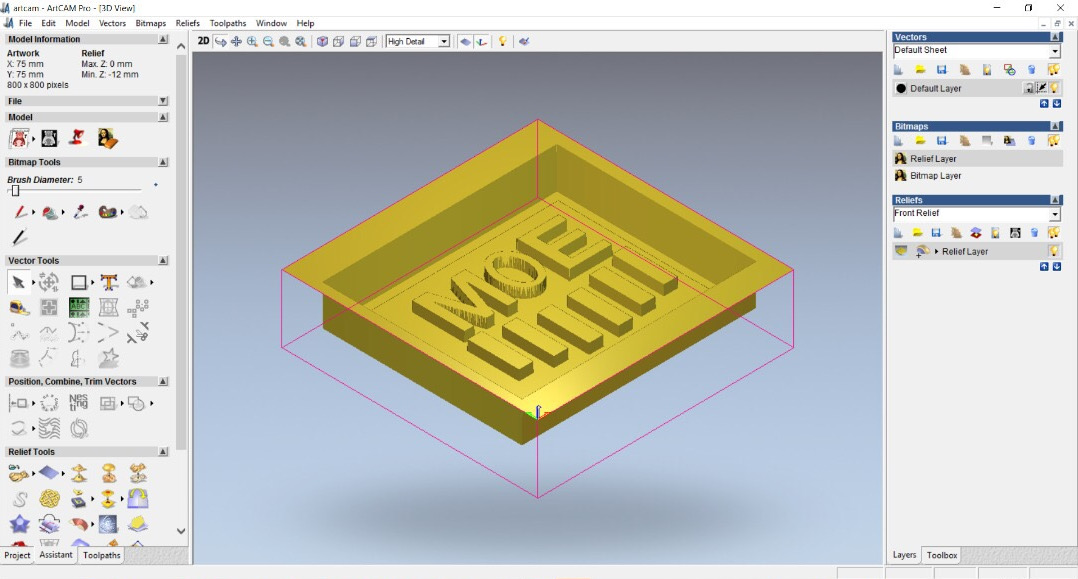
Prior sending the file to the CNC machine (model Jcut 1325B), I had to convert the STL format into NC using the Artcam software as shown in the pictures below to take care of the all thickness and depth of the project.
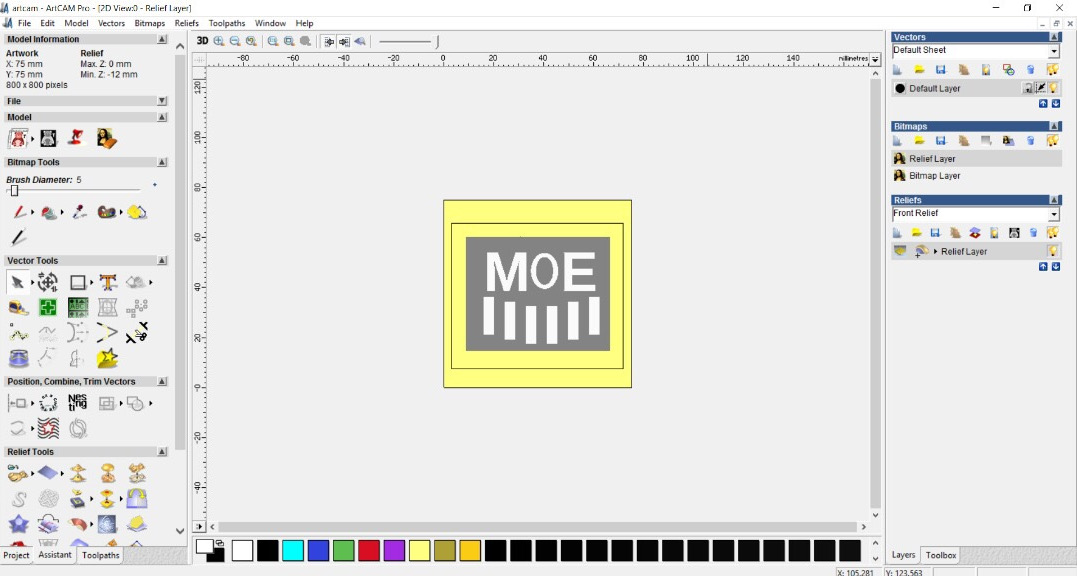
in the software, we added a square around the design (design depth was 12 mm) and subtracted the design within the square at a depth of 20mm.
the rest of the steps of the CNC cutting is clarified in the You tube video below including the mistake that was done in setting up the Axis values in the begging, fixing them and cutting the smooth and the rough part of the project. Please click on the video below.
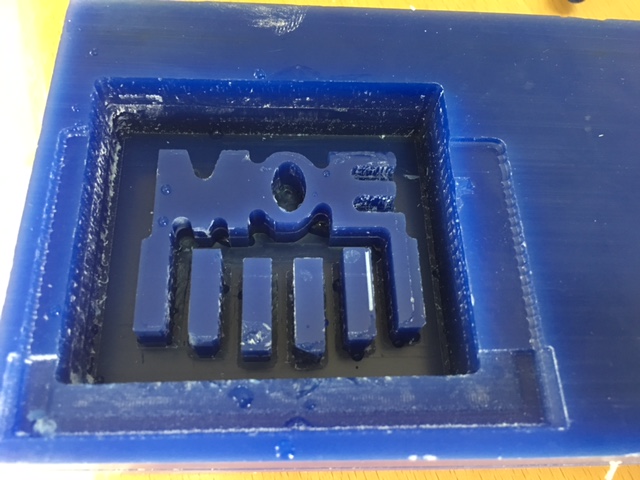
in the picture below is the final product of after using the CNC cutting machine. the milling bids were nt performing very well since they were over used. we can tell that the letter E and O were not milled smoothly.
Molding Process
1) Clean the mold very well
2) Fill the mold with water and measure how much ML of water is required for the mix. In my case it was 30 ML.
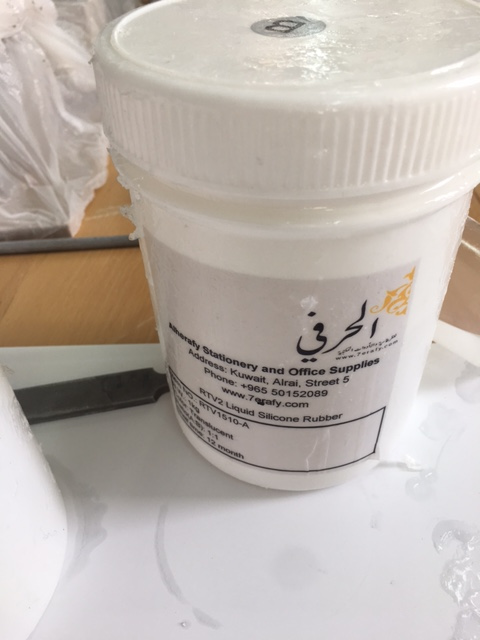
3) as seen below, we used 2 solvents RTV2 Liquid Silicon Rubber with a mixing ratio of 1:1
A) Solvent A (RTV1510-A)
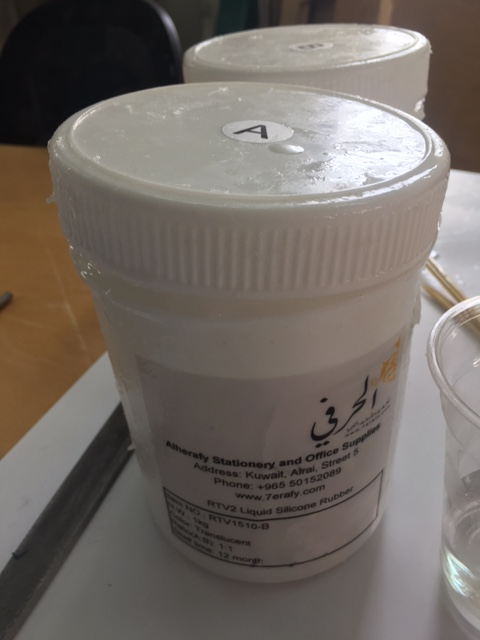
B) Solvent B (RTV1510-B)
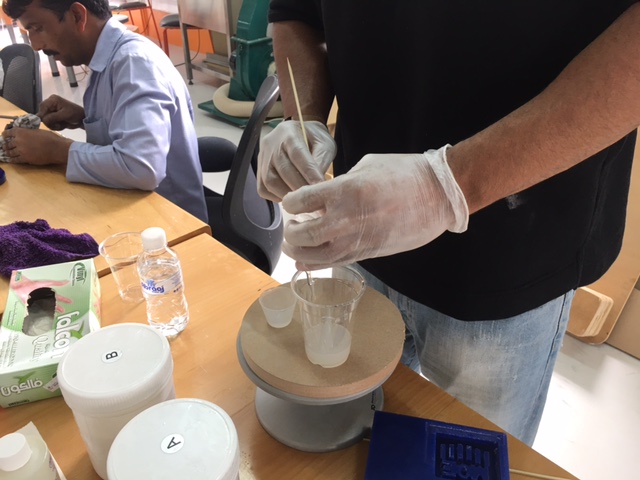
4) I used 30ML of each solvent in a seperate measuring cup as shown below
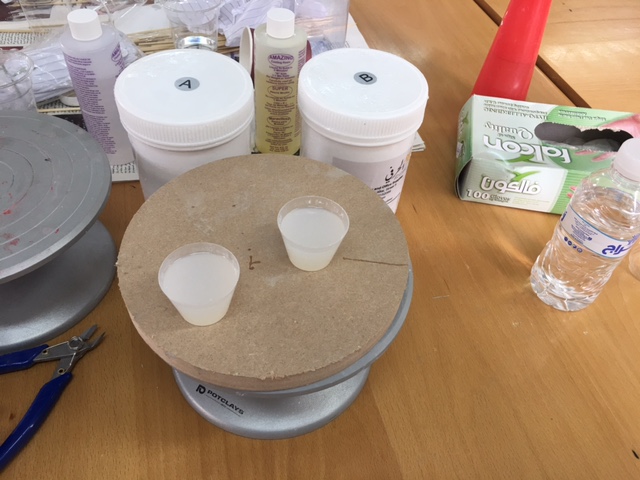
5) Then mixed them together (Fast) until the white creamy thick mixture is done.
6) I poured it into the mold and kept it on a LEVELED desk for 7 hours
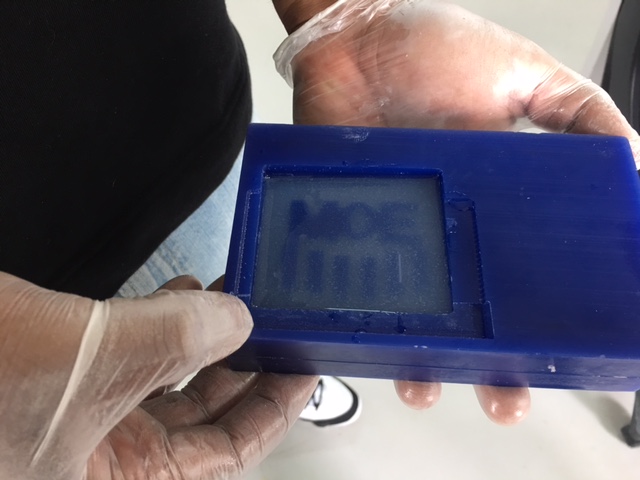
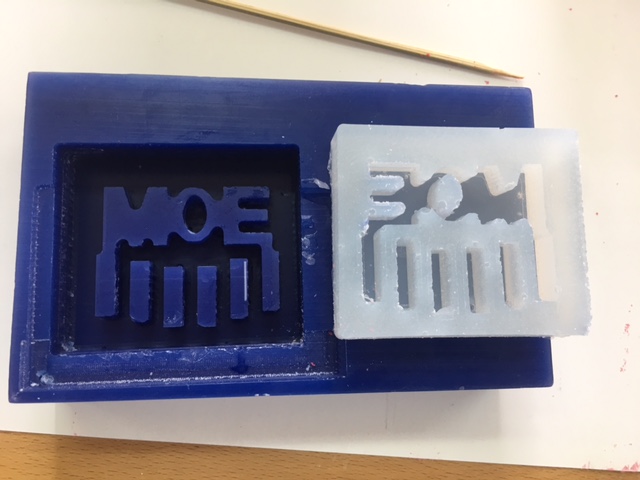
7) the day after, I carefully removed the mold and here how it looked like
Casting Process
In the casting process, I have used 2 different solvents for the casting bu followed the same steps above of the mixing measurements of a ratio of 0.5:0.5 of each of the following casting Resins-A and Casting Resins-B.
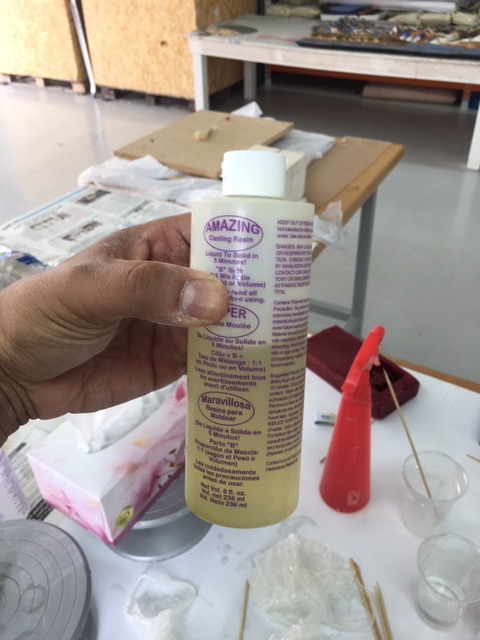
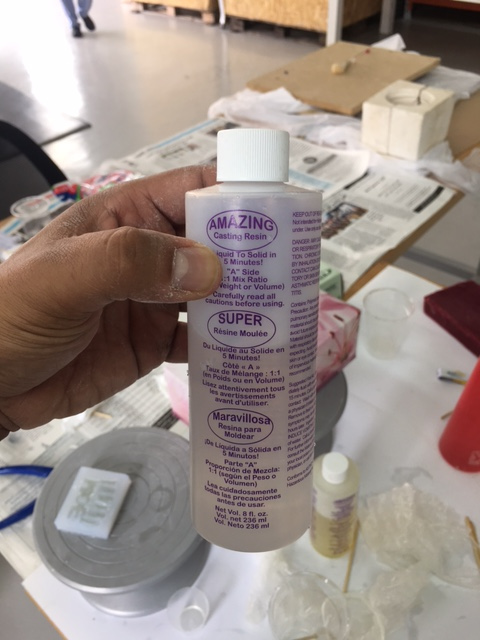
both Resins had to be mixed within 30 seconds after they are poured together and then carefully poured into the mold created in the previous step. I left it leveled as well for a little whole and removed the mold and here is the final product.

NOTE: after seeing the outcome, there is Only one thing i would change. I would increase the based thickness in the Onshape design to have a solid design of the project