WEEK-11: Group Project
my role on this week is similar to week-9's role which is the documentation and helping the team in the quality assurance in the trial and error execution process
we did find some difficulties in this week when the project was executed for the first time. the main issue was that the pieces of the project is over design. by which unnecessary pieces were designed that prevent the movement of the rods in both X and Y direction.
we have removed few pieces from the design and re tested it again, placed a belt and a second trial and didn’t work. in the 3rd attempt, we relied on simplifying the design and removing all the extra pieces to allow dynamic flow of one side of the box. and it worked. here is the final video of the project.
here is a link of the dcumentation page that i worked on for the group assignment Click HERE .
Bill of Materials
The following is a list of materials or elements required to complete the project. these material were taken from old makerboat 3D printer and the following were taken from it:
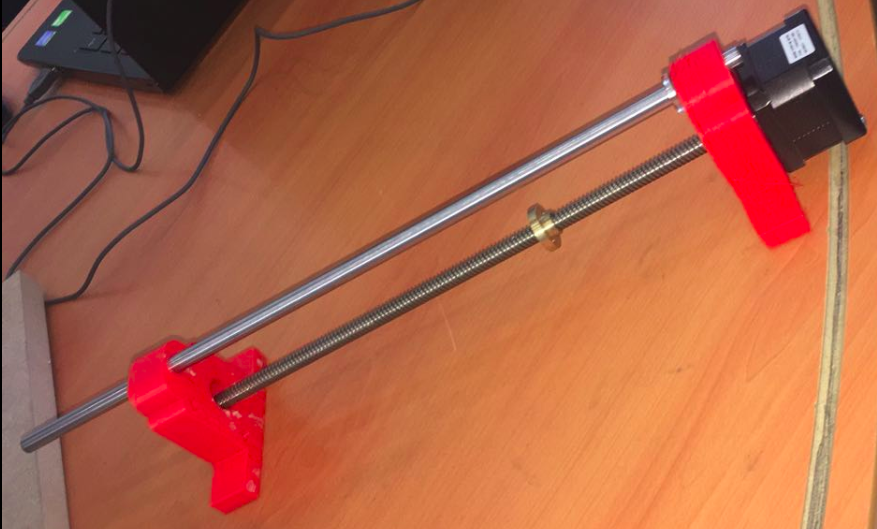
2 Threaded Rod
2 Smooth Rod
2 Stepper Mottor
2 Stepper Mottor Drivers
Belts
Bearings
Assembling Process
the assembling process is where the trial and error took place. we had to redesign some of the Rod holders and the stepper motor cap when we came to this stage. the assembling team found out that the pieces designed do not fit the dynamic movement required for the X and Y axis to move smoothly. we have taken few videos and pictures to show the assembling process in details. click on the link below:
Problems Faced and how its solved
1) The first issue faced was that the laser cutting machine was out of service. So we tried to print the cap holders in a 3D printing machine and we will test the practicality of it before trying to fix the laser cutting machine.
2) Another issue found was the distance between the screw opening in the cap wasn't constant. The designers work on applying the same method and distances between the holes to assure that the cap fits on to of the motor.
3) The design team has added a new opening on top of the motor cap to insert a second pole to hold the movement of the motor through the axis. The team has failed in the beginning to find a balance of the moving motor.
4) the vibration of the stepper motor has caused shaking effect in the rod which prevent it from moving in the Y-axis. the design was improved to overcome this issue.
Manual Testing , System Execution
1st Attempt- Failed
in this week we have found out that the design has the malfuncions. the weight of the moving stepper mototr of the X-axis is affection the movement of the LED light. The same Stepper motor movement is affecting the vertical movement of the rod. the rod is moving upward more on the steper motor side as seen in the video below2nd Attempt- Belt Mechansim Test - Failed
as mentioned in the 1st attempt video, we have added a belt on the other side of the project as seen in the video below. we assumed that the belt would solve the flow of the movement on the other side of the prototype, but the belt wasnt suffiecient enough to allow such mechanisim. the test shows that the rod somehow moves downward due to gravity force only.3rd Attempt- Removing the belt , Free Flow. Success
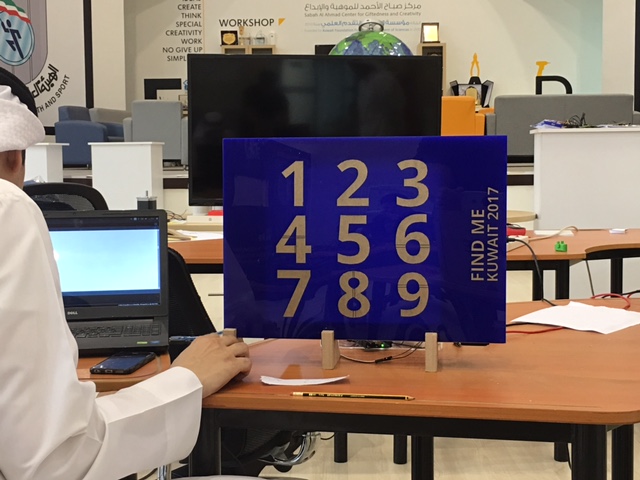
in this try, we have relised that we had to simplify the design. we apprached the brain string session with a redesign mentality from scratch. So we found out that the simpler the design is, the easier the LED would move. so we eleminated the right side of the project incuding the belt as well. see the video below.here is the final run we did. we tested the LED light in connection with the location and the rod movement as well.